

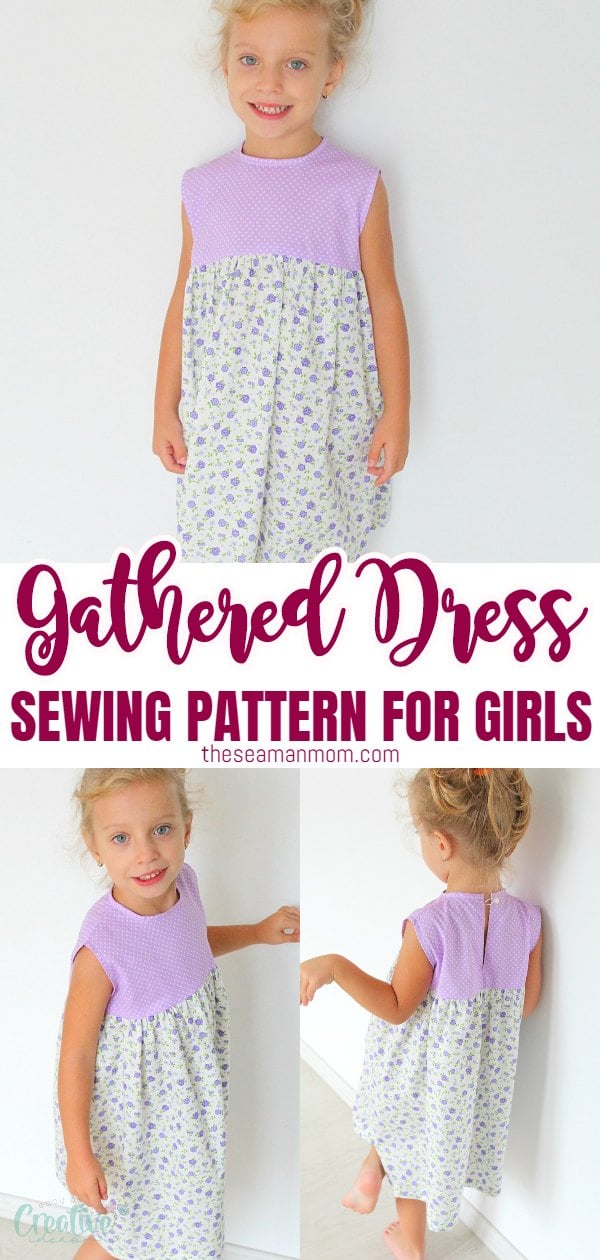
Girls Gathered Dress Sewing Pattern
Article may contain Amazon & affiliate links. As an Amazon Associate I earn from qualifying purchases at no additional cost to you.
Make a simple but beautiful summer dress for a little girl with this easy to follow gathered dress sewing pattern for little girls. Simple dress pattern for beginners!
Gathered dress pattern
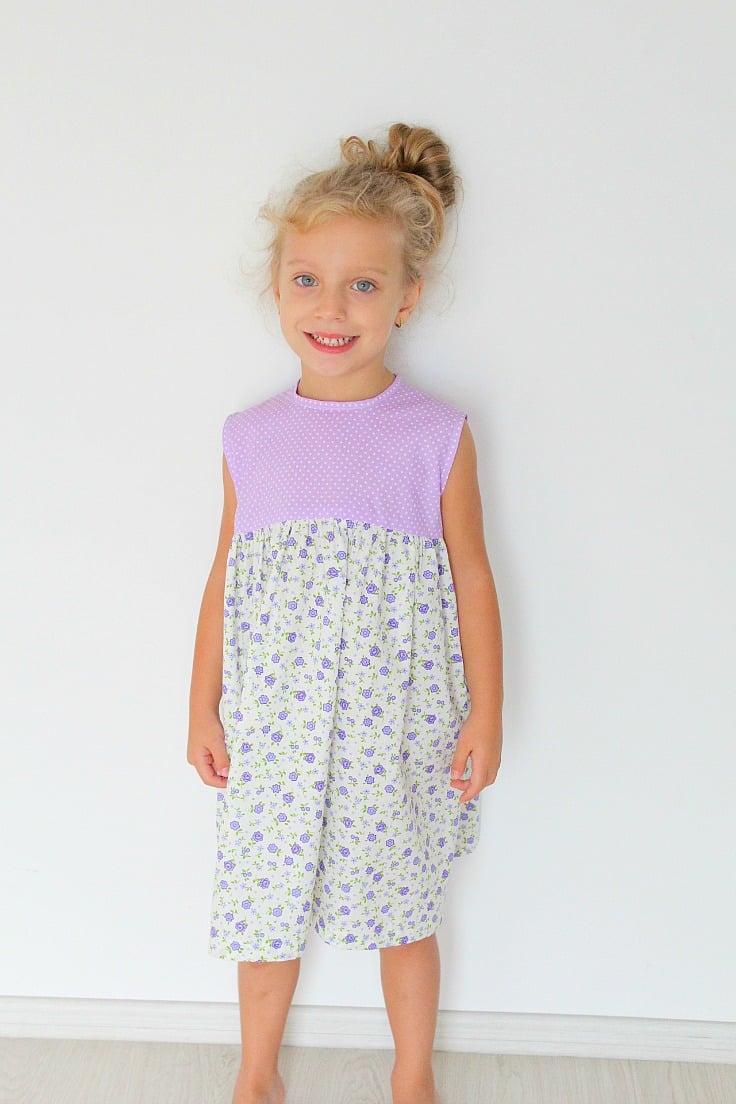
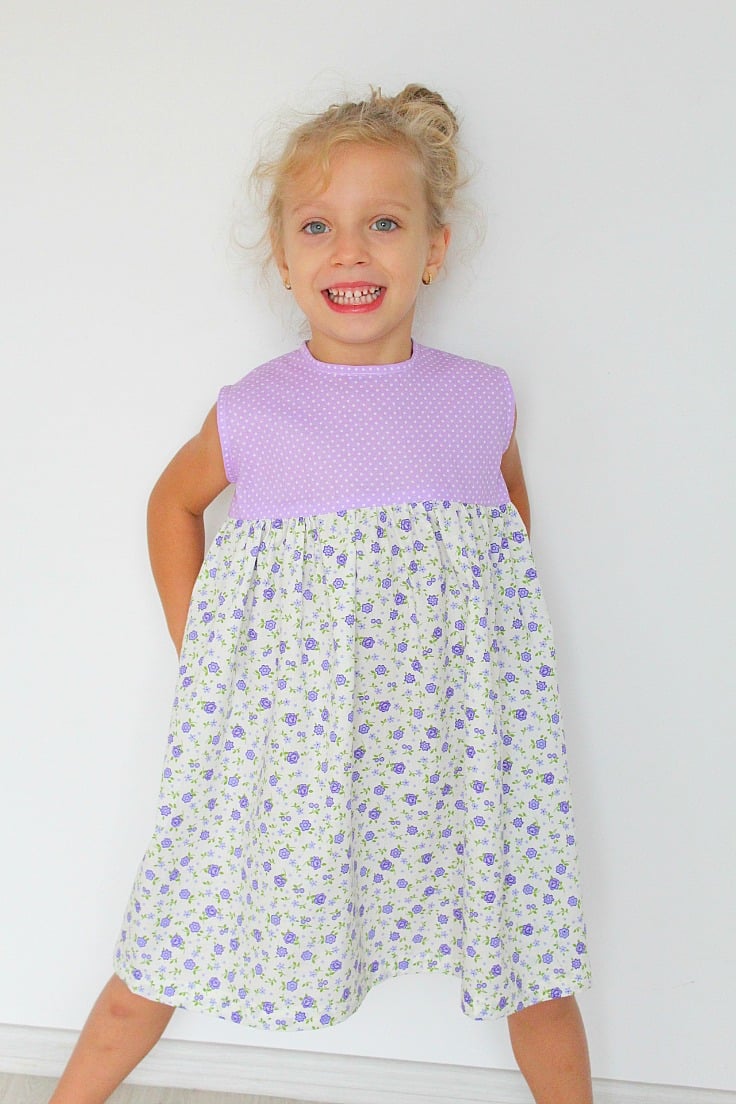
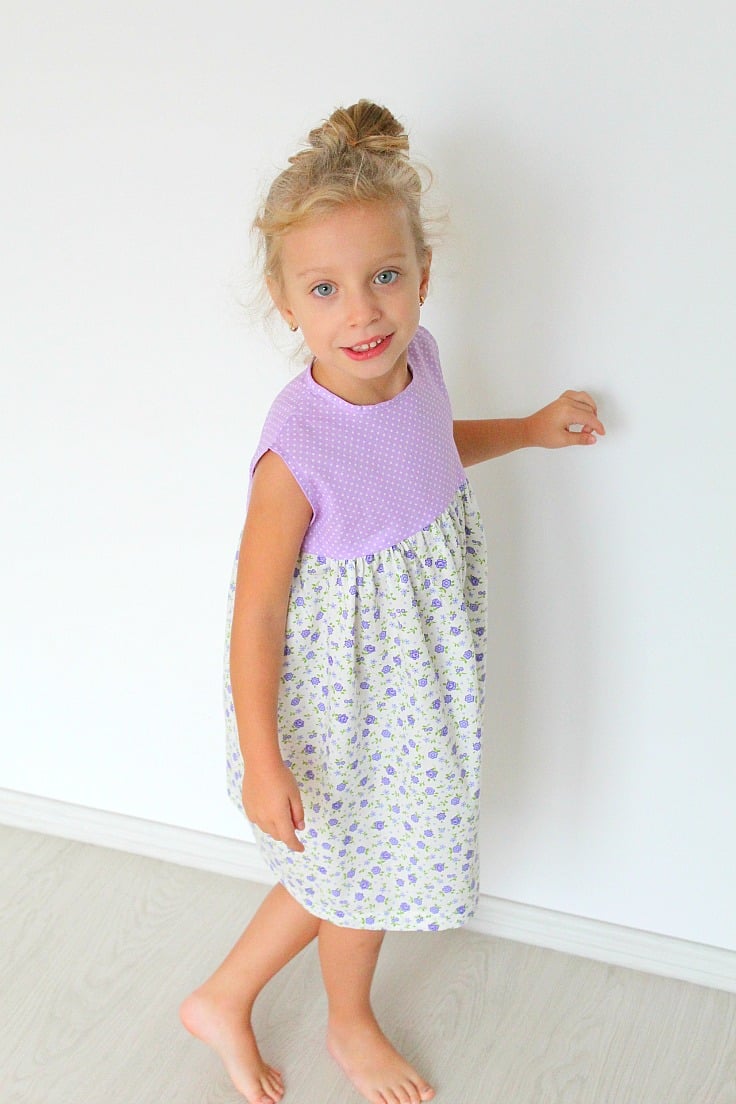
This lovely and simple gathered dress is for a comfortable everyday dress but doesn’t compromise on the pretty factor that every little girl loves. An easy girls dress perfect for summer!
This gathered frock is super simple and easy to make, with a roomy gathered skirt, perfect for the active little girls (like my little munchkin) and a short, loose bodice which allows the body to “breathe”, great for those long, hot summer days.
Similar posts you will love:
- Easy paper bag skirt
- Flutter Sleeve Dress Pattern
- Pillowcase dress tutorial
- Sleeveless A line dress pattern
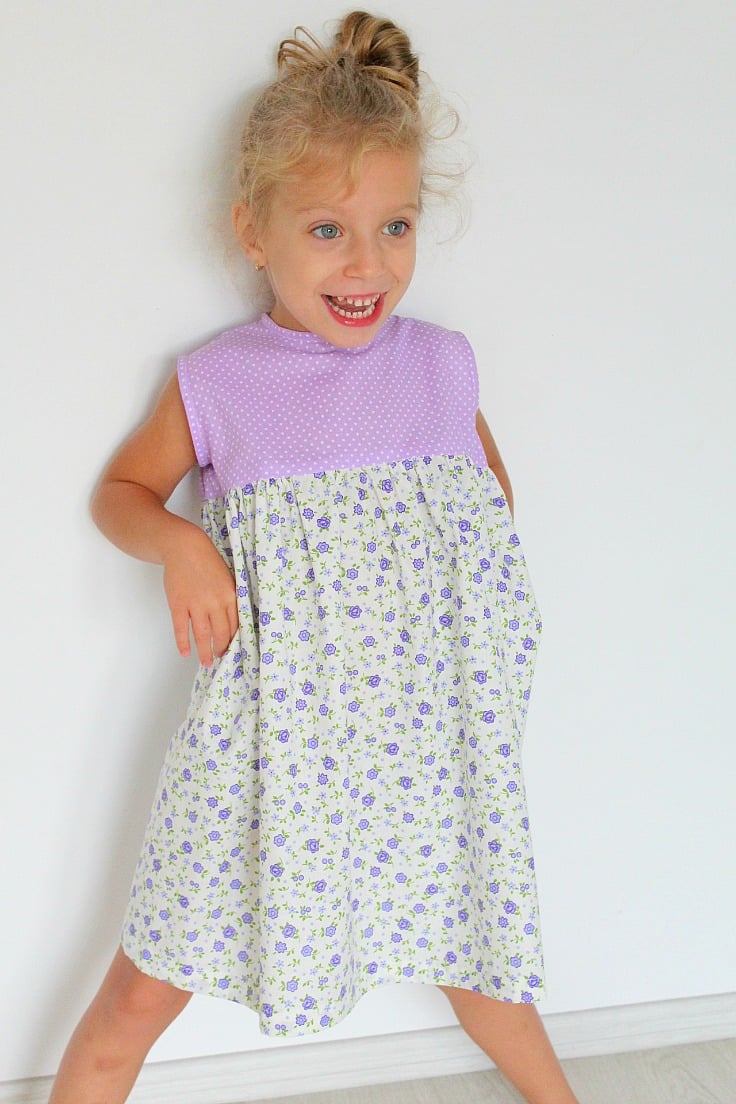
I love how the gathers add just enough fullness to this dress and I’m totally smitten with the little flowers vs. polka dot fabric combination. I think it makes this gathered dress look even more girly and pretty. This is also an easy to customize pattern, in terms of fabric choice and additional details like pockets, neckline, sleeve etc.

This project is quite a straightforward sew, although gathering takes a little while. If you’ve never sewn dresses before, this simple gathered dress, designed with comfort in mind, is a great place to start!
The pattern is available to purchase here!
Gathered dress
Materials:
- about 16″x 16″ of polka dot fabric for 5T pattern, 100% pure cotton (similar here)
- about 20″x 20″ of flower print fabric for 5 T pattern, 100% pure cotton (similar here)
- strip of 6″x 2″ for the placket at the back of the dress (I used scraps from the polka dot fabric)
- matching thread
- optional – gathering foot
- scissors
- sewing machine
- Schmetz universal needles 8/12
- fabric marker
- small piece of elastic (or a tiny fabric loop)
- 1/4″ bias tape
- bodice pattern
Directions:
- Wash, dry and press your fabric
- Print your bodice pattern pieces from here and cut the fabric on fold. Decide how long you want your dress and cut the skirt accordingly (I cut mine 20″ in width and 20″ in height).
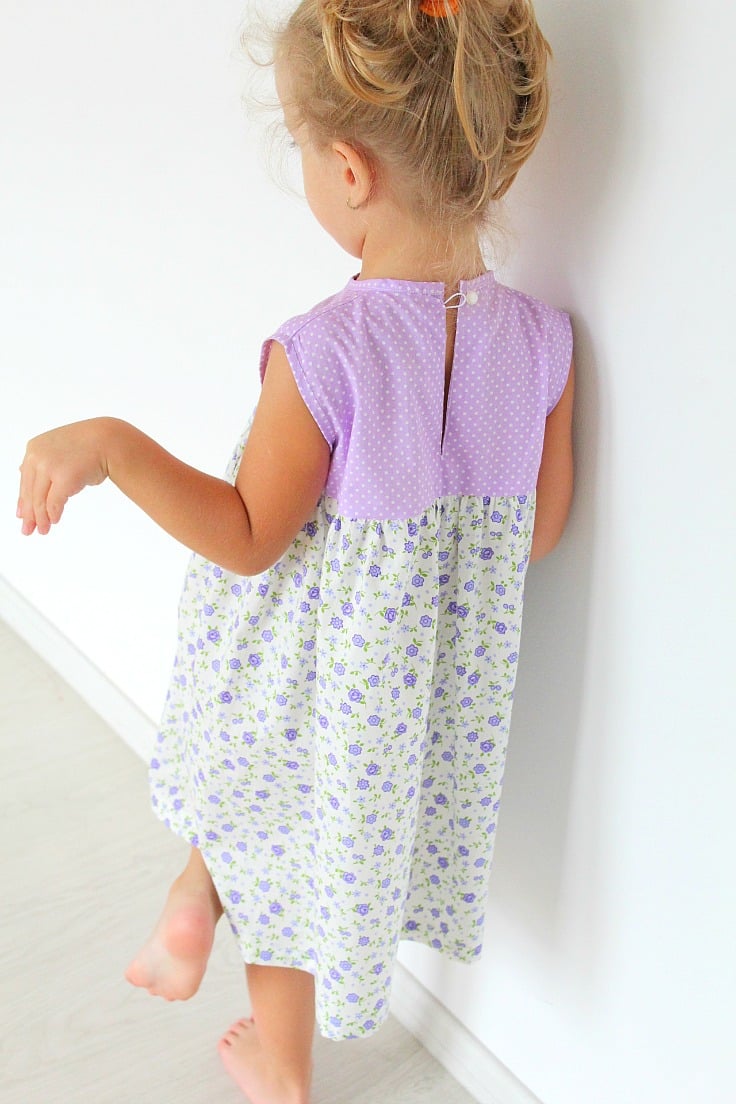
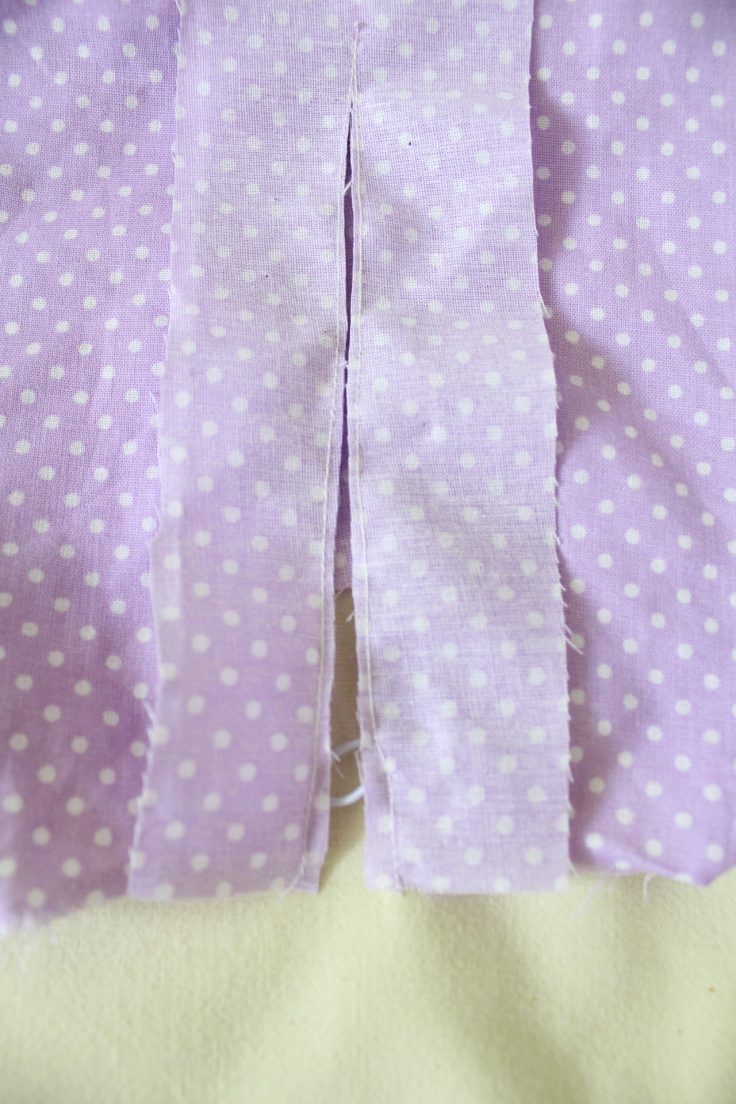
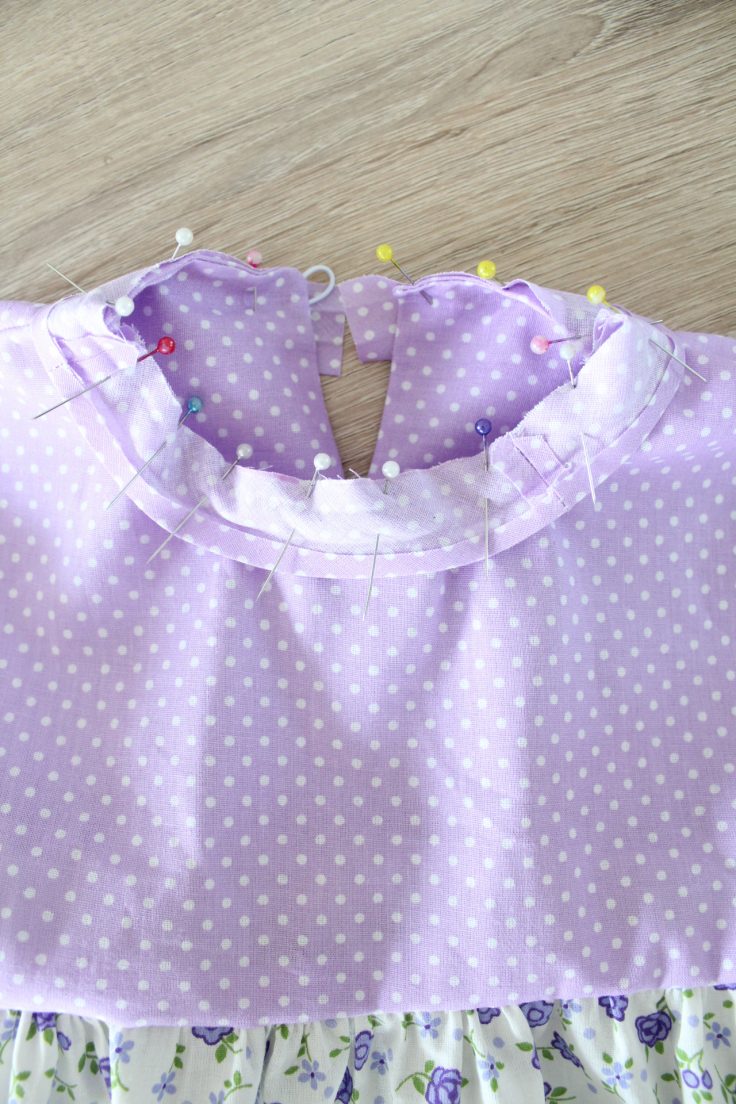
Sewing the placket
- Cut the strip for the placket ( Better serge it or zig zag it at this point) and attach to the back bodice piece, facing right sides together, right in the middle of the back bodice piece. If you want to make your placket stronger, add some soft interfacing. Stick the elastic with the loop towards the outside, in between the placket and bodice (I actually forgot to add it so I had to rip the seam out, insert it and sew again over the elastic; silly, I know!)

- Draw a line just in the middle and sew around that line with a 1/8″ between the stitches, sewing in sort of a v shape, about 5″ = 15 cm long.
- Using sharp scissors, cut along the drawn line until you reach the seam (but don’t snip the seam).
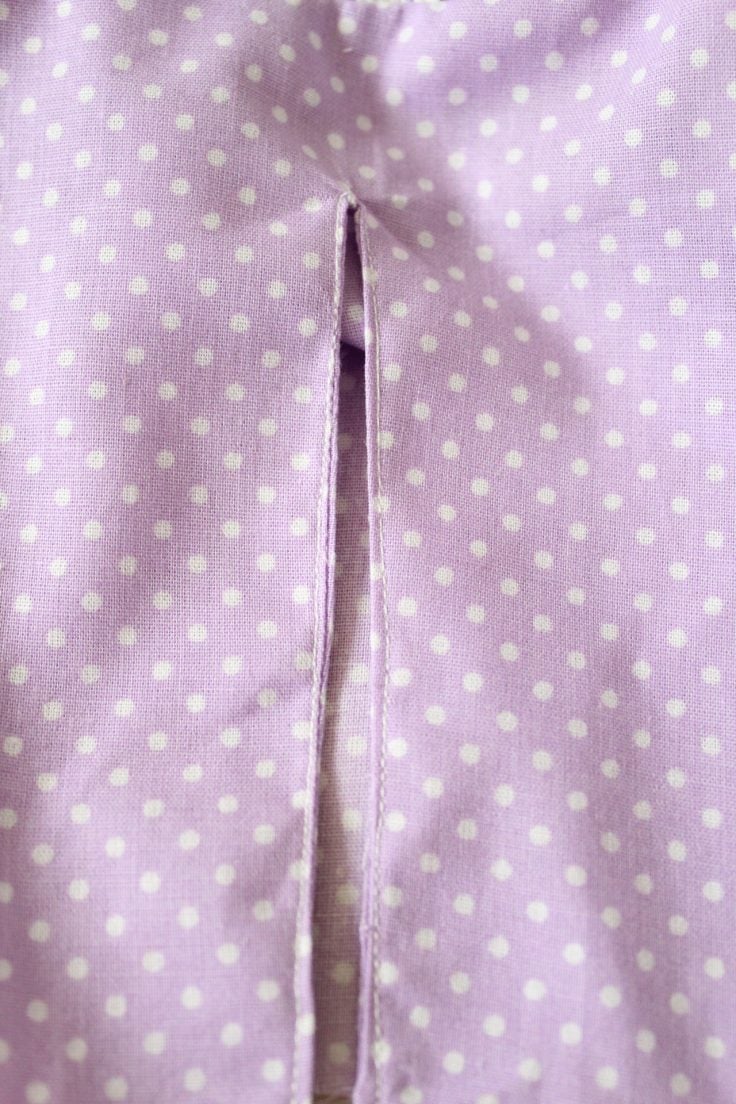
- Turn right sides out, press the seam and edge stitch around the seam.
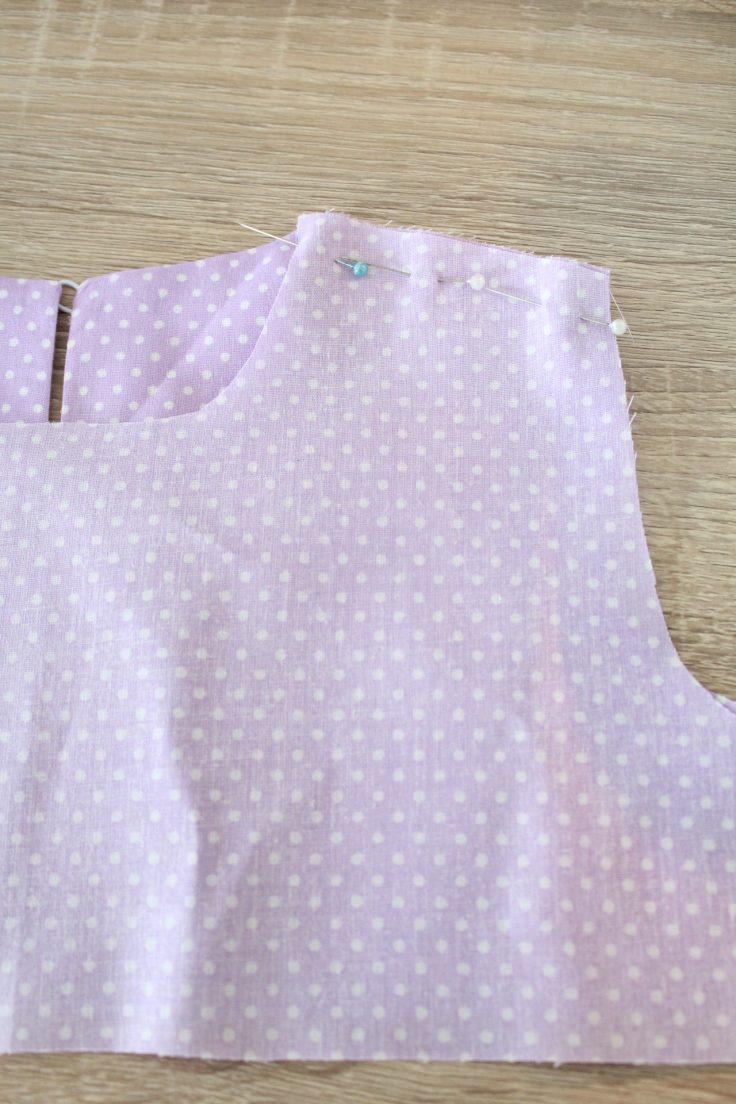
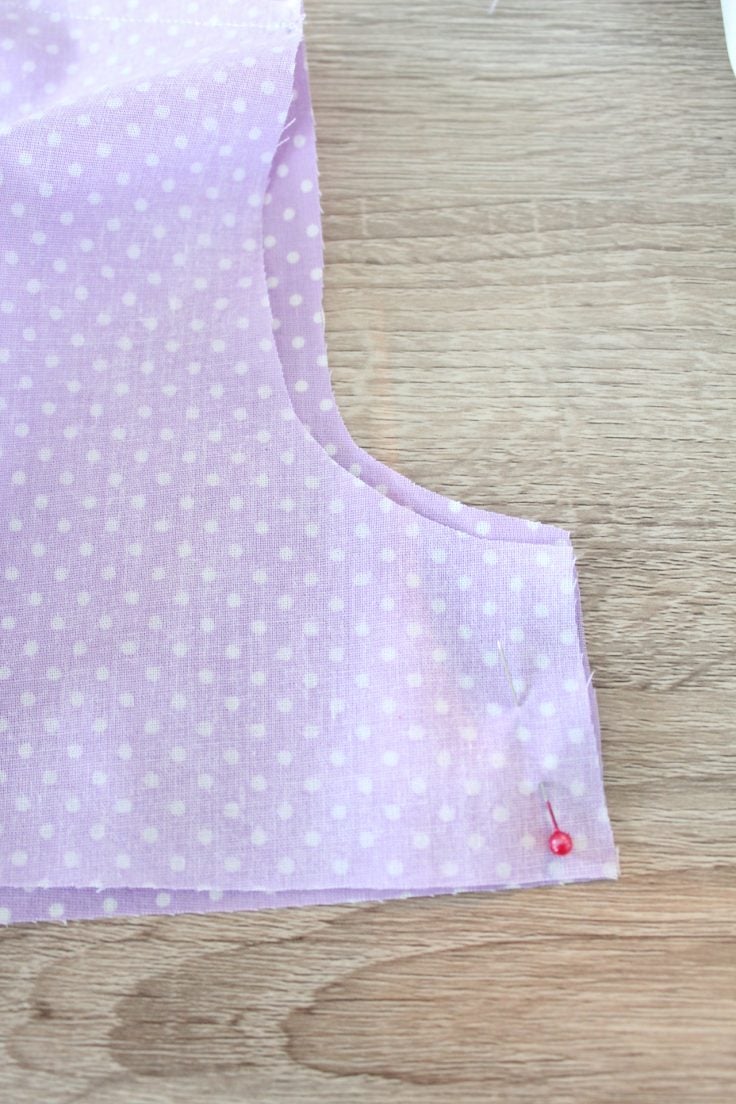
Sewing the bodice
- Take the front bodice and back bodice pieces and match right sides together. Pin at the shoulders and the sides and sew. Serge or zig zag to finish the seam.
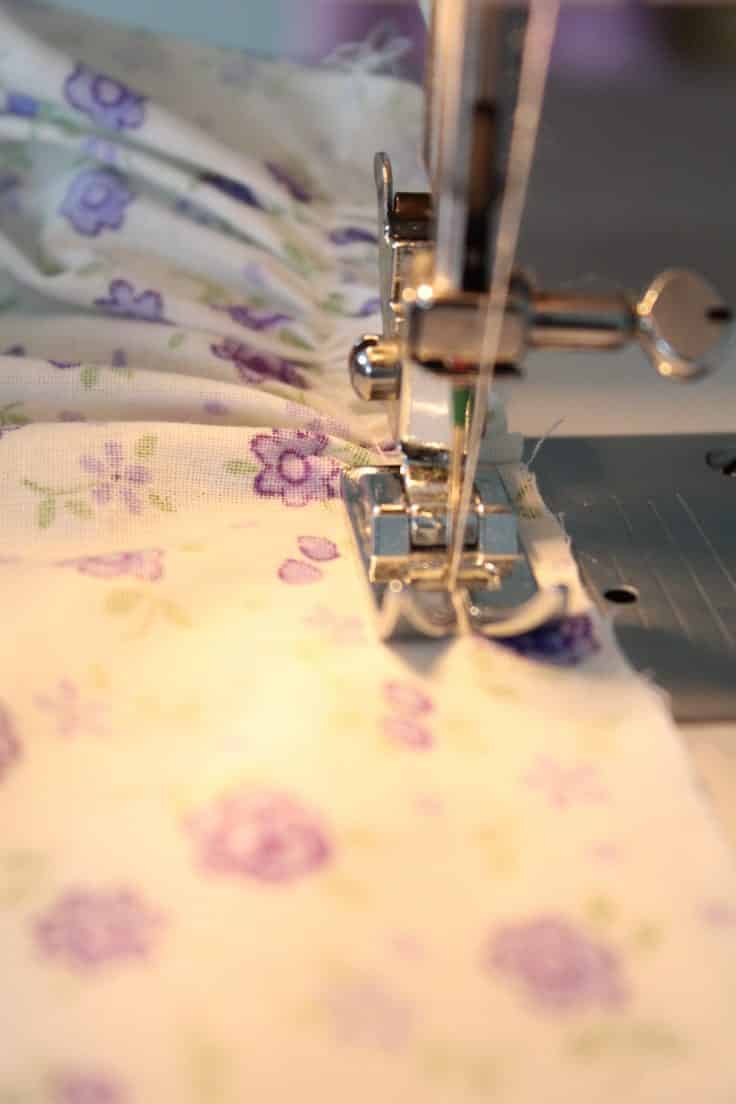
Sewing the skirt
- Take your skirt fabric and do the gathers to match your bodice’s width. Start gathering about 1/2″ away from the edge so you’ll have enough fabric to use when attaching the skirt to the bodice. I used a medium tension and the highest stitch length on my machine and I got the perfect gathering, matching my bodice without me having to tighten or loosen the gathers. If you use a Singer 1507WC, those would be 5 and 4.
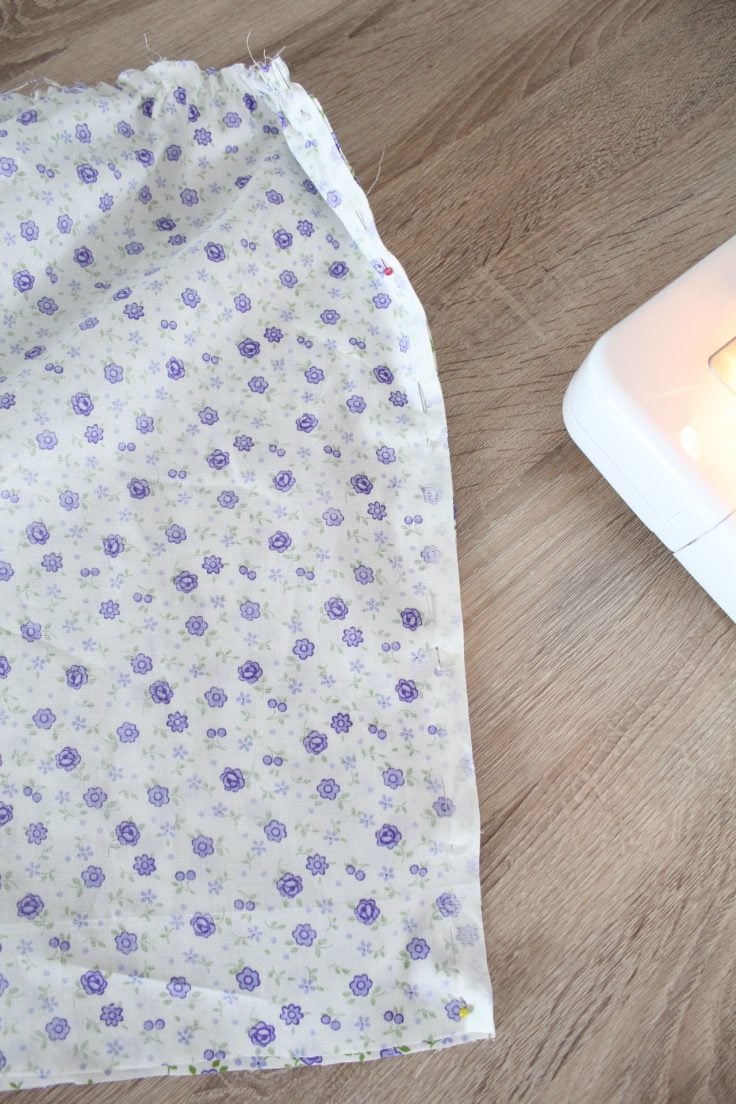
- Stitch the skirt closed by sewing the sides together. Serge or zig zag the seam (I left the selvage on as I didn’t have enough fabric so I didn’t need to finish seam).
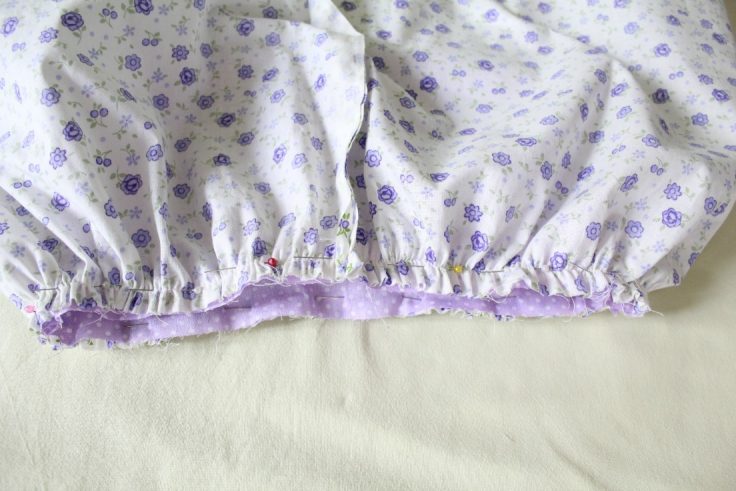
Sewing bodice to skirt
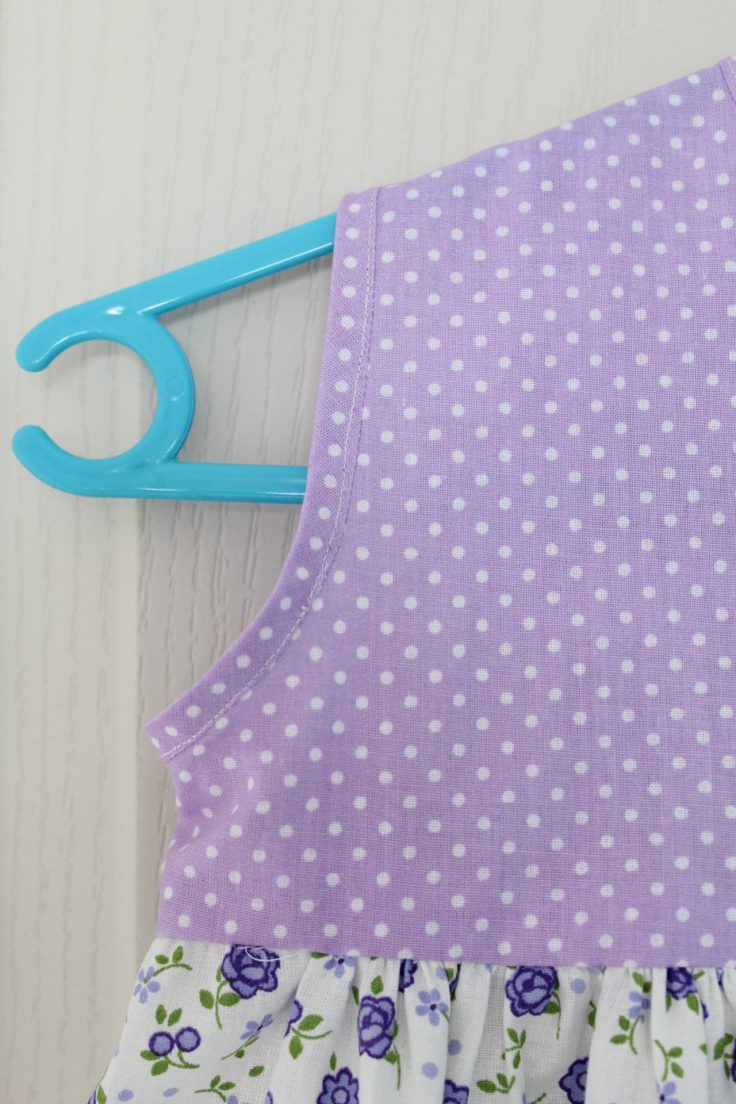
- Attach the bodice to the skirt, facing right sides together. Serge or zig zag the seam.
- Attach double folded bias tape at the neckline and armholes (use the method here; I didn’t use double folded bias there but it’s the same principle). I made my own to match the dress.
- Double fold the hem and sew.
- And you’re done working on your gathered dress sewing pattern!
Pin to save for later
ABOUT PETRO
Hi, I’m Petro, author and founder of Easy Peasy Creative Ideas. Sewist, crafter, avid DIY-er, foodie, photographer, homemaker and mommy to one. I’m an expert at coming up with quick, clever sewing tips, recycling crafts and simple, easy recipes! You can find my ideas featured in reputable publications such as Country Living, Good House Keeping, Yahoo News, WikiHow, Shutterfly, Parade, Brit & Co and more. Thanks for stopping by and hope you’ll stay for a while, get to know me better and come back another time. Stick around for real fun projects! Read more…