

Girls flutter sleeve dress Pattern
Article may contain Amazon & affiliate links. As an Amazon Associate I earn from qualifying purchases at no additional cost to you.
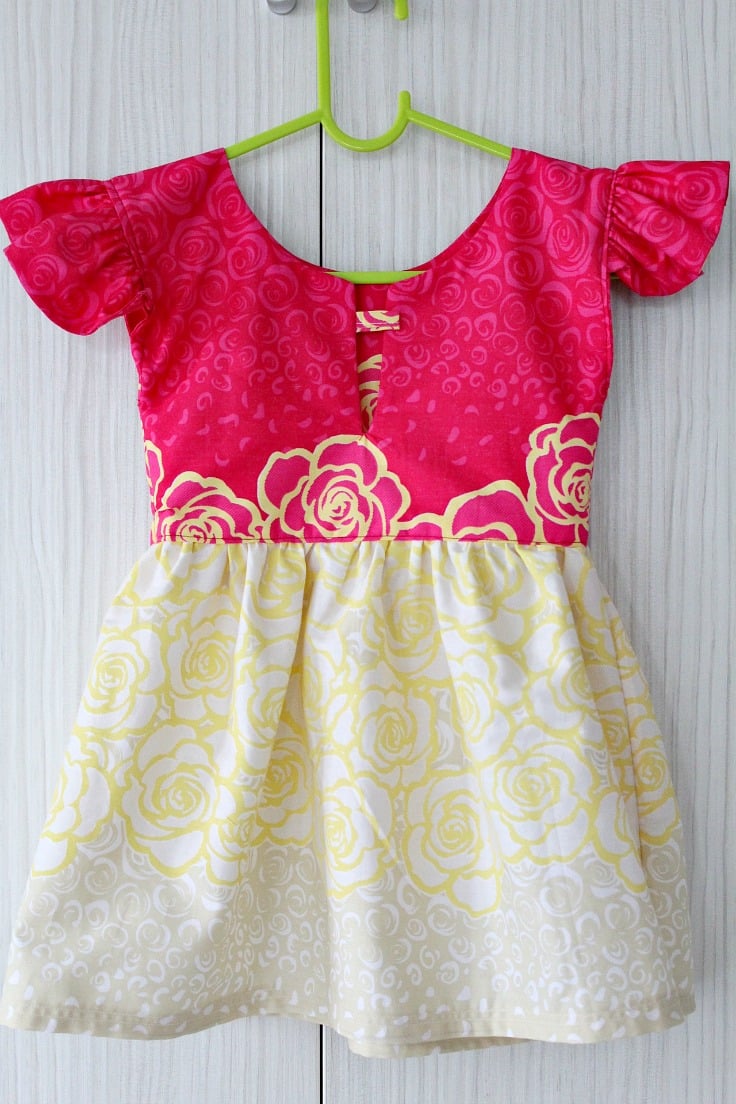
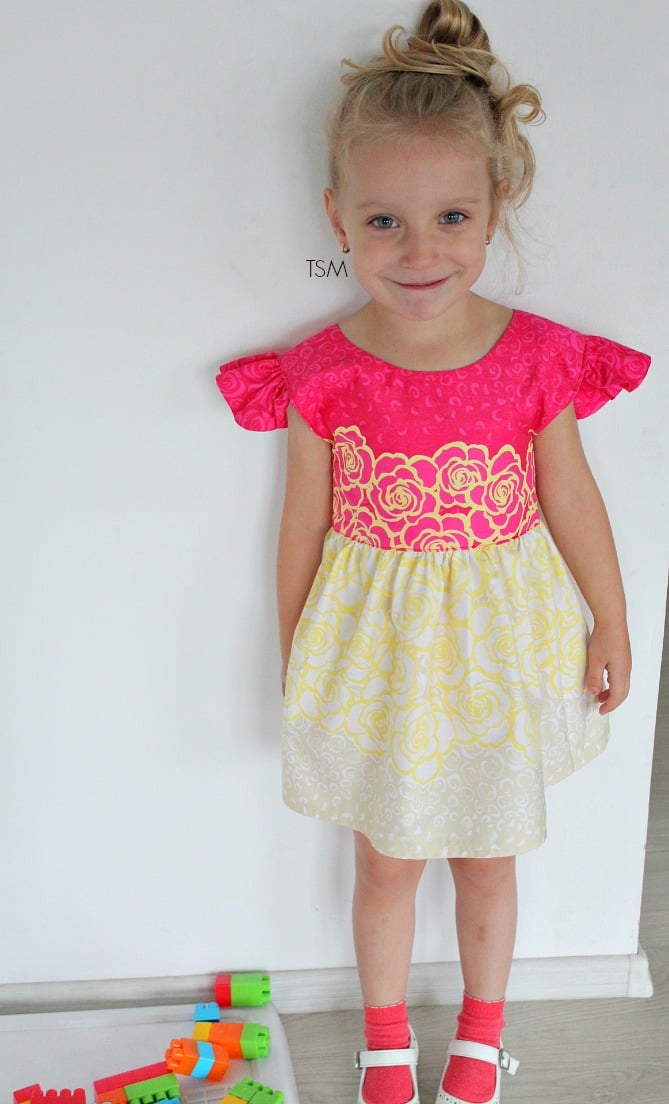
Love sewing for little girls? Learn how to sew an adorable, sweet dress for a little girl using this easy to follow, step by step flutter sleeve dress pattern.
Flutter Sleeve Dress pattern

Hi guys! I have a really fun and easy sewing project to share with you today, a super easy flutter sleeve dress pattern! This adorable and simple dress with cute DIY flutter sleeves is something I’ve been afraid to start working on for ages! And you might be wondering why since it’s so crazy easy! I know, a sewist’s mind can be so complicated sometimes!
This tutorial has been converted to a PDF file, available to purchase here. This article is completely free to read.
Well, I don’t consider myself an experienced sewer, I still have loads to learn about sewing and unfortunately not enough time to do so. Also when I made this flutter dress, I was working on a little sewing machine that was pretty rudimentary. Oh, and I also have 2 left hands lol! But that doesn’t mean I shouldn’t try and make pretty stuff like this lovely flutter sleeve dress pattern, even if I do fail every once in a while (ok, ok, pretty often!). But in my sewing book, trying is more important than succeeding so I keep trying my luck. And this time I was pretty lucky as I did have great success with this dress from start to end! Everything went super smooth and pretty fast for a dress, I was so thrilled!
Other little girls projects you might like:
- Reversible kids apron
- Bunny pillow
- Round crossbody bag
- Reversible skirt tutorial
- Hello Kitty coin purse
- Peasant blouse pattern
- Gathered dress for girls
- A line dress pattern for girls
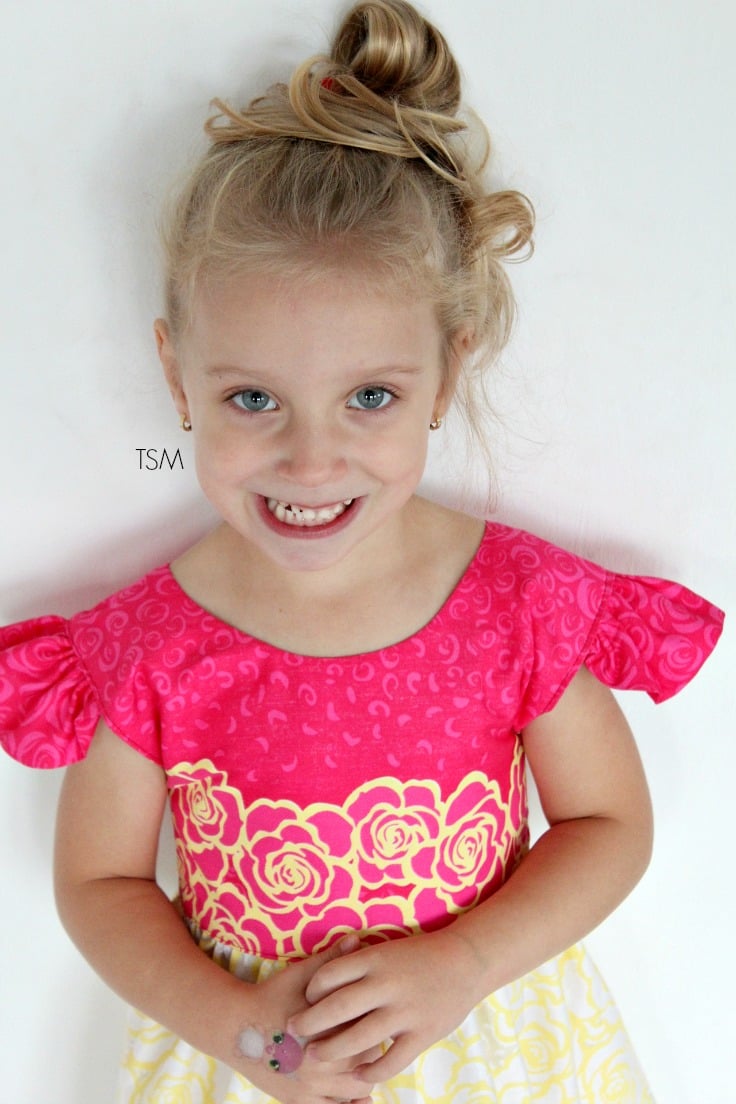
The result of a 3 hours work (yup, it took me that long lol) is a sweet and cute, colorful, comfortable flutter dress that is a perfect fit for a 4 years old little girl. And the best thing (that I’m very proud of), I did not use a purchased pattern, I made my own! I was using just a few measurements, common sense and a lot of praying that I won’t mess it all up lol. I am completely in love with this girls flutter sleeve dress, it’s so cute and girly!

You are going to fall head over heels for each flutter sleeve dress pattern that you’re gonna create! Cause you’ll want to make loads of these for every little girl in your world! And the best thing is you can apply the same technique for this dress to make a flutter sleeve top pattern too!
For this flutter sleeve dress tutorial I made the dress extremely simple. The instructions are meant to help any beginner sewer, who doesn’t know how to master drafting patterns, sewing intricate sleeves or a curved underarm. This flutter sleeve dress tutorial is also suitable for those who don’t own a serger and their sewing machine lacks a lot of options so they’re not able to serge the fabric.
Similar articles:
Sewing For Little Ones
Learn How To Sew Children’s Clothing with Rae Hoekstra
Learn to Sew at Creativebug
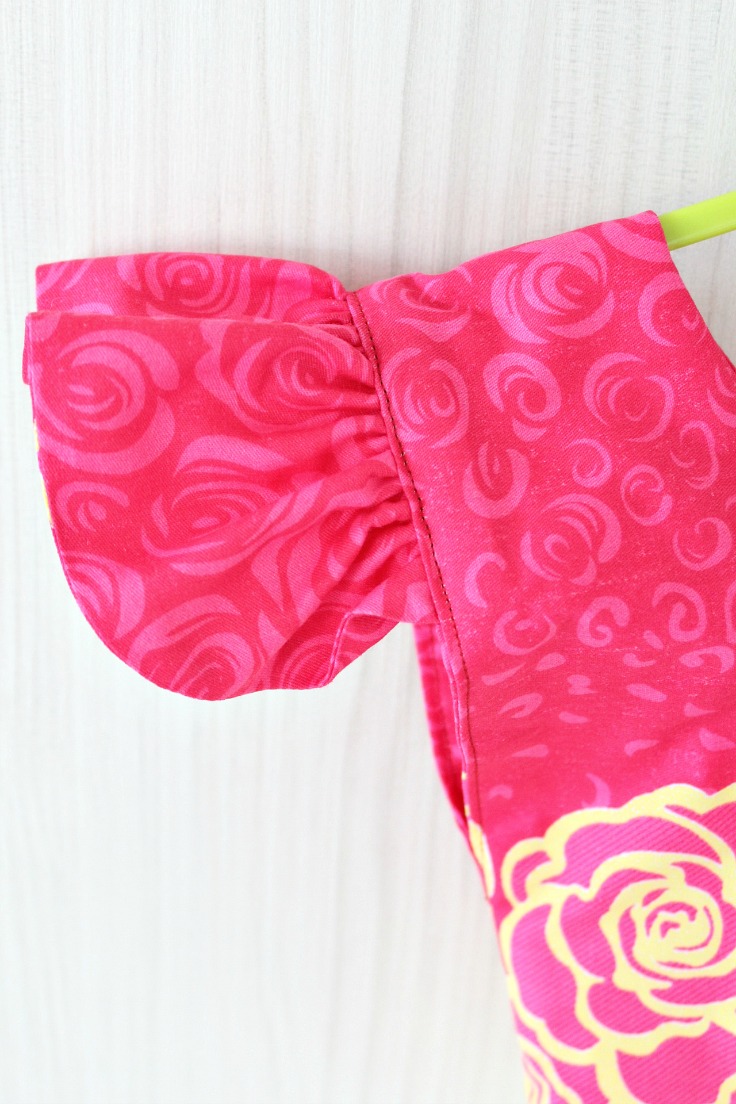
I’m not particularly crazy for the zig zag stitch, I think it gives a rather unprofessional finish. If you’re anything like me you’ll love that you won’t need to use the zig zag stitch, you just fold the fabric in. I know, I’m such a rebel! lol For future though I think I’ll use pinking shears, I like pinked seams! Or the much faster and best looking method: serging (since I own a serger who’s been crying for some attention for ages now!).

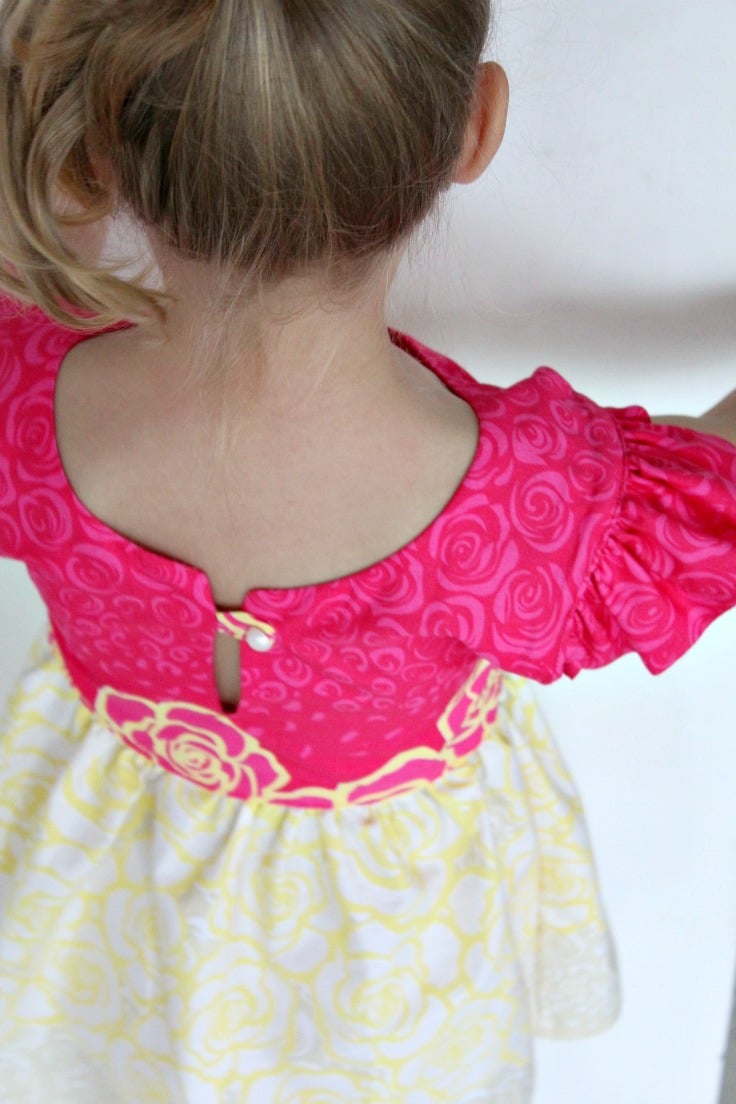
This flutter sleeve dress pattern is for a 4 years old girl of about 40″ height, 40 lbs weight. I measured her from one shoulder to the other, to establish how wide I want the bodice to be, then I measured from shoulders to just under the chest, to establish the height of the bodice. Then I measured from shoulders down to her knees, to establish the total length of the dress. I approximated the neck line using an old dress but I also opted for leaving an opening in the back, closed with a button, to make sure Ellie’s head fits through the neck hole.
Flutter dress pattern
Materials needed:
- 100 % cotton fabric in 2 different patterns – fabric 1 for bodice and sleeves and fabric 2 for skirt (optional; you can use same fabric for both bodice & skirt): 64 cm W x 100 cm H for bodice = 25″ W x 39″ H; 136 cm W x 40 cm H for sleeves = 53 ” W x 16″ H; 122 cm W x 68 cm H for skirt = 48″ W x 26″ H)
- contrast or matching thread
- Sewing machine and serger if you have
- scissors
- ruler
- baking paper to draw the pattern
- Fabric marker
- 1 button
- small piece of ribbon, fabric, elastic or lace to make a loop for the button
Directions for the Flutter sleeve dress pattern:

ABOUT PETRO
Hi, I’m Petro, author and founder of Easy Peasy Creative Ideas. Sewist, crafter, avid DIY-er, foodie, photographer, homemaker and mommy to one. I’m an expert at coming up with quick, clever sewing tips, recycling crafts and simple, easy recipes! You can find my ideas featured in reputable publications such as Country Living, Good House Keeping, Yahoo News, WikiHow, Shutterfly, Parade, Brit & Co and more. Thanks for stopping by and hope you’ll stay for a while, get to know me better and come back another time. Stick around for real fun projects! Read more…