

Christmas Tree Pillows Sewing Pattern
Article may contain Amazon & affiliate links. As an Amazon Associate I earn from qualifying purchases at no additional cost to you.
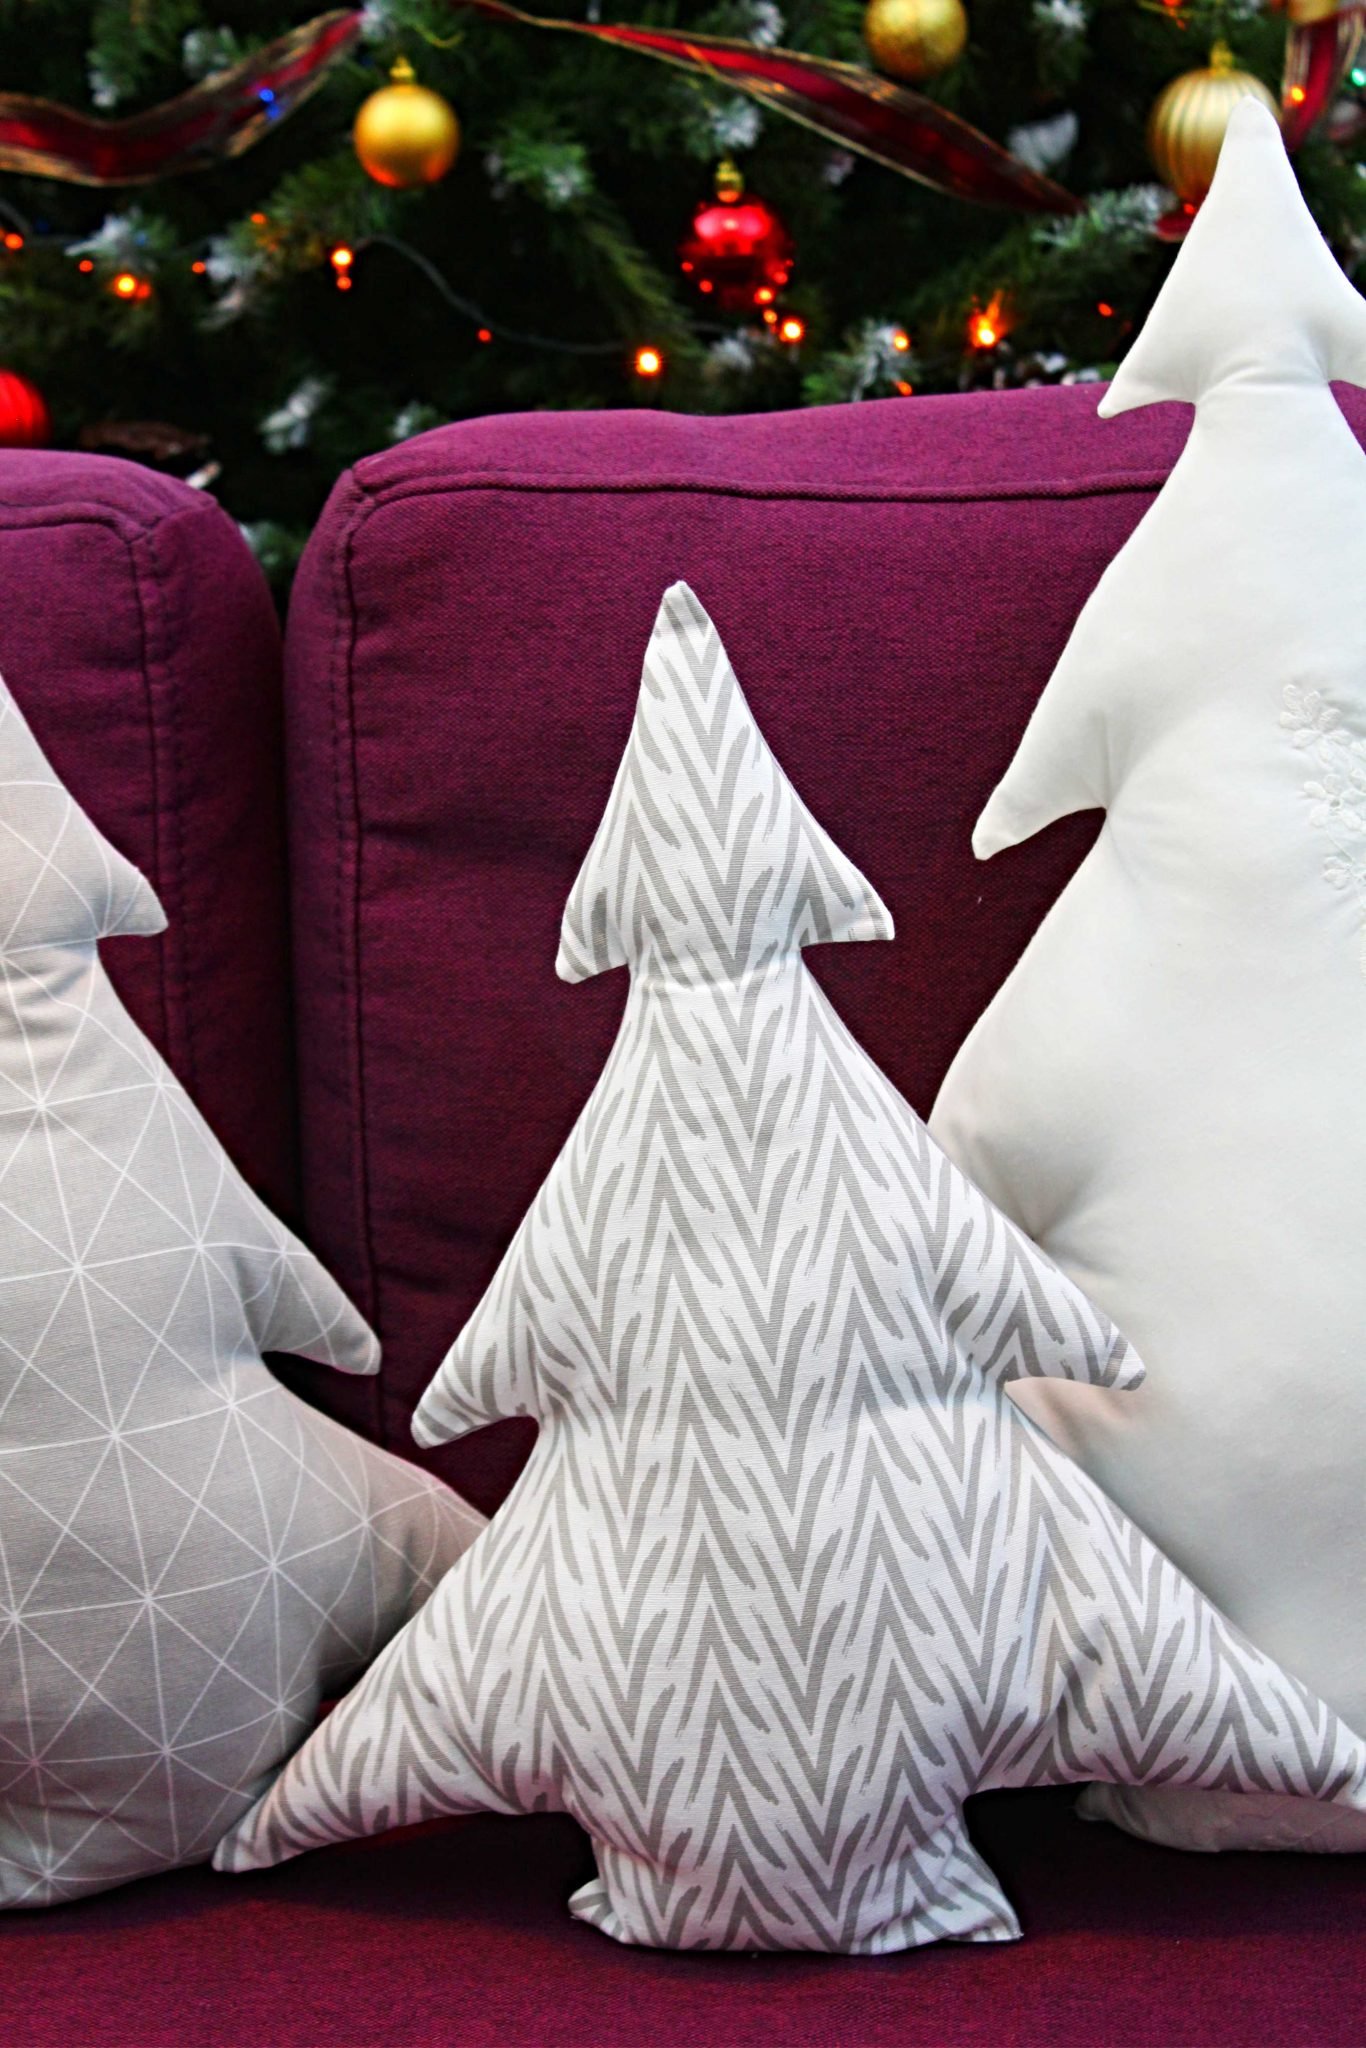
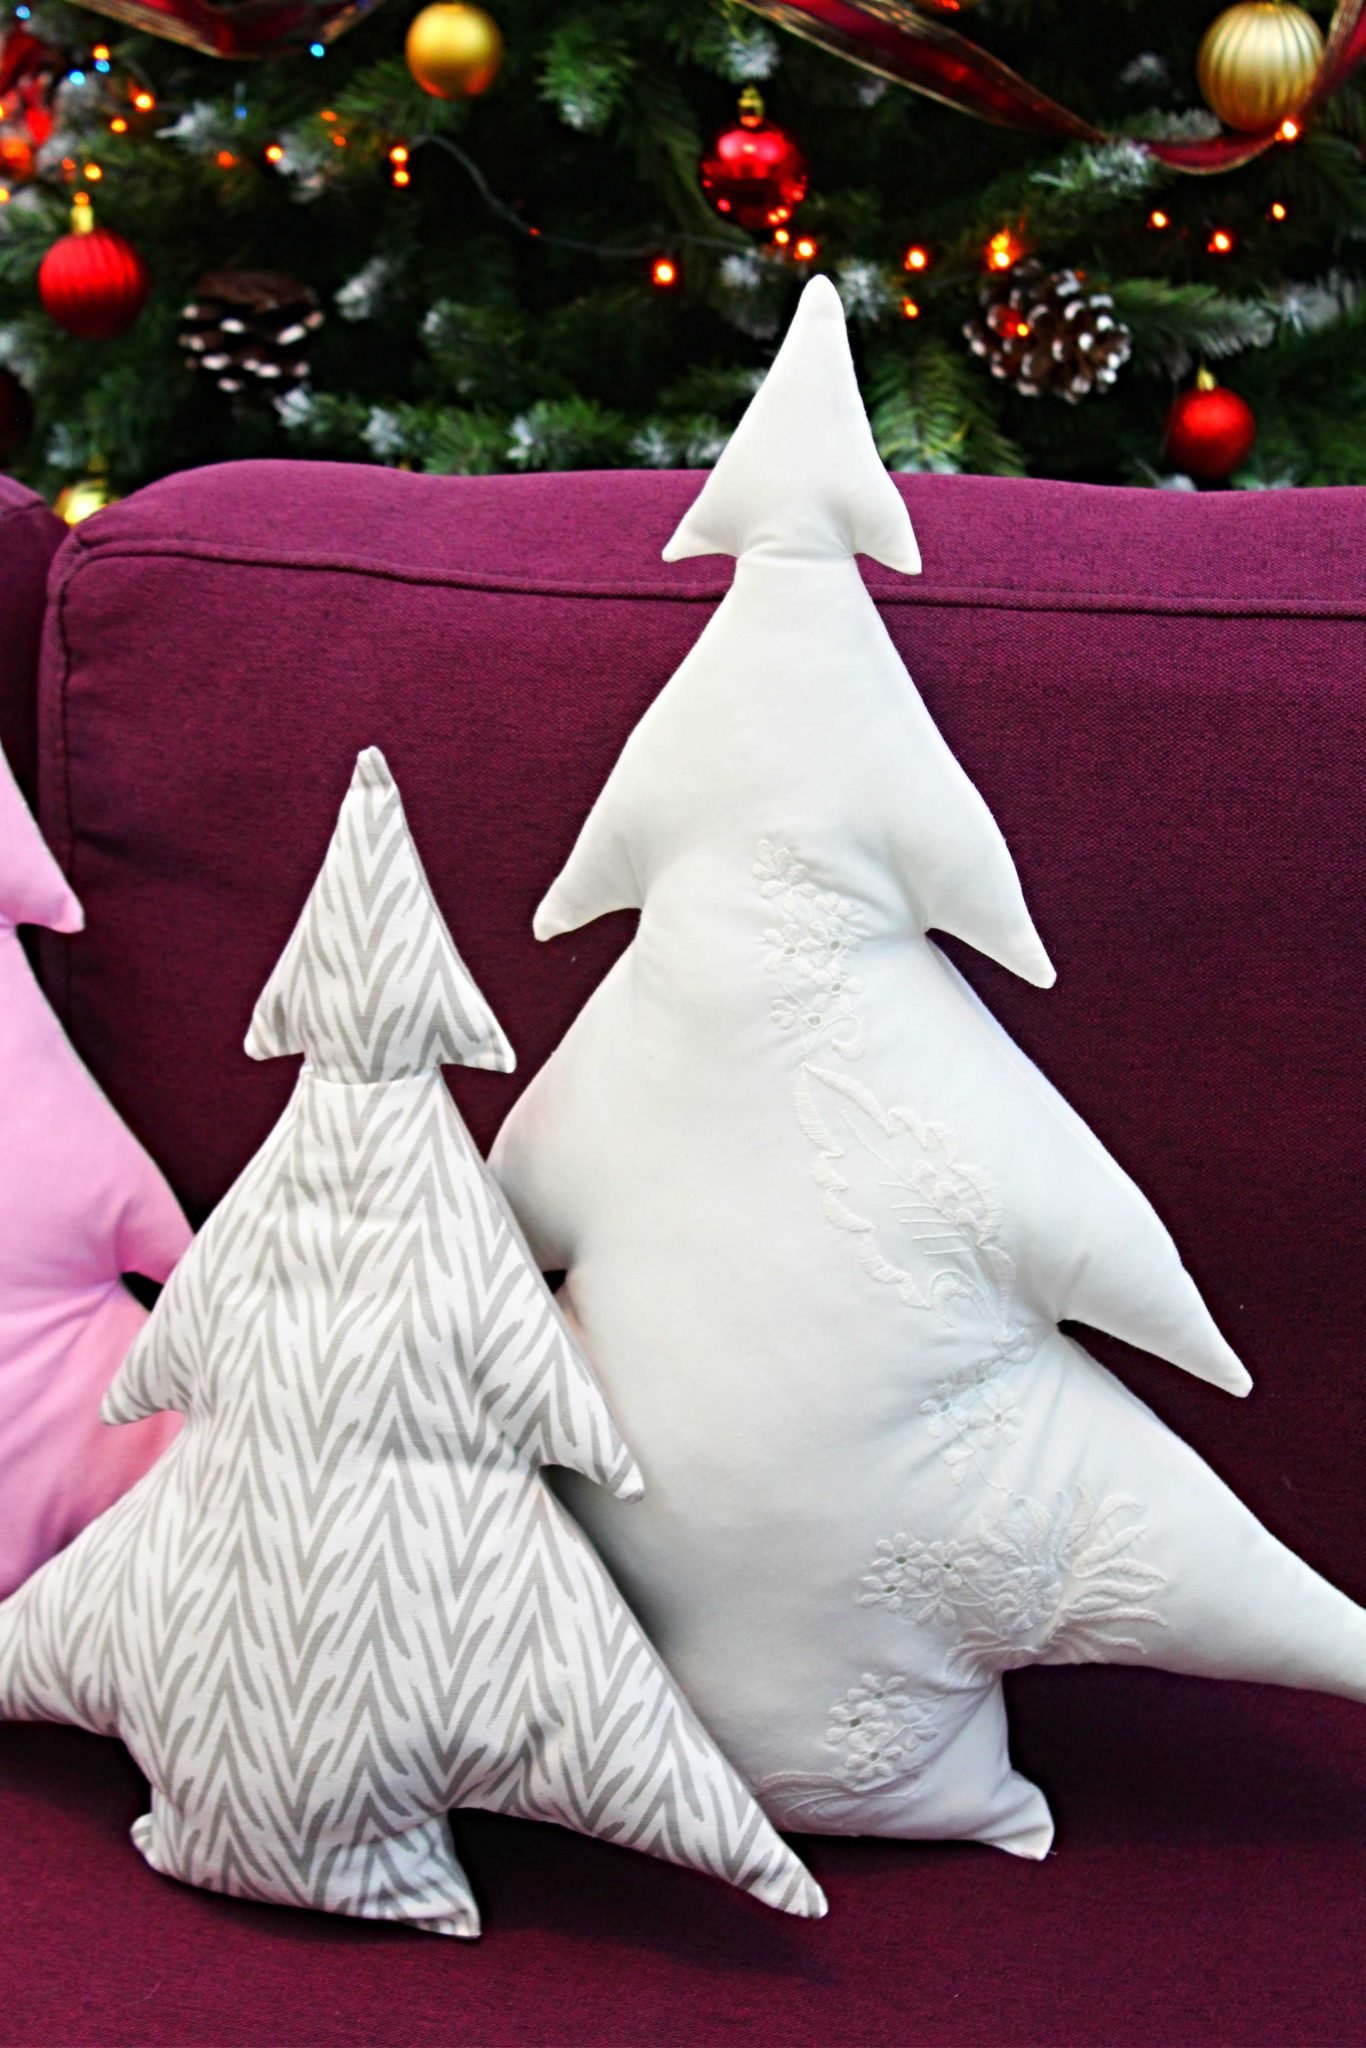
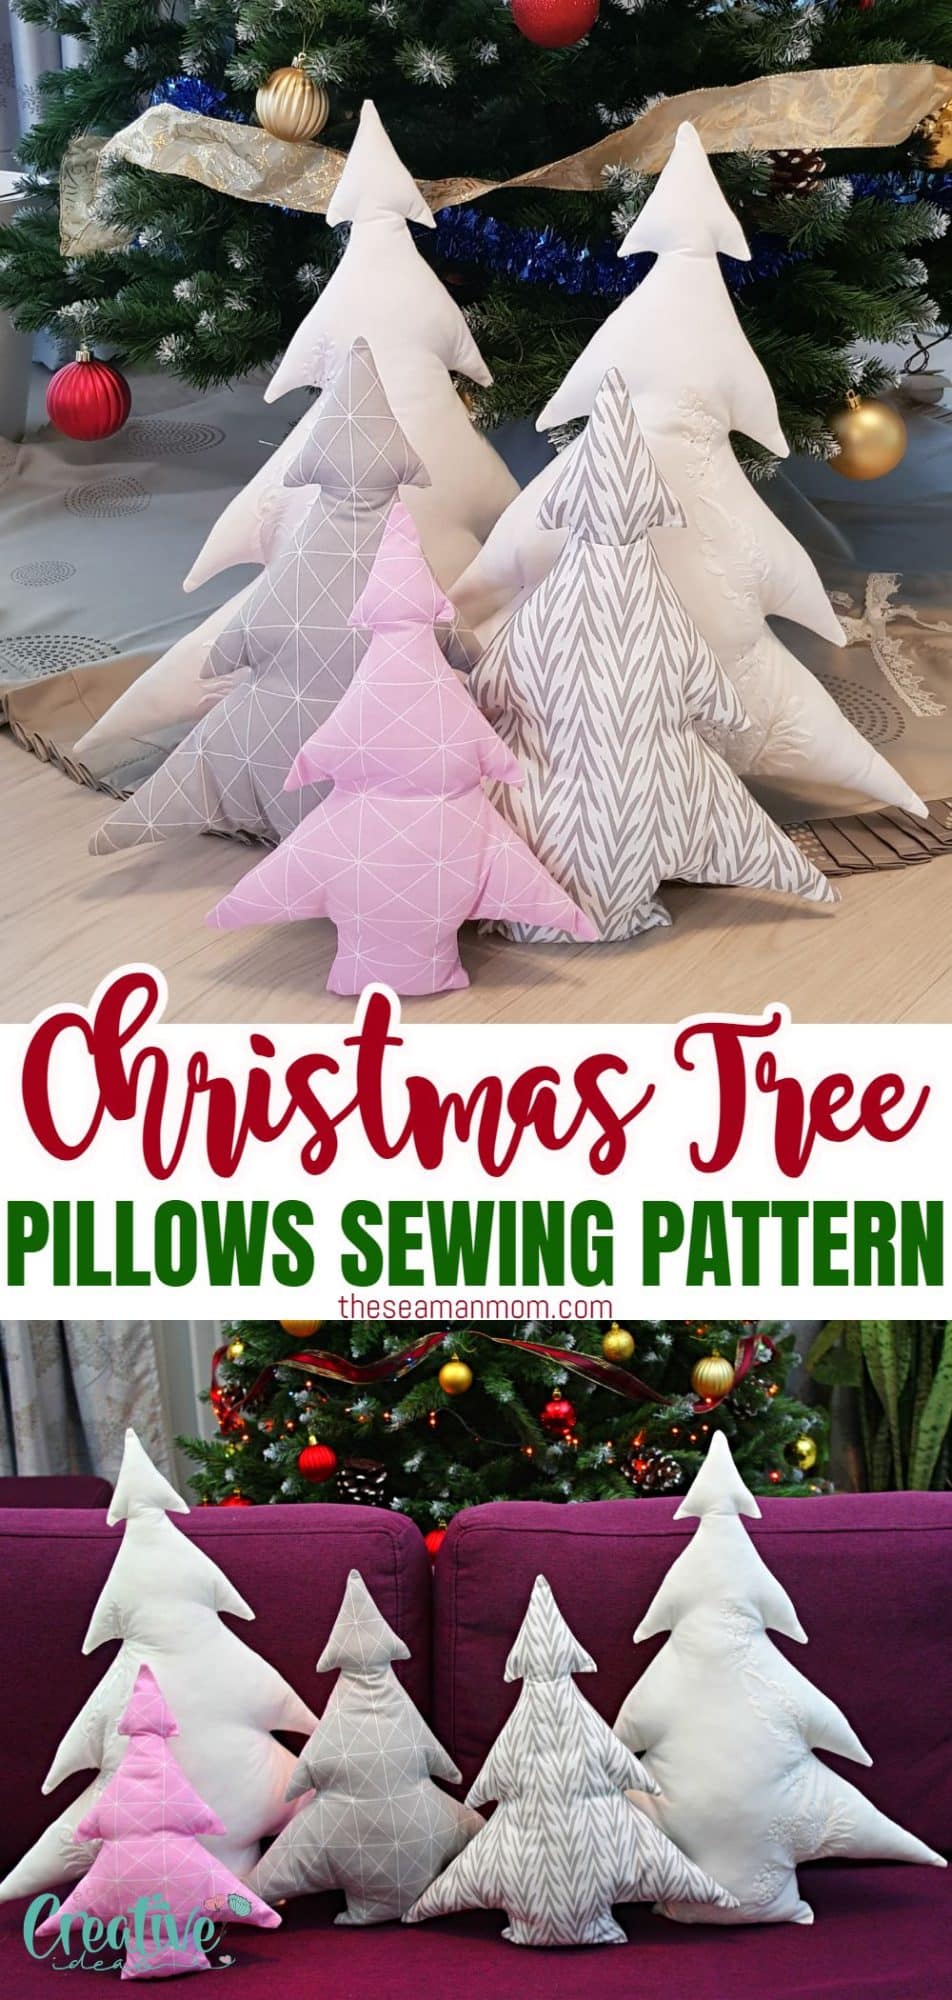
Have you been looking for cute ideas for Christmas pillows to make? A Christmas tree pillow (or a bunch of these cuties) is a fun and adorable addition to your holiday décor!
Christmas decorative pillows

Add to your holiday décor without breaking the bank with a Christmas tree pillow! Or more! These adorable holiday pillows are so easy and quick to make, about 15 minutes from start to finish (that’s right! just 15 minutes for one pillow!), you’ll soon find yourself making pillow after pillow for every member of your family and your friends!
Need more Christmas ideas?
- Fabric Christmas tree ornaments
- 30 Adorable Sewing gift ideas
- Pretty cutlery holder
- Fabric bunting sewing tutorial
- Christmas Elf stocking pattern
- Simple Christmas stocking pattern

I found this project for Christmas tree pillow one of the most enjoyable I ever did! Probably because the end result is so insanely cute! But also because it was super quick, a great way to use some of the scraps I had (for the small pillows) and basically foolproof, with no room for mistakes!
My Christmas tree pillow pattern is the perfect project for beginners as it’s super easy, it involves sewing just a few straight lines, using basic stitches. This project is ready in no time but has such a big impact on your home décor looking as if you’ve spent hours making each pillow! So if you have some time for a quick, easy and fun project this month, I have just the thing for you!
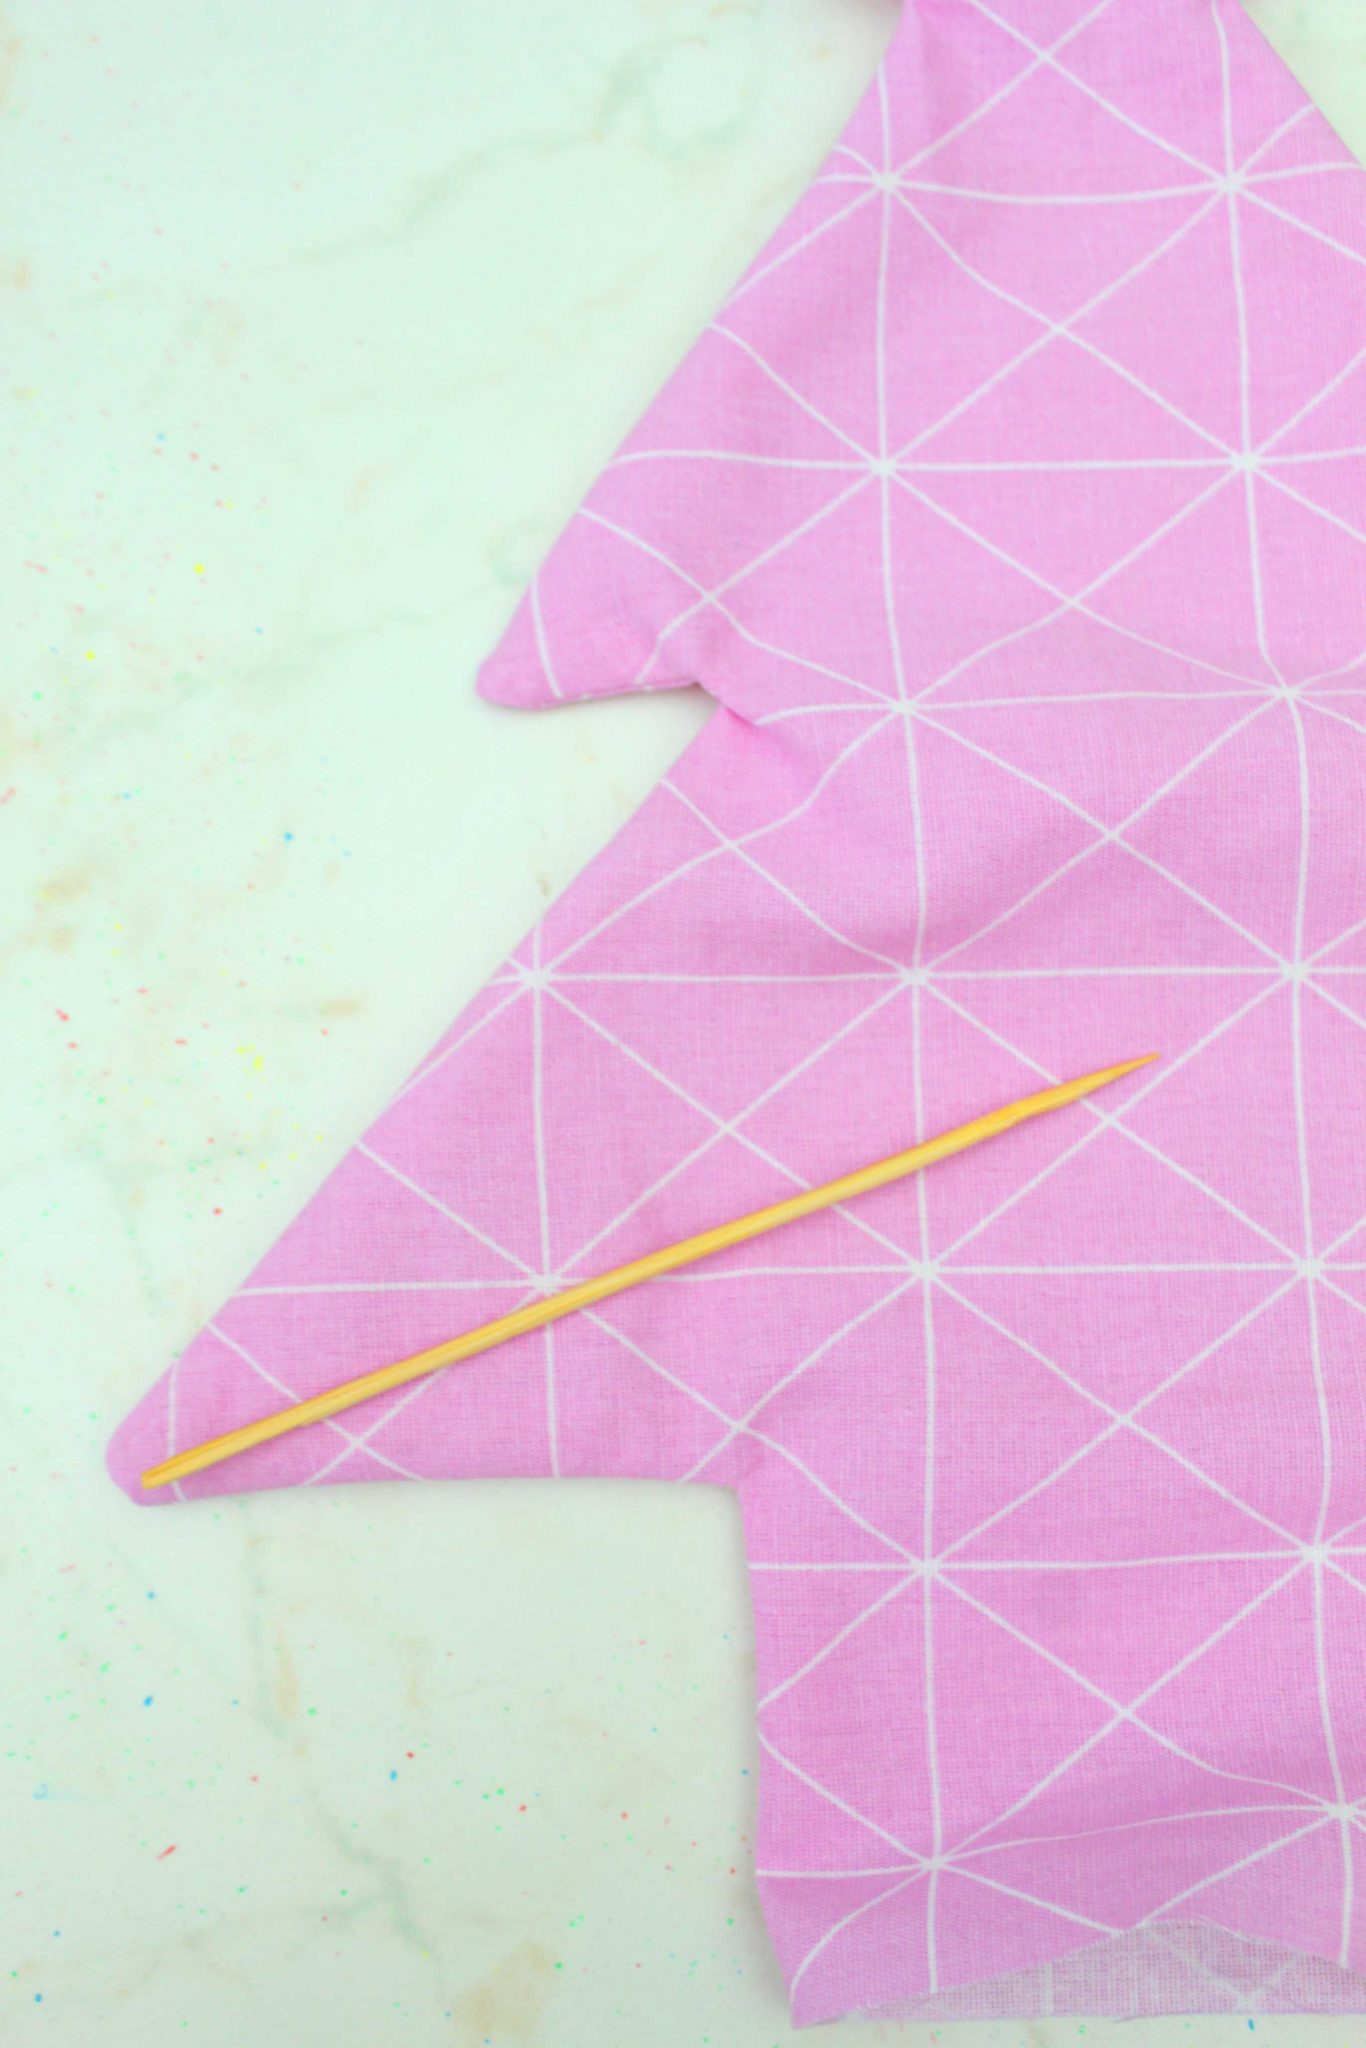
The only “hard” part about this project is stuffing the pillows with poly fill. Those tiny corners were hard to fill at first but then I realized I can use a ruler and a bamboo skewer to push the poly fill to those hard to reach corners and everything went super smooth from that point on.
The pattern for these Christmas tree pillows comes in three different sizes and is available to purchase here!
Christmas Tree Pillow
Materials:
- cotton fabric (depends on the size and number of tree you choose to make)
- Christmas tree patterns
- scissors
- pins
- fabric marker
- ruler
- pattern weights (make you own with this and/or this tutorial)
- matching thread
- blunt tool to push corners out
- pressing iron
- poly fill
- hand needle
Directions:
- Access and print your pattern/patterns. The approximate finished sizes of these pillows are:
- Large pillow: 20″ by 23″
- Medium pillow: 15″ by 16″
- Small pillow: 11″ by 14″
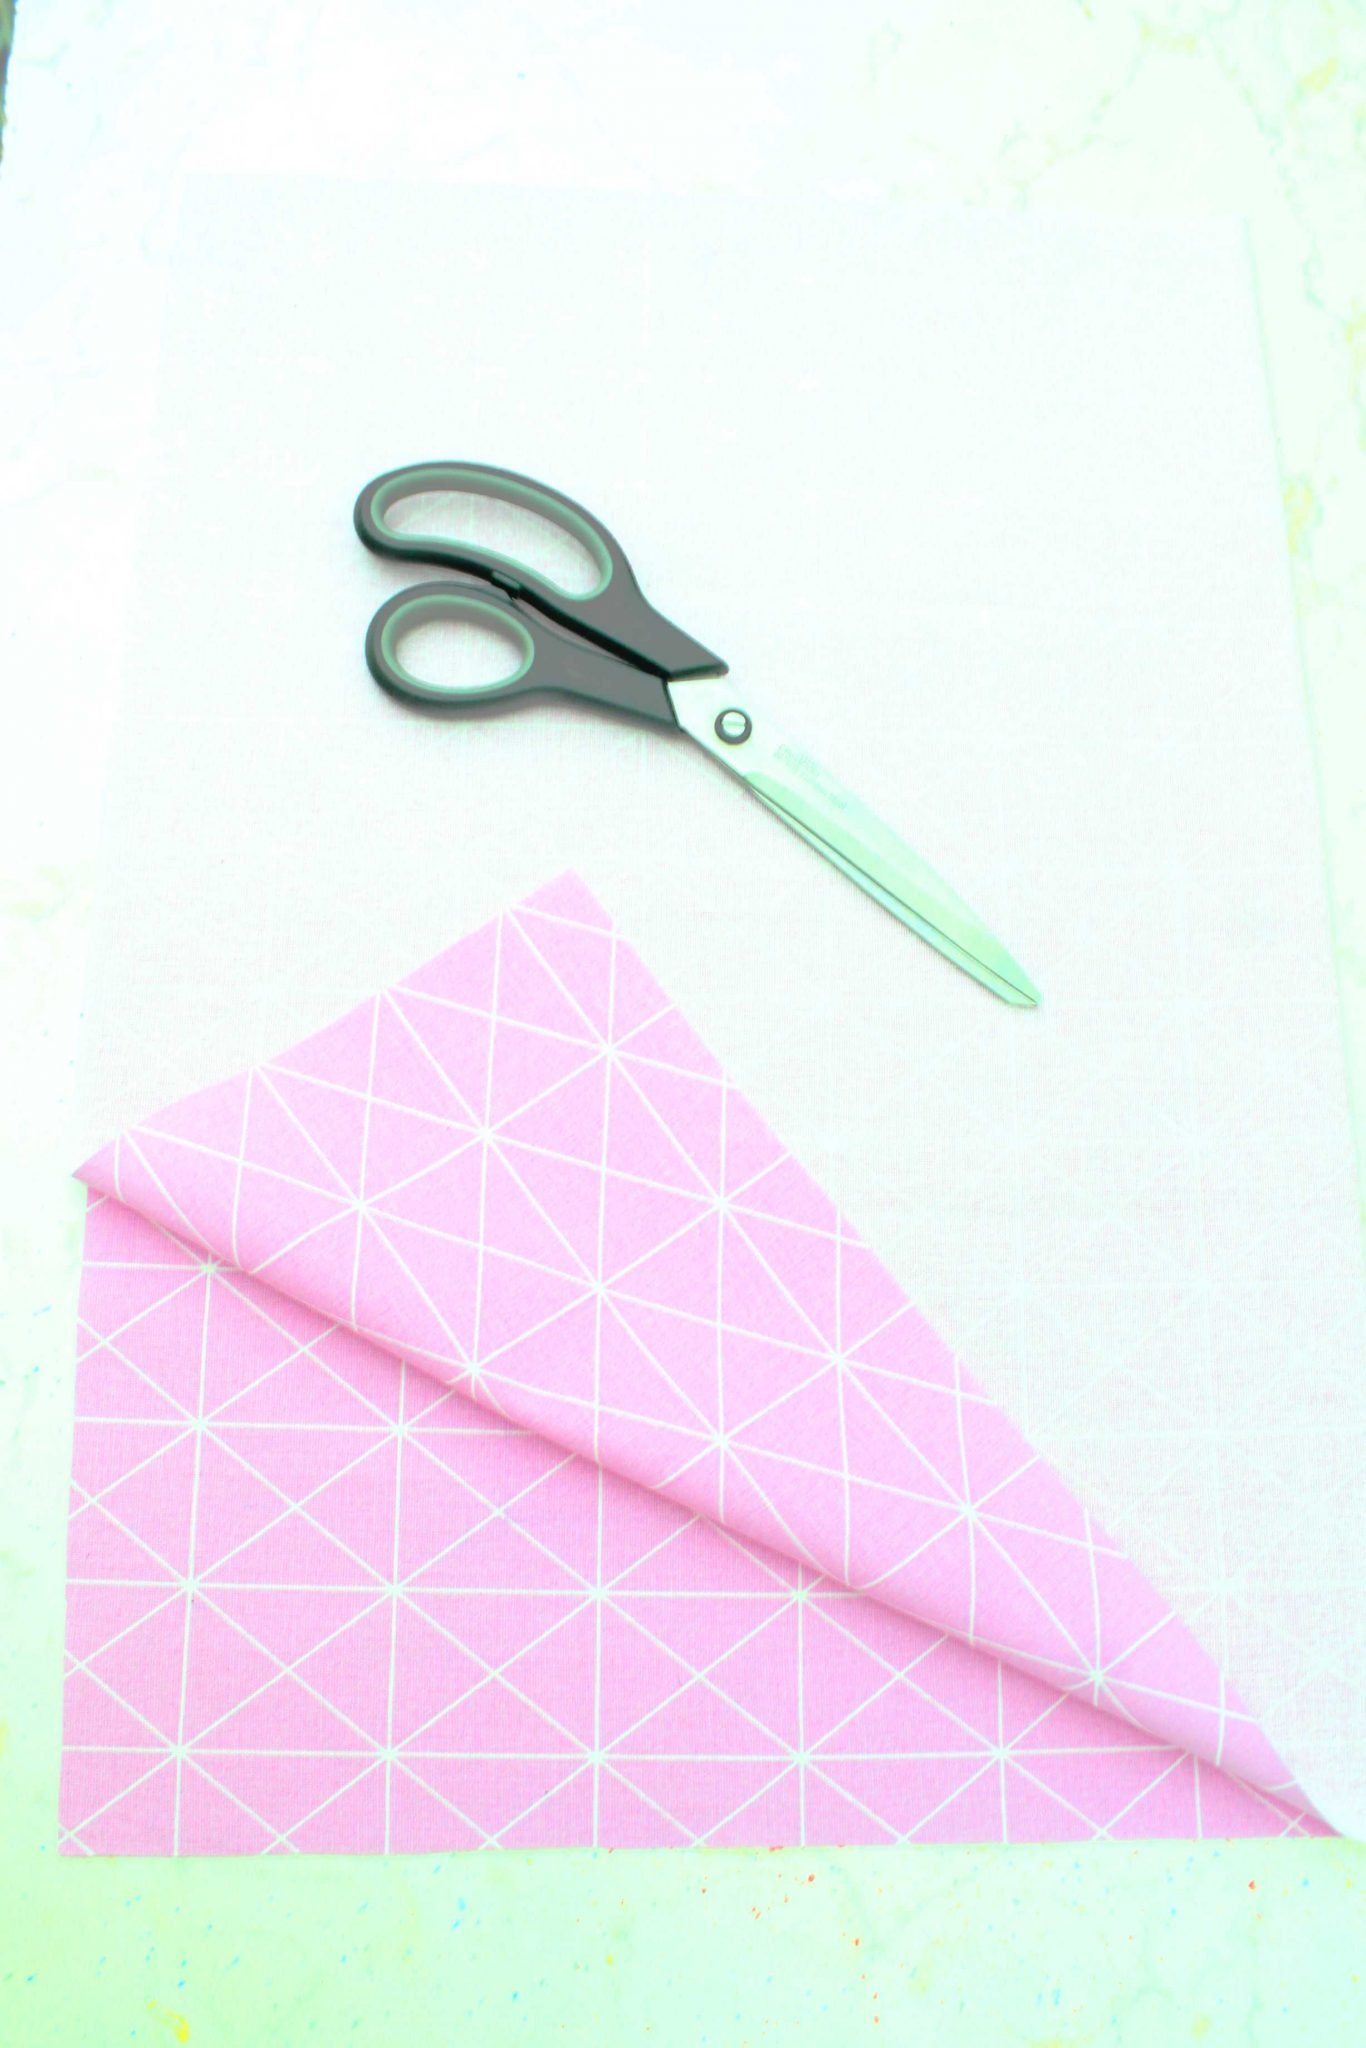
- Decide which pillow pattern to use, calculate the fabric needed and double the length.
- Fold the fabric strip in half, right sides together.
- Place the pattern over the folded fabric and keep in place with pattern weights.
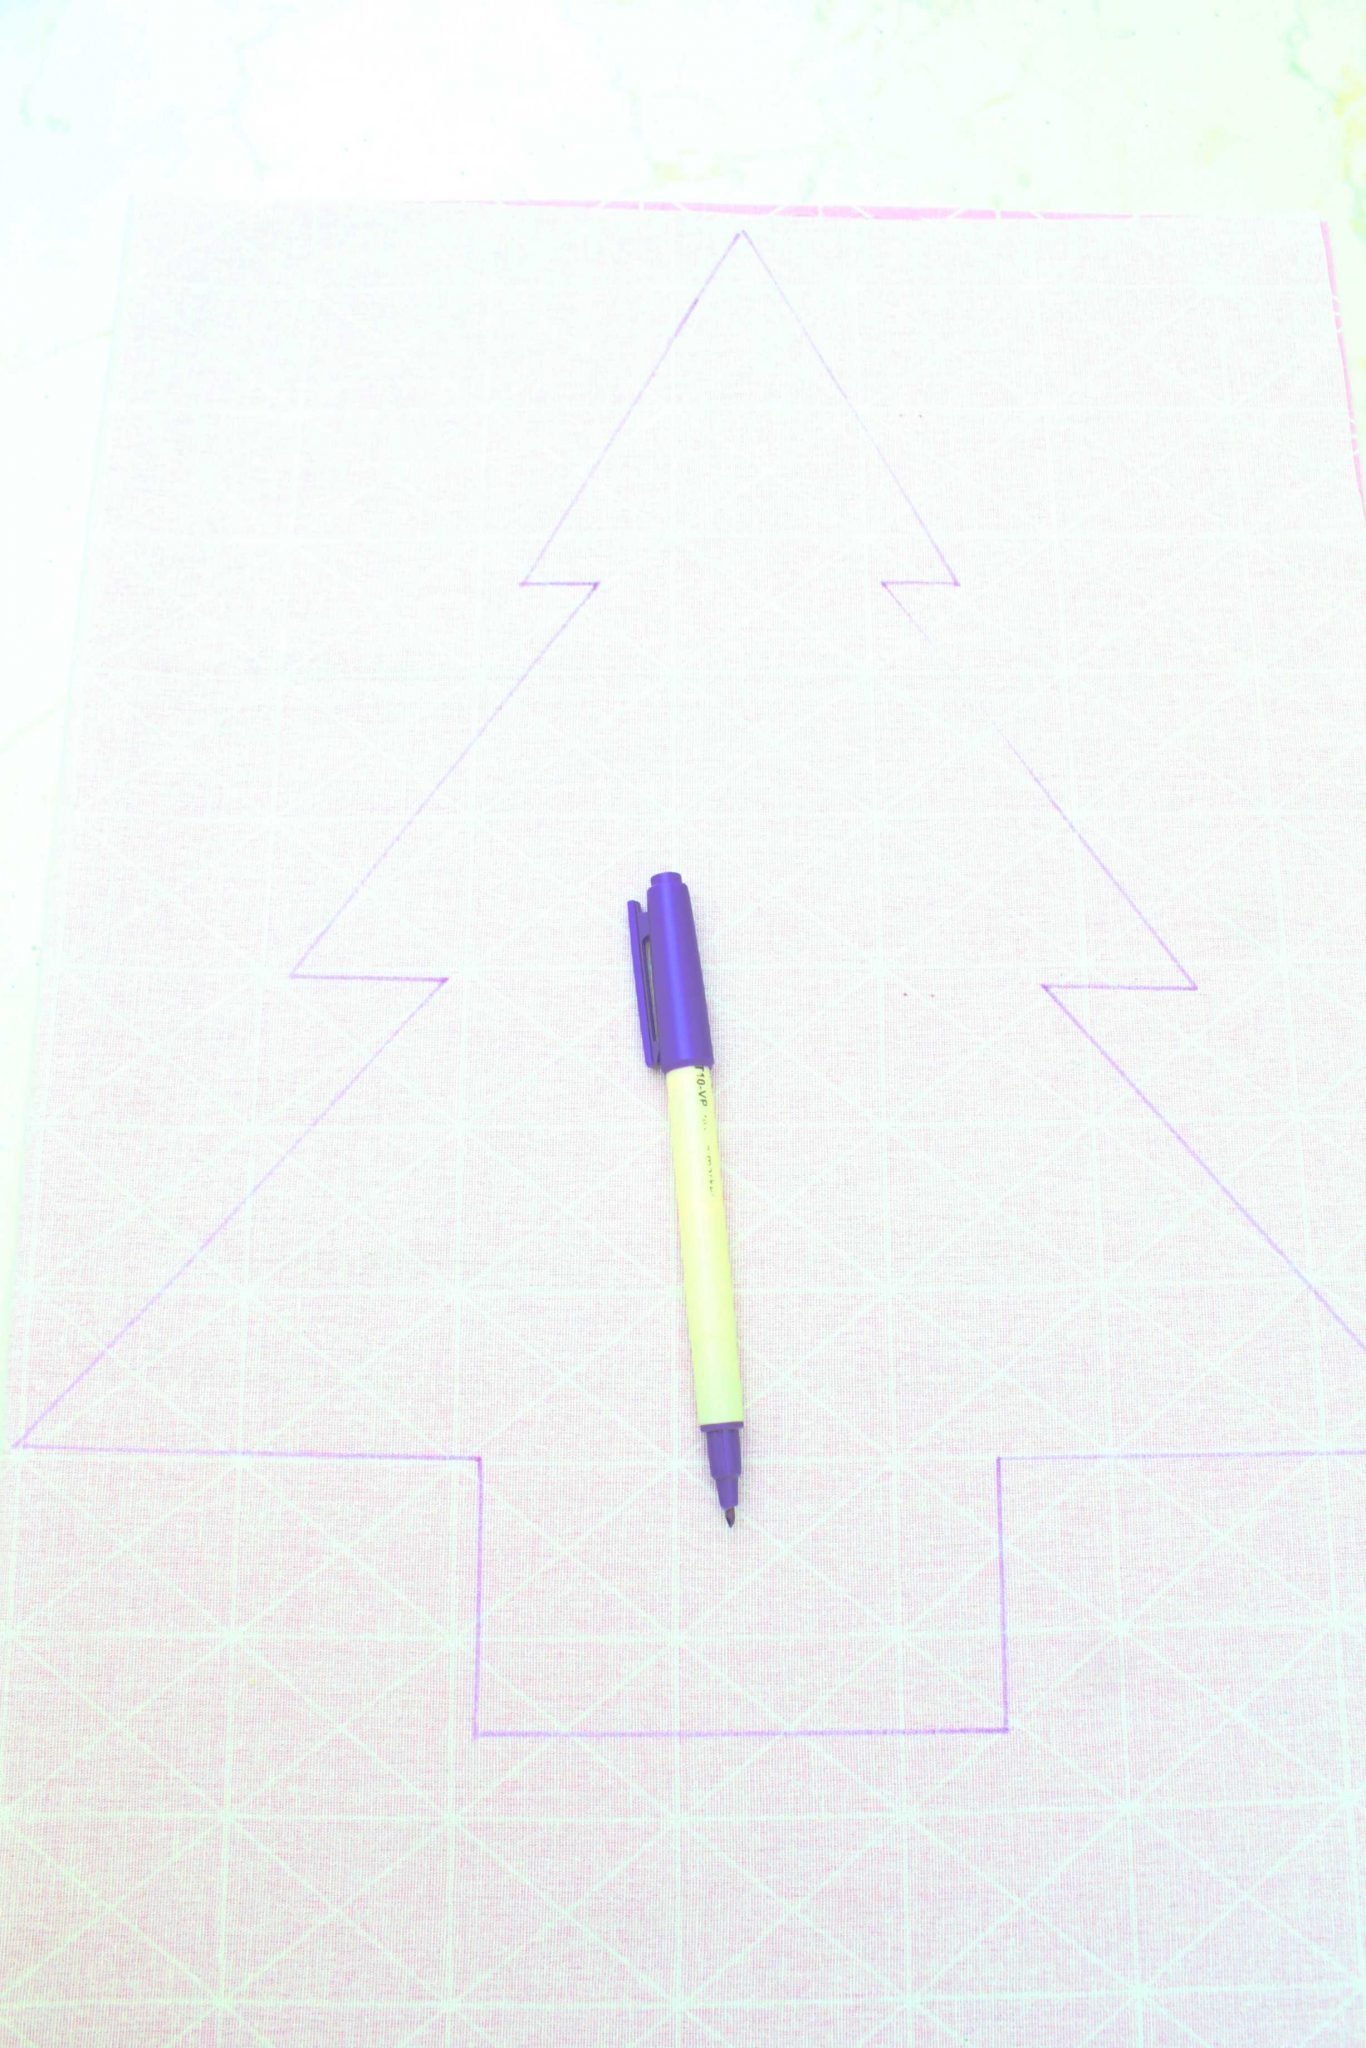
- Using a ruler and fabric pen, mark around the pattern.
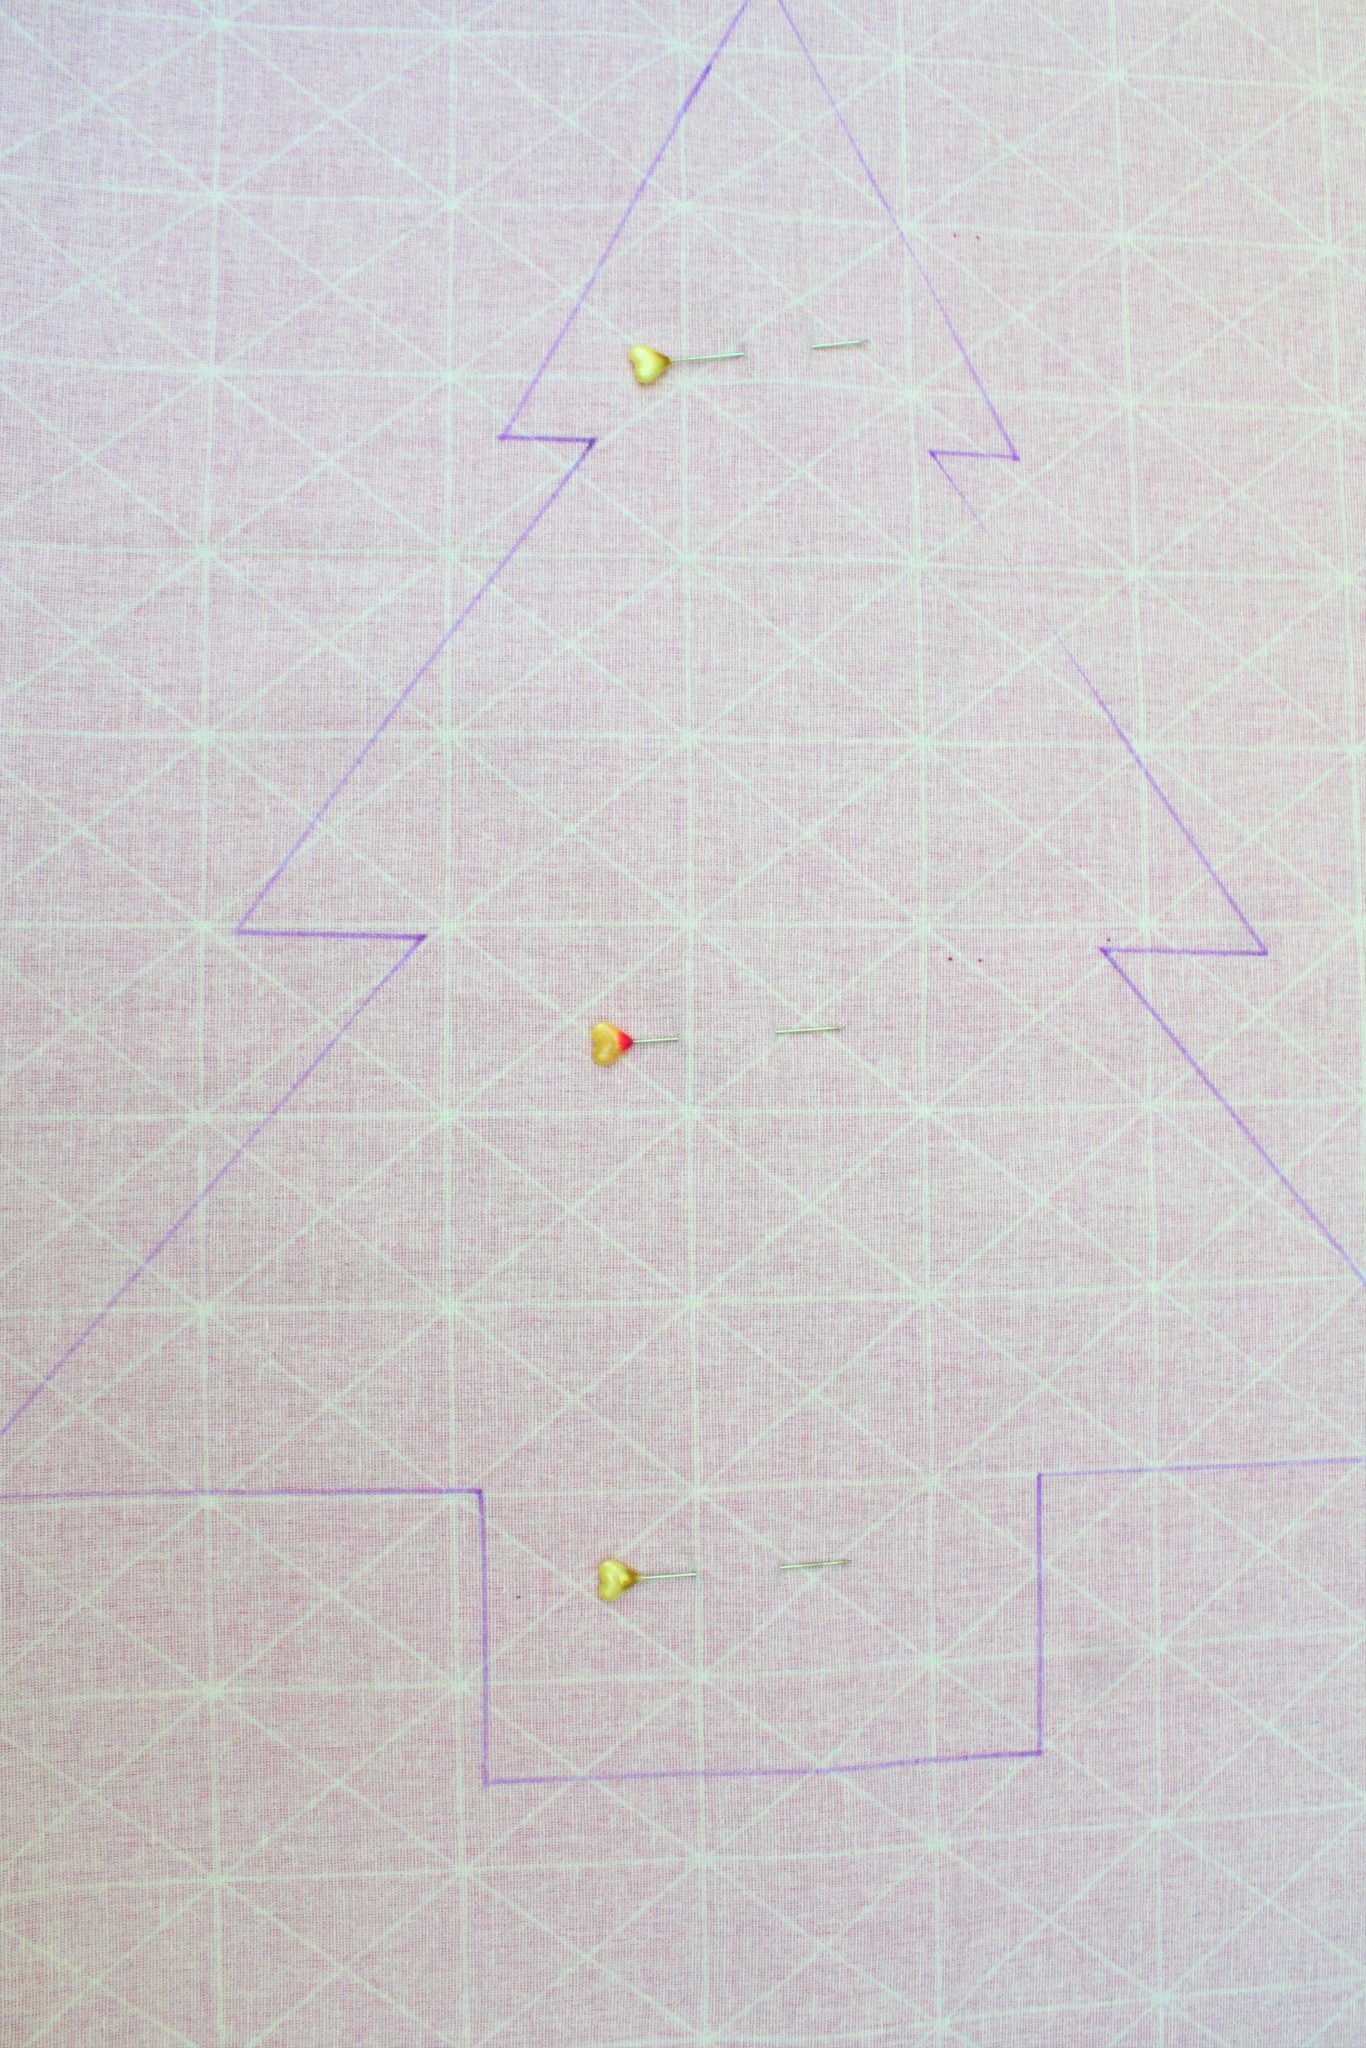
- Remove the pattern and pin the fabrics together, inside the tree.
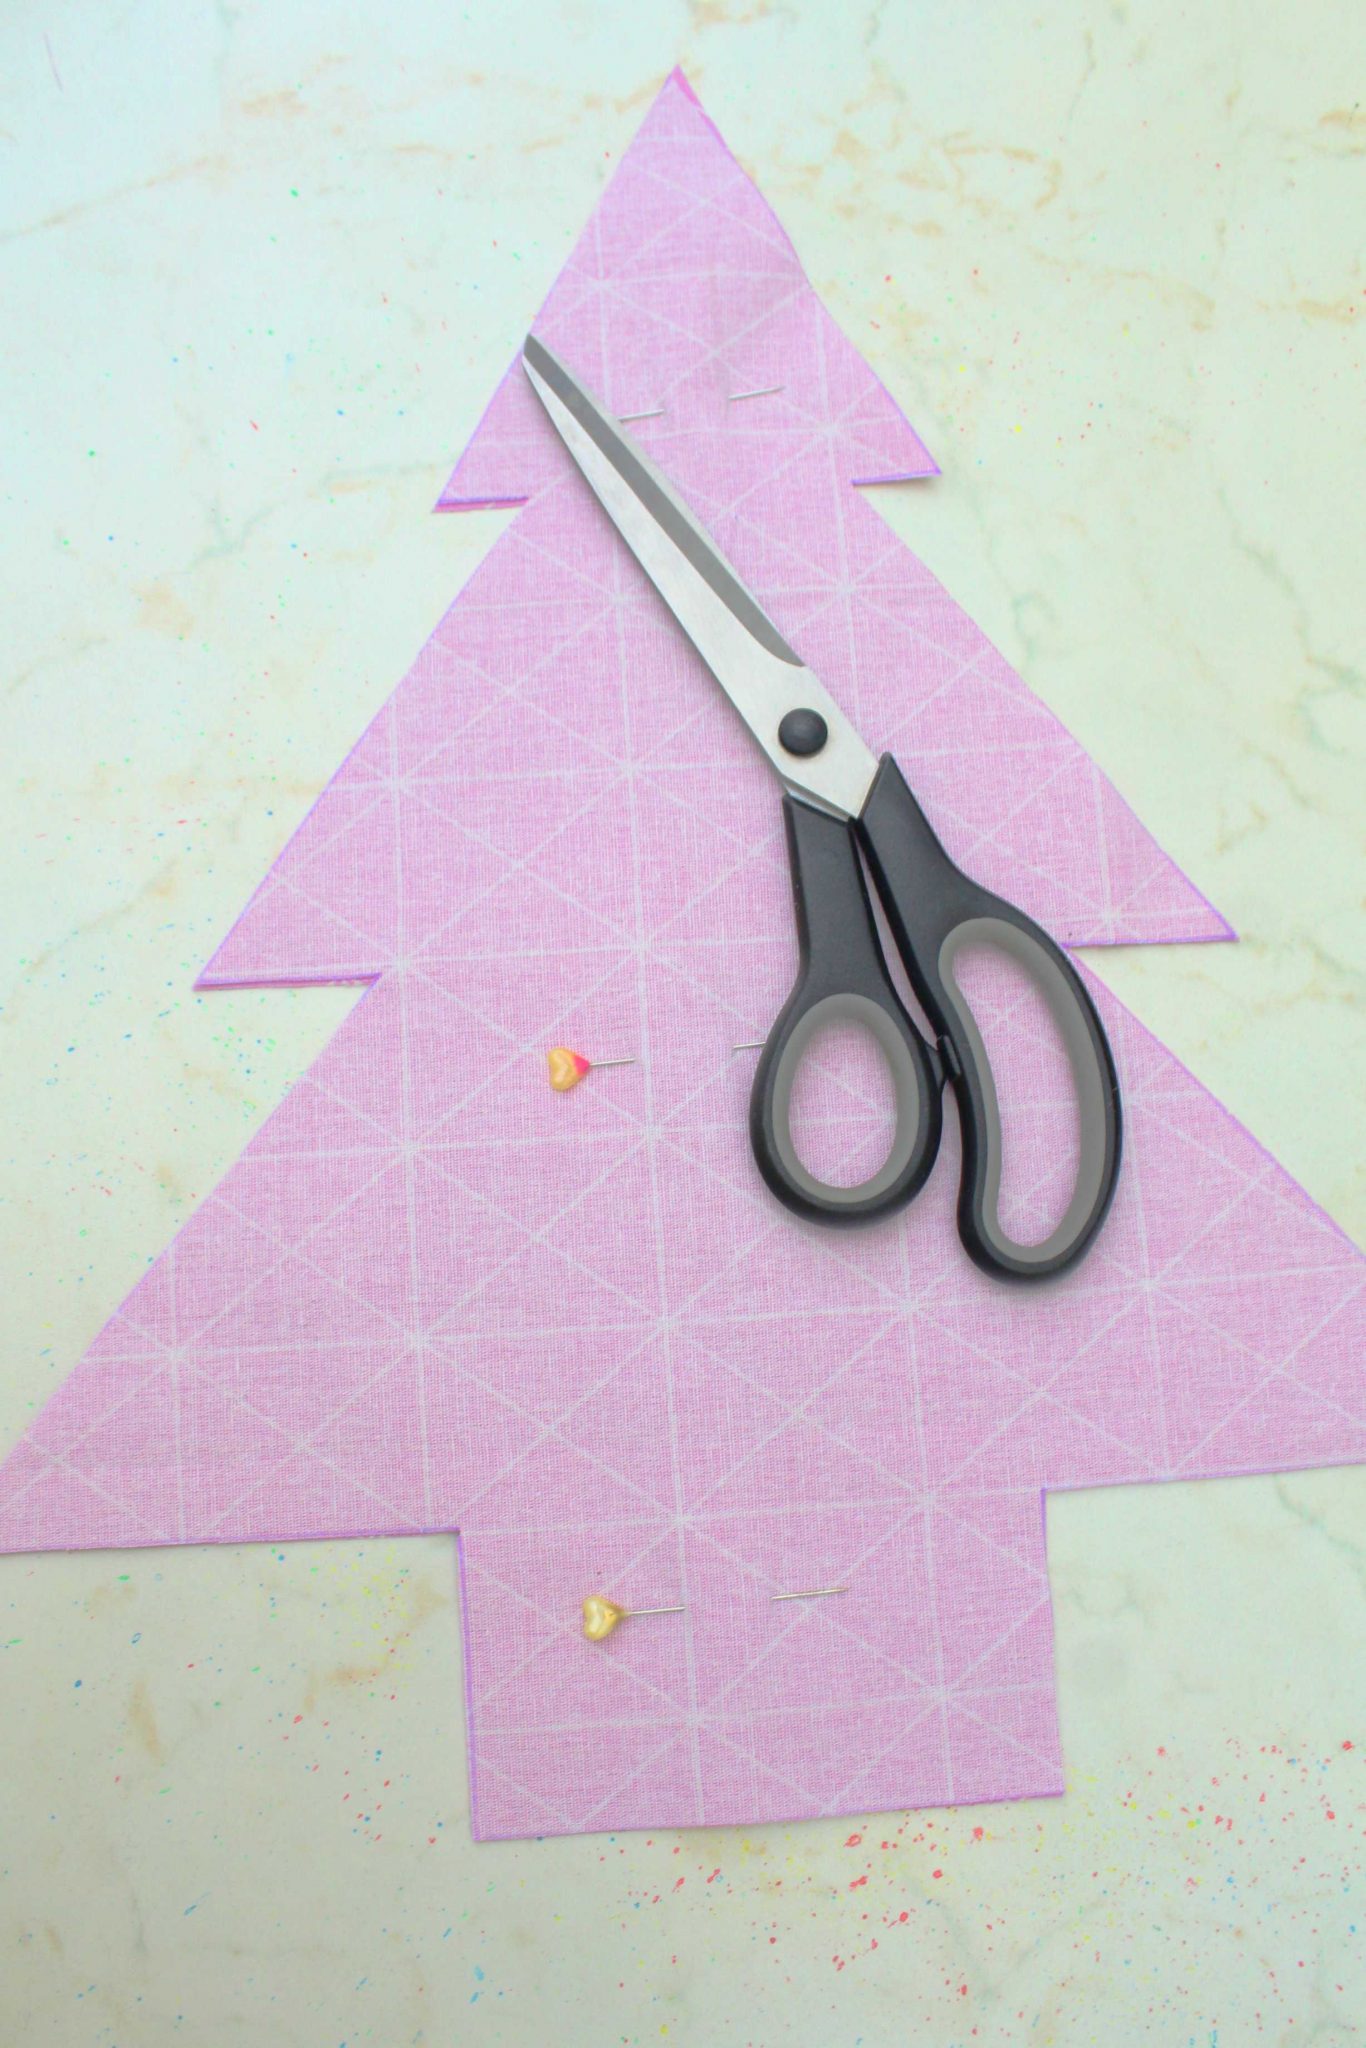
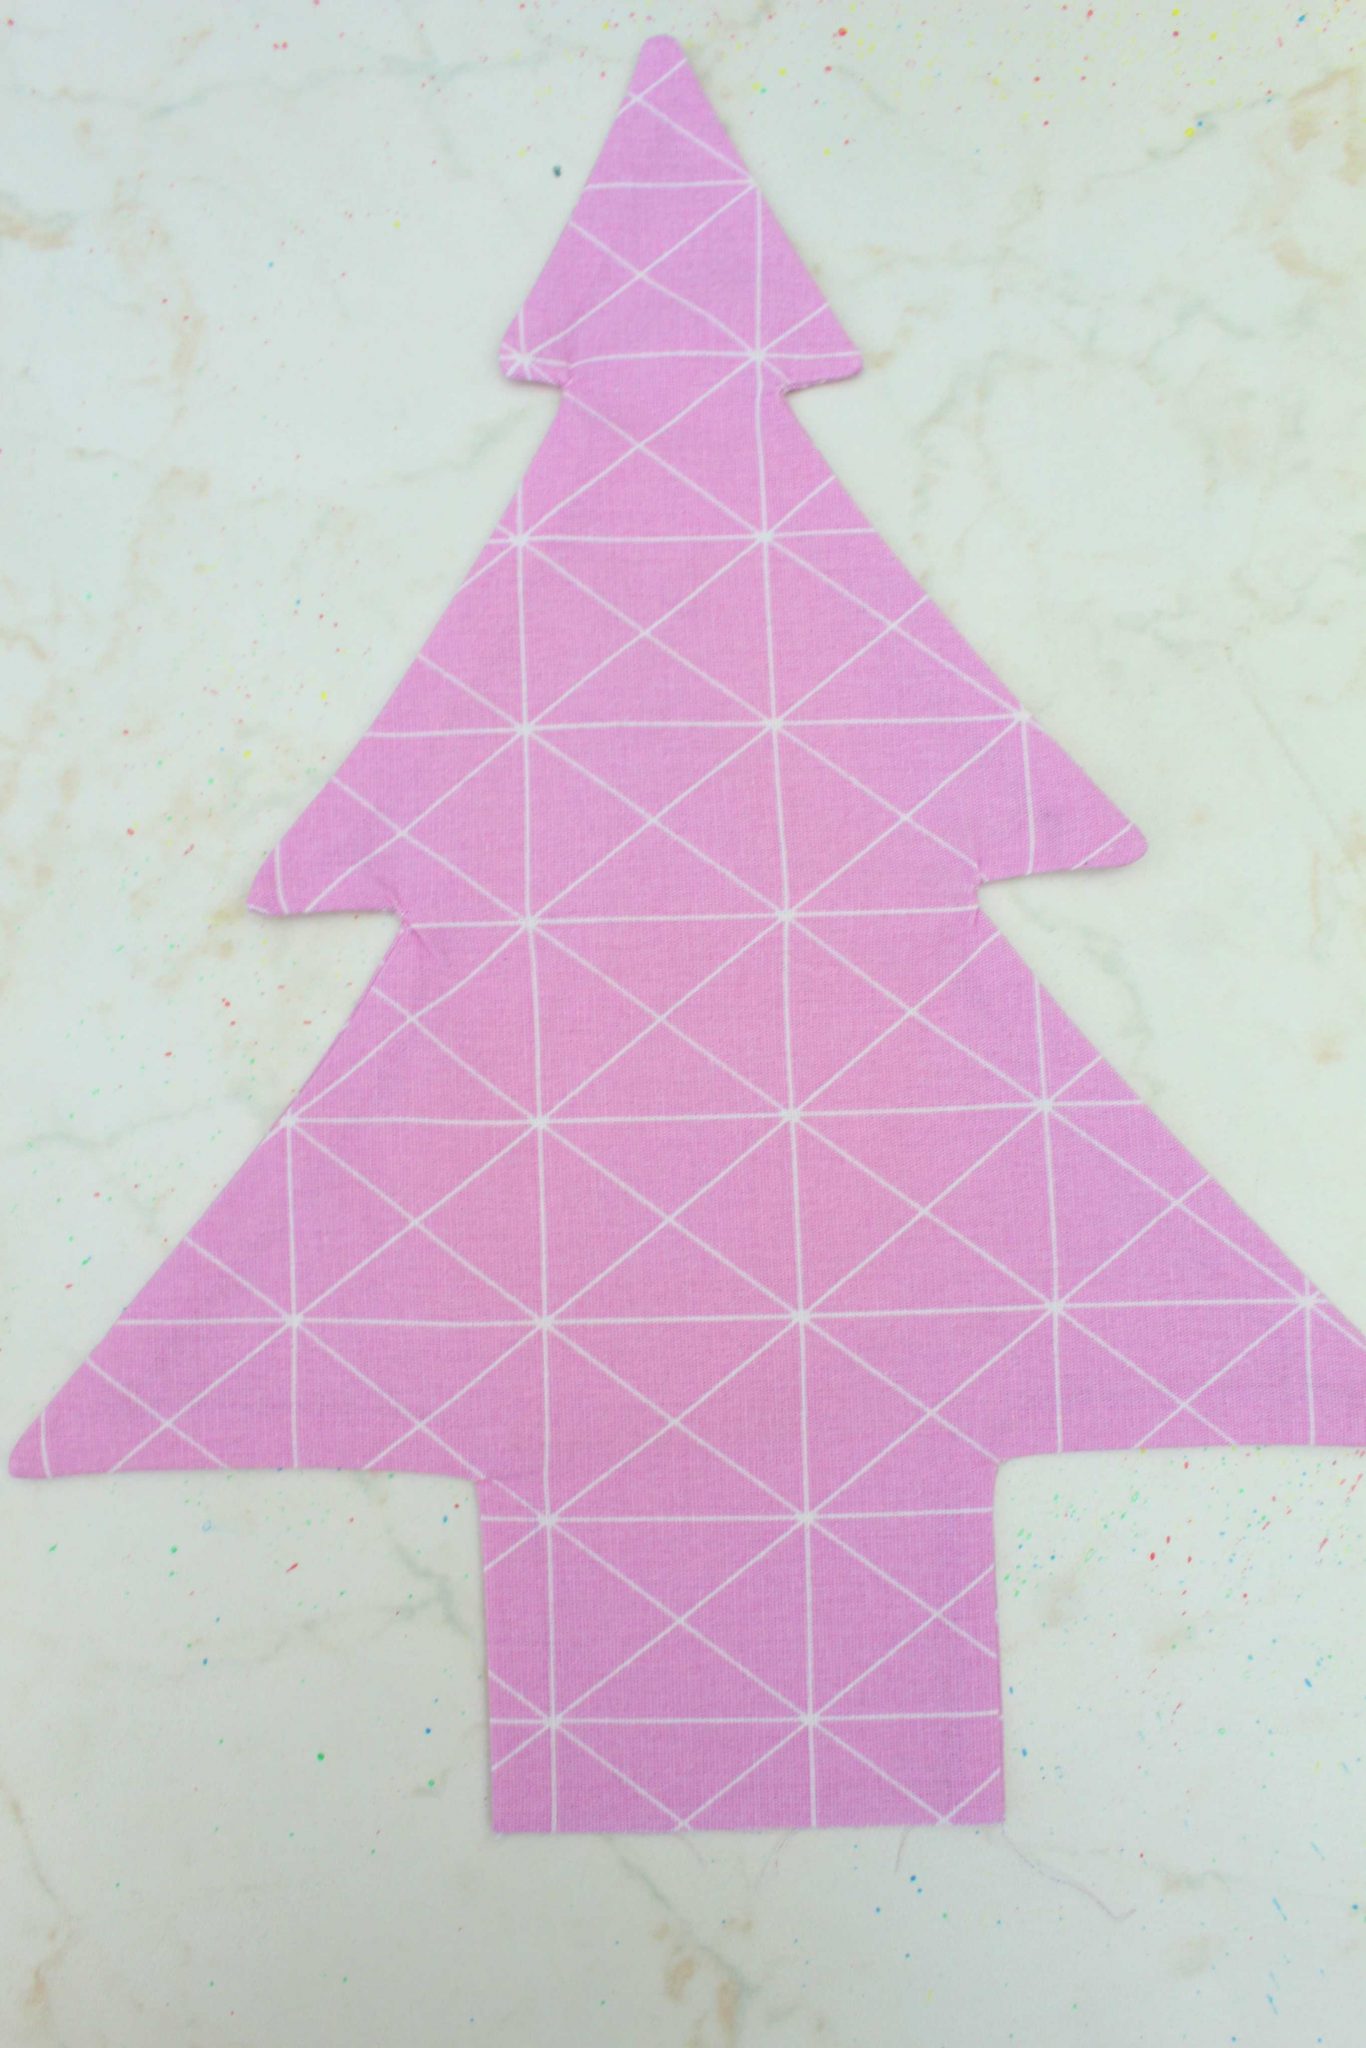
- Cut out with your scissors.
- Sew down the sides and bottom with 1/4″ allowance, but leaving the base open.
- Trim the outer corners and clip the inner corners.
- Turn tree right side out through the gap left in the base.
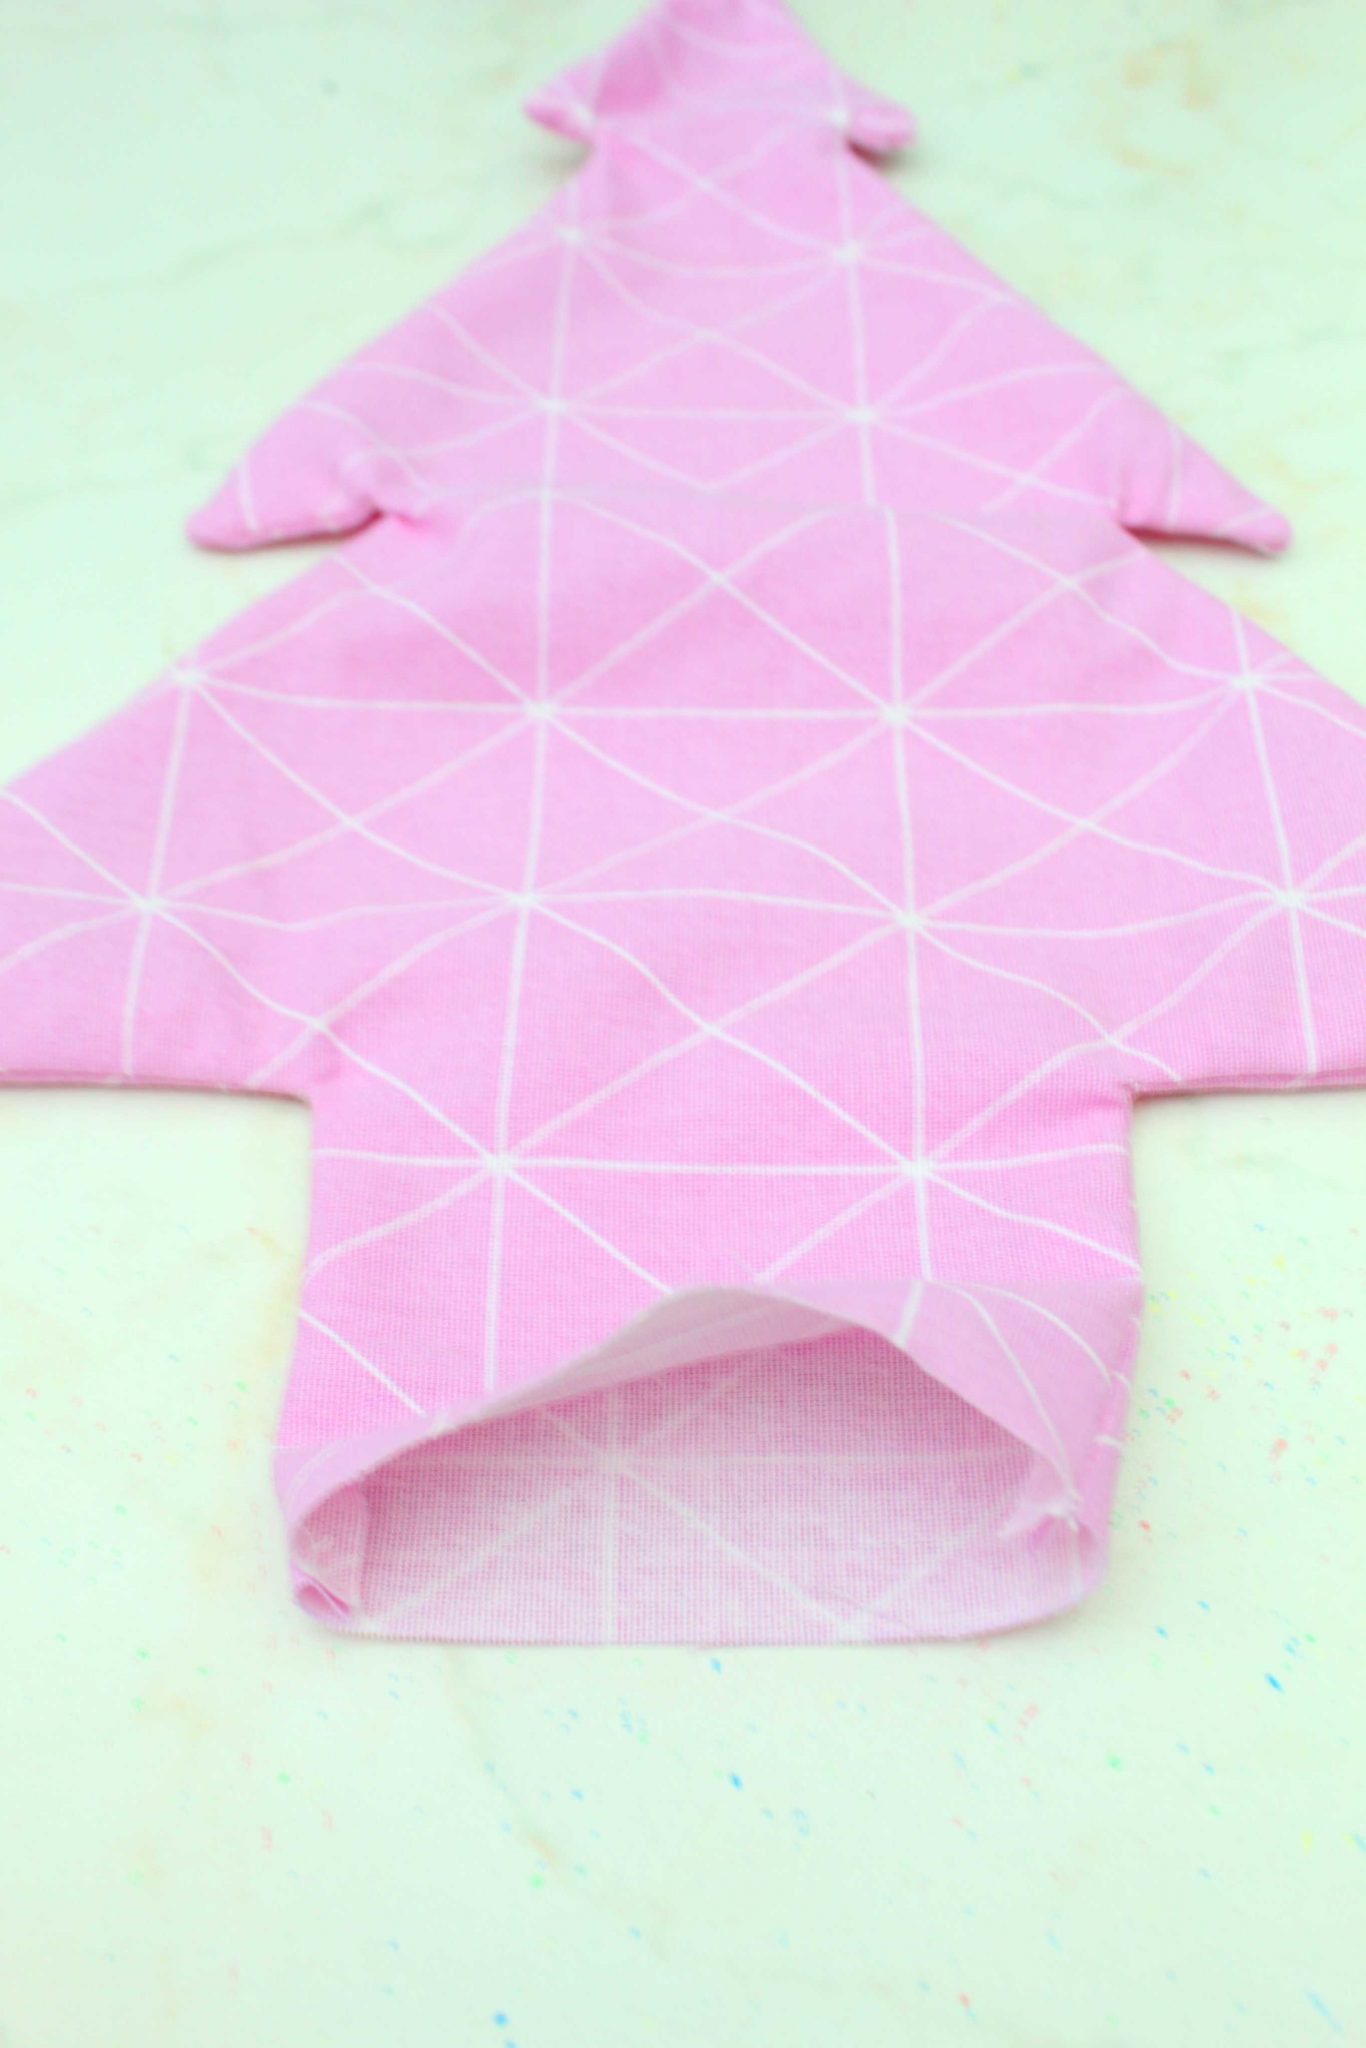
- Using a blunt tool like a bamboo skewer, gently push the corners out then smooth out the seam.
- Turn your pressing iron on steam and press the tree well.
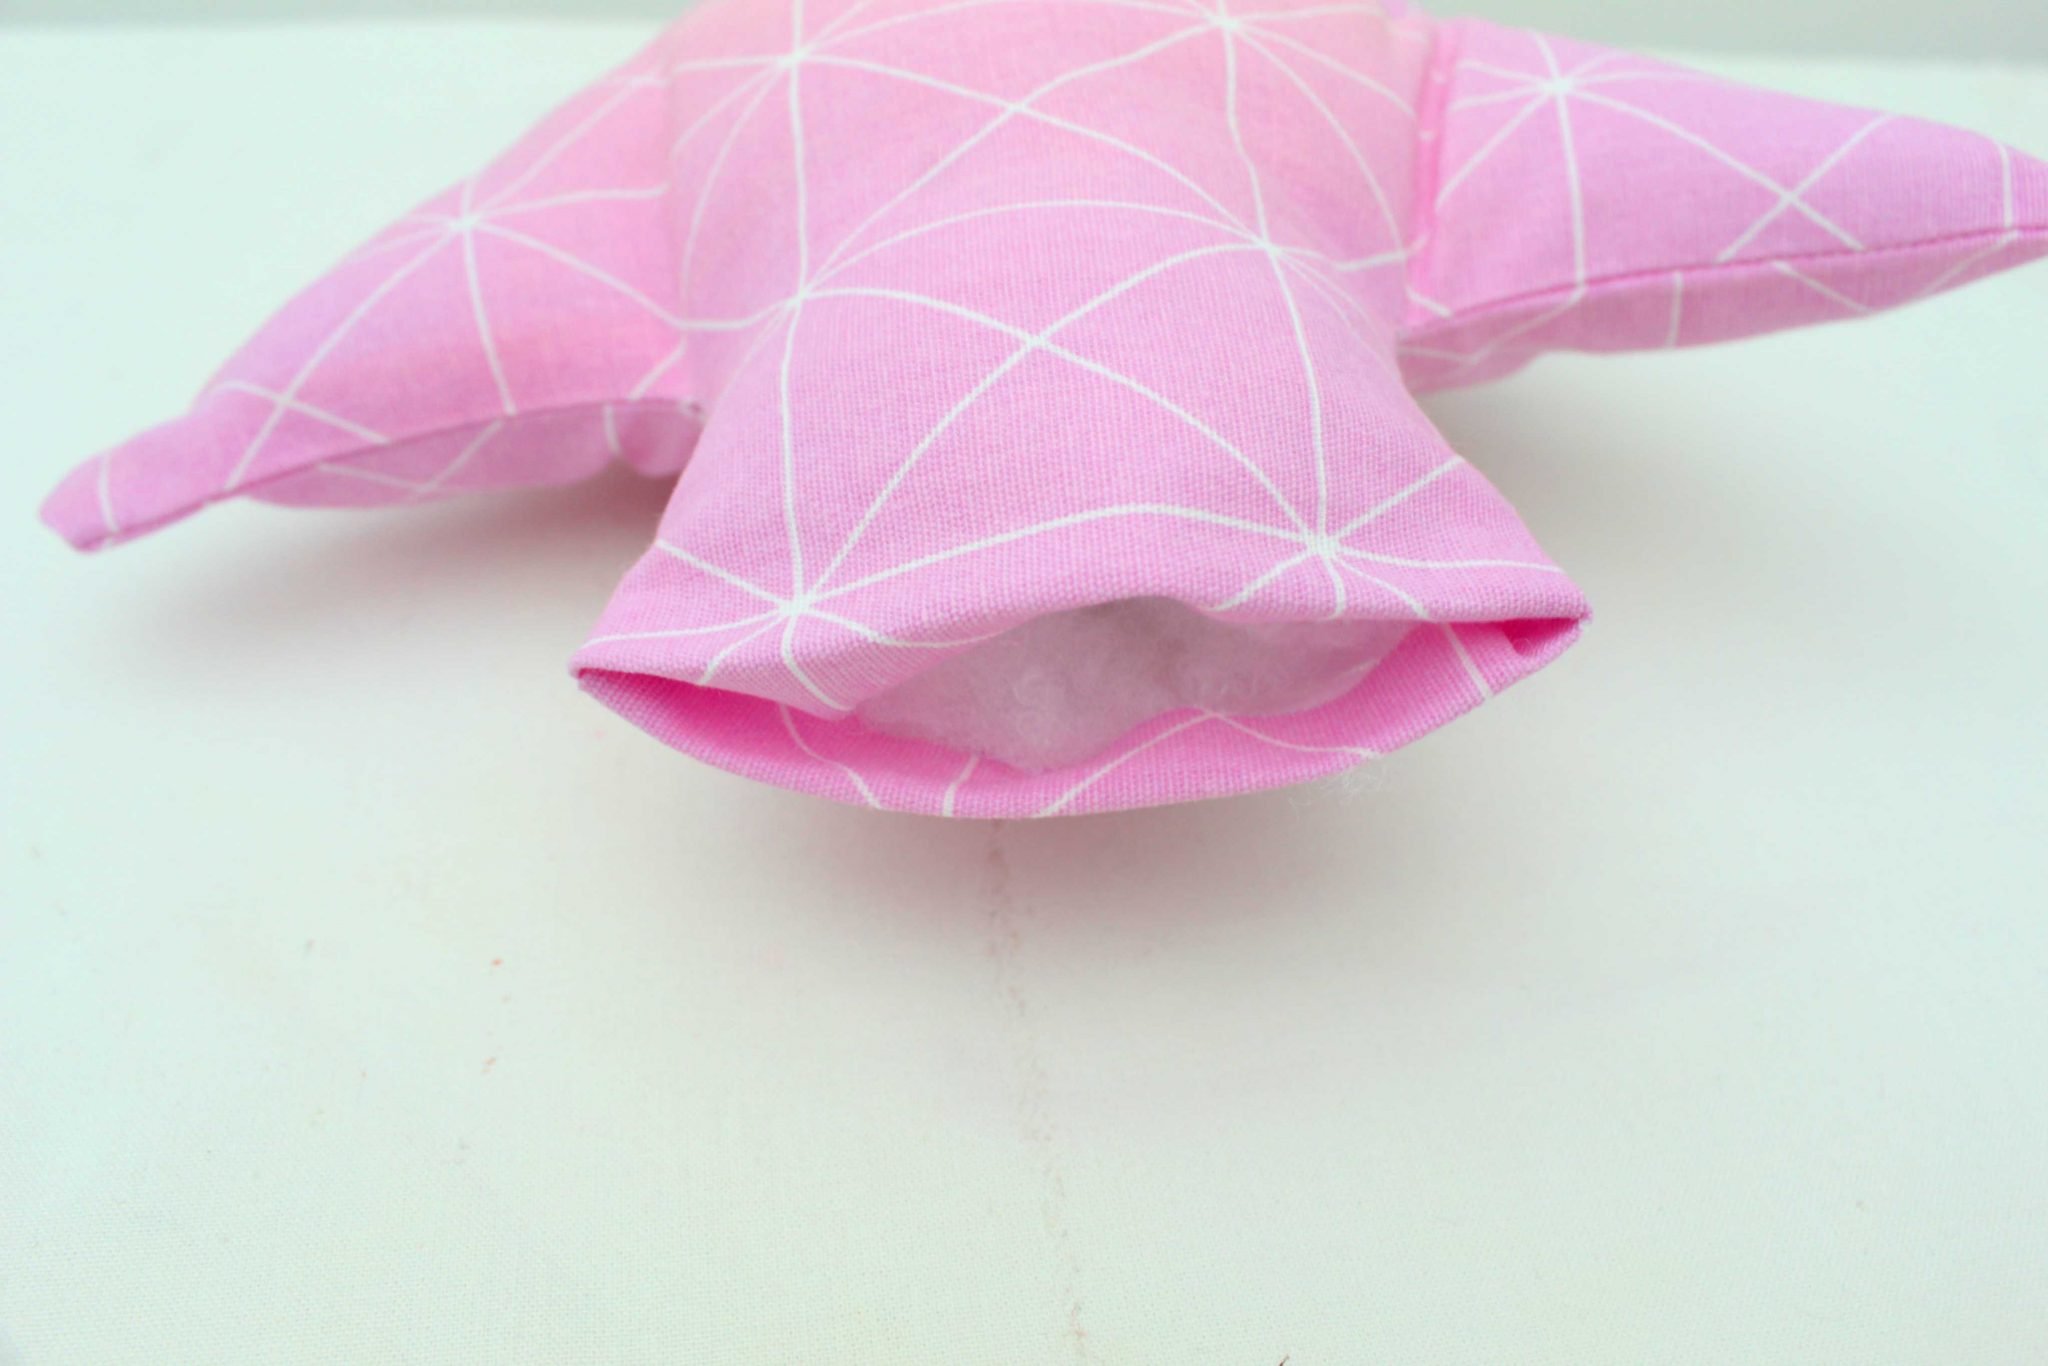
- Fill with poly fill through the base. use the ruler and bamboo stick to push the filling evenly into all those tiny corners.
- When the tree is all stuffed, turn the base inside about 1/4″ and press.
- Grab the hand needle and sew the opening closed using a ladder stitch.
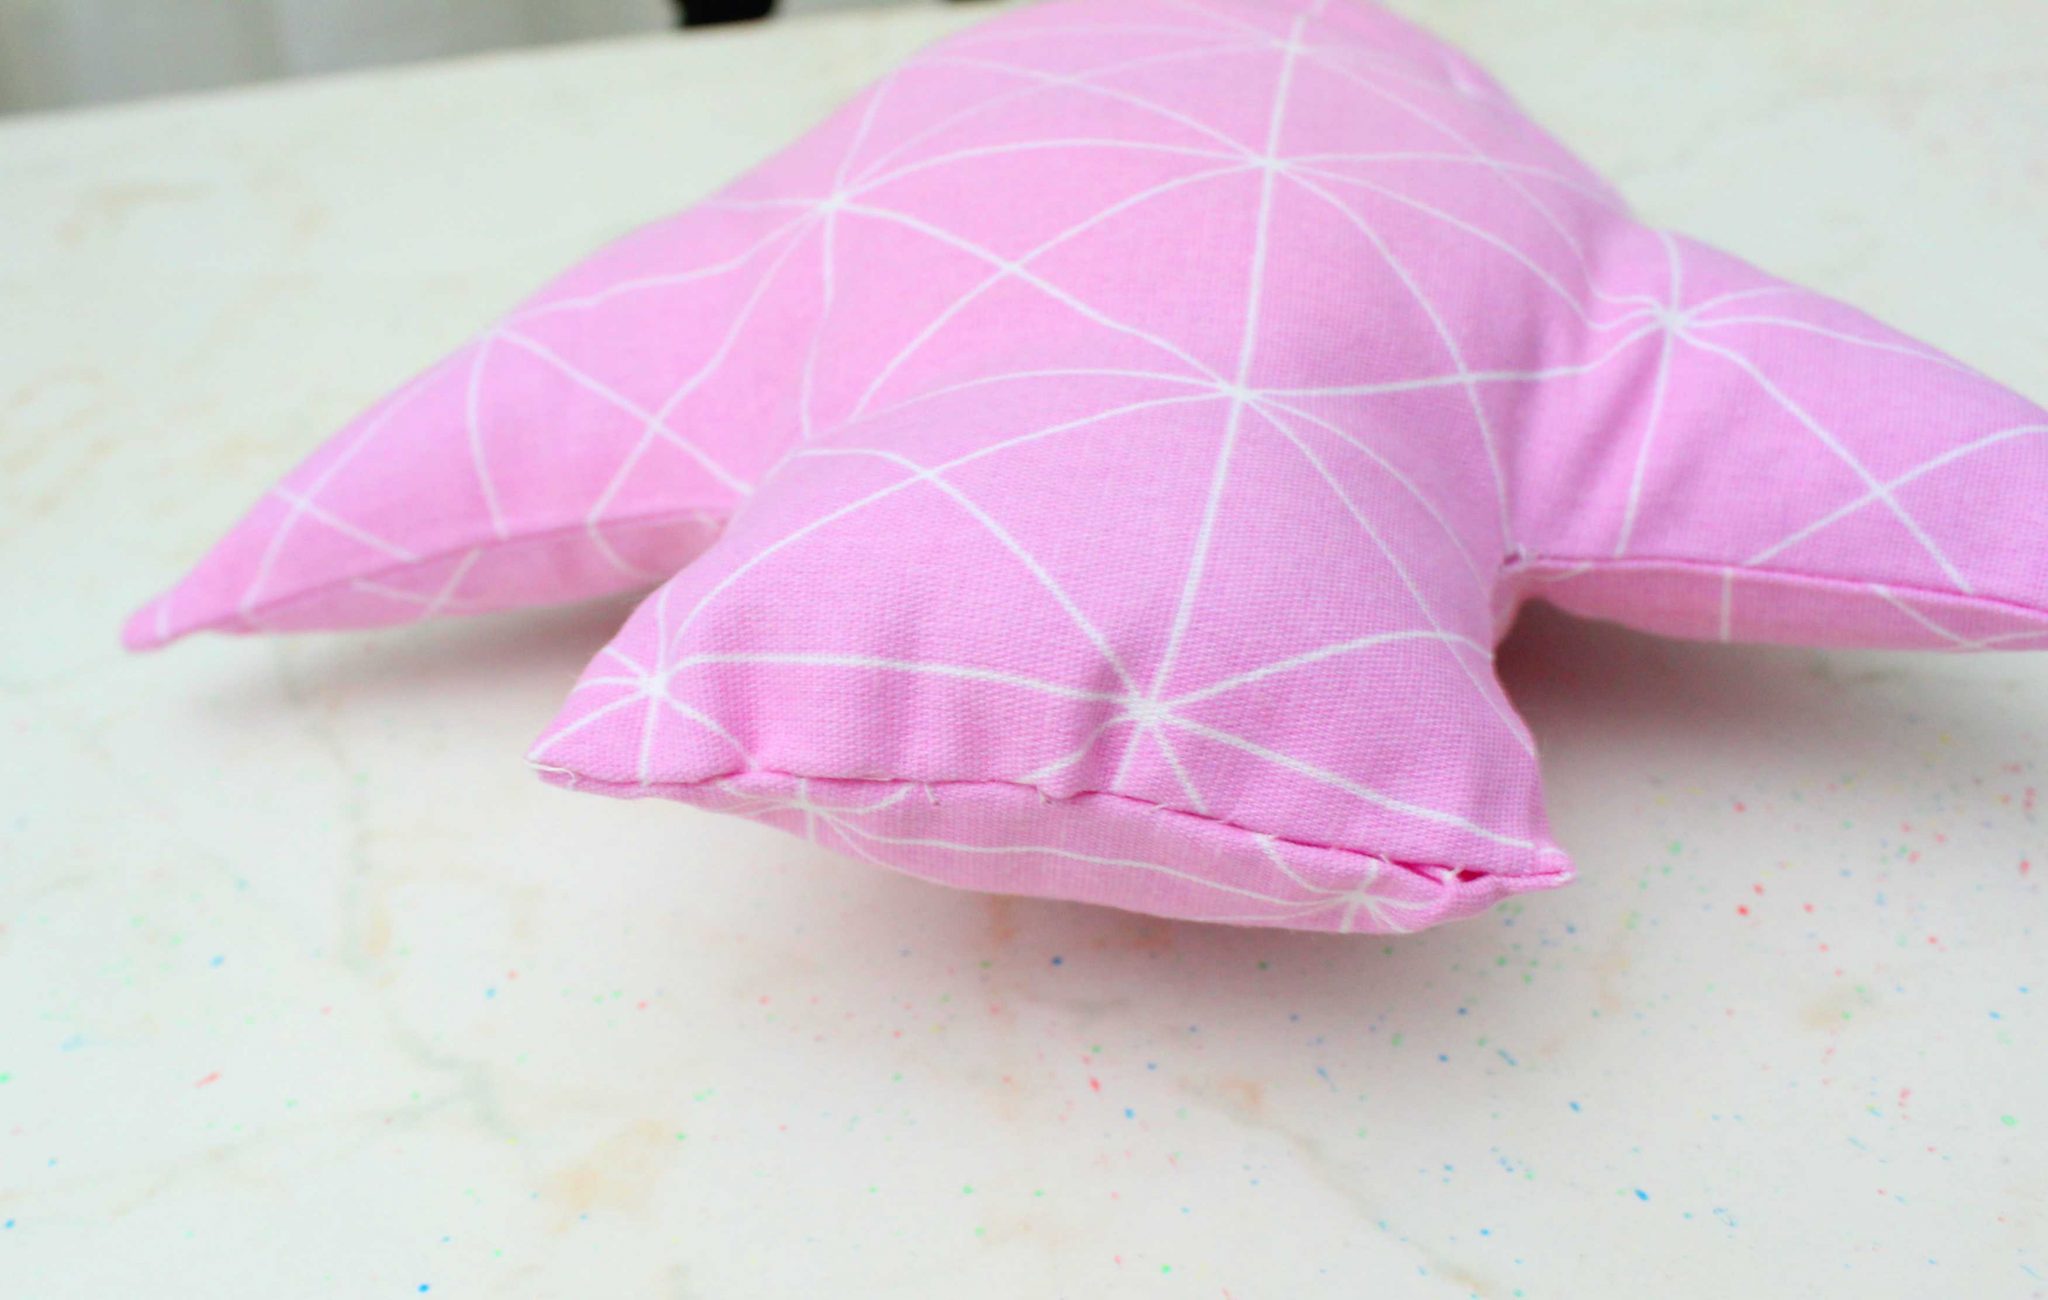
- And you’re done! Your beautiful Christmas tree pillow is ready so you can move to to the next one (or dozen!)
Pin to save for later
Most popular sewing projects:


ABOUT PETRO
Hi, I’m Petro, author and founder of Easy Peasy Creative Ideas. Sewist, crafter, avid DIY-er, foodie, photographer, homemaker and mommy to one. I’m an expert at coming up with quick, clever sewing tips, recycling crafts and simple, easy recipes! You can find my ideas featured in reputable publications such as Country Living, Good House Keeping, Yahoo News, WikiHow, Shutterfly, Parade, Brit & Co and more. Thanks for stopping by and hope you’ll stay for a while, get to know me better and come back another time. Stick around for real fun projects! Read more…