

Continuous Bias Binding Sewing Tutorial
Article may contain Amazon & affiliate links. As an Amazon Associate I earn from qualifying purchases at no additional cost to you.
Ever wanted to make bulk bias tape so you can simplify your life and make sewing projects a little faster? Now you can because of this awesome stuff called continuous bias binding! Making continuous bias tape has never been easier with this simple and quick tutorial!
Continuous Bias Binding
A short while ago I showed you how to make bias tape at home without using any fancy tools! Now it’s time to learn how to make continuous bias binding so you can create miles and miles of your own bias binding (literally!) in the color and fabric you really love!
Bias binding series
- How to make bias tape without bias maker
- Making bias with a bias maker
- Calculating bias tape
- How to sew single fold bias
- Mitered corners with bias tape
- Joining bias ends
If you are anything like me, the term continuous binding might get you scared. Don’t be put off though, it’s just a little fancy name for something that’s insanely easy to make. Making your own continuous bias binding it’s gonna make your life a lot easier and simplify your sewing projects since you have the right bias tape on hand, all the time. Make it once and forget about it.
As a side note, I’ve got a quick tutorial scheduled soon, where I’ll teach you how to calculate the amount you need for making your own continuous bias (and by that I mean how much material is needed to create that continuous bias binding).

More basic sewing tutorials you might like
- How to change presser foot tension
- Making buttonholes with your sewing machine
- Easy method for squaring up fabric
- Essential sewing kits for beginners
- French seam tutorial
Also please keep in mind that once you learn how to make continuous bias binding, you will have to apply the technique I showed for making single fold and double fold bias tape, in the tutorial mentioned above. Turning a square of fabric into miles of beautiful continuous bias tape is so satisfying and rewarding! So fast and easy, you’ll totally be hooked and will never go back to buying bias binding.
For this tutorial I worked with two kinds of fabric. One was cotton which is so much easier to work with while the other one was very “fluid” and super hard to work with (not sure what it was as I got this fabric a million years ago but I’m guessing it’s rayon). So if possible, try and work with slightly stiffer fabrics that match your sewing project. Or apply starch or hair spray to your fabric first to make it stiffer and easier to handle.
Ready to learn how to make continuous bias tape? Here are the simple steps!
Bias binding tutorial
Materials:
- square of fabric
- ruler (long, quilting ruler is very helpful)
- scissors
- rotary cutter – optional
- pressing iron
- cutting mat
Directions:
- If your fabric is not square, here’s an easy method to square it up. Place the fabric on a table or a large cutting mat, fold one edge over the other and cut along the fold with scissors or a rotary cutter. Then trim the extra fabric.
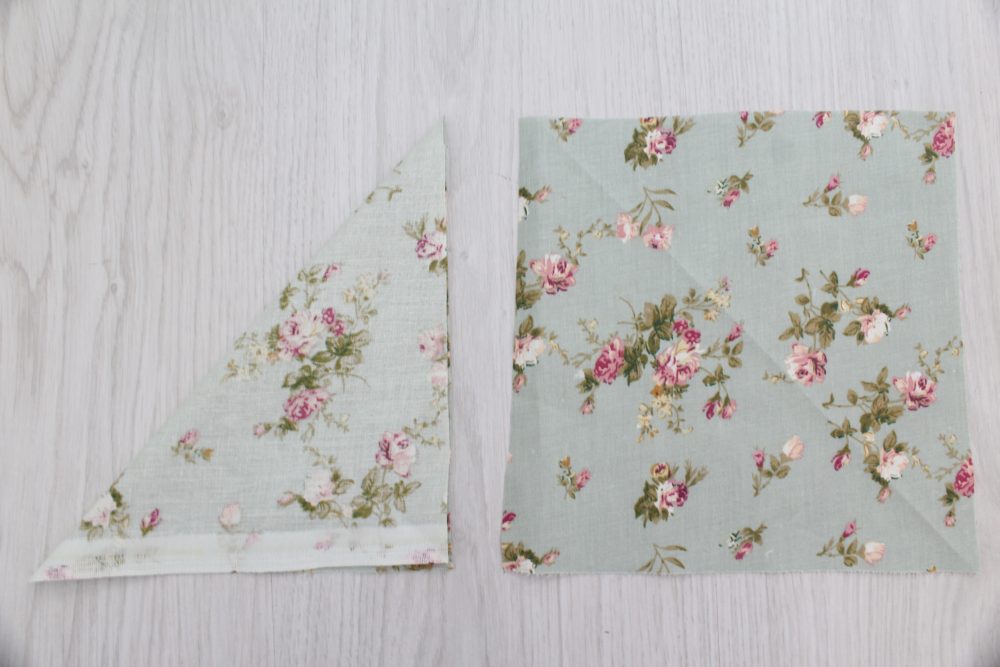
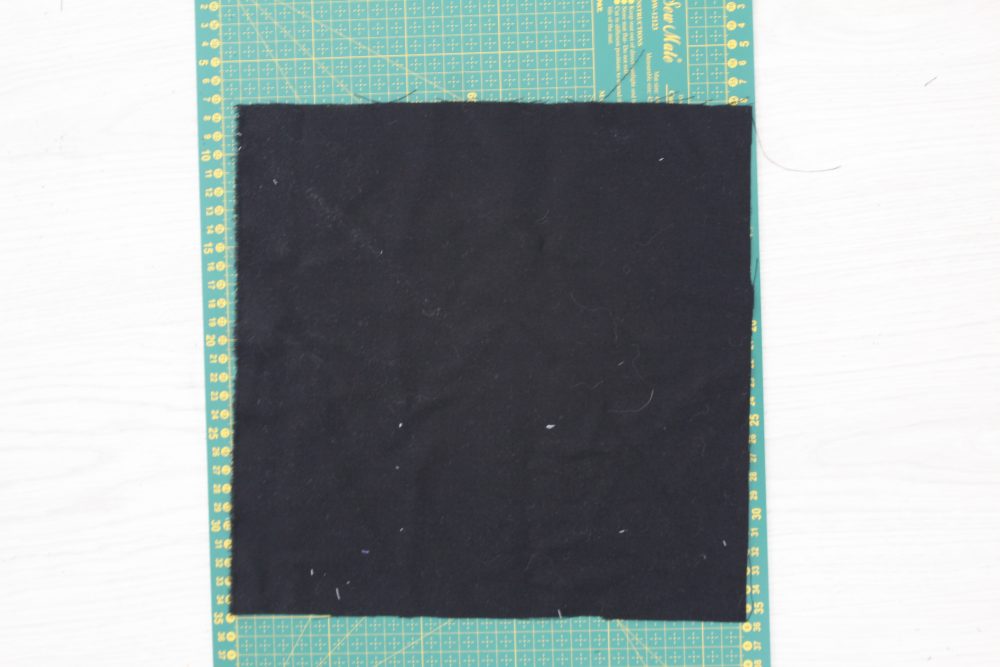
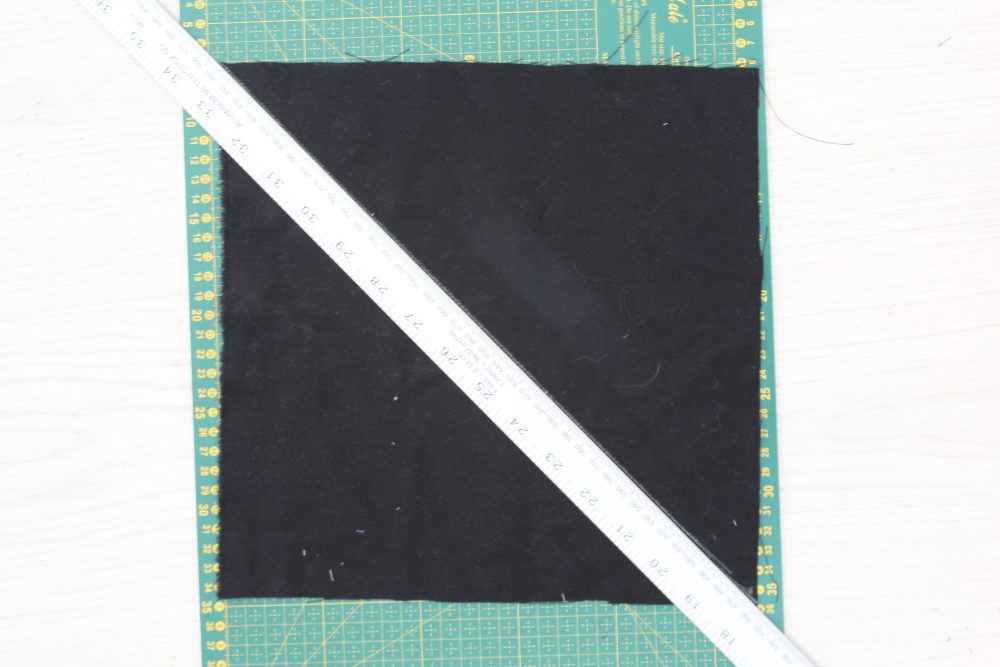
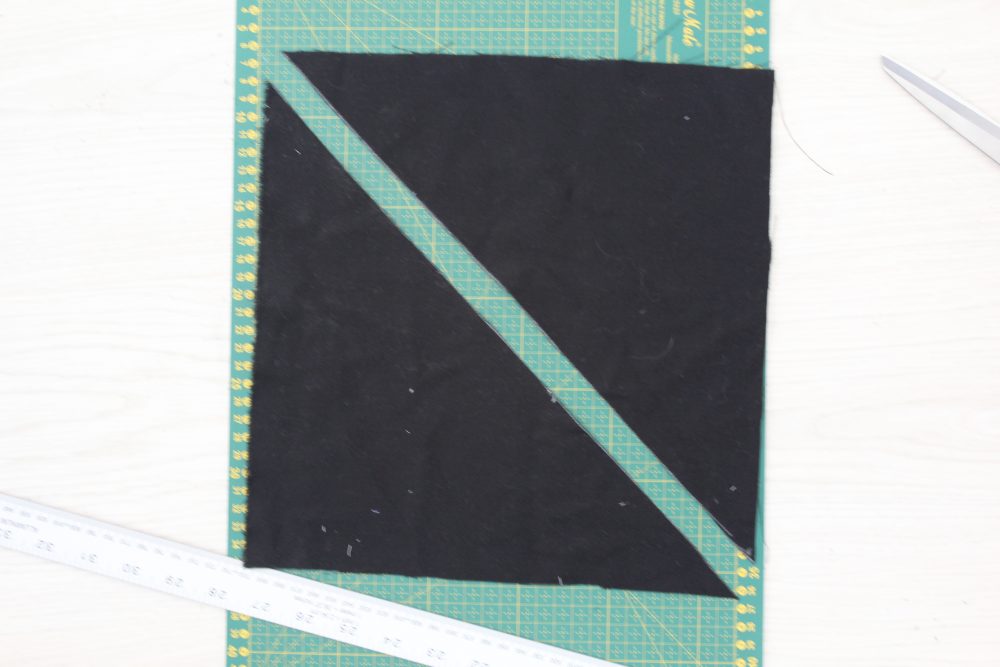
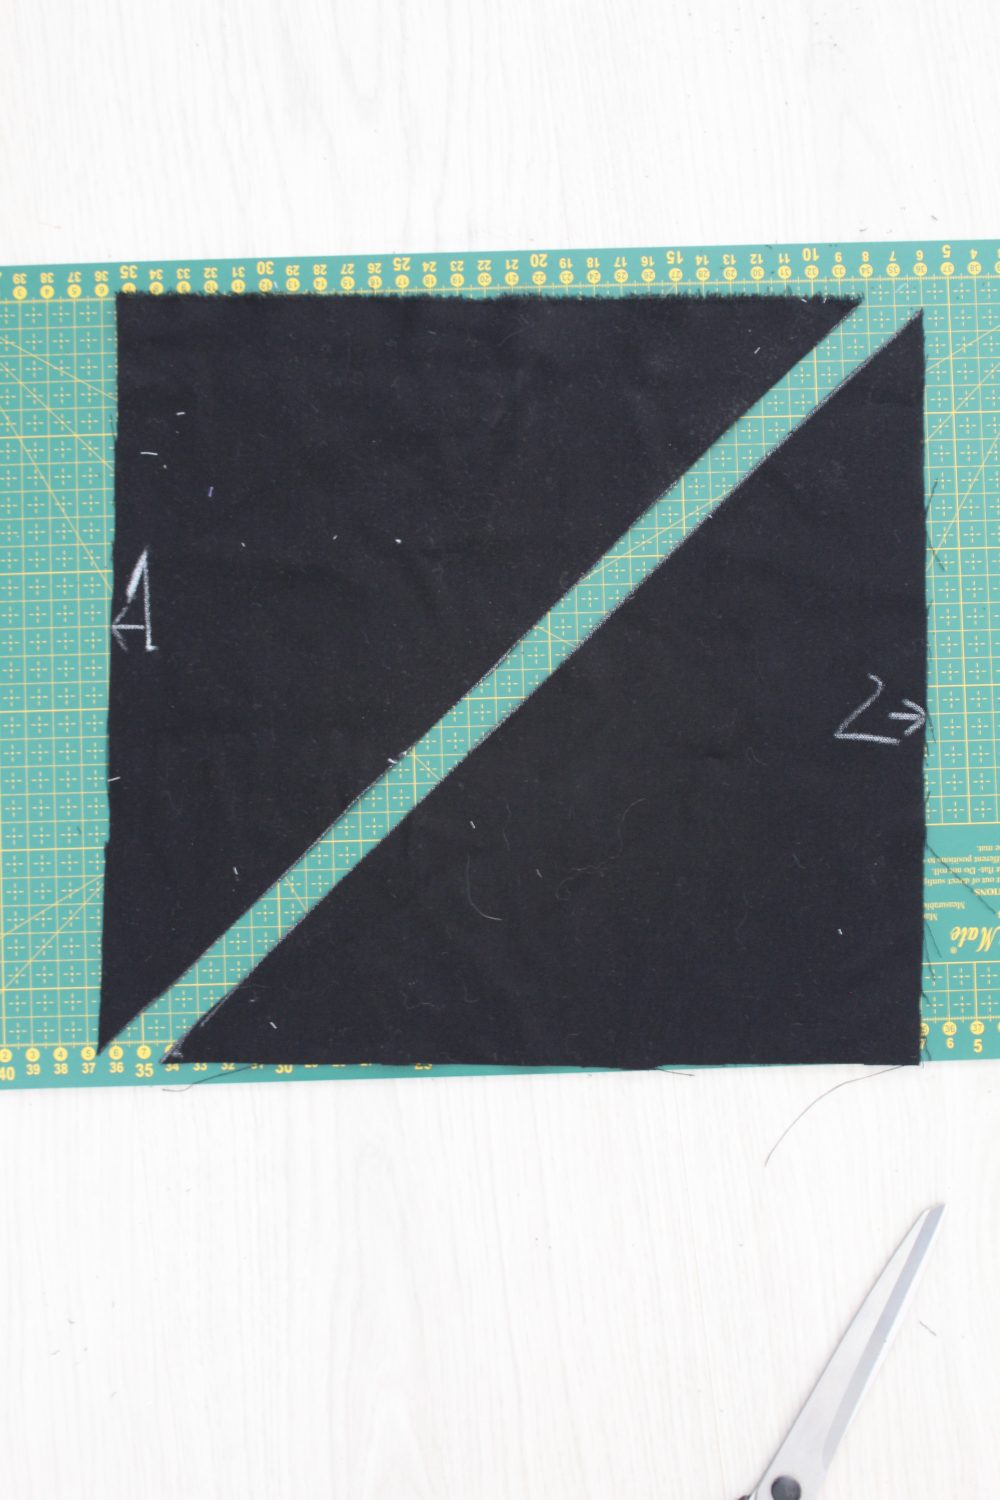
- Or if you already have a square, run a long ruler from one corner to the other, mark with chalk or a fabric pen and cut along that line.

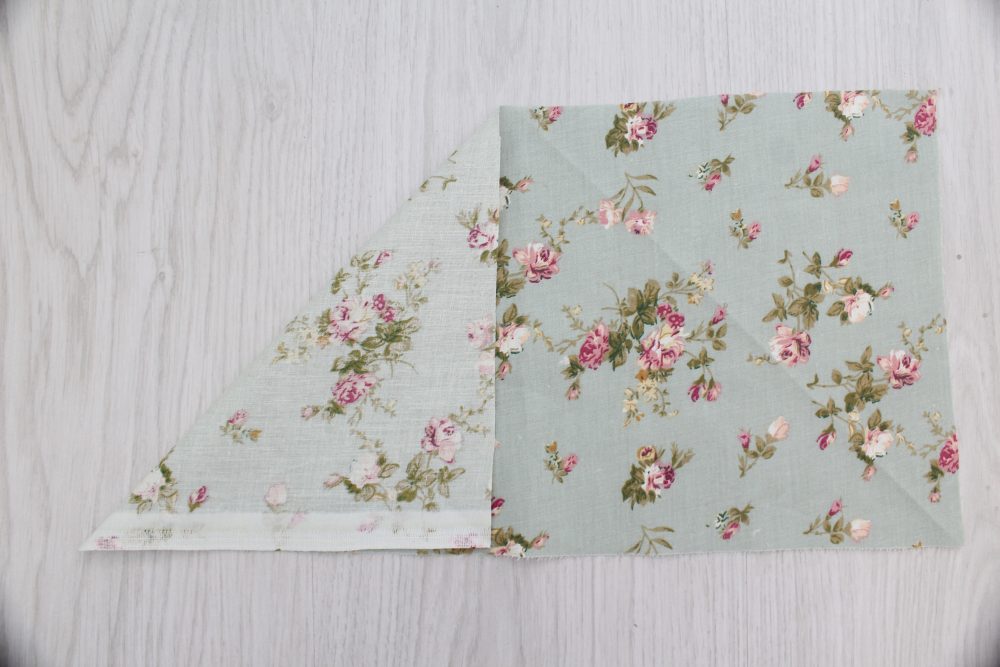
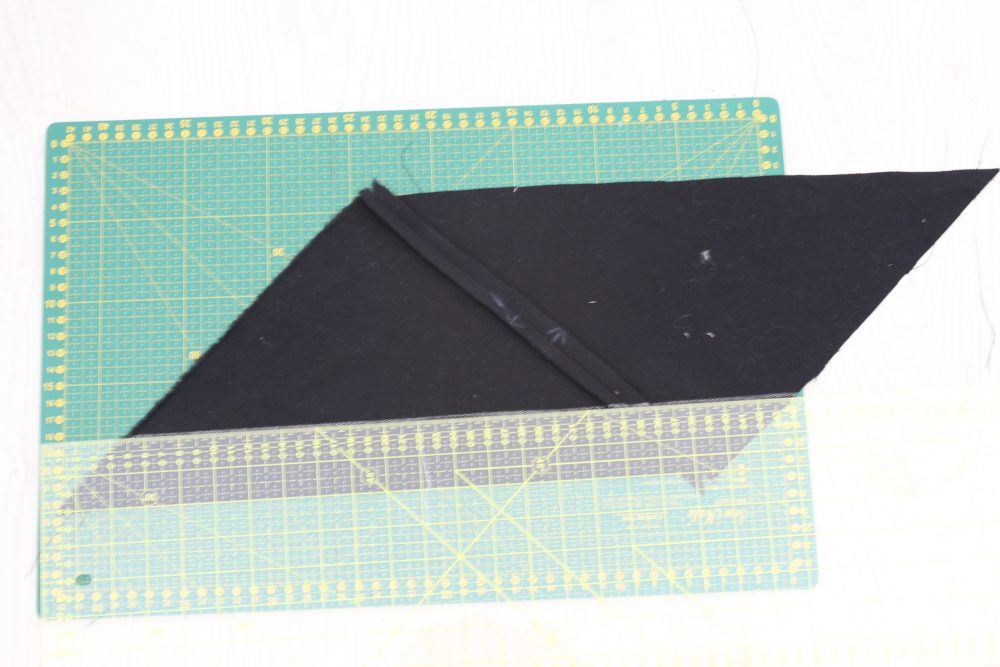
- Line up the left hand side edge with the right hand side edge, right side facing together (marked #1 & #2 in the photo below)
- Sew together with 1/4″ seam allowance
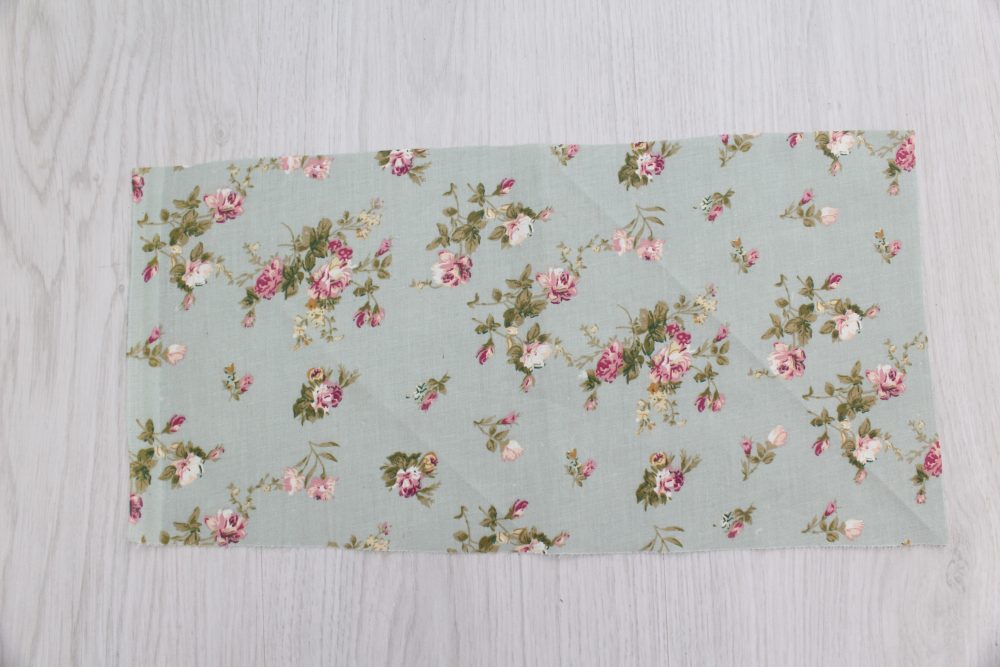
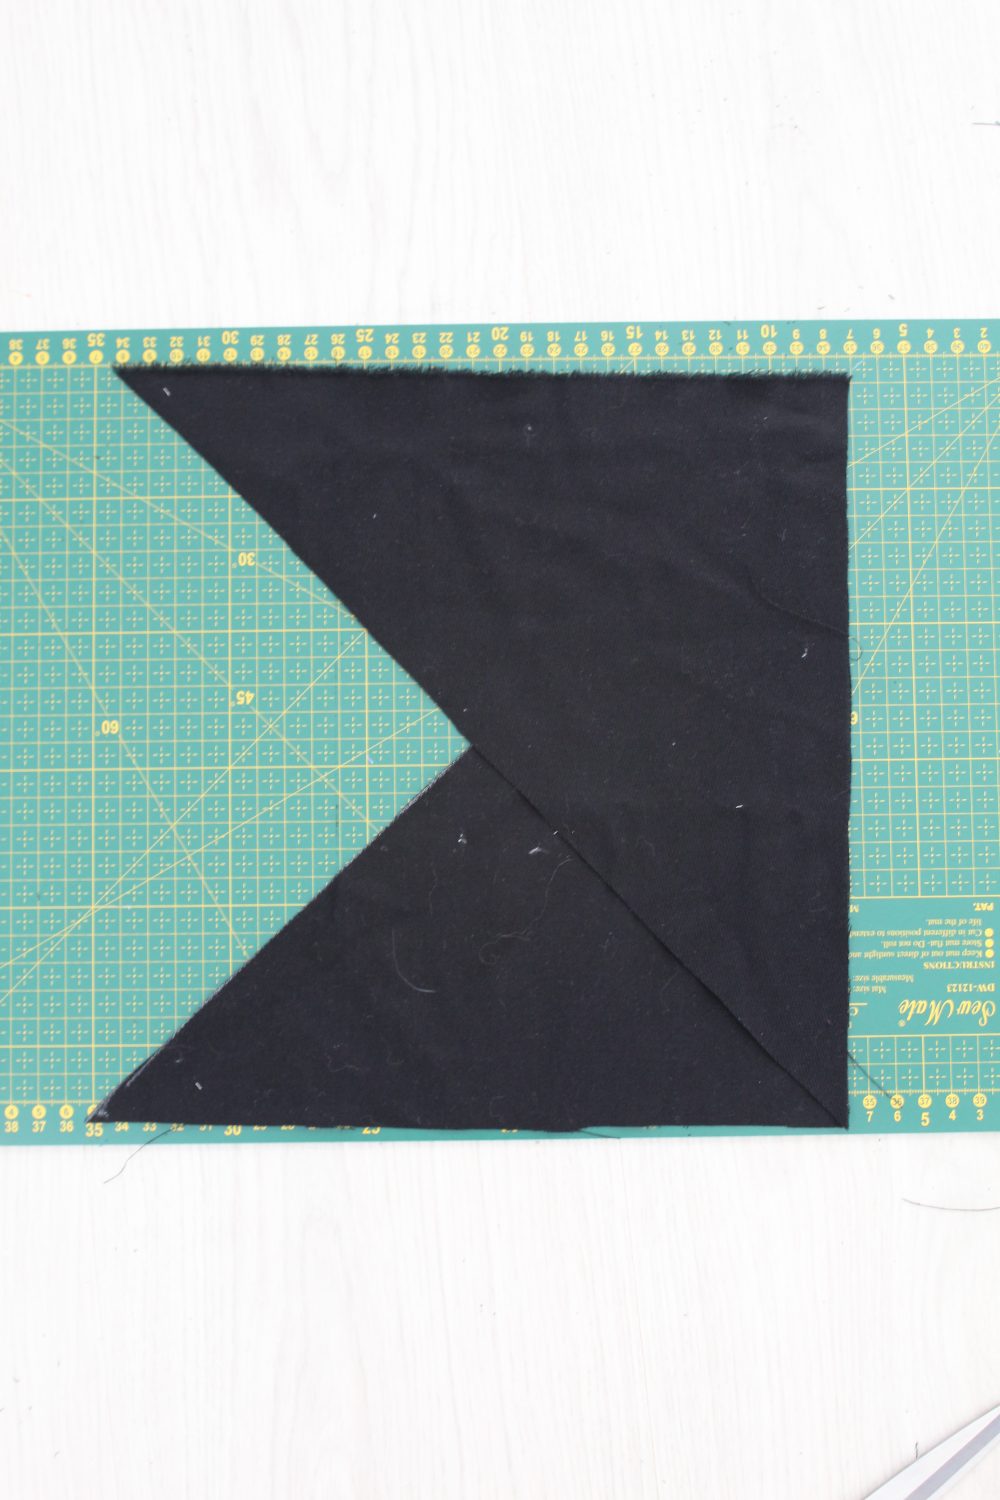
- Fold top triangle to the left and press the seam open. You’ll get a piece of fabric resembling a rhombus/parallelogram.
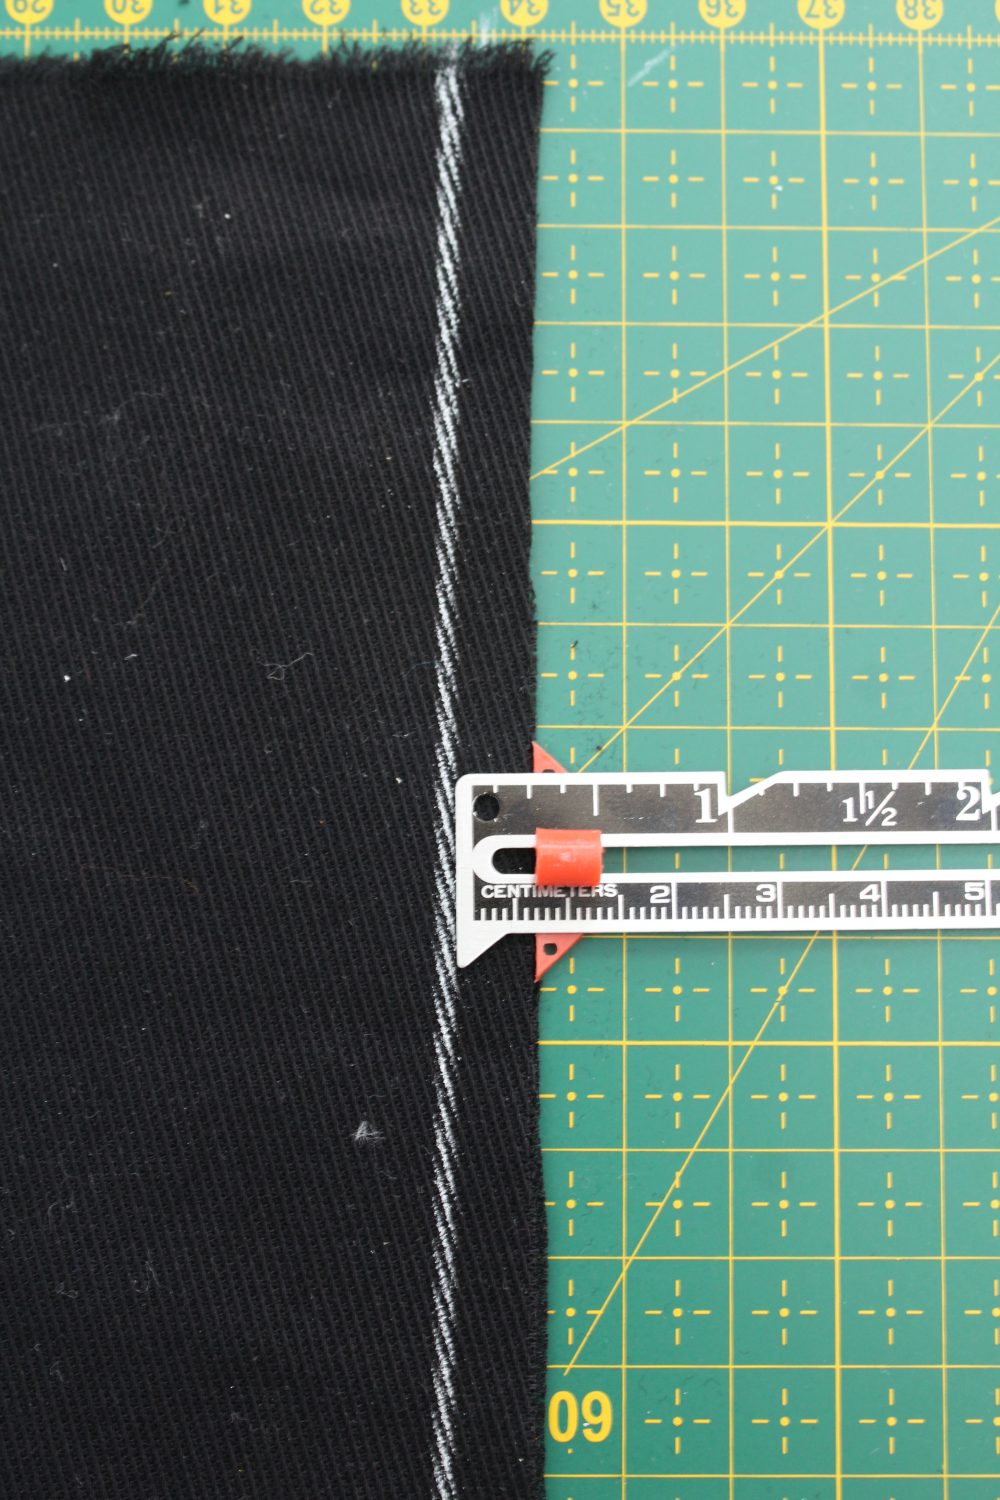
- Starting at one of the short edges, draw lines right across the fabric, in the width desired for your final bias tape. I want to end with double fold 1/2″ bias so I was cutting my lines 2″ wide. You’ll probably end up with extra fabric that doesn’t make a full row. That’s fine, just remove that later on when cutting your continuous strip.
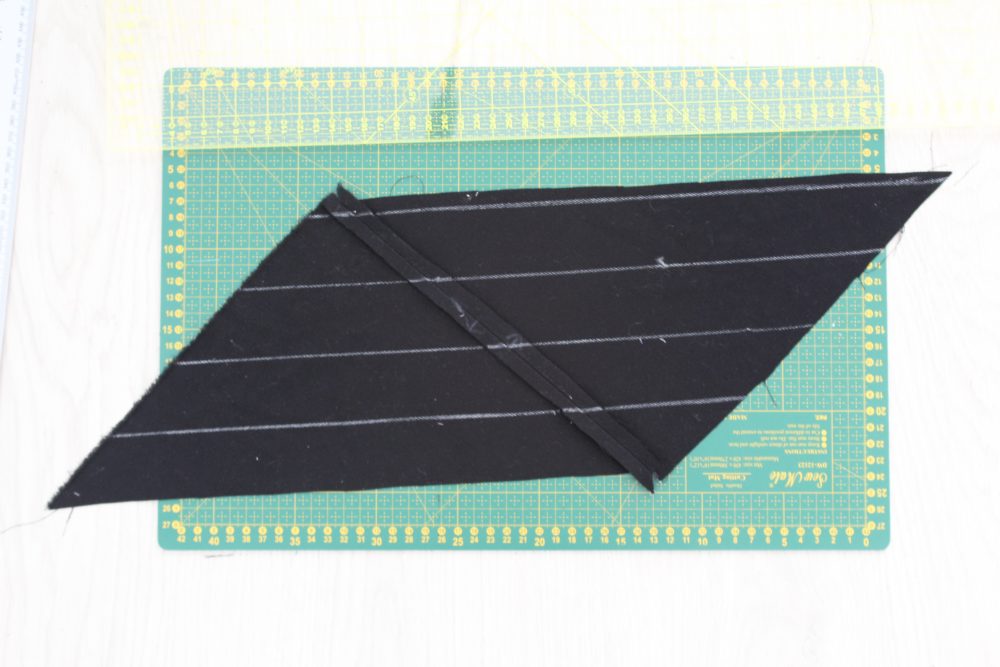
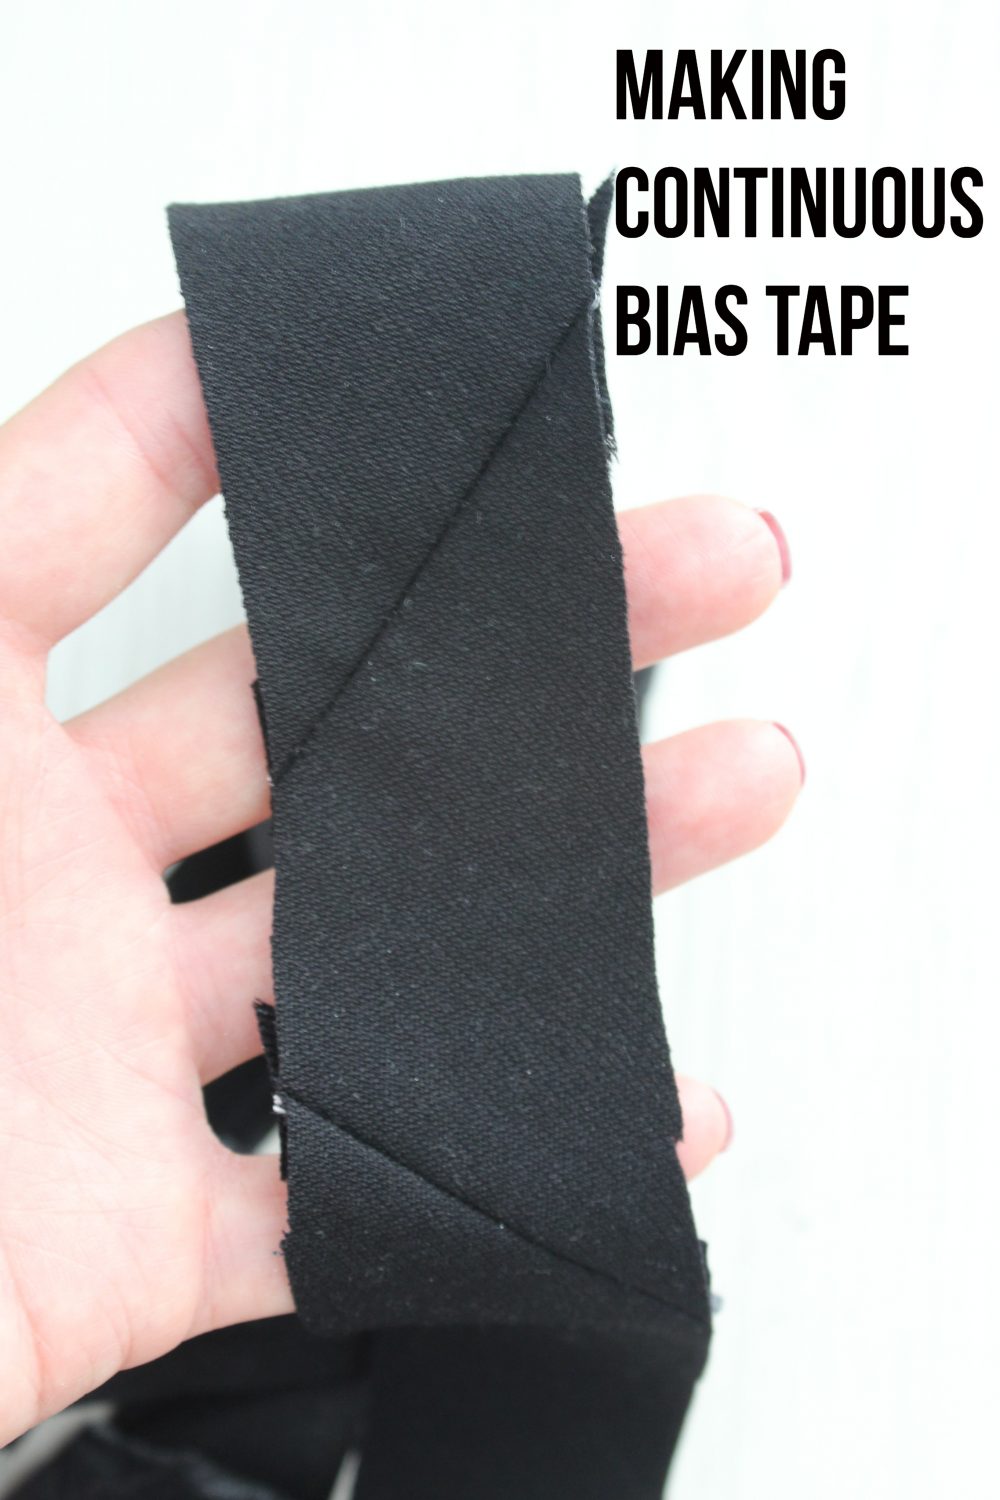
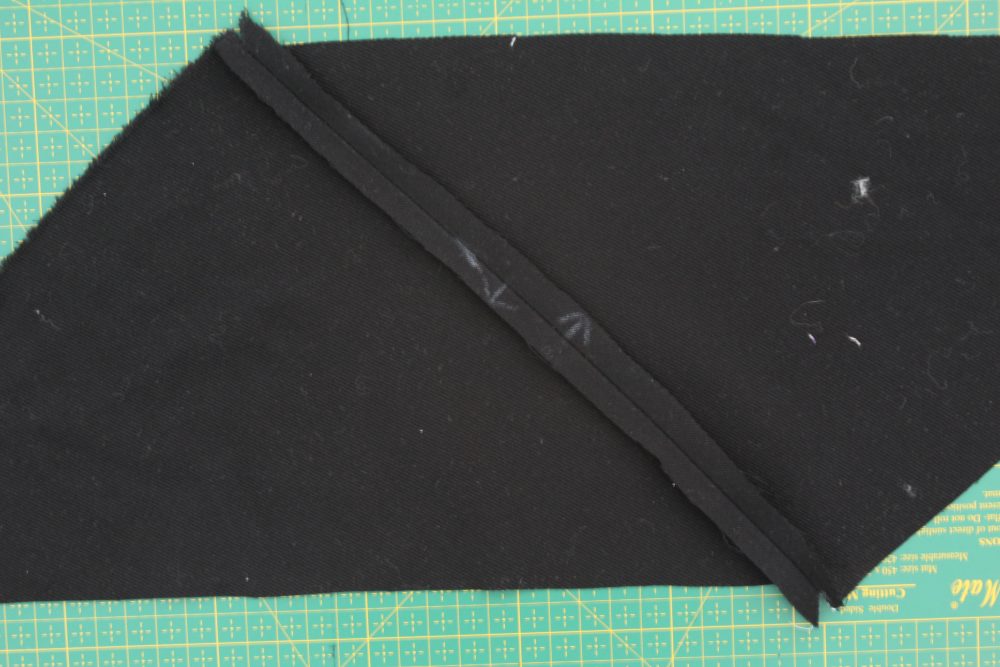
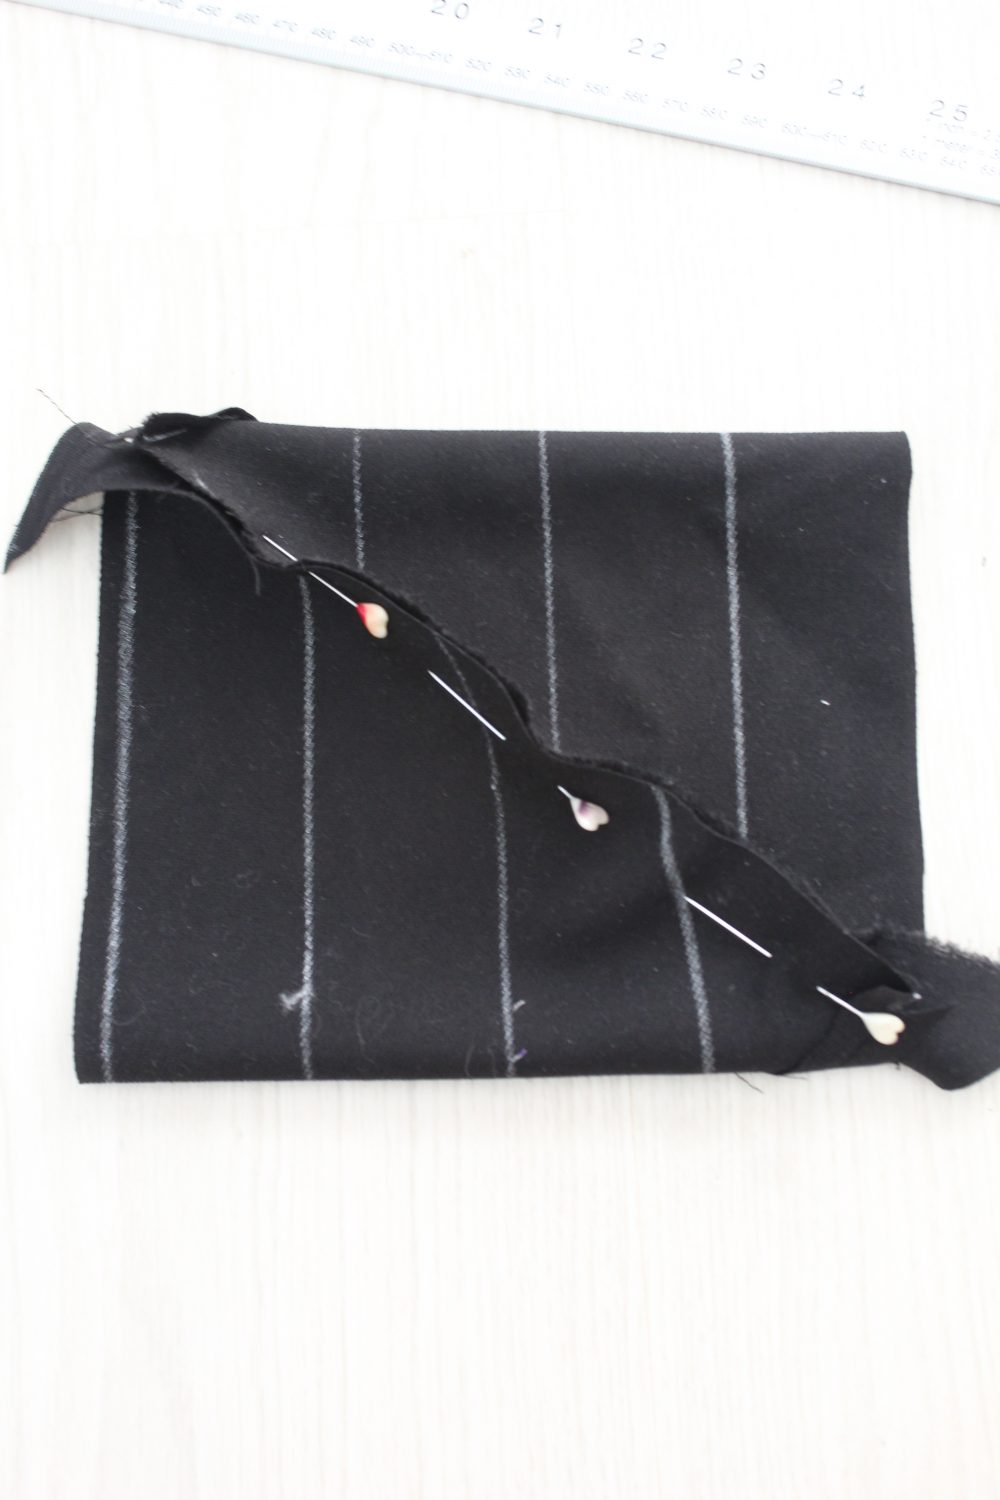
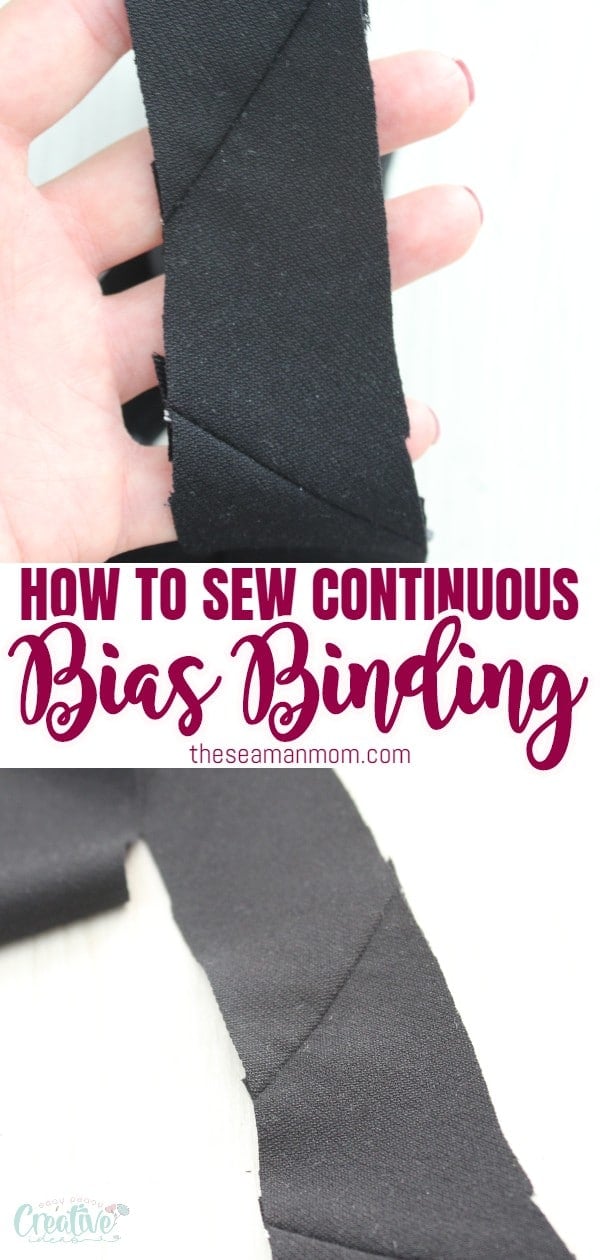
- Now comes the “hardest” part of continuous bias binding process. You need to sew the sides together on that parallelogram but they don’t go together evenly. Sewing them together evenly will give you rings of fabric instead of one continuous strip. So you need to offset the rows by one, with a bit of fabric hanging off on both ends.
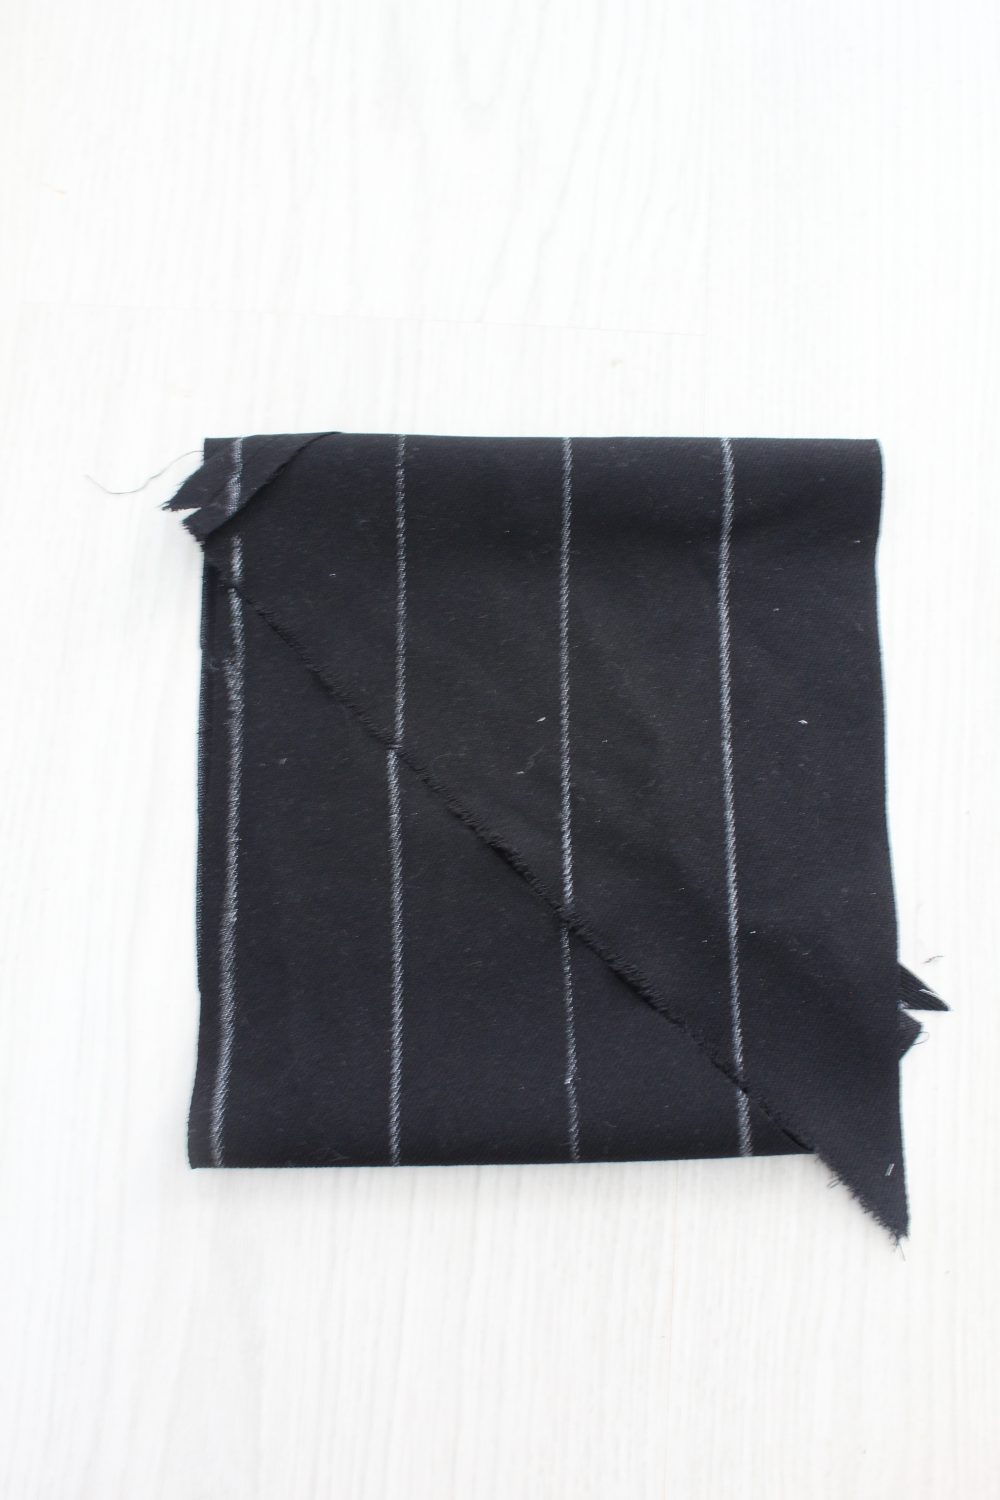
Wrong way
Right way
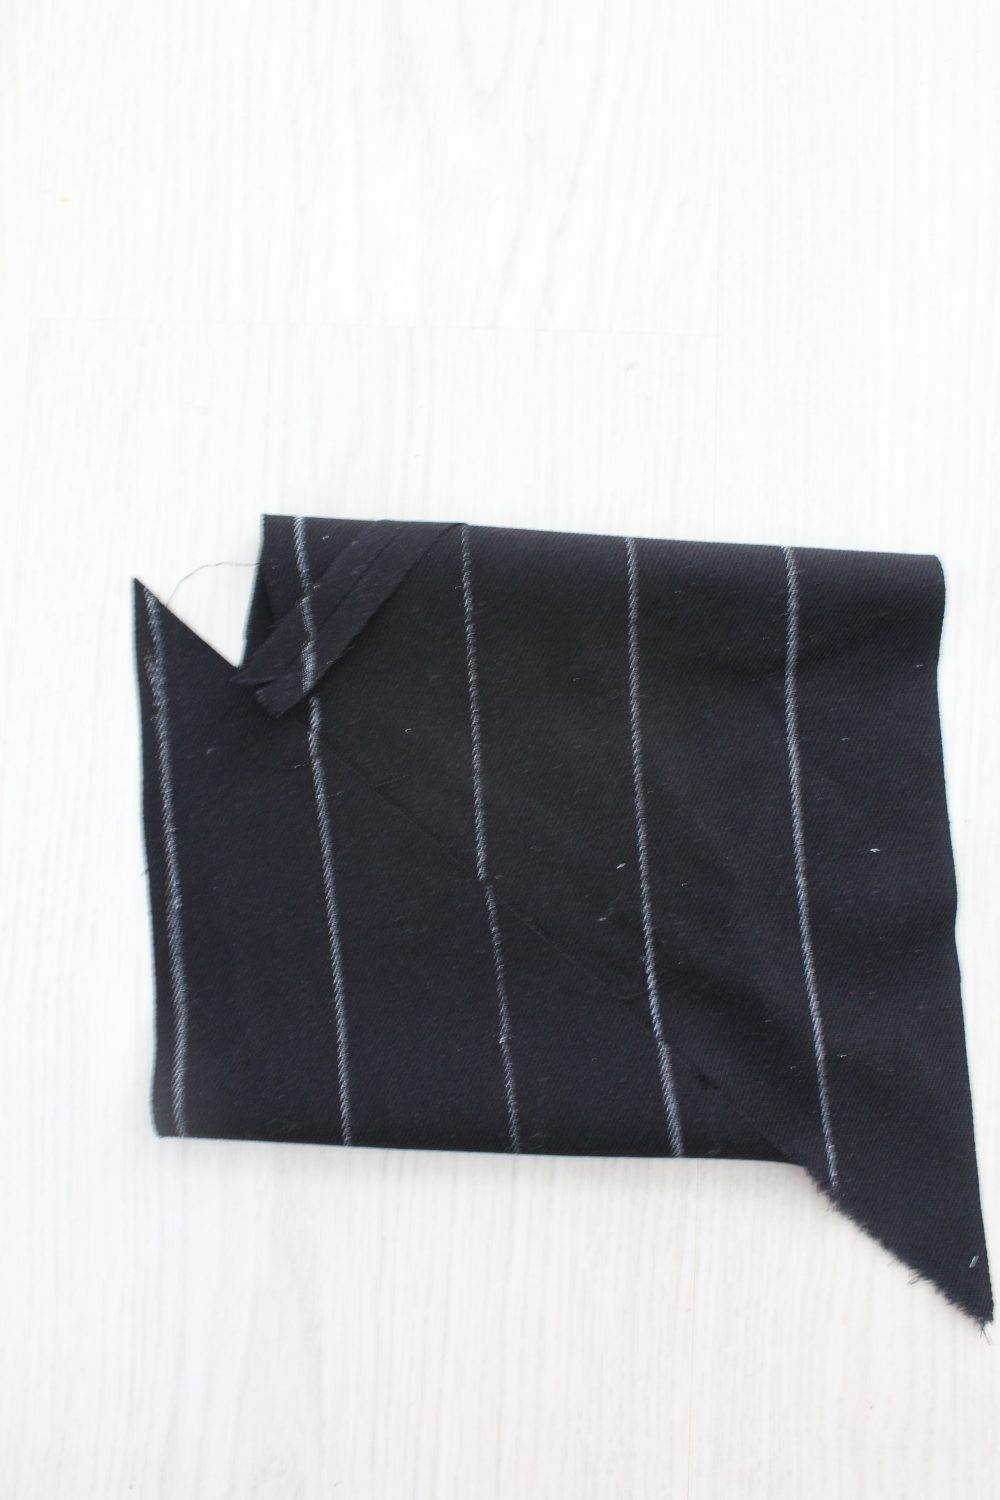
- Pin edges together and sew with 1/4″ allowance.
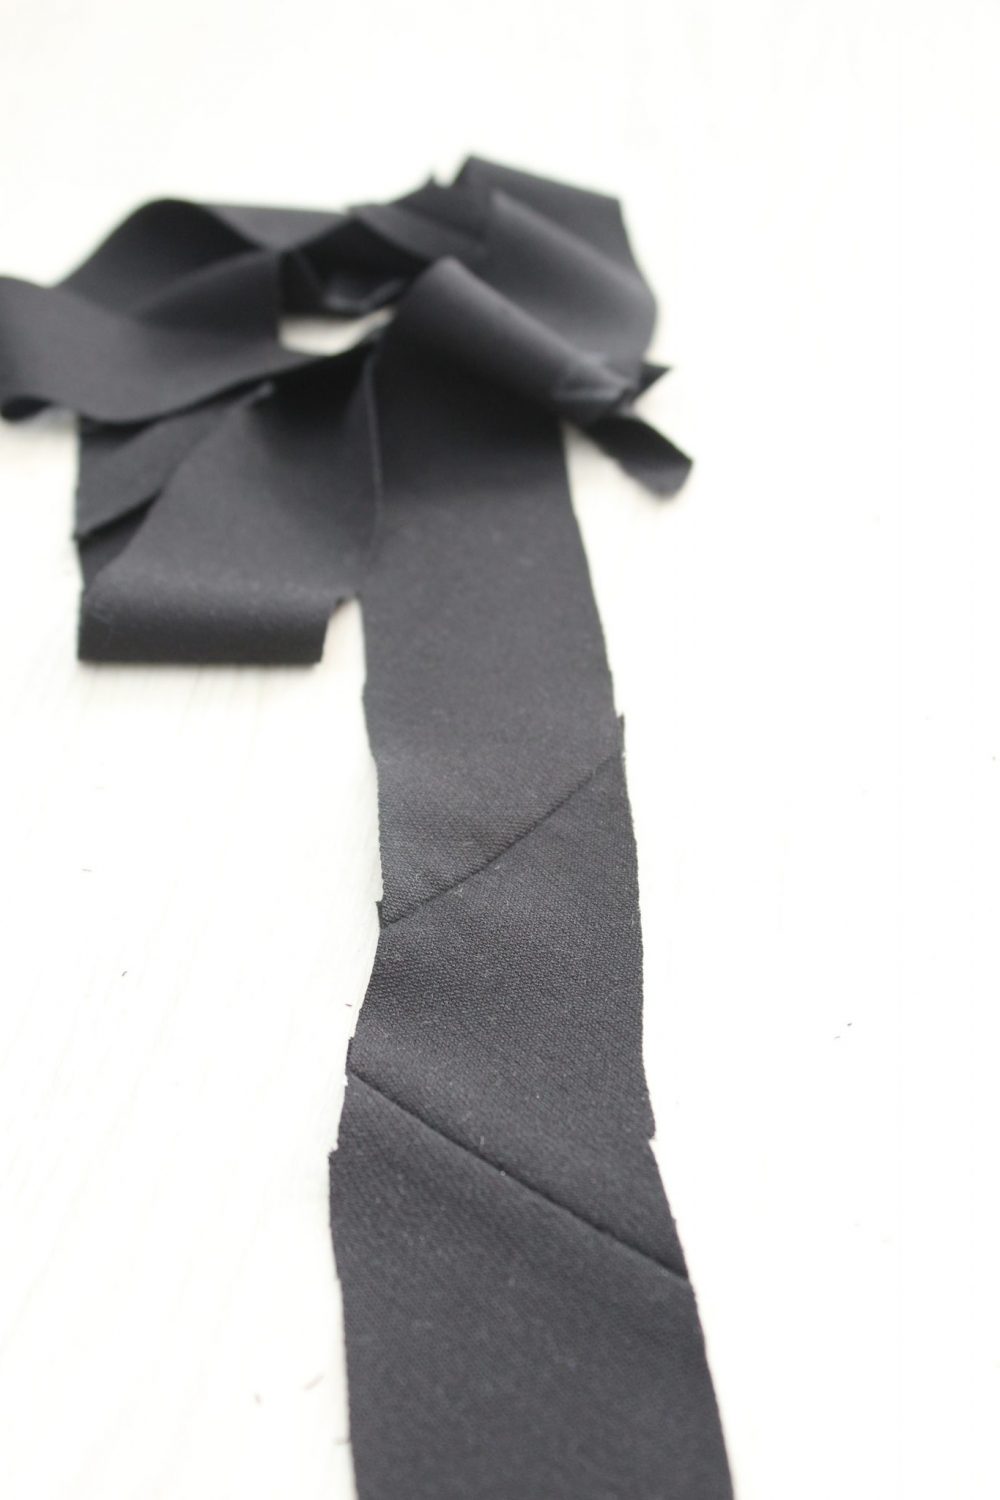
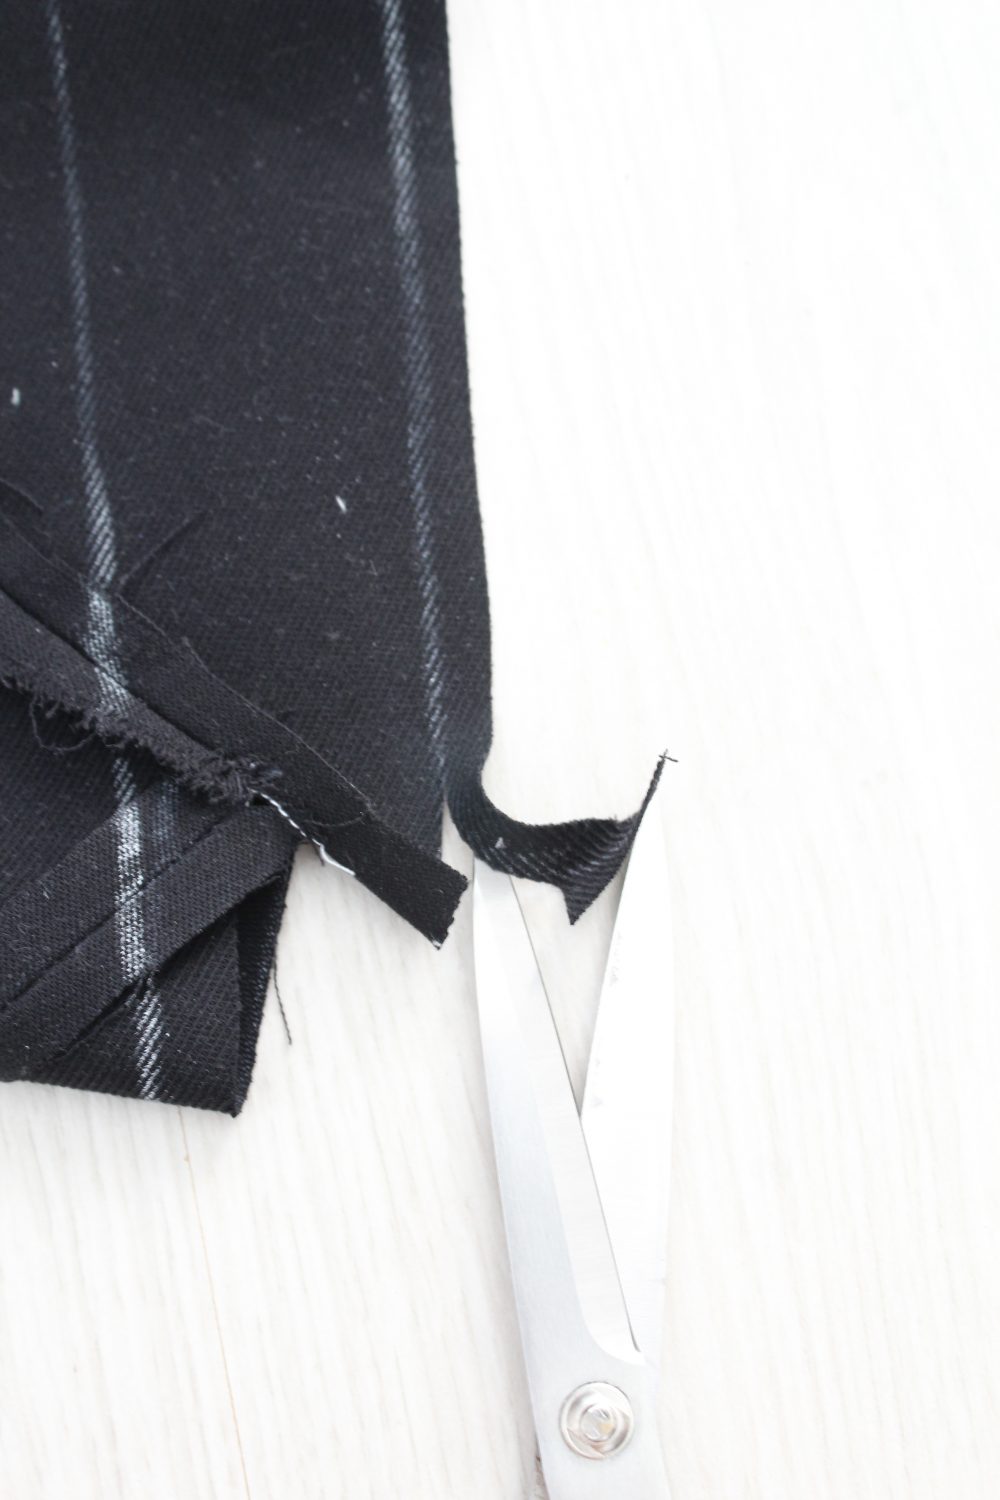
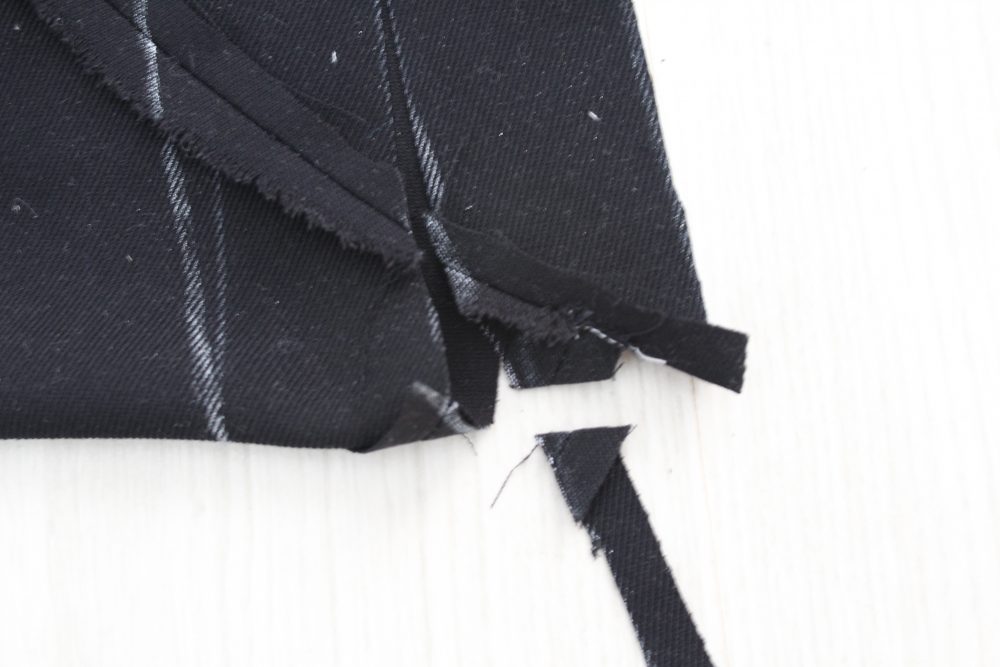
- Time to start cutting. Start at one edge and cut along the lines you drew earlier. As you continue to cut, you’ll notice that you don’t come to the edge of the fabric. Instead you keep cutting in one long spiral, until you get right to the other side of the fabric (eventually) and have cut a big long, continuous strip that goes through the both seams you’ve sewn before. I started cutting at the odd end where I had a row of extra fabric I had to remove and discard. (it’s the tiny row in the first image below)
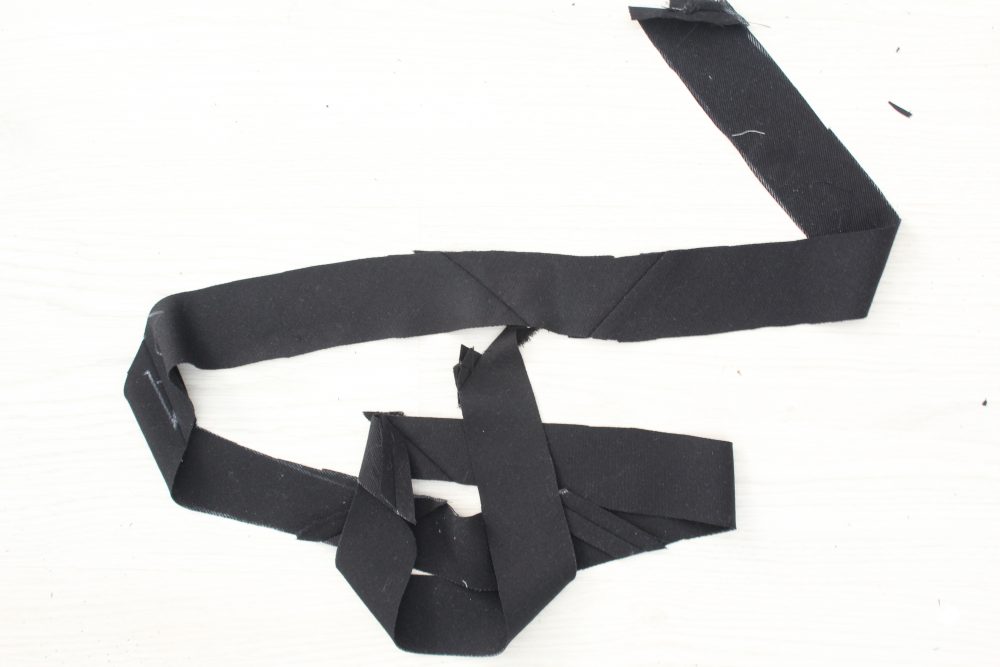
- I ended up with this long, continuous strip of fabric that I turned into bias tape using this method
If you liked this tutorial and found it useful and easy to follow, please let me know in the comments below! Thanks and happy sewing!
Pin to save for later
ABOUT PETRO
Hi, I’m Petro, author and founder of Easy Peasy Creative Ideas. Sewist, crafter, avid DIY-er, foodie, photographer, homemaker and mommy to one. I’m an expert at coming up with quick, clever sewing tips, recycling crafts and simple, easy recipes! You can find my ideas featured in reputable publications such as Country Living, Good House Keeping, Yahoo News, WikiHow, Shutterfly, Parade, Brit & Co and more. Thanks for stopping by and hope you’ll stay for a while, get to know me better and come back another time. Stick around for real fun projects! Read more…