

DIY coastal serving tray
Article may contain Amazon & affiliate links. As an Amazon Associate I earn from qualifying purchases at no additional cost to you.
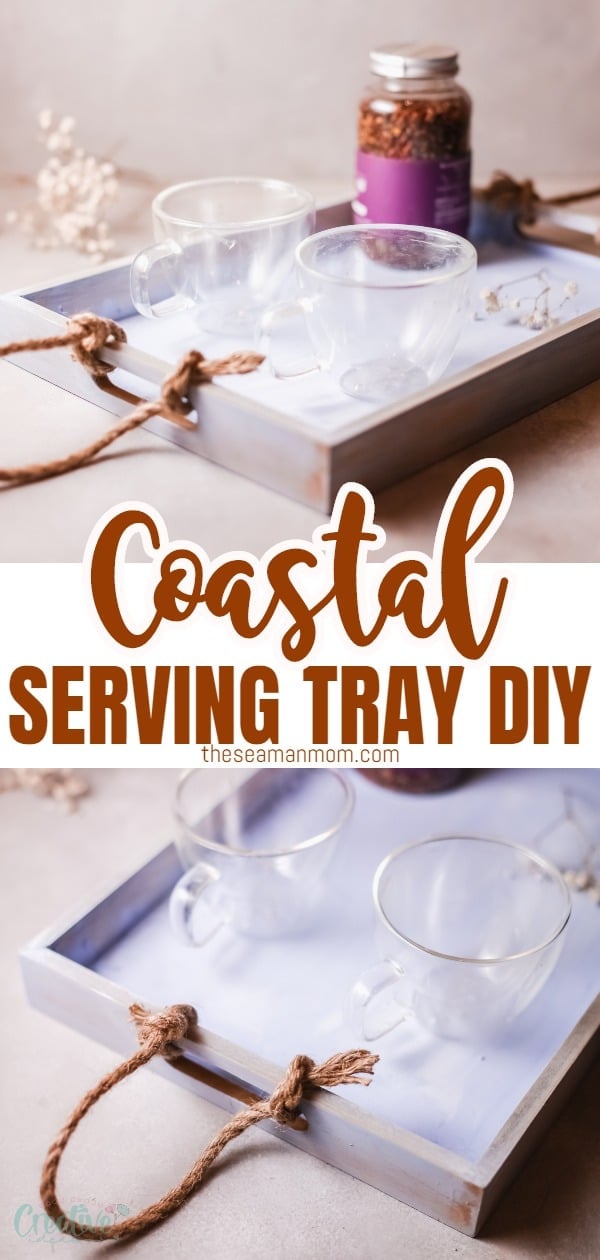
This coastal serving tray gives every space a beach, nautical vibe that’s perfect for the Summer season! Super easy to make, it’s the perfect craft project for any afternoon!
Coastal serving tray
It’s summertime! Which means it’s the perfect time to bring a little bit of summer flair to your home! This coastal serving tray is a great beginner friendly project that takes little time but packs a punch.
Especially during the warmer months, when we probably have family visiting, a serving tray is super helpful! You can use it to bring some refreshing drinks outdoors, to eat breakfast in bed or just to decorate your porch.
More home decor ideas you will love:
- DIY pine cone flowers
- Hanging plastic bottle planter
- Twig letter wall decor
- Rustic embroidery hoop wreath
Making this beach themed serving tray is super easy and you only need a handful of materials. You can also get super creative with this and use it as a guideline to create your own beach inspired serving tray with what you already have on hand.
This DIY serving tray with handles is:
1. Easy
2. Beginner friendly
3. Affordable
4. Oh, so cute!
DIY wood serving tray
What you need to make a coastal serving tray:
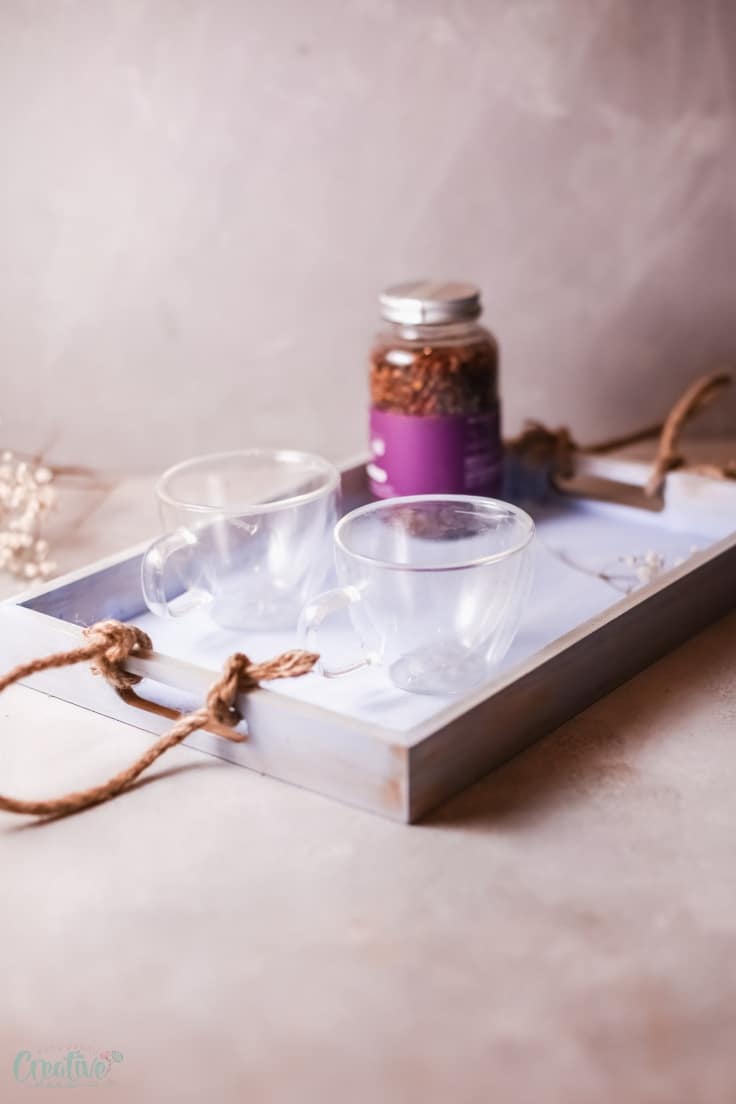
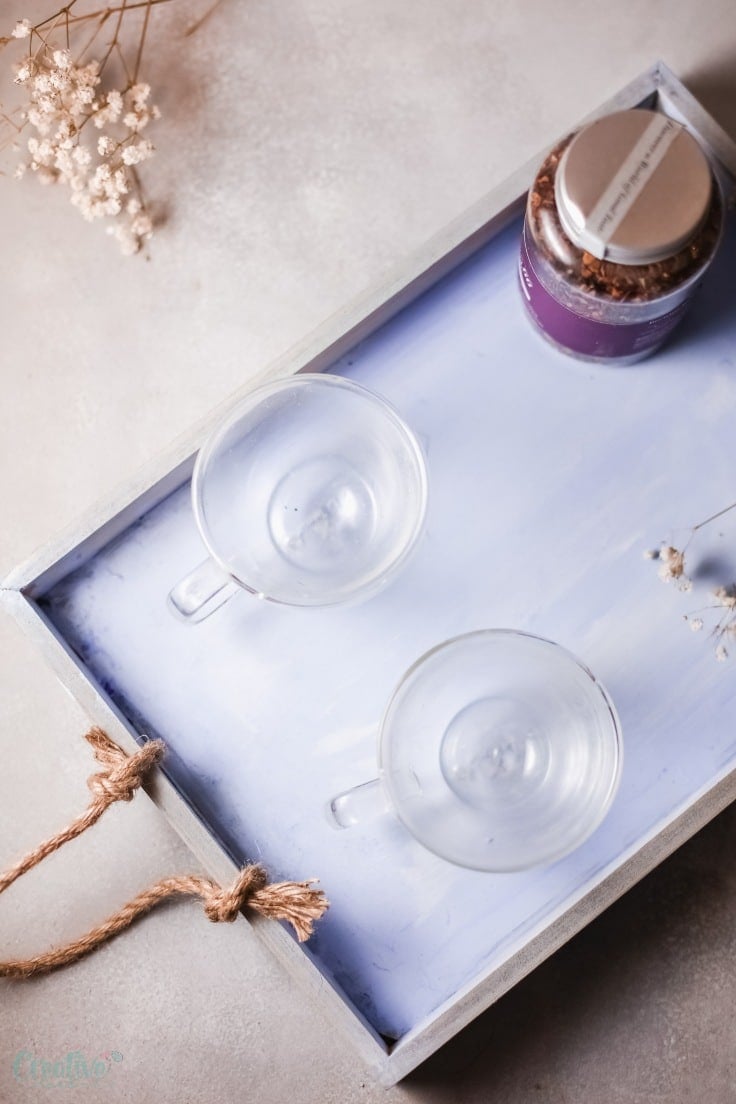
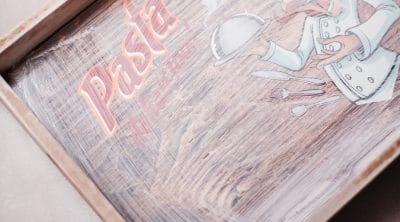
- An old serving table, piece of wood, old window or any other thing you may have on hand and that might work as a base. I used an old serving table I got from Goodwill.
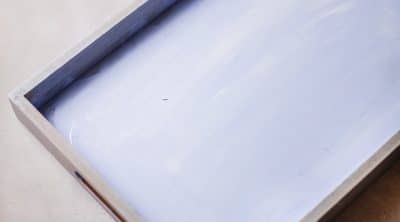
- Blue and white paint. I used chalk paint mixed with water. I used ⅔ paint with ⅓ water to create the white-washed look.
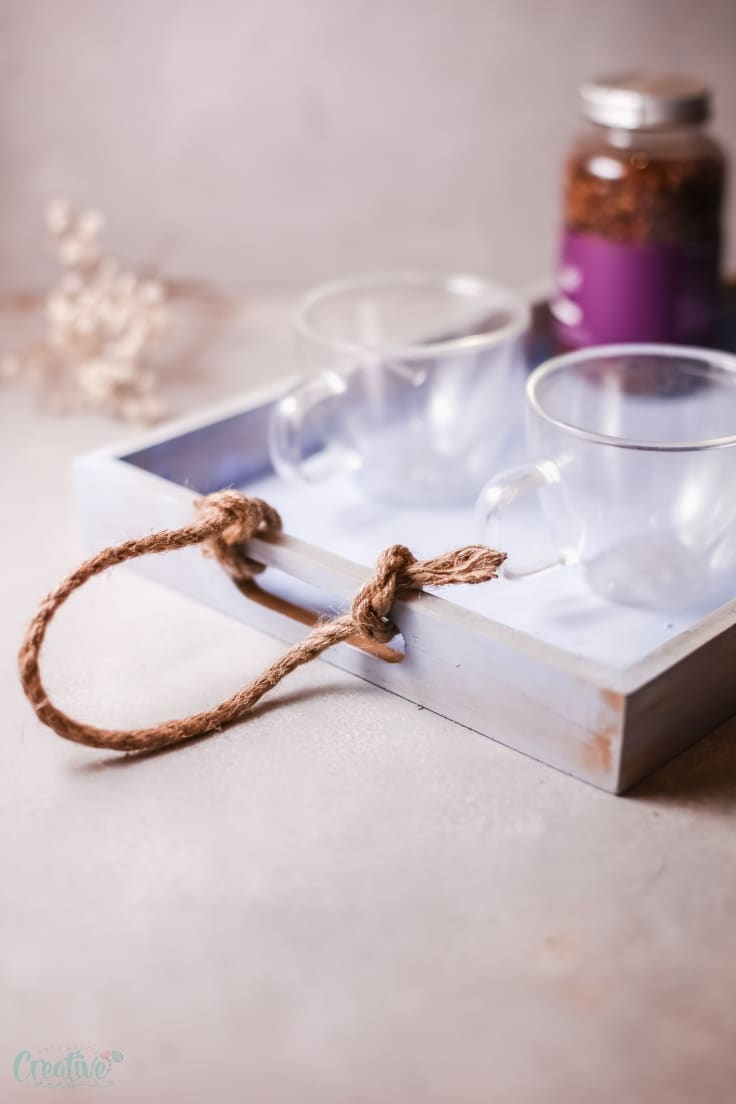
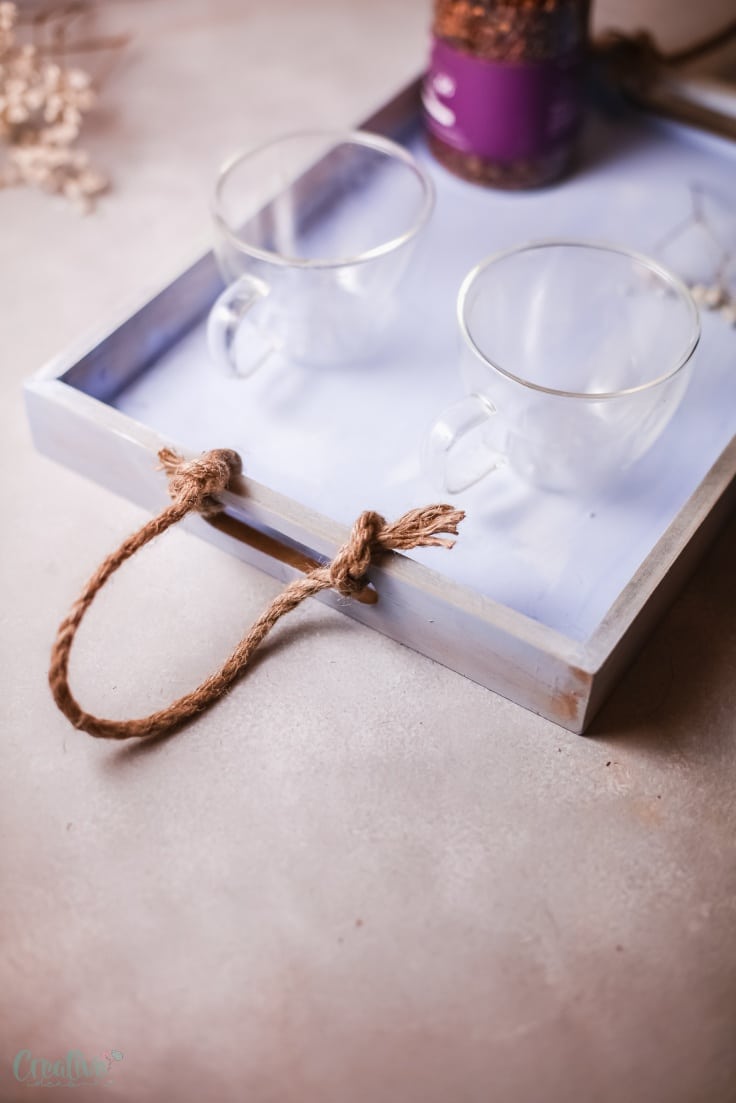
- Rope or twine: Thick rope and twine give everything a rustic coastal look I love! I used it to create the handles.
- A sponge. It’s what we’ll use to paint the tray. The abrasive side will help in creating that sun washed look.
How to make this DIY serving tray
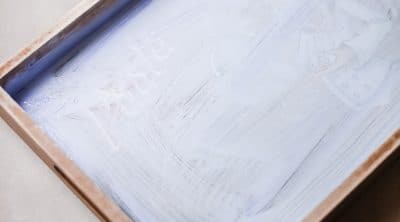
1. In a bowl mix 2/4 white paint with ⅓ water.
2. Give your whole tray a coat or 2 of white paint. This is especially important if yours has some design you want to cover, like mine did.
3. Let it air dry completely.
4. Add a couple drops of blue paint to your white paint and mix.
5. Using a sponge give the tray another coat of paint and let it air dry completely.
6. Tie the thick rope in the corners of the tray to create the handles. If yours doesn’t come with holes or handles you can open small holes with a drill and then tie the rope through those holes.
7. Brush the tray with the abrasive side of the sponge to give it a rustic, worn-in look.
I hope you liked this craft idea and decided to give it a try!I’d love to know your thoughts on this project so please let me know in the comments section below. Thanks and happy crafting!
Pin to save for later
Print the tutorial

DIY coastal serving tray with handles
Materials
- 1 old serving table piece of wood, old window or any other thing you may have on hand and that might work as a base. I used an old serving table I got from Goodwill.
- Blue and white chalk paint use ⅔ paint with ⅓ water to create the white-washed look.
- Rope or twine
Tools
- sponge
Instructions
- In a bowl mix 2/4 white paint with ⅓ water.

- Give your whole tray a coat or 2 of white paint. This is especially important if yours has some design you want to cover, like mine did.
- Let it air dry completely.
- Add a couple drops of blue paint to your white paint and mix. Using a sponge give the tray another coat of paint and let it air dry completely.
- Tie the thick rope in the corners of the tray to create the handles. If yours doesn’t come with holes or handles you can open small holes with a drill and then tie the rope through those holes.
- Brush the tray with the abrasive side of the sponge to give it a rustic, worn-in look.


ABOUT PETRO
Hi, I’m Petro, author and founder of Easy Peasy Creative Ideas. Sewist, crafter, avid DIY-er, foodie, photographer, homemaker and mommy to one. I’m an expert at coming up with quick, clever sewing tips, recycling crafts and simple, easy recipes! You can find my ideas featured in reputable publications such as Country Living, Good House Keeping, Yahoo News, WikiHow, Shutterfly, Parade, Brit & Co and more. Thanks for stopping by and hope you’ll stay for a while, get to know me better and come back another time. Stick around for real fun projects! Read more…