

Easy beginners guide to sewing DIY curtains at home
Article may contain Amazon & affiliate links. As an Amazon Associate I earn from qualifying purchases at no additional cost to you.
Having custom made curtains doesn’t have to be expensive! Making your own curtains is a great way to save money and get exactly the look you want for your home! Sewing DIY curtains is not as difficult as you might think, and with a few simple supplies and some basic sewing skills, you can easily make beautiful curtains for any room in your house. In this tutorial, I’ll show you how to sew curtains, step by step. With my easy-to-follow instructions, you’ll be sewing curtains like a pro in no time!
DIY curtains sewing tutorial
The perfect curtains are hard to find, from fabric to design to length etc. So why not make your own? This super easy DIY curtains tutorial will show you how to make your own curtains in just a couple of hours! If you know how to sew a straight stitch, you’re perfect for this project! Great idea if you’re looking for simple sewing projects for beginners!
Buying curtains can get super expensive too, especially when you have to buy loads of them. When we moved into a new house, we had to decorate from scratch! Our house had absolutely no curtains and I needed over 300 ft in curtains! That would’ve cost me at least a leg and an arm. And probably a little bit of other body parts too lol And I care about my body parts, so dearly! So I decided to make my own, even though I knew this is so time consuming. But since this is one of the easiest, simple sewing projects for beginners, it would’ve been such a shame not to sew my own DIY curtains, right?
Other home items to sew:
- Flower pillowcase sewing tutorial
- Simple pillowcase tutorial
- DIY treat jar
- Fabric cone hanging basket
- Lavender sachets
- French braid mat
- Fabric twine trivets
- Coiled rope rug
Is it cheaper to sew my own curtains?
The answer is a big, fat YES! Not only is it cheaper, but you get to customize them exactly the way you want! You can choose your own fabric, design, length etc. And if you’re not into sewing, there are plenty of no sew curtain ideas out there too! So there’s really no excuse not to make your own curtains!
Can I sew curtains by hand?
Yes, you can! But I wouldn’t recommend it. It’ll take you forever and your fingers will hurt like crazy! If you don’t have a sewing machine, borrow one from a friend or relative, or invest in a cheap one. It’ll be worth it, trust me!
Are drapes curtains?
This is a common question and the answer is yes! Drapes and curtains are basically the same thing. The only difference is that drapes are usually heavier and made of thicker fabric, while curtains are usually lighter and made of thinner fabric.
Can curtains make a room warmer?
Yes, they can! Curtains help to insulate a room by trapping heat in and also bring some shade in the summer. Which means your room will be warmer in the winter and cooler in the summer.
How difficult is it to make curtains?
These easy DIY curtains were so simple to make, I can barely call this a tutorial! All you need is some basic sewing skills. This project consists of a few straight stitches, a little folding and a whole lot of measuring and pinning, which is basically the only “hard” part. And there’s SO.MUCH.FABRIC!!! I never thought I would be able to not love fabric but after this project, I didn’t want to touch any fabric in a while!
What is the best material to make curtains?
The best fabric for DIY curtains really depends on what look you’re going for and what type of room you’ll be using them in. If you want light, airy curtains for a bedroom or living room, a lightweight cotton or linen fabric is a good choice. For a more formal look, heavier fabrics like silk or velvet work well. If you’re looking for a durable fabric for curtains that will get a lot of use, like in a kitchen or bathroom, consider a canvas or denim.
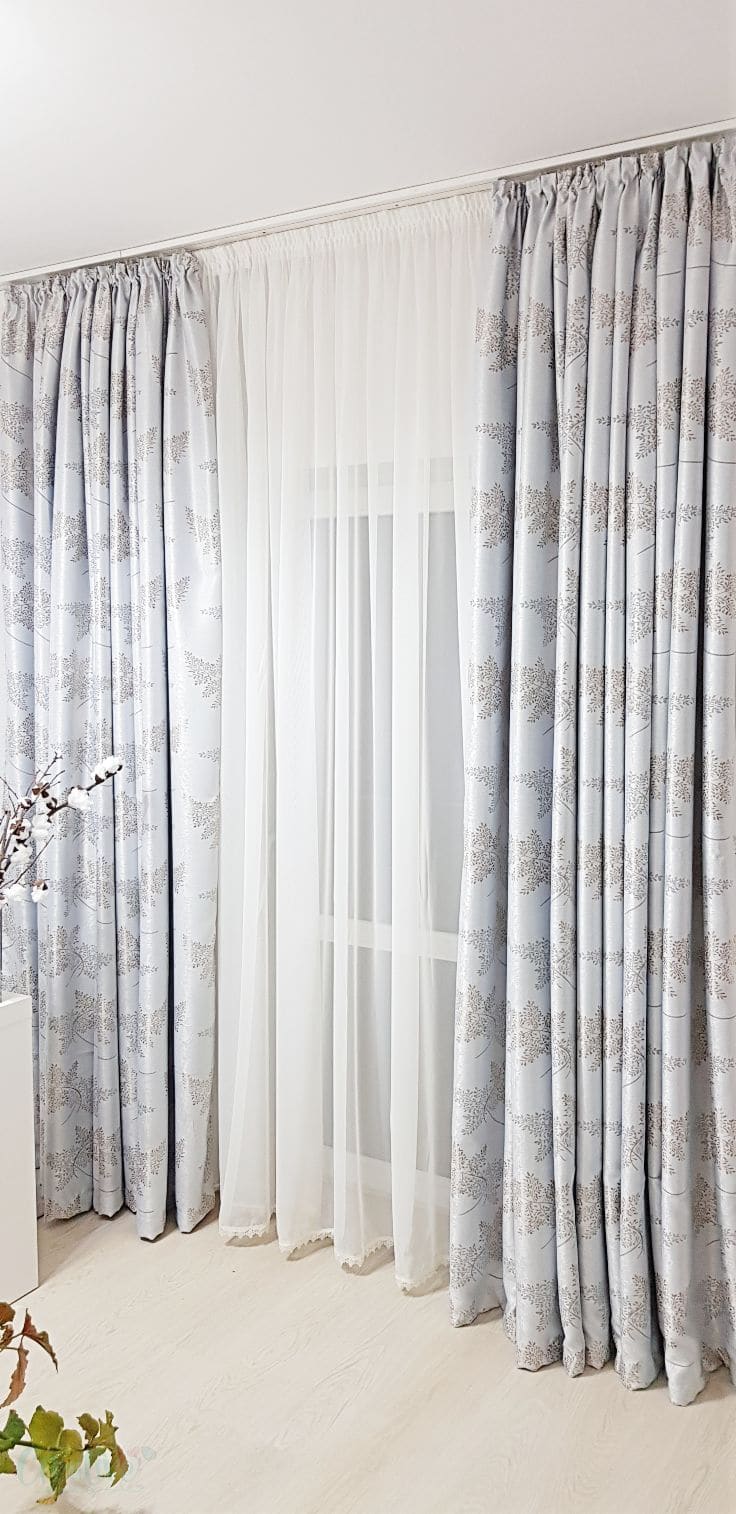
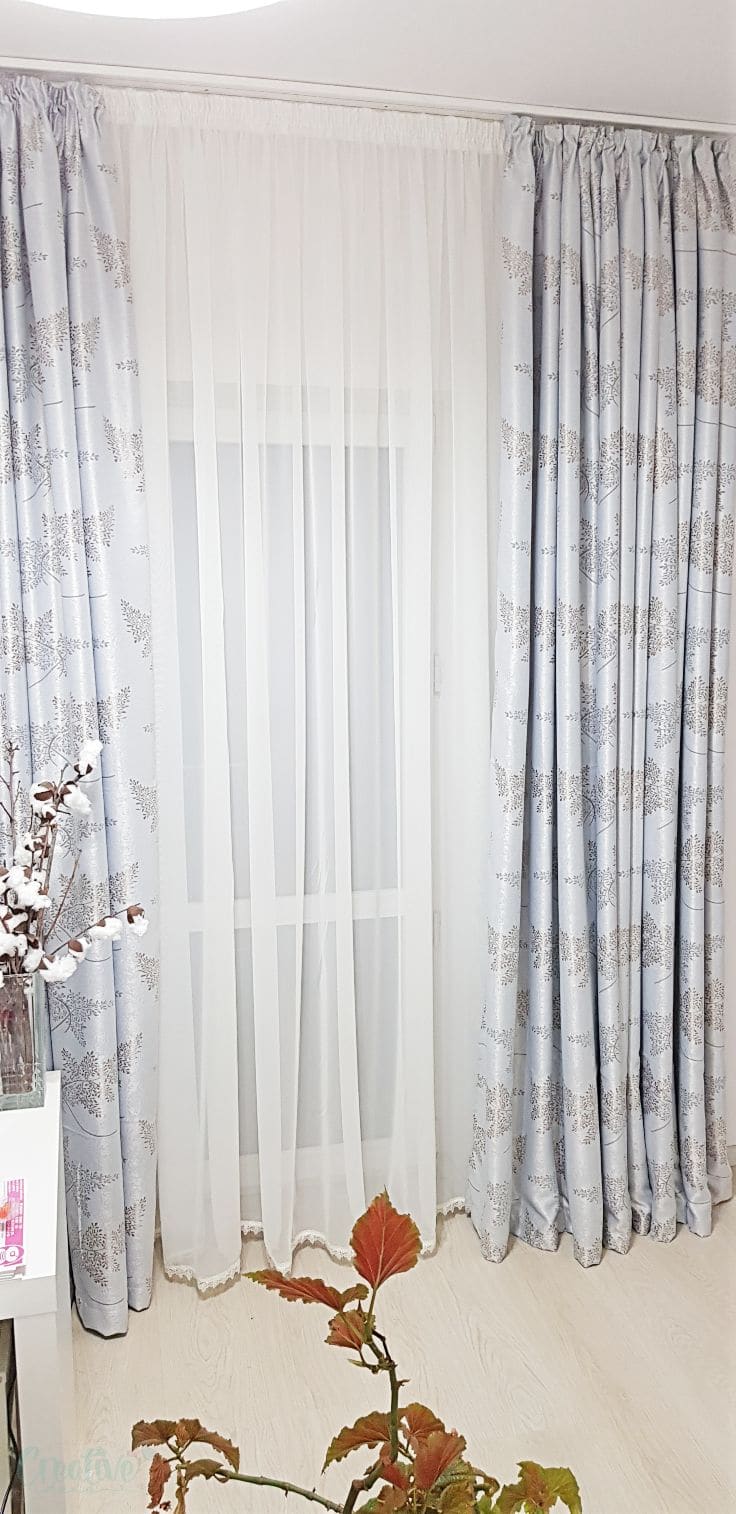
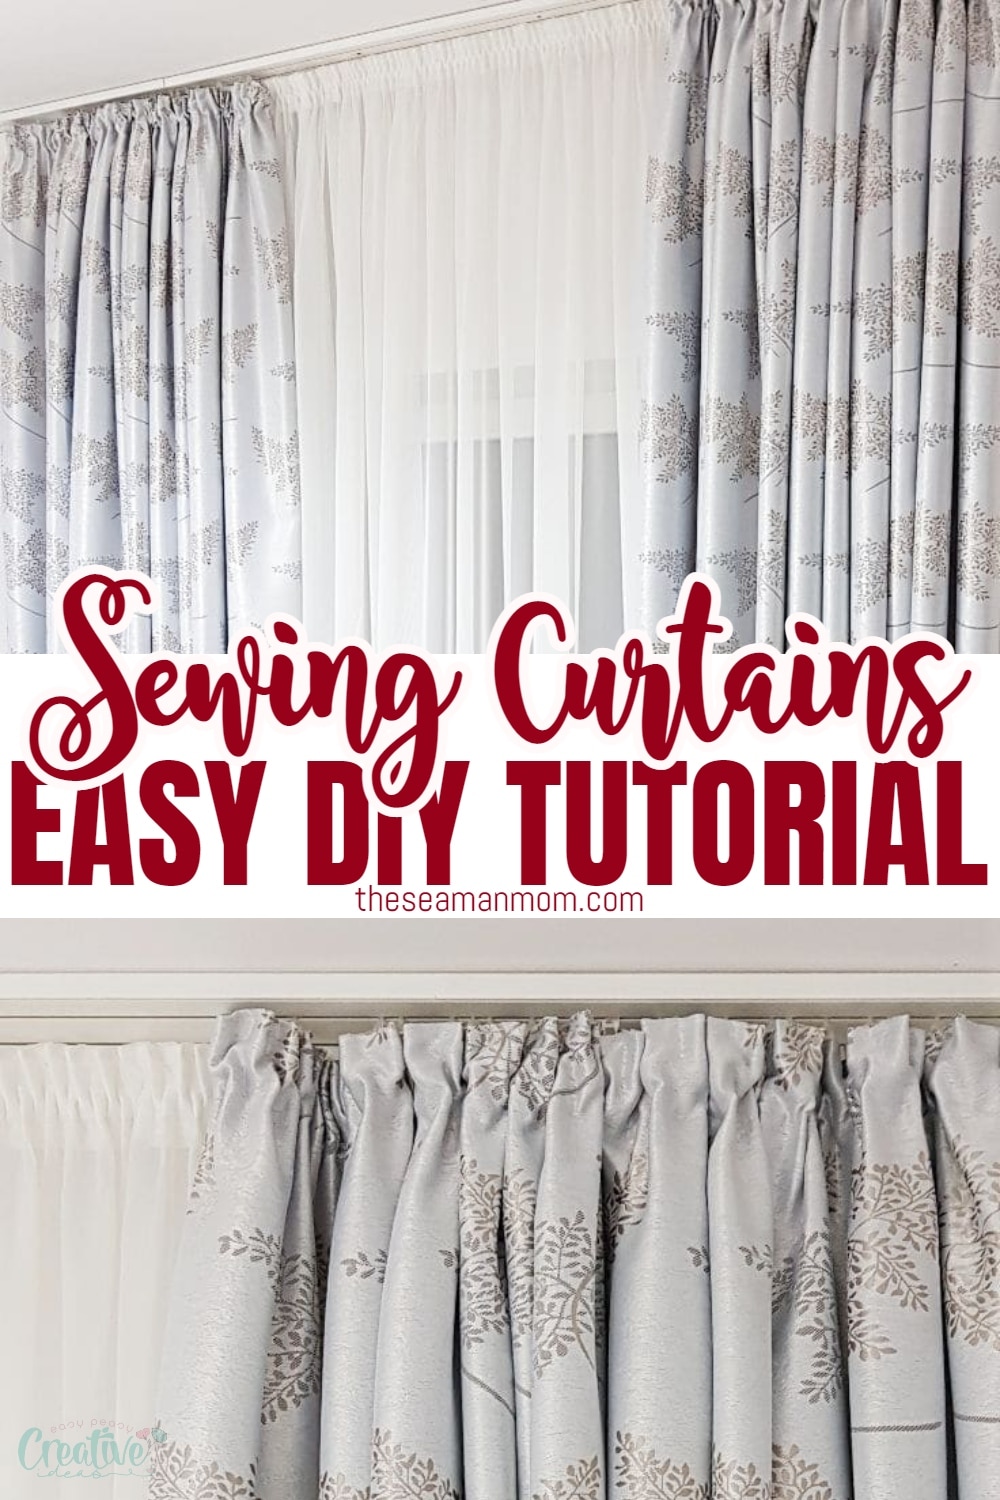
We love waking up to a dark room! If you do too blackout curtains are your best bet! I got some blackout fabric, in a nice neutral color (a light gray with light golden dotty leaves) with some nice texture, so it would be a good match to the design and furniture in all rooms. I also like blackout fabric as I don’t need to add lining to make the curtains thicker and block the light.
What else do I need to make curtains?
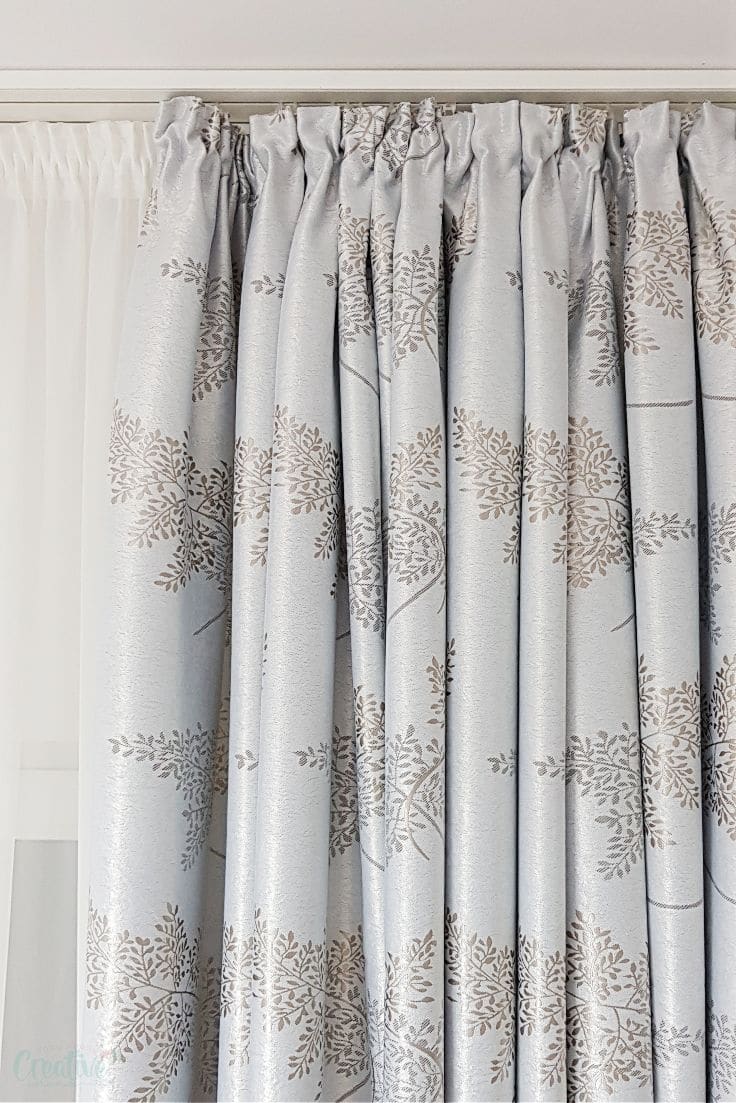
To make the top of my DIY curtains a bit more stiff and to get smaller, thicker pleats, I used header tape which also helped me hang the curtains onto the clips easier. To me this method seems the fastest and easiest while other people prefer grommets on rods.
And because I’ve been sewing through very thick layers of already thick fabric, I used a jeans needle and jeans thread, while setting the presser foot on my sewing machine to a very low tension level. These curtains might be simple sewing projects for beginners but you still need a little prep before starting to work on them. Test on scrap fabric first and determine the needle size and presser foot tension needed for your fabric. If you don’t know how to play around with tension, check out this short and sweet tutorial.
How wide do my curtains need to be?
To figure out how wide to make your curtains, start by measuring the width of your window. Then, add 4 inches (10 cm) to that number for the seam allowance and hem. For example, if your window is 30 inches (76 cm) wide, you’ll need to cut your fabric to 34 inches (86 cm) wide.
If you’re making lined curtains, you’ll need to add an additional 4 inches (10 cm) to the width of your fabric so that you have enough room to sew the lining to the back of the curtains.
You’ll also need to take fullness into consideration.
When making curtains what fullness?
Fullness is the amount of fabric you use compared to the width of your window. The more fullness you have, the more gathered your curtains will be. For a casual look, use 2 times the width of your window. For a more formal look, use 3 times the width of your window.
For example, if you have a window that’s 30 inches (76 cm) wide and you want a casual look, you’ll need to cut your fabric to 60 inches (152 cm) wide plus more for the seam. For a more formal look, you’ll need to cut your fabric to 90 inches (229 cm) plus the seam.
What are some tips for DIY curtain cleaning?
Curtains can be a pain to keep clean, but there are some things you can do to make it easier. Vacuum them regularly with the upholstery attachment to remove dust and dirt. Spot clean spills and stains as soon as they happen. And every few months, take them down and wash them in the washing machine on a gentle cycle.
Use a mild detergent and air dry them if possible. If you need to put them in the dryer, use the lowest heat setting. When ironing, be careful not to scorch the fabric.
With a little care, your curtains will stay looking great for years to come.
How to decorate curtains?
Curtains can be a simple and elegant way to dress up a window. But there are endless possibilities for how to decorate your DIY drapes. Here are a few ideas:
- Add trim or fringe to the edges of the curtains for a decorative touch.
- Sew on beads, sequins, or other embellishments to create a one-of-a-kind look.
- Hang the curtains from decorative curtain rods or hooks to really make them stand out.
- If you’re looking for a more rustic feel, try making farmhouse style curtains. These curtains are usually made from natural materials like burlap or linen. They can be left plain or decorated with trim, fringe, or other embellishments. Farmhouse style curtains are a great way to add a touch of country charm to your home.
With a little creativity, you can transform simple curtains into a truly unique window treatment.
Curtains are one of those things that can really make or break a room. They can add warmth, privacy, and style – but they can also be a pain to clean and DIY. In this guide, we’ll show you how to DIY your curtains so that they look great and last for years to come.
How to sew curtains step-by-step guide
Materials:
- blackout fabric
- header tape
- jeans needle
- matching jeans thread
- scissors
- pins
- sewing machine
- measuring tape
How do I make my own curtains?
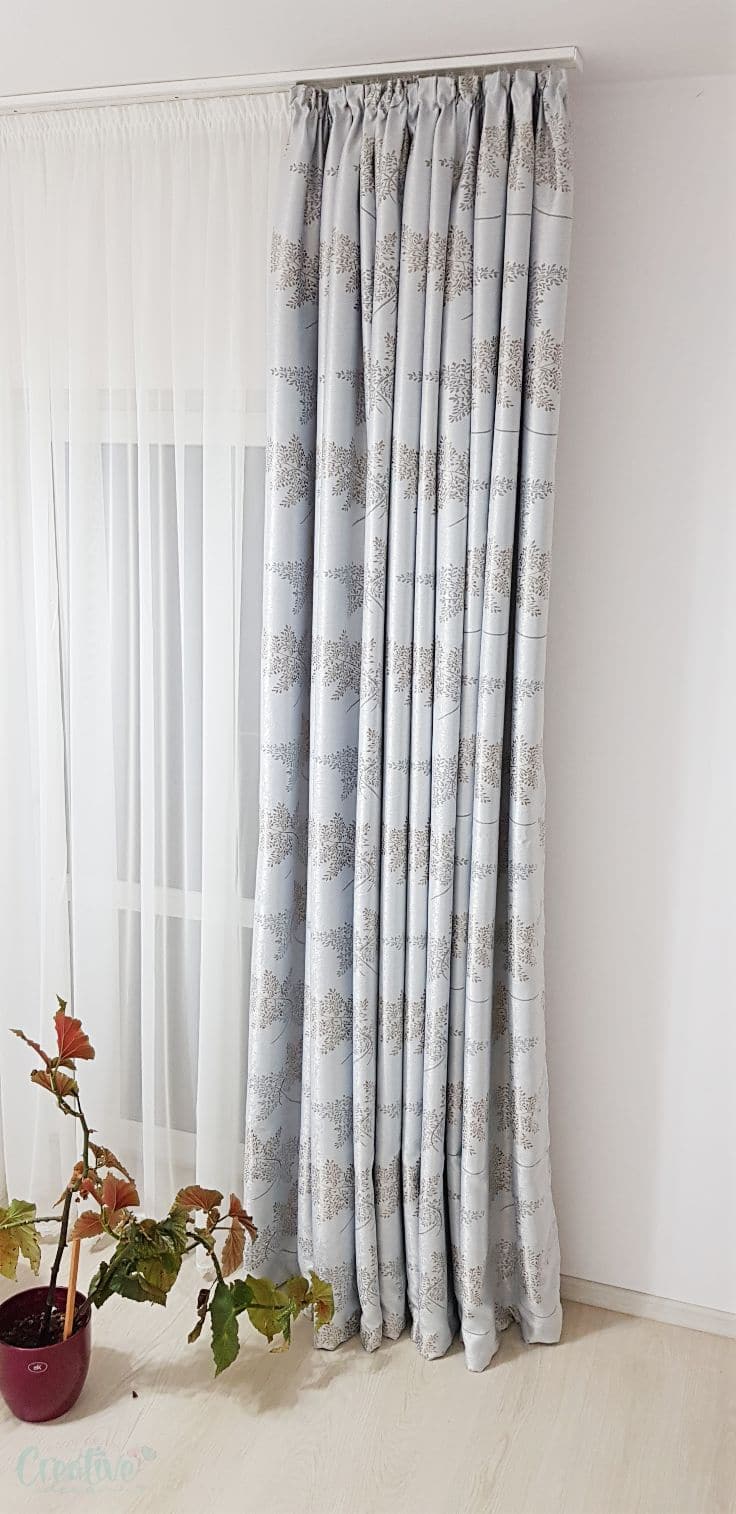
If you’re wondering why my curtains are so long in the video, it’s because I’m a freak, that’s why! Kidding! Two reasons: I actually like them hanging on the floor a little bit, to me it gives a special touch to a room; and also, we were planning on moving the rods up a little since there was too much light coming through. Which happened pretty soon after shooting the video, as seen in the photos.
Prepare the materials
- Please note you will need to sew 2 panels for each window.
- Start by measuring the length of your rods. Split that in half. Multiply each half by 2 1/2 and add 8″ seam allowance (4″ for the right seam, 4″ for the left seam). That’s how much width you need in your fabric, for each panel (one for the right one for the left side of your windows).
- Attach the clips to your rod and clip your measuring tape onto those clips. Measure down to the floors and add 8″ seam allowance (4″ for the top, 4″ for the bottom), plus 1/2″ to attach the header tape. This will be the length of your fabric for each panel.
- Roll out your fabric on a large surface, like the floors of your house, measure the fabric according to the above measurements and cut.
Sew each panel
- Finish the sides of each panel. With the panel wrong side out, measure and fold each side 2″ in, pin, sew down and press.
- Fold one more time, 2″ in, pin, sew down and press. Sides are done!
- With your panel right side out, measure 1/2″ down the top and mark.
- Place header tape to the top of the curtain, wrong side out, so the fabric and tape are facing right sides together, then align the top side of the tape with the mark above. Pin and sew down about 1/4″ down the top of the header tape, stopping about 1/2″ away from the sides of the panel.
- Fold the header tape up. Finger press and iron press (make sure you have the correct setting in your pressing iron).
- Place fabric wrong side out and fold the header tape down, leaving about 1/4″ of fabric “peaking” and pin.
- Sew down the top, middle and bottom of the header tape, making sure not to sew through the strings and the hooks and stopping 1/2″ away from the sides.
Ruffle/gather the panels
- Pull the strings in your header tape to a side, fold the excess tape in, finger press and trim off. Or if your tape is fraying, fold the excess tape under and edgestitch a perpendicular line over the tape.
- Pull strings to gather the top of the panel and create nice, thick, little pleats.
Hem the curtains
- Now all you have to do is hem the panel. Fold the bottom of the panel, 2″ in, pin, sew down and press. Fold one more time, 2″ in, pin, sew down and press.
Once done you can get some curtain clips or drapery rings to gather each panel on a side or simply hang your gorgeous curtains as they are.
If you’re looking for a simple sewing project that will really make a difference in your home decor, look no further than DIY curtains. With just a few supplies and some basic sewing skills, you can create beautiful curtains that will add privacy, style, and warmth to any room. So what are you waiting for? Get started today and let me know your own DIY curtain ideas, in the comments below.
Pin to save for later
Most popular sewing projects:
- Tips for sewing a round hem
- Corded bag handles
- Flutter sleeve dress pattern
- How to laminate cotton fabric


ABOUT PETRO
Hi, I’m Petro, author and founder of Easy Peasy Creative Ideas. Sewist, crafter, avid DIY-er, foodie, photographer, homemaker and mommy to one. I’m an expert at coming up with quick, clever sewing tips, recycling crafts and simple, easy recipes! You can find my ideas featured in reputable publications such as Country Living, Good House Keeping, Yahoo News, WikiHow, Shutterfly, Parade, Brit & Co and more. Thanks for stopping by and hope you’ll stay for a while, get to know me better and come back another time. Stick around for real fun projects! Read more…