

DIY Flower Pot With Pom Poms
Article may contain Amazon & affiliate links. As an Amazon Associate I earn from qualifying purchases at no additional cost to you.
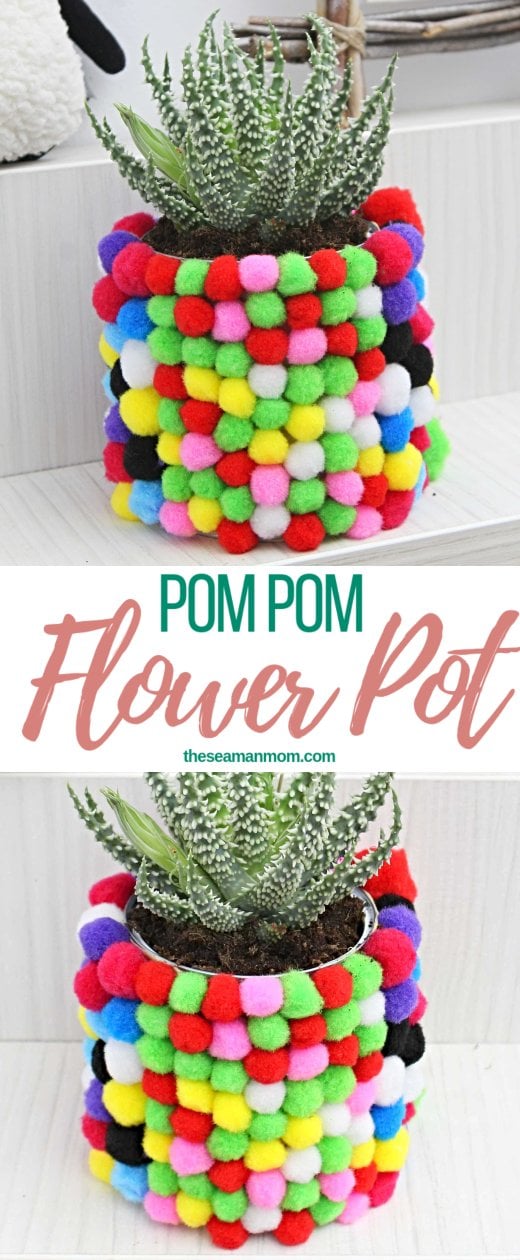
Are you looking for a fun way to add a pop of color to your green plants? This simple DIY flower pot takes less than 20 minutes to make and would be great as a gift idea too!
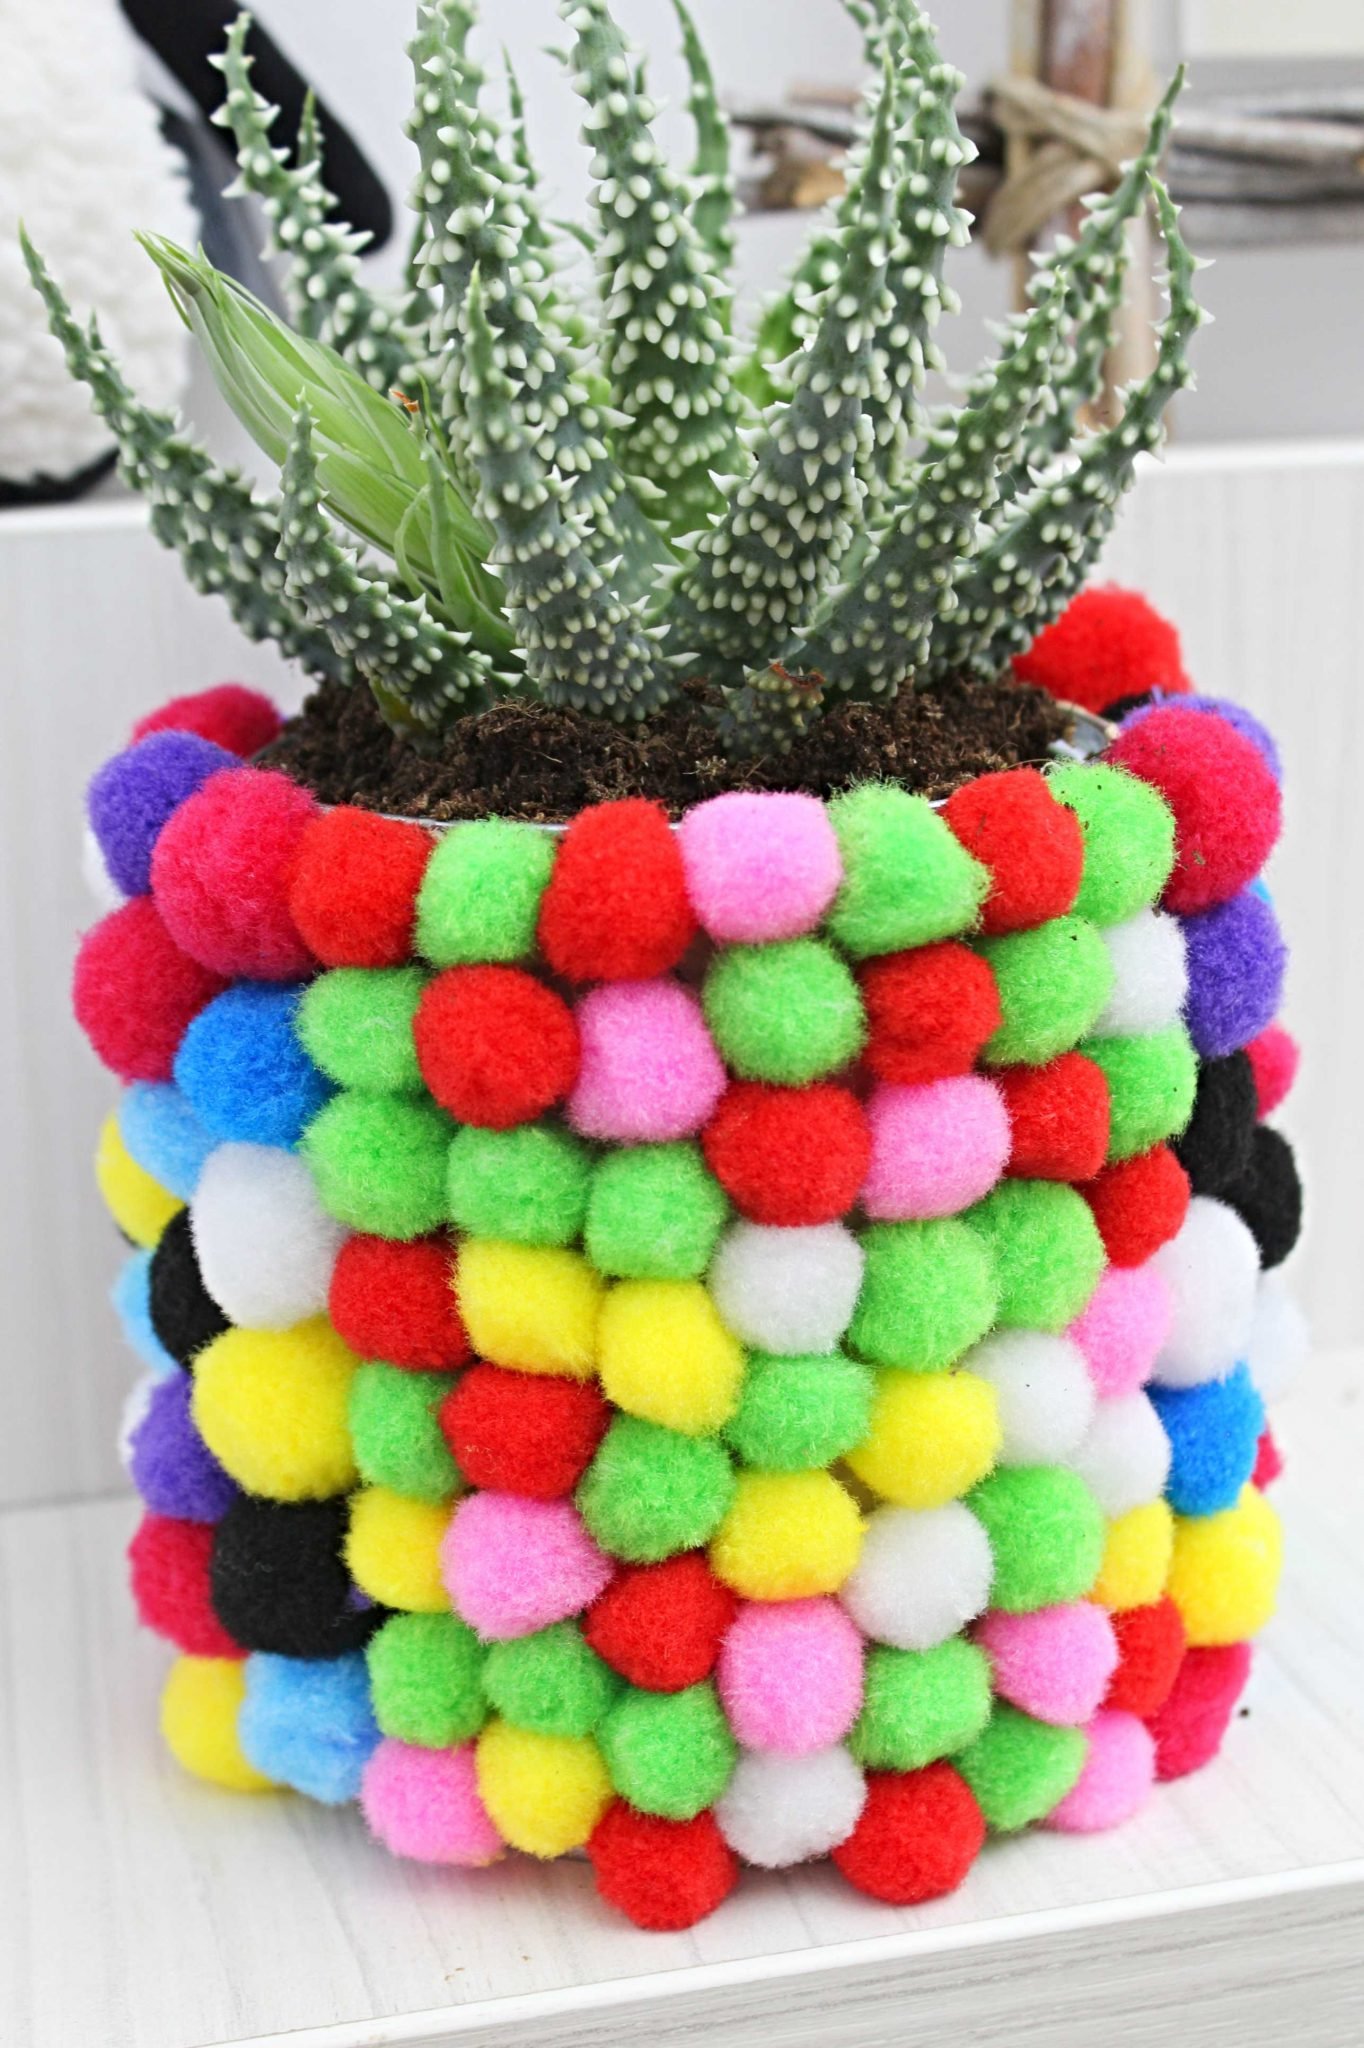
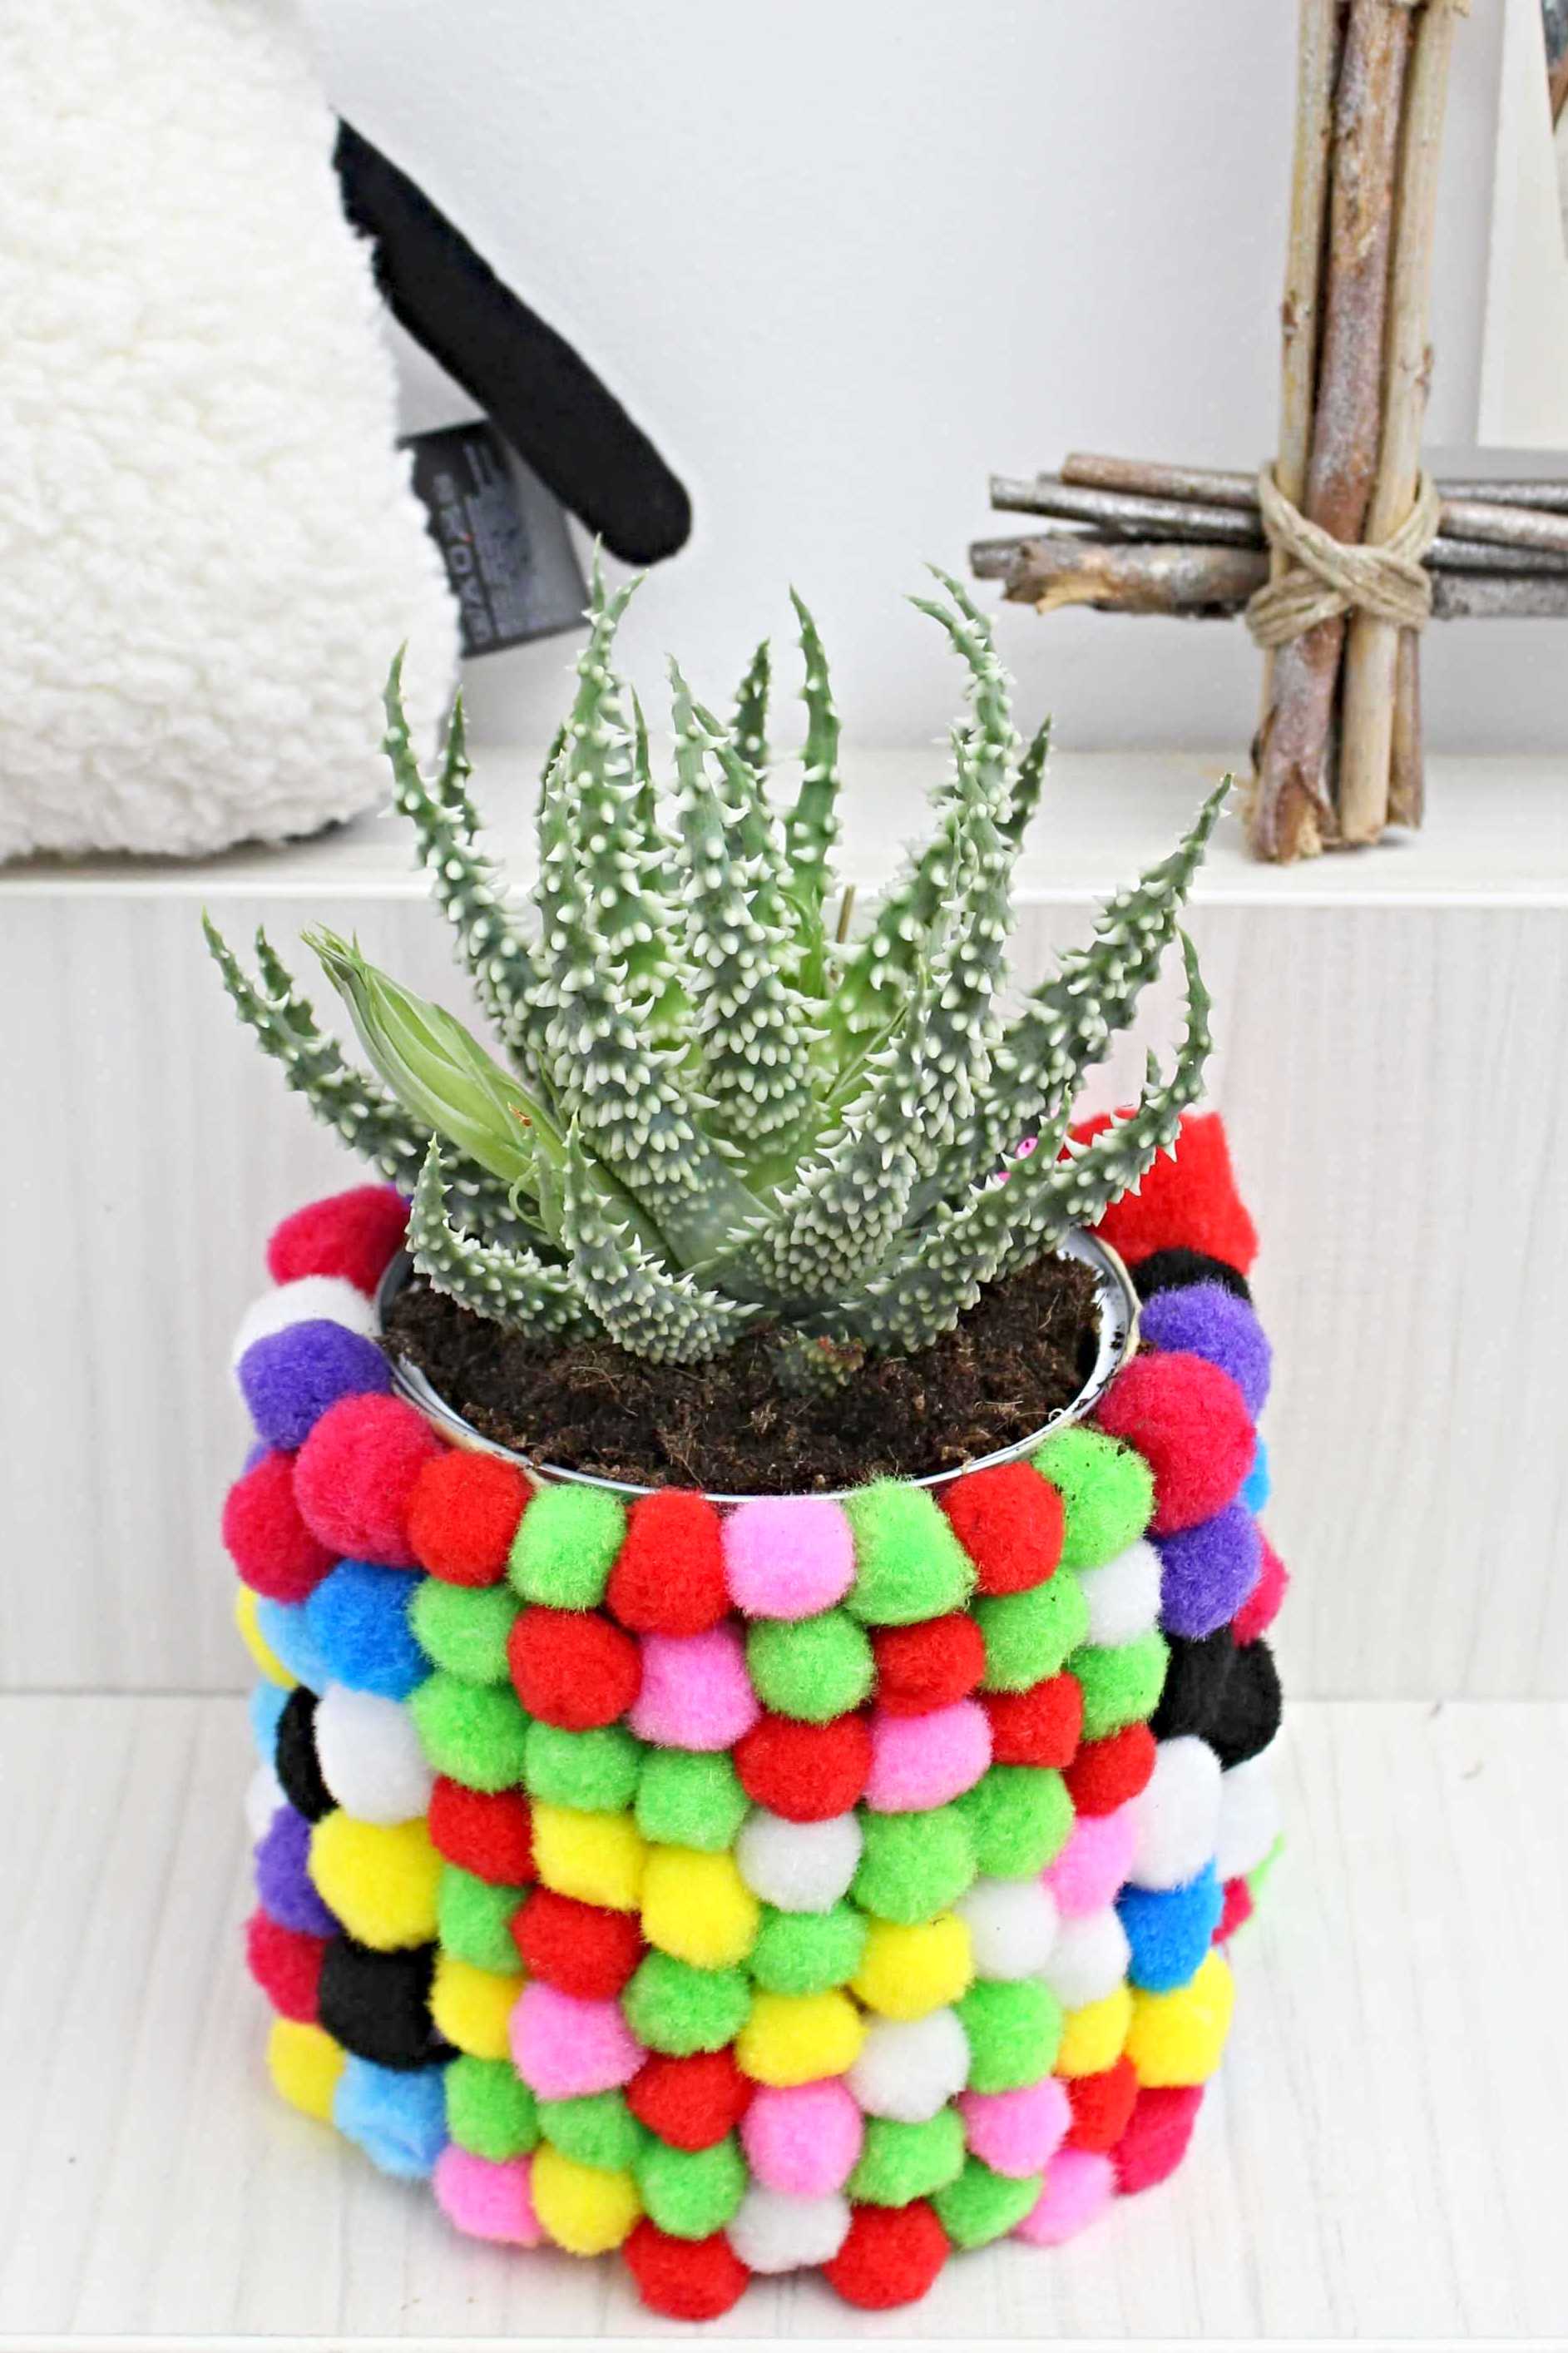
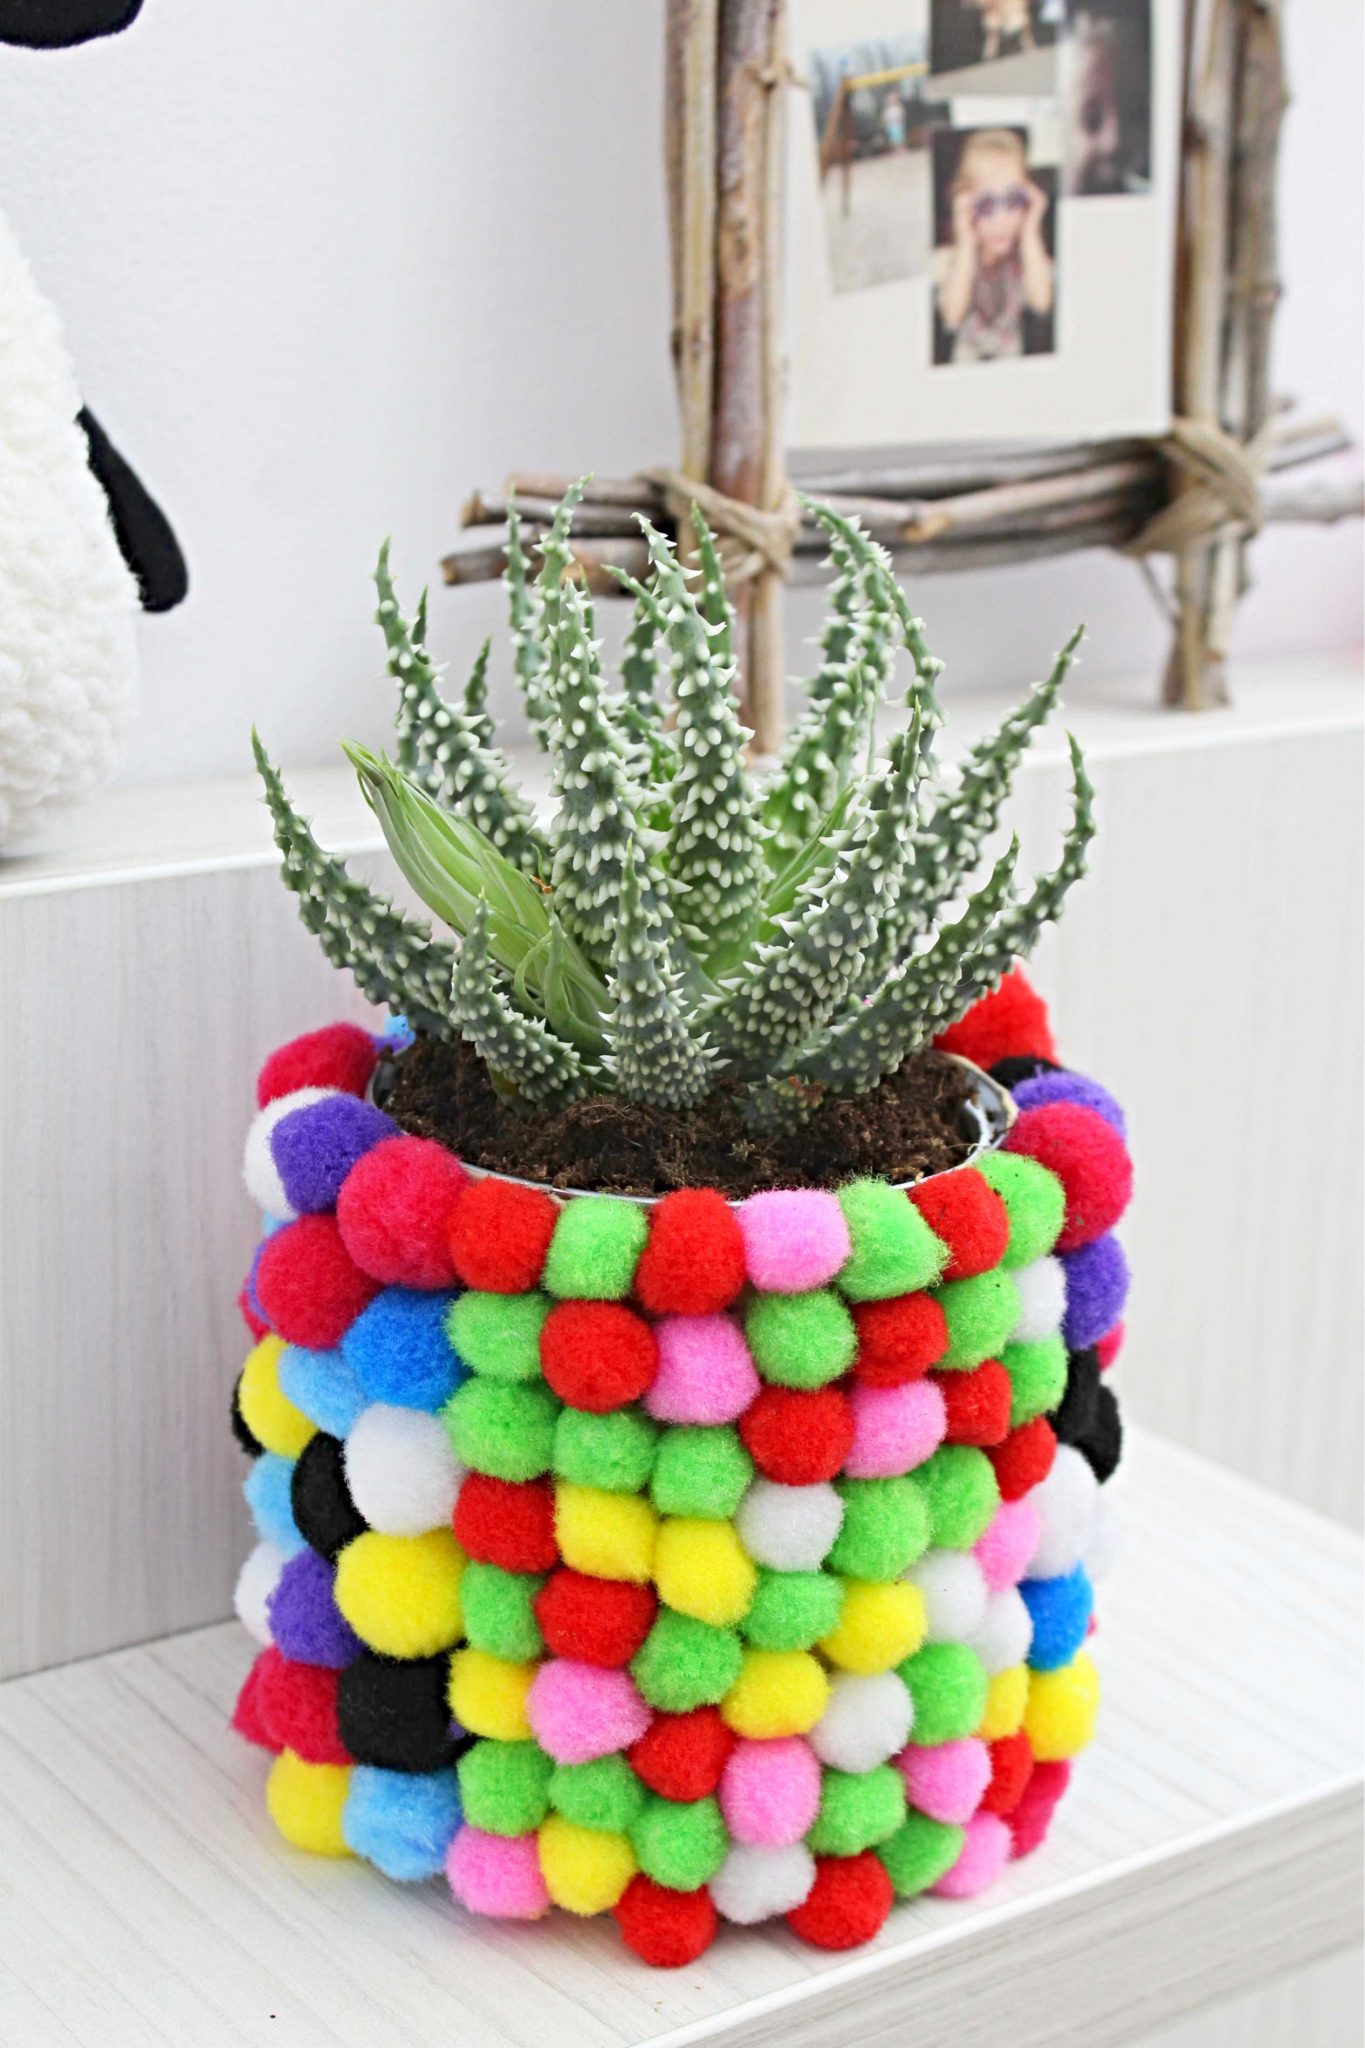
Pom pom planter
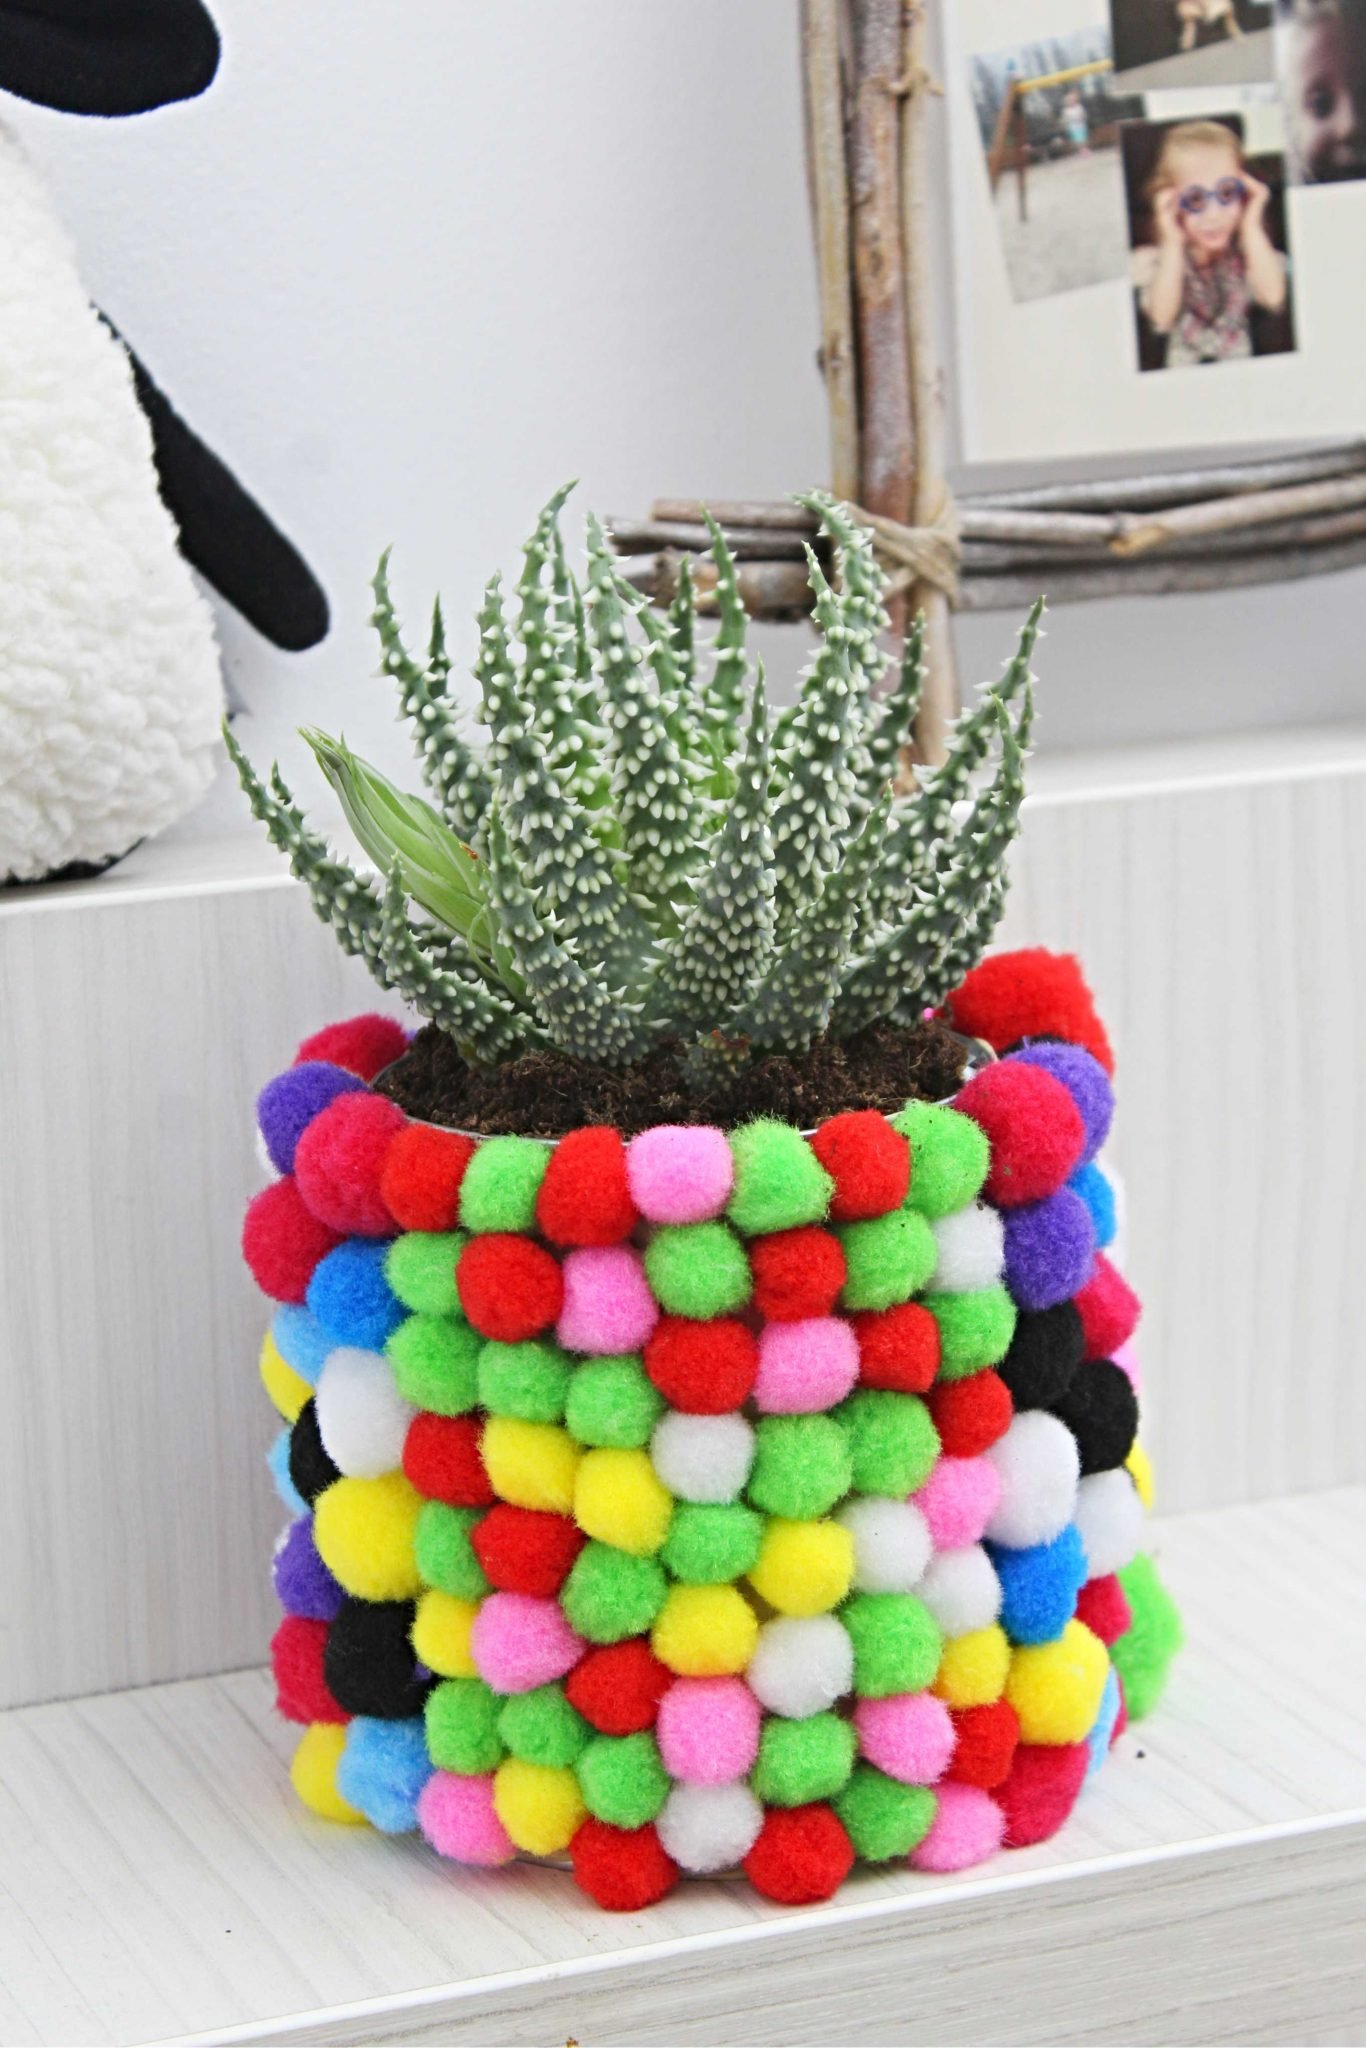
If you were looking for a way to add a pop of color to your home decor, look no more cause this adorable DIY flower pot is exactly what you need! This lovely flower pot decoration idea is soooo easy and quick to make you’ll want to have one of these babies in every room! Ready in 20 minutes from start to finish, modern plant pots like these will completely change your “blah” home decor without you having to spend a fortune!
Need more planter ideas?
- Rustic flower pot
- Mini flower pots
- Painted tin can pots
- Succulent planter box
- Fabric covered planter from ice cream container
Pom poms can brighten up almost anything and it’s amazing how much fun they can bring! So if you’re sick of your ugly, boring flower pots, jazz them up a little and turn them into cute plant pots in just a few minutes using simple materials: a bunch of pom poms and glue. You’re sure to get inspired with this fabulous DIY flower pot!
And if you don’t have a flower pot and need to make one, why not be frugal and make some metal plant pots using tin cans, just like mine? These flower container ideas are a super great and practical way to recycle something you otherwise toss in the trash bin! Or maybe you’re looking for unique plant pots because other decorative pots won’t suit your style! This gorgeous DIY flower pot is spot on!
This girly girl DIY flower pot would also make a great gift for a friend who loves flowers or gardening or is into unique and cute home decor stuff! These cute plant pots are a sure way to put a smile on their face!
I’m not great with tools and complicated DIYs so this was a perfect project for me and I truly super enjoyed making this lovely flower pot. And it looks so good in a little girl’s room!
I used construction adhesive to glue the pom poms to the tin can because it’s super strong and it dried very quickly keeping the pom poms in place while I moved to the next set of pom poms. I also used electrical tape to secure the rim of the tin can which otherwise can be a hazard because it was so sharp. Electrical tape is very thick and also pretty flexible allowing me to easily cover the curved rim.
DIY flower pot
Materials:
- tin can, cleaned and dried
- tape (I used this electrical tape)
- pom poms in various sizes and colors (you can make your own with this tutorial and this tutorial)
- construction adhesive (I used this one)
- brush
Instructions:
- Remove the paper and the glue on the tin can, wash well and let dry completely.
- Tape the inside of the tin can around the rim if sharp.
- Working in small sections, apply a coat of adhesive to the outside of the tin can and spread it with the brush. The coat should be thin but not too much.
- Press pom poms into the adhesive one at a time. I decided to make a simple pattern and I worked in rows but I wanted to give interest to my flower pot so I mixed different color pom poms.
- Continue in the same manner until you cover the whole tin can in adhesive and pom poms.
- You can use different size pom poms if you wish. Just don’t spend a lot of time on arranging them on the tin can as the adhesive dries out pretty quickly.
- Leave to dry over night then fill with soil and flowers. I placed an ugly, brown plastic flower pot into my DIY pom pom pot.
Pin to save for later
More pom pom crafts you might like:
- Pom pom cloud wall decor
- How to make tiny pom poms
- Making pom poms in bulk
- DIY pom pom rug
- Pom pom branches winter decor
ABOUT PETRO
Hi, I’m Petro, author and founder of Easy Peasy Creative Ideas. Sewist, crafter, avid DIY-er, foodie, photographer, homemaker and mommy to one. I’m an expert at coming up with quick, clever sewing tips, recycling crafts and simple, easy recipes! You can find my ideas featured in reputable publications such as Country Living, Good House Keeping, Yahoo News, WikiHow, Shutterfly, Parade, Brit & Co and more. Thanks for stopping by and hope you’ll stay for a while, get to know me better and come back another time. Stick around for real fun projects! Read more…