

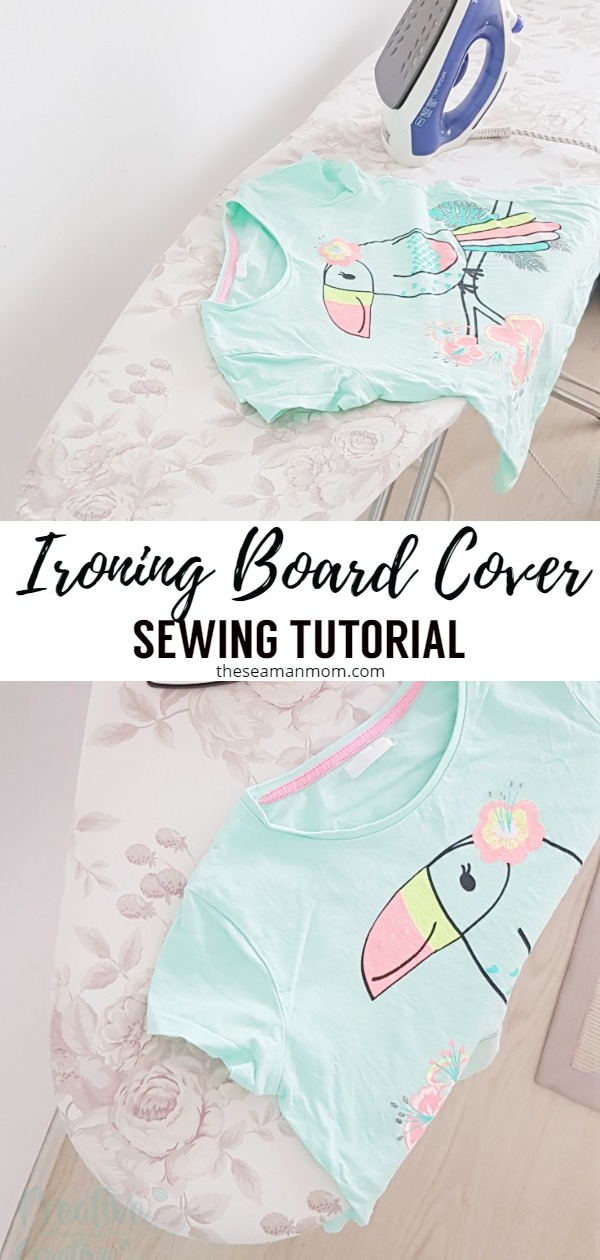
DIY ironing board cover
Article may contain Amazon & affiliate links. As an Amazon Associate I earn from qualifying purchases at no additional cost to you.
Make an ironing board cover in less than 30 minutes with this tutorial for a DIY ironing board cover! Sewing an ironing board cover that will fit your ironing board perfectly, in the fabric you love is a lot easier than you think!
DIY ironing board cover
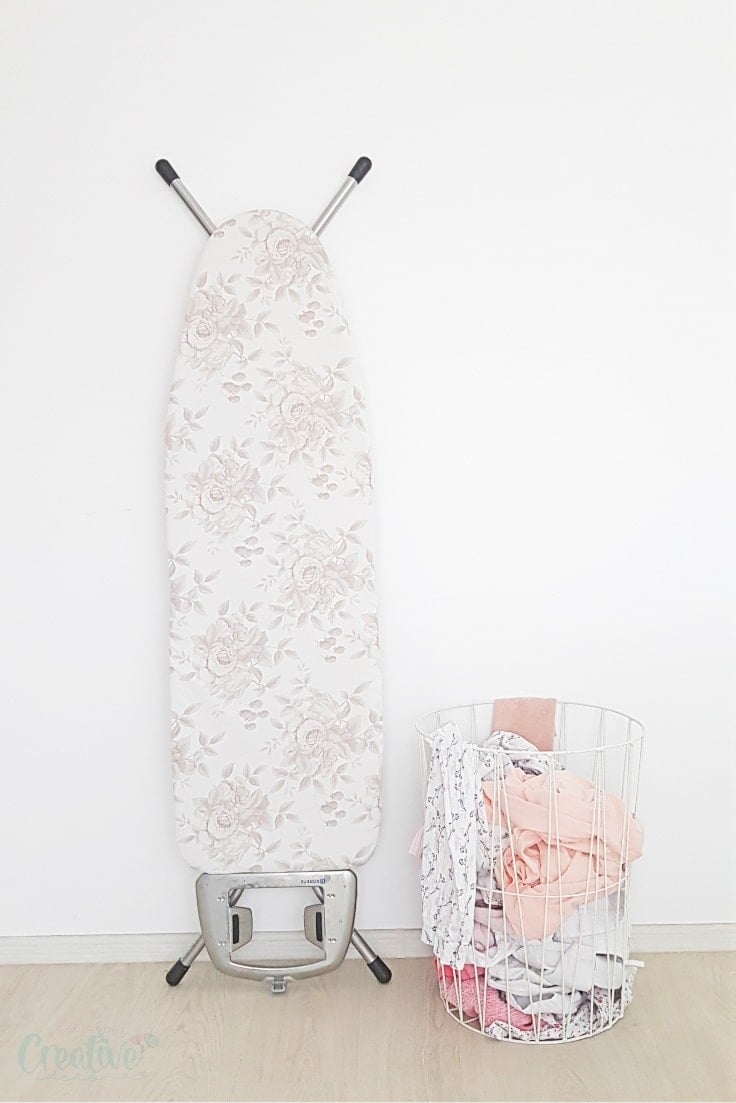
Is your ironing board cover too old and damaged to use? You could go out and easily purchase a new one but why buy a new one when you can easily make your own DIY ironing board cover in a snap? If you’ve been sewing for a while, I’m sure you get me: we want to sew everything!!
If you’ve been a long time follower you’ve probably noticed lately I’ve sewn a lot for home rather than garments. It wasn’t a choice, my home really needed all these items! Which I could totally buy but…see my point above! And now it’s time to show my ironing board a little love!
More ideas to sew for home:
- DIY fabric basket
- How to make your own curtains
- DIY lavender sachets
- Fabric cone hanging basket
- French braid mat
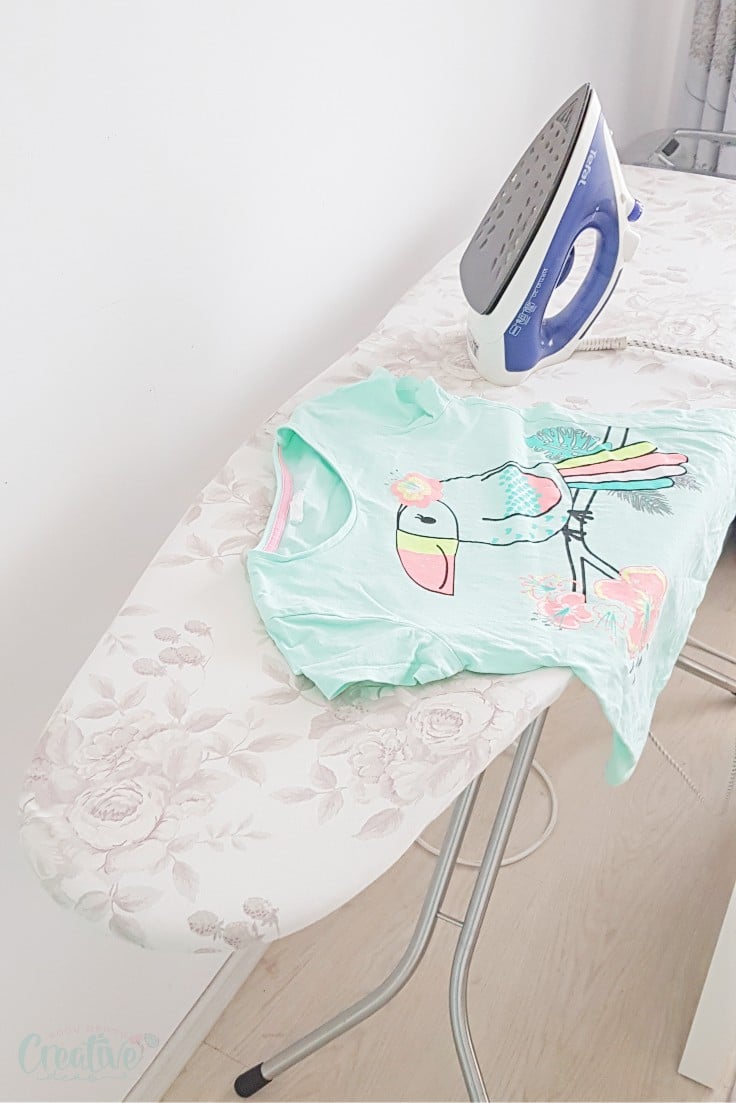
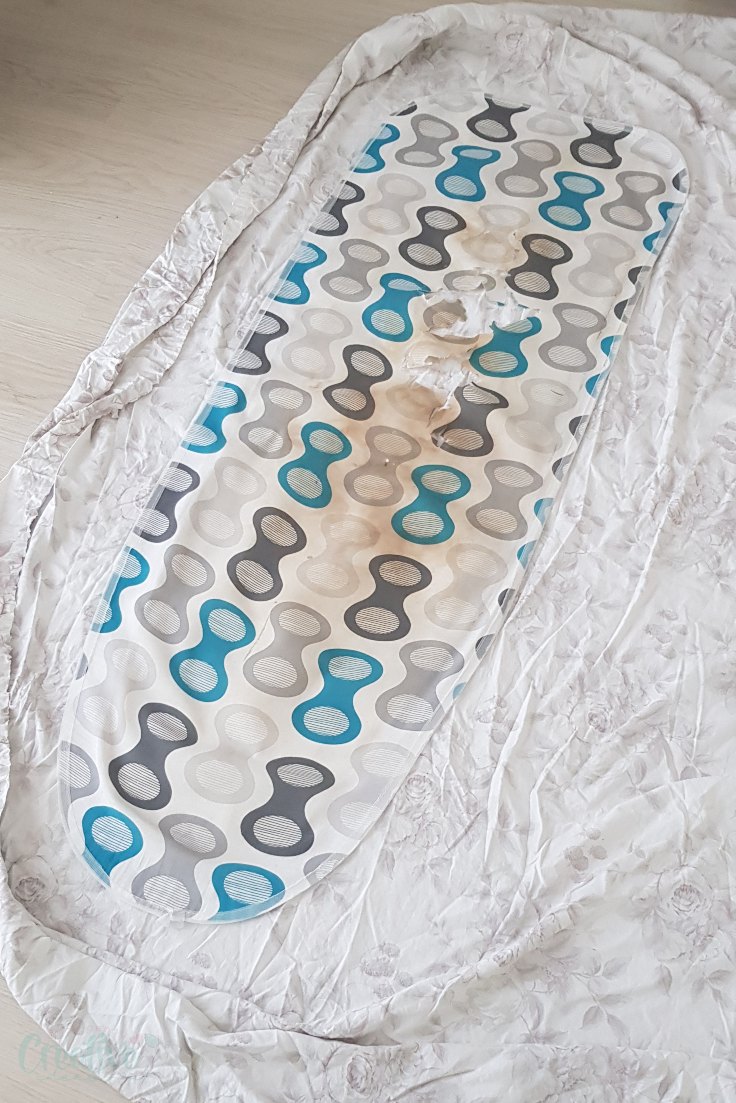
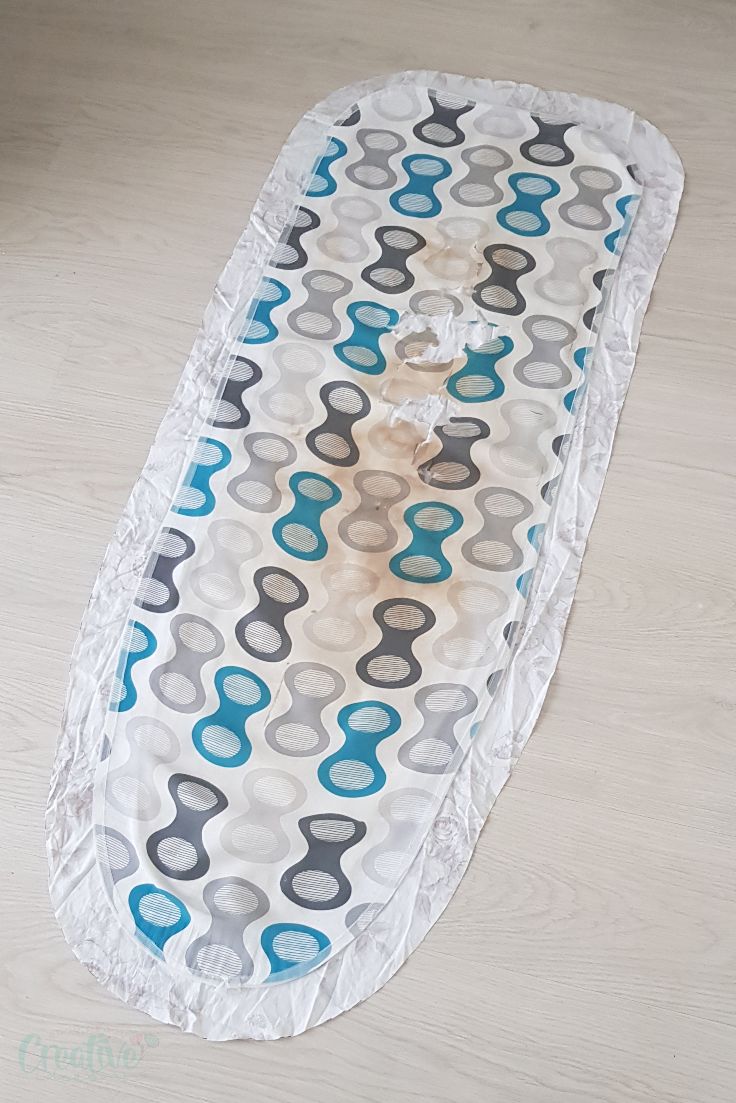
I bought my ironing table a few years ago and to be honest I never thought I’d be so happy with it for so long since I’m quite high maintenance! I use the ironing board a lot in my sewing projects and day to day necessities and it served me really well, I was really pleased with my choice! Except for the cover! The cover sucked from the very first time I used the ironing board! I had a hunch it won’t last too long and the first signs started to show almost immediately. Because the fabric was pretty low quality!
What is the best material for ironing board cover?
100% cotton is hands down the best option when considering recovering your ironing board! It’s good quality, durable and will stand the test of time (and heat!). Since it made from natural fibers, you don’t have to worry about it trapping steam or melting from the heat of the iron. Medium to heavy weight are your best options but you might encounter troubles sewing heavy cottons.
Using canvas is also an option that will offer your ironing board cover more stability and firmness but again, it might be a little hard to sew, particularly the round areas of your ironing board cover.
You can also buy heat resistant fabric. This kind of fabric is strong but not too stiff and is easy to work with. You can use this kind of fabric for other home items too, like potholders or mittens.
If you need to replace the padding too, you can make new one using batting,insul-bright or wool felt.
How do you cover an ironing board?
I’ll get into details below, in the tutorial but the basic idea is that you need to trace around your ironing board, add allowance and fold the edges inside to create a casing then thread elastic or a string through the casing.
If you need to make a new padding too, you’ll just cut the padding in the shape of the ironing board and finish the raw edges with a serger or a zig-zag stitch.
Can you wash a ironing board cover?
Yes, you can wash your cover! Thanks to the elastic/string you can easily remove the cover and wash. And because you made your ironing board cover in cotton or a similar fabric, you can safely wash it i the washing machine with other laundry items.
Hang the cover to air dry, rather than drying in a machine to avoid shrinking. Once completely dry, place it back onto the ironing board and give it a nice press before using it to iron other items. You want the surface completely smooth so the pattern/wrinkles won’t transfer to the pressed items.
How often should you change ironing board cover?
Some covers last for years if made out of good quality fabrics! So you may not need to replace the fabric for 5-6 years. A good rule of thumb is to remove the old cover and replace with brand new one whenever your ironing board cover shows signs of “distress”. These include torn fabric, stains that you’re not able to remove with washing, too many burned spots, deep wrinkles you;re not able to smooth out etc
How to sew an ironing board cover
Materials:
- 100% cotton (I used medium weight)
- fabric marker
- seam gauge
- scissors
- pins
- matching thread
- sewing machine
- pressing iron
- elastic – optional
- safety pin
Directions:
- Place the cotton fabric on the floor, wrong side up.
- Remove the old cover from your ironing board and it press well especially at corners.
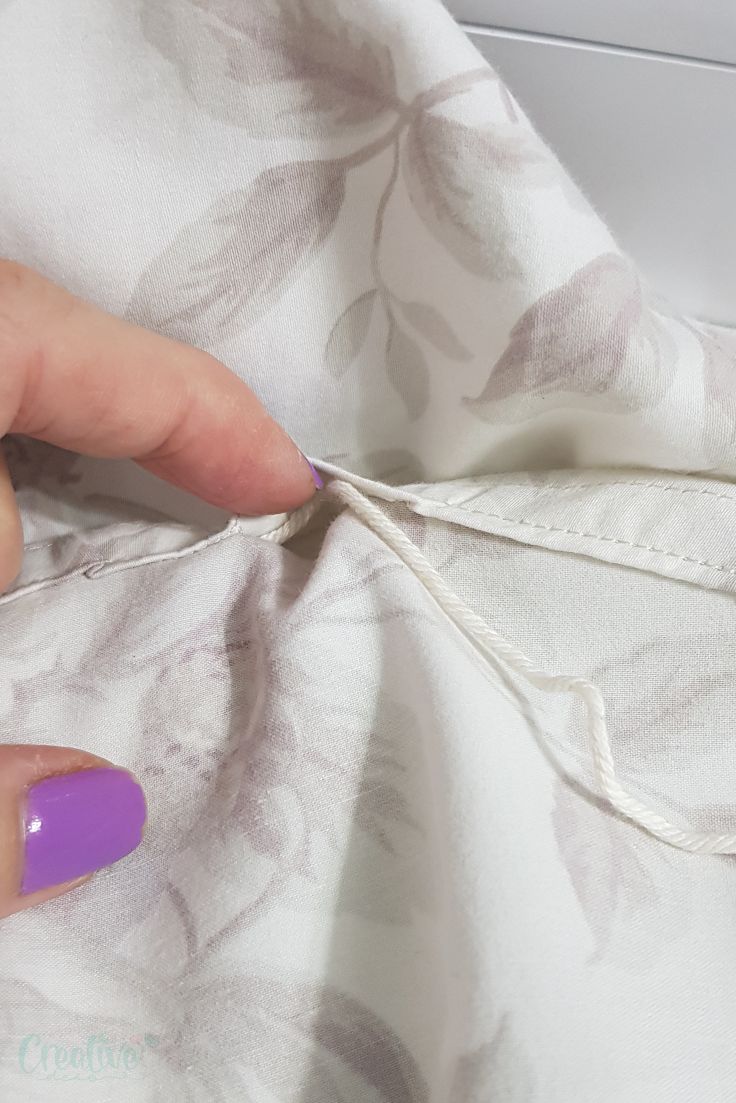
- If your old cover was attached to the board with a string and the string is still in good shape, remove the string and keep it to use on the new cover. If not, you can use elastic instead.
- Place the old cover over the new fabric on the floor.
- Using a seam gauge, trace around the old cover, adding 2″ allowance.
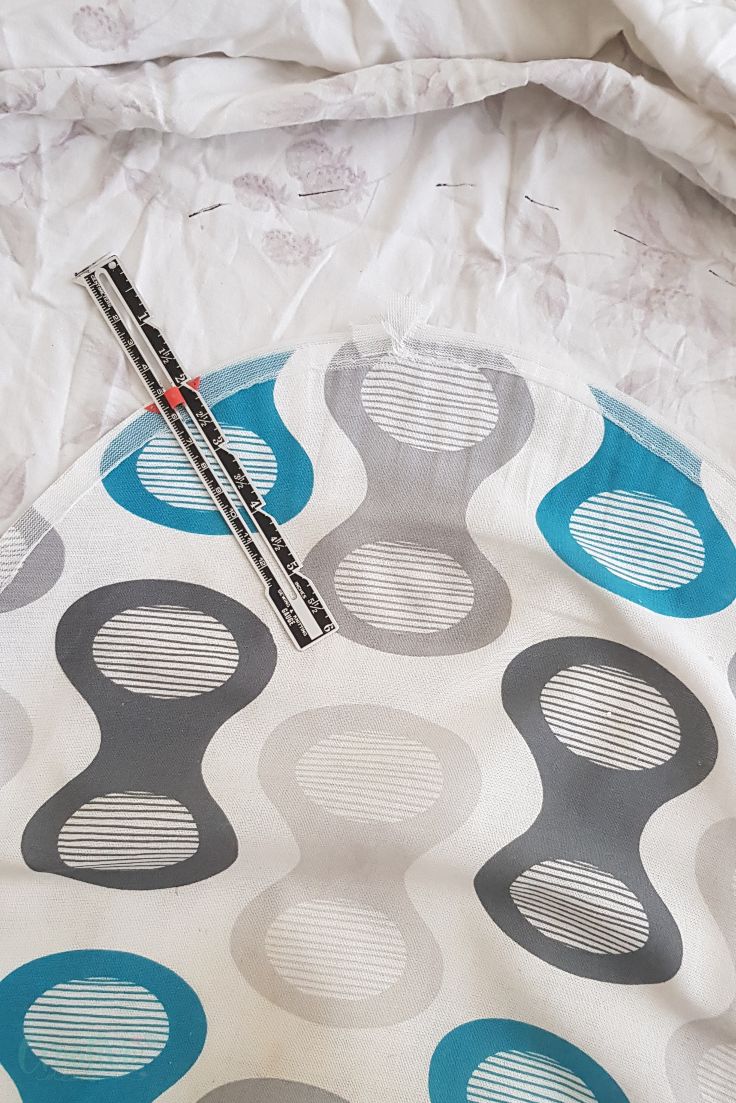
- Cut out following this mark.
- Hem the new cover using this tutorial for sewing a round hem.
- When you are at the end of sewing the hem, leave a small gap, like so.
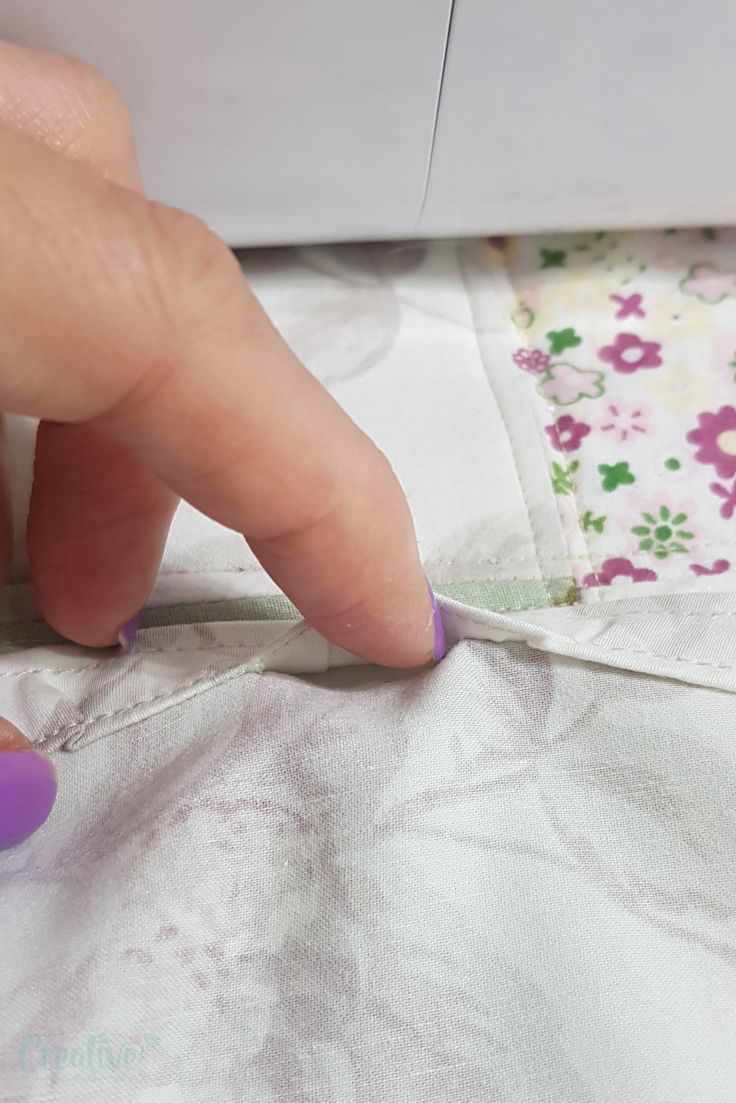
- Back stitch start and end.
- Using a safety pin, thread the string or elastic through the casing.
- If you’re using elastic, sew the gap closed. If using string, leave the gap open.
- Place your new cover over the ironing board and tie the string (no need to tie if you were using elastic).
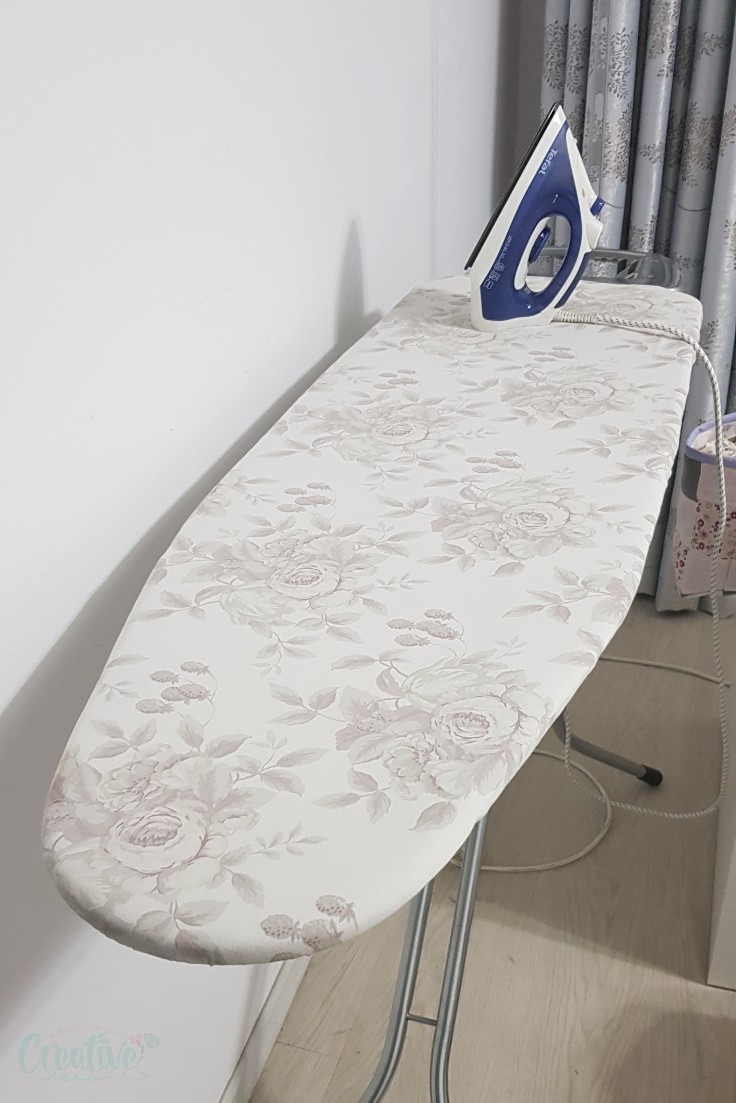
- Smooth out the cover as much as possible to eliminate wrinkles and spread it evenly over the board then give it a good press.
I hope you enjoyed reading this tutorial as much as I did making my ironing board cover. Please let me know your thoughts in the comments below and don’t forget to rate this tutorial! Thanks!
Pin to save for later
ABOUT PETRO
Hi, I’m Petro, author and founder of Easy Peasy Creative Ideas. Sewist, crafter, avid DIY-er, foodie, photographer, homemaker and mommy to one. I’m an expert at coming up with quick, clever sewing tips, recycling crafts and simple, easy recipes! You can find my ideas featured in reputable publications such as Country Living, Good House Keeping, Yahoo News, WikiHow, Shutterfly, Parade, Brit & Co and more. Thanks for stopping by and hope you’ll stay for a while, get to know me better and come back another time. Stick around for real fun projects! Read more…