

The Best DIY Tulle Skirt Out There: Step By Step Photos & Video To Help You Make It
Article may contain Amazon & affiliate links. As an Amazon Associate I earn from qualifying purchases at no additional cost to you.
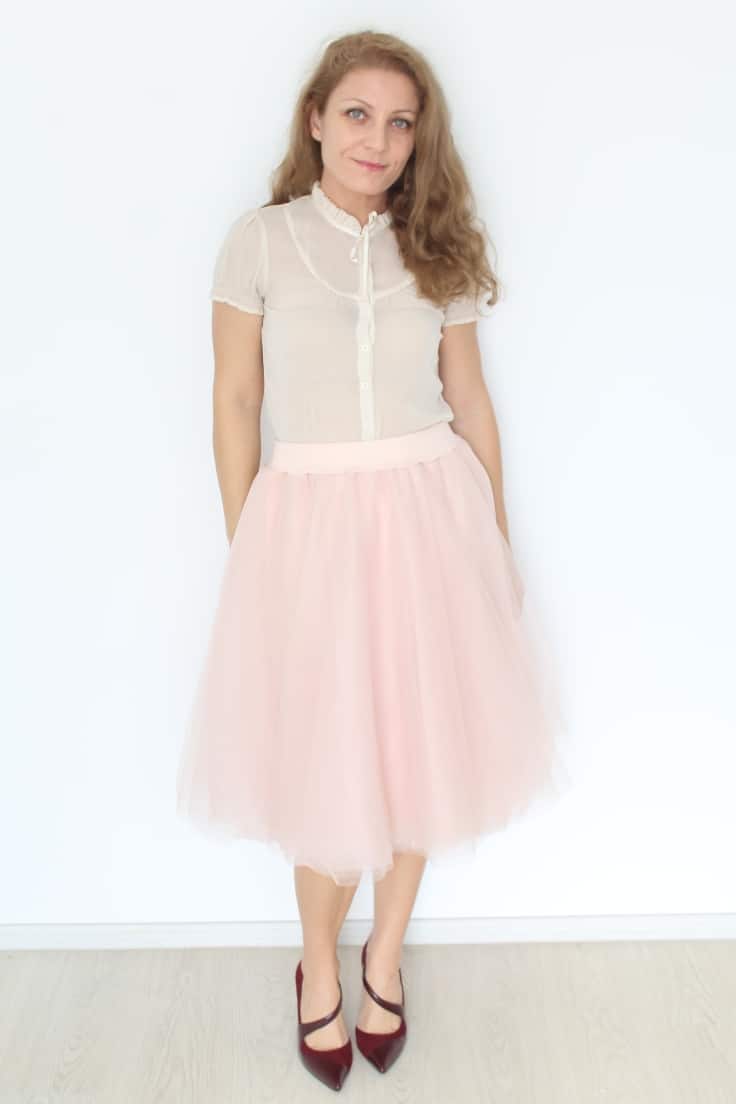
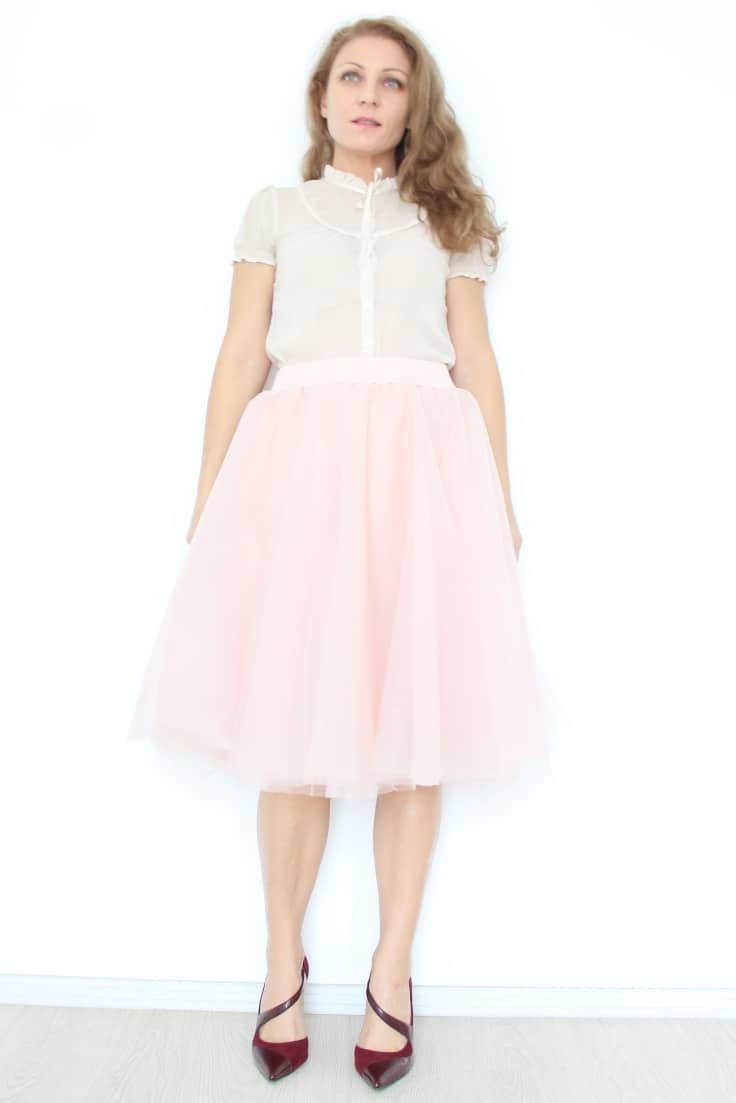
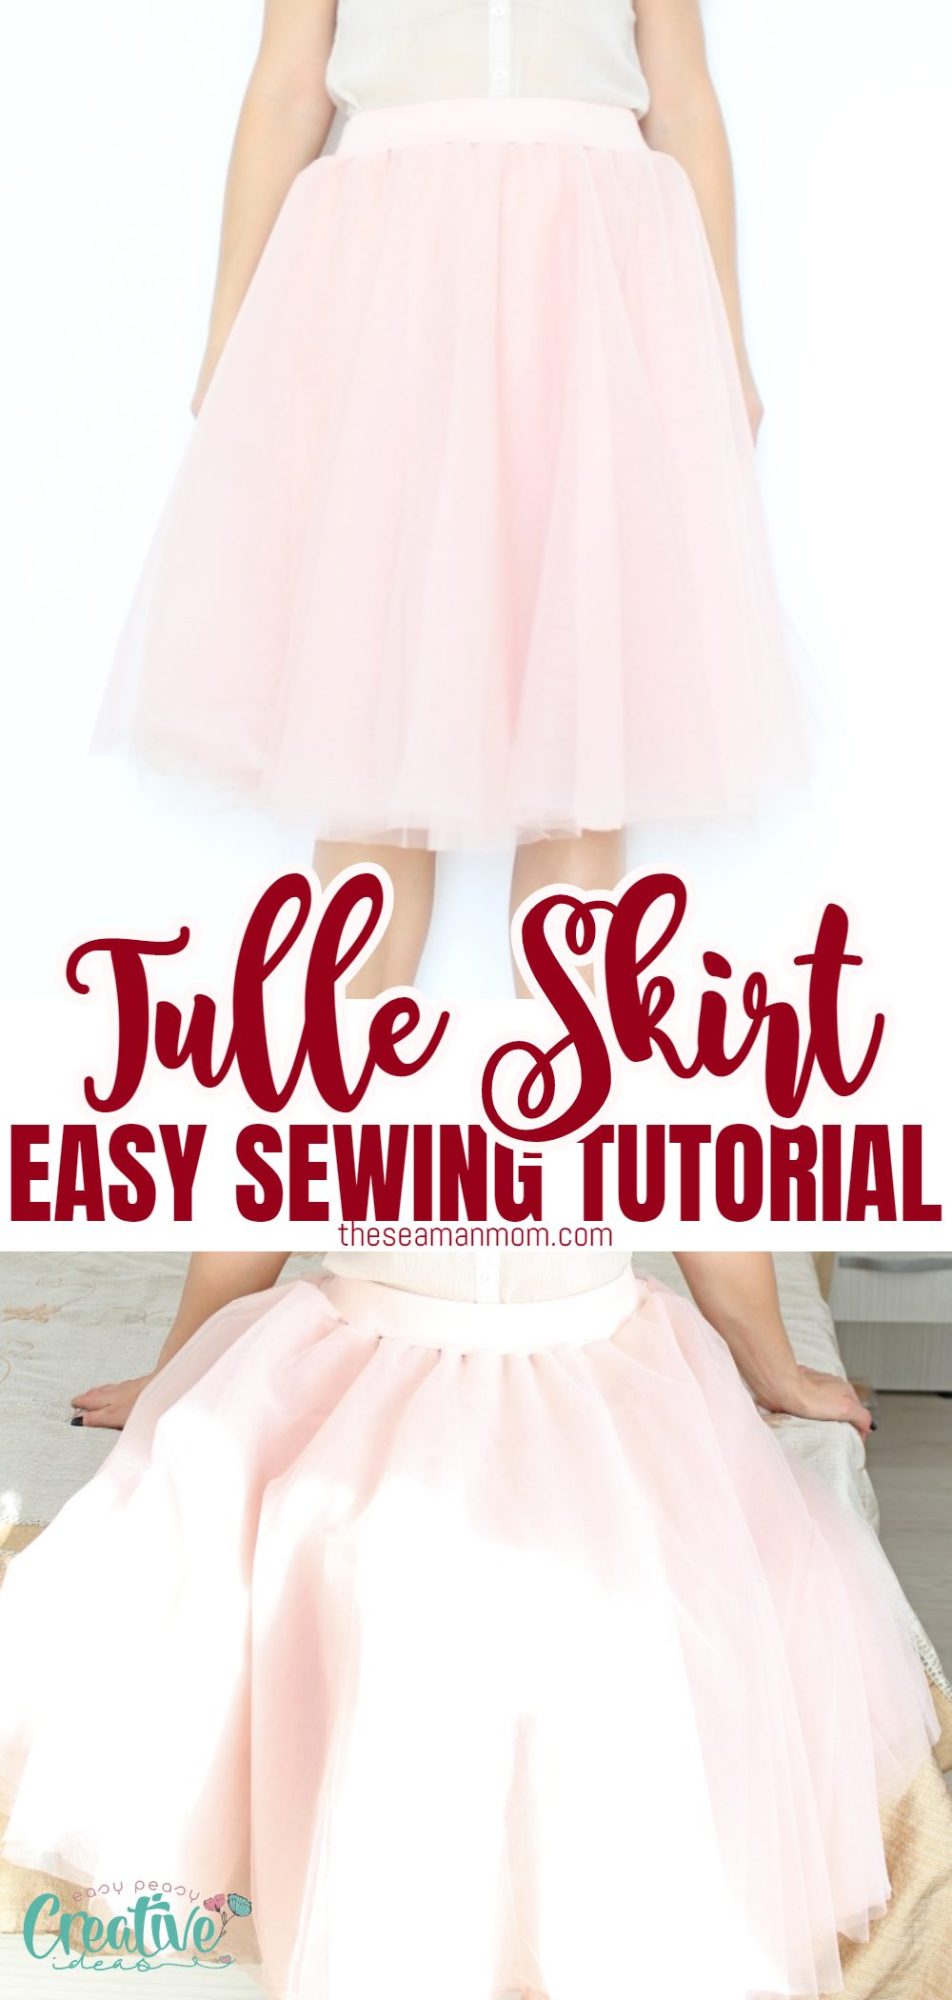
Everyone loves a good tulle skirt and you can make one too! This women tulle skirt looks adorable and is so fun to wear! Learn how to sew one here! The tutorial for this beautiful layered tulle skirt makes the whole process so simple and easy peasy!
Women tulle skirt

Ever wondered how to make a DIY tulle skirt for ladies? Making a women tulle skirt is pretty much the same as making a girls tulle skirt at a larger scale. I’m super excited about this women tulle skirt I made for myself! I’ve been meaning to sew one for ages but never got the courage to start working on it. I’m such a chicken, I know!
I bought this gorgeous tulle fabric and the matching lining over six months ago but I kept postponing making this ladies tulle skirt. I was under the impression that sewing lots of tulle like this skirt requires is super hard. And since my lining is a knit, that would mean double trouble! Plus I really, really wanted to make my DIY tulle skirt as a layered, circle tulle skirt which in my mind would add up to the difficulty.
Need more skirt ideas?
- Half circle skirt with lining and zipper
- No zipper knit half circle skirt
- 30 minutes skirt
- Bubble skirt sewing tutorial
- Reversible skirt tutorial
Fair enough, sewing tulle is not as easy as sewing cotton or even knits! But since I’ve already sewn with tulle before when I made this super cute bubble skirt, even though not at such a large scale, I decided it’s time to put my big girl pants on and start sewing my dream skirt! As a side note, you may also find this pinning trick really helpful when making a garment with tulle.
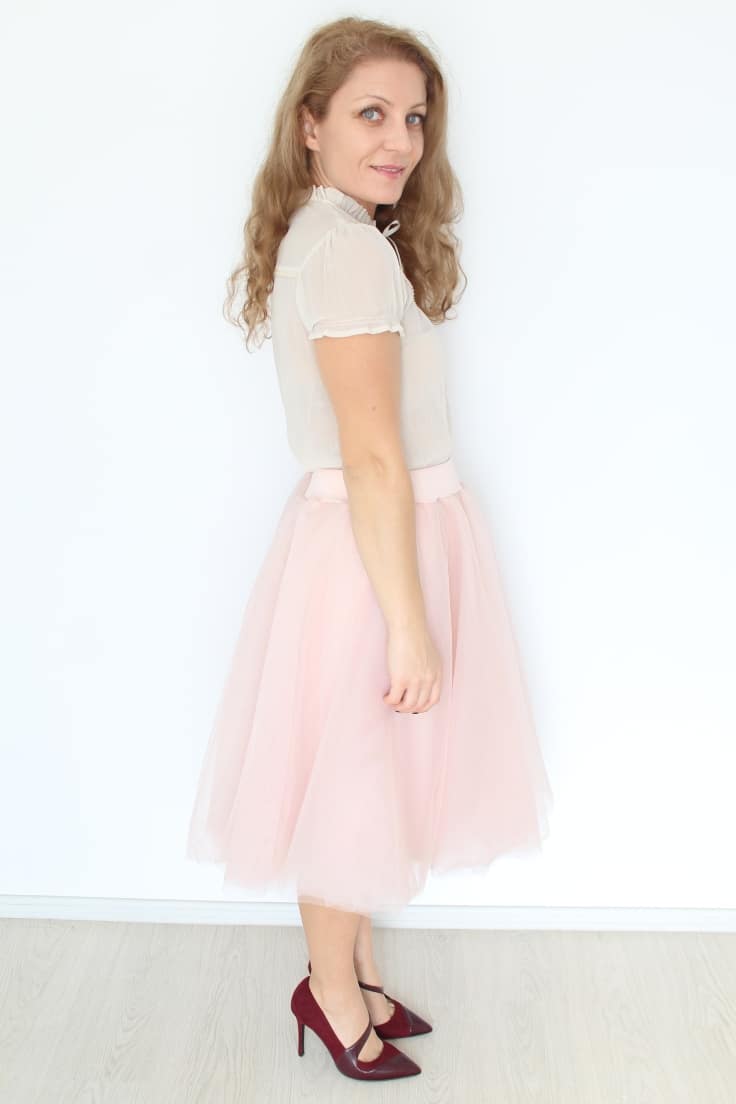
And I am sooo thrilled I finally did it! My women tulle skirt turned out insanely adorable, so comfortable to wear and pretty practical since I can dress it up or down for any kind of events, formal or casual. I may be biased but I think it’s the perfect party outfit so I’m seriously considering wearing my layered tulle skirt for the New Years Eve party! These wide leg pants I made with this purpose in mind can wait for another special occasion! I even tried this ladies tulle skirt on with sneakers and a plain t-shirt and it looks absolutely fabulous!
How to make a multi layer tulle skirt?
I’ll be going through all the steps required to make a layered tulle skirt in the tutorial below. But in a gist, making a tulle skirt with layers requires you to:
- create an A line skirt and use it as lining (choose a fabric that allows you to move freely, like jersey).
- make a few circle skirts out of tulle (the number depends on how big and fluffy you want your skirt; for mine I used 7 layers).
- make the waistband out of a stretchy fabric so you don’t have to insert a zipper to help you pull the skirt on.
- attach all these together
Easy peasy, right? Right! I love it that tulle doesn’t need hemming or finishing the raw seams. And that adds up to the easiness in making this women tulle skirt.
How to make a tulle overlay skirt
If you are short on time or simple don’t want to deal with the hassle of working with many layers of slippery tulle, you can opt for the simple version of a tulle overlay skirt. You can totally do that by using a single layer of tulle skirt instead of multiple layers, following the instructions below.
When making your skirt, you might find this tutorial for pinning tulle helpful.
To make your own womens tulle skirt you won’t need a tulle skirt pattern as you get to make your own circle skirt pattern. It takes just a few easy and quick steps that I already highlighted in this tutorial! So before anything, make sure you read the instructions there to make your pattern and then come back here and see how to use that pattern to make your tulle skirt.
Can I use this tutorial to make a long tulle skirt or a plus size tulle skirt?
The beauty of making your own pattern in your own size is that you can work with the size and length details as much as you like.
This full tulle skirt tutorial is for a basic, midi (knee length), multi layered circle skirt with knit lining and without a zipper. But you can use the exact steps to make all kinds of tulle skirts: a DIY long tulle skirt or a mini skirt or a plus size skirt. Or if you are more experienced, you can even sew a tulle skirt with a zipper at the back.
If you choose to make a long skirt, the number of layers of tulle added play a big difference in making your skirt looking formal or casual. In case you are planning on making this skirt for a formal event (like a ball party or a wedding), you can add more layers of tulle to help your skirt look extra sumptuous. If you’ll be using the skirt for day to day wear, add just 2-3 layers of tulle.
In this tutorial I’m showing how to make a tulle skirt with layers for beginners so there will be a lot of extra steps to make the process easier. If you are more experienced you can skip some of these as I did in the video tutorial. Ready to give it a go? Let’s see how to make a tulle skirt in just a few easy steps!
DIY tulle skirt
Materials:
- two large pieces of paper to make your patterns for the skirt and lining
- tulle fabric in color of choice (soft tulle is best for this kind of skirt; how much you need depends on the size of your skirt; I used about 8 yards of fabric)
- matching knit fabric for lining (I used about 1 yard)
- wide elastic for waistband
- matching thread
- pins
- large ruler
- pen
- fabric marker
- seam gauge
- knits needle
- sewing machine
- serger (optional but particularly useful for this project)
- iron
How to make a tulle skirt
To make the tulle skirts/layers
- Make the circle skirt pattern as instructed in the article linked above. When making the pattern you might find yourself wondering why you have to create the inner circle using hips measurements instead of your waist. The explanation is simple: tulle is not stretchy (unless you use stretch tulle which I don’t recommend as it’s already tricky to sew regular tulle); so if you make the inner circle of your tulle skirt to match your waist you won’t be able to slip your DIY tulle skirt over your head or hips as it’ll be too small. So you need to use the widest area in your body which is your hips. The inner circle will slightly gather when you’ll attach the tulle skirts to the waistband which will be the size of your waist. So problem solved!
- Place the pattern on the fabric as indicated in the mentioned tutorial and you will get one continuous circle skirt with no seams to sew. Repeat for as many layers of tulle you want to use for your DIY tulle skirt. I cut six layers for my layered tulle skirt.
- Place tulle skirts on top of each other and match at the waist. Pin together and run a basting stitch (or do a temporary hand stitch; I found this option easier with tulle). All tulle layers are now secured together.
To make the lining
- Make an A line skirt pattern in just a few easy steps. Take a few measurements first: measure your hips at the widest area; measure the length of your skirt using the length measurements from the tulle skirt, minus 1″ (add 1″ for hem if you don’t have a serger to finish the hem) ; add 4″ to the hip measurements to get the bottom of the skirt. Use the hip measurement to draw a line at the top of your paper. Find the middle of this line and draw a vertical line that is as long as the length of your skirt. From this point, draw the bottom line of your A line skirt, half to the right and half to the left. Connect the top of the skirt with the bottom, at the sides so you get a trapezoid.
- Place this pattern on your lining fabric and cut two pieces. Place these pieces right sides together, pin the sides and sew down preferably with a serger but if you don’t own one, sew a regular stitch and finish the seam with a zig zag stitch.
- Fold the lining in half, lengthwise. Measure 1″ up at the seam. Using your fabric marker draw a line from this point to the middle of the folded lining smoothing it out towards the middle, then cut.
- Finish the hem with a serger or do a regular hem if you don’t have a serger. I finished my hem with a serger and left it like that since it’s not visible from under the layers of tulle.
To sew the skirt and lining together
- Keep lining right side out.
- Slide the lining through the tulle layers until all waists are aligned.
- Attach the lining to the tulle layers, at the waist, using pins to keep together.
- Sew down using a regular stitch or a serger (preferably).
- You now have the skirt all done.
To make the elastic waistband
- Measure your waist, add 1″ and cut an elastic using this measurements.
- Sew the ends of the elastic together with a zig zag stitch, overlapping each end by 1/2″ .
- Cut a piece of fabric from the lining fabric to make the casing for the elastic. This piece should be as long as the elastic and the width should be double the width of the elastic plus 1 1/2″.
- Sew the ends of the fabric strip into a circle, using a 1/2″ allowance.
- Fold this circle in half and press with an iron on steam.
- Insert the elastic circle into the fabric circle all the way through the fold and pin these two together all around the fold.
- Sew down the raw edges of the waistband using a serger. If you don’t have a serger use a regular stitch but pull the fabric and elastic while sewing. Finish the seam with a zig zag stitch.
- Don’t remove the pins just yet.
To attach the waistband to the skirt
- Place the waistband serged edge up, with the fold pointing down.
- With the skirt right side out, slide the waist up through the waistband.
- Match the serged edge of the waistband to the serged edge of the skirt.
- Pin the waistband to the skirt at the back, front and sides first. Then add additional pins in between these four points, pulling the waistband to align with the skirt.
- Sew down together using a regular stitch while pulling the waistband, using a 1/2″ allowance. Sew slow and in small sections and remember to not over pull the waistband.
- This is an optional step but I found my skirt looks a lot more professional if I serge these two together. If you don’t have a serger use a zig zag stitch.
- Remove the pins in the waistband and the basting stitch or hand stitch in your tulle layers.
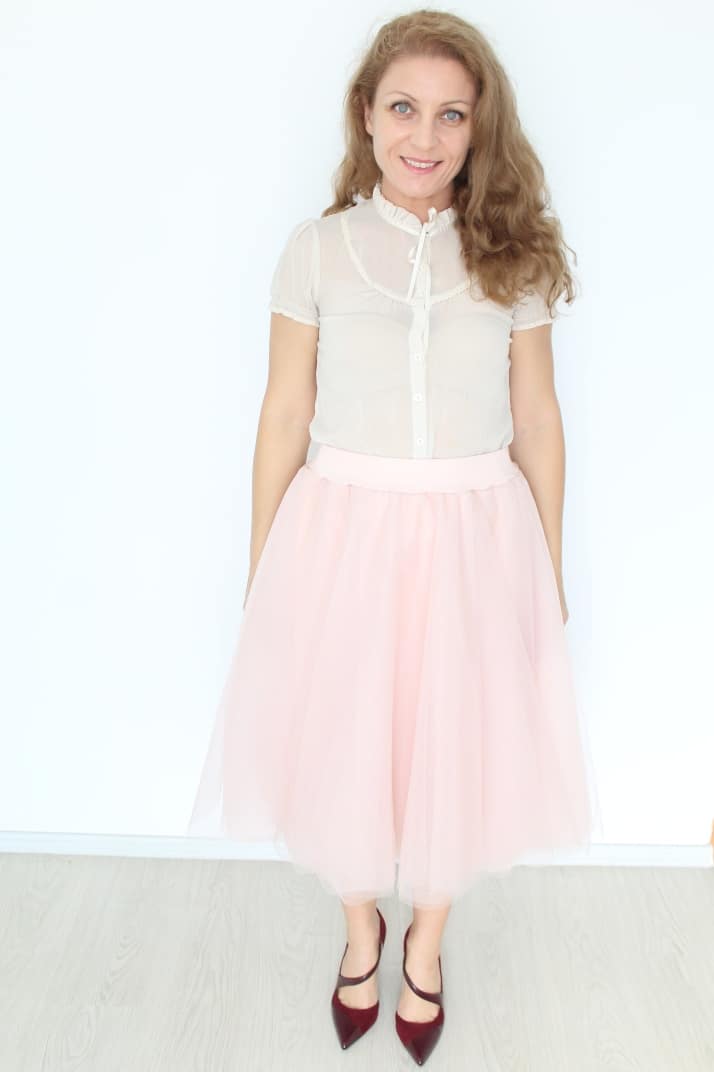
And your adorable women tulle skirt is done! I would love to know your thoughts on this project so please feel free to leave a comment below!
Pin to save for later
Most popular sewing projects:
- Tips for sewing a round hem
- Corded bag handles
- Flutter sleeve dress pattern
- How to laminate cotton fabric


ABOUT PETRO
Hi, I’m Petro, author and founder of Easy Peasy Creative Ideas. Sewist, crafter, avid DIY-er, foodie, photographer, homemaker and mommy to one. I’m an expert at coming up with quick, clever sewing tips, recycling crafts and simple, easy recipes! You can find my ideas featured in reputable publications such as Country Living, Good House Keeping, Yahoo News, WikiHow, Shutterfly, Parade, Brit & Co and more. Thanks for stopping by and hope you’ll stay for a while, get to know me better and come back another time. Stick around for real fun projects! Read more…