

How to print on fabric at home
Article may contain Amazon & affiliate links. As an Amazon Associate I earn from qualifying purchases at no additional cost to you.
Printing on fabric might sound like something only pro’s can do! Forget about the myths, custom fabric printing is super easy to achieve in the comfort of your own home! Here we’ll show you how to print on fabric without any fancy tools or supplies!
How to print on fabric at home
For ages I thought DIY fabric printing is something I could never be able to do myself, I had the feeling beautiful fabric designs can only be made with fancy machinery, supplies and printers specially designed to print on fabric. All the myths were busted the other day when I learned how to print on fabric with probably the easiest method out there!
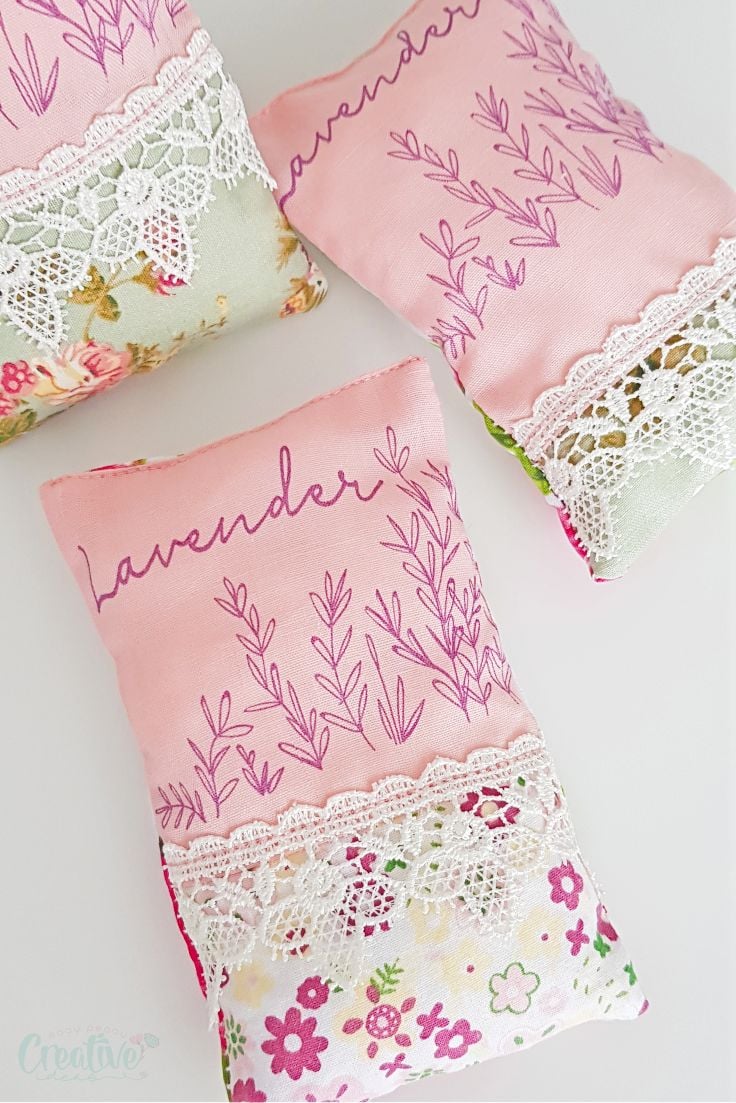
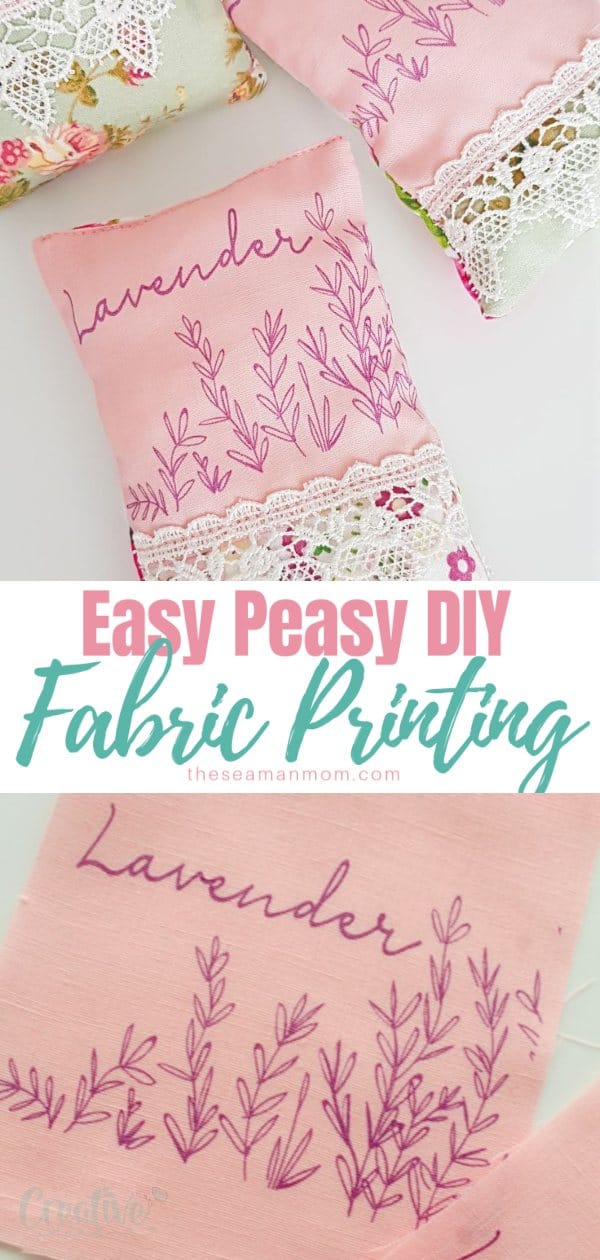
I wanted to sew some cute lavender bags and I was inspired to create a lavender print for the front of these little sachets (I’ll show you the tutorial for those too so be sure to come back and check it out!). I kept postponing the lavender sachets project for a while because I couldn’t figure out how to print on fabric at home. Most tutorials recommend using transfer paper or freezer paper and I don’t have any of these available in the area I’m in right now. So I had to think of a way to do my own custom fabric printing, using the supplies and tools I have access to.
Other fabric crafts you will love:
- No sew fabric pumpkins
- DIY pencil roll case
- Fabric covered planter
- Fabric flower hair pins
- DIY Fabric covered Christmas trees
- DIY lavender sachets with lavender print
After a long time struggle, double side tape came to the rescue! It was one of those life changing moments! In this tutorial you will see the step by step instructions for printing on fabric along with a little tip about what to do to make the ink water resistant so you can wash your fabric without removing the design.
The double sided tape is used to attach the fabric to a piece of paper and keep the fabric aligned while passing through the printer. Once the fabric is printed, the double sided tape is removed and in my experience, won’t leave any glue marks on the fabric (unless you use heavy duty double sided tape; I used tape from the office supplies section).
What kind of printer do you need to print on fabric?
Regarding the printer, there are several options to use. You can use a laser jet, a bubble jet or an inkjet. The difference between these is that the design printed on an inkjet or bubble jet printer will not fade or fade real slow. As opposed to the ink on laser jet which is not as strong or lasting.
What is the best ink to print on fabric?
There are also options to make the ink water resistant or non resistant. If you don’t plan on washing your finished items, you can use non washable ink but if you do plan on washing those items, you will absolutely need water resistant inks. There are two kinds of inks: pigment based and dye based ink. Pigment ink is water resistant while dye inks are not.
You also have the option to pre-treat the fabric with Bubble Jet Set first and then print. This treatment allows you to print directly on fabric with an inkjet or bubble jet printer while maintaining the true texture and feel of the fabric and will not leave the fabric stiff or coated with a plastic film. But it can be expensive, depending on your area so it might be best for you to try pigment inks and bubble jet or ink jet printers.
Also a little note on the size of the printed fabric: this method only allows for printing fabric in the size of the paper accepted by your printer. For example if your printer only takes letter size paper, you can only print on a letter size fabric piece too.
How to print on fabric
Materials:
- double sided tape
- fabric
- letter size paper
- inkjet or bubble jet printer
- design to print
- pressing iron
Directions:
- Cover one side of the paper in double sided tape, sticky side facing the paper.
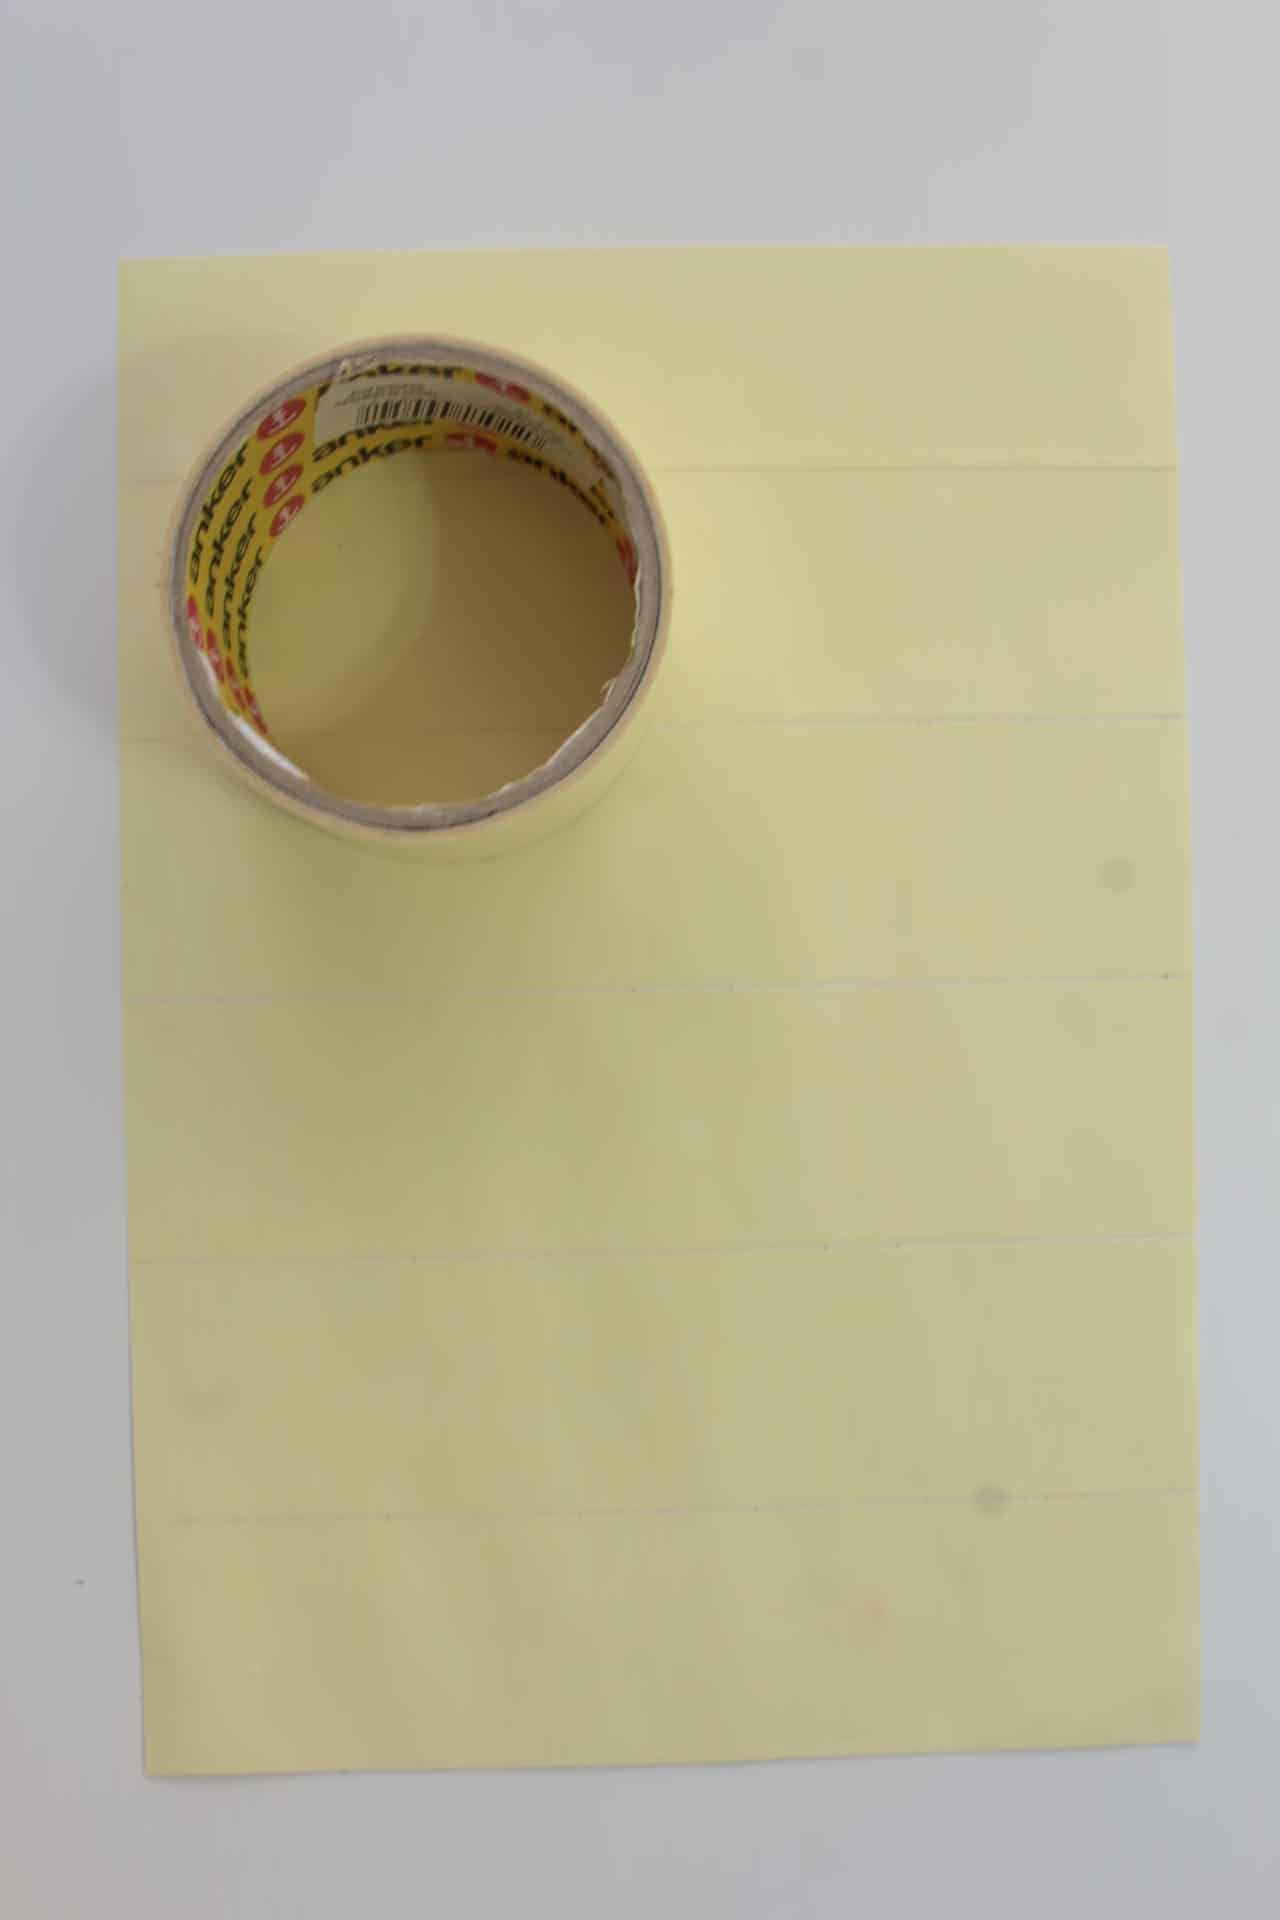
- Peel off the shiny paper from the double sided tape to reveal the other sticky layer of the double sided tape.
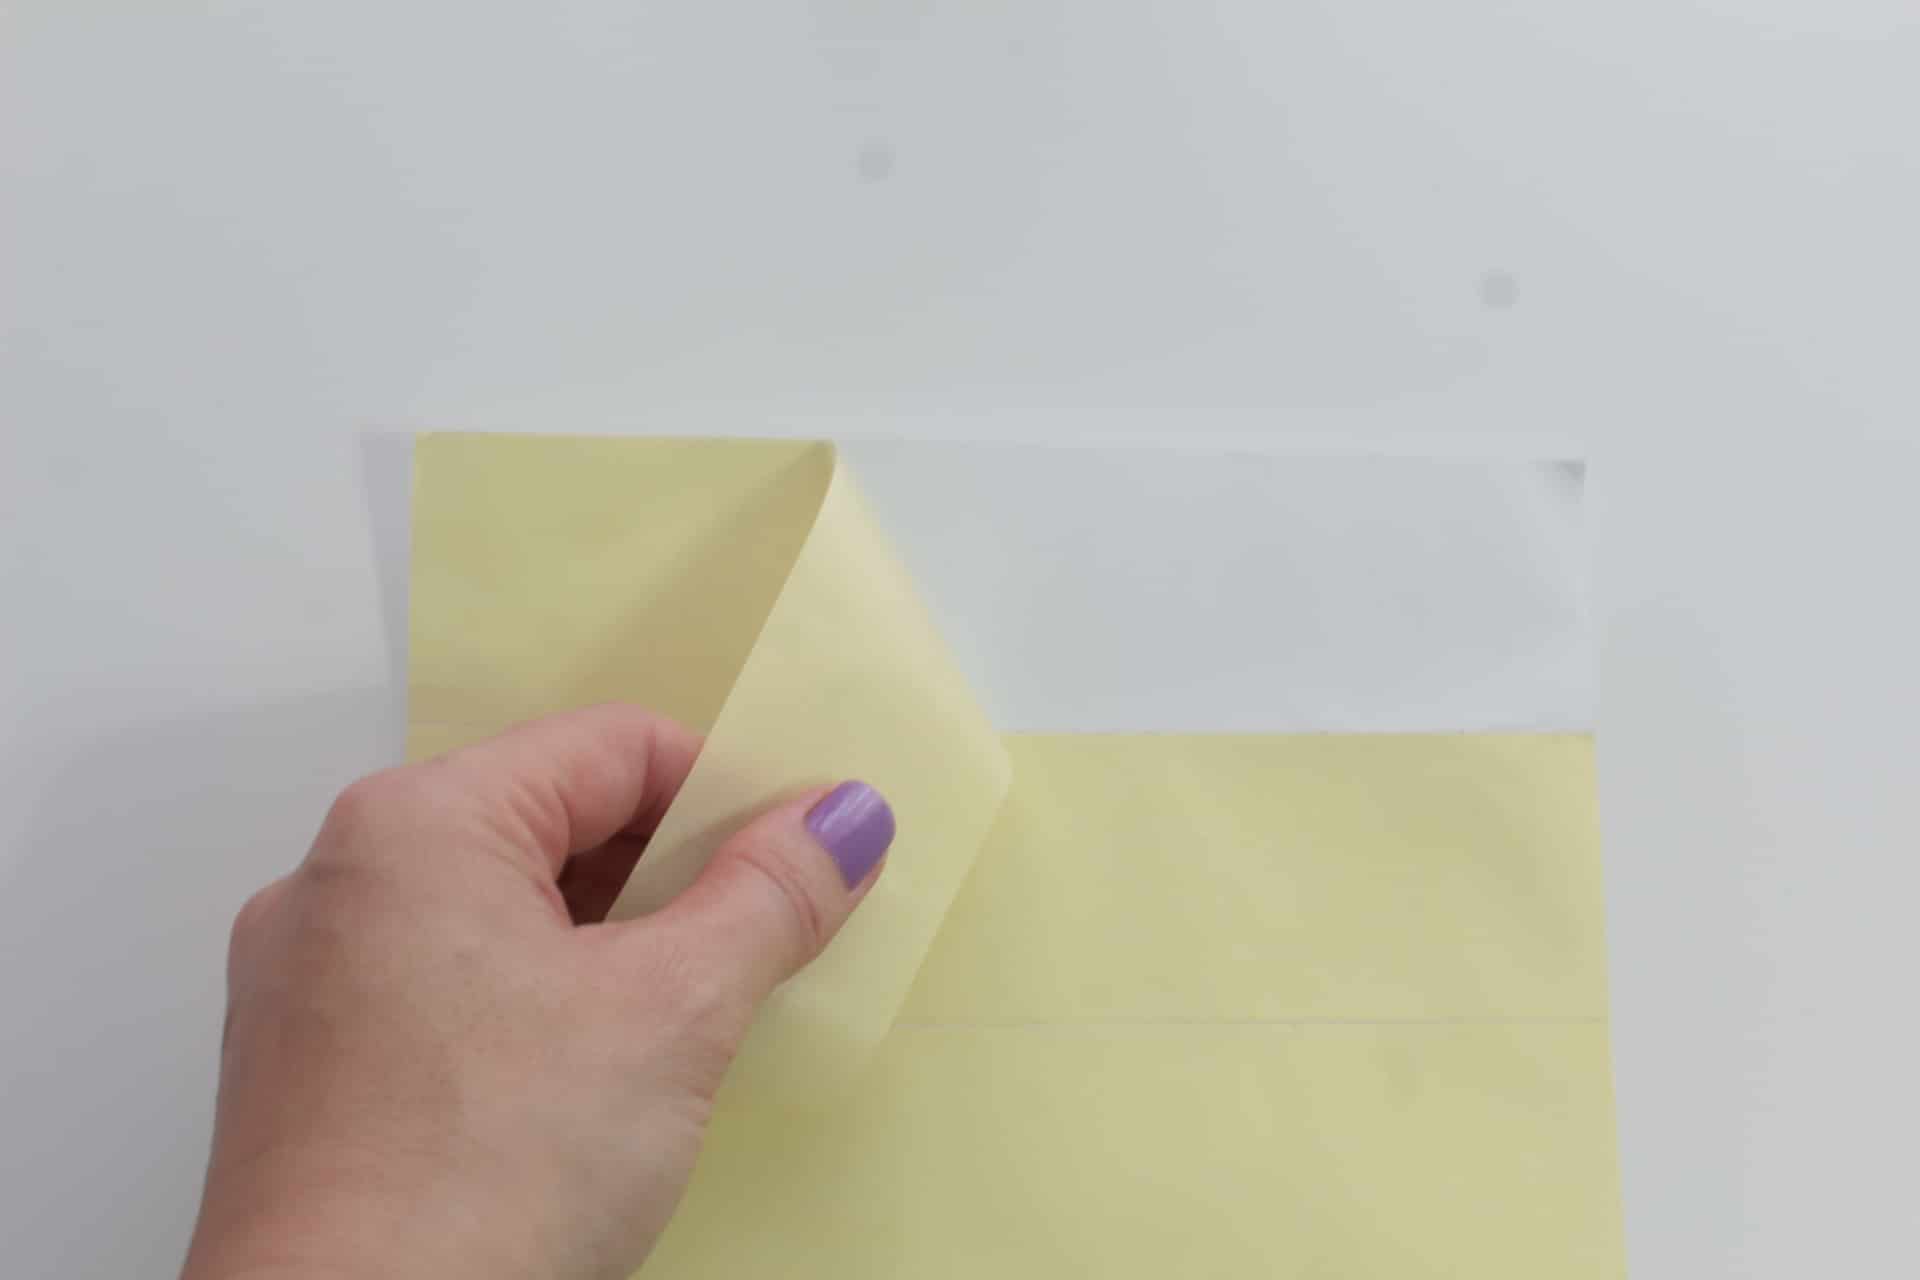
- Add the fabric over the sticky layer of the tape, adding it slowly and in small sections to avoid creating bubbles and uneven areas in the surface of the fabric.
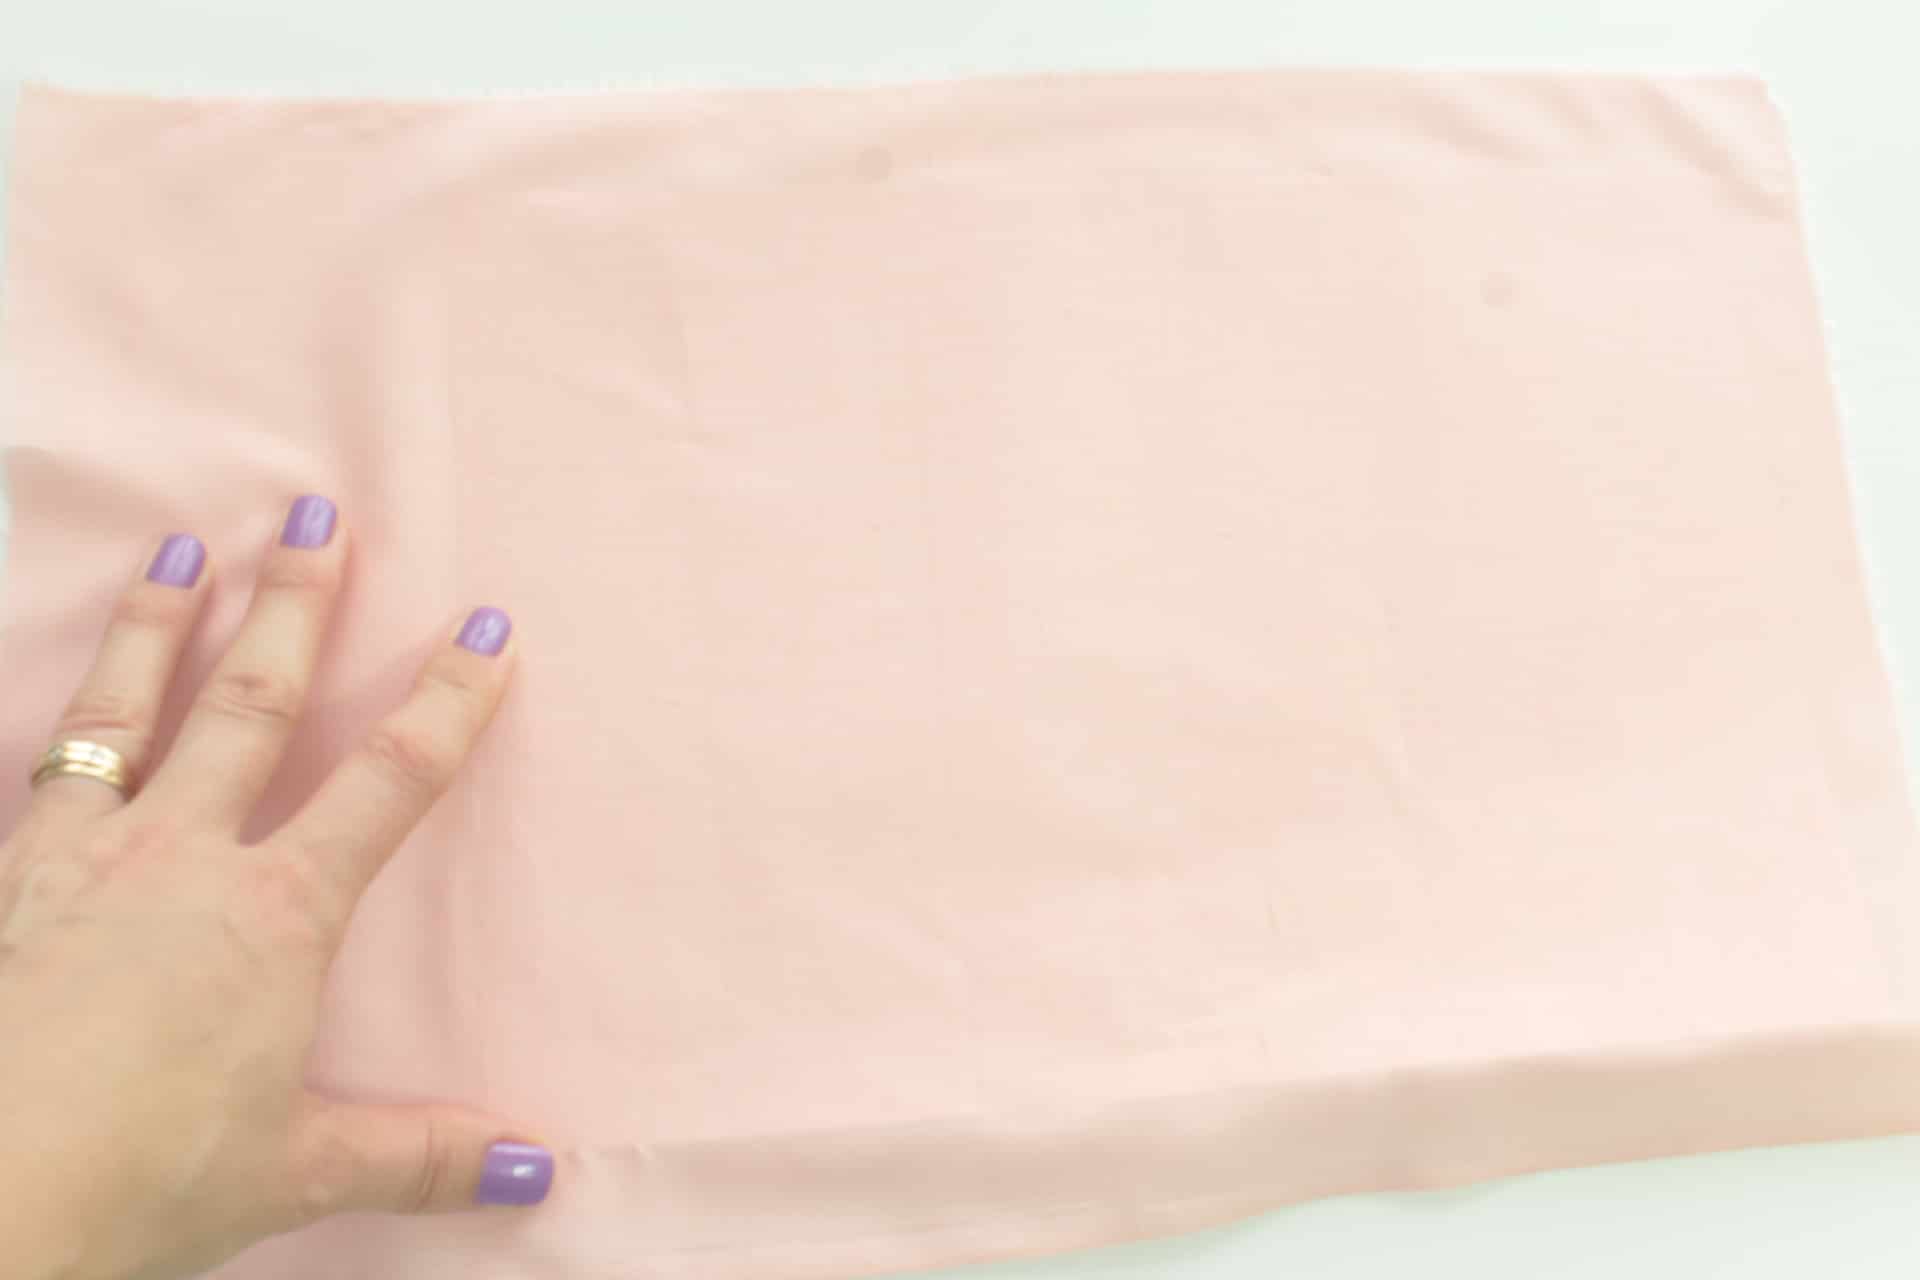
- Smooth out any bumps as soon as you notice them.
- Trim the edges to match the size of the paper.
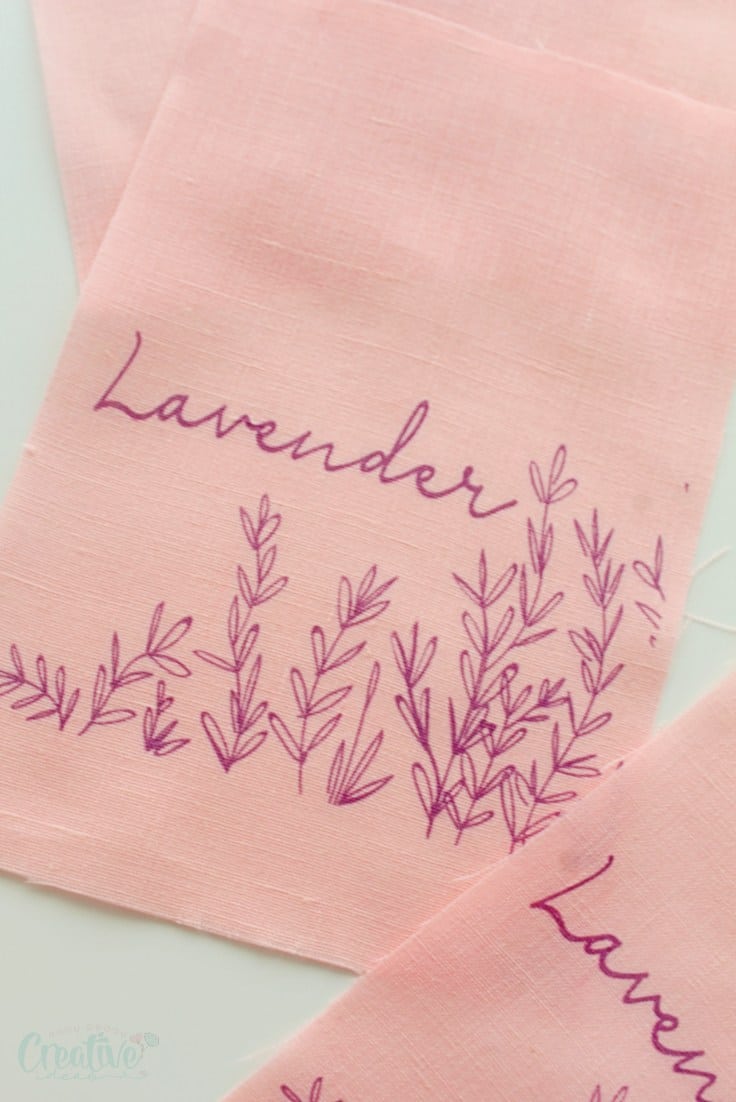
- Feed the fabric coated paper into your printer and print your design. Make sure all edges are straight. It’s best to make a little test first to check which side of the paper is printed. But even if you printed on the wrong side of the paper, it’s ok! You can then turn the paper so the fabric faces the printer after you notice the error.
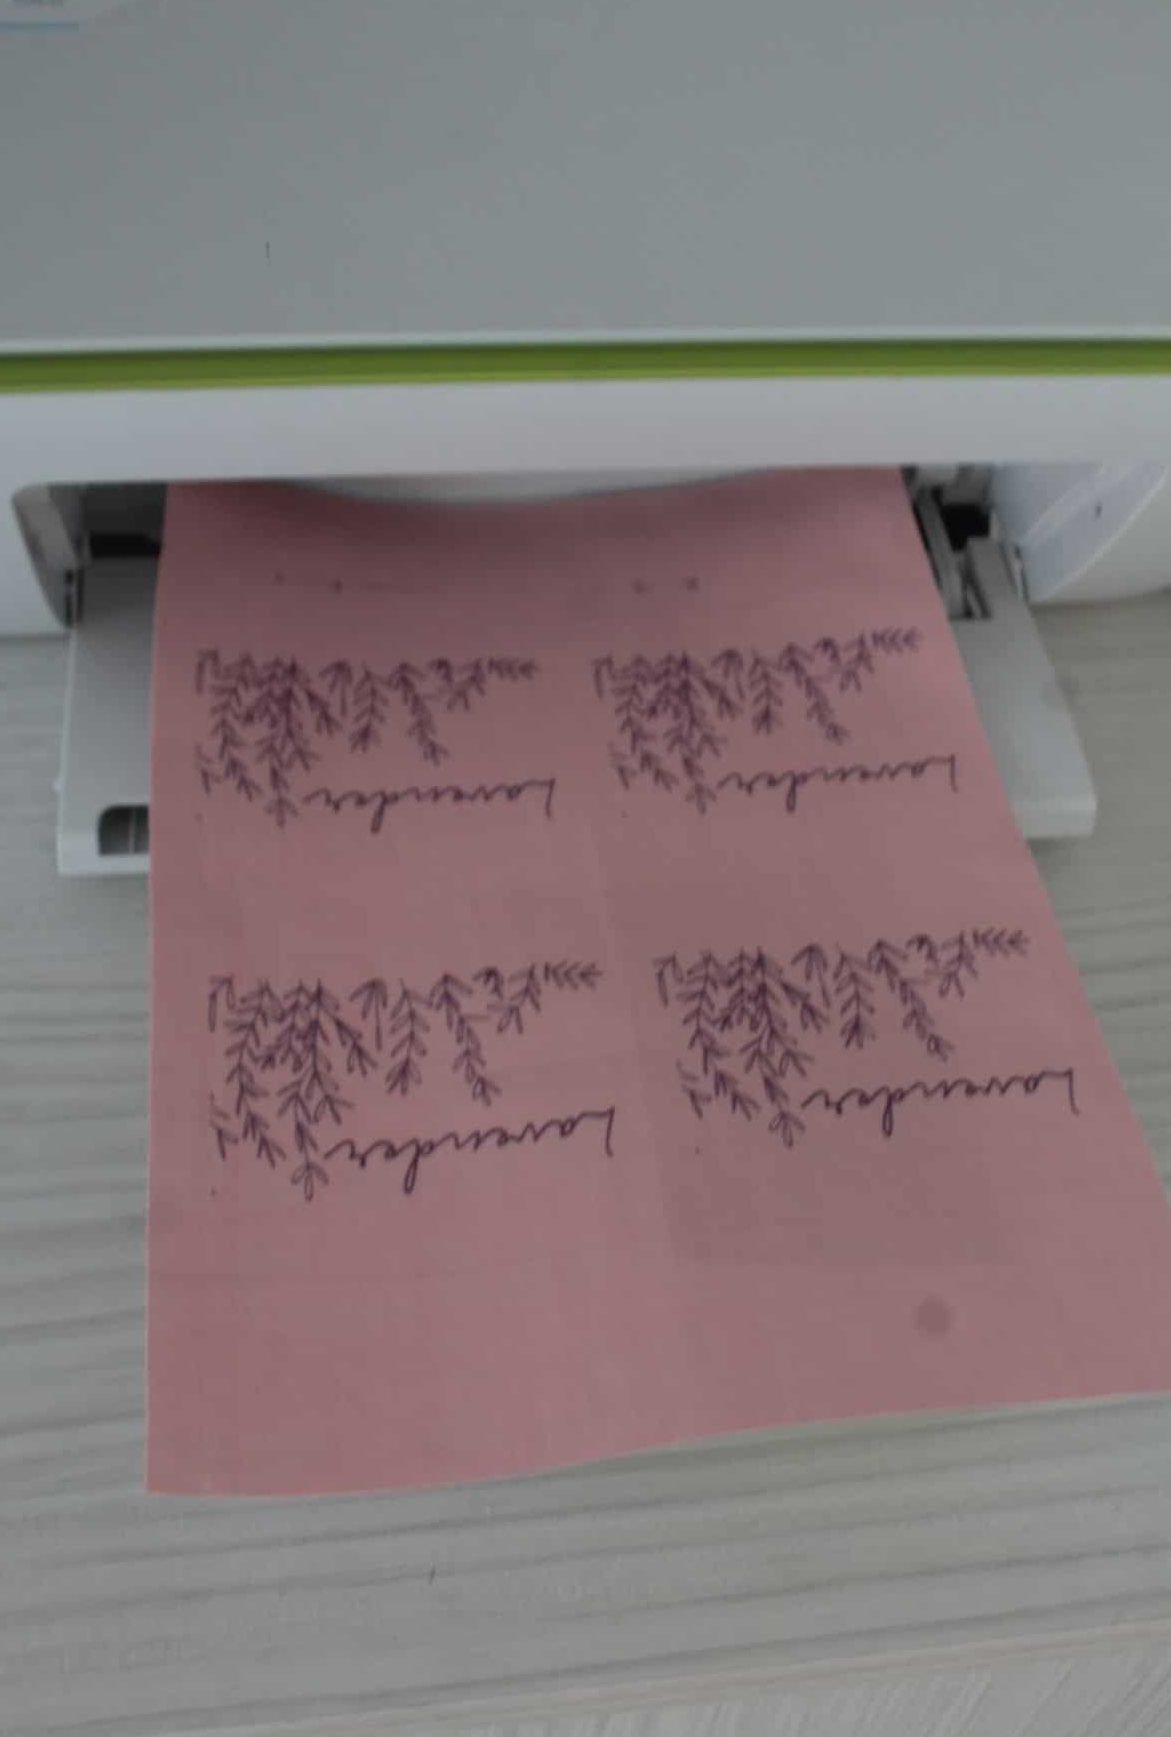
- Allow the ink to dry a little. I left mine 10 minutes.
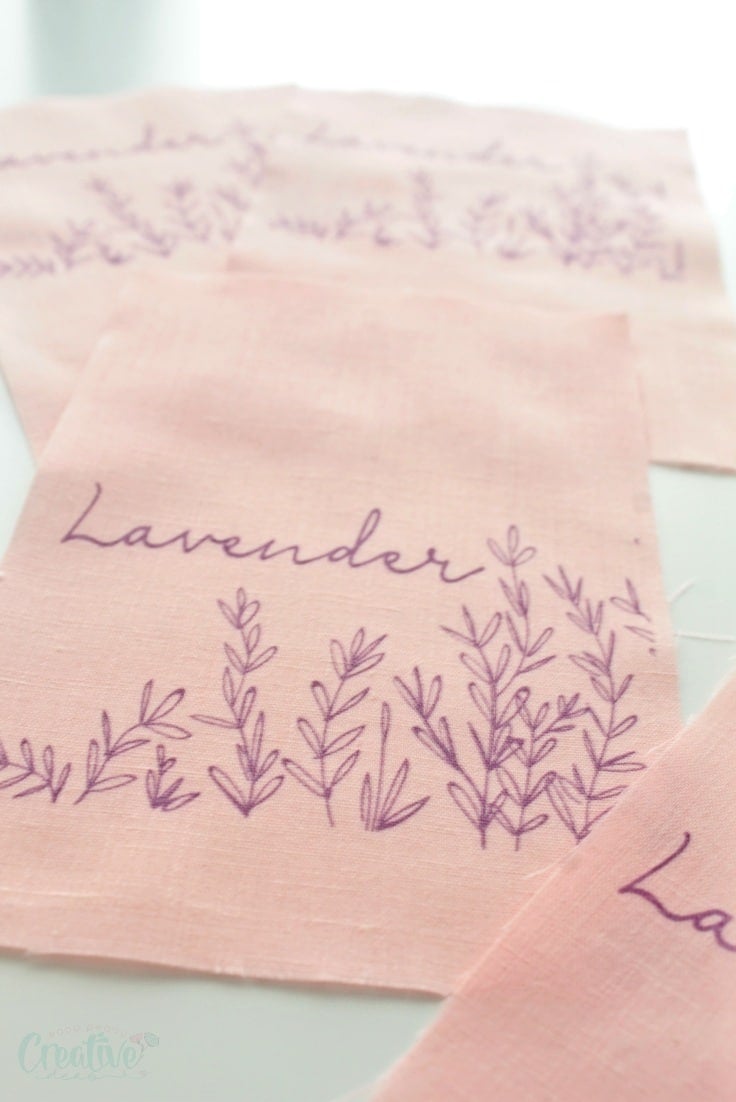
- Slowly peel off the fabric, doing it in small sections.
- Give your fabric a good press, using your iron, with the steam setting off. Once you’re absolutely certain the ink has dried 100% you can use steam on. But only if you used pigment inks as dye inks will fade and/or smudge.
And this is how to print on fabric at home, the easy peasy, super affordable and quick way! Enjoy your new custom made fabric!
Pin to save for later
ABOUT PETRO
Hi, I’m Petro, author and founder of Easy Peasy Creative Ideas. Sewist, crafter, avid DIY-er, foodie, photographer, homemaker and mommy to one. I’m an expert at coming up with quick, clever sewing tips, recycling crafts and simple, easy recipes! You can find my ideas featured in reputable publications such as Country Living, Good House Keeping, Yahoo News, WikiHow, Shutterfly, Parade, Brit & Co and more. Thanks for stopping by and hope you’ll stay for a while, get to know me better and come back another time. Stick around for real fun projects! Read more…