

Sewing double fold bias tape – easy step-by-step tutorial
Article may contain Amazon & affiliate links. As an Amazon Associate I earn from qualifying purchases at no additional cost to you.
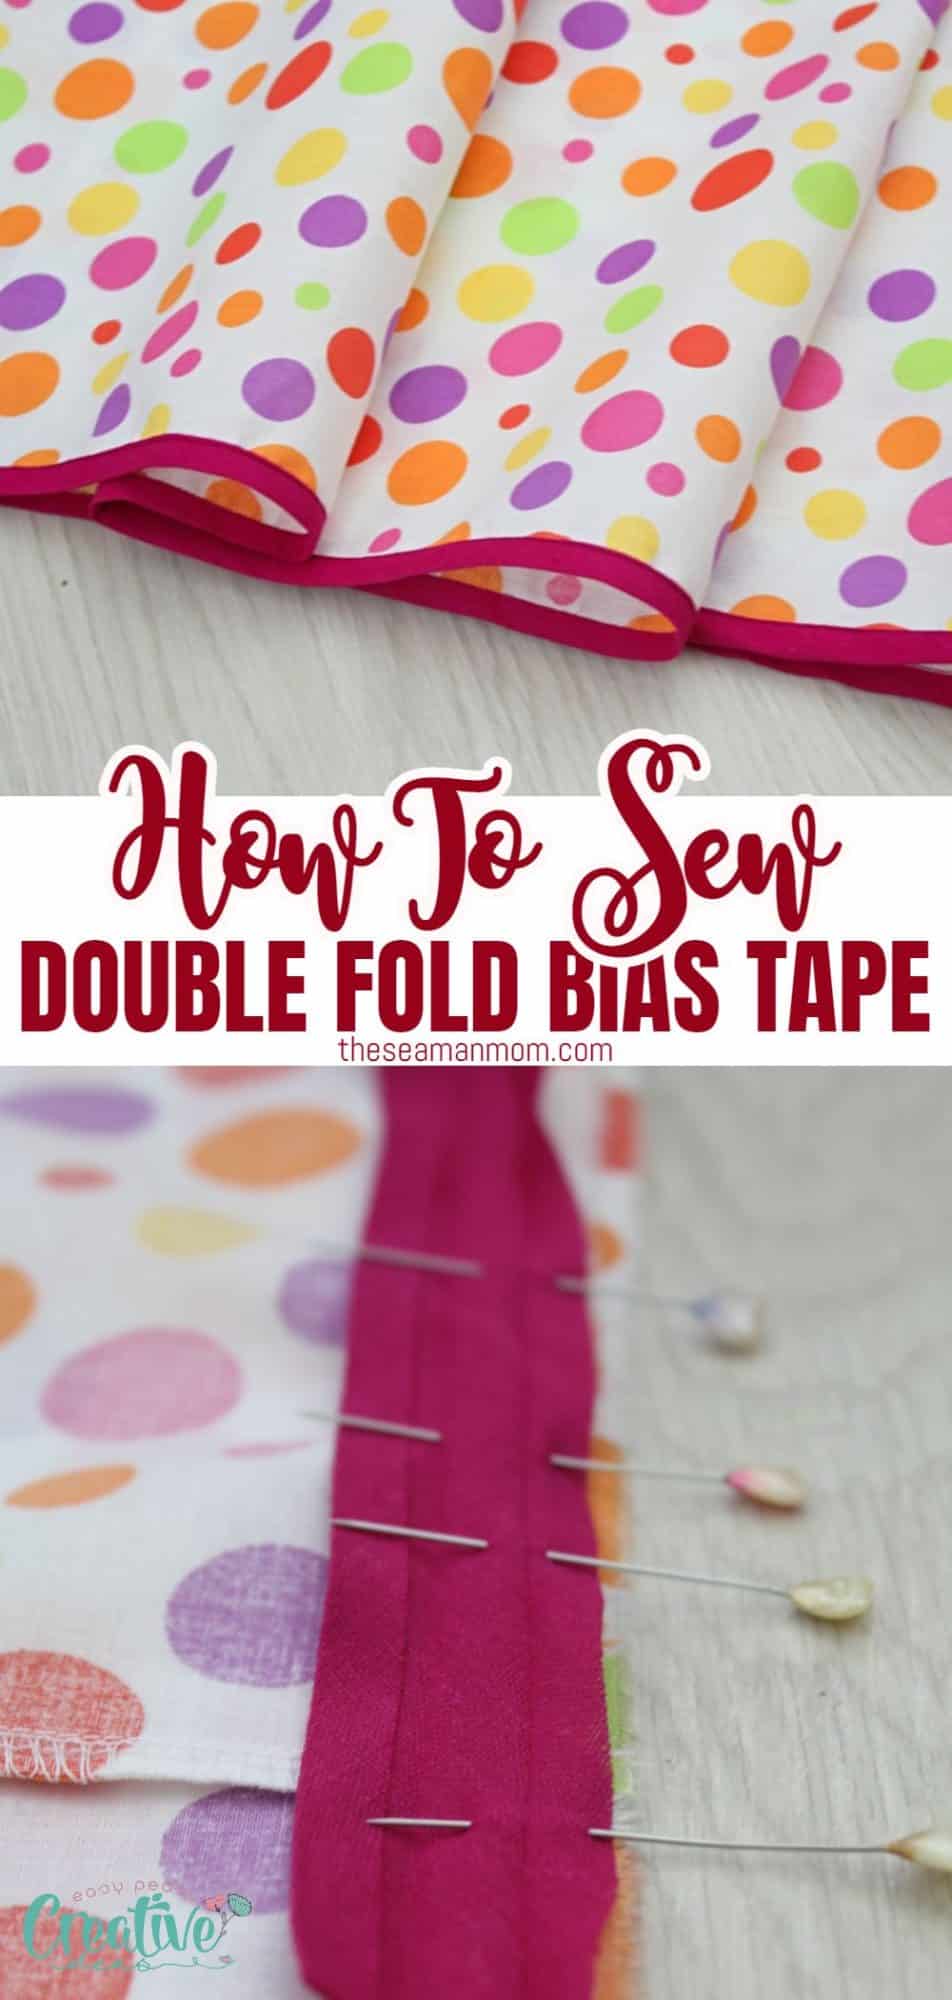
Mastering the art of sewing bias tape is a fundamental skill in garment making. Enhance your expertise with my comprehensive step-by-step guide on how to sew double fold bias tape for impeccable, professional results!
How to sew double fold bias tape
Are you seeking an accessible guide to mastering the art of sewing bias tape? Look no further, I’ve got all the information you need! Sewing single and double fold binding can be a fun, stress-free experience once you understand how it works. In today’s tutorial, I’ll show you exactly how to sew double fold bias tape so that even a novice sewer can get started quickly and efficiently. As a bonus I included a step-by-step video tutorial as well!
What is the difference between single and double fold binding?
I showed you how to sew single fold bias tape before and if you’ve read that tutorial you might have noticed that I mentioned that double fold bias tape is used slightly different than single fold.
The fundamentals are pretty similar but double fold bias is mainly used to enclose/finish raw edges while single fold bias is used more for decorative purposes, much like a trim or on the inside of garments, for necklines or armholes. Using bias for the latter will give the garment a more neat and professional look once finished.
I used single fold tape to finish necklines and armholes (like I did in this tutorial) and to enclose raw seams on this apron tutorial. I also used single fold bias but sewn it as double fold bias in this tutorial to finish the neckline and sleeves (bias tape is super versatile, I absolutely love it!).
Check out the Bias tape series:
- Making continuous bias binding
- How to make your own bias tape without a bias maker
- How to make bias with a bias tape maker
- Bias calculator, formula and cheat sheet
- How to sew single fold bias tape
- Joining bias binding ends
- Sewing mitered corners with bias tape (if you need to learn how to sew double fold bias tape around corners)
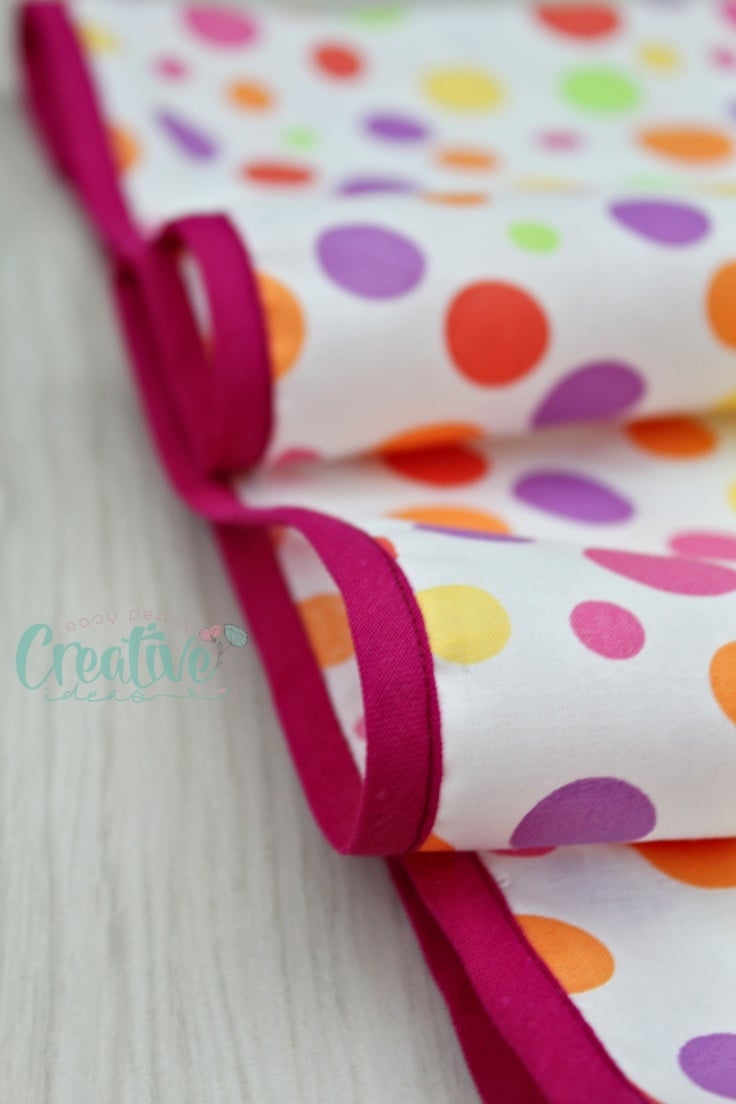
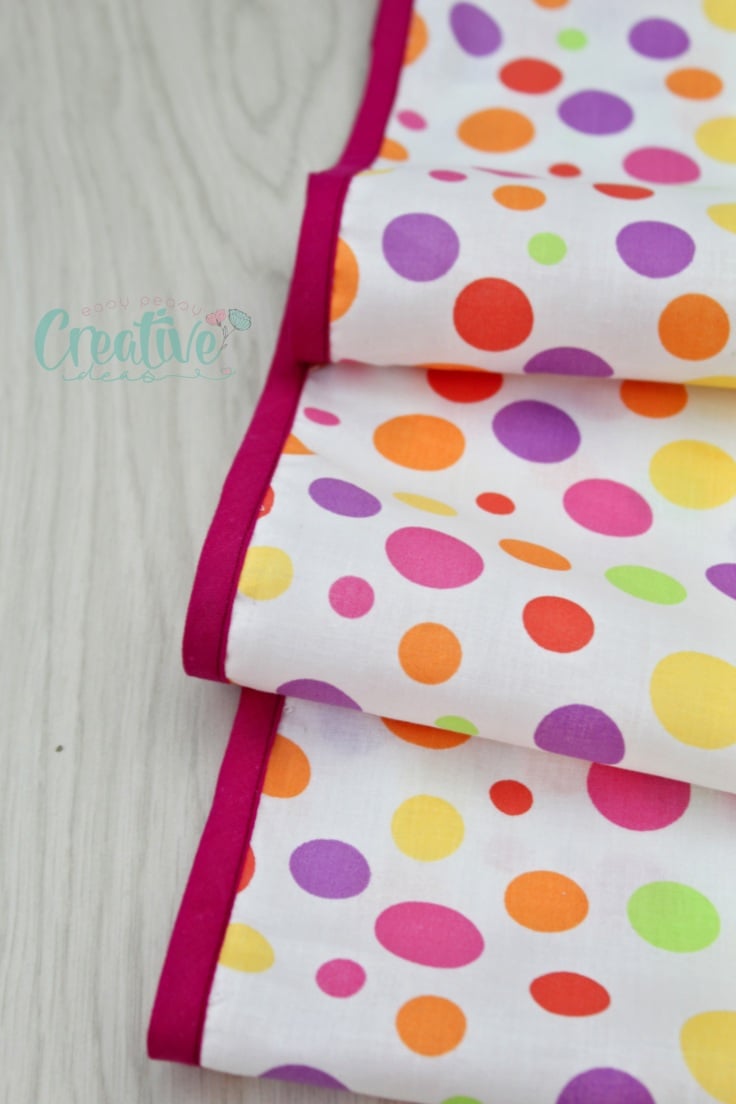
And now it’s time to show you how I do a double fold tape hem. I made a reversible skirt for Ellie, and I wanted to finish the hems on two different ways. I thought it’s a wonderful opportunity to show you how to sew double fold bias tape. So I used double bias to finish one of the skirts instead of a regular hem.
Bottom line is, using bias tape to finish edges can be done in countless ways! Just embrace your creativity and follow your fashion sense when it comes to applying it to garments, be it as a decorative or for more functional purposes like hiding raw edges or seams. Now let’s see how to sew double fold bias tape to finish a hem!
How does double fold bias tape work?
Double fold bias tape is basically made from single fold bias tape. To make double fold, you take the single bias strip and join both long edges together to form a flat loop (also known as tube). You can do it by hand or machine depending on how fast you need it done. Then, once the loop is formed, press it in half with the wrong sides together and voila, you have a double fold bias tape! To use it, you just need to open it and apply it on the desired area as indicated in the tutorial below.
What is double bias tape used for?
Double fold bias tape is mainly used to finish edges, like hems and armholes, but it can also be used in other areas like on the inside of garments (necklines, collars, cuffs, etc.). It’s a great alternative to binding or hemming. Additionally, double bias tape works really well with knits because it provides more stability and stretch than regular binding.

How do you finish an edge with double fold bias tape?
I’ll get into the thorough details, with photos and video instructions right below this Q&A section. But in a gist finishing a raw edge with double bias tape is fairly simple and straightforward.
All you need to do is open the double tape and align one edge of the bias tape to the fabric, onto the wrong side of the fabric, then sew it in place using a regular sewing machine. Once that is done, just fold the extra ends towards the wrong side of the fabric and press it down with an iron. The extra ends will be secured on the wrong side, completely hiding them from view.
How do you bind a quilt with store bought double fold bias tape?
This is a great way to finish your quilts and give them that professional, neat look. To bind a quilt with double fold bias tape you will need to purchase the bias tape in the desired width for your project (I usually use 1/2″ wide bias). Make sure all fabrics and batting are cut straight and aligned perfectly.
Start by opening up the bias strip and pinning it around the quilt, aligning the raw edges of bias tape with the raw edges of your quilt. Sew it in place using a regular sewing machine or serger and make sure not to stretch the bias strip as you sew. Once that is done, fold over the ends of the bias tape towards the wrong side (you can stitch them down or hand sew them if you’d like). Make sure you fold the tape nicely at the corners (this is a great tutorial for sewing mitered corners with bias tape).
How do you sew a curved edge with bias tape?
Sewing curves with bias tape is easy and can be done using single fold or double fold bias tape, using the same steps mentioned above. Start by cutting a bias strip that is long enough to fit around the circumference of the hem plus extra for seam allowances. Make sure not to stretch the bias tape as you sew, or else the hem will not lay flat.
If you are sewing a very narrow curve you will need to use lots of pins and sew slowly, in small batches, while constantly guiding the bias and the fabric with your hands.
How do you extend a hem with bias tape?
Extending a hem with bias tape is usually done for very long hems, such as skirts and dresses, by adding extra strips of wide bias to the bottom of the fabric/the hem. All you need to do is cut several bias strips that are as wide as your desired hem plus seam allowance (usually 1/2” wider). Then just apply it as instructed below.
This works great for lightweight fabric like chiffon and silk.
Can I use double fold bias tape instead of single fold?
Yes, double fold bias tape works great for sewing hems and finishing edges on garments. Although single fold bias tape is more popular and slightly easier to use, double fold bias tape can be a great alternative when you need extra stability. It’s also great if you want your hem to lay perfectly flat without any puckering or rippling.
What stitch to use for bias tape?
When attaching bias tape to fabric straight stitches are usually used. If you are looking for extra stability, topstitching works great as well and adds a nice decorative touch.
How do you sew bias binding neatly?
When sewing bias binding neatly, make sure not to stretch the bias tape as you sew and keep the edges of the fabric and bias aligned perfectly. If you are using a regular sewing machine, it helps to use a walking foot attachment or lots of pins to hold the bias in place. Sew slowly and in small batches for difficult areas, and use your hands to guide the bias tape as you sew.
How do you keep bias tape from puckering?
Puckering occurs when the bias tape or the fabric is stretched as you sew. So make sure to keep the edges of the fabric and bias aligned when sewing.
If your bias tape is puckering, try switching out your regular foot with a walking foot attachment. Or just adjust your stitch length slightly. It also helps to use lots of pins when sewing curved or narrow hems/areas and sew slowly, in small batches.
Double fold bias tape sewing tutorial
Materials:
- double fold bias
- skirt or dress with unfinished hem (for practicing purposes use strips of fabric scraps)
- pins
- scissors
- matching thread
- sewing machine
Directions:
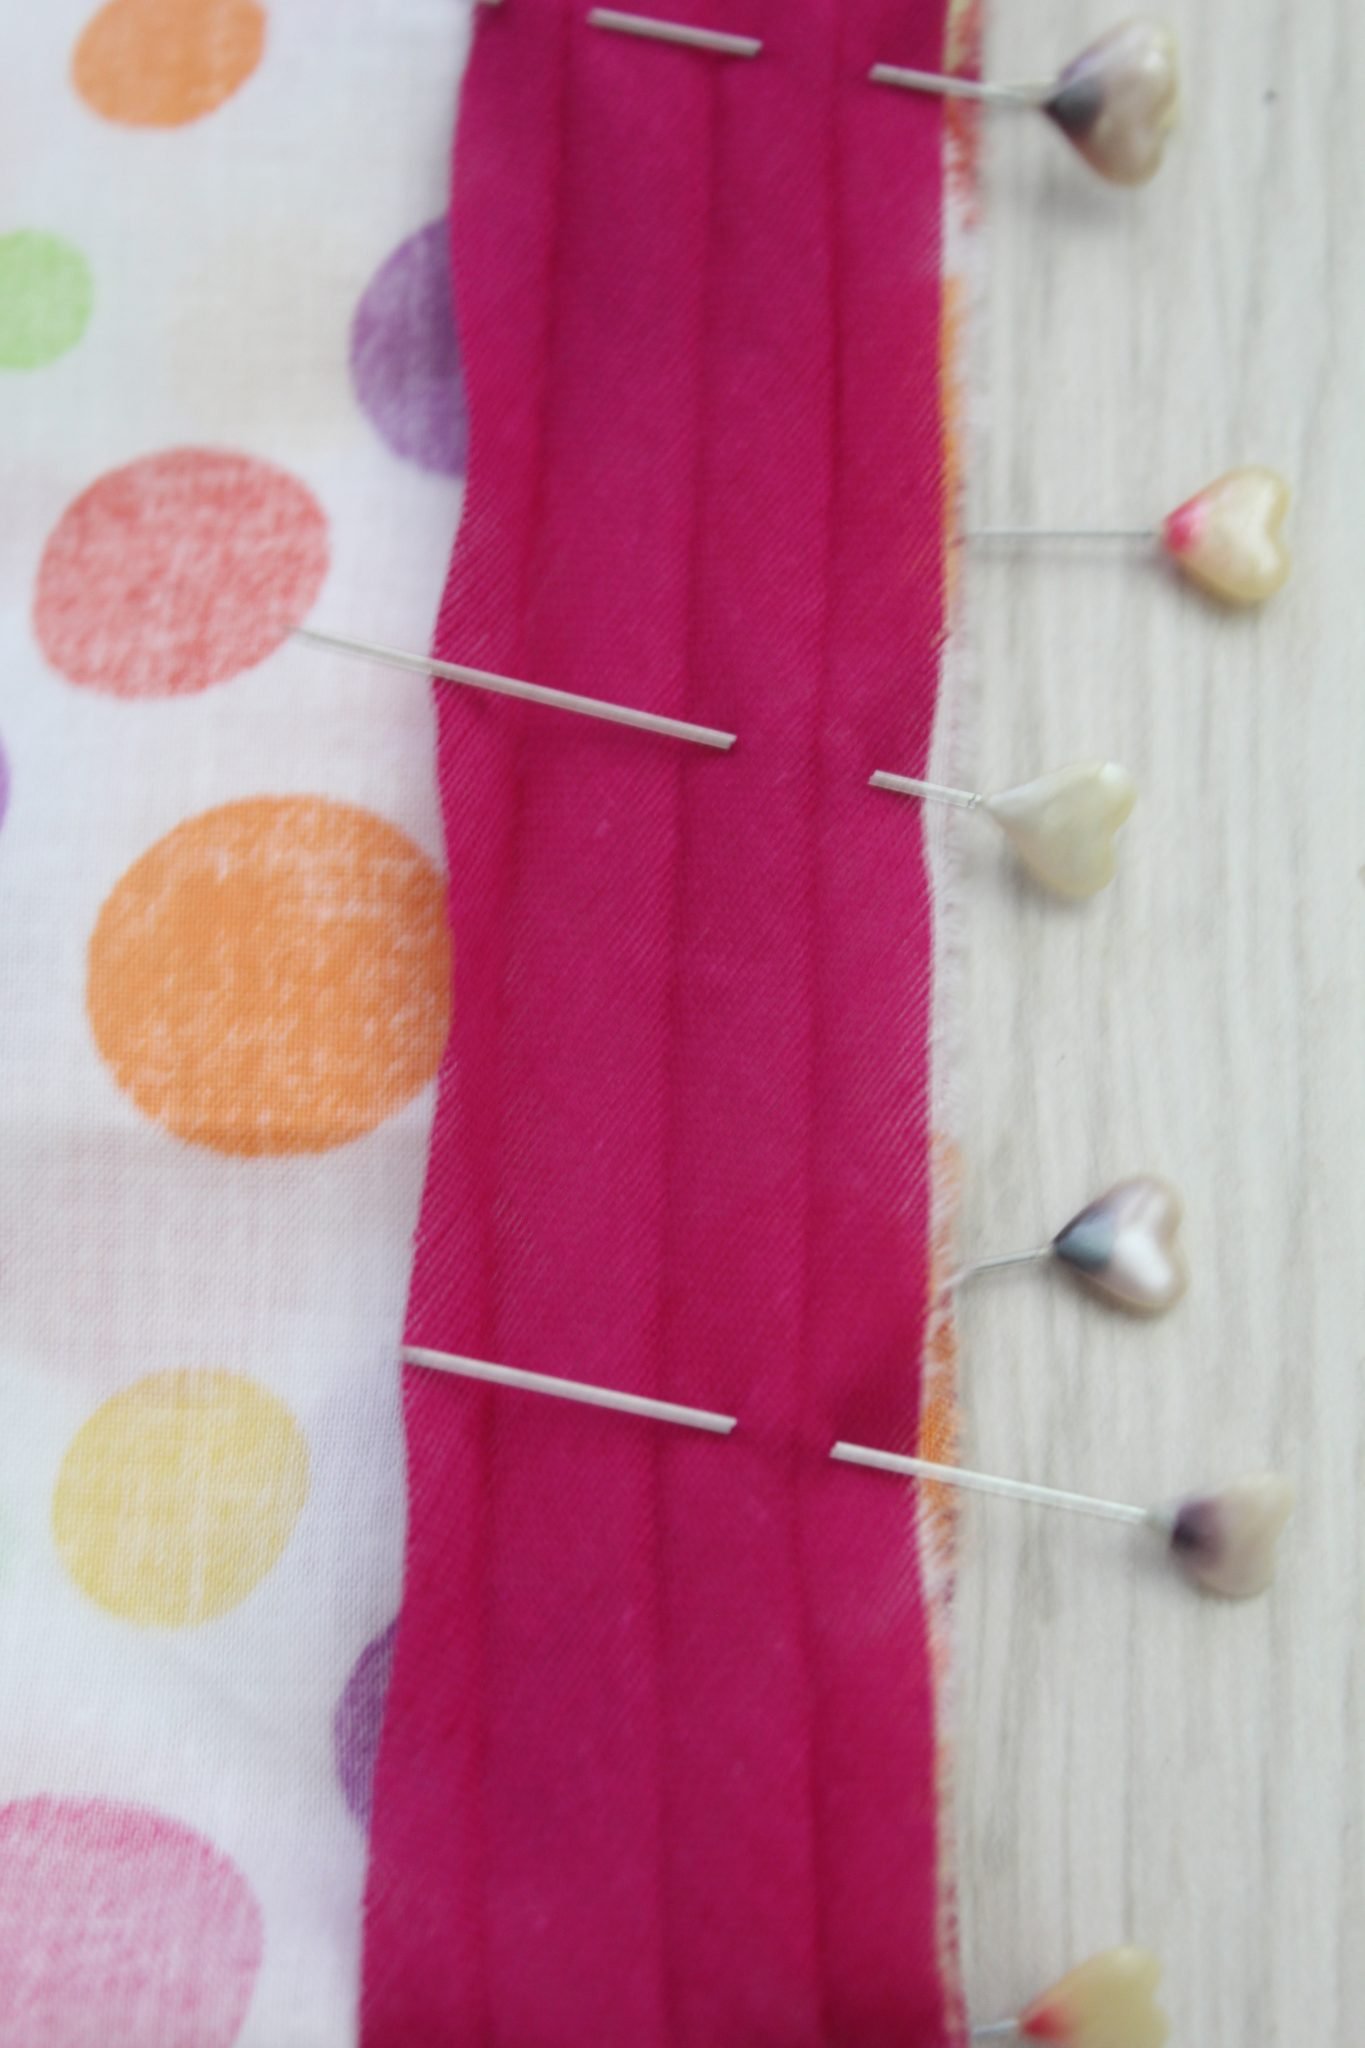
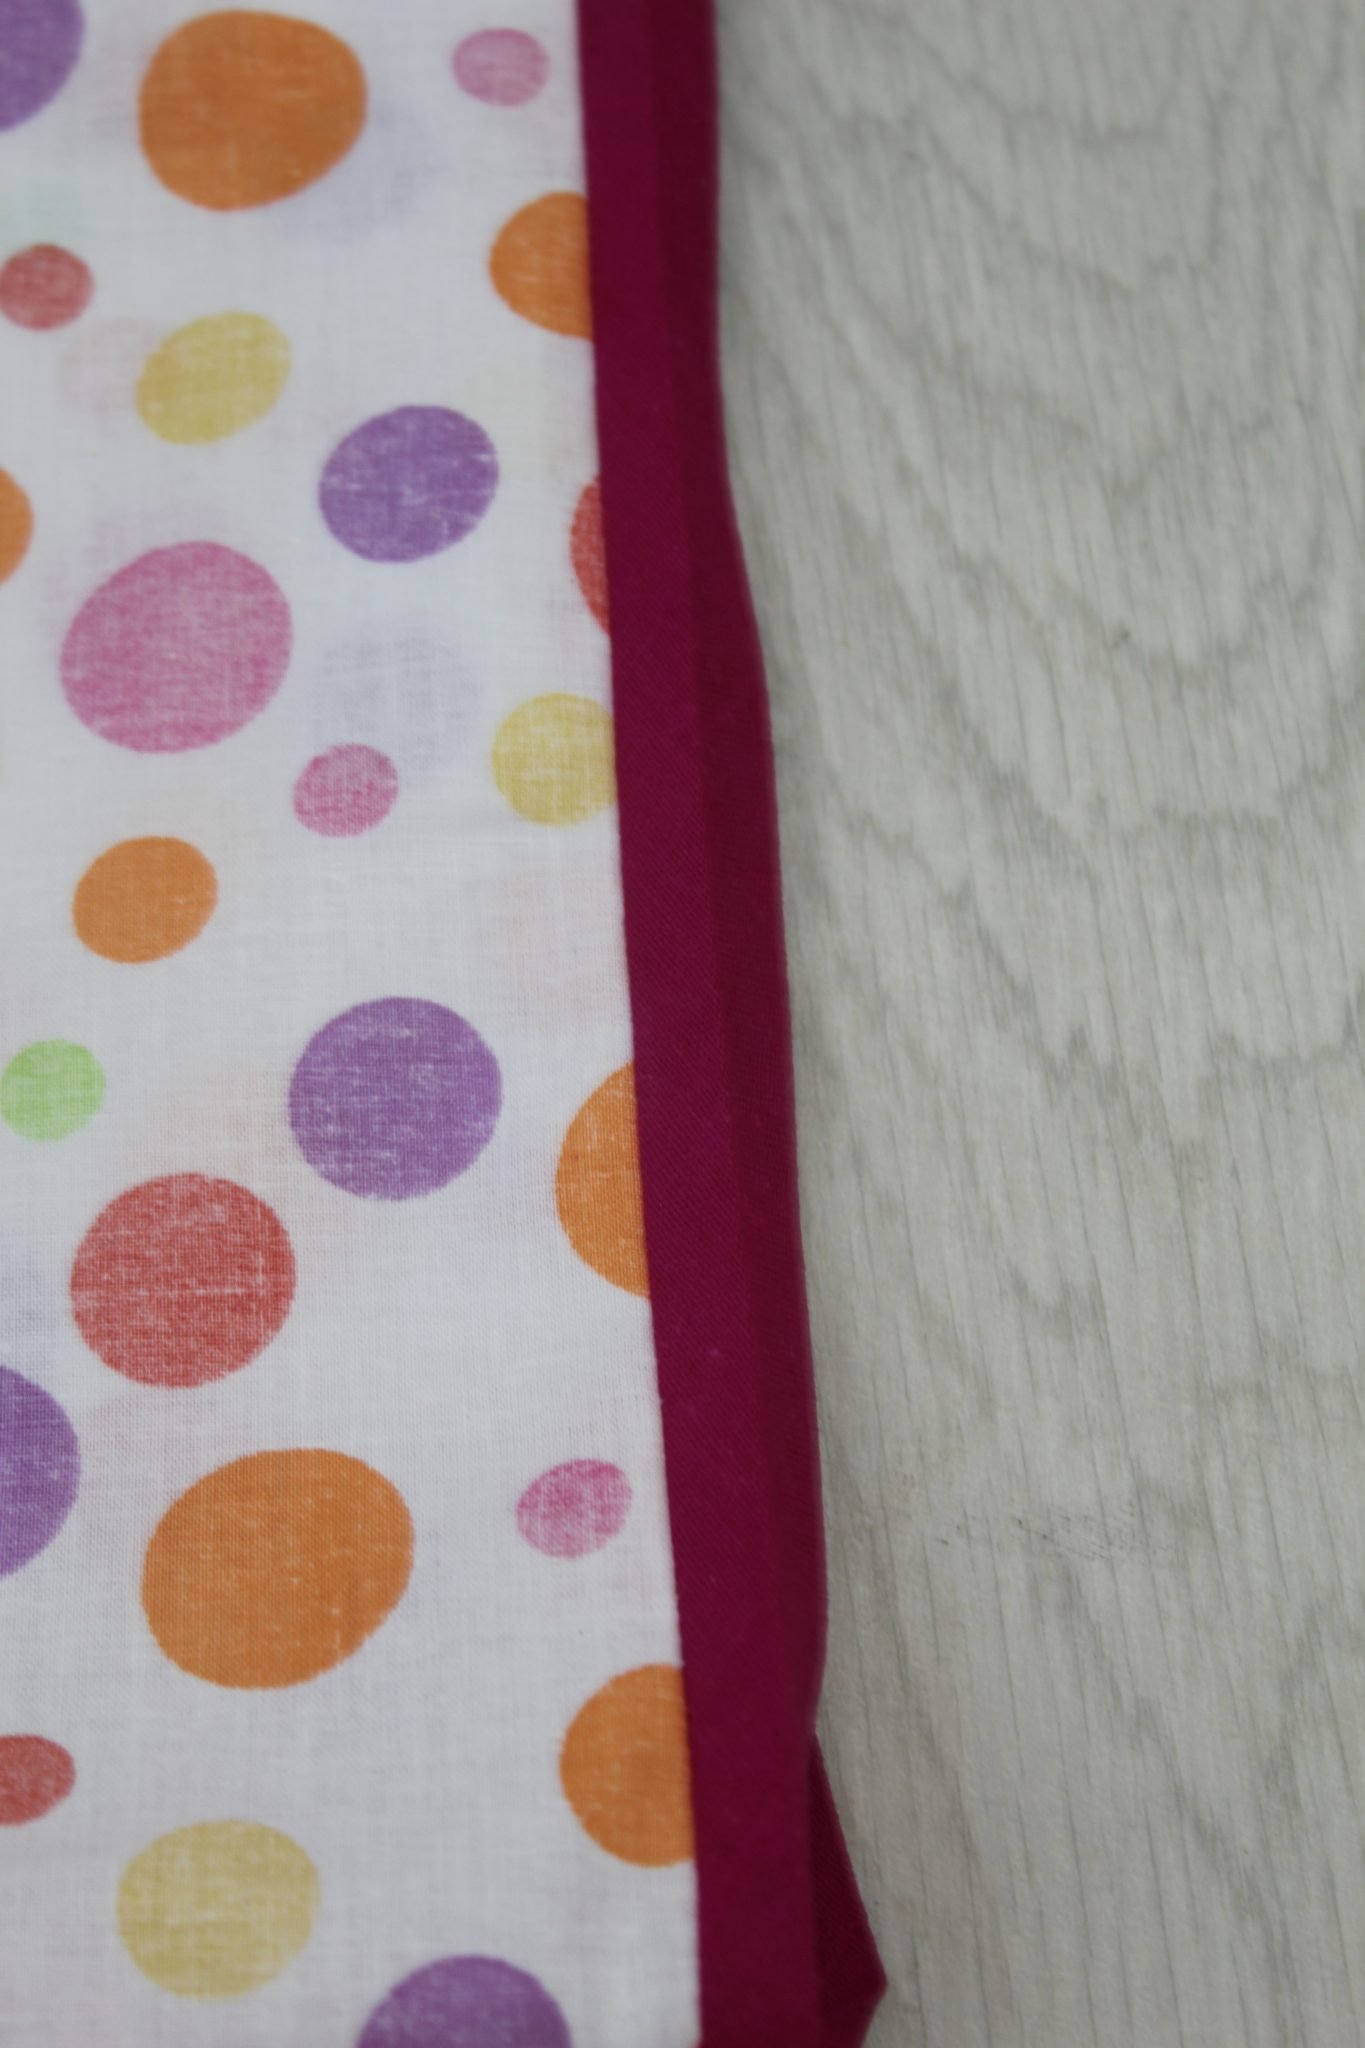
- Place the piece of fabric wrong side up
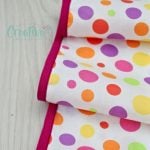
- Place double fold bias right side down. Any bias tape should have one side slightly smaller than the other side. Take the smaller side and match the edge to the edge of the fabric strip as shown below. Use lots of pins.
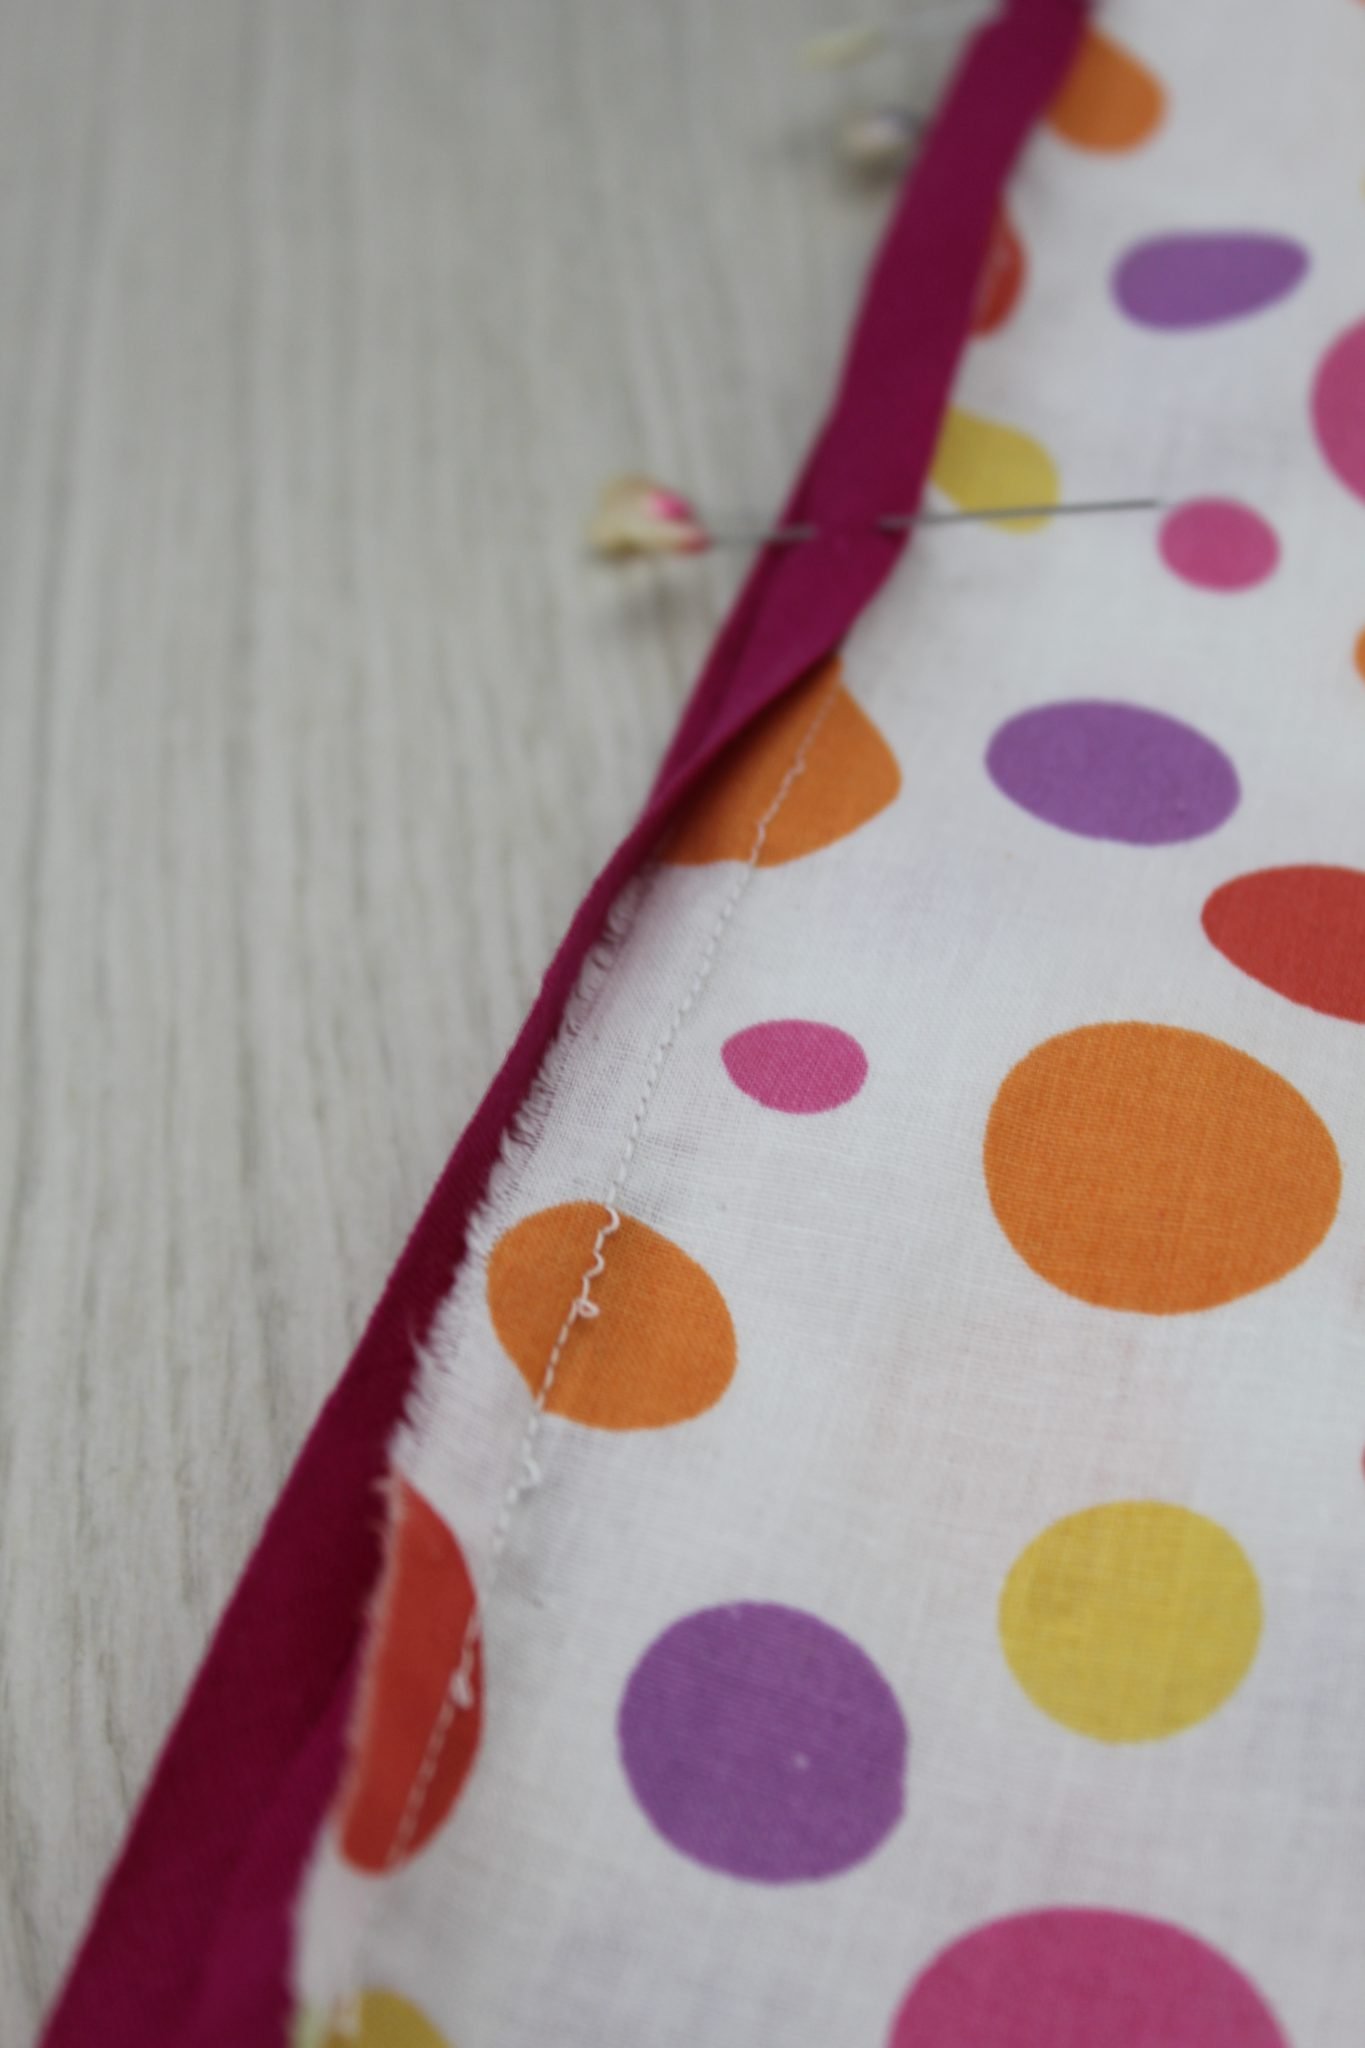
- Run a straight stitch line right on top of the fold in the small side.
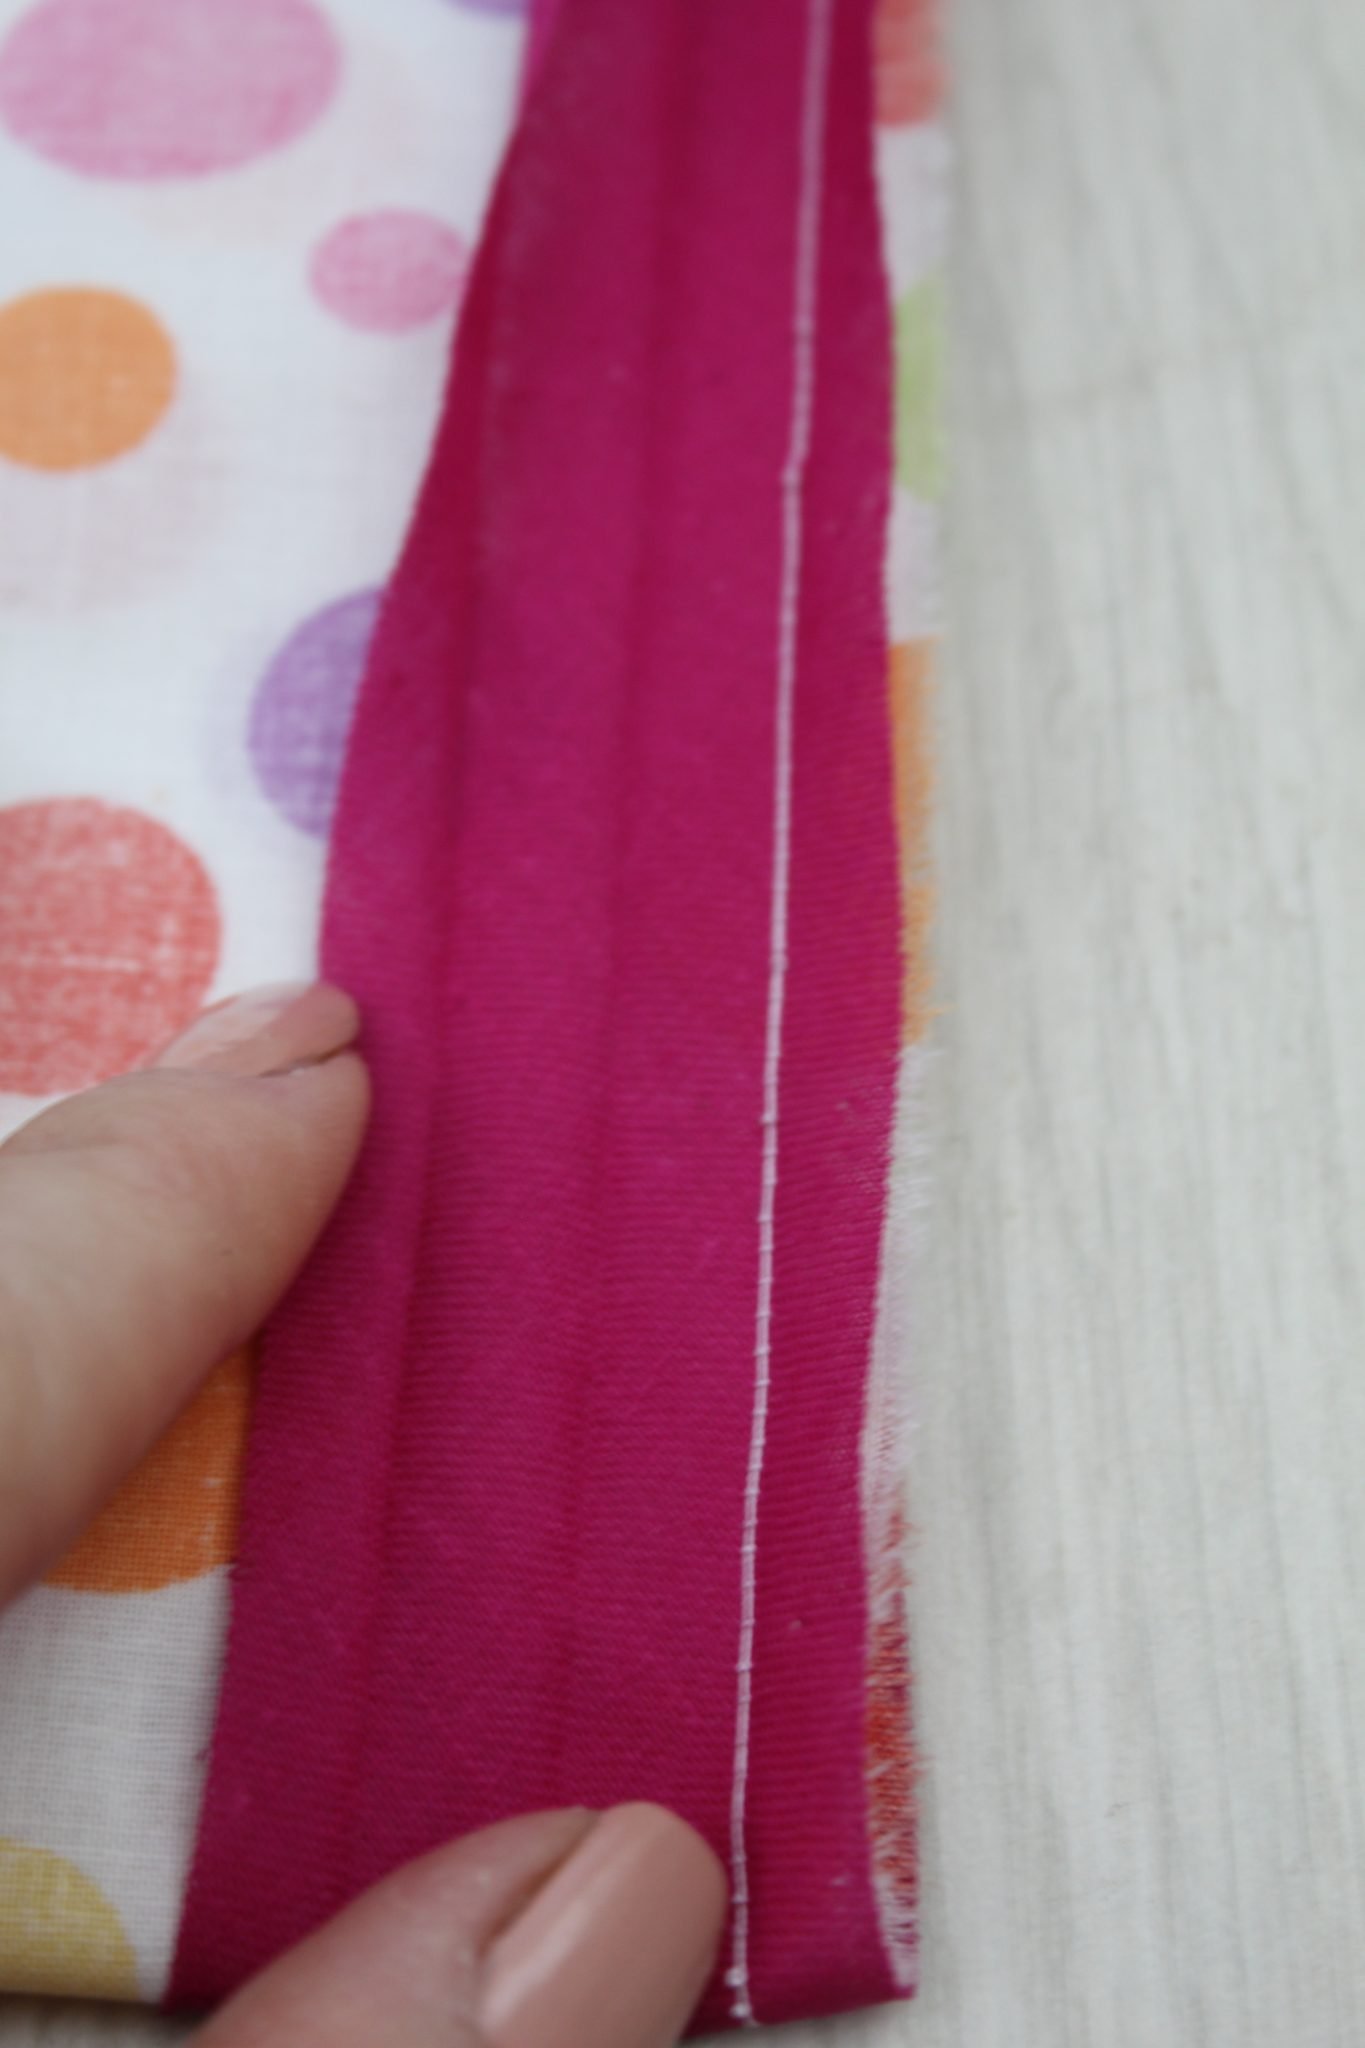
- Flip the bias towards the raw edges of the fabric strip (to the right in this particular case).
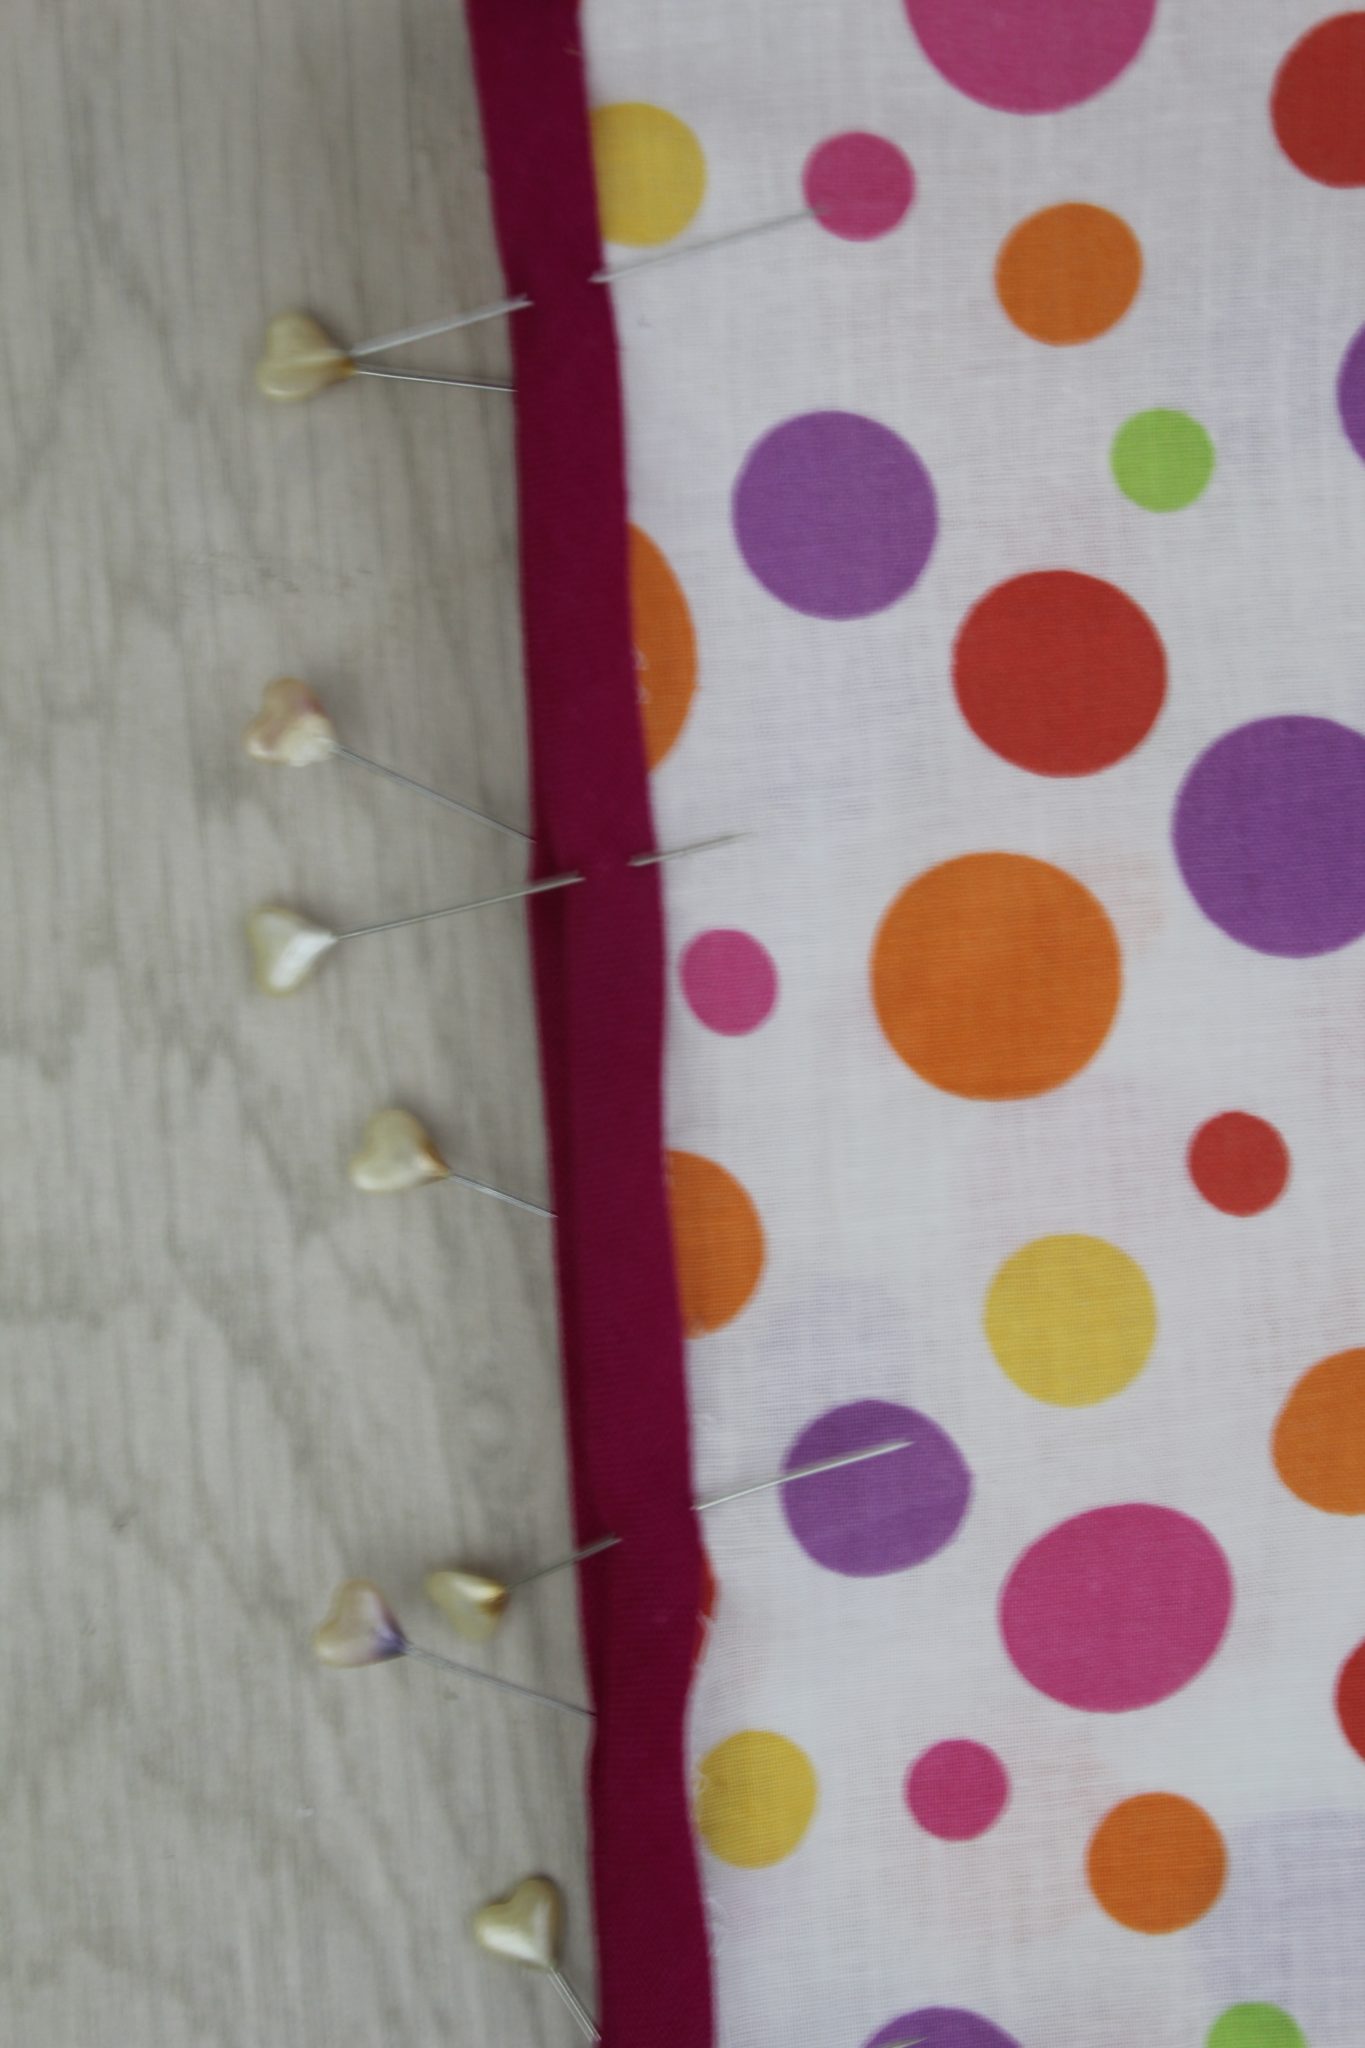
- Flip the fabric to the right side and fold bias back to its original shape. This way the longer side of the bias will be enclosing the raw edges into the bias tape.
- Make sure the longer side of the bias completely covers the line of stitches you’ve sewn onto the other side. Use lots of pins to keep bias and fabric strip together.
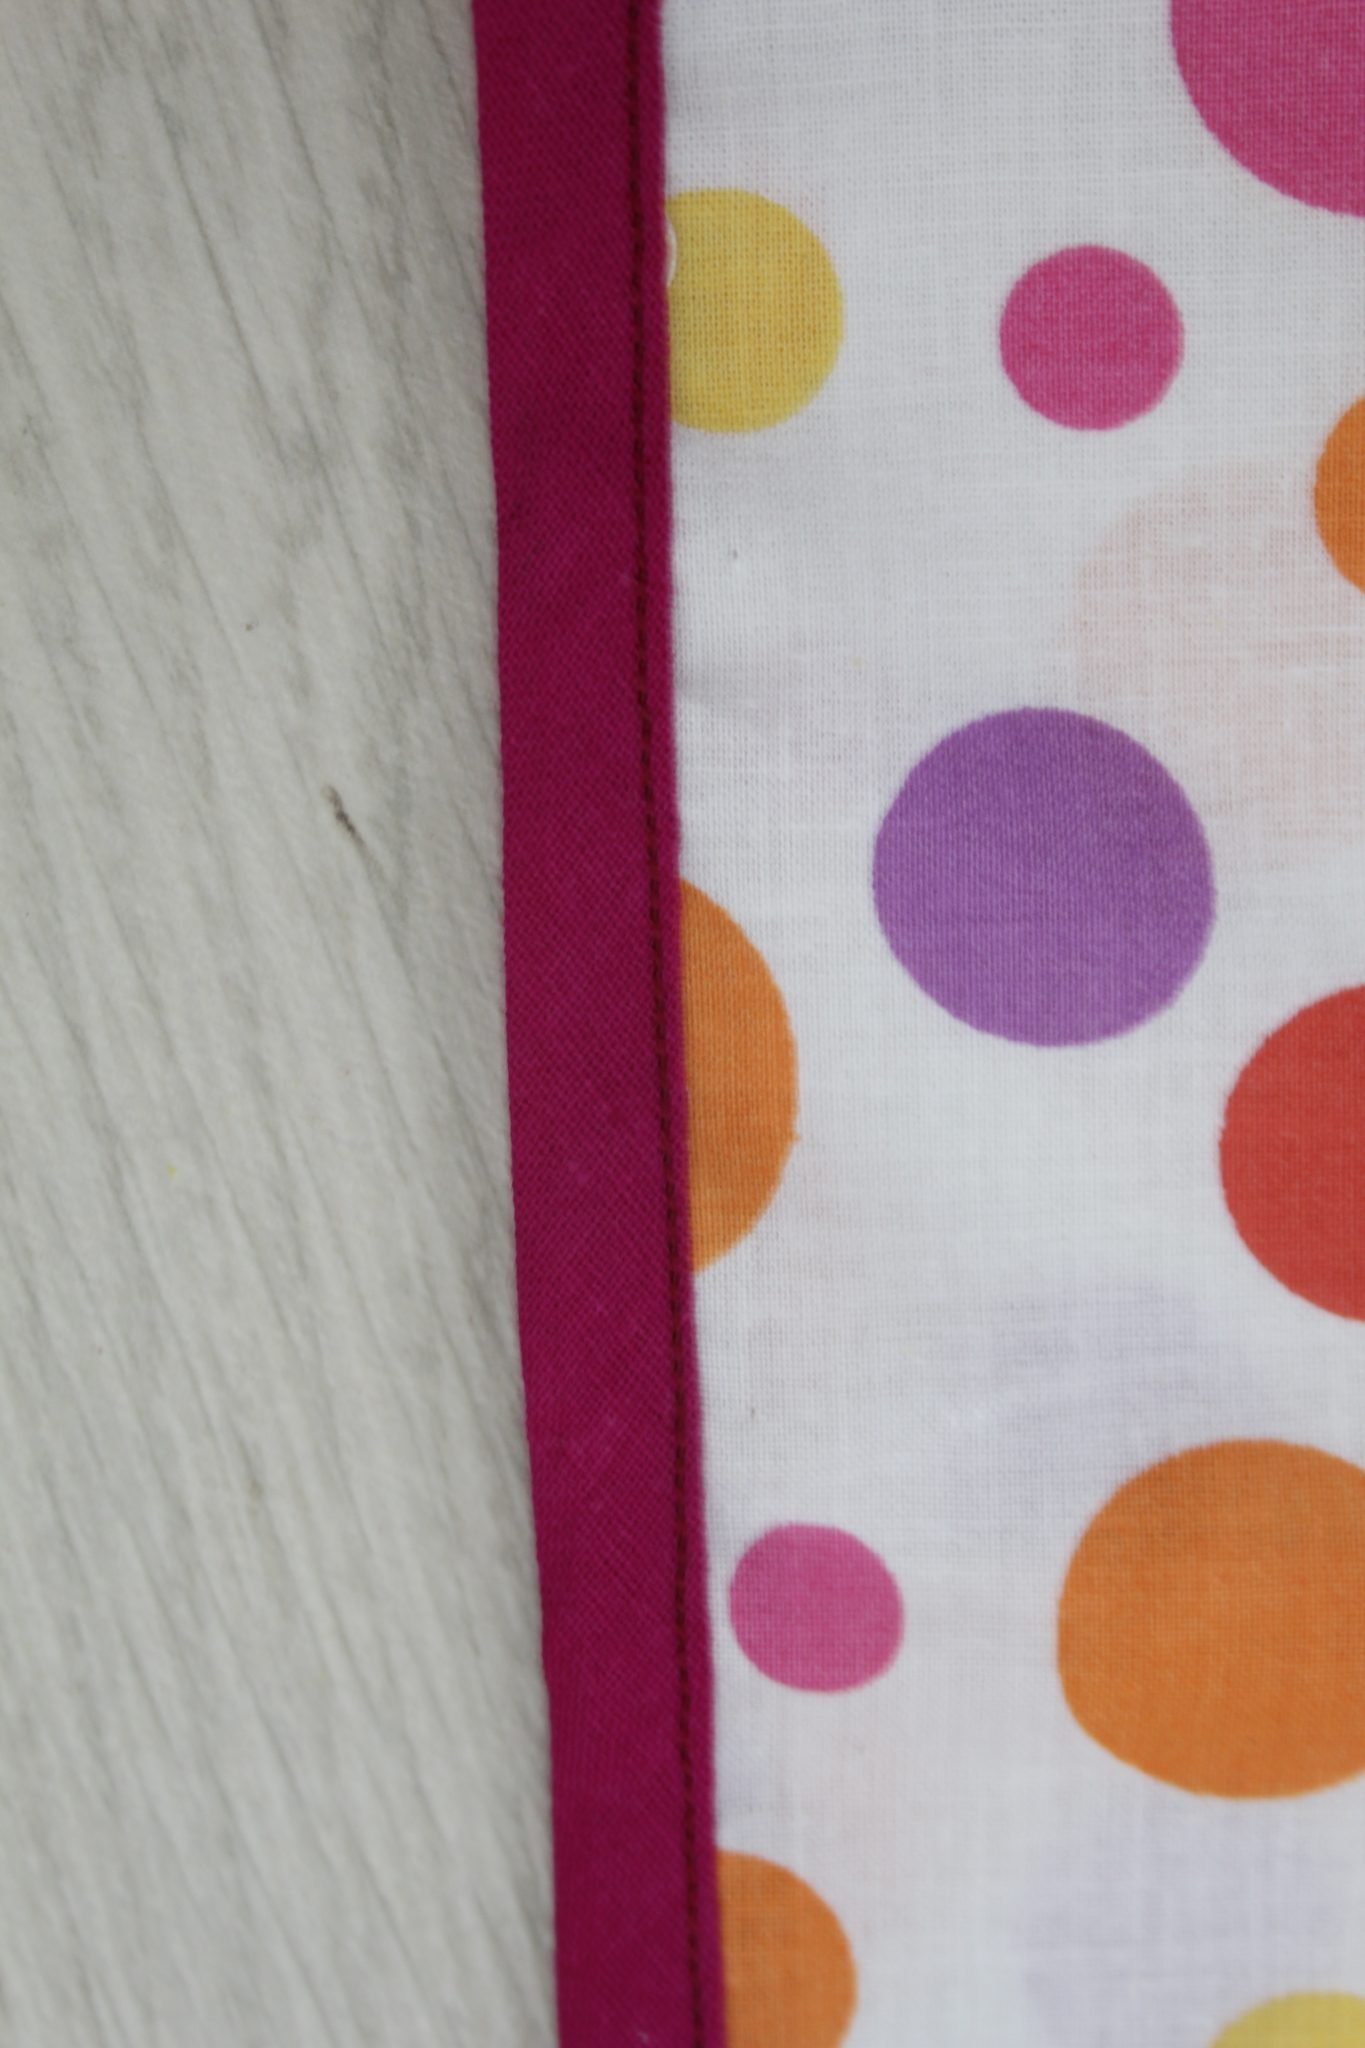
- Edge stitch along the open edge. Sew as close to the edge as possible, making sure this second line of stitches completely catches the previous line of stitches. This is how the right side of the garment should look like
And there you have it! If you found this tutorial helpful! I would love to hear about your success in the comments section below, your feedback helps me create even better resources for you in the future. Please don’t hesitate to ask questions if anything is still unclear. Thank you and happy sewing!
Pin to save for later
Print the craft card
How to sew double fold bias tape
Materials
- double fold bias
- skirt or dress with unfinished hem or just a piece of fabric to practice on
- matching thread
Tools
- scissors
Instructions
- Place the piece of fabric wrong side up
- Place double fold bias right side down. Any bias tape should have one side slightly smaller than the other side. Take the smaller side and match the edge to the edge of the fabric strip as shown below. Use lots of pins.
- Run a straight stitch line right on top of the fold in the small side.
- Flip the bias towards the raw edges of the fabric strip (to the right in this particular case).
- Flip the fabric to the right side and fold bias back to its original shape. This way the longer side of the bias will be enclosing the raw edges into the bias tape.
- Make sure the longer side of the bias completely covers the line of stitches you've sewn onto the other side. Use lots of pins to keep bias and fabric strip together.
- Edge stitch along the open edge (as close to the edge as possible, making sure this second line of stitches completely catches the previous line of stitches).
Most popular sewing projects:
- Tips for sewing a round hem
- Corded bag handles
- Flutter sleeve dress pattern
- How to laminate cotton fabric


ABOUT PETRO
Hi, I’m Petro, author and founder of Easy Peasy Creative Ideas. Sewist, crafter, avid DIY-er, foodie, photographer, homemaker and mommy to one. I’m an expert at coming up with quick, clever sewing tips, recycling crafts and simple, easy recipes! You can find my ideas featured in reputable publications such as Country Living, Good House Keeping, Yahoo News, WikiHow, Shutterfly, Parade, Brit & Co and more. Thanks for stopping by and hope you’ll stay for a while, get to know me better and come back another time. Stick around for real fun projects! Read more…