

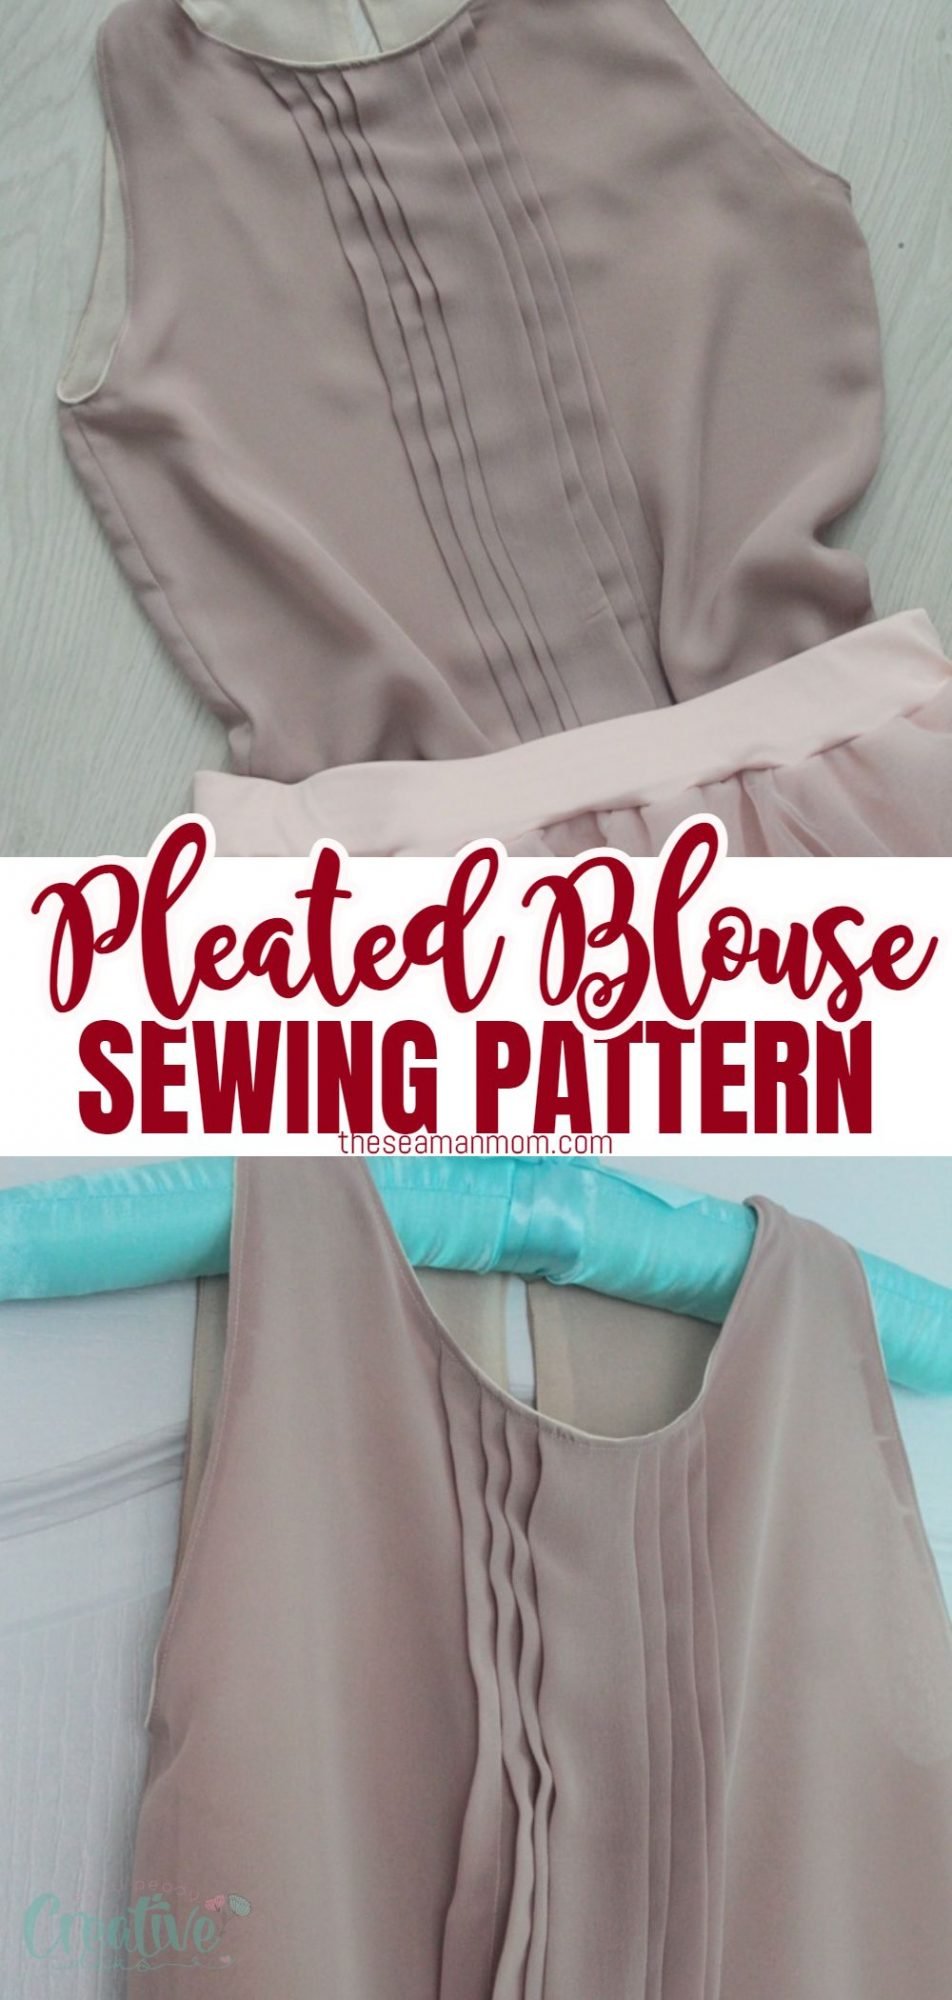
Pleated blouse pattern
Article may contain Amazon & affiliate links. As an Amazon Associate I earn from qualifying purchases at no additional cost to you.
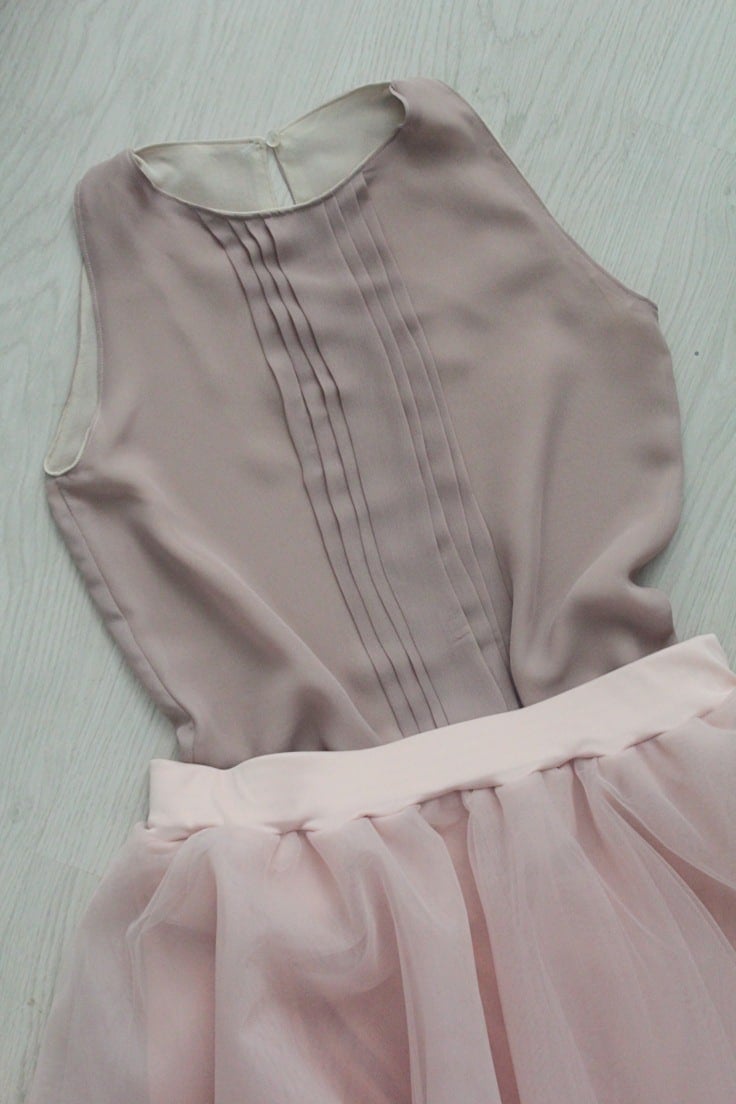
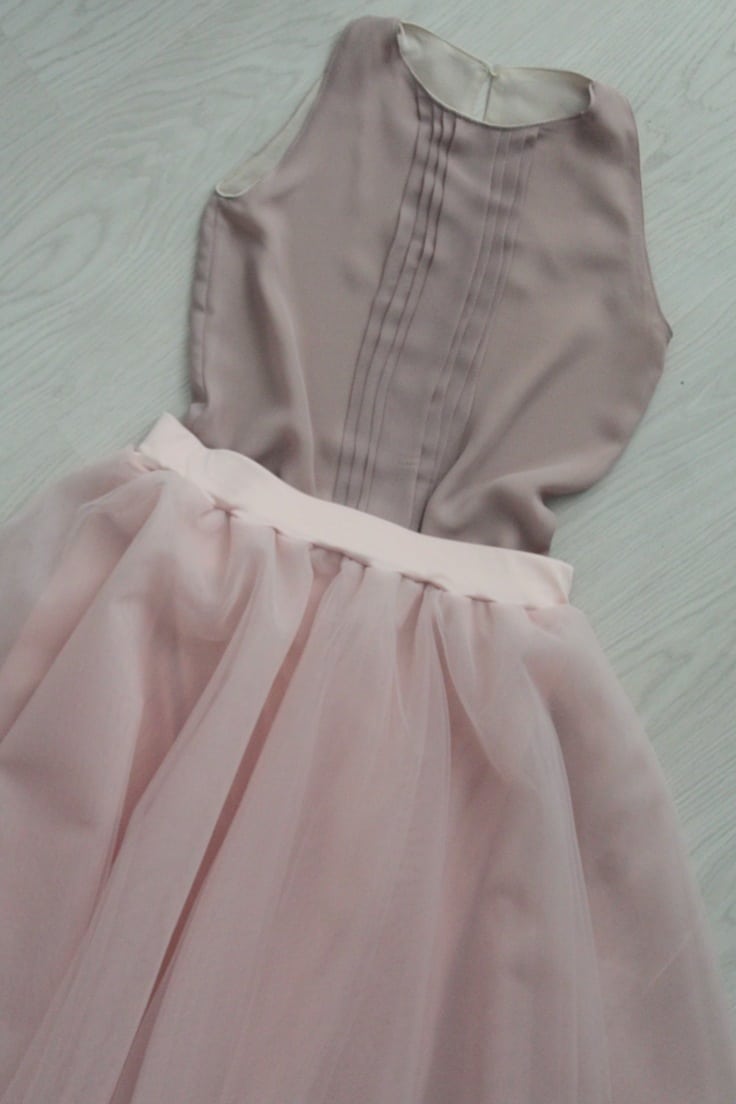
Effortlessly incorporate a romantic design into your every day style with a simple but adorable blouse with pleats. This pleated blouse pattern helps you explore new textures and designs with a unique garment piece!
Pleated blouse pattern
I’ve bee feeling adventurous lately and decided to get out of my comfort zone with an extraordinary blouse! So I made this beautiful pleated blouse pattern! It took me a while, I’m not gonna hide behind my fingers and pretend this was easy for me to design and make. But I think it’s worth every effort.
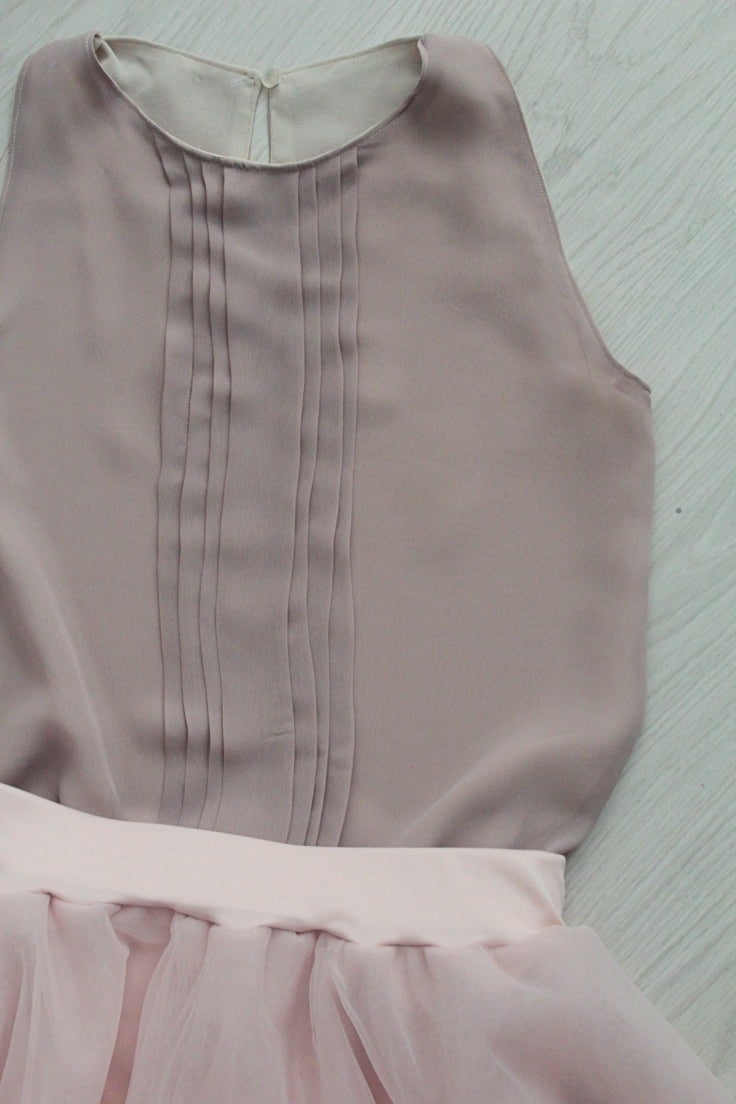
I had comfort in mind when I started working on the pattern for this pleated front blouse and as it turns out, romantic designs are quite comfortable! This pleated blouse pattern is sweet, beautiful, with lots of texture but without compromising on wearability.
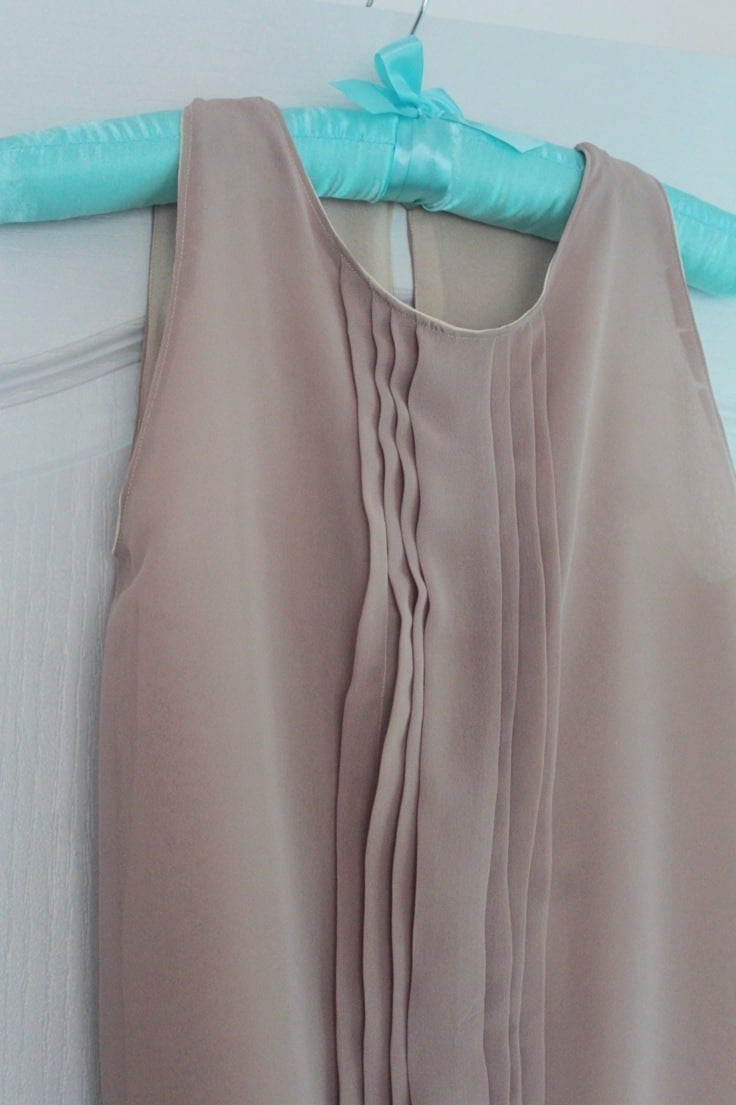
I wanted to make the pleats as fuss free as possible but to be honest this was the hardest part of the process. I did figure out a faster and easier way though but right after I finished the blouse. I’ll highlight both in the tutorial below.
Want more blouse ideas?
Because I made this pleated top in chiffon, the blouse is perfect for formal events but would work just as great as an every day item in other fabric choices, like cotton. Probably a lot easier to sew too (chiffon is my enemy!!). Made in the right fabric (like the mentioned cotton) this would be a project even beginners could sew, otherwise it’s intermediate to experienced levels are recommended.
The pleated blouse pattern comes in sizes 6 to 14 and is available to purchase here. I did a little trick and was able to adjust the pattern to make a blouse for my daughter, Ellie (who’s 8 yrs old) by simply picking the smallest pattern and choosing the fit to page on my printer. By default, my printer ads a lot of white space so the pattern prints out quite small if I choose the fit to page setting. I thought it’s worth mentioning if you have a similar printer and want to make the blouse in a smaller size.
How to sew a Pleated Blouse
Materials:
- pattern
- chiffon (for both the blouse and the lining)
- fabric marker
- yardstick
- scissors
- pins
- hair spray or spray starch
- pressing iron
- pattern weights
- matching thread
- sewing machine
- serger – optional
Directions:
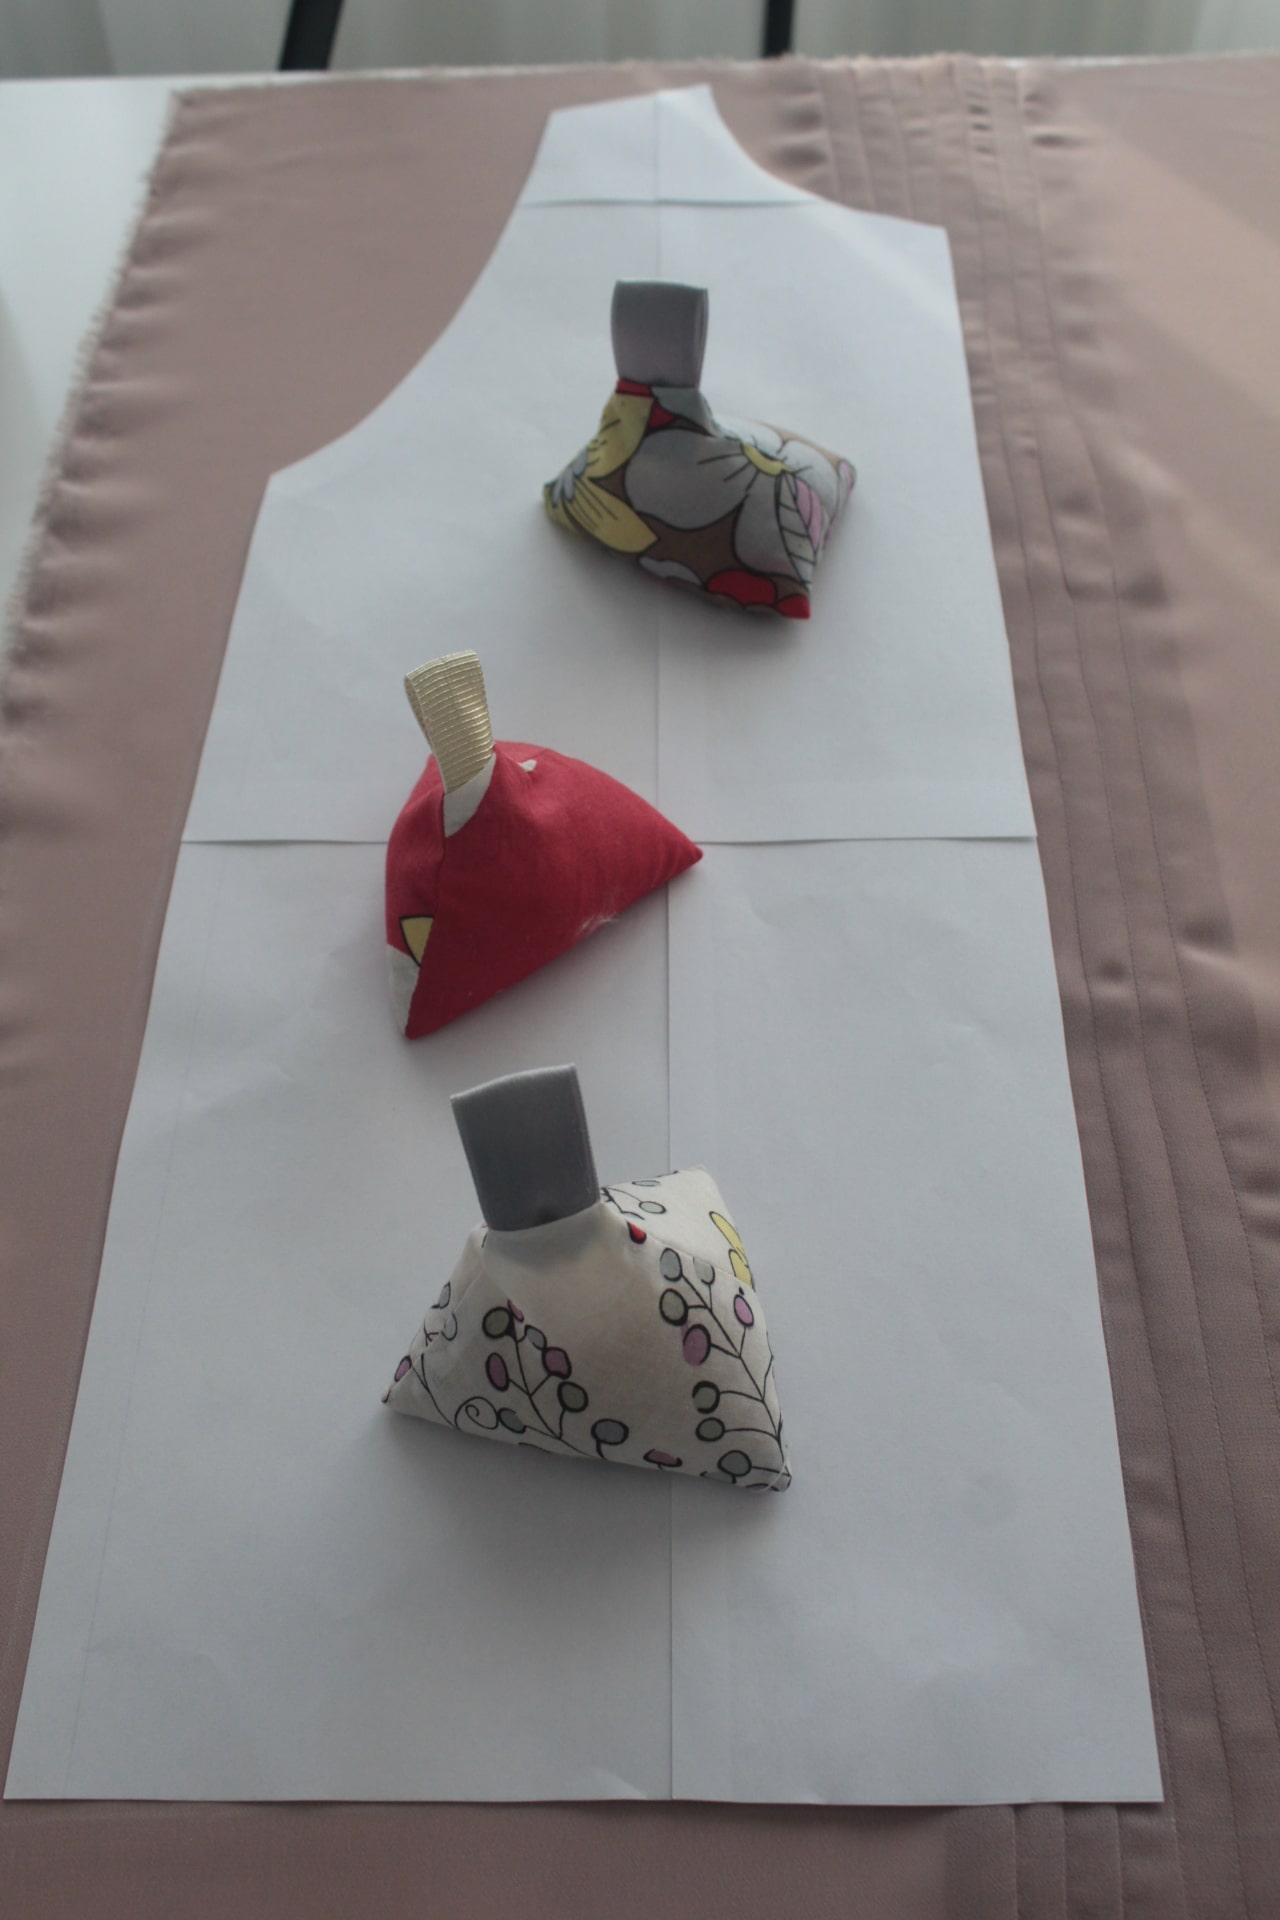
- To make things easier I wanted to make my fabrics a bit more stiff so I sprayed it liberally with hair spray. Spray starch would work too but needs to be super stiff. This helped me stabilize the chiffon, cut it straight and also sew it easier. After finishing the blouse just give it a little rinse in lukewarm water to remove the hair spray or starch.
To make the pleats
- Cut a piece of fabric for the front blouse that is the size of the pattern plus 12″.
- Cut a piece of fabric for the back blouse and both the front and the back of the lining, in the size of the pattern plus 1-2″.
- Find the middle of this piece by folding the corners towards the middle and mark with your fabric marker.
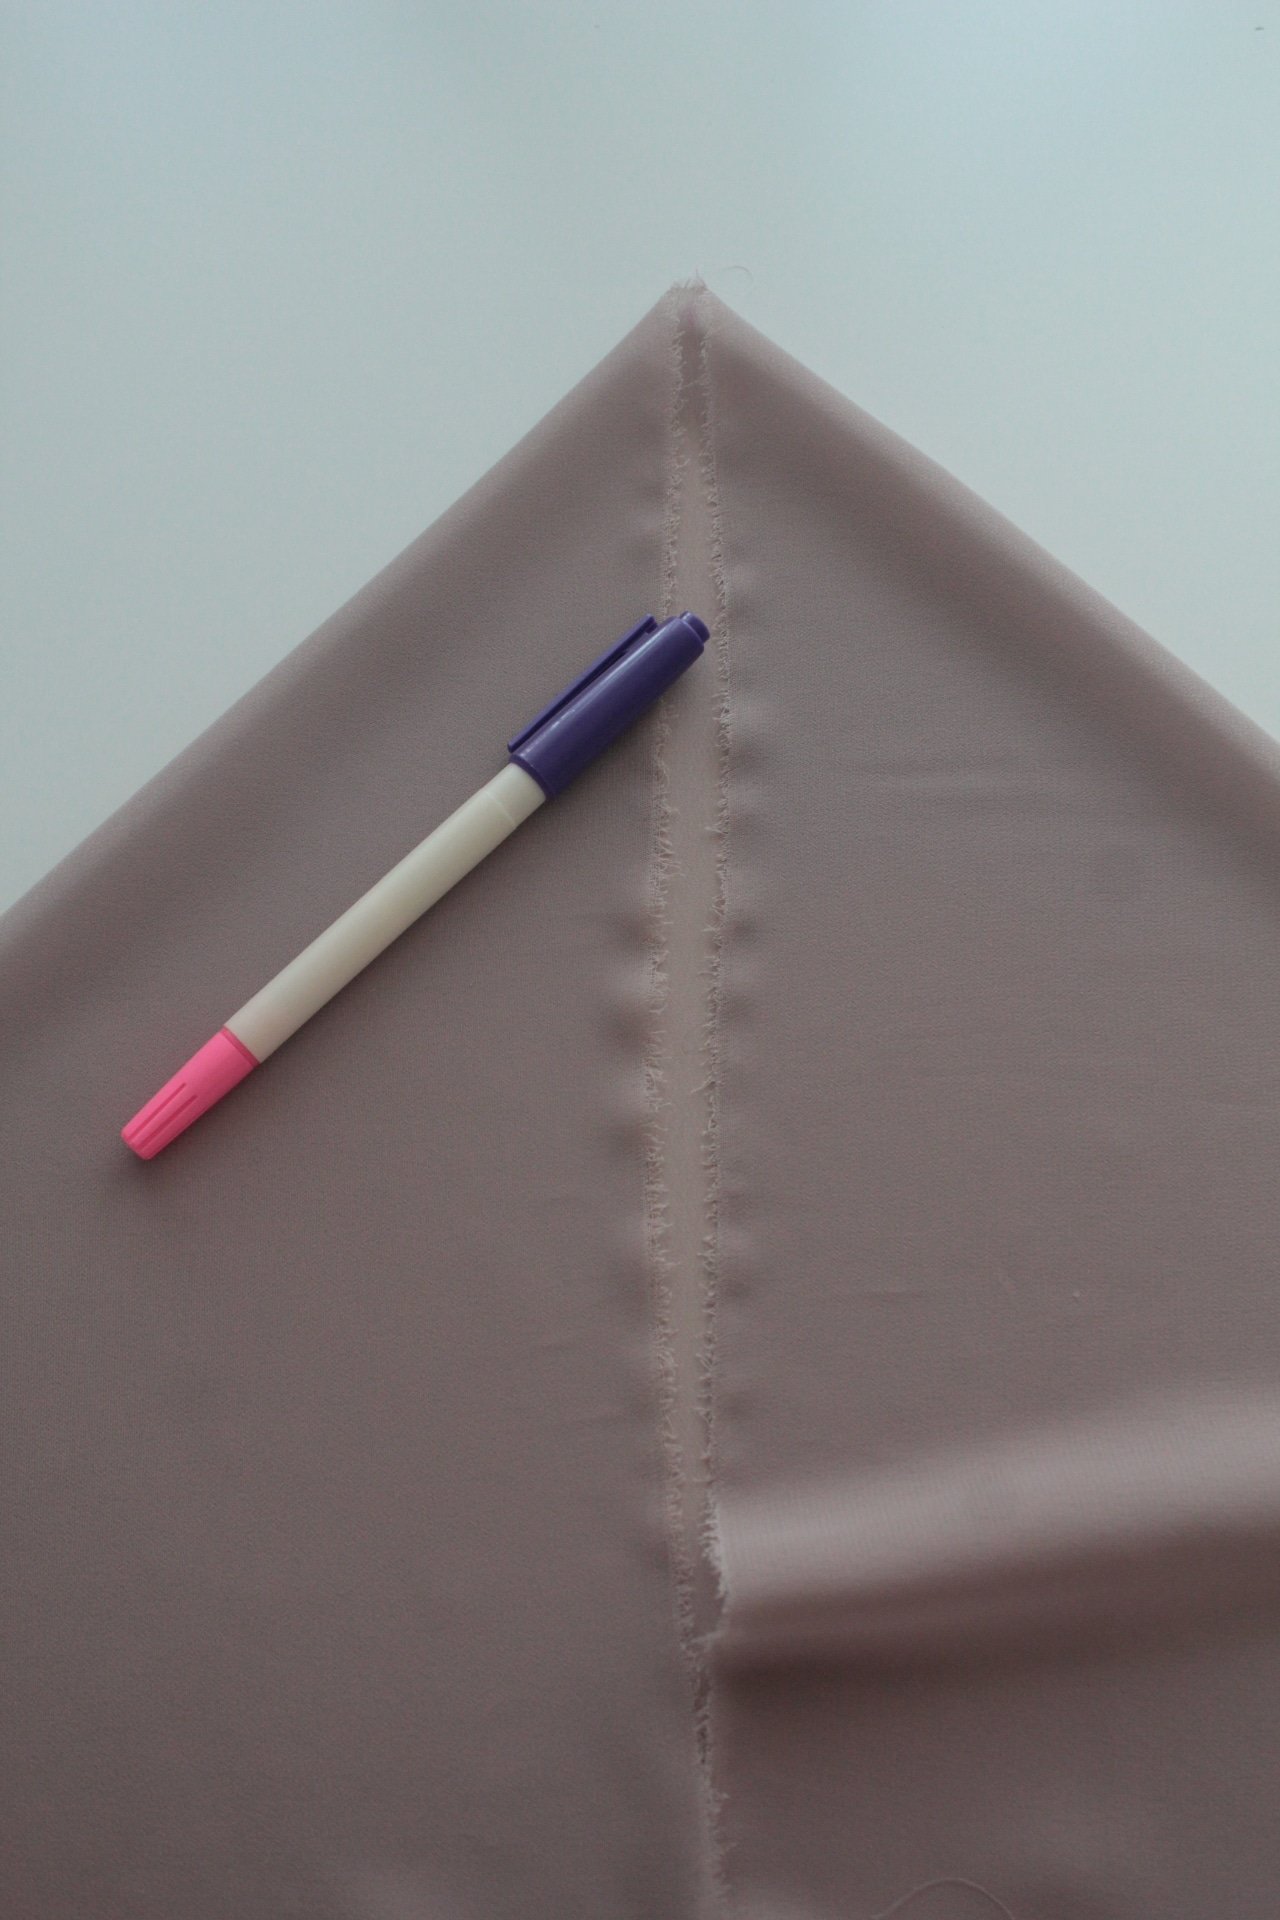
- From this point measure 1 1/2″ to the right and 1 1/2″ to the left. These last two are the marks for the center pleat.
- From each of these marks make additional marks to the left and right depending on how wide you like your pleats. I made mine 1/4″ wide so I made marks ever 1/2″.
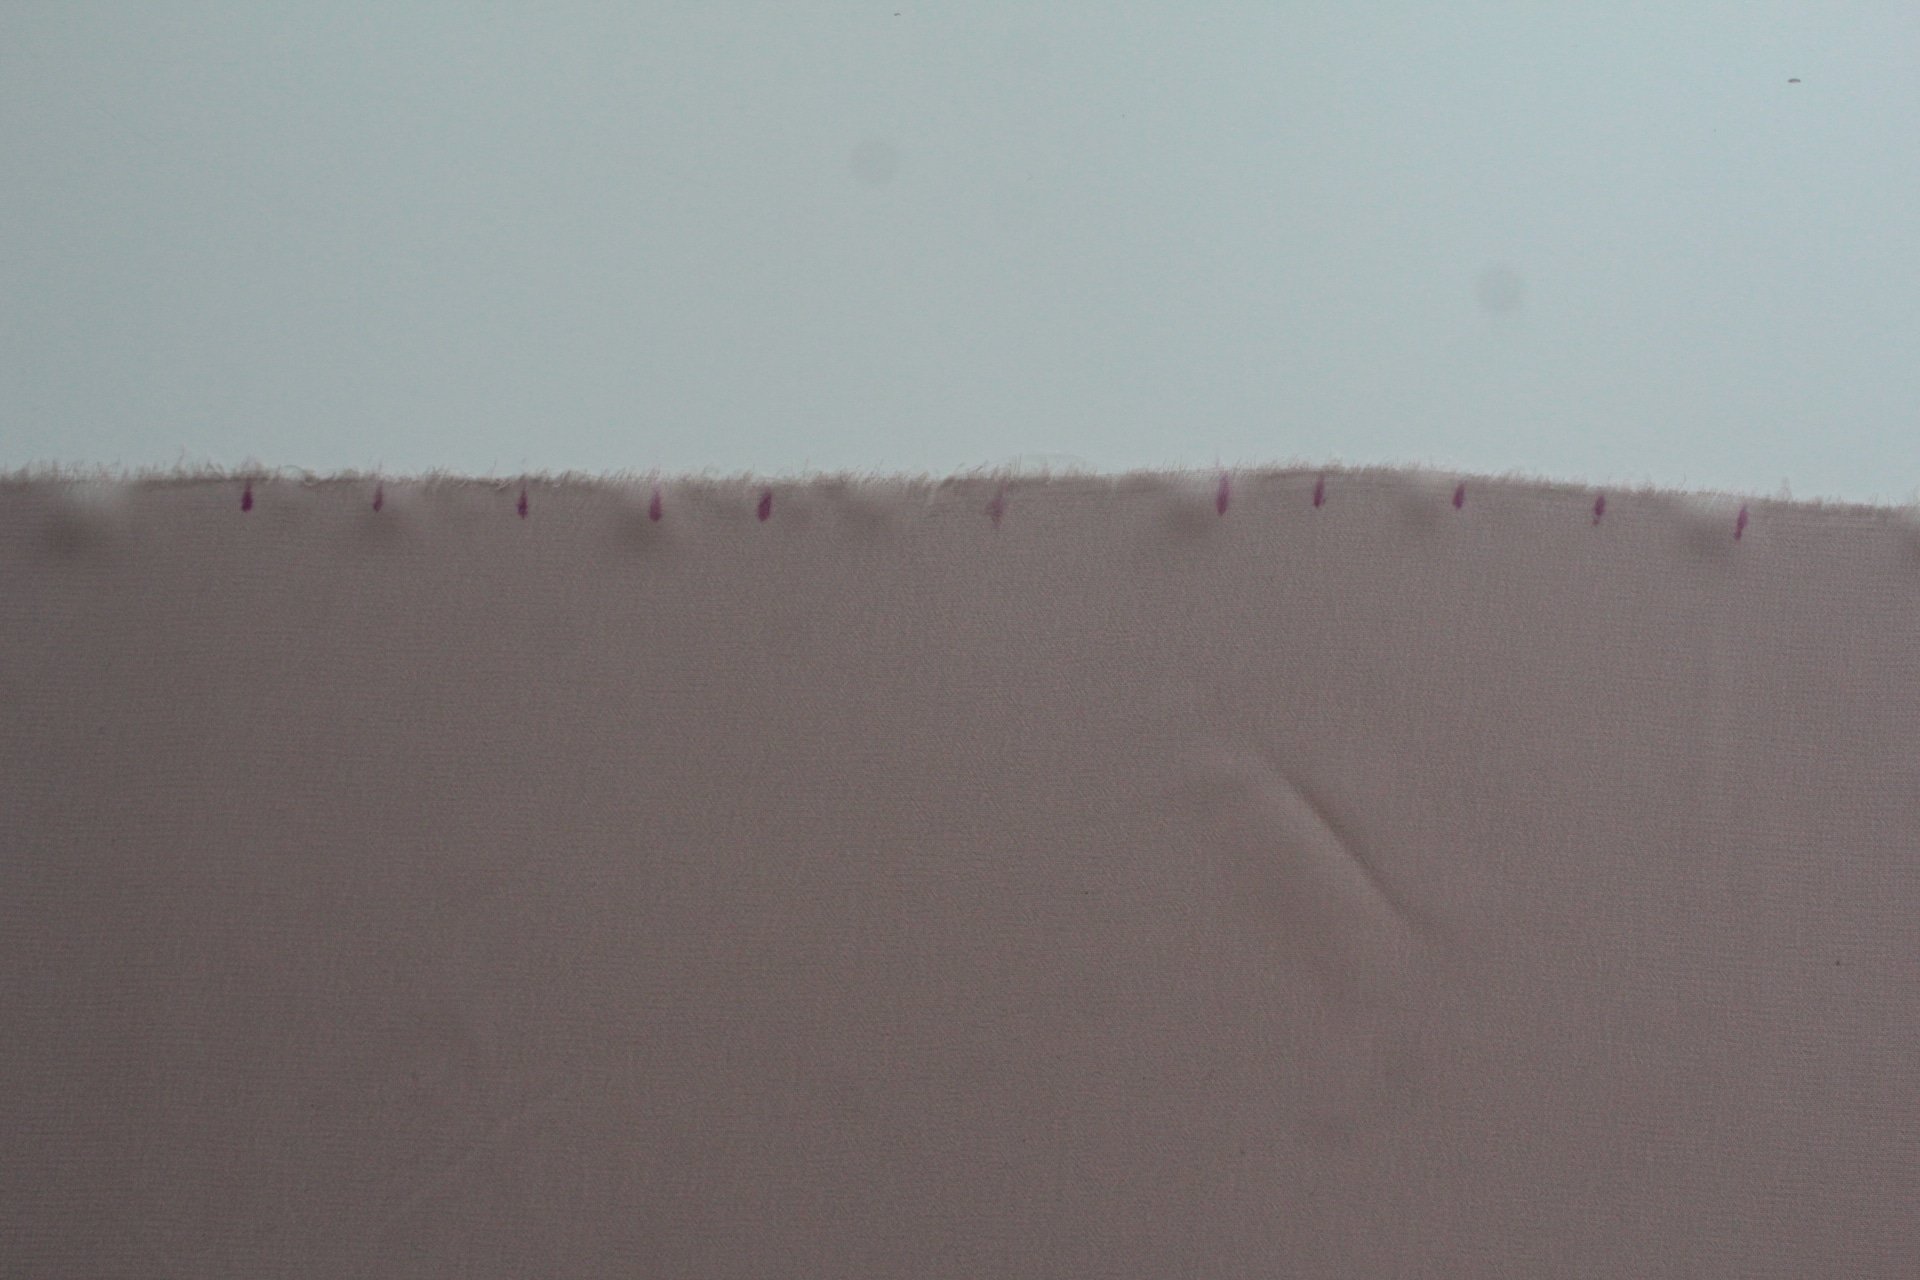
- Leave some space between your pleats. I left 1/4″ between each pleat so I skipped marking 1/4″ after each pleat.
- Repeat for the opposite edge of the blouse.
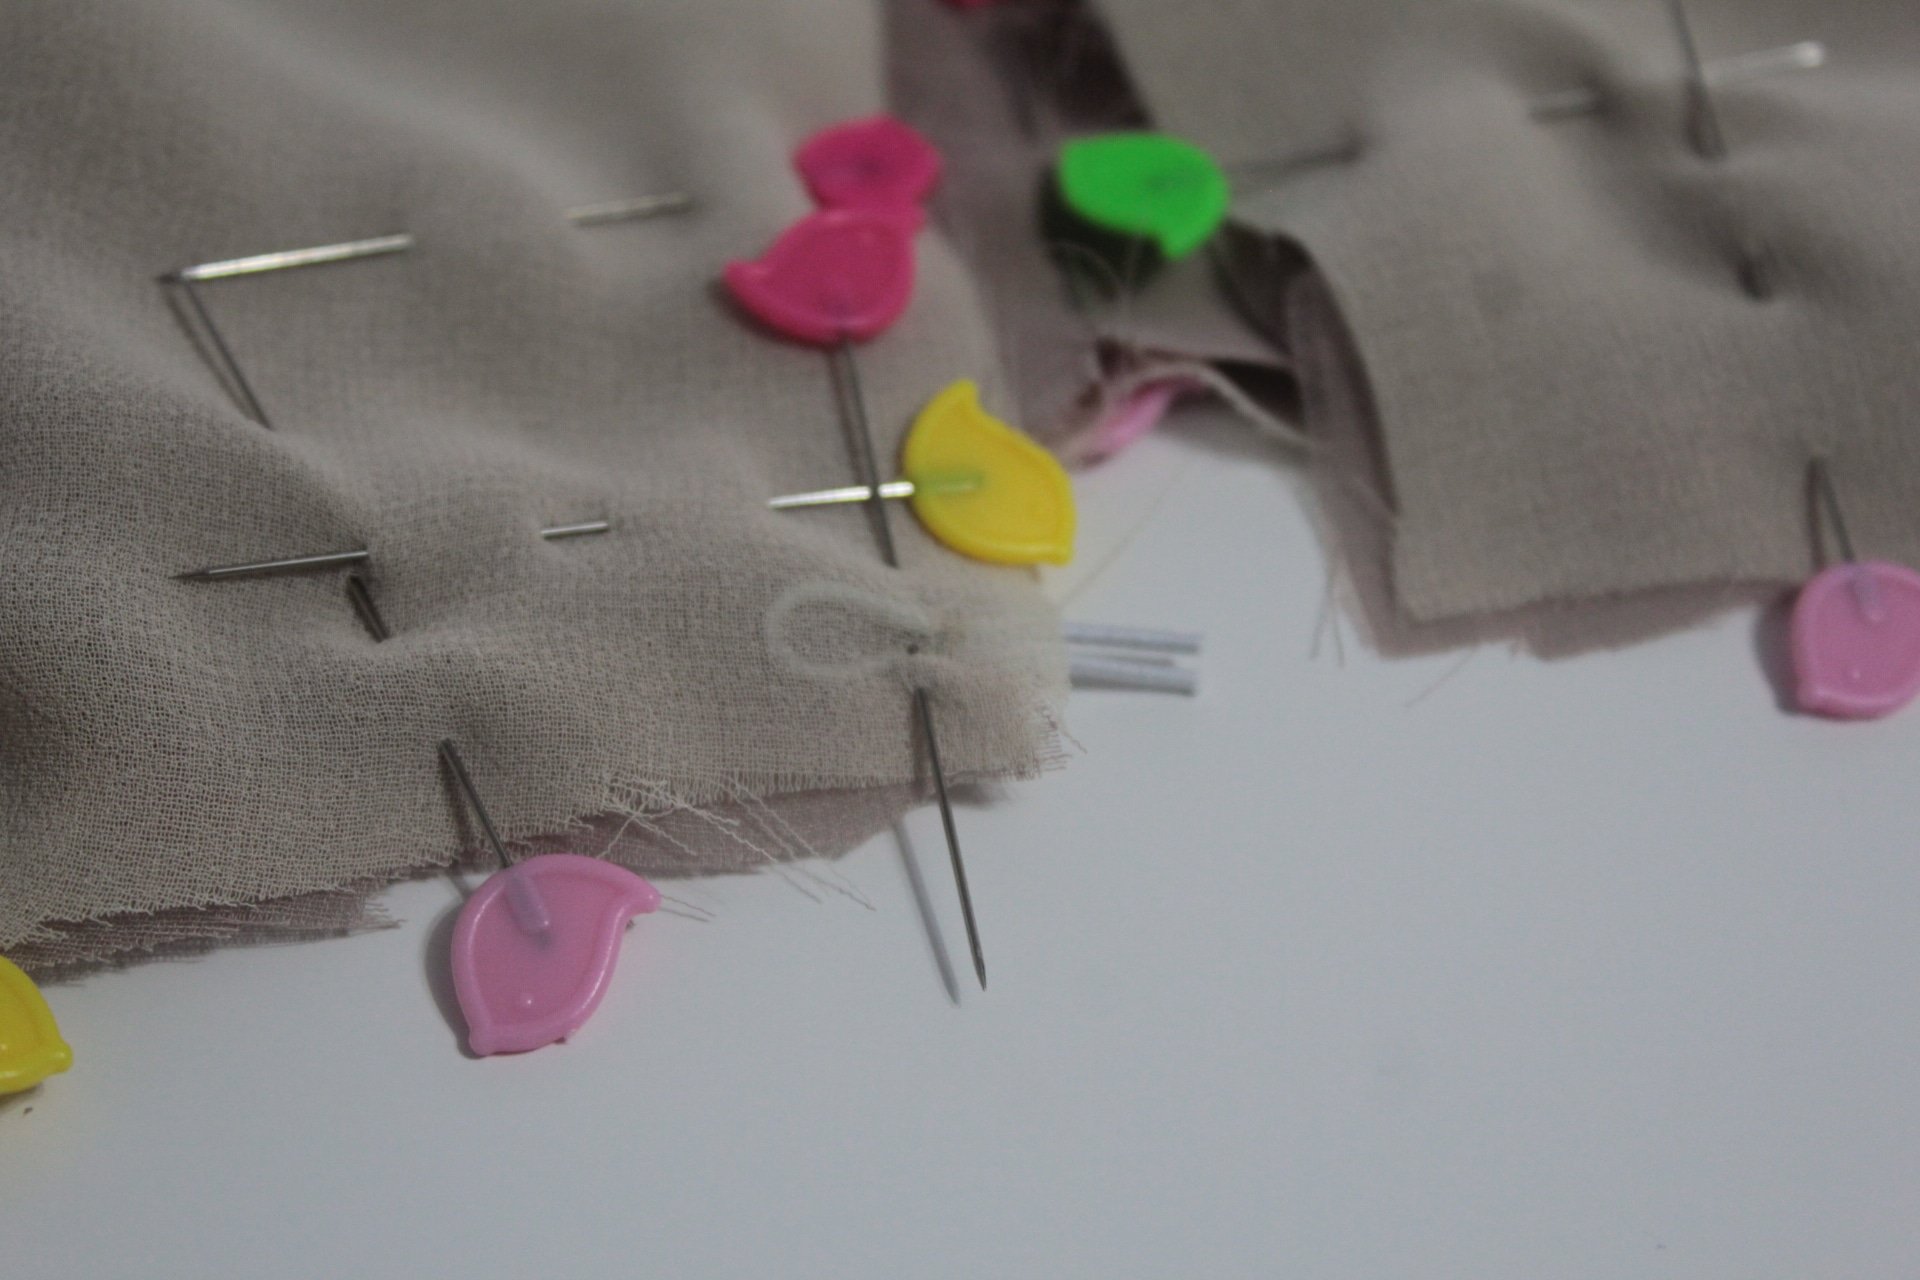
- Join the top marks for the center piece, then join the bottom marks and pin down the fabric. If it helps, first draw a line with your fabric marker between the top and bottom marks then do the pinning.
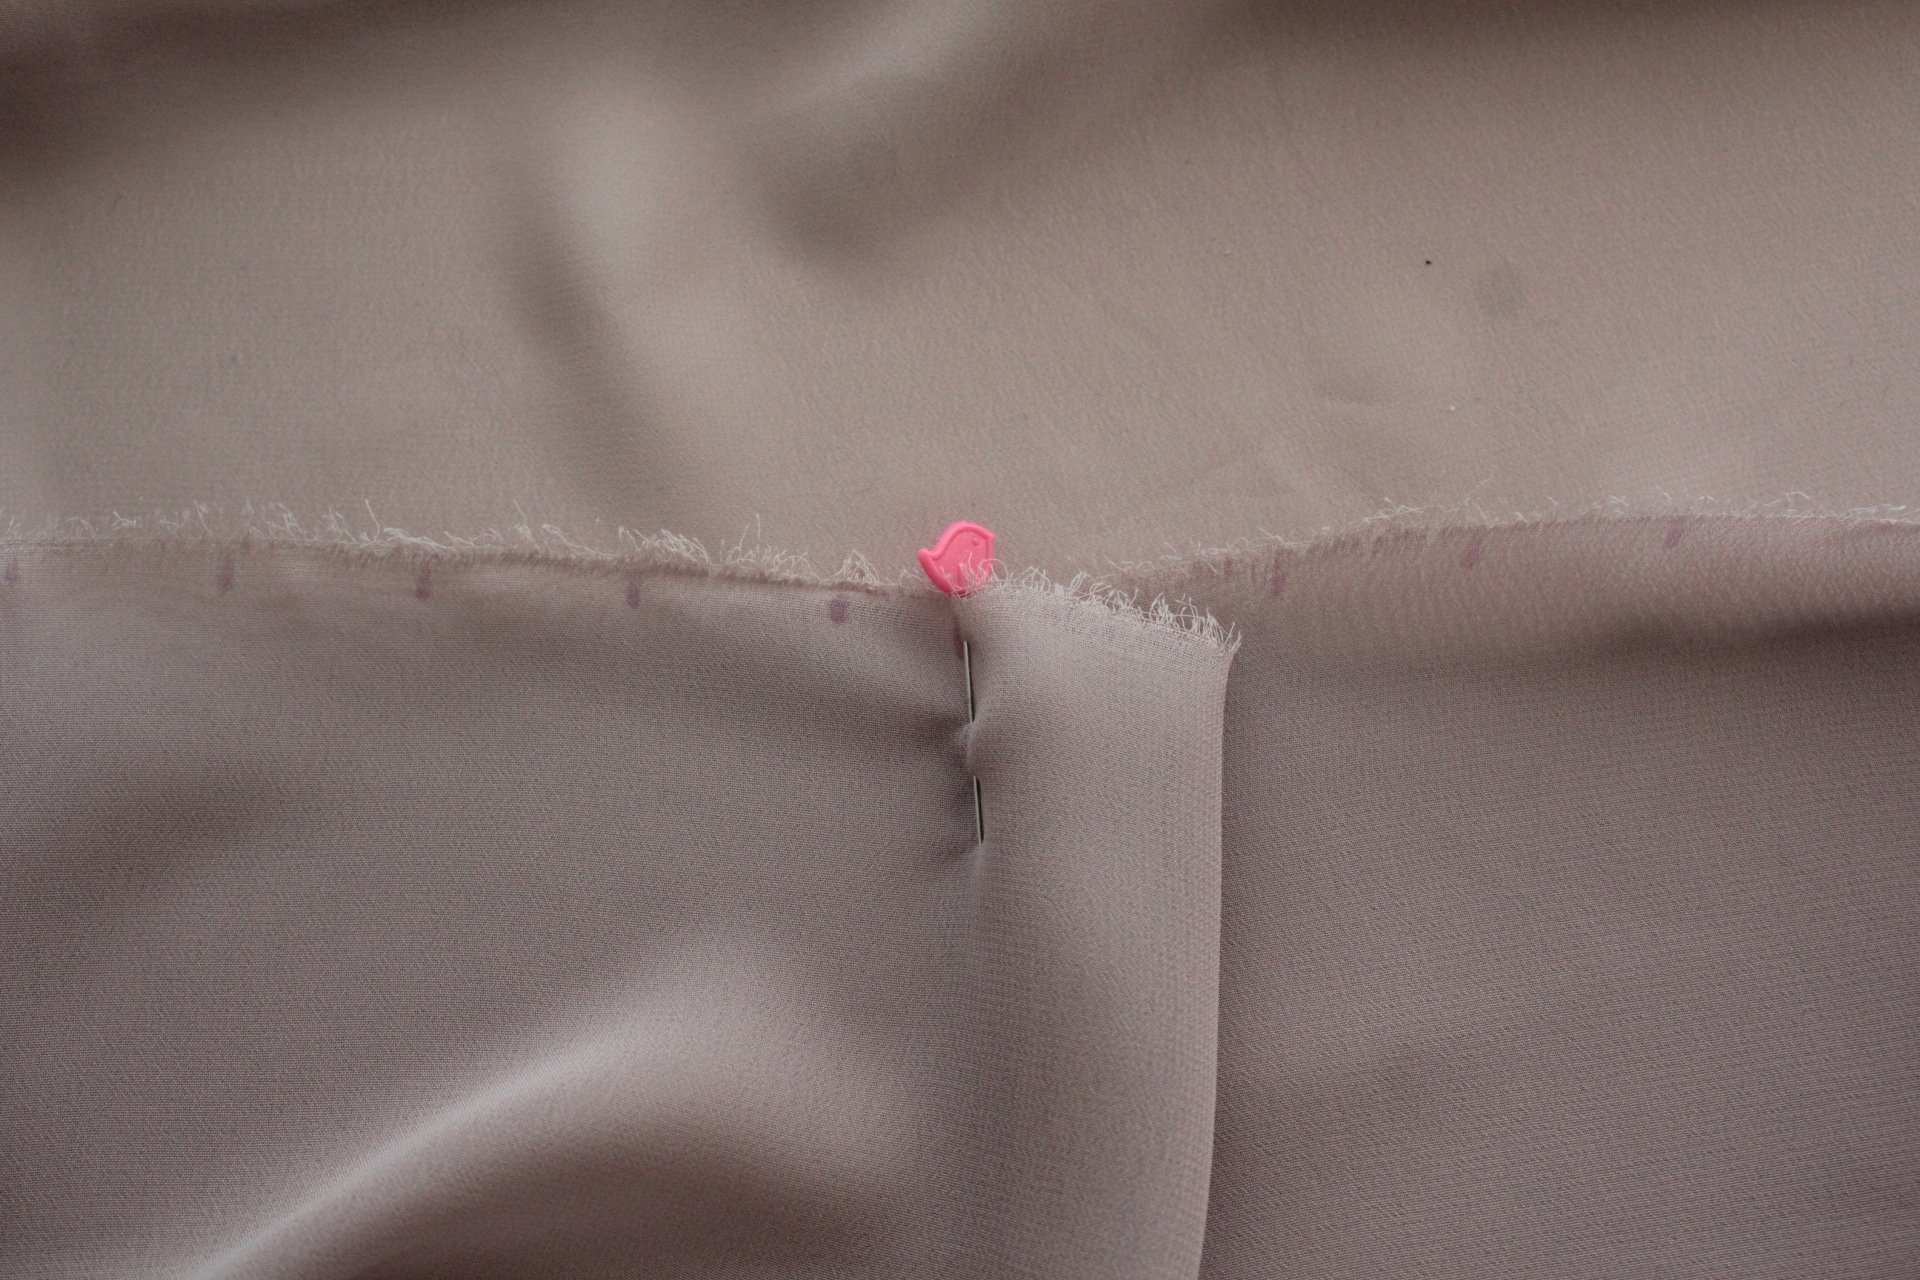

- Sew a straight line from the top marks all the way down the bottom marks.
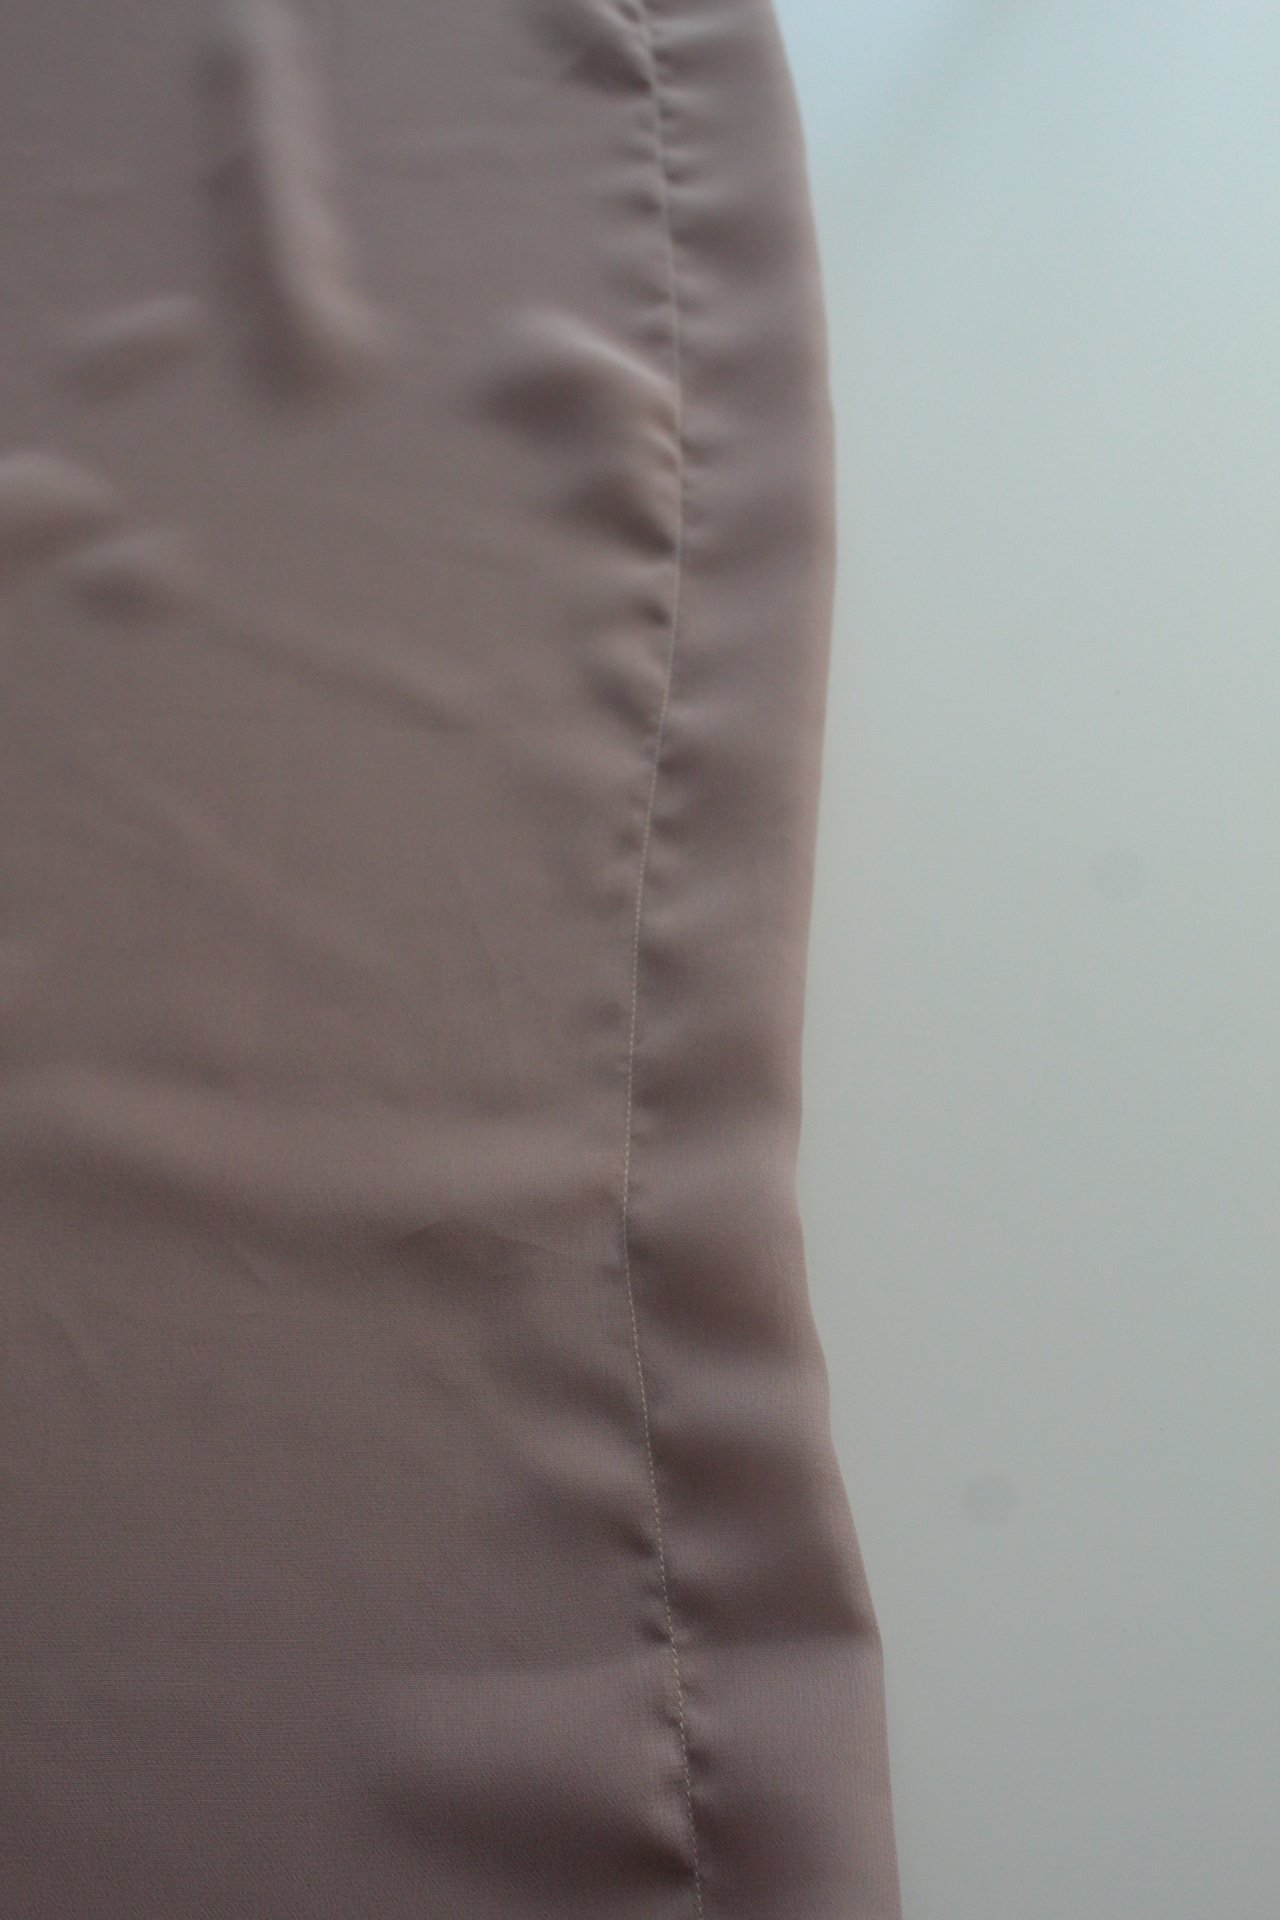
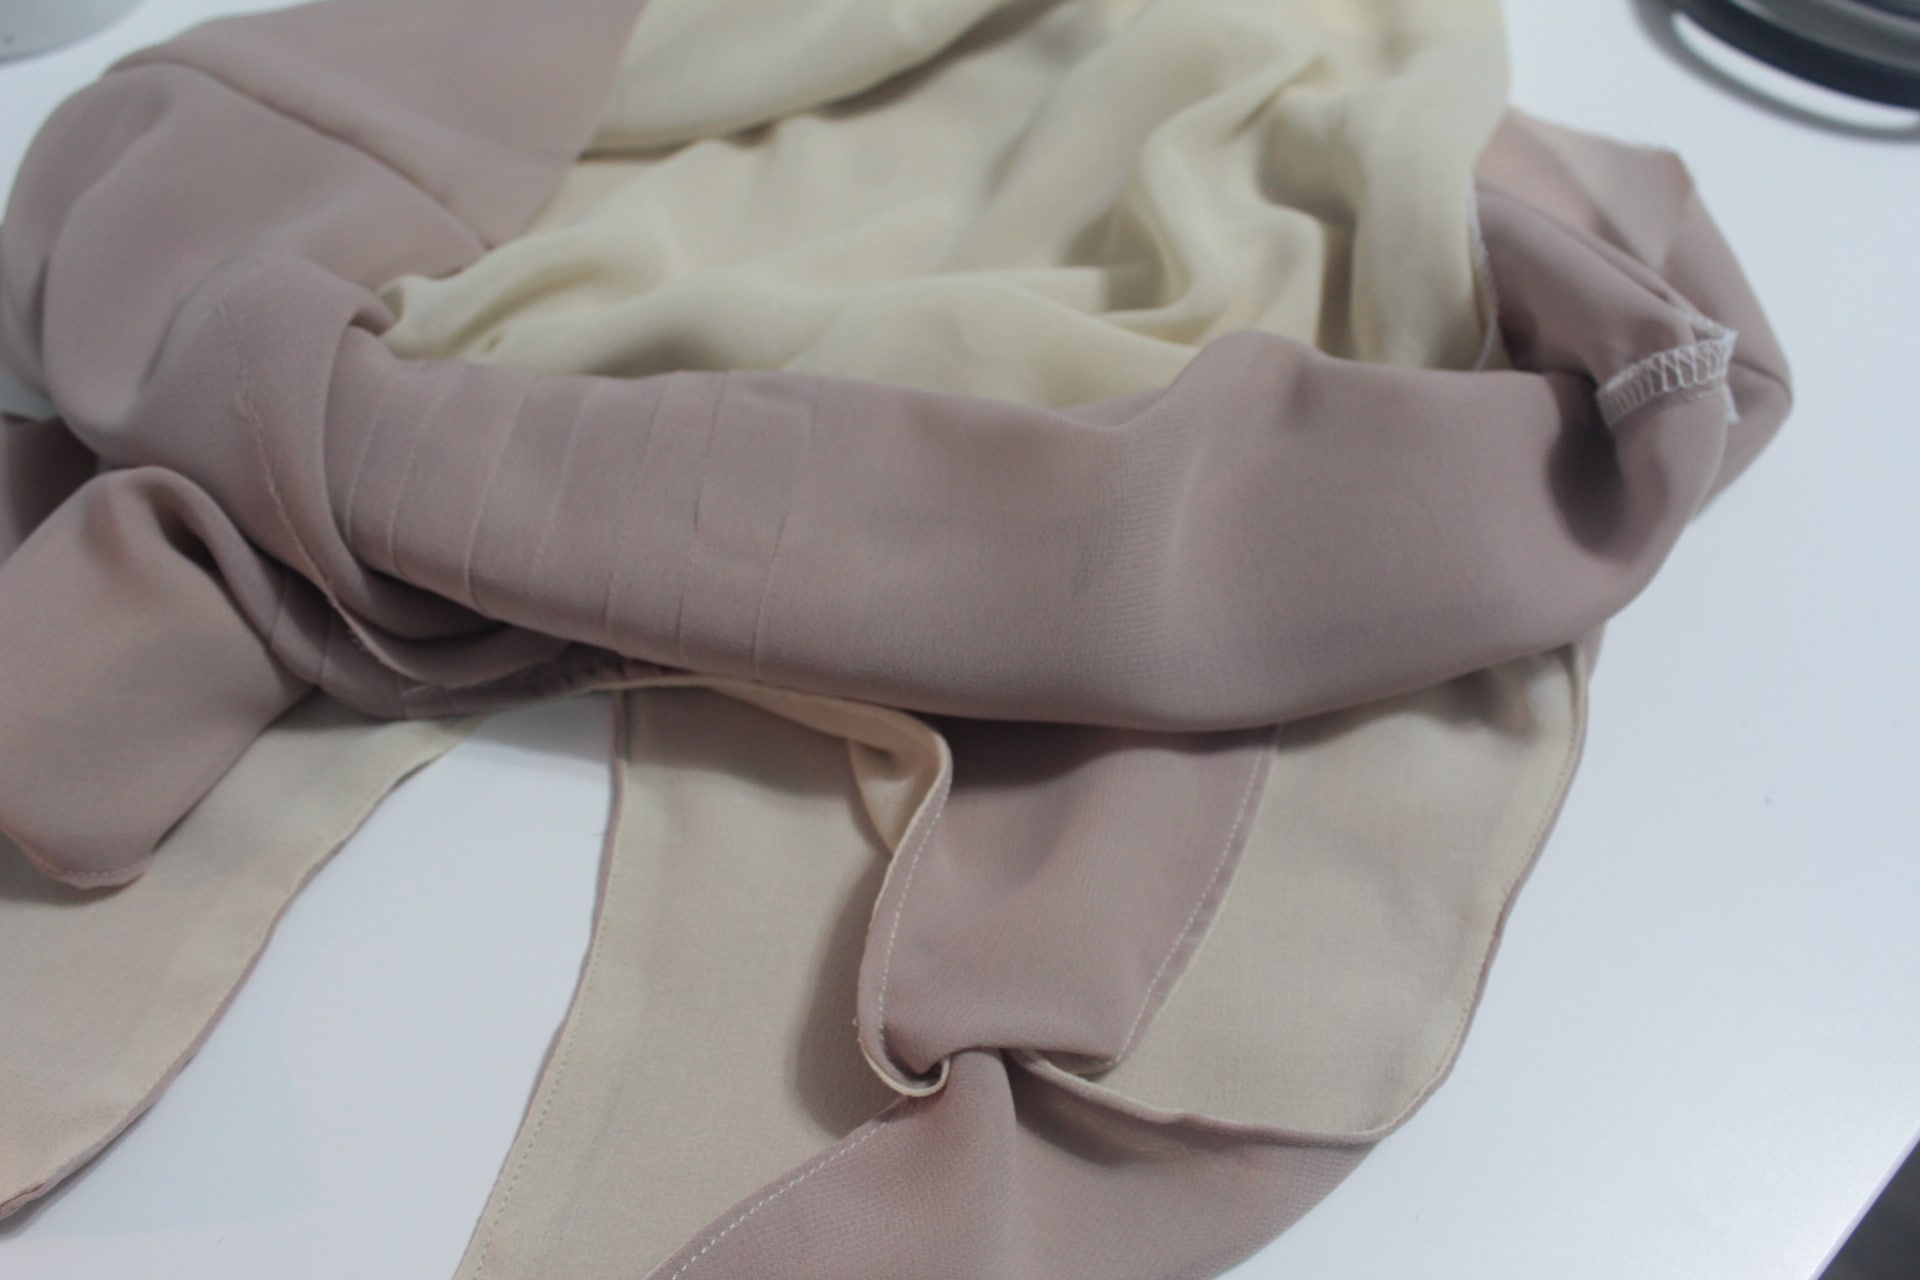
- Press the pleat flat with your pressing iron on steam. The middle of the pleat should match the seam you’ve sewn above.
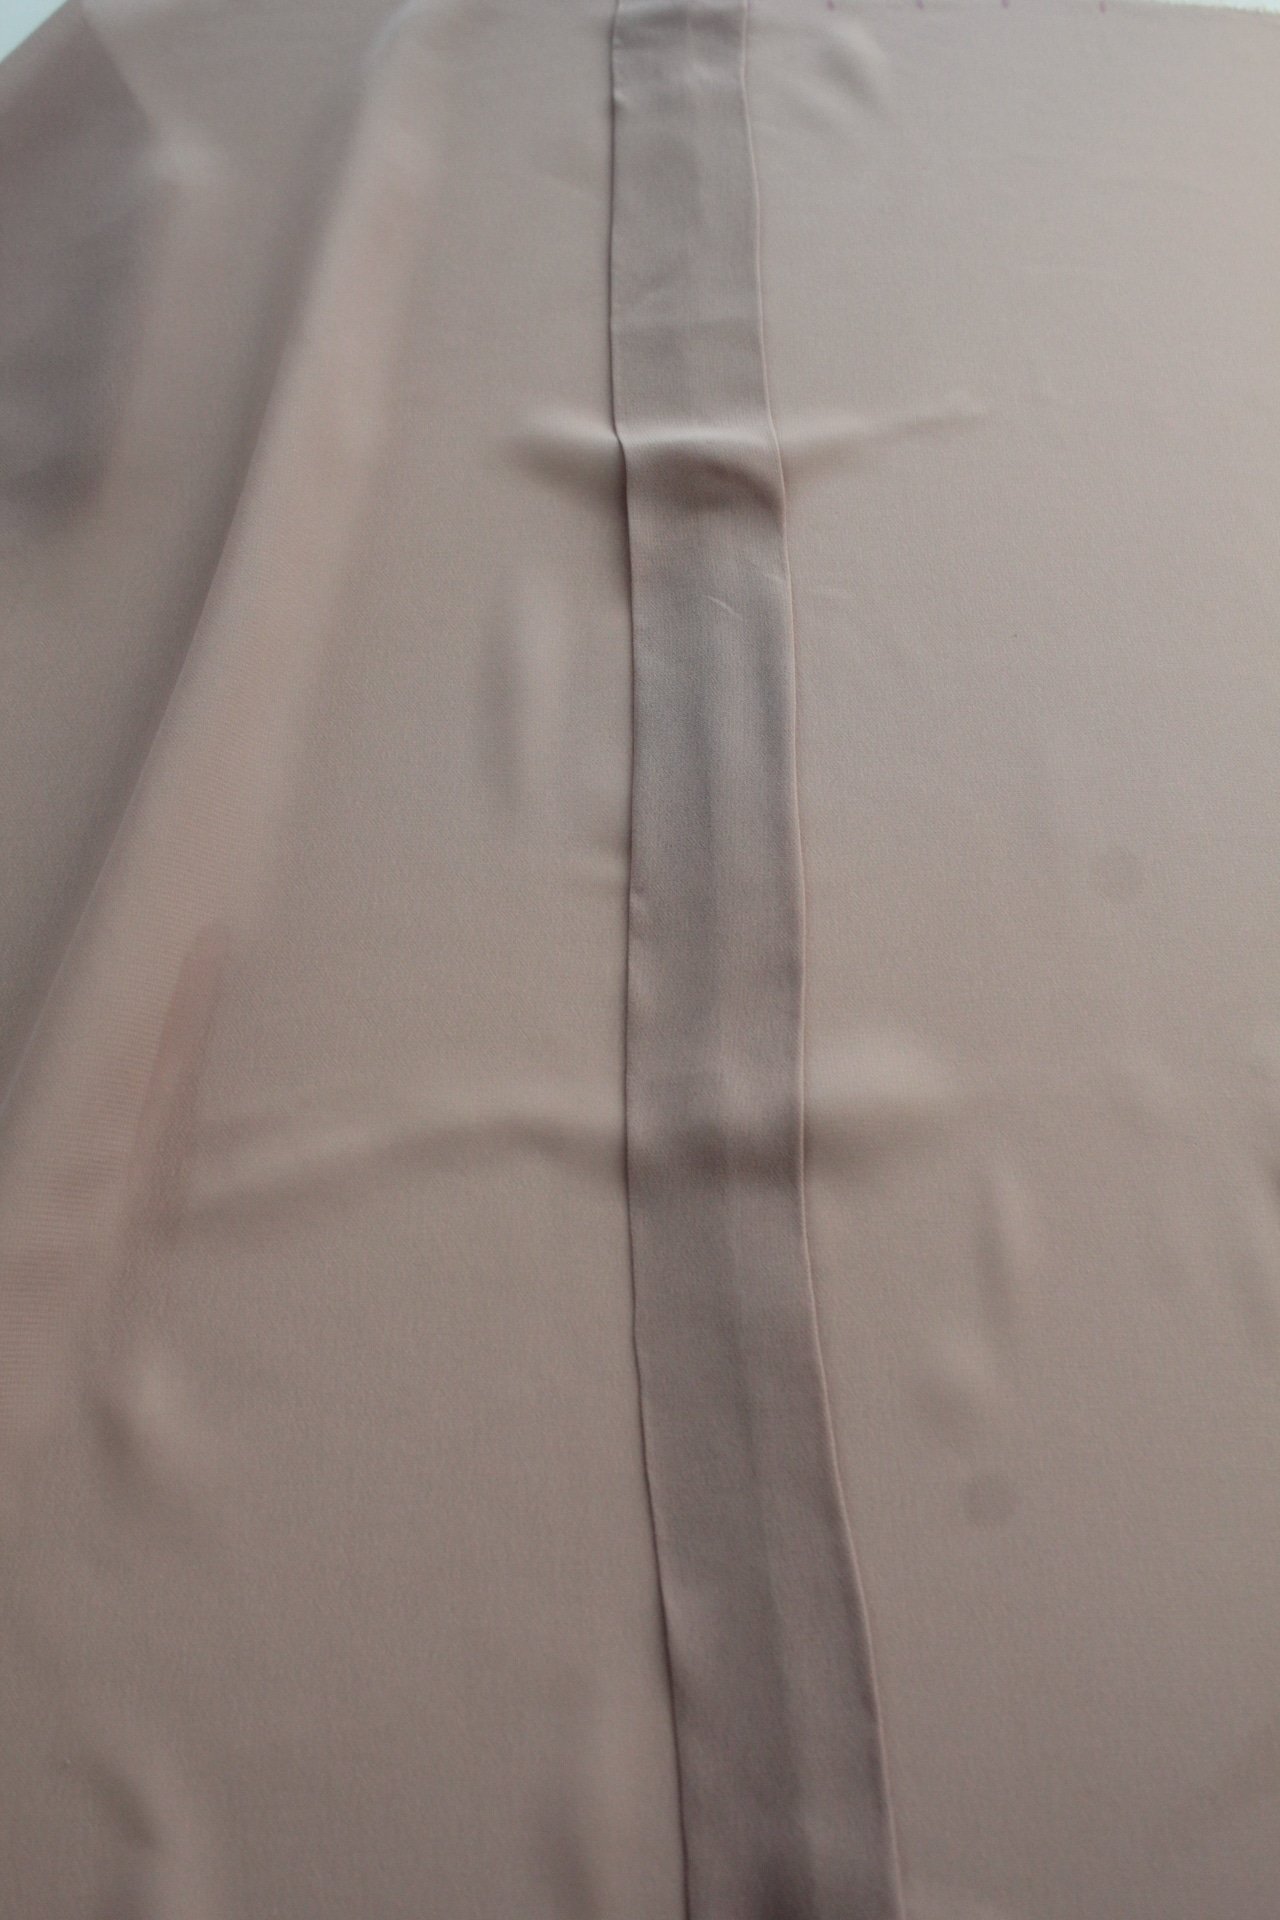

- After making my blouse I realized there’s a slightly easier and possibly more accurate method to sew the pleats. Fold the fabric in half and sew a straight line 1 1/2″ away from the fold. Press the fabric away from the seam on one side. Working with the half that is opposite to the direction the pleat is pressed fold the fabric again lengthwise and sew a straight line but this time 1/4″ away from the first (middle) seam. Repeat for all the pleats on this side then fold the middle pleat to the opposite side and create the opposite pleats in a similar method. Again, if it helps, draw lines on the fabric with your fabric marker but work in small steps, making marks after each pleat (meaning, first finish a pleat then mark the next one and so on).
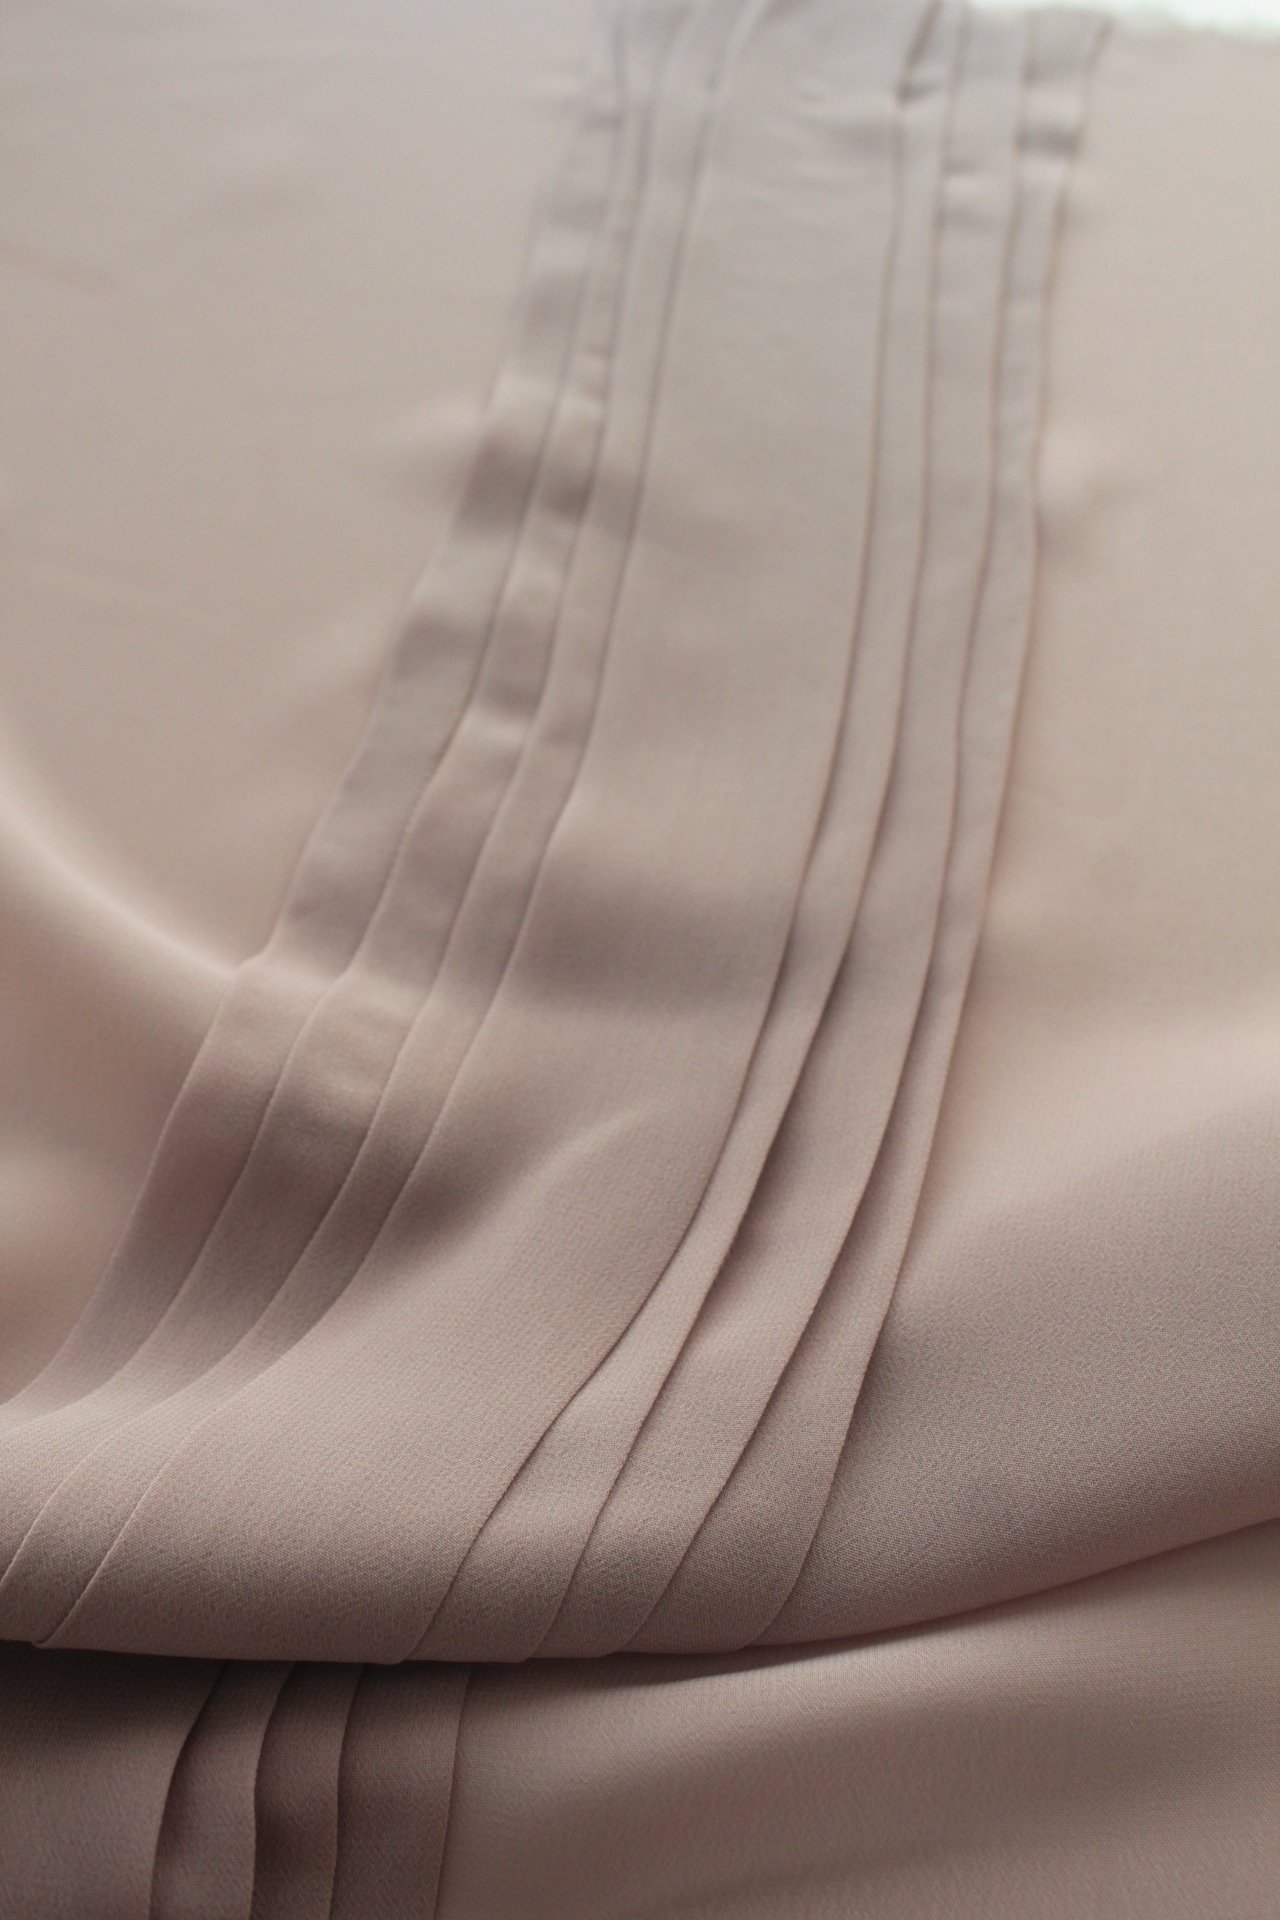
- Repeat in a similar matter for the rest of the pleats.
- When pressing these though, you need to press them to a side (left for the left hand side pleats and right for the right hand side pleats).
- When all pleats are done turn the front blouse wrong side out.
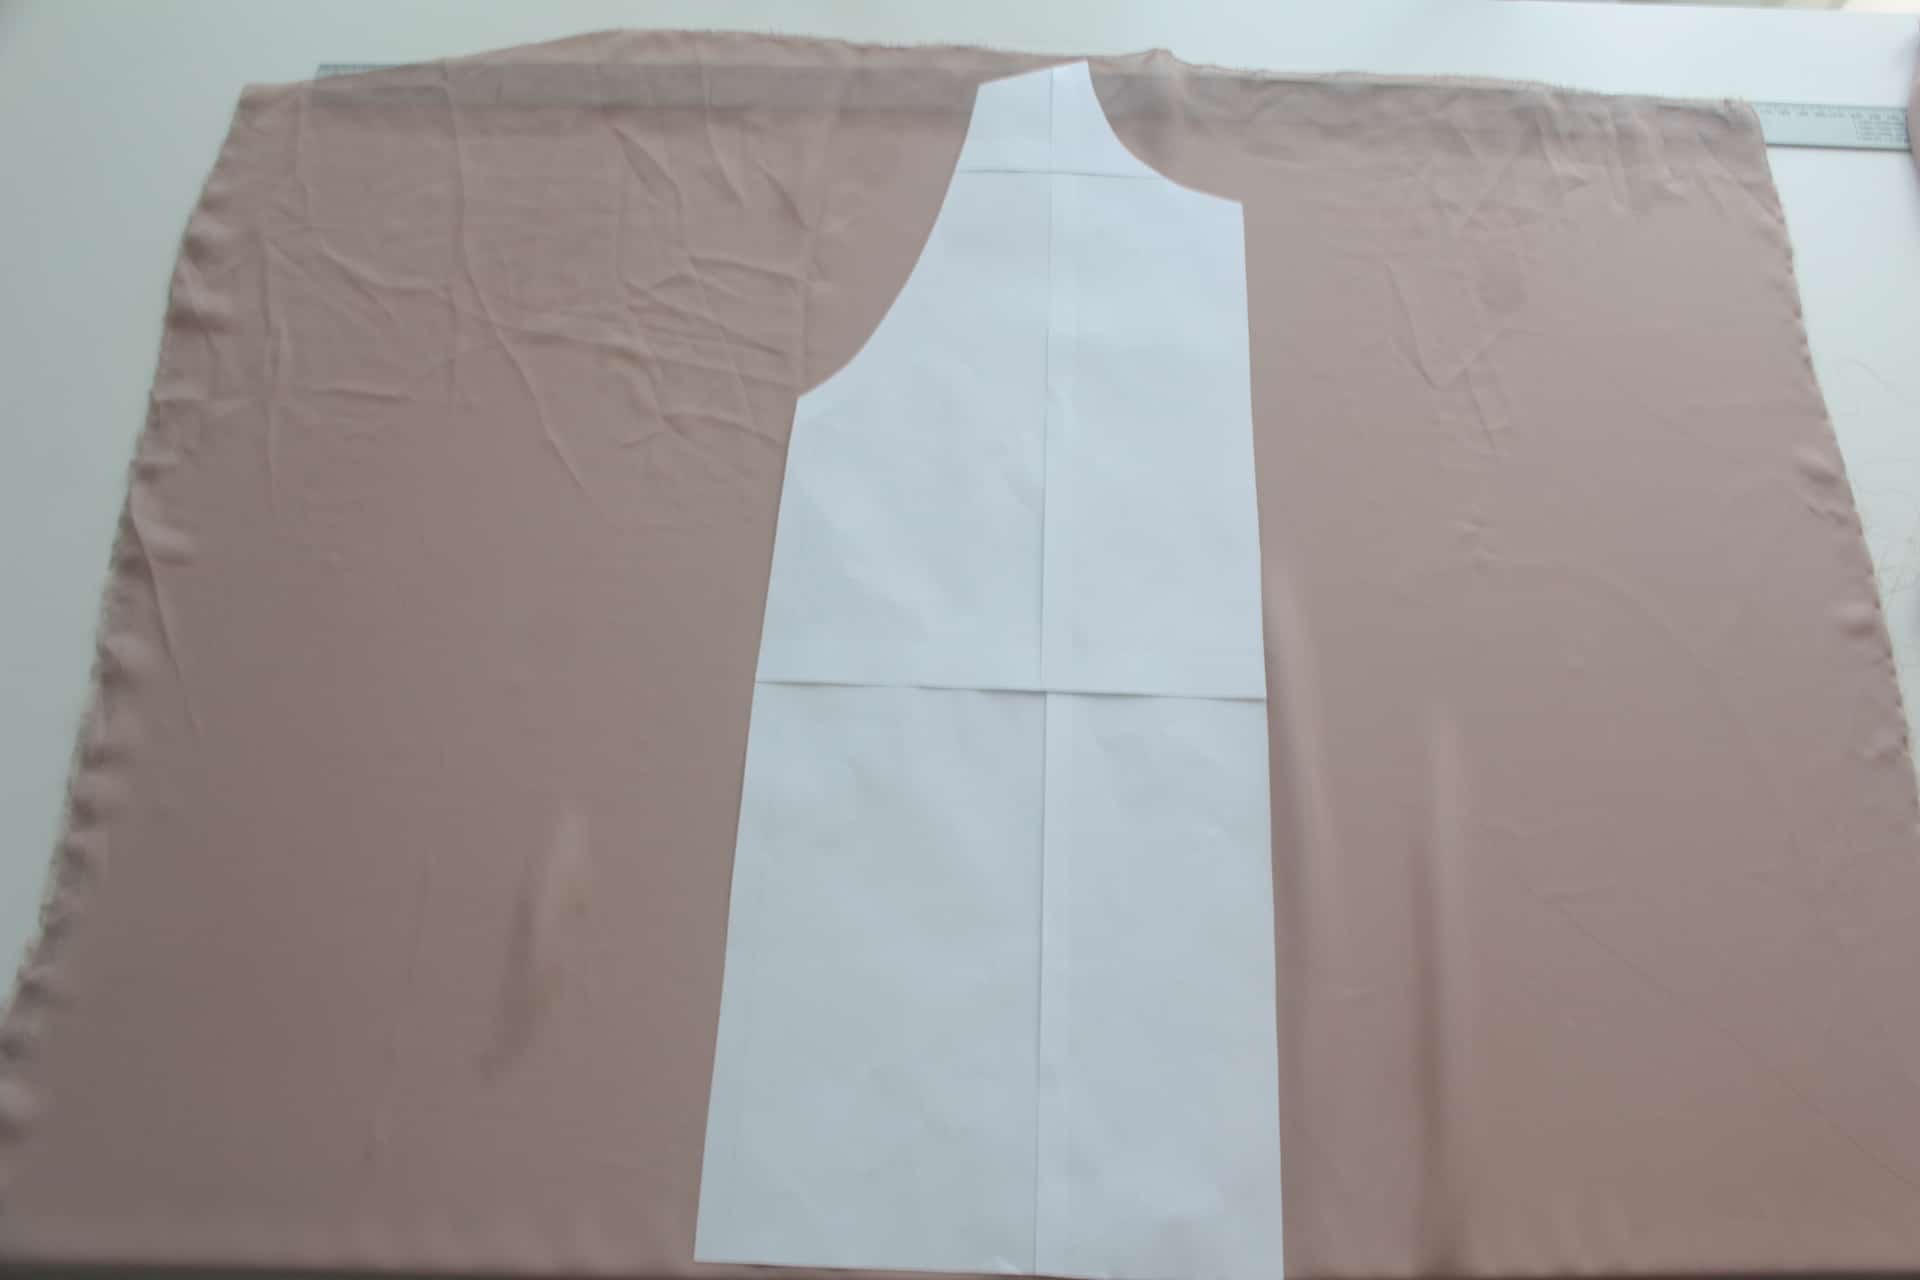
To cut the pattern pieces
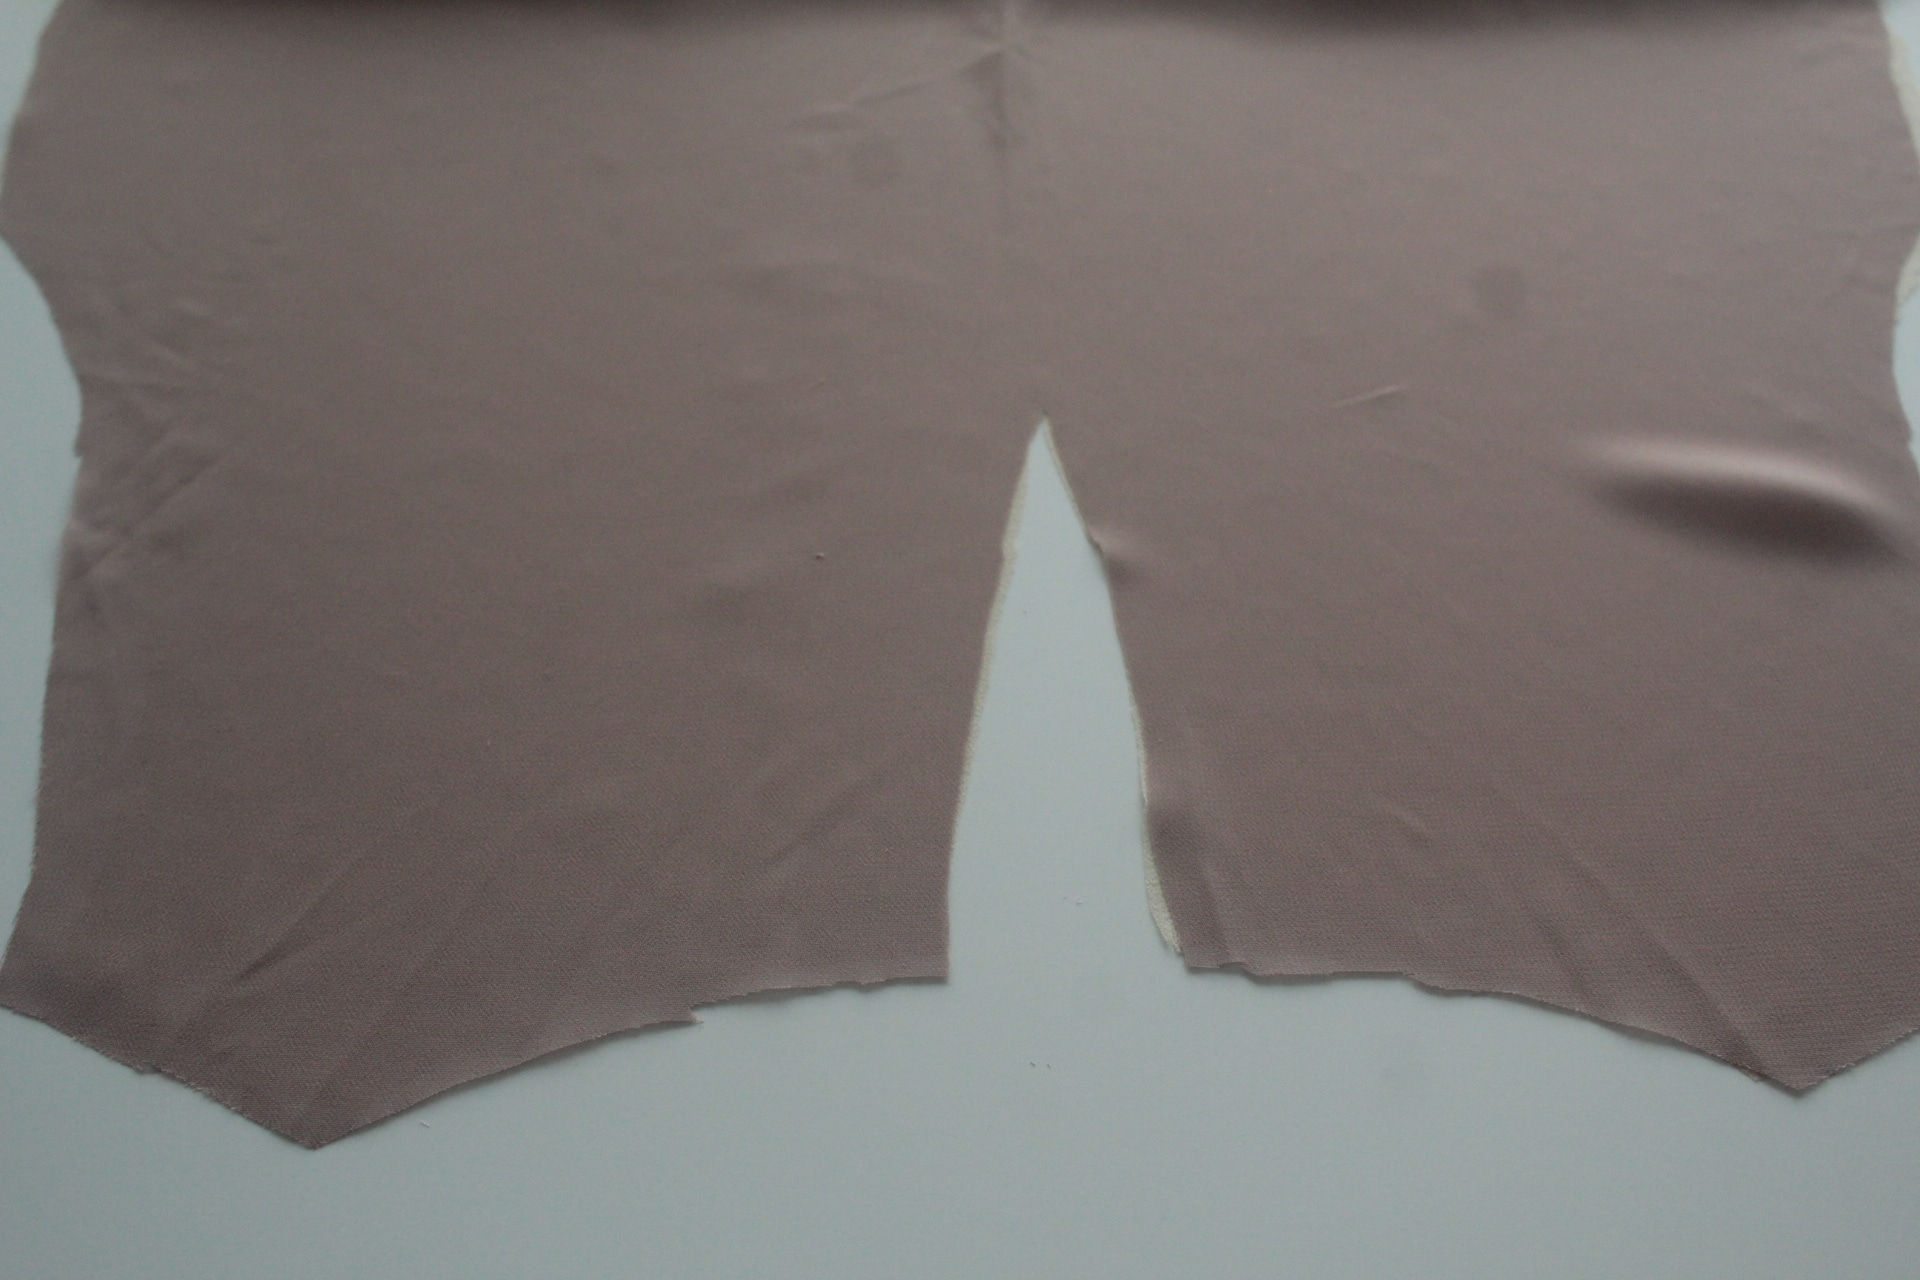
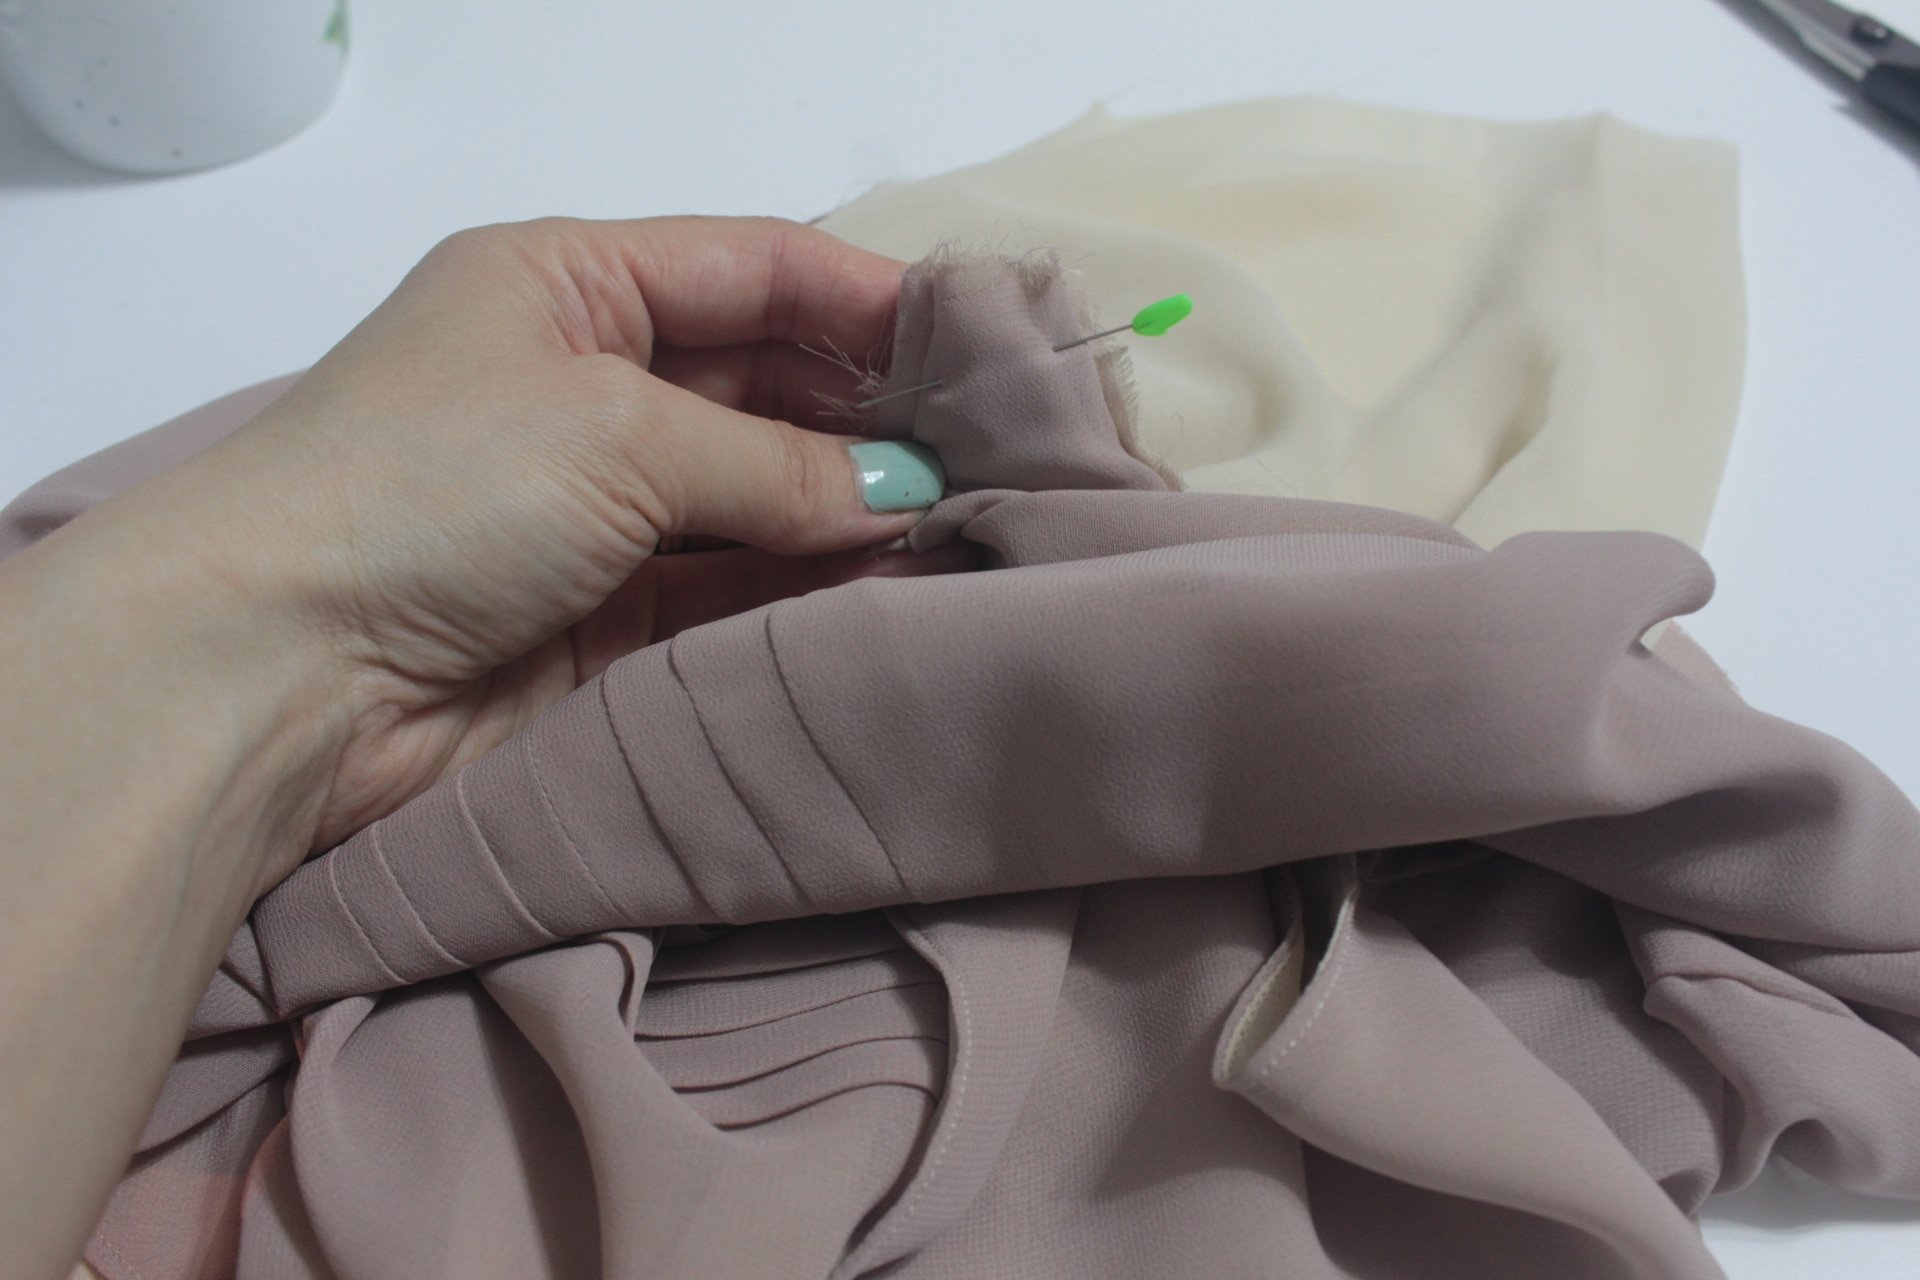
- Place the front pattern on the fabric with the middle edge matching the middle seam of the middle pleat.
- Secure the pattern with pattern weights and draw the pattern onto the fabric with your fabric pen.
- Repeat for the opposite side of the front blouse.
- Draw the pattern onto the back blouse fabric and also the linings (front and back).
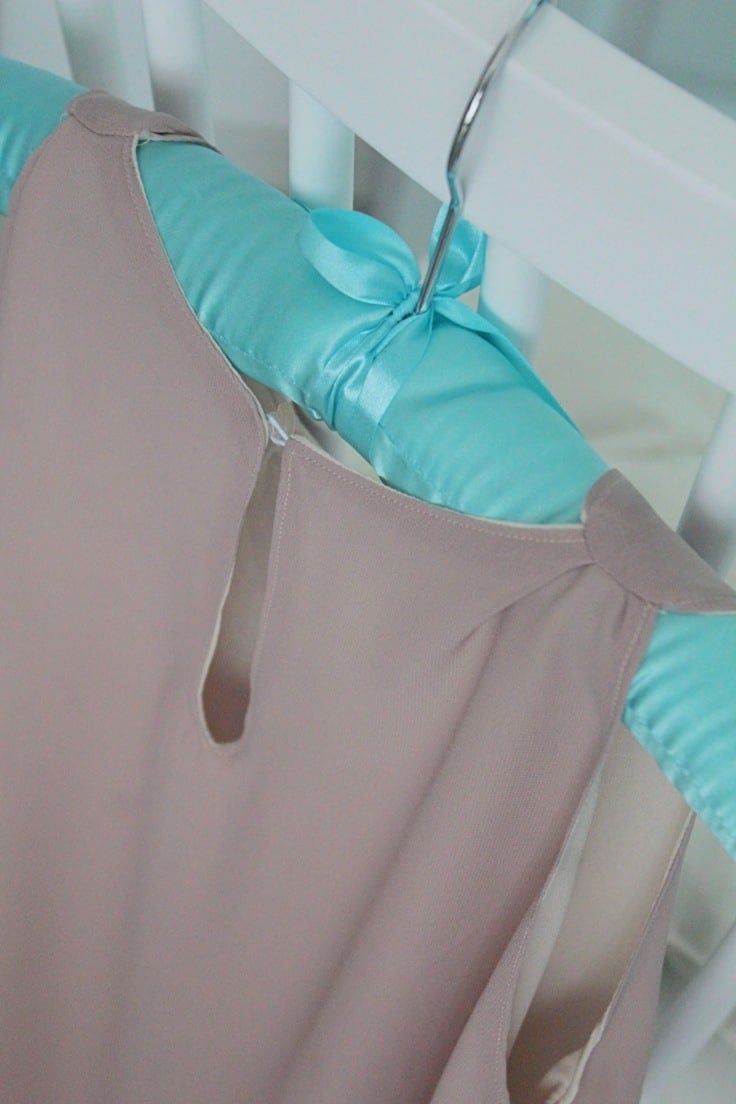
- Match back blouse and back lining and cut a slit in the back neckline to accommodate the head.
To sew the blouse
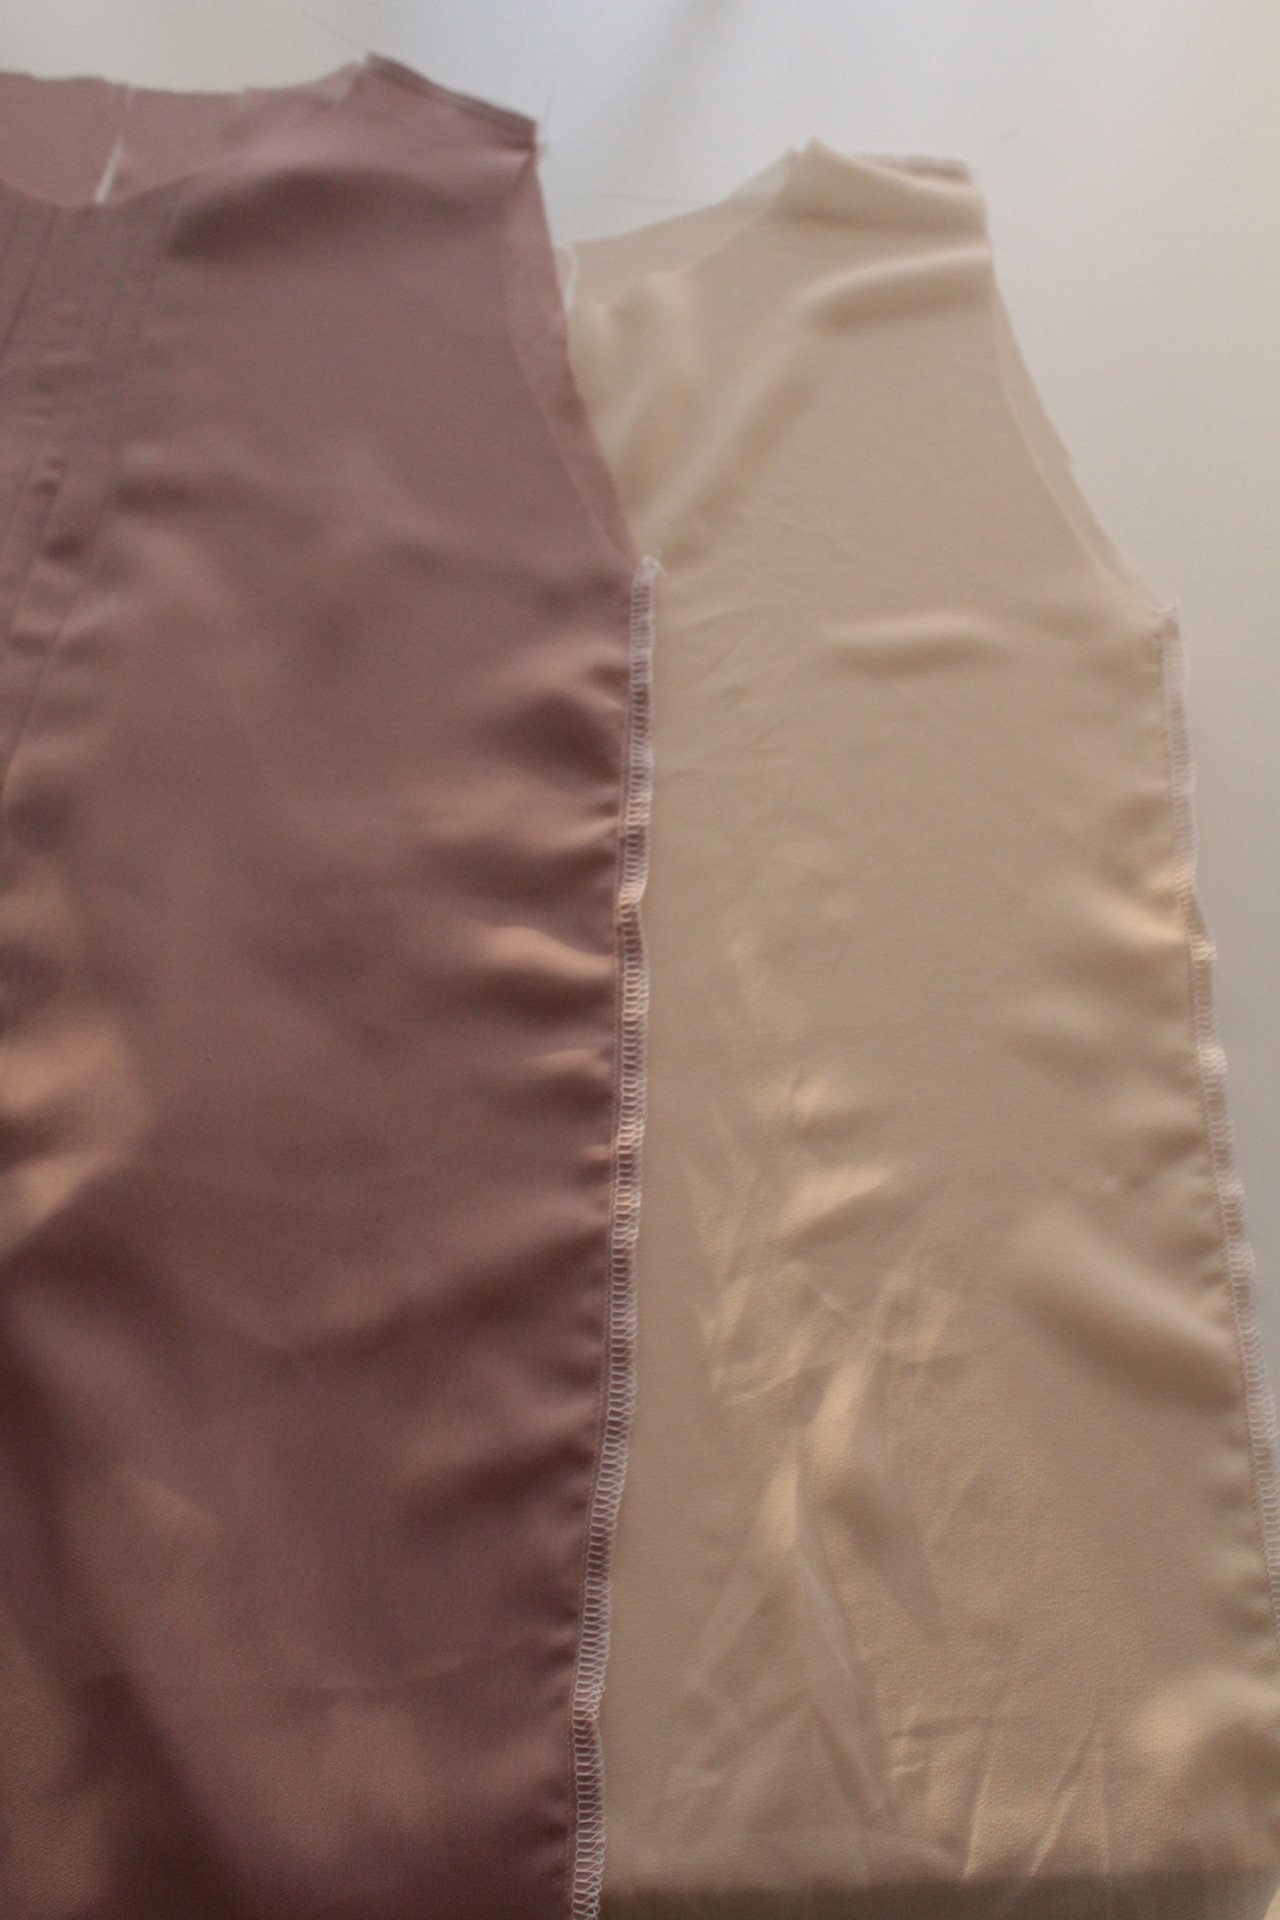
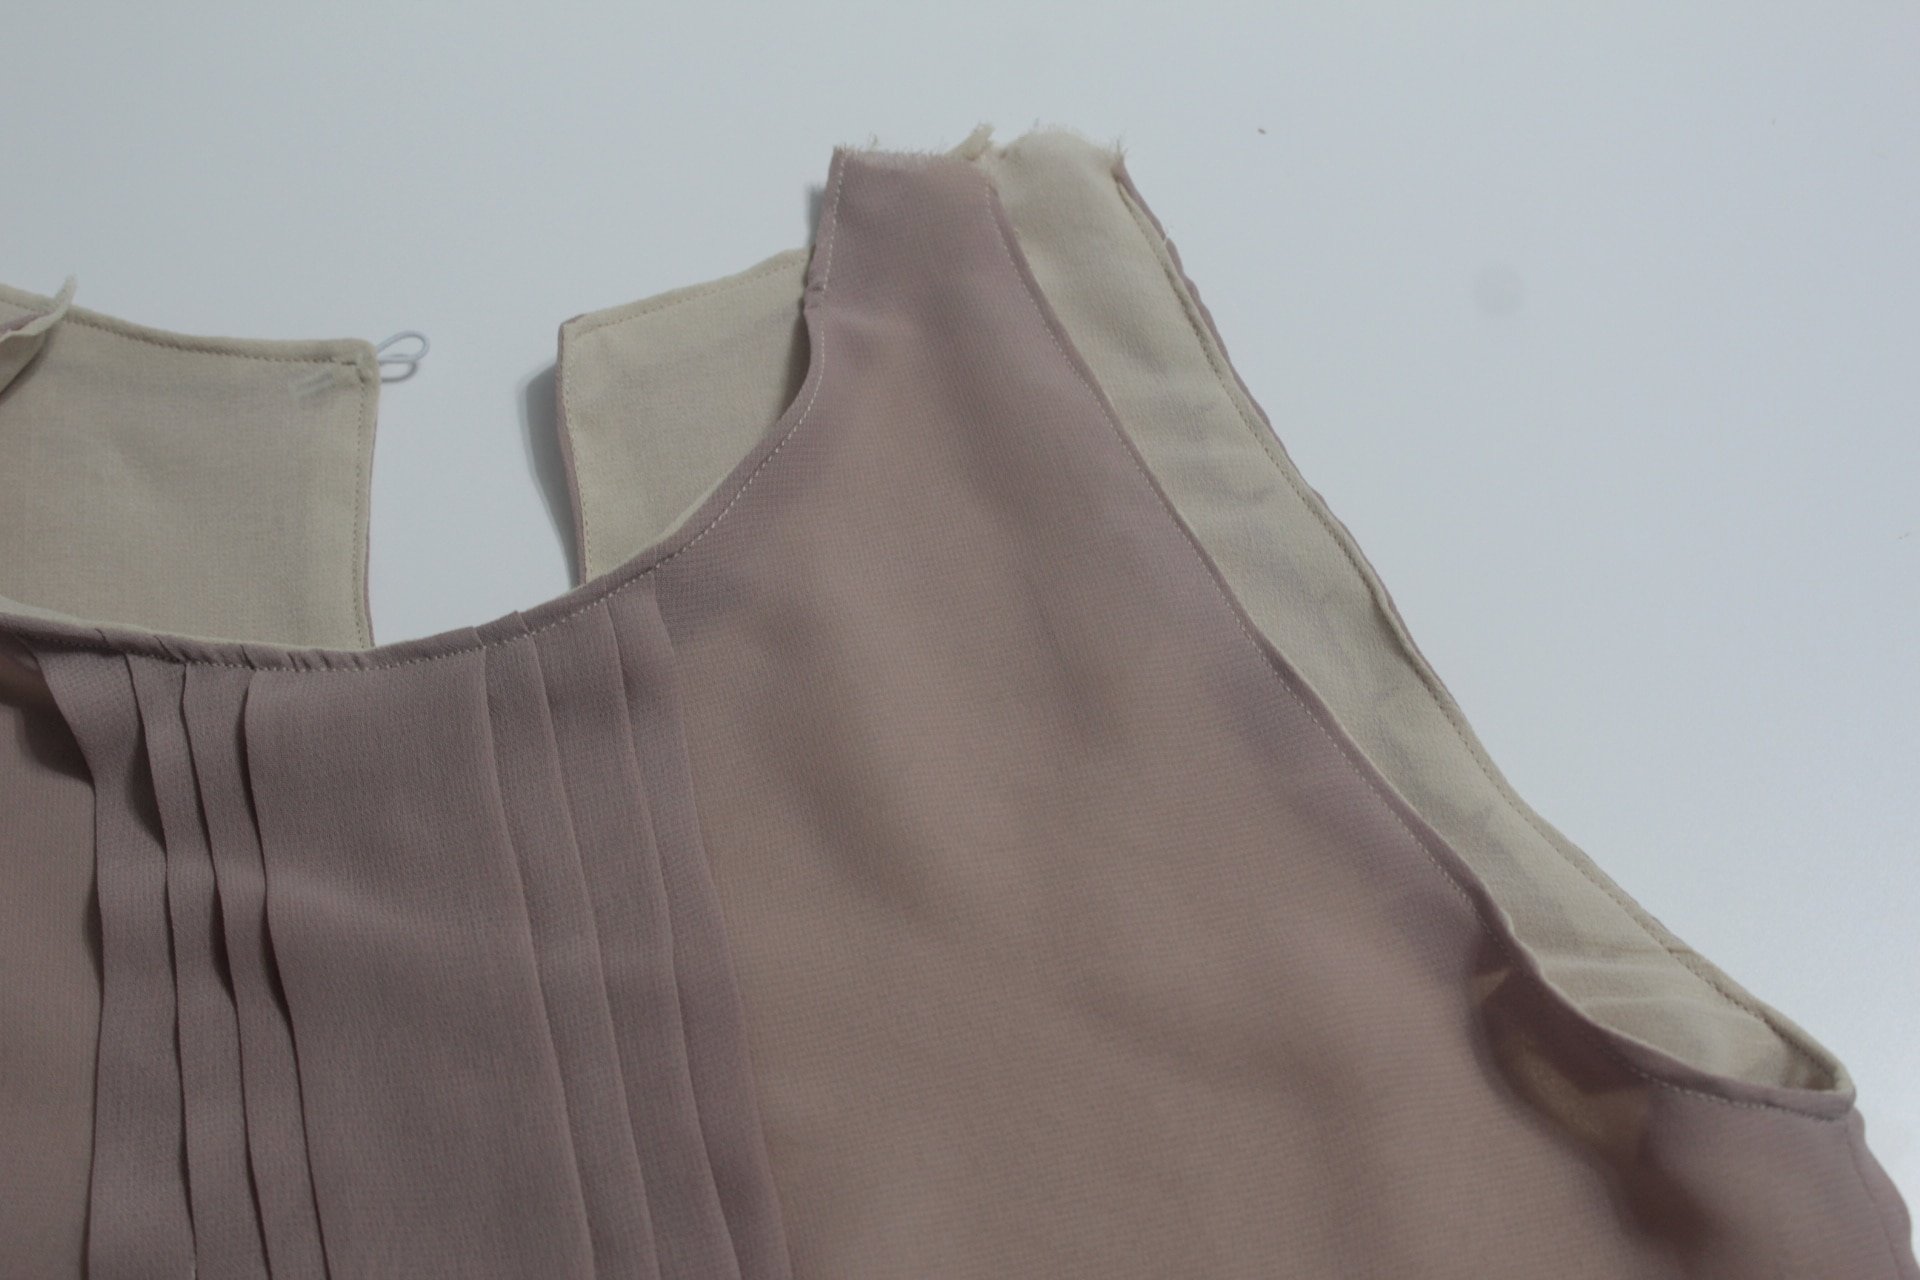
- Place the front blouse and back blouse right sides together pin the sides and sew then finish with a zig zag stitch or serge ((ignore the sewn shoulders in the photo; I got carried away and sewed the shoulders too then realized I won’t be able to turn fabrics right side out so I ripped the seams out. So don’t be like me leave the shoulders open for now).
- Repeat for the linings.
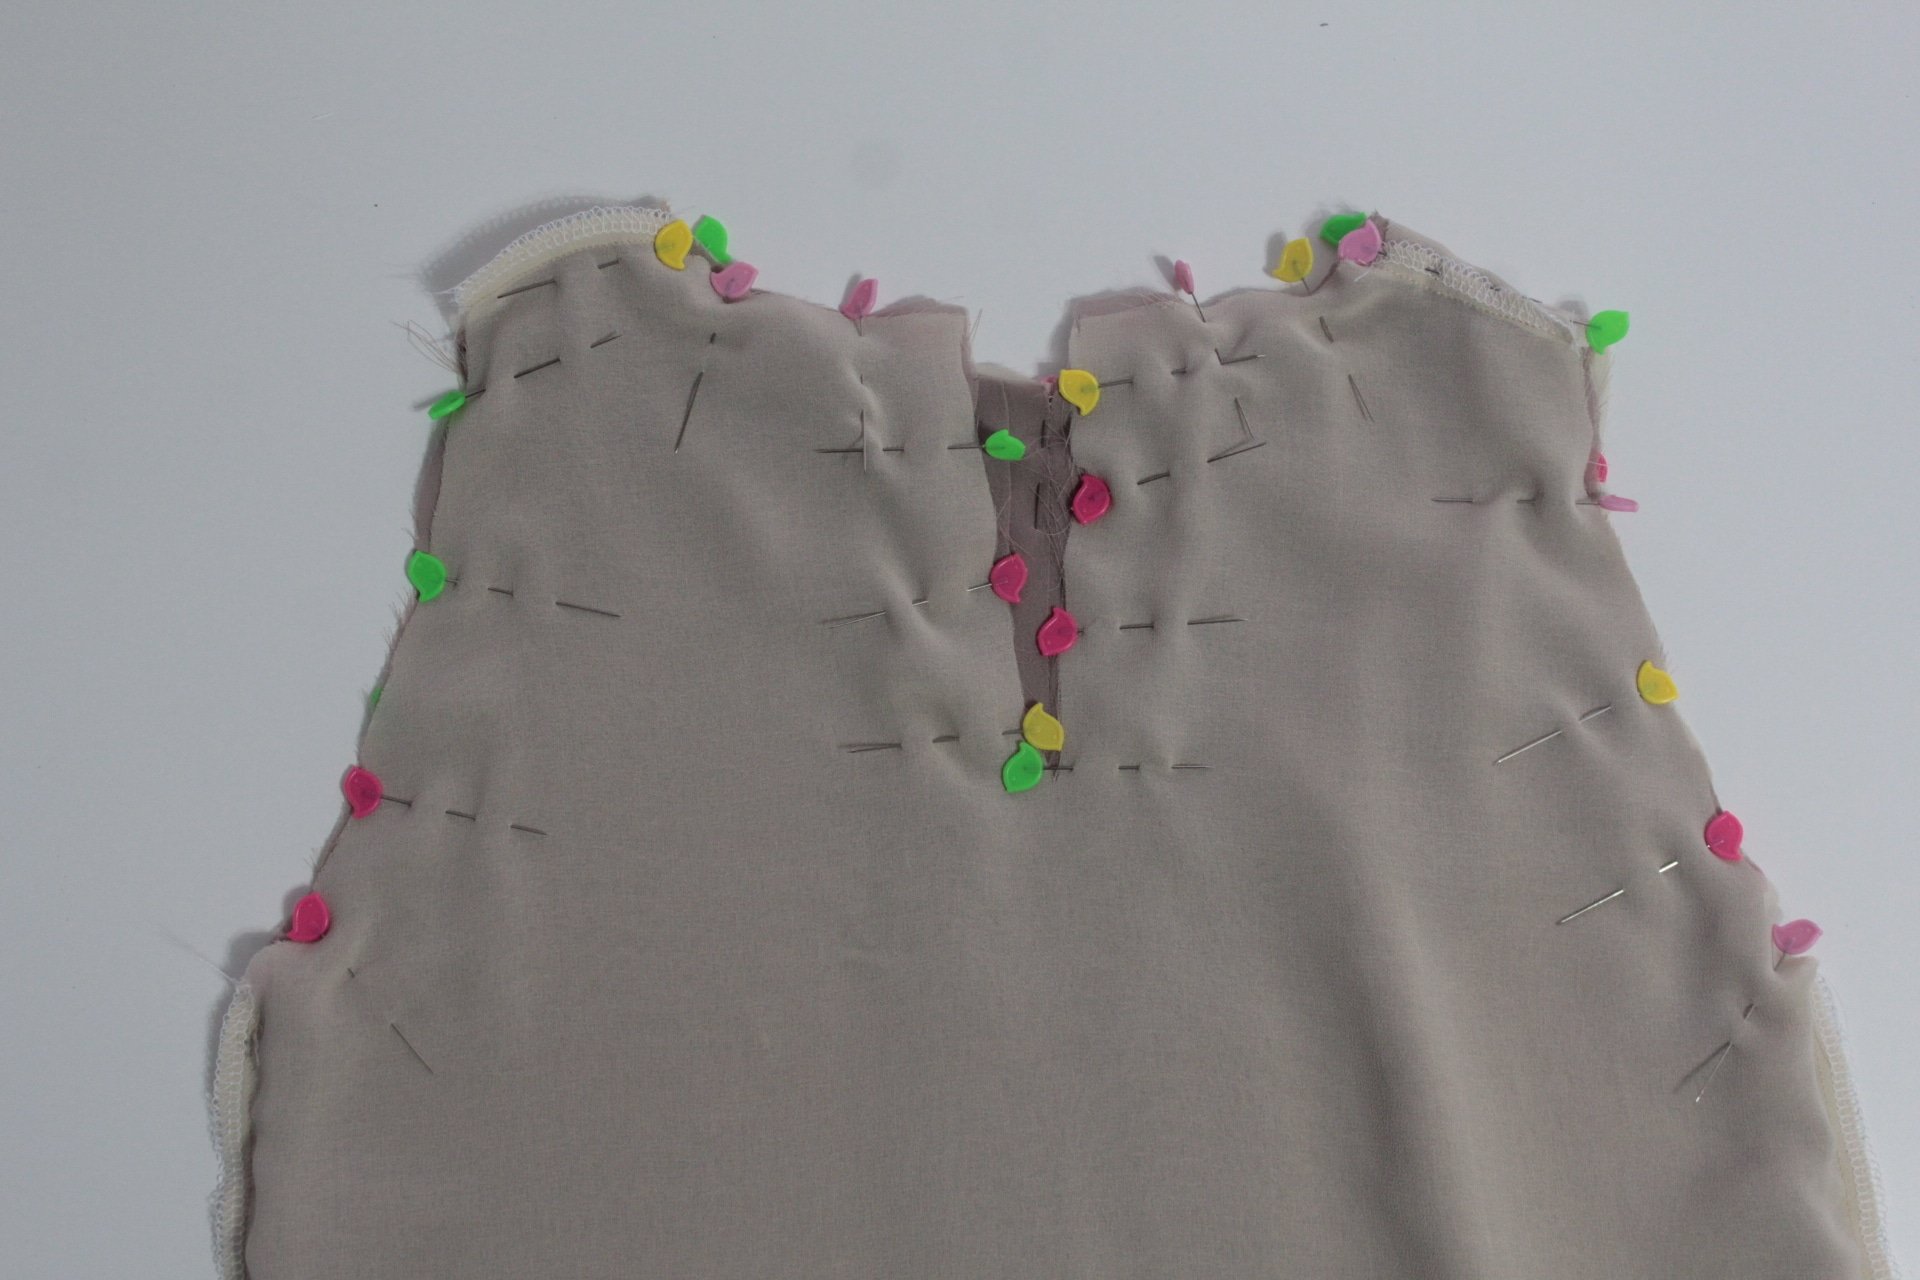
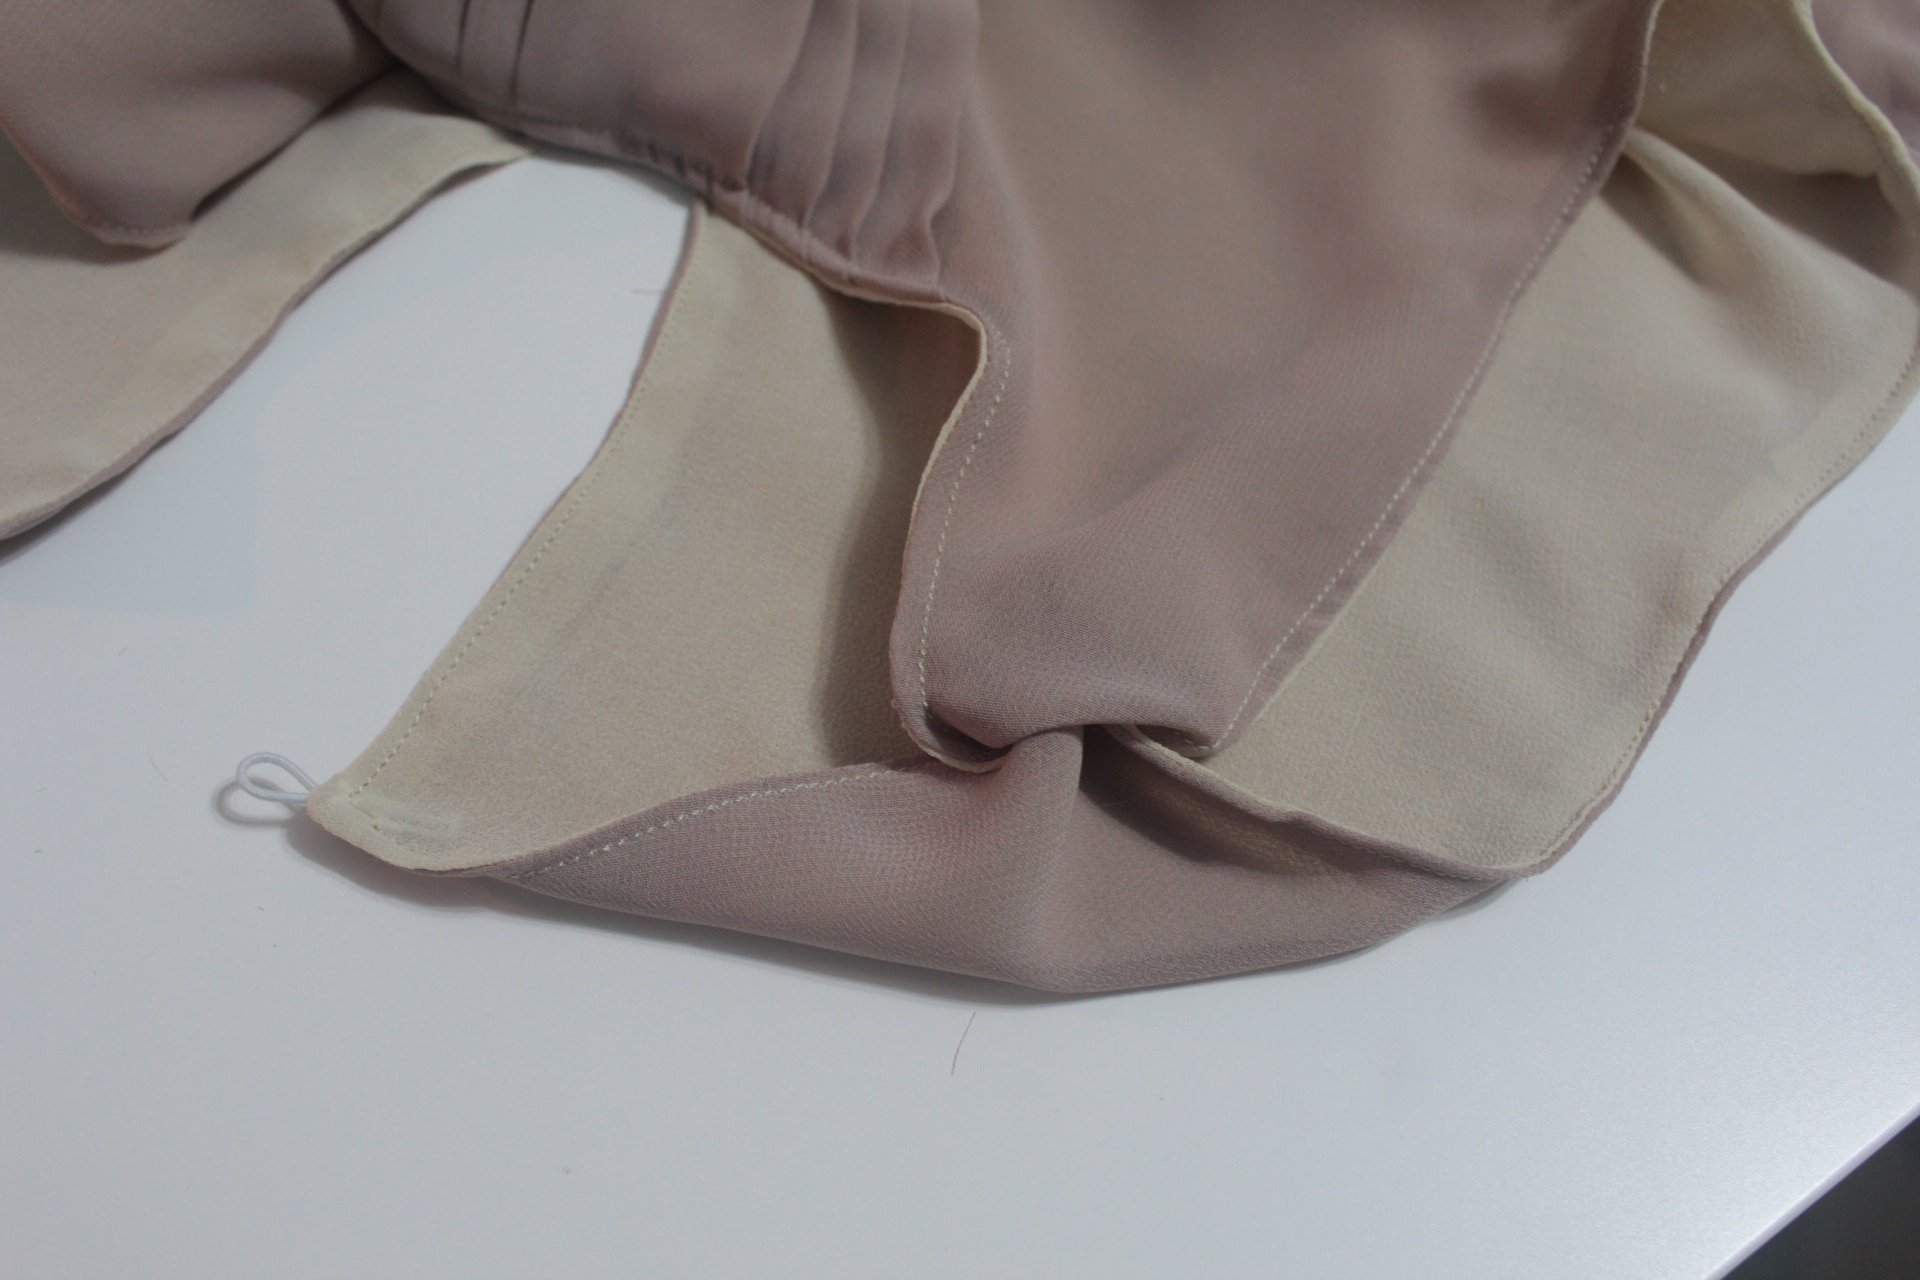
- With the blouse right side out and lining wrong side out, slide the blouse inside the lining. Match at sides, shoulders and neckline.
- Pin around the armholes, neckline and slit.
- Sandwich a little piece of thin elastic between fabric in the slit, with the end of the elastic peaking out like so.
- Sew around armholes, neckline and slit using a 1/4″ allowance.
- Clip the slit and the armholes and trim the seam as much as possible without affecting the seam.
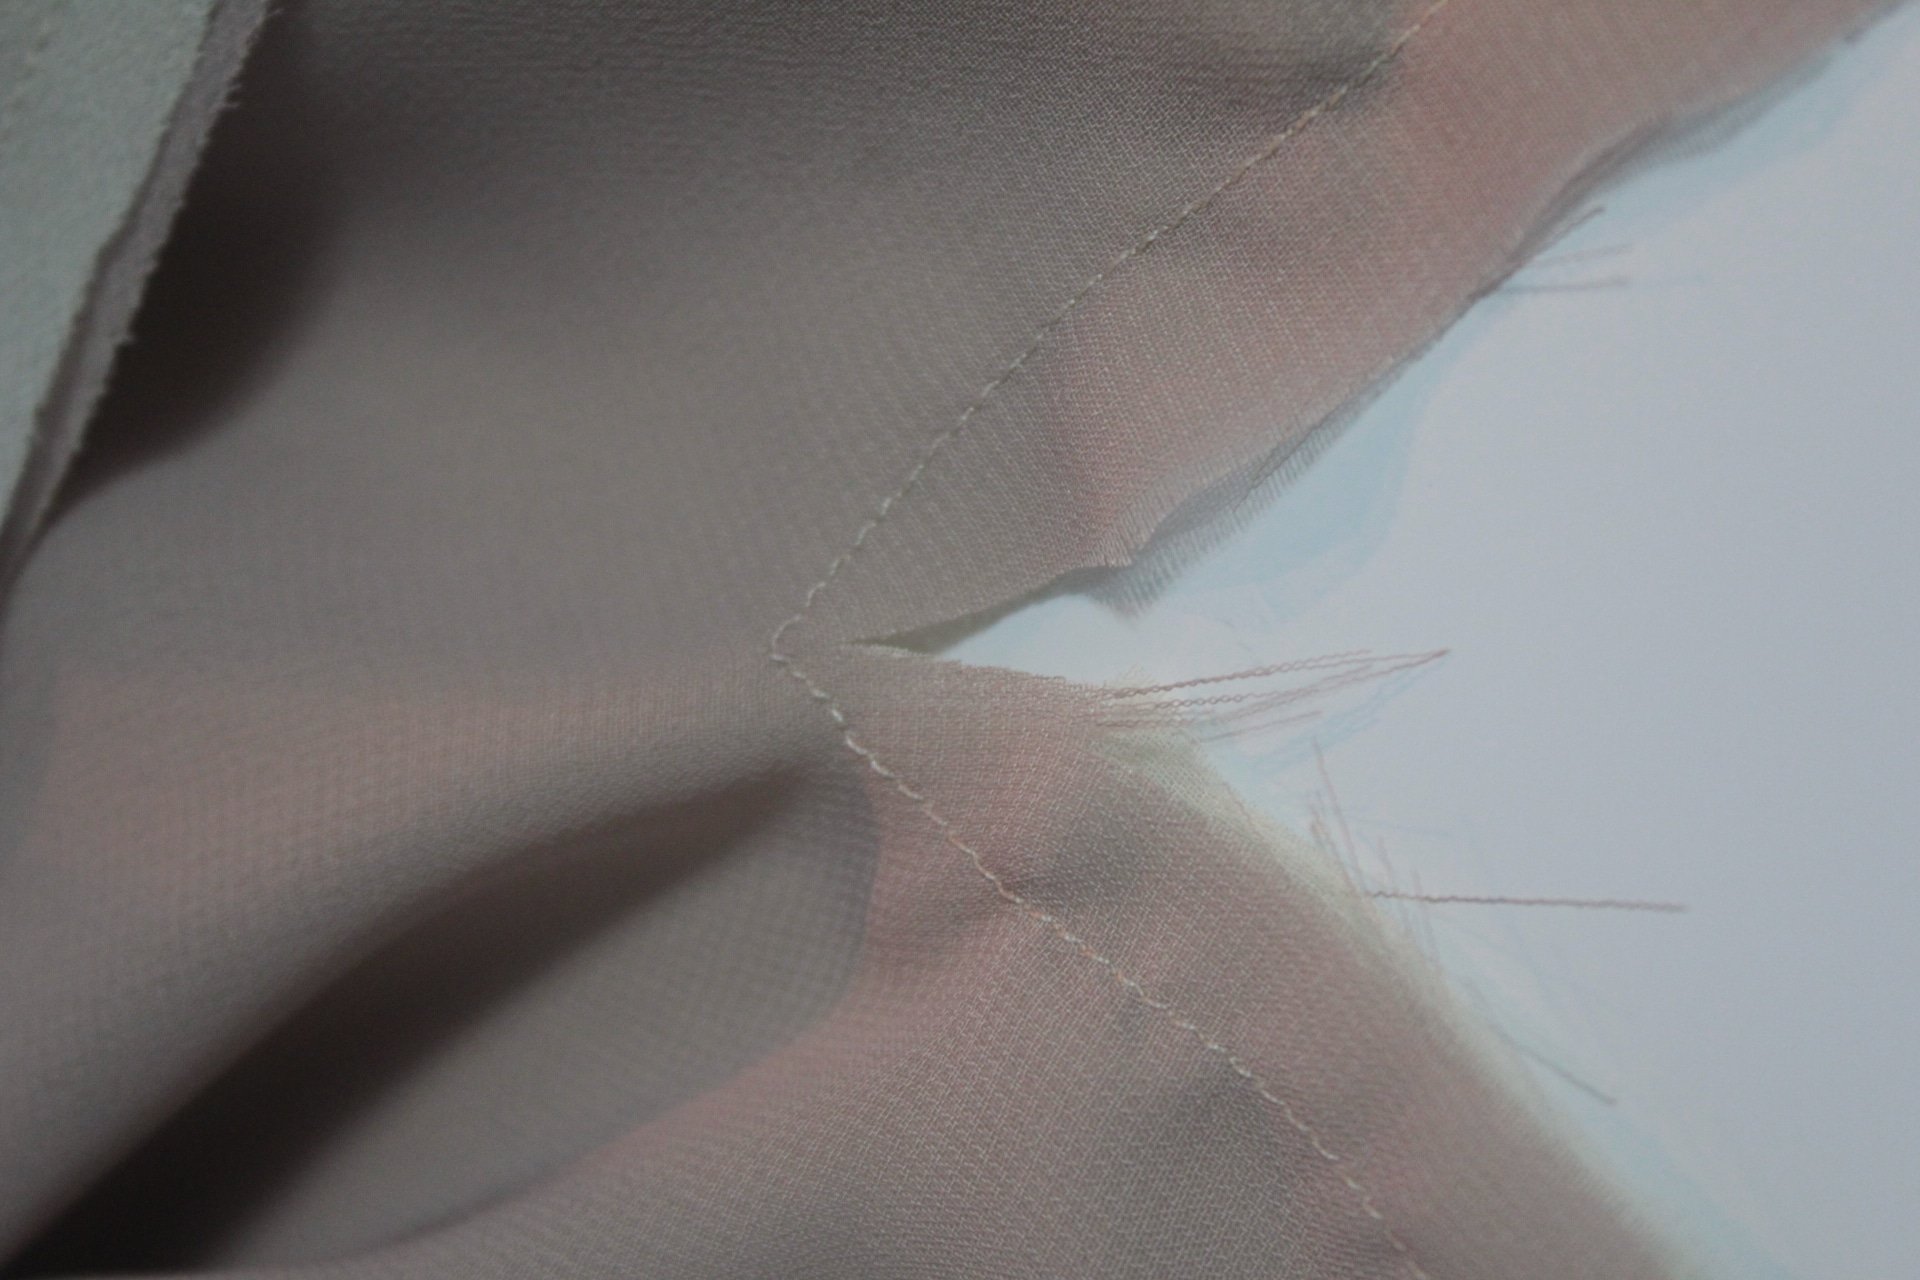

- Turn fabrics right side out and edge stitch around armholes and neckline.
To sew the shoulders
- Insert the back shoulder into the front shoulder.
- Pull the main blouse up a little and insert your hand until you reach the shoulder.
- Pull the shoulder out, pin and sew with 1/8″.
- Hem both the blouse and the lining using a narrow hem (use this tutorial or use a rolled hem foot like in this tutorial)
- Hand stitch a button to match the elastic in the back neckline.
- Give it a good press and your pleated blouse is now ready!
I hope you liked this tutorial and decided to make your own pleated blouse pattern. I’d love to know your thought so please leave a comment below and don’t forget to rate this tutorial! Thanks!
Pin to save for later
Most popular sewing projects:
- Tips for sewing a round hem
- Corded bag handles
- Flutter sleeve dress pattern
- How to laminate cotton fabric


ABOUT PETRO
Hi, I’m Petro, author and founder of Easy Peasy Creative Ideas. Sewist, crafter, avid DIY-er, foodie, photographer, homemaker and mommy to one. I’m an expert at coming up with quick, clever sewing tips, recycling crafts and simple, easy recipes! You can find my ideas featured in reputable publications such as Country Living, Good House Keeping, Yahoo News, WikiHow, Shutterfly, Parade, Brit & Co and more. Thanks for stopping by and hope you’ll stay for a while, get to know me better and come back another time. Stick around for real fun projects! Read more…