

I want to
Sew
I want to
Shop

I want to
Cook
I want to
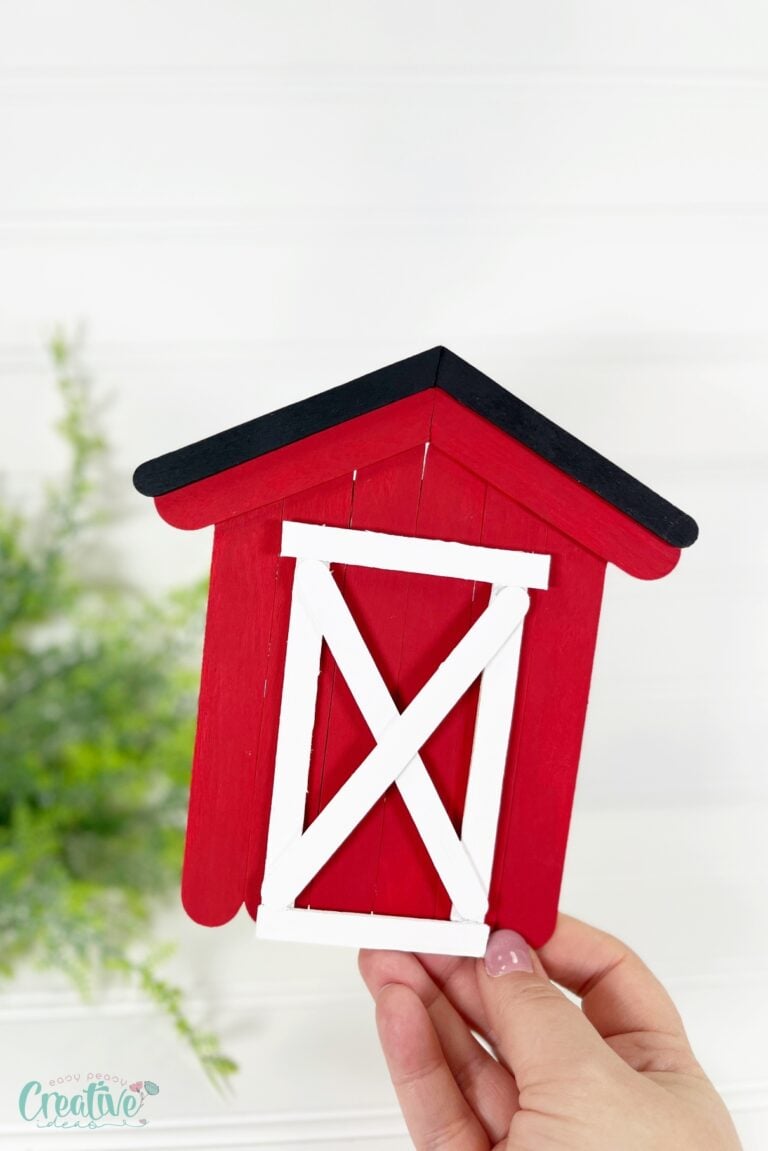
Craft
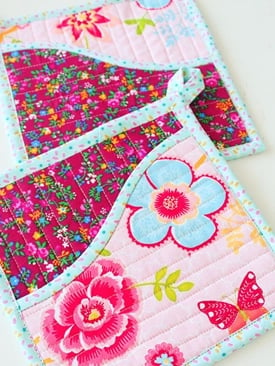
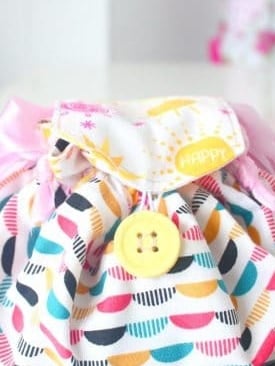
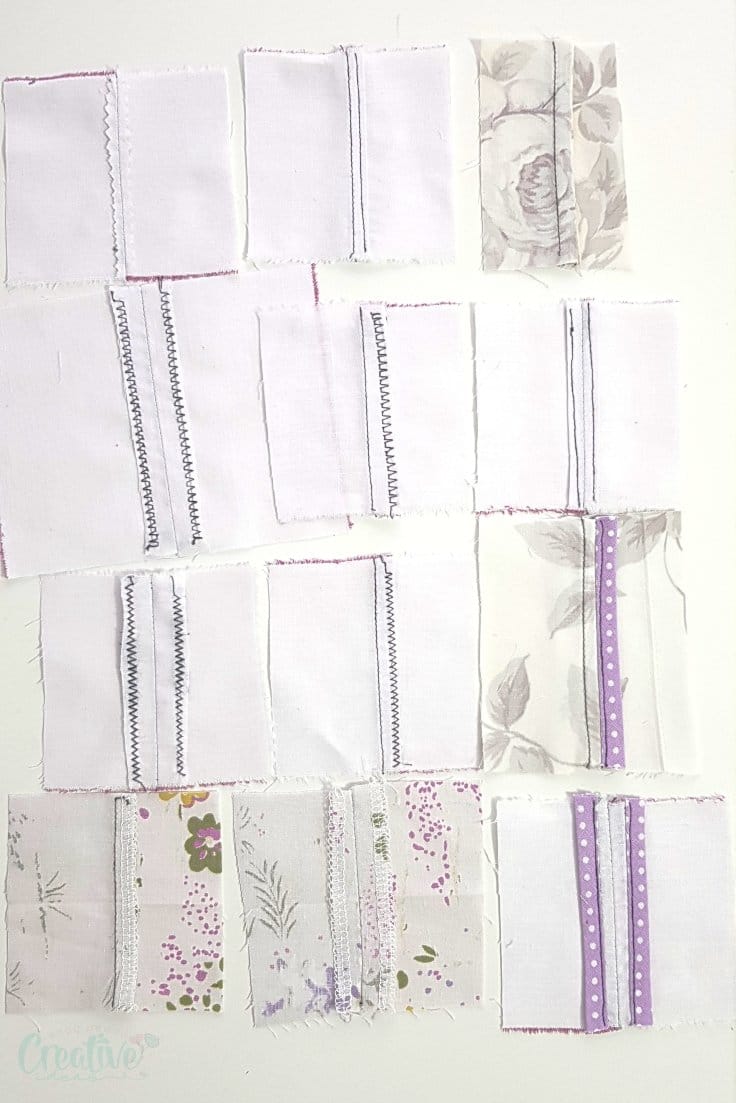
Sewing Projects + Tutorials


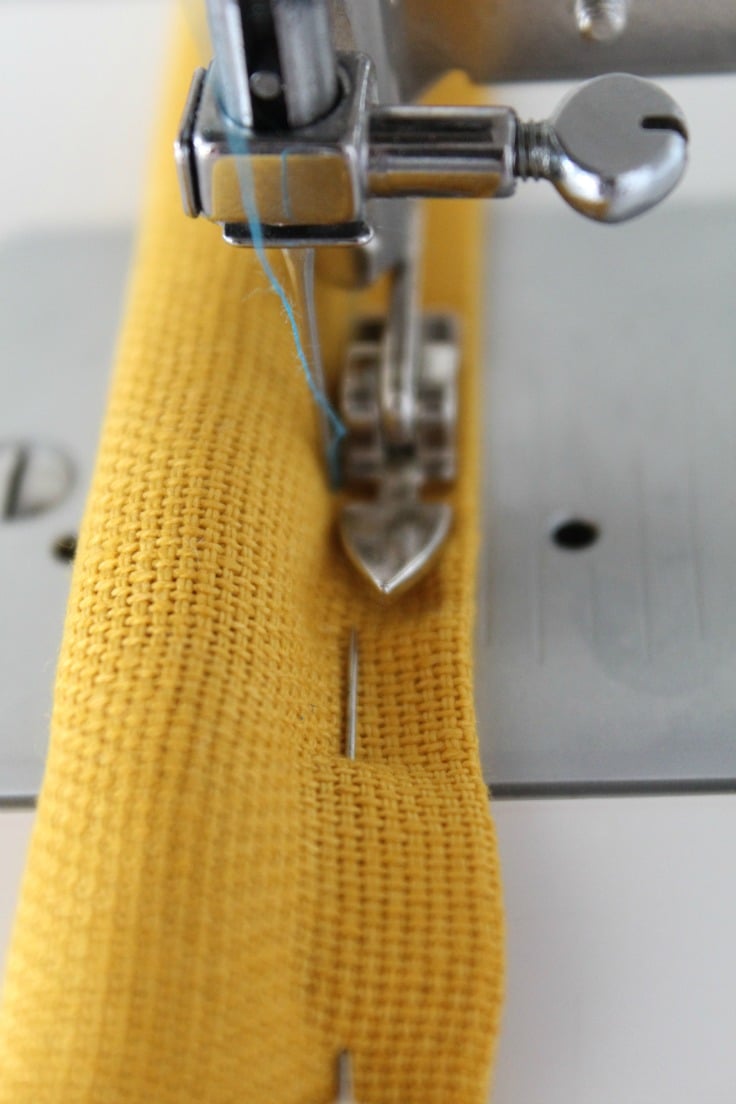
Just getting started with sewing? Read my getting started guide!
Whether you’re a beginner sewer or an experienced one, be sure to check out my list of beginner sewing projects! I’m sure you’ll find the perfect project for you and your sewing skills!
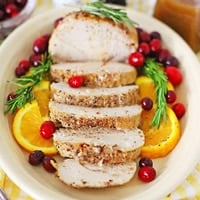
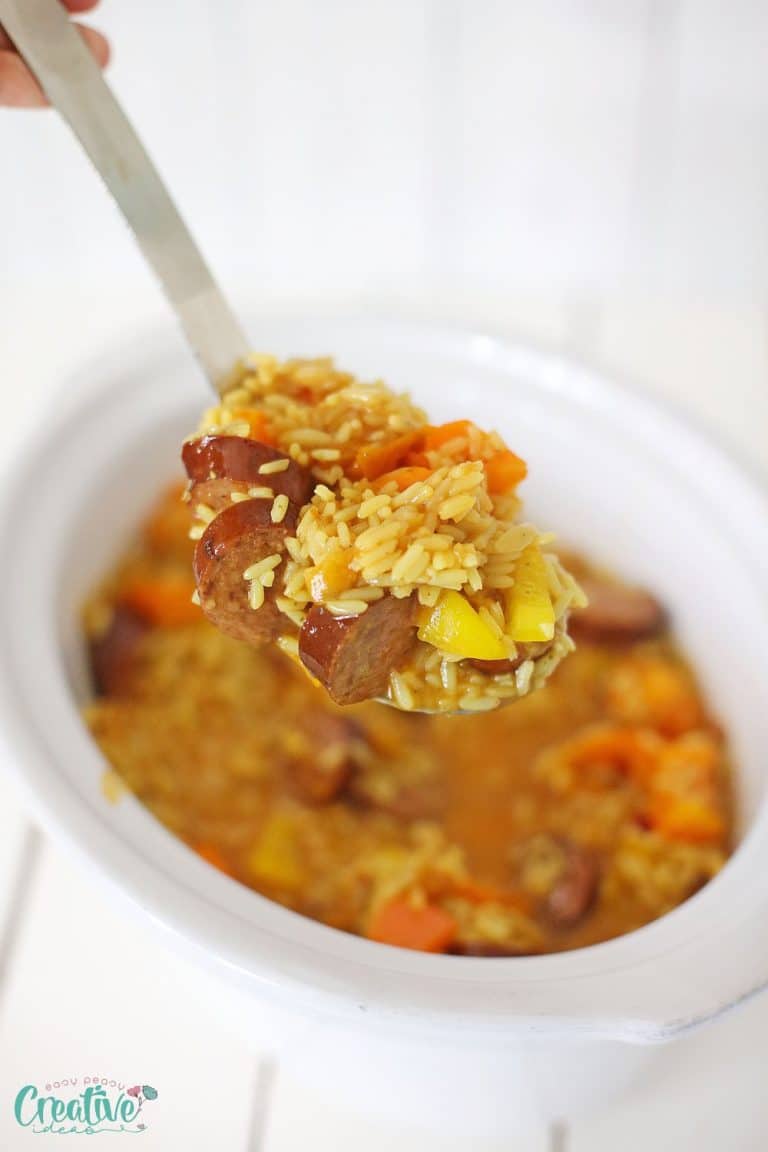
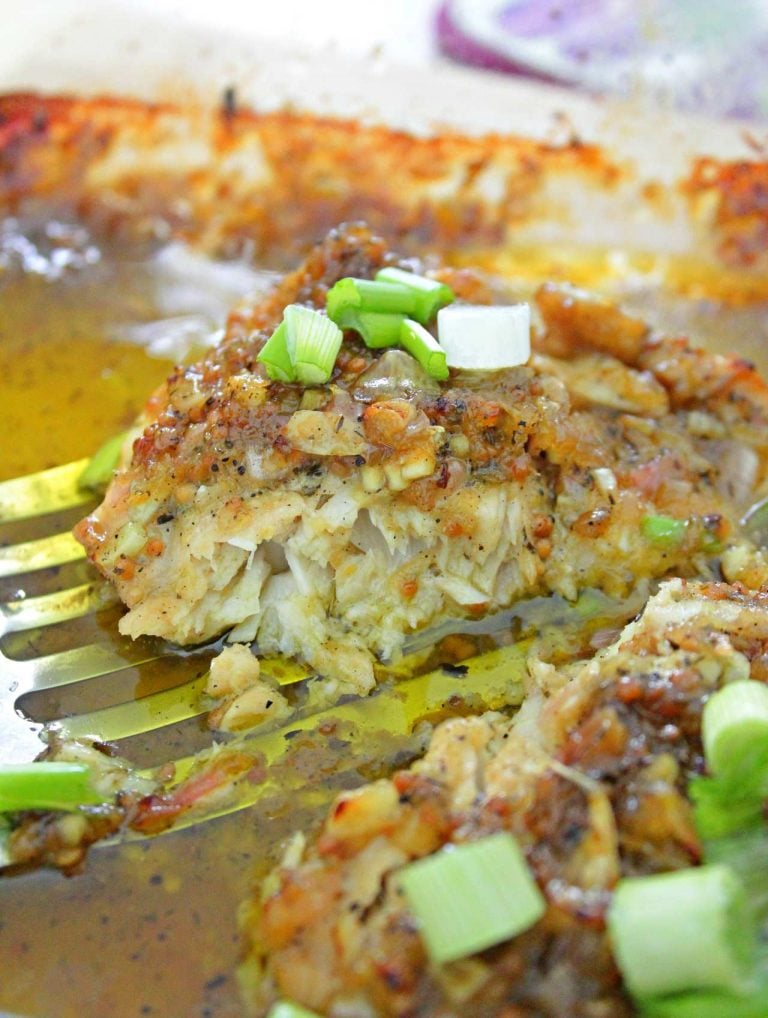
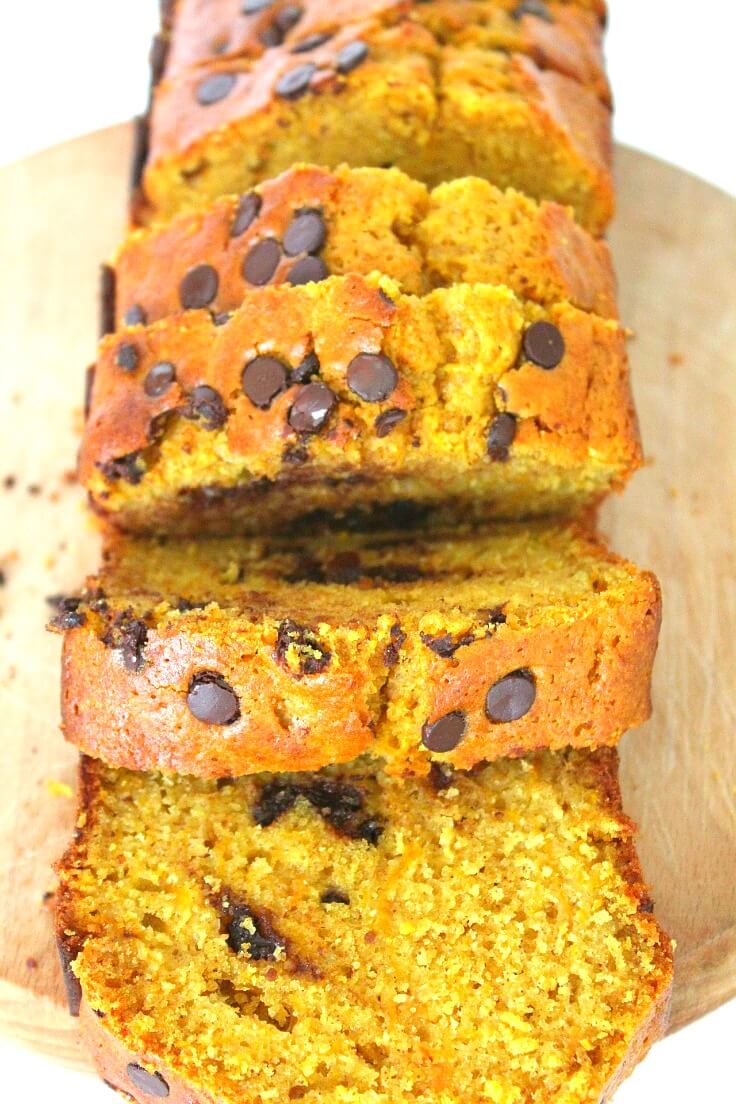
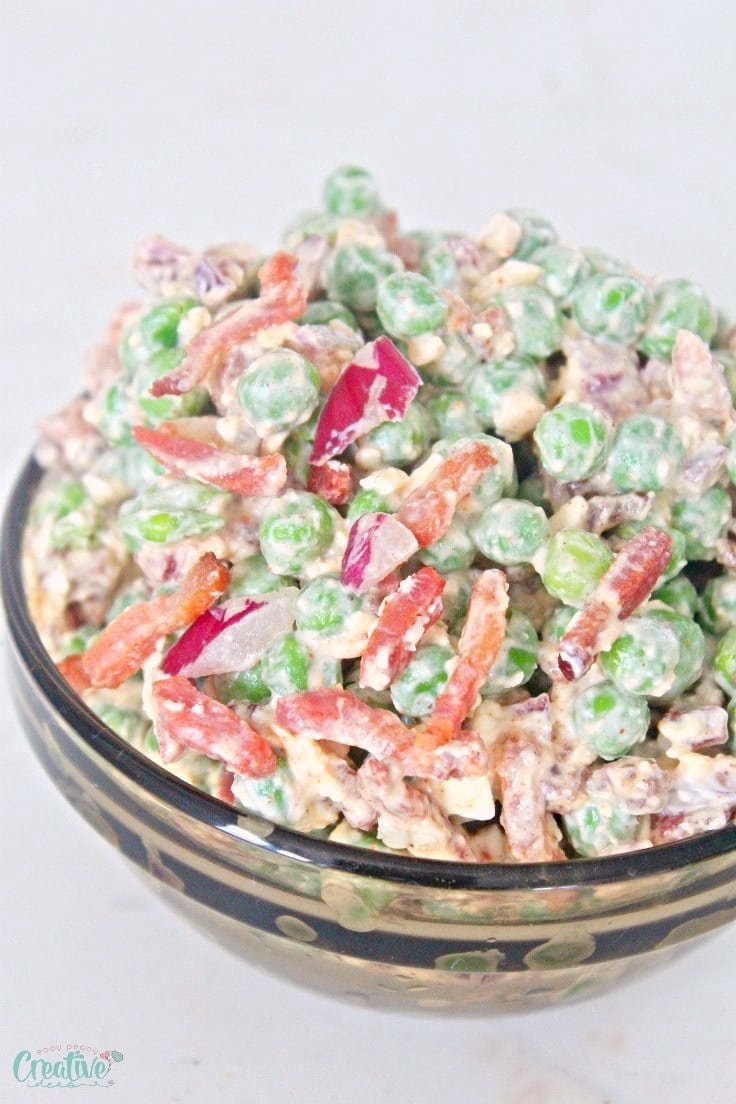
Healthy And Easy Recipes For Your Family


Browse by Holiday:
Meet the author
Welcome! I’m Petro!
Hi, I’m Petro, author and founder of Easy Peasy Creative Ideas, empowering busy sewing addicts to unleash their creativity through accessible and time-friendly sewing projects. I believe that with the right planning and priorities, taking the time to sew will bring you joy and satisfaction. You can find my ideas featured in reputable publications such as Country Living, Good House Keeping, Yahoo News, WikiHow, Shutterfly, Parade, Brit & Co and more. Thanks for stopping by! Stick around for real fun projects!
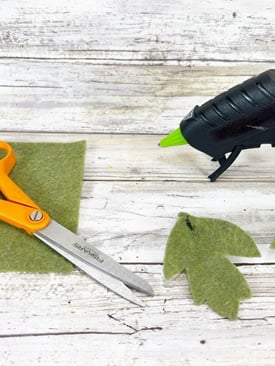
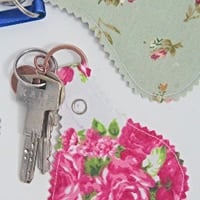
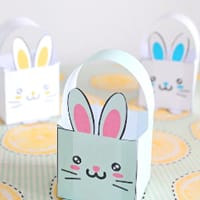
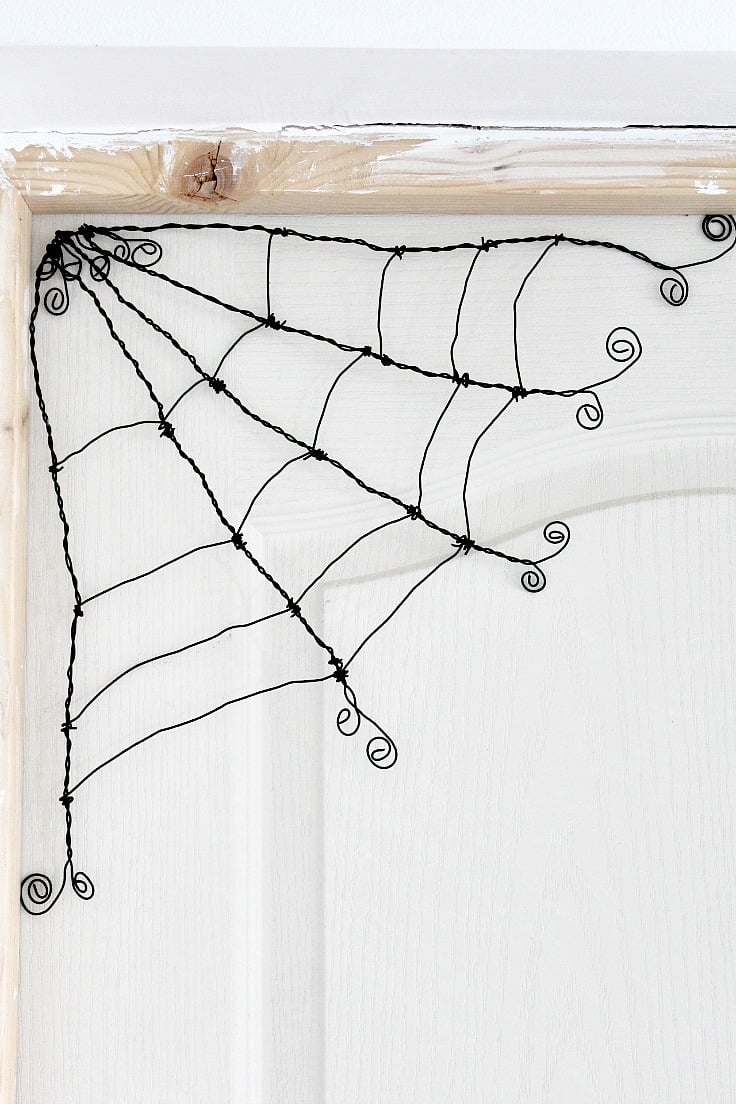
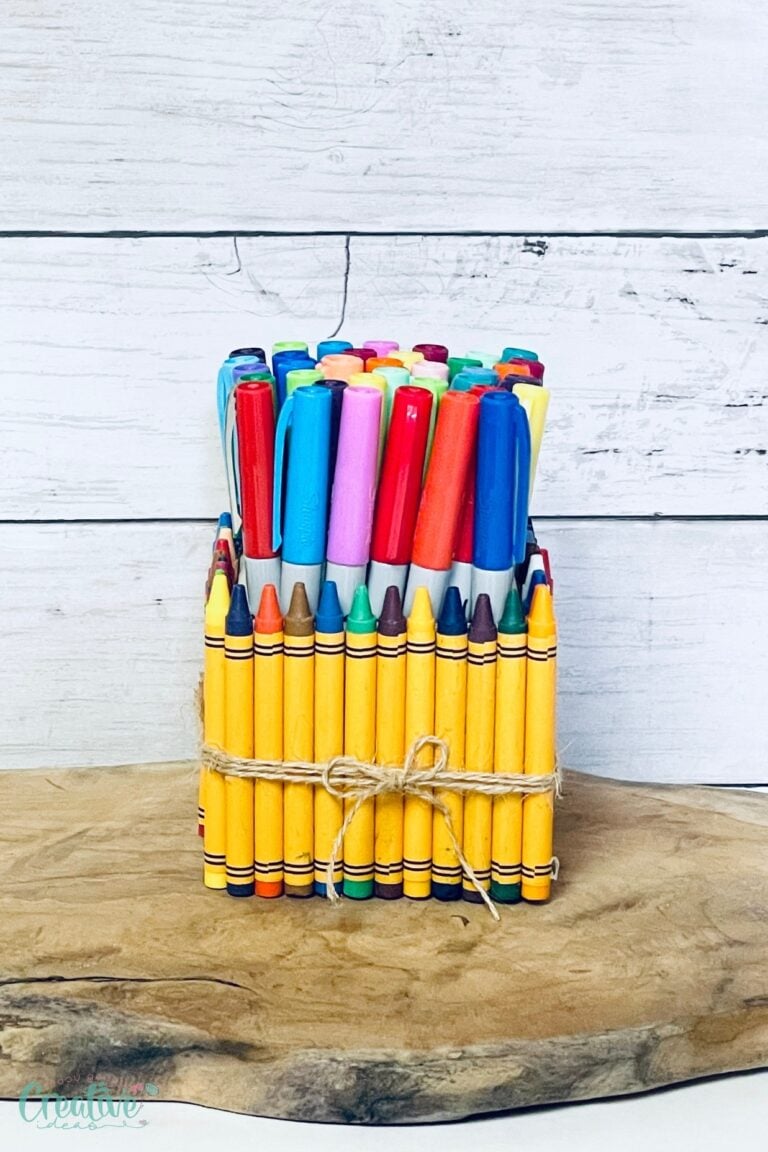
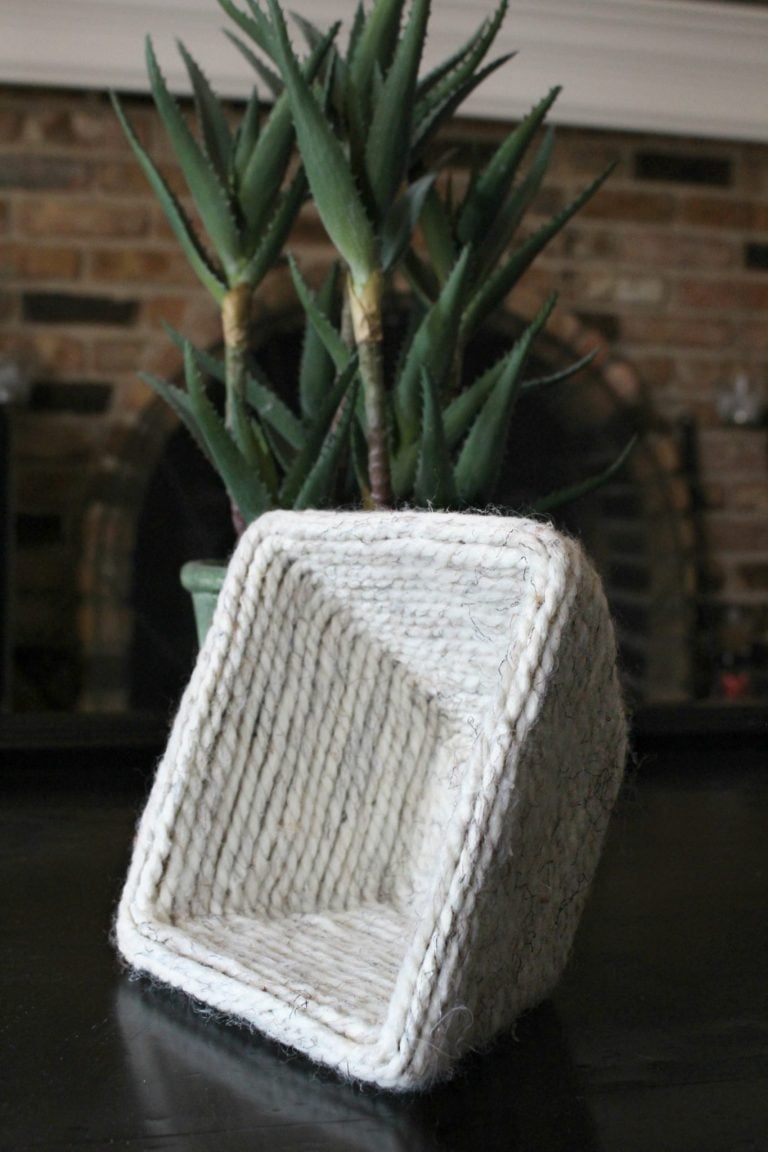
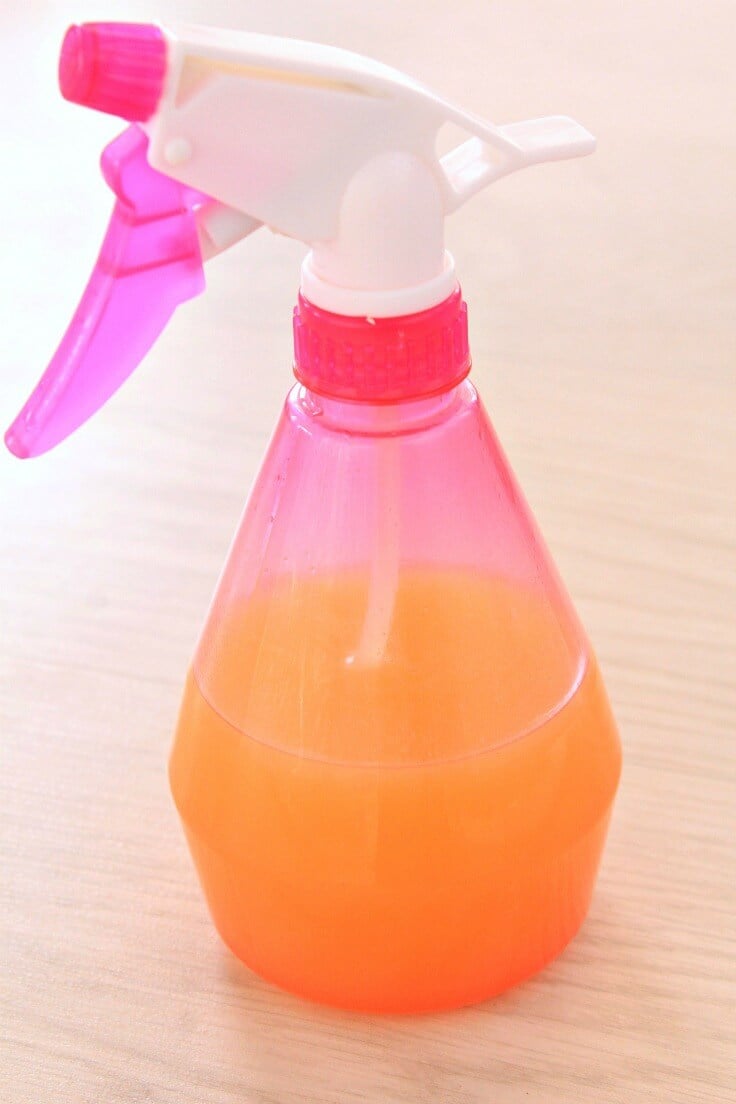
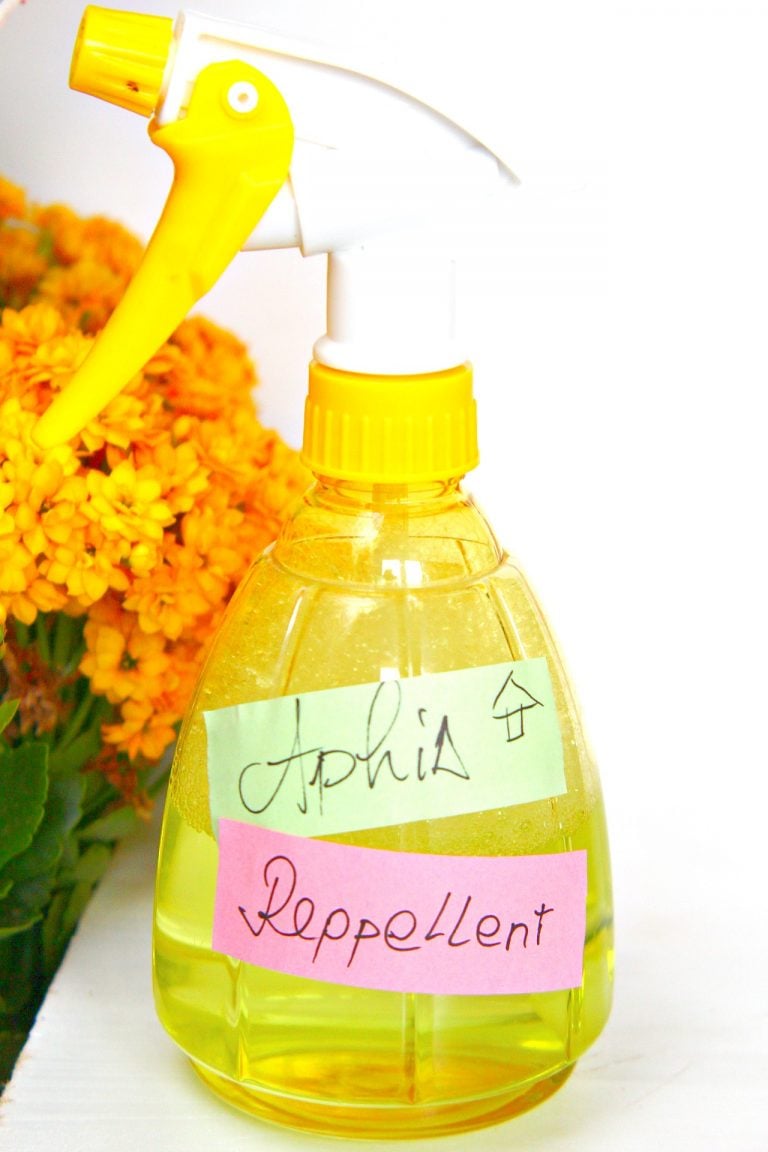
DIY Craft Ideas and Guides

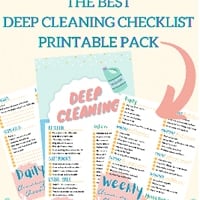


FREE PRINTABLES!
Check out all my printables, from holidays to checklists and schedules, there’s something for everyone!