
How to make Paper peonies
Handmade paper peonies add elegance to any décor. Try making them following this easy tutorial with video instructions.
Yield: 6 peonies
Equipment
- pen
Materials
- peonies and leaves templates
- galvanized wire
- crepe paper in the desired color
- green electrical tape
- cardstock
Instructions
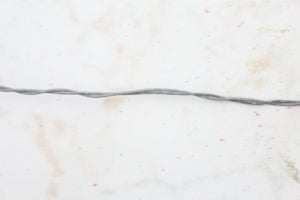
- You'll use the wire to make the stems so grab your cutting pliers and cut as many wires as needed for the amount of peonies you plan to make and then double the number. Take two at a time and wrap the wires around each other.
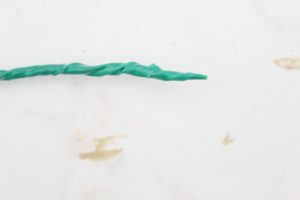
- Get the green electrical tape and wrap it around the twisted wires leaving one end exposed and covering the opposite end.
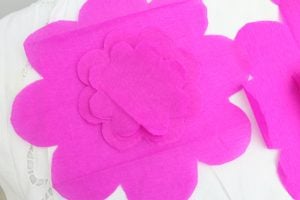
- Stack up a few layers of crepe paper and place the peony templates on the crepe paper. Pin the template to the paper so it won't slip and start cutting out. Make as many layers as you like, in the size you love best. Adding a bunch of small petal ones in the center of your flower makes it look better so you might wanna try those too. Then use the larger petal flowers for the outer layers.
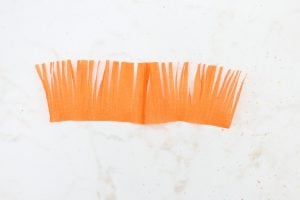
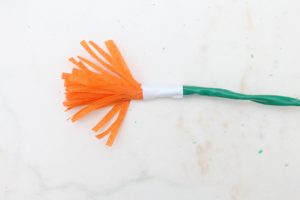
- Grab some orange crepe paper, cut a few squares of about 2" x 4" and fringe along one of the long sides.
- Start making your first flower. Get one of the fringes and wrap around the taped end of the stem until all fringe is finished. Tape onto the stem using green electrical tape (I find this is very stretchable and bendable and a lot easier to work with than other kind of tape).
- Take a small flower and using the other end of the stem, pierce the middle of the flower. Push the flower to the top until it meets the fringe.
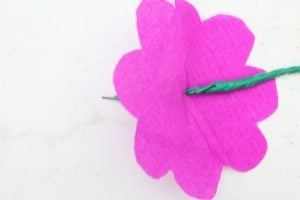
- Scrunch and twist the flower then tape the base of the flower as you did with the fringe.

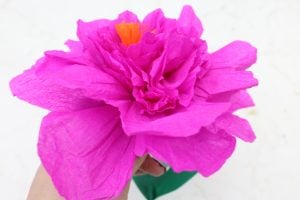
- Continue like this until all layers are attached to the stem. Start with a few small ones for the center flower, then a few medium ones and finish with the large petal flowers. Open the peony and start pushing the layers of petals outward until your flower looks like you want it. You may even want to fringe the outermost layer.
- Make the leaves. Tape some green tape over a piece of cardstock, use a pen to draw the petals on then cut them out.

- Attach leaves to the base of the flower and the stem.

- Repeat the above steps until all flowers are done. Then display them in a vase as a simple floral arrangement that looks stunning in any room!