
How to make corner bookmarks
Learn how to make corner bookmarks from fabric scraps in just minutes! Ideal for book lovers and sewing fans. See all the easy peasy sewing details here.
Yield: 1 bookmark
Equipment
- ruler
- Pencil or fabric marking pen
- scissors
- Point turner tool
- Iron
Materials
- 3 pieces cotton fabric scraps measuring 4" by 4" two for the back panel of the bookmark and one for the front
- 1 piece interfacing measuring 3 1/2" by 3 1/2" If you feel like your fabric is not sturdy enough, interface the front side of the corner bookmark too.
- Matching thread
Instructions
- Ensure your fabric pieces are washed, dried and ironed before cutting. Use your cutting board and rotary cutter to cut the fabric and interfacing to the specified sizes.

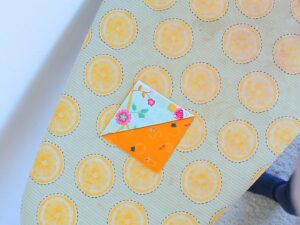
- Fold the top fabric piece into a triangle, ensuring the right side of the fabric is facing out.
- Take one of the back pieces of fabric and apply the interfacing to the wrong side, then place it right side up.

- Place the folded triangle on top of the interfaced fabric piece.
- Cover with the second back fabric piece, but this time with the wrong side facing out.
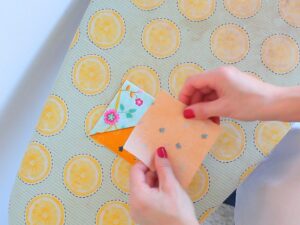
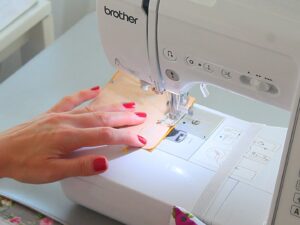
- Pin all the sides together, leaving a 1 1/2" gap on one side for turning the bookmark right side out later.
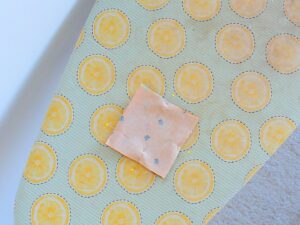
- Sew around the edges with a 1/4" seam allowance, remembering to skip over the gap. Back stitch and reinforce the seam at the beginning and the end of the gap to prevent it from unraveling when turning the bookmark out.
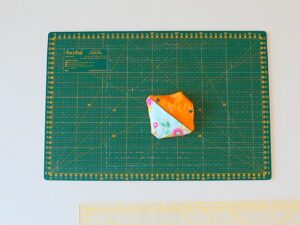
- Clip the corners off close to the stitching to reduce bulk, then trim the seam for a cleaner finish.

- Carefully turn the bookmark right side out through the gap, using the point turner tool to push out the corners and smooth the seams.
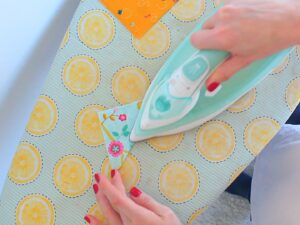
- Fold the fabric at the gap inward to align with the sewn sides, then press the bookmark flat with an iron.

- Edge stitch around the entire bookmark to close the gap and give it a finished look.
