
Toilet paper Christmas tree
Bring the holiday cheer to your home with an easy toilet paper Christmas tree craft! Easy and fun to make, this is a great holiday activity for kids and fun for the whole family!
Yield: 1 tree
Equipment
- scissors
Materials
- paper tubes I used toilet paper rolls
- washable paint green and brown
- School Glue
- green cardboard
- gold foil ribbon or curling ribbon or a small piece of gold tinsel garland
- tissue or toilet paper or cotton balls for the gold decorations inside the tubes
- cotton balls for the "snow" I used the cotton from a few cotton buds
- small piece of silver tinsel garland
- large snowflake for the top or any other decoration you like
Instructions
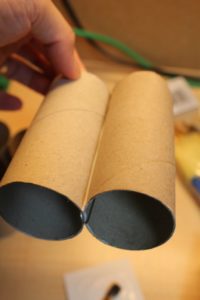
- Peel the paper off of your paper tubes thoroughly, making sure no trace is left on.
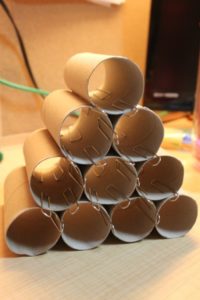
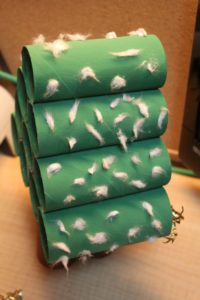
- Decide how large your tree's base will be and from there work out how many tubes you'll need. The larger the base the bigger the tree. I used 4 for the base so I needed 10 tubes for my tree and used additional 2 for the "trunk".
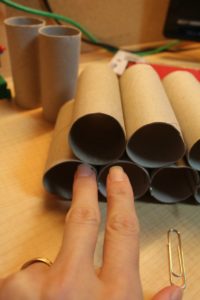
- Start working at the base. Apply a thin line of glue on one tube then glue the second one and press lightly. Secure with paper clips at both ends.
- Continue for the other 2 tubes the same way. If the tubes seem uneven, apply light pressure while they're drying. Leave to dry for half an hour.
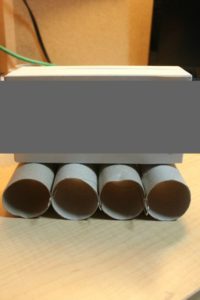
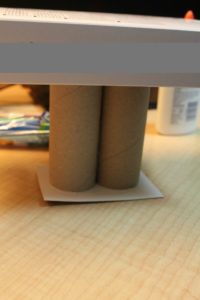
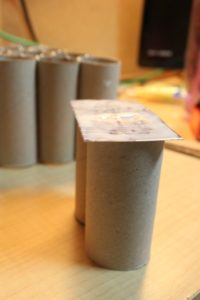
- Meanwhile, work on the trunk. Glue the trunk tubes together, secure with paper clips at one end, then glue the trunk to the cardboard at the other end (where you didn't use a paper clip). Apply small pressure and leave to dry for half an hour.
- Take another tube and glue it to the base, similar to above. This time though you'll need to glue the tube in the hollow between two tubes in the base. This row will have to be one tube shorter, in my case I used three.
- Continue this way until you finish your tree; the top will have only one paper tube. Allow some time between rows, for drying.
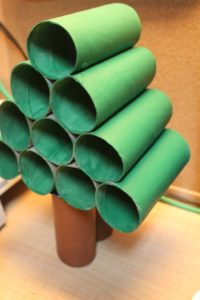
- When both the tree and the trunk are completely dry, apply glue to the back of the cardboard (cut to size according to your tree) and glue it under the base of your tree. Leave to completely dry.
- Paint your tree and the trunk (I went for the classic green and brown look but feel free to play around with colors, kids will definitely love the idea!). Apply several layers of paint until you reach the desired color, allowing enough time for dying in between applications.
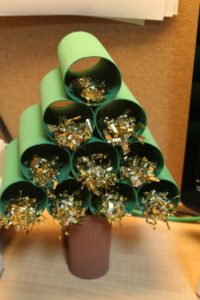
- Get some gold foil and chop in small pieces.

- Get some toilet paper and make small balls (if you're not living on a ship as I do, chances are you have some cotton balls around the house so better use those). Cover half of the ball in glue, then dip in the gold foil pieces until fully covered.
- Apply some glue inside the tubes and attach the cotton balls to the tube, using the end where you didn't put any glue (aka gold foil up). Do this for as many tubes you like (or all as I did).
- Take the cotton balls and tear them in very tiny pieces to mimic the snow flakes and apply to the tree with glue.
- Apply gold foil pieces with glue.
- Take the silver garland and chop in tiny pieces and do the same as above.
- Add the snowflake at the top and you're done! Enjoy your paper tube Christmas tree!!