Halloween paper bags craft
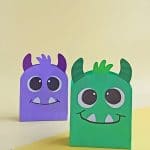
These monster Halloween paper bags are just the thing for some Halloween fun. They are simple enough that your children can help create them, and you can make a fair few in a short time!
Yield: 1 bag
Equipment
- Pencil
Instructions
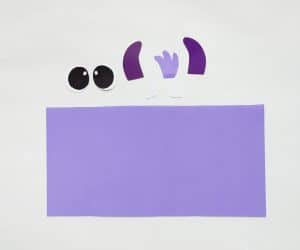
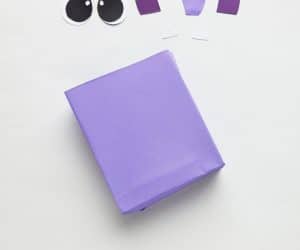
- Select at least 2 different colored or shades of craft papers for this craft. Select white paper for the teeth. You can use the eye patterns directly from the template or draw your own. Trace the bag base, horns, teeth and hair patterns from the colored craft papers and cut them out nicely.
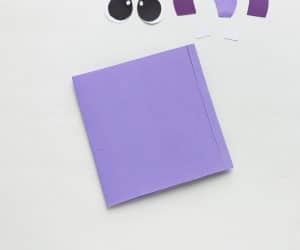
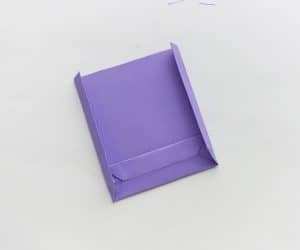
- Leave about 1/2" of the bag base (longer side) and then fold the rest into half. Apply glue along the 1/2" extra part and then join it with the other open side.
- Fold 2 inches of either open side of the current paper.
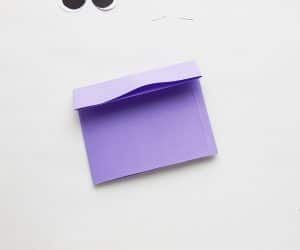
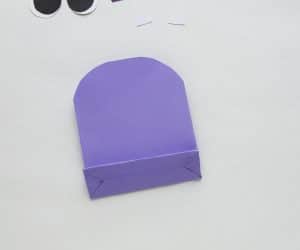
- Carefully open the 2 sides of the folded part and form the corners on right and left side. This will form 2 flaps.
- Fold the flaps towards the middle and overlap them slightly. Apply glue on the overlapped parts and join them together. This is the bottom se of the bag.
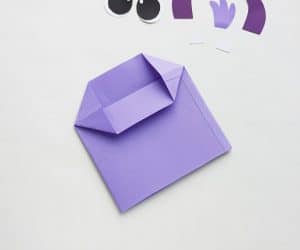
- Using the 2 opposite corners of the 2 square parts on both sides of the bottom; fold both sides of the current paper.
- Now blow air into the bag pattern through the open end and open the last 2 folds.
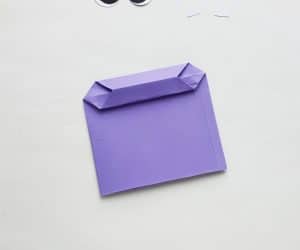
- Fold the middle creases on both sides’ inwards and flatten the paper bag. Cut a round corner on the top side of the bag.
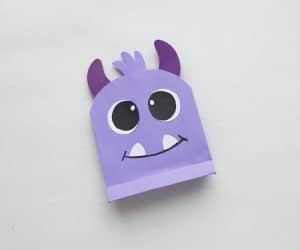
- Attach the hair pattern on the top side of the paper bag. Attach the eyes near the top side of the paper bag’s front part.

- Use a sharpie to draw the mouth line and then attach the teeth adjacent to that line to complete the craft. You can add more details if you want to.