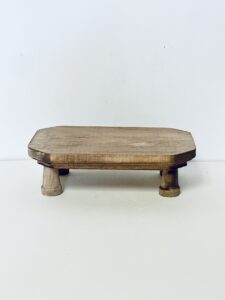
How to make a wooden riser
Learn how to make a rustic wooden riser with farmhouse charm—perfect for displaying candles, plants, or kitchen essentials. Simple, stylish, and easy DIY!
Yield: 1 riser
Equipment
- Paint brush
- small bowl
Materials
- Burnt Umber acrylic paint or stain if you prefer
- 2 packages mini pots
- Wooden beveled edge plaque
Instructions
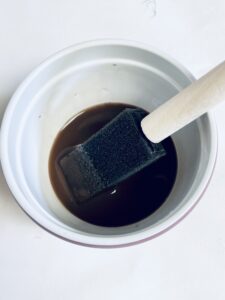
- Mix a few drops of the burnt umber acrylic paint with 2 tablespoons of water. Mix together with the paint brush.
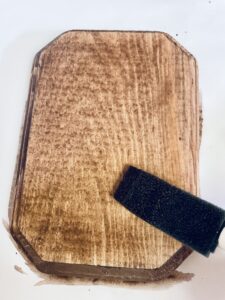
- Lightly brush onto the entire plaque
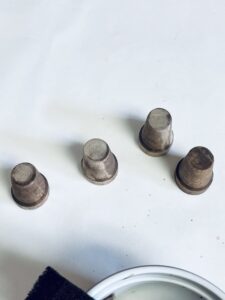
- Then do the 4 of the smaller pots.
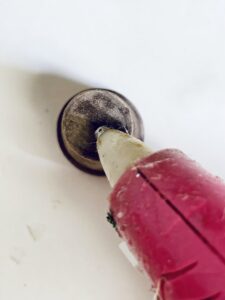
- Allow for them to completely dry. Once they are fully dry, using the hot glue gun, add some hot glue to the bottom of the pots.
- Then press firmly onto the front side of the plaque (the side with the beveled edge) you want the flat side to be the top of the riser