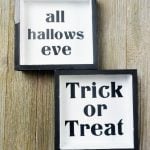
Halloween wood signs
Halloween is the best time of the year for creating decorations and different things that your children can proudly display, and have fun creating them as well. Today I wanted to share with you this easy Cricut craft with a bit of a farmhouse vibe: Halloween wood signs.
Yield: 2 signs
Equipment
- paint brushes
- scissors
Instructions
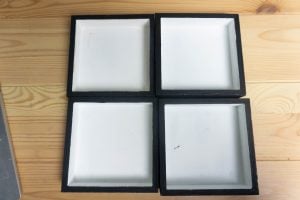
- Paint the inside of the shadow boxes white matte. Let dry.
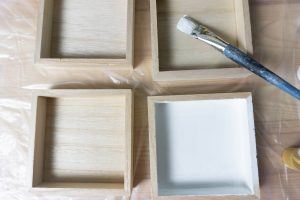
- Paint the edges and back of the shadow boxes black matte. Let dry.
- Using the png files upload them to cricut. Make them 4x4 to fit these shadow boxes. If you have a different box you will need to change the size. Place the black matte oracal on the blue cutting mat.

- Tell the machine to cut on vinyl setting. Weed designs with weeding tool. Once the design is weeded then cut a piece of transfer tape the same size as the design square. Place the transfer tape over the top and scrape with scraper tool. Peel back slowly making sure that the design sticks to the transfer tape.

- Now place the design to the wood square on the inside. Press down and then scrape with scraper tool. Peel back slowly making sure the design sticks to the box.

- Repeat this for the other box and design as well.