

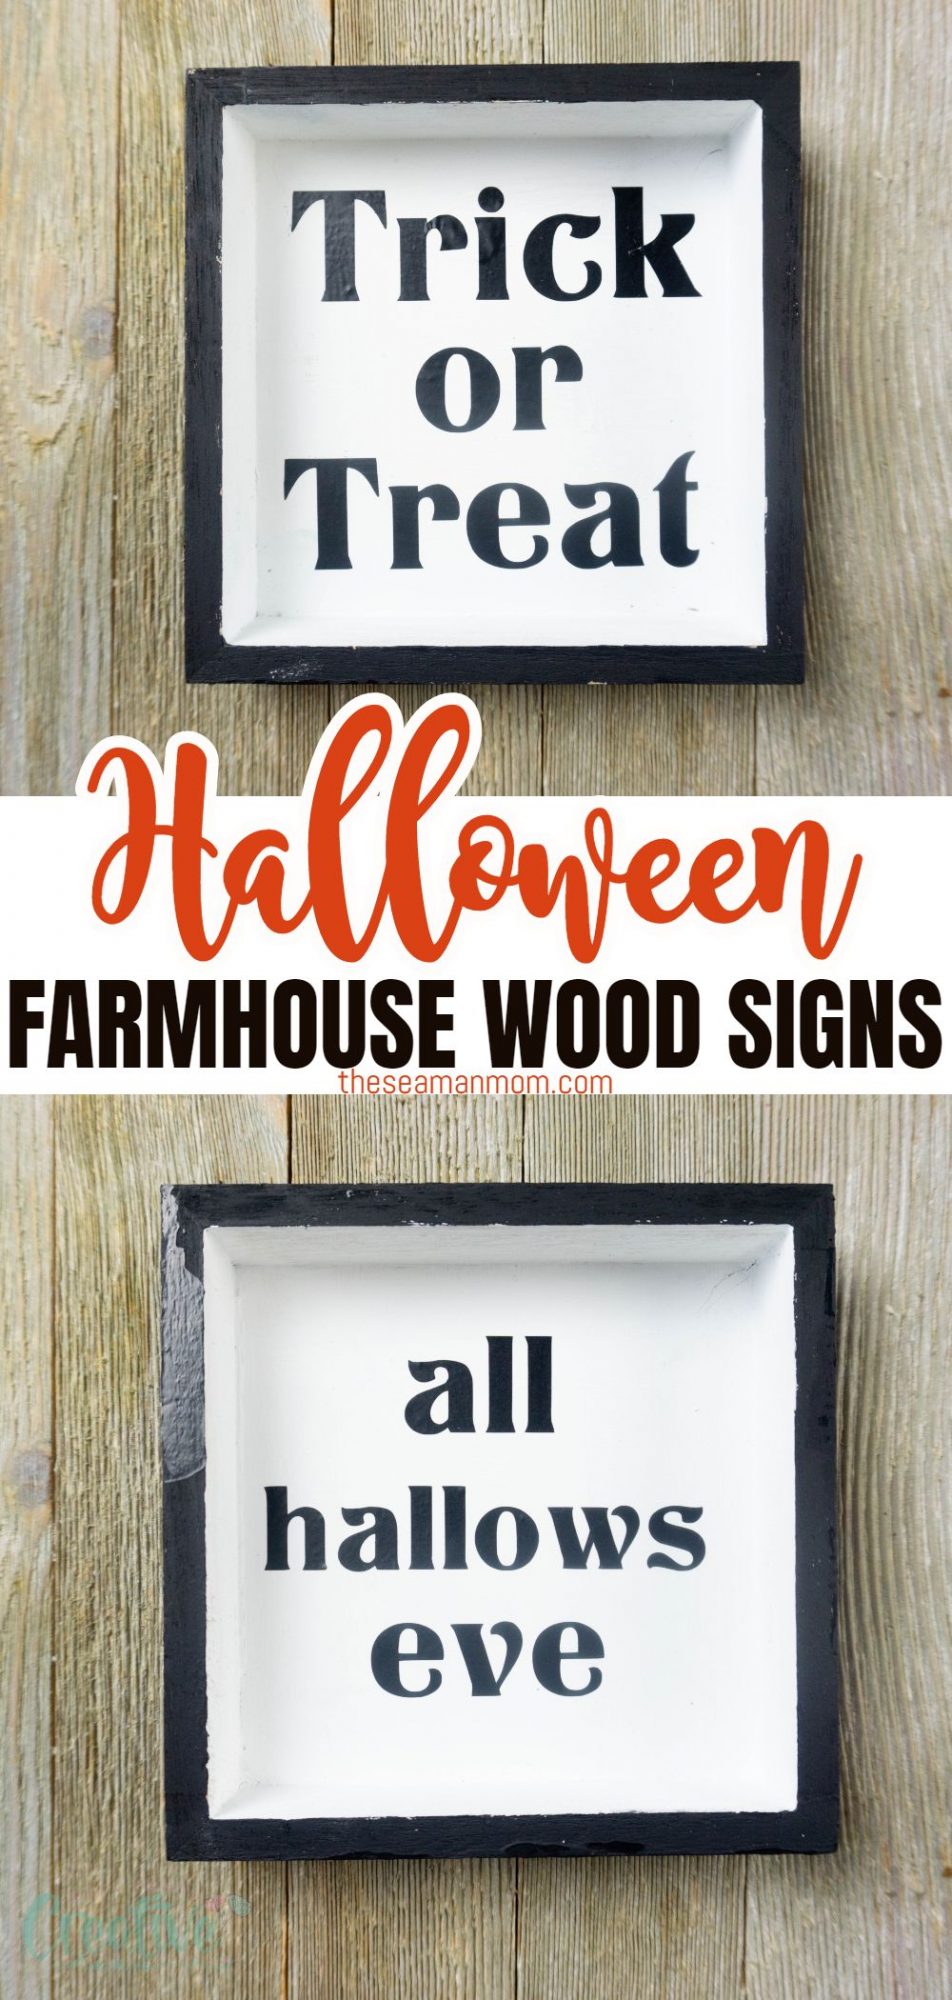
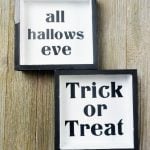
Farmhouse Halloween Wood Signs! It’s Not as Hard as You Think!
Halloween is the best time of the year for creating decorations and different things that your children can proudly display, and have fun creating them as well. Today I wanted to share with you this easy Cricut craft with a bit of a farmhouse vibe: Halloween wood signs.
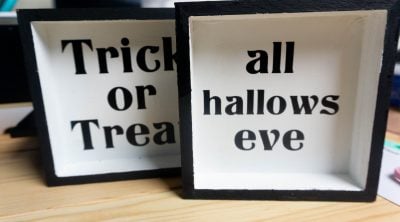
Halloween wood signs
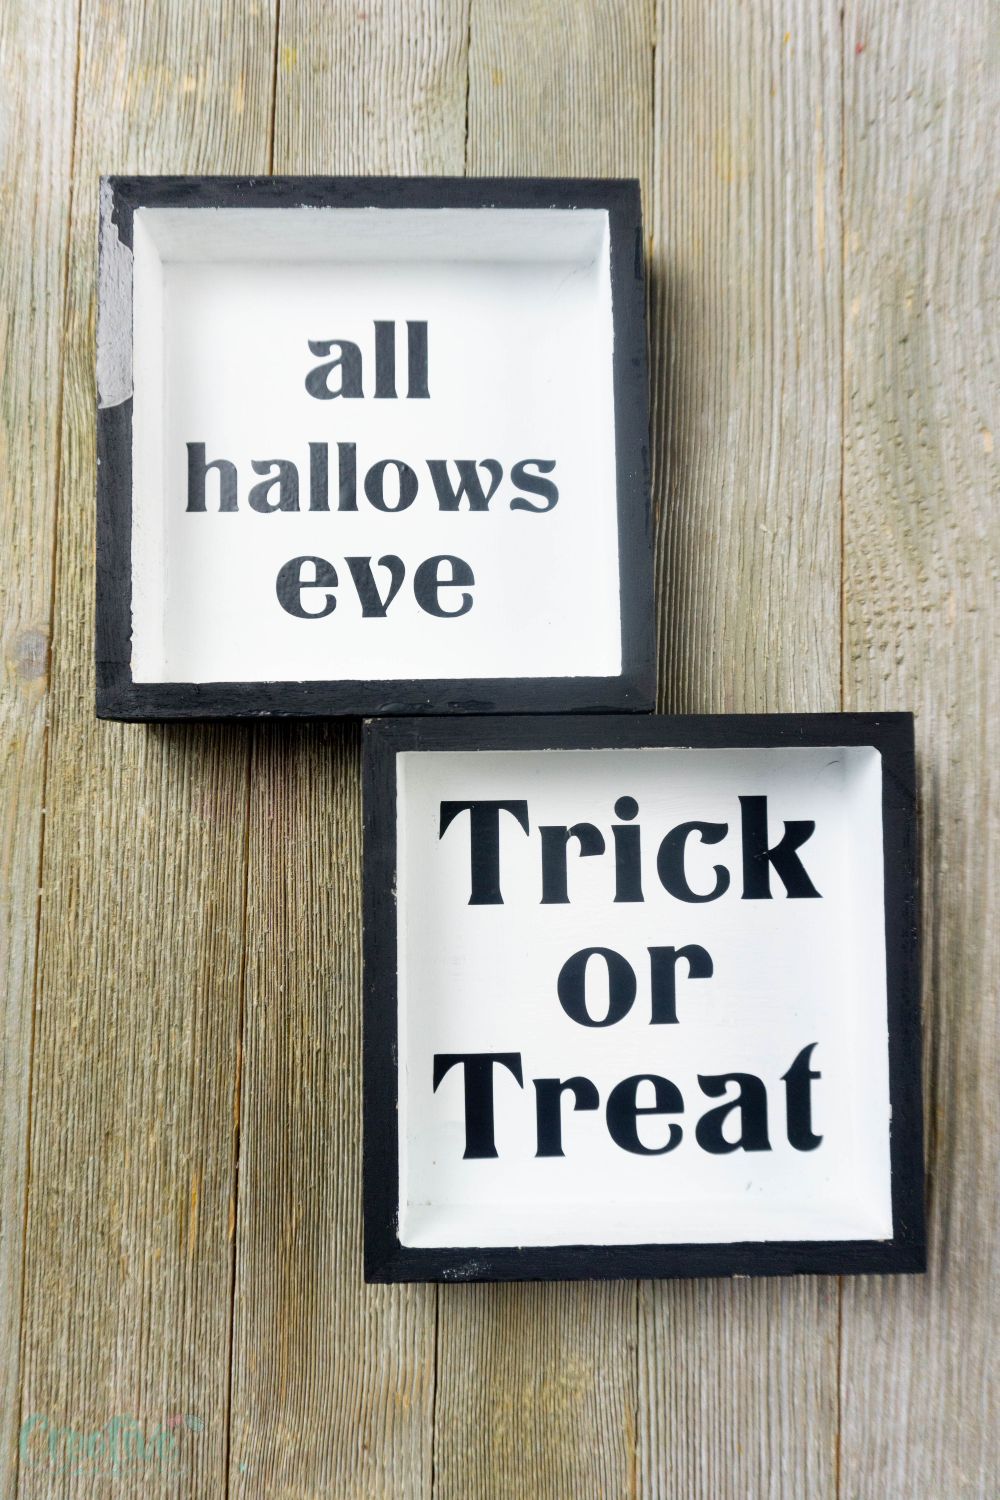
Halloween is such a wonderful time of the year and it is also the perfect time to get crafting. These simple and easy Halloween wood signs are a great craft to make this year, that children can help with. Kids love the opportunity to dress up, visit their neighbors home and shout “trick or treat” on the doorstep. Families love to decorate their homes and really embrace the holiday, and who can blame them? After all, it is a time of mischief and mayhem, and a lot of candy as well.
You do need a Cricut machine and a few tools, but it could be a worthwhile investment as there are so many ways you can use them for other crafts and activities in the future. If you are interested in Halloween crafts then I have a a big selection on my blog but today I wanted to share with you an easy one to get you started. Without further ado, here is my farmhouse Halloween décor.
What do you need to create these Halloween Wood signs?
It isn’t an extensive list of things that you need to create this rustic Halloween décor at home and some of the things you may already have in your arts and crafts collection. Here is what you need to create a farmhouse Halloween sign.
- Black matte paint
- White matte paint
- Paintbrushes
- Wooden square shadow box – you can find one by checking out this website.
- 1 sheet black matte oracal 651
- 1 sheet transfer tape
- Blue Cricut mat
- Cricut machine
- Weeding tool
- Scraper tool
- Scissors
- sign templates
How to make Halloween wood signs?
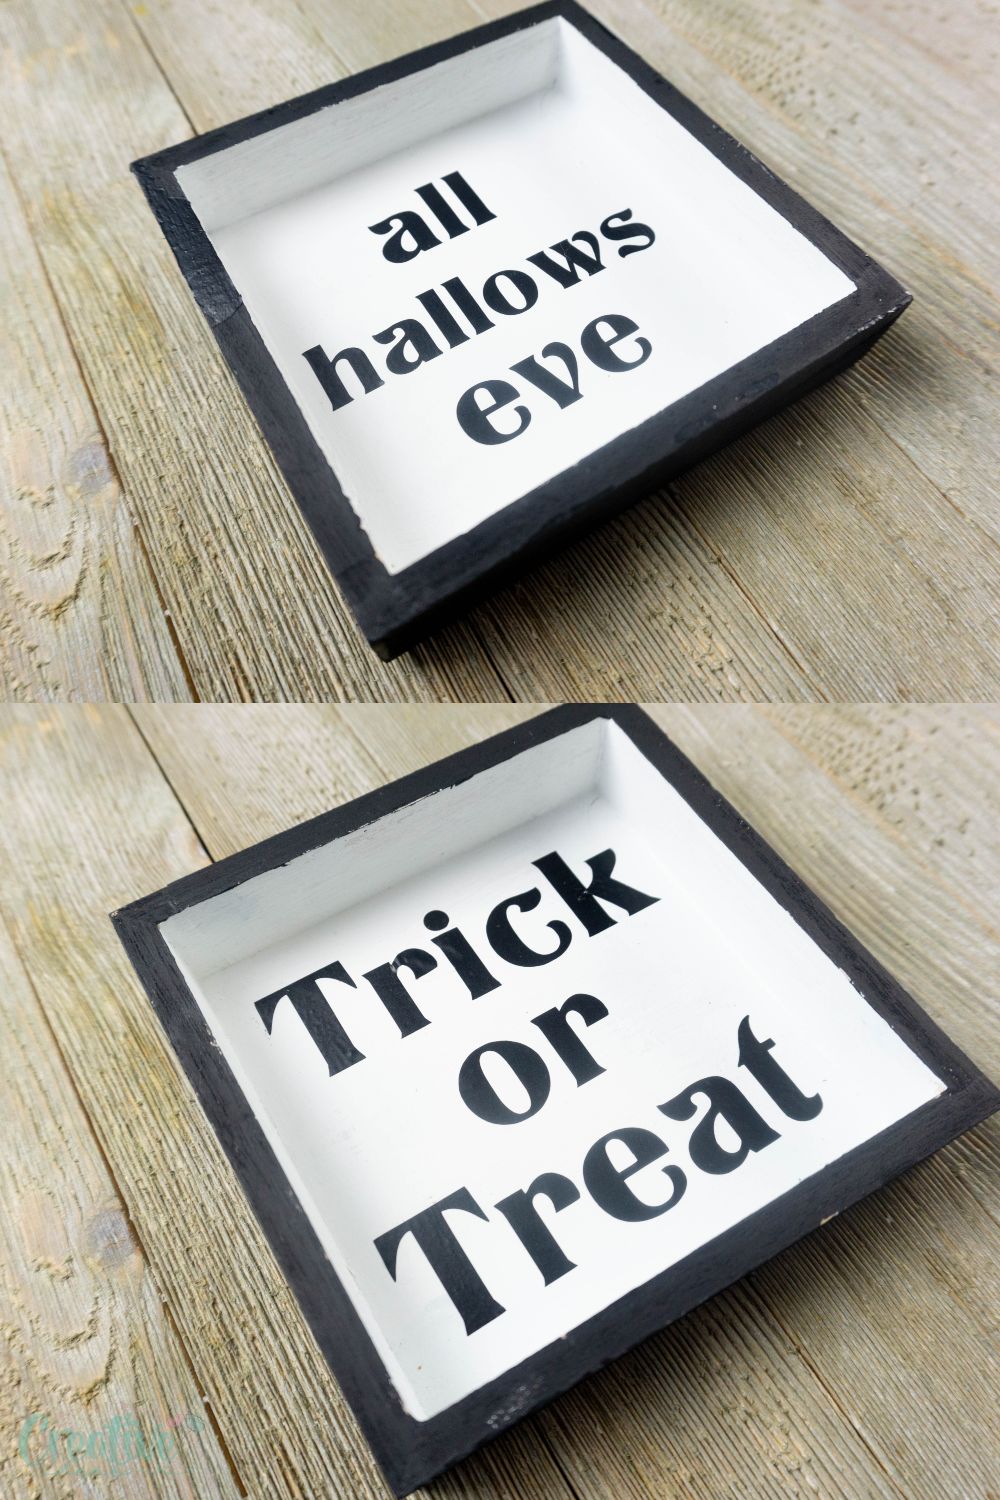
The process and method is easy to follow and will help you to create two Halloween farmhouse signs if you’d like to use both templates I provide. Here is a step by step guide to help you create yours.
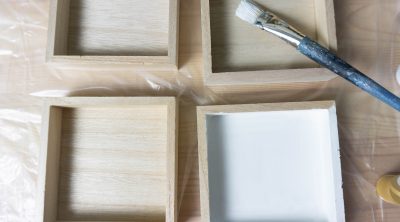
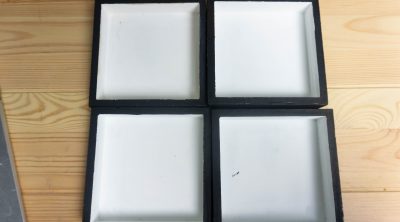
- The first step would be to take your shadow boxes and then paint them. Paint the inside with the white matte paint. You will need to let them dry fully. You will then want to paint the edges and the back in the black matte paint. Once you have done that let the shadow boxes dry completely again.
- Using the png files upload them to Cricut. Make sure that you set the size to 4×4 to fit these shadow boxes. If you have decided to go for a different box you will need to change the size to suit the shadow box that you have.
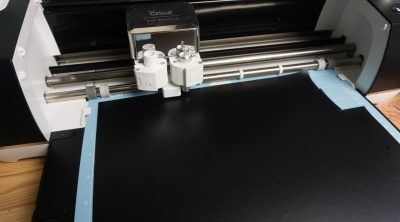
- Place the black matte oracal vinyl on the blue cutting mat. Then tell the machine to cut on vinyl setting. Weed designs with weeding tool.
- Once the design is weeded then cut a piece of transfer tape the same size as the design square. Place the transfer tape over the top and scrape with scraper tool. Peel back slowly making sure that the design sticks to the transfer tape.
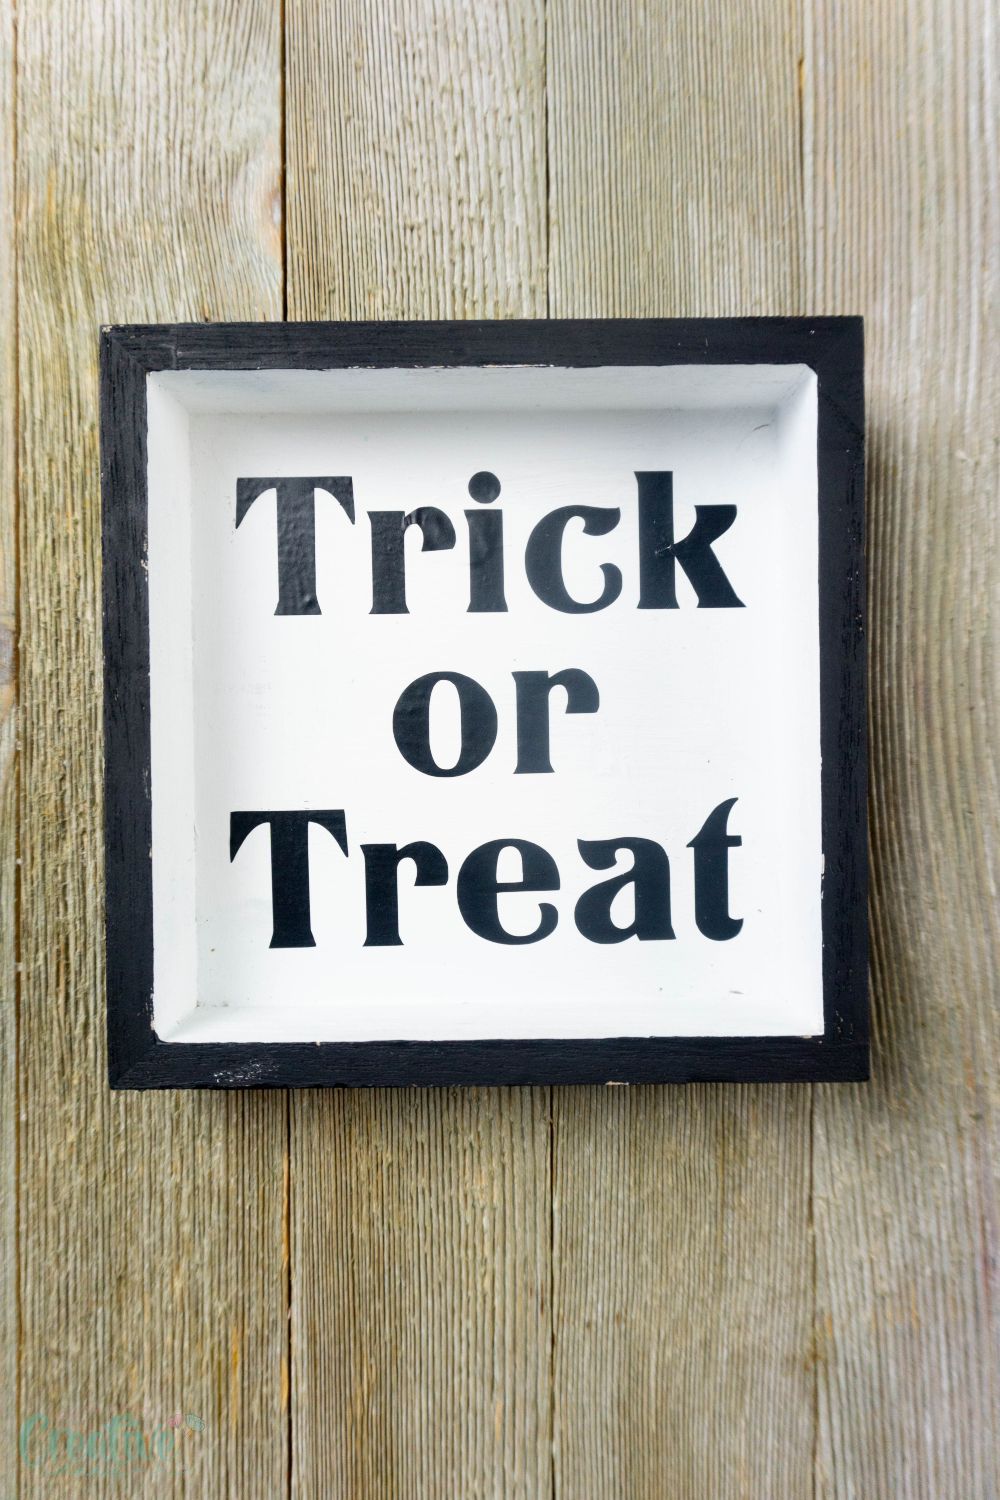
- Now place the design to the wood square on the inside. Press down and then scrape with scraper tool. Peel back slowly making sure the design sticks to the box.
- Repeat this for the other box and design as well until you have two complete boxes.
Some extra notes and tips that could help
While the process and method may sound easy, I wanted to share with you some extra notes and tips that could help you make more sense of it, or avoid any issues while you are enjoying the crafts. Here are some of the extra notes and tips to be aware of.
- If you have never used a Cricut machine before take some time to get to know it. Try a few different things and have a trial run with it before you want to create the vinyl transfers for your boxes. The more practice that you have, the more confident you will feel using it.
- Make sure you give yourself plenty of time when it comes to these Halloween wood signs. You have to be aware that there is a lot of drying time. Especially at the beginning of the process.
- Make sure you have everything you need before you get started. You don’t want to start and then find that you needed to order something specific. Have everything ready before you get started.
Variations you could try
You might be looking at ways that you can vary this craft method and idea, and make it more of your own. Here are some of the variations that you could try.
- Try different size shadow boxes. This could be a great way to make the sign bigger and could help you to design something different. Just make sure that when you download the png files to the Cricut machine that you amend the sizing to suit the box that you have. This avoids it being too small or too large.
- Use different colors. While I have suggested using white matte and black matte paint as a more effective color combination for Halloween, you may want to choose alternative colors like a navy blue, for example.
- Make things simpler by using the PDF version I provide in the templates file and just print the templates on paper then insert the paper in a photo frame. I also added a SVG file so you can adjust the size of the templates without using a Cricut machine.
FAQs
You may have some questions, so hopefully, I have covered them below but please feel free to leave me a comment or get in touch via social media if you want to ask me anything.
What should I do if I have never used a Cricut machine before?
If this will be your first time, make sure that you familiarize yourself with the machine. Read the instruction manual and also have a trail run before you get started with these Halloween signs. The more aware of the machine you are, the more confident you will feel using it.
Can I do it in stages?
The beauty of this craft is that there is a lot of drying time. So you can always come back to this in stages if you don’t have a lot of time together to complete it.
Can I do this without a Cricut machine?
Yes! As mentioned just a few paragraphs above, I created a PDF file and a SVG file if you are more comfortable with those.
I hope this has inspired you to create your own farmhouse Halloween signs at home! You can check out more amazing crafts and ideas on my blog.
Pin to save for later
Print the craft card
Halloween wood signs
Tools
- paint brushes
- scissors
Instructions
- Paint the inside of the shadow boxes white matte. Let dry.

- Paint the edges and back of the shadow boxes black matte. Let dry.
- Using the png files upload them to cricut. Make them 4x4 to fit these shadow boxes. If you have a different box you will need to change the size. Place the black matte oracal on the blue cutting mat.
- Tell the machine to cut on vinyl setting. Weed designs with weeding tool. Once the design is weeded then cut a piece of transfer tape the same size as the design square. Place the transfer tape over the top and scrape with scraper tool. Peel back slowly making sure that the design sticks to the transfer tape.
- Now place the design to the wood square on the inside. Press down and then scrape with scraper tool. Peel back slowly making sure the design sticks to the box.
- Repeat this for the other box and design as well.


Article may contain Amazon & affiliate links. As an Amazon Associate I earn from qualifying purchases at no additional cost to you.
ABOUT PETRO
Hi, I’m Petro, author and founder of Easy Peasy Creative Ideas. Sewist, crafter, avid DIY-er, foodie, photographer, homemaker and mommy to one. I’m an expert at coming up with quick, clever sewing tips, recycling crafts and simple, easy recipes! You can find my ideas featured in reputable publications such as Country Living, Good House Keeping, Yahoo News, WikiHow, Shutterfly, Parade, Brit & Co and more. Thanks for stopping by and hope you’ll stay for a while, get to know me better and come back another time. Stick around for real fun projects! Read more…