Easter bunny butts craft
Get inspired with these adorable Easter bunny butts. These delightful clay pot creations are sure to bring smiles. Start crafting unique Easter projects today!
Yield: 1 bunny butt
Equipment
- Glue Gun and Glue Sticks
- scissors
- Marker - Black
Materials
- Clay Pots 2.5” in diameter
- Acrylic Craft Paint Blue, Pink, Purple
- Craft Felt Blue, Pink, Purple
- White Chenille Stems
- White tinsel Pom Poms
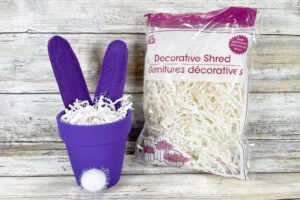
- Paper Shred
- Candy
Instructions
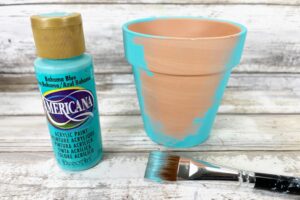
- Gather all materials and then remove the packaging and labels. Basecoat the inside and the outside of the 2.5” clay pots with blue, pink, and purple acrylic craft paint. Let the paint dry and then apply a second coat, if necessary.
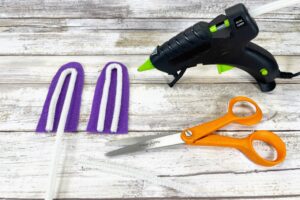
- Print the CLAY POT BUNNY PATTERN on paper. Cut out the ear pattern with scissors. Trace the ear pattern onto blue, pink, and purple craft felt four time each.
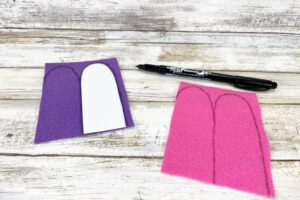
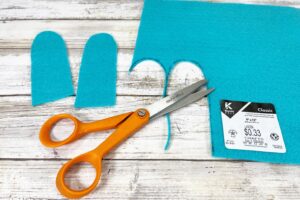
- Cut out all ear patterns with scissors. Make sure to cut inside the raced lines, so you end up with a clean, finished project.
- To create the bunny ears, bend a white chenille stem into a “U” shape and attach to the craft felt ear with a glue gun and glue sticks. Trim the ends of the chenille stem with scissors. Repeat for the second ear.
- TIP: Craft foam or cardstock would also work for this project, use what you have on hand.
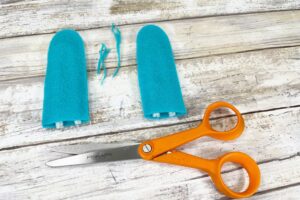
- Attach the top of the ear to the base of the ear by gluing around the edge with a glue gun and glue sticks. Repeat for the second ear. Trim any edges of craft felt that don’t match up.

- TIP: You can use liquid craft glue for this project, but you would have to wait for it to dry.
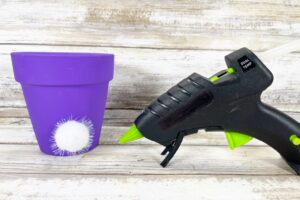
- Glue the white tinsel pom pom to the center of the bottom of the clay pot to become the bunny tail.
- Attach the completed bunny ears to the top inside edge of the clay pot with a glue gun and glue sticks.
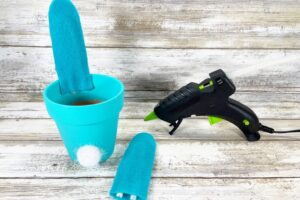
- To finish the clay pot bunny treat cups, fill with paper shred and candy.