How to join binding strips at the ends
Learn how to join binding strips at the end seamlessly with this easy tutorial. Discover the best technique, materials, and tips for connecting binding ends like a pro.
Yield: 1 binding
Equipment
- scissors
- wonder clips or pins
- Iron
Materials
- bias binding strip
- fabric
- matching thread
Instructions
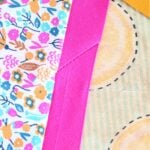
- Sew the binding as you normally would, leaving a 1" tail in the strip at the start. Sew with a seam allowance appropriate for your project and the width of the binding strip.
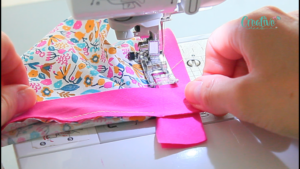
- When reaching the end of the binding strip, sew up to the first stitch. Stop when you reach the first stitch, leave a 1" tail, and then run a backstitch.
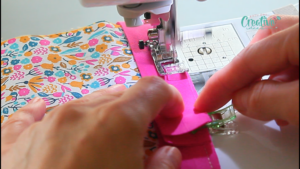
- Flip the end portion of the binding to the right to expose the opposite side of the strip. In this image I keep the fabric down with the presser foot to illustrate the step better but it's not necessary and it's not done for sewing purposes.
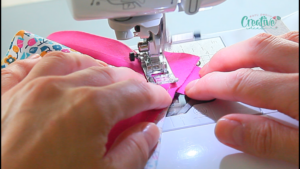
- Pivot the beginning portion of the binding strip to the left so that it sits perpendicularly to the end portion of the binding strip, the two strips forming 90 degree angles. The beginning strip would be wrong side up.
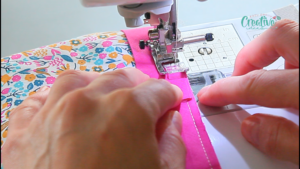
- Sew a straight line starting from the 90 degree angle at the top, towards the existing seam in the beginning portion of the binding. Backstitch when reaching the binding seam.
- Trim this joining seam to a 1/4" seam.

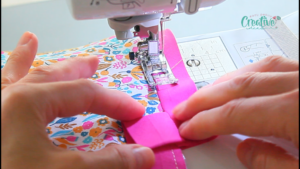
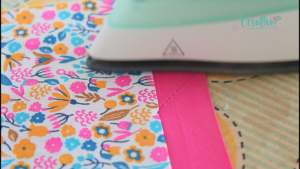
- Press the binding to smooth out any potential wrinkles in the binding, the seam and the fabric.
- Push the entire binding to the opposite side of the fabric and continue sewing it as normal.