

How to join binding strips at the end fast
Learning how to join binding strips at the end can be a game changer for any sewing project. It allows you to create a seamless finish and eliminate bulky seams, resulting in a professional-looking final product. In this article, I will go over what I think is the best technique for connecting binding ends, as well as the simple materials and equipment needed to achieve a polished look.
Whether you’re adding a finishing touch to quilts, garments, or any other fabric creations, knowing how to join binding strips at the end seamlessly is key. As someone who loves clean finishes on sewing projects, learning how to join binding ends quick and easy has been a transformative experience for me.
I love this technique because it ensures a smooth and nearly invisible join. It adds a polished look to any sewing project, and the simple steps make it accessible for both beginners and experienced sewists. You don’t need any special skills, just a bit of patience and attention to detail. And you can do it right at your sewing machine!
For many sewists, this is the best technique (compared to this technique and this technique), because it combines ease with an impeccable finish. There’s no need for complicated calculations or special tools—just your standard sewing equipment and a bit of know-how. Let’s dive into the step-by-step guide and learn this valuable sewing skill.
How to join binding strips at the end

Materials needed
- Bias Binding or Bias Tape: This flexible fabric strip, cut on the bias, stretches and adapts well to curves, making it ideal for binding quilts and garments. Use a strip in the width that is appropriate for your project (for example, a quilt will need wider binding than a garment piece)
- Fabric: Choose a sturdy fabric that complements your binding strips.
- Matching Thread: Ensure your thread matches your binding strip to achieve a unified look.
Equipment
- Sewing Machine: Necessary for stitching your binding strips together accurately and efficiently.
- Scissors: Sharp fabric scissors are essential for cutting your binding strips cleanly and accurately.
- Iron: The iron helps to press your seams flat and ensures a crisp, professional finish.
Step by step instructions
Check out the detailed photography and video instructions in the sewing card below!
Preparations
Before you begin, make sure to cut your binding strips accurately and press them well if you opted for making your own binding instead of purchasing it. Having everything prepared can significantly ease the sewing process and improve the final outcome.
Attach the binding to your project using pins or clips.
Sewing
As you sew, keep the fabric taut and guide it steadily through the sewing machine. Take your time to ensure each stitch is even and the binding strip is aligned perfectly.
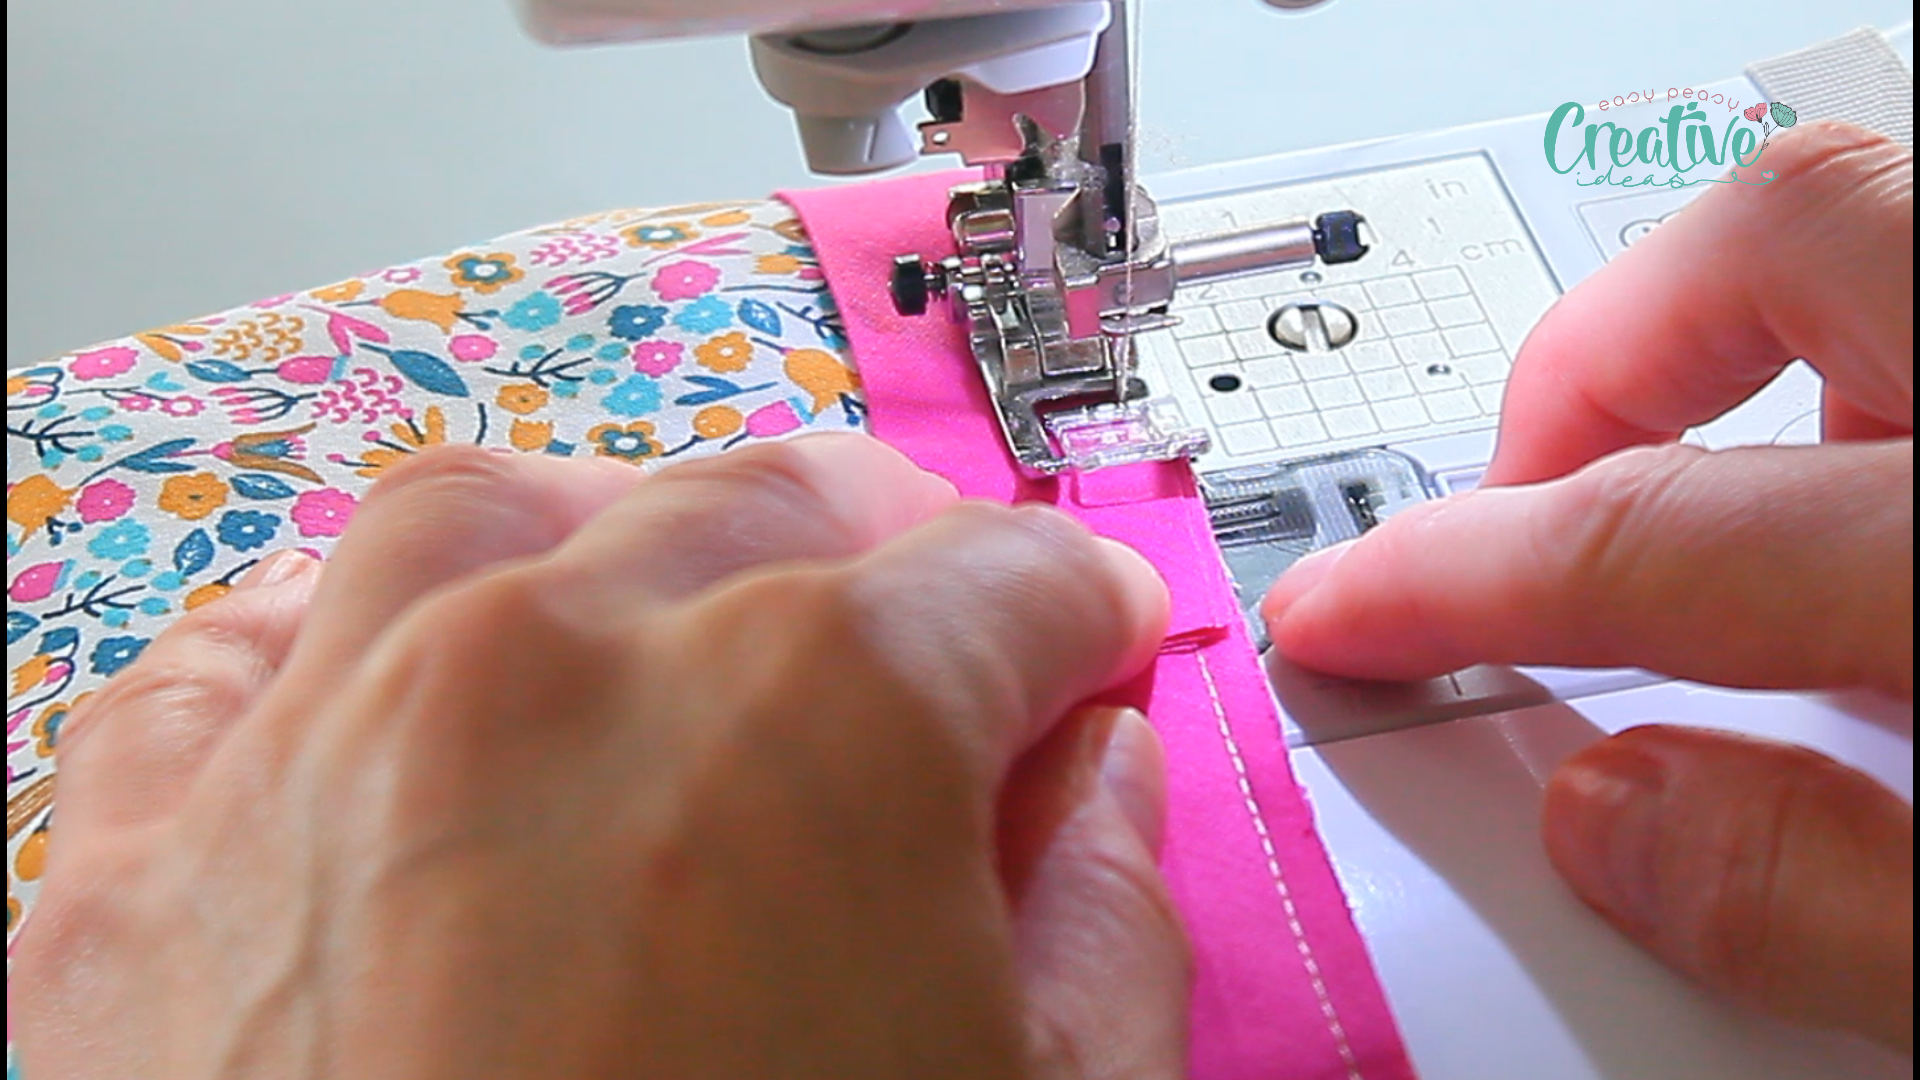
- Sew the binding as you normally would, leaving a 1″ tail in the strip at the start. Sew with a seam allowance appropriate for your project and the width of the binding strip.
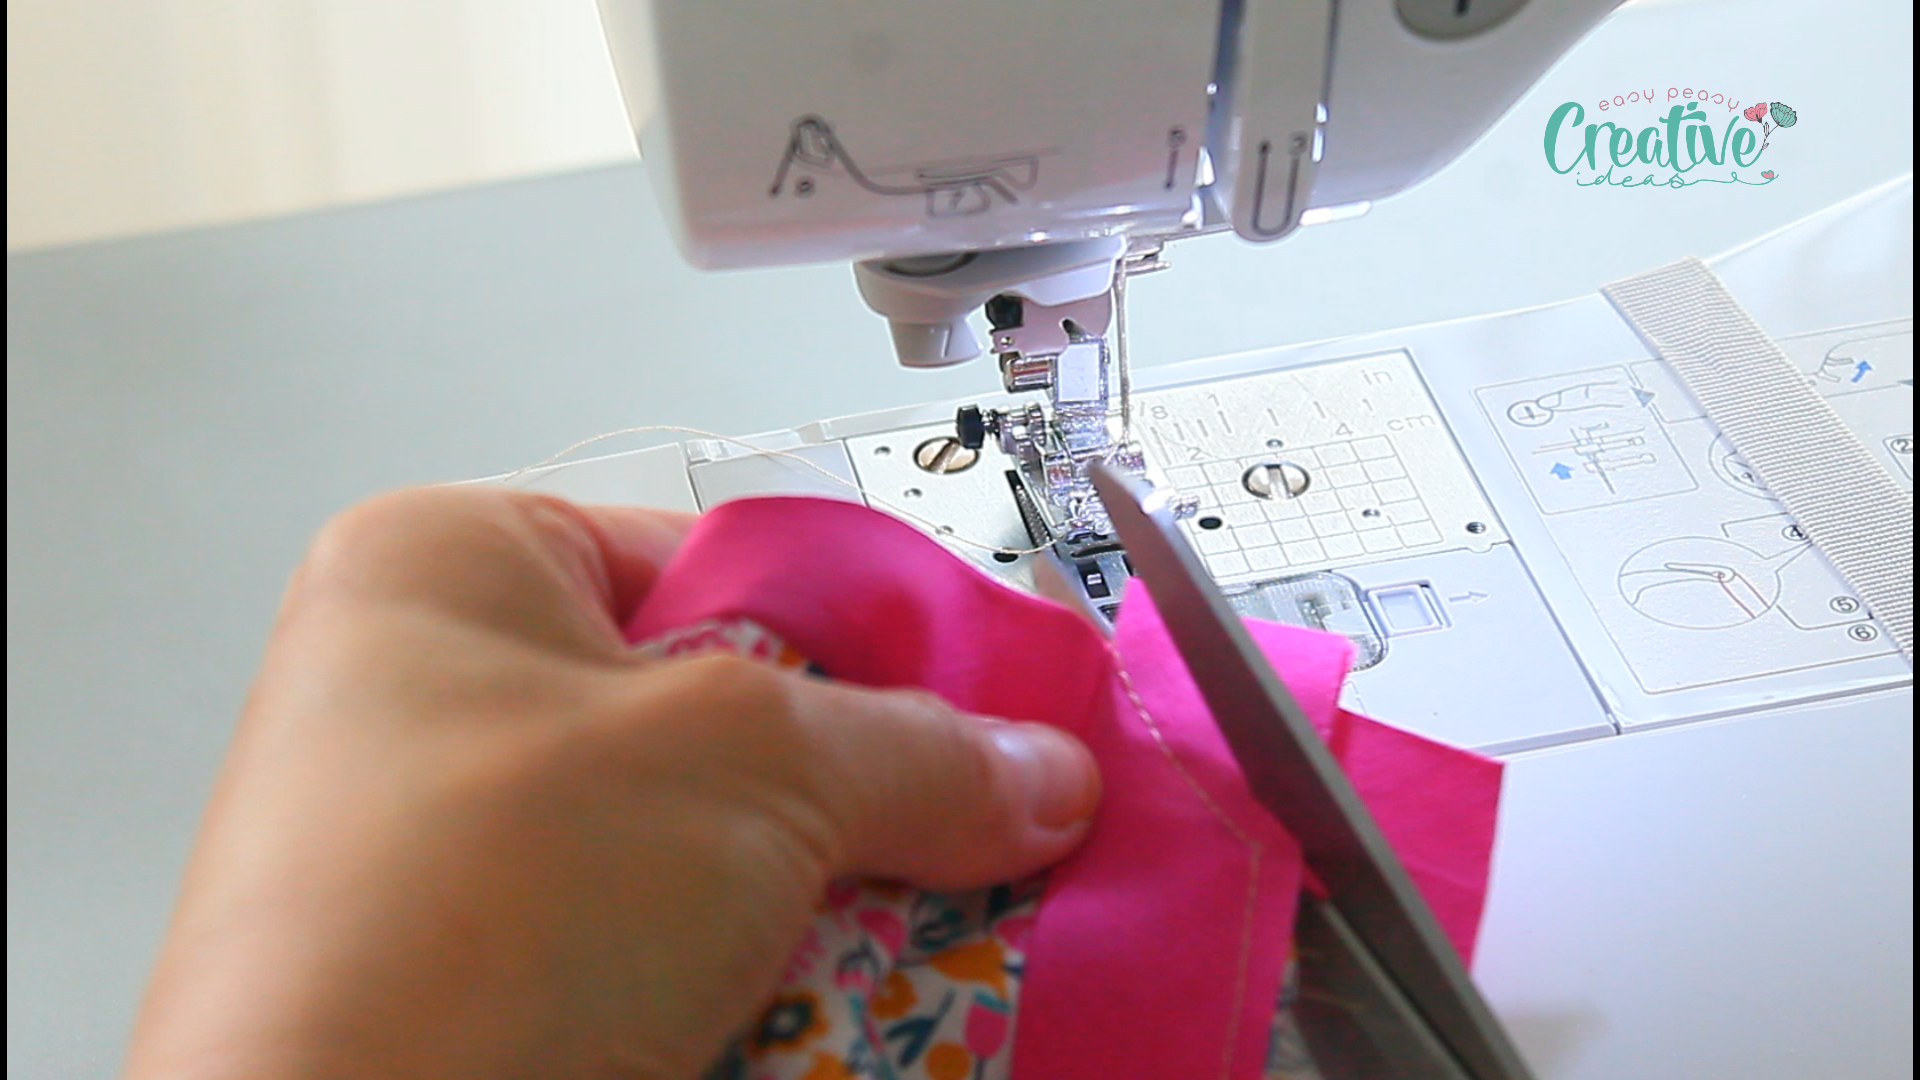
- When reaching the end of the binding strip, sew up to the first stitch, leaving a 1″ tail to the end of the strip. Stop when you reach the first stitch, and then run a backstitch.
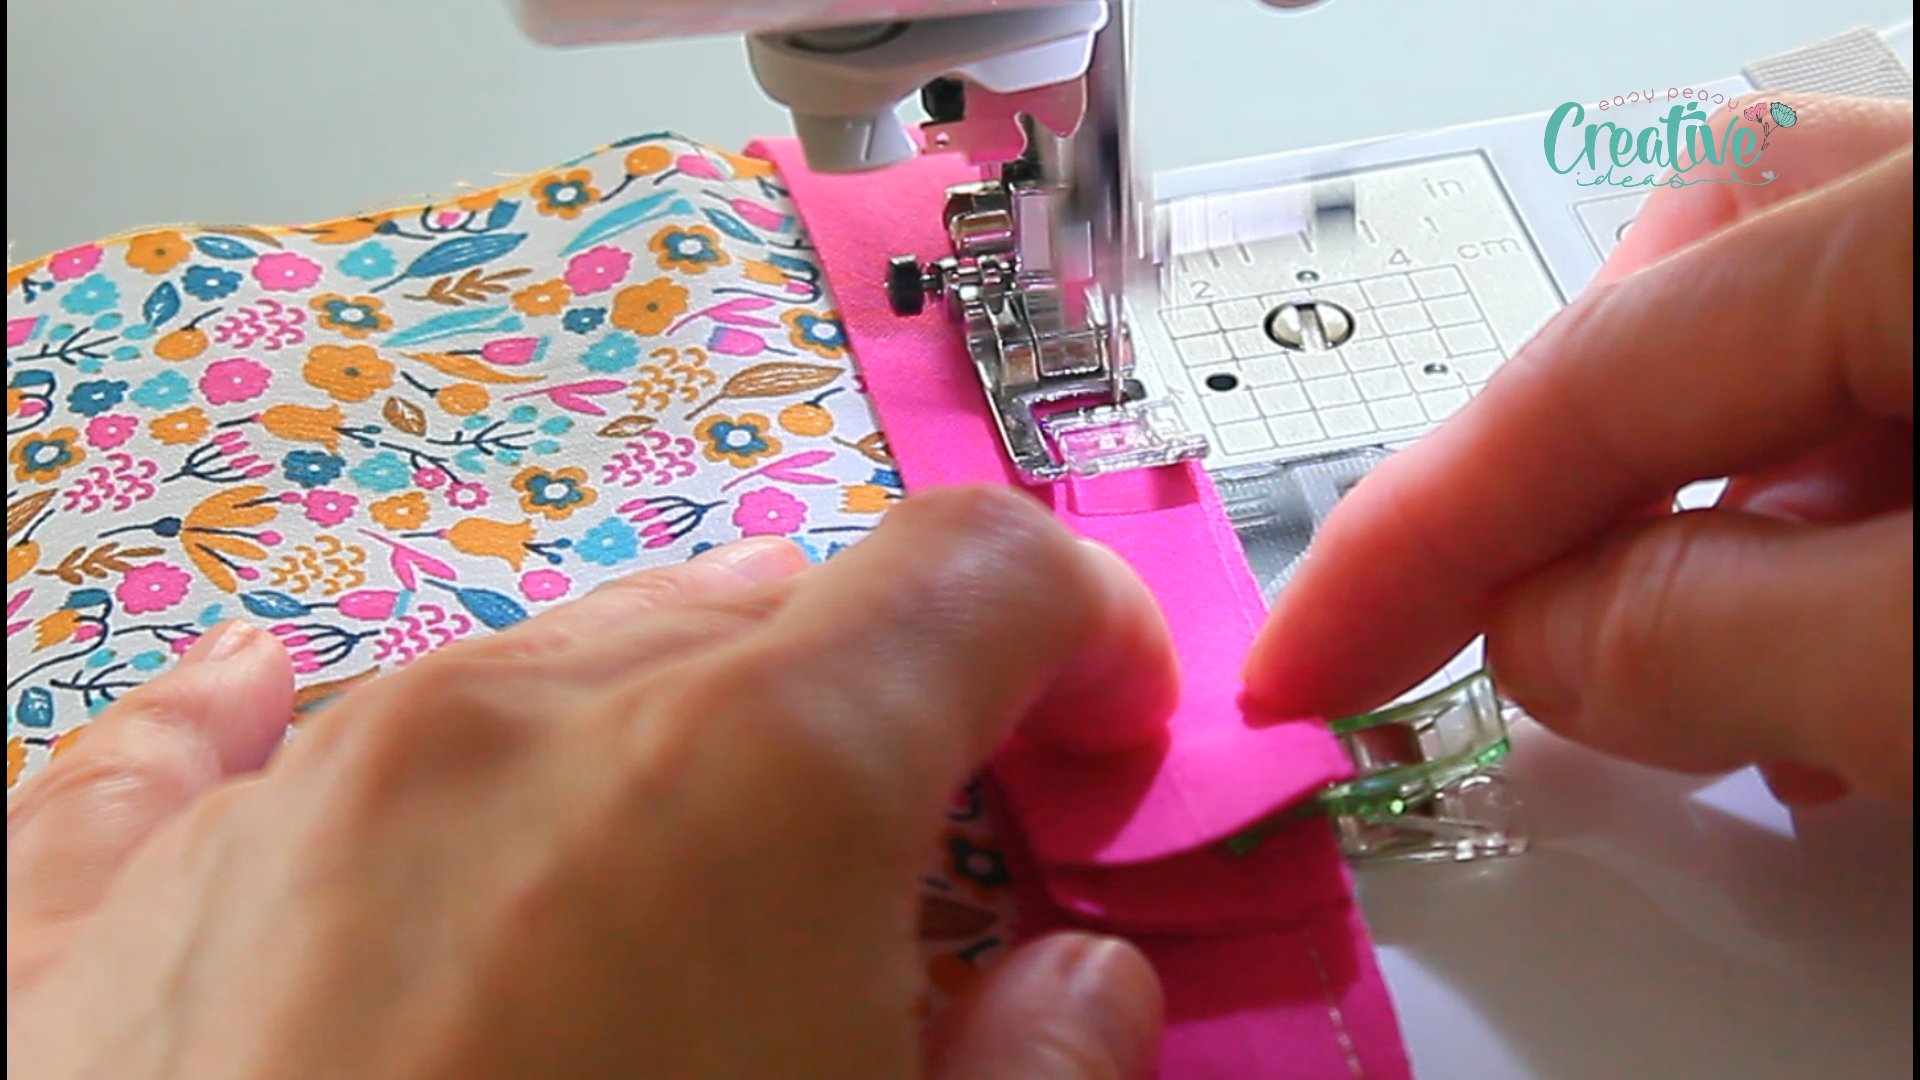
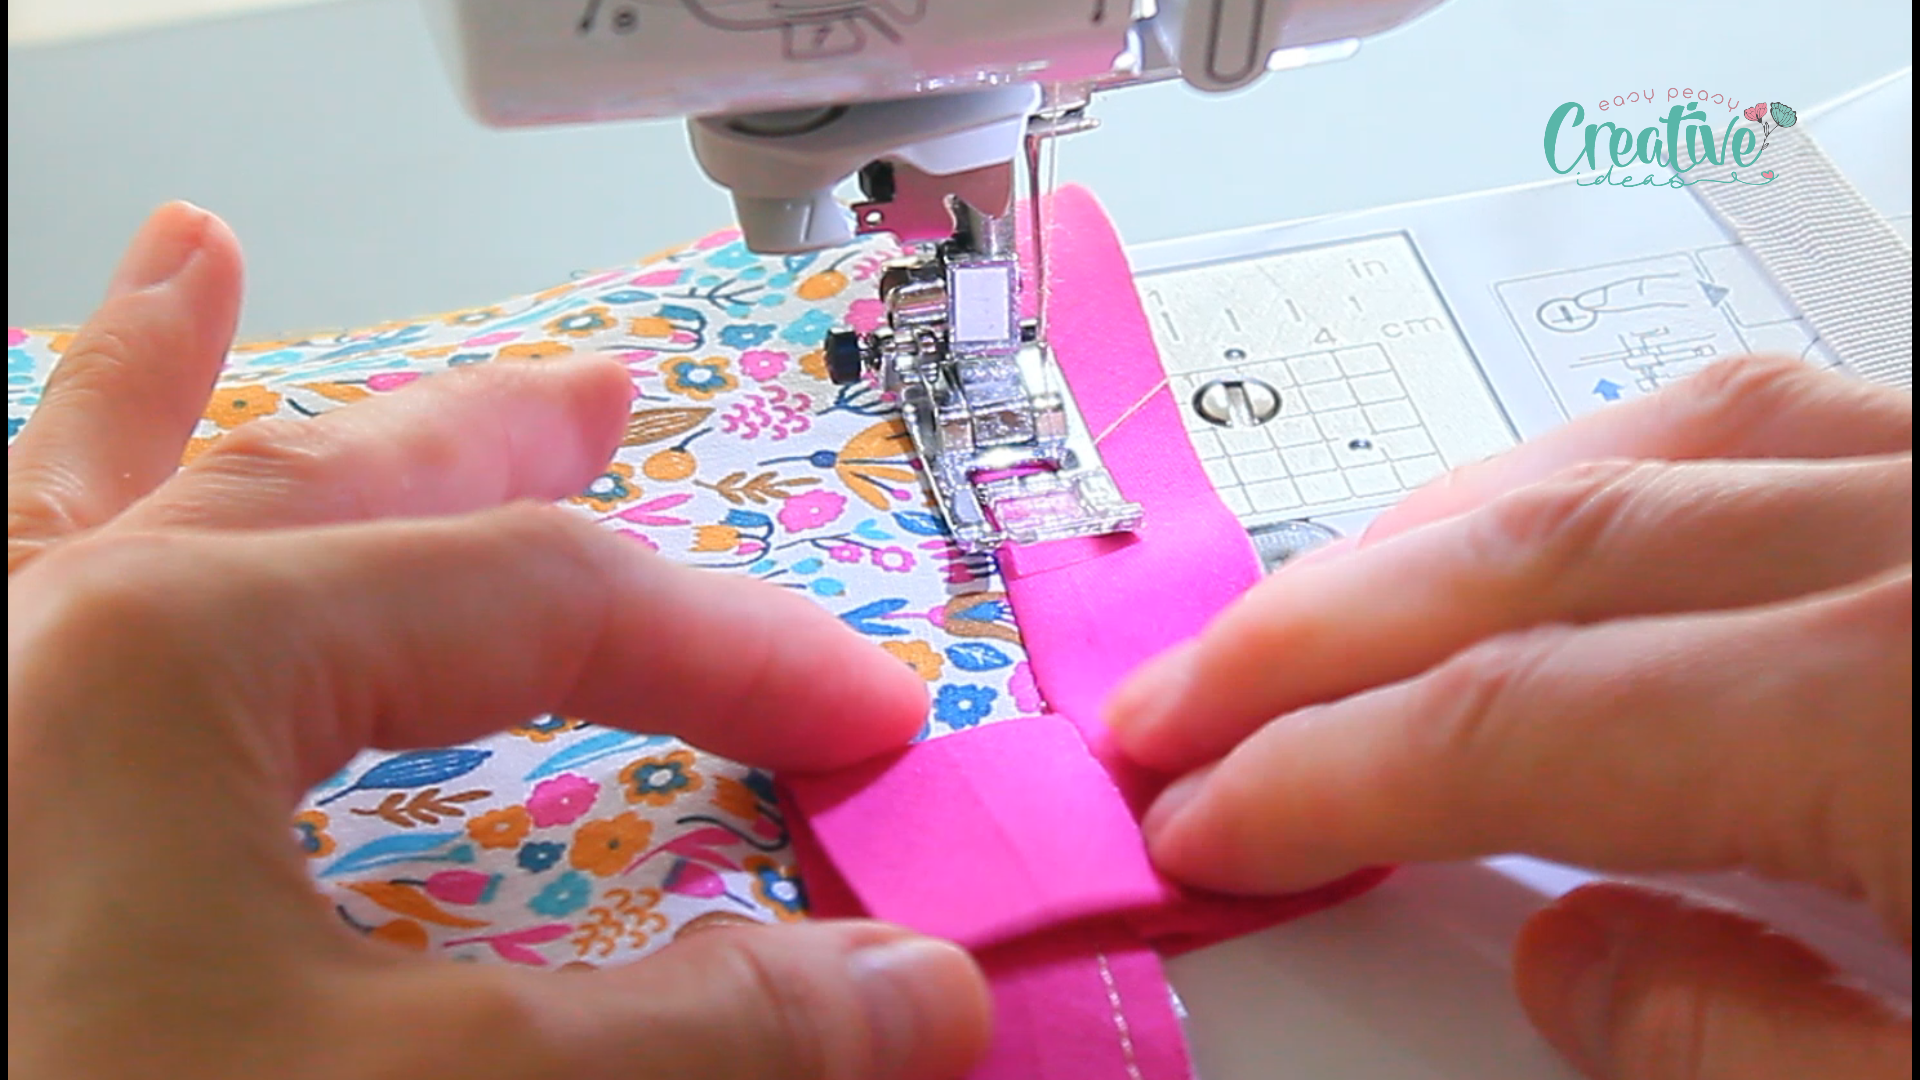
- Flip the end portion of the binding to the right to expose the opposite side of the strip.
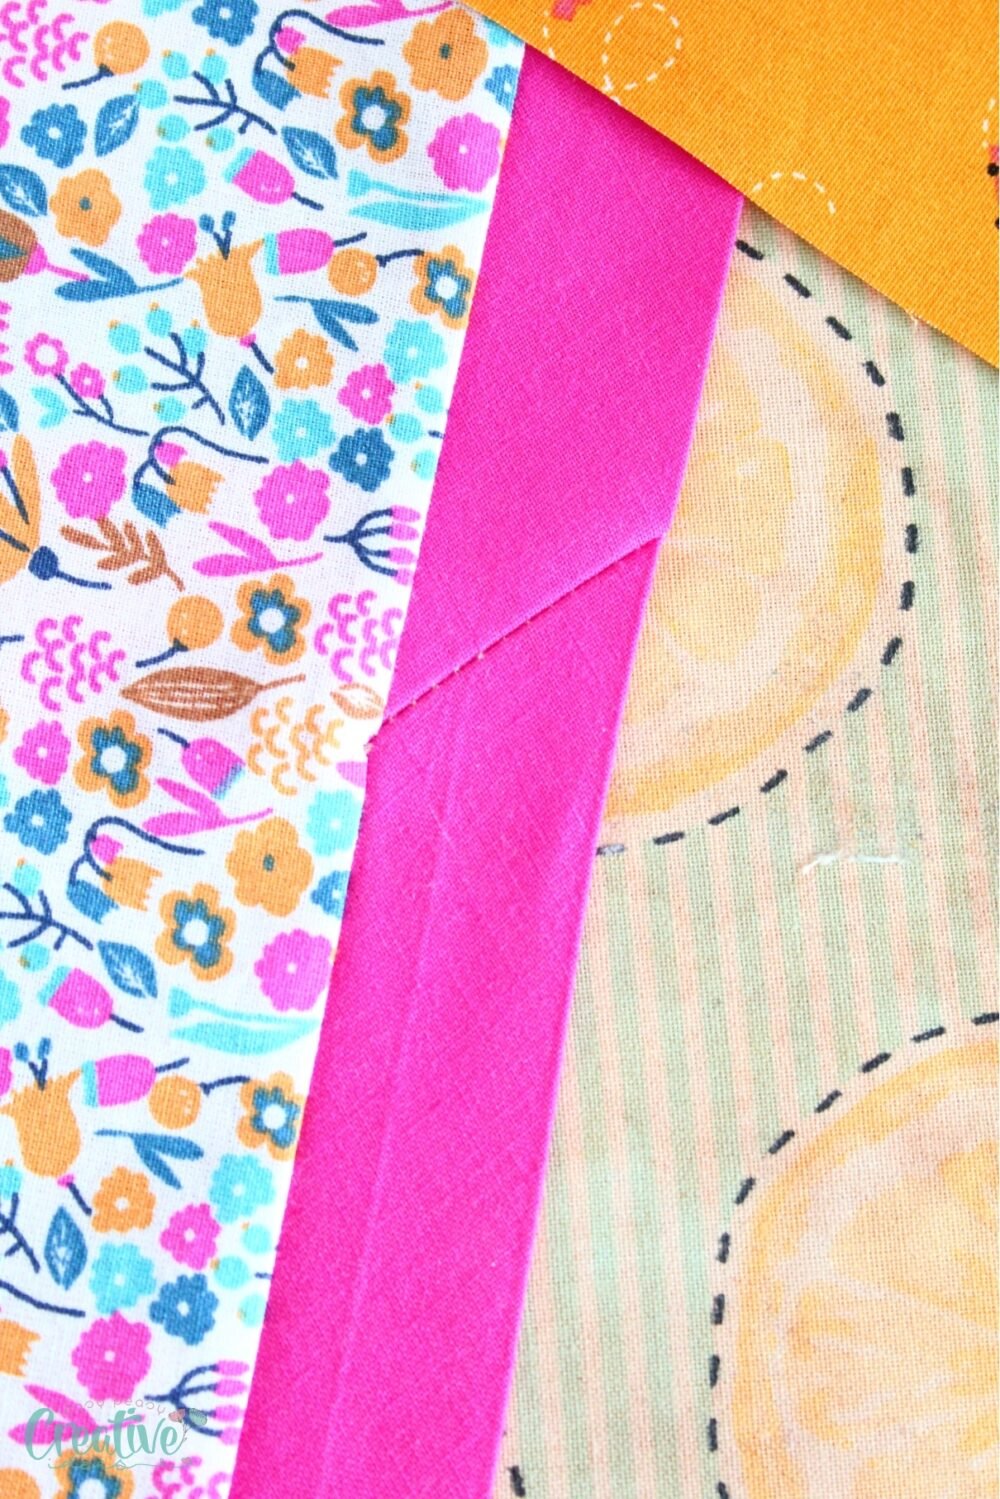
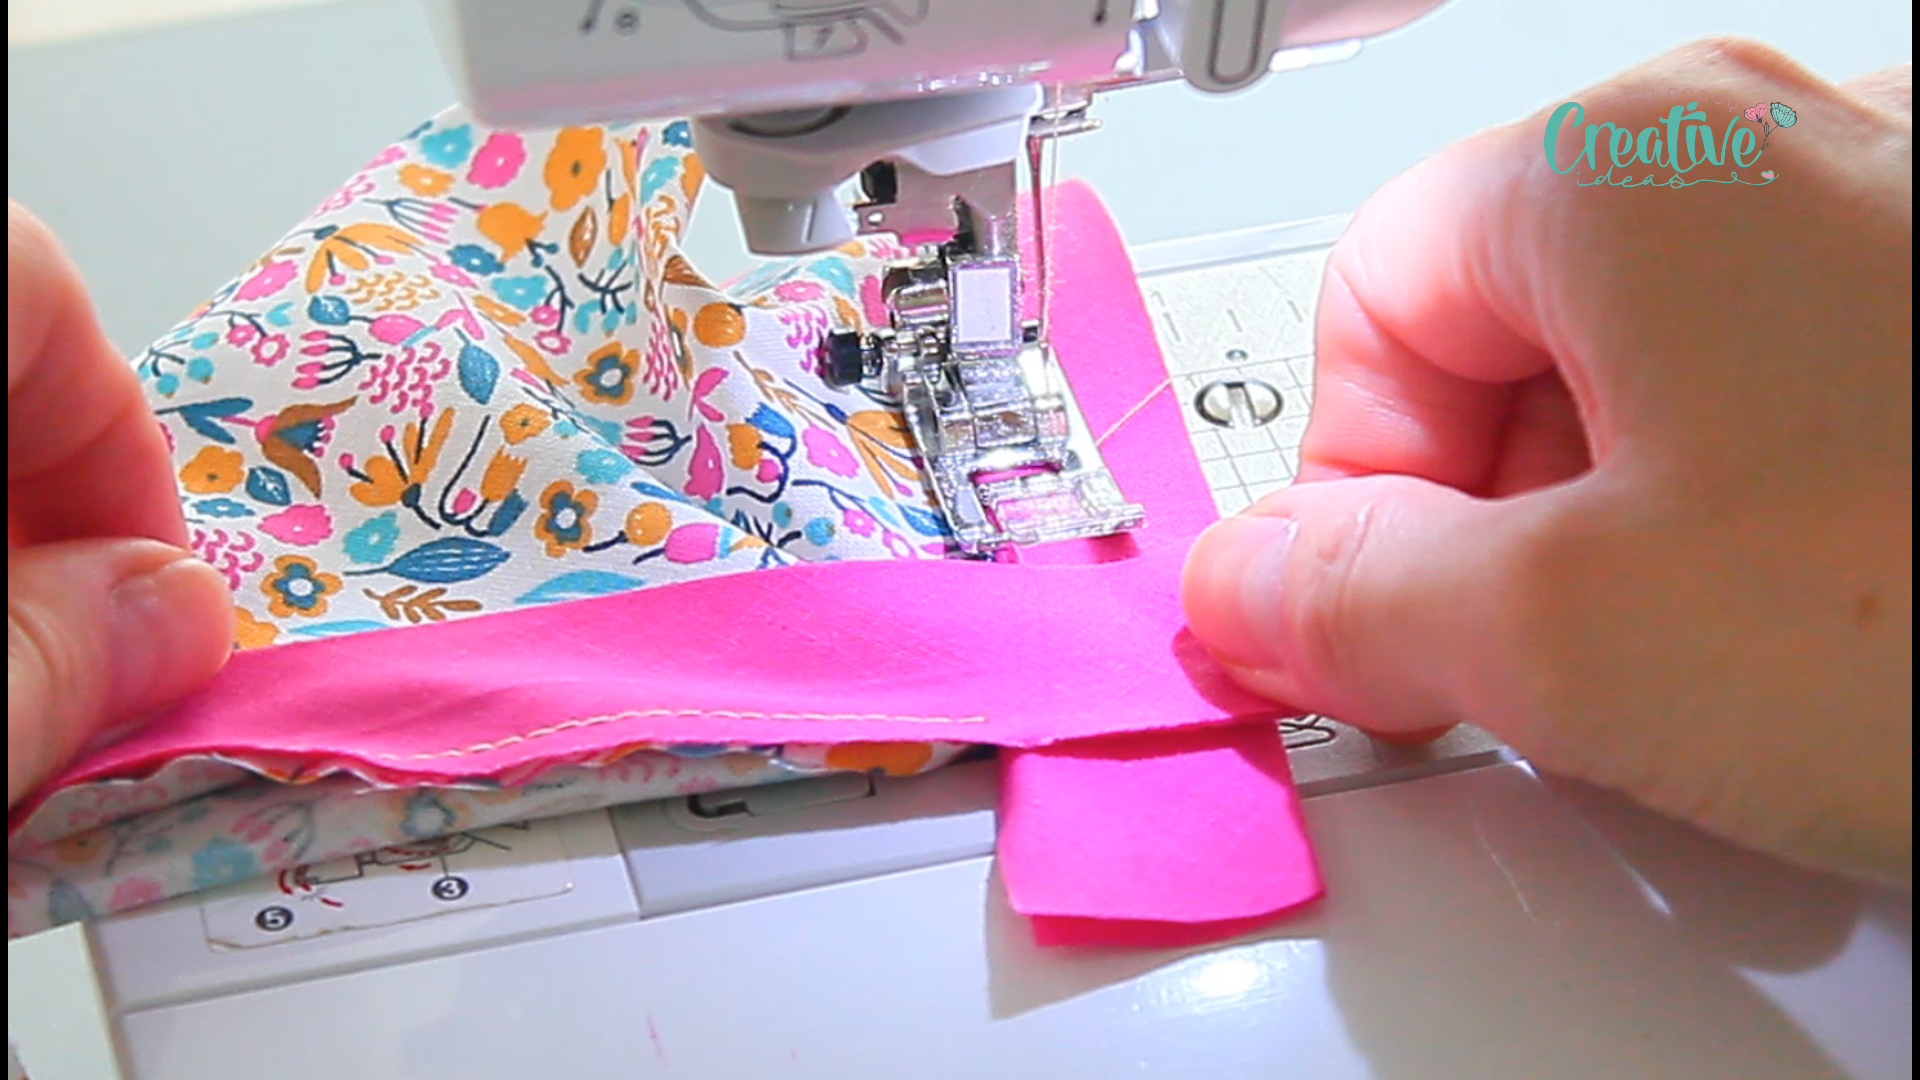
- Pivot the beginning portion of the binding strip to the left so that it sits perpendicularly to the end portion of the binding strip, the two strips forming 90 degree angles.
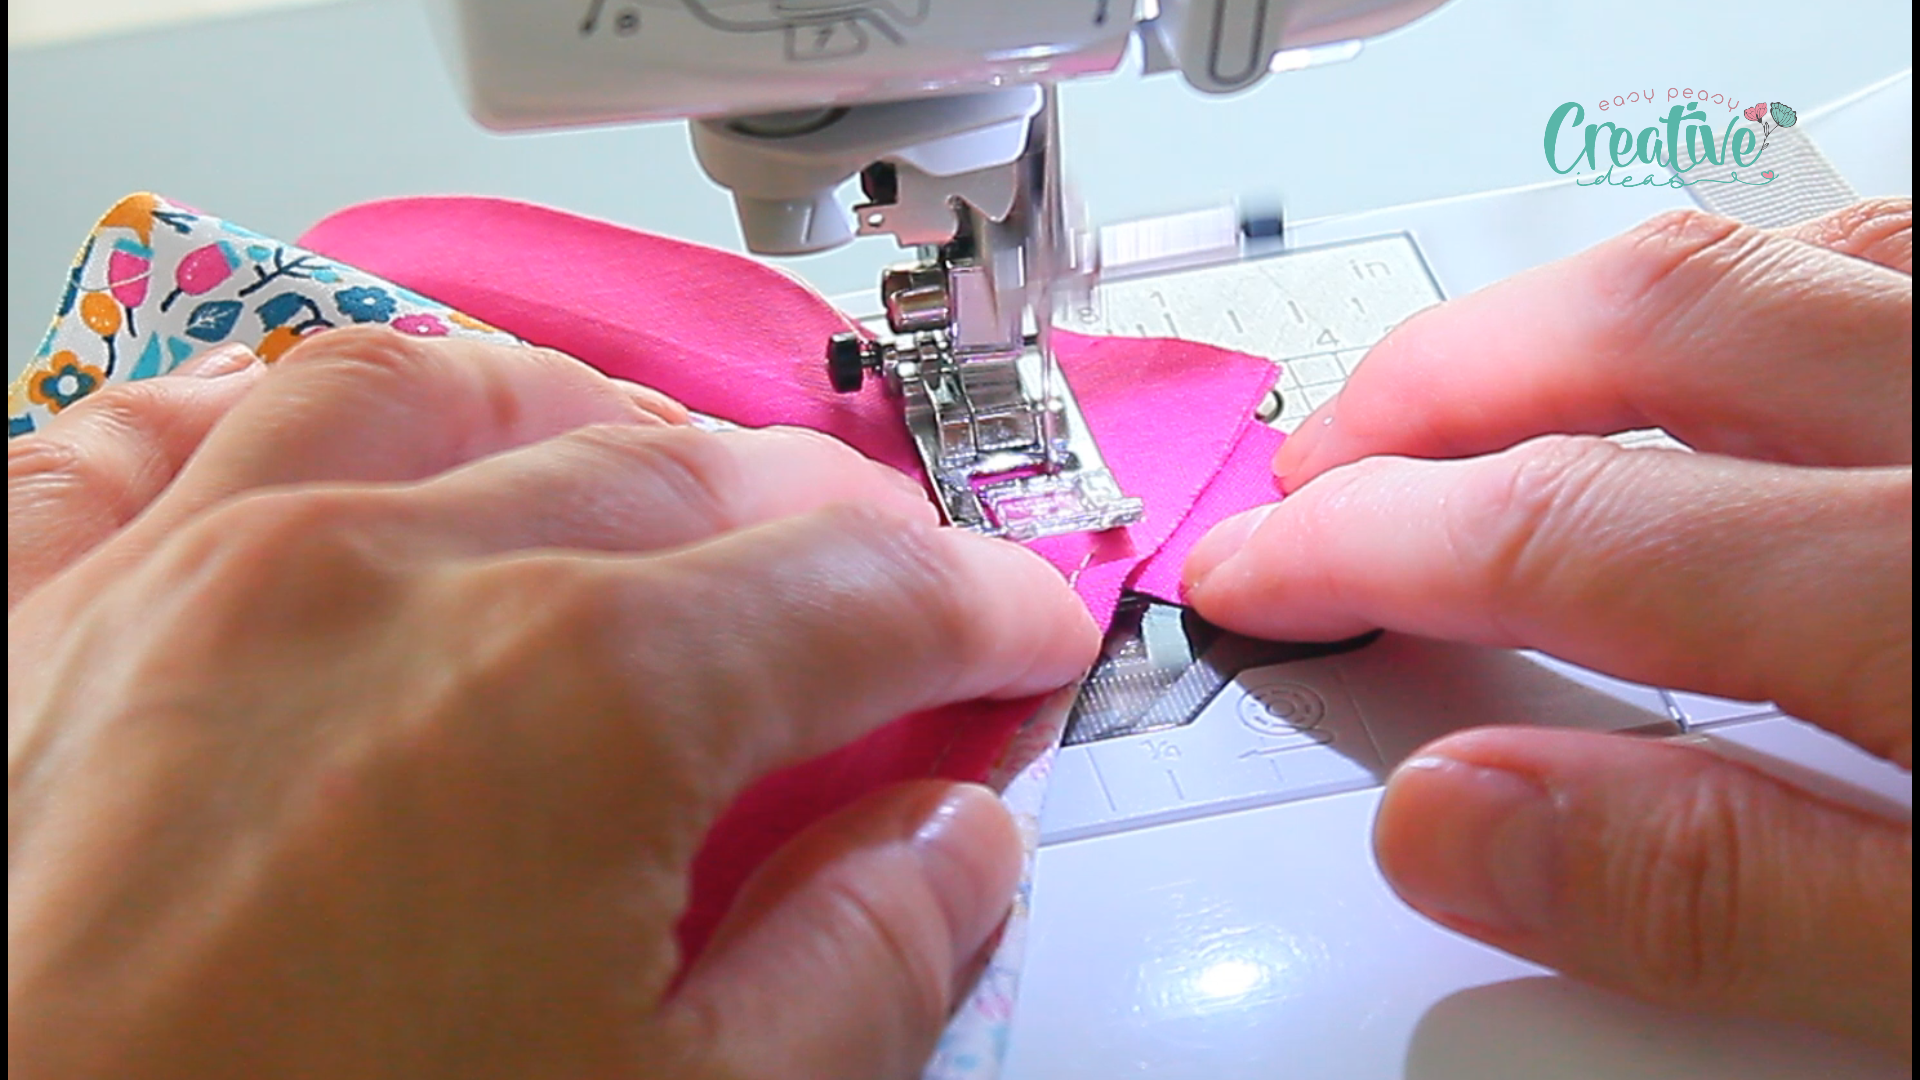
- Sew a straight line starting from the 90 degree angle at the top, towards the 90 degree angle at the bottom, to the seam sewn to the beginning portion of the binding. Stop right where you meet this seam and backstitch.
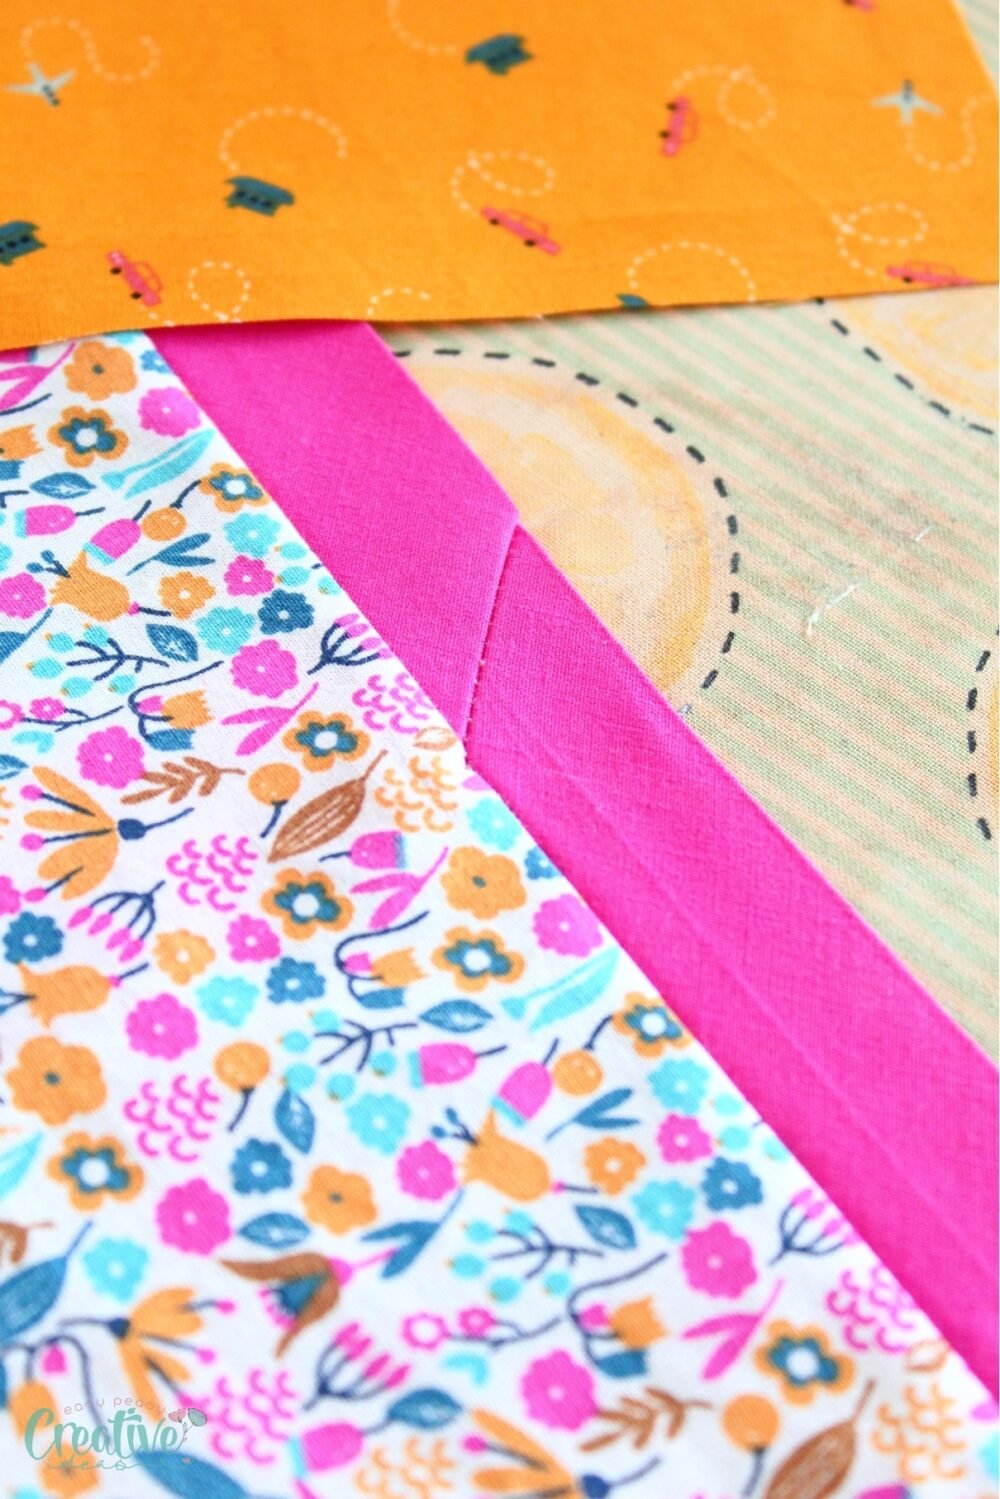
- Trim this joining seam to a 1/4″ seam.
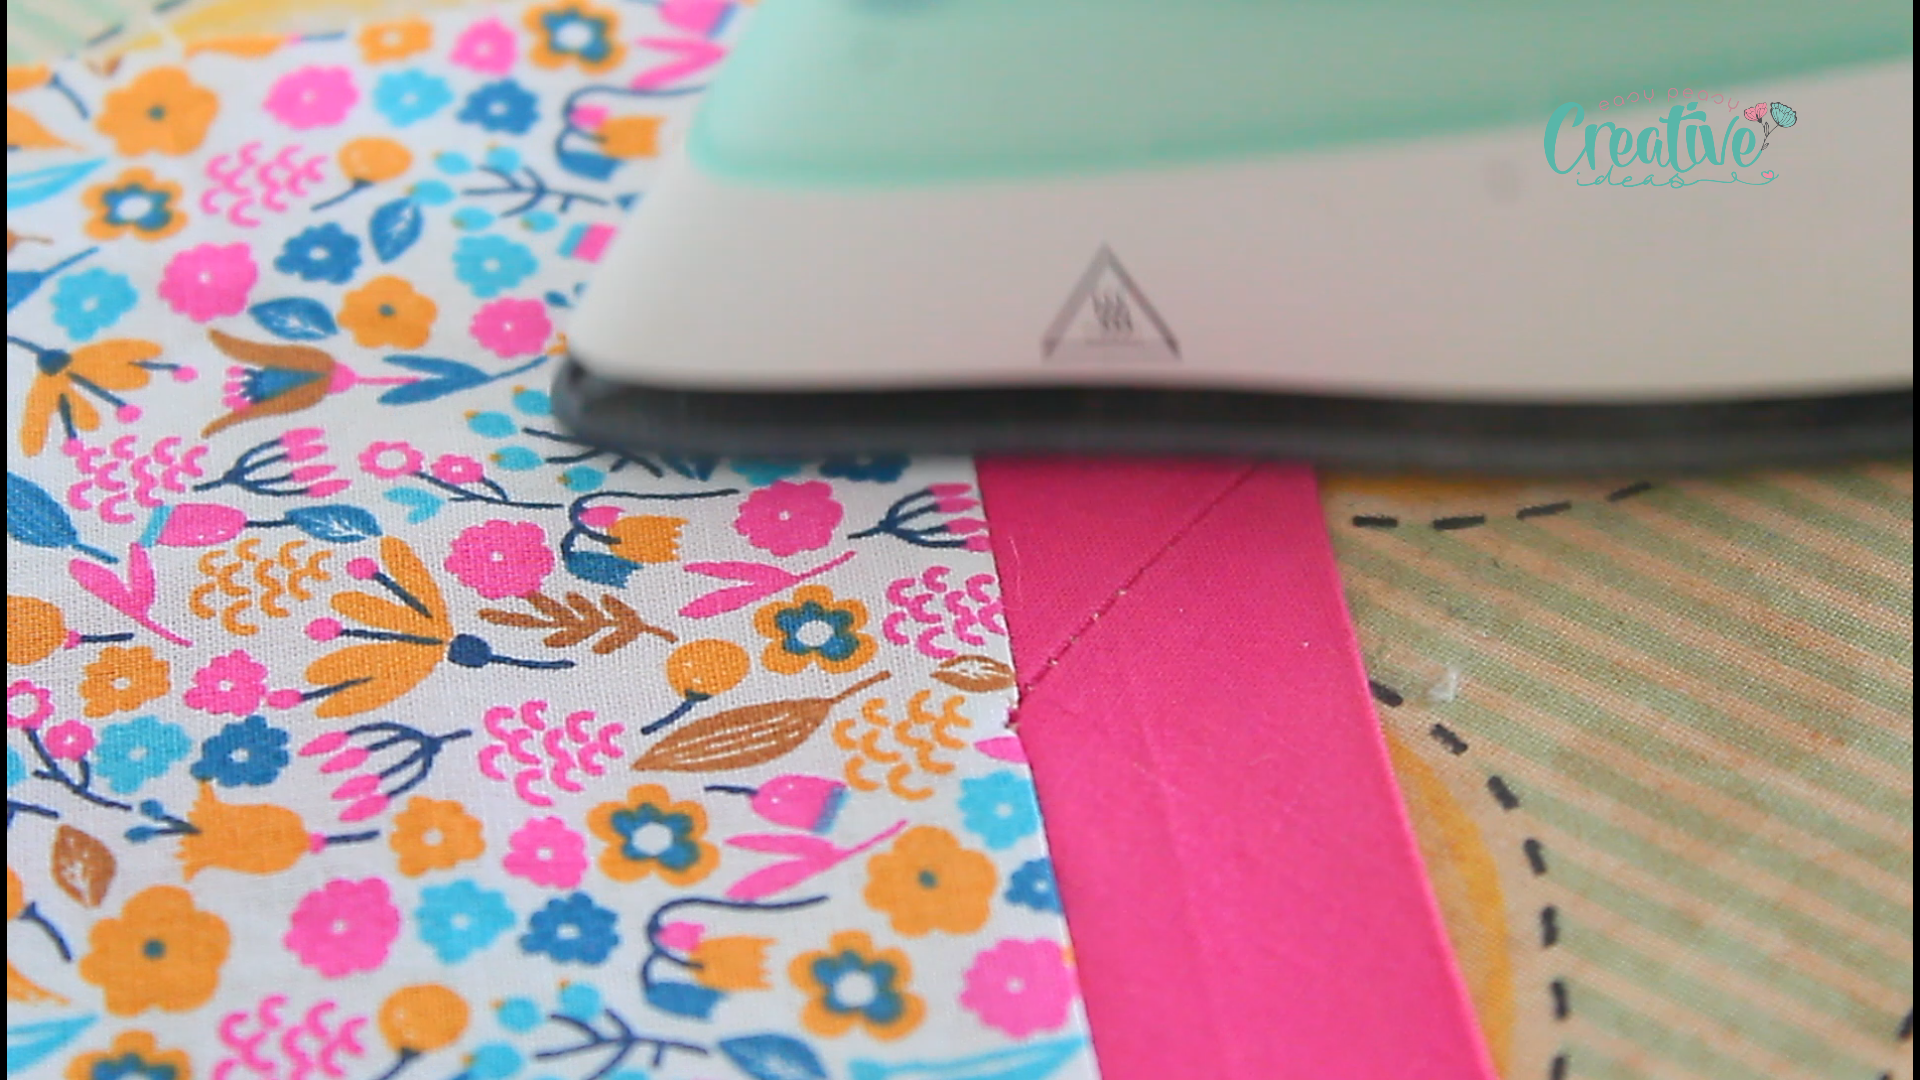
- Press the binding to smooth out any potential wrinkles in the binding, the seam and the fabric.
- Push the entire binding to the opposite side of the fabric and continue sewing it as normal.
Tips
- Practice on Scrap Fabric: Before you work on your final project, practice joining binding strips on some scrap fabric to get comfortable with the technique.
- Use Wonder Clips for quilts: These handy clips hold your binding in place without distorting the fabric, making it easier to sew seamlessly.
- Press well: Take the time to press your fabric and binding strips well before, during and after sewing. This will make a significant difference in the final outcome.
- Pay Attention to Seam Allowance: The seam allowance you choose can impact how smoothly your binding joins at the ends, so be mindful of this when sewing.
Where to use this technique
- Quilts: A must for adding a professional edge to your quilt projects.
- Handmade Garments: Perfect for finishing the edges of sleeves, necklines, and hems – typically sewn on the inside of the garment.
- Home Décor Items: Ideal for cushion covers and placemats to give them a sleek finish.
- Accessories: Use it to bind the edges of tote bags, pouches, and other handmade accessories.
Frequently Asked Questions
- How do I measure the length of binding needed?
Measure the perimeter of your project. Then add an extra 10-12 inches to ensure you have enough binding, including the overlap for joining.
- Can I use different fabrics for binding?
Yes, you can use contrasting or complementary fabrics to add a unique design element to your project.
- What stitch length should I use?
A medium stitch length (around 2.5-3mm) is ideal for sewing binding strips as it provides strength without being too visible. If you’re finishing a very thick quilt you can increase the length to 3.5mm.
- Do I need a special foot for my sewing machine?
While a walking foot or binding foot can be helpful, you can achieve great results with a standard presser foot as well. A walking foot is quite handy when sewing through thick layers of fabric like in a quilt.
More sewing tips you’ll enjoy
- How to use your seam ripper correctly
- How to remove serger stitches fast and easy
- Make your own handy hem gauge
- How to laminate cotton fabric
- How to adjust the presser foot pressure on a sewing machine
- Tips for clipping and notching seams correctly
If you found this technique helpful, sign up for my newsletter to receive more sewing tutorials and exclusive content right in your inbox. Plus, don’t forget to share this article on your social media to inspire your fellow sewists! Happy sewing!
How to join binding strips at the ends
Materials
- bias binding strip
- fabric
- matching thread
Tools
- scissors
- wonder clips or pins
- Iron
Instructions
- Sew the binding as you normally would, leaving a 1" tail in the strip at the start. Sew with a seam allowance appropriate for your project and the width of the binding strip.

- When reaching the end of the binding strip, sew up to the first stitch. Stop when you reach the first stitch, leave a 1" tail, and then run a backstitch.
- Flip the end portion of the binding to the right to expose the opposite side of the strip. In this image I keep the fabric down with the presser foot to illustrate the step better but it's not necessary and it's not done for sewing purposes.
- Pivot the beginning portion of the binding strip to the left so that it sits perpendicularly to the end portion of the binding strip, the two strips forming 90 degree angles. The beginning strip would be wrong side up.
- Sew a straight line starting from the 90 degree angle at the top, towards the existing seam in the beginning portion of the binding. Backstitch when reaching the binding seam.
- Trim this joining seam to a 1/4" seam.
- Press the binding to smooth out any potential wrinkles in the binding, the seam and the fabric.
- Push the entire binding to the opposite side of the fabric and continue sewing it as normal.
Video
Article may contain Amazon & affiliate links. As an Amazon Associate I earn from qualifying purchases at no additional cost to you.
ABOUT PETRO
Hi, I’m Petro, author and founder of Easy Peasy Creative Ideas. Sewist, crafter, avid DIY-er, foodie, photographer, homemaker and mommy to one. I’m an expert at coming up with quick, clever sewing tips, recycling crafts and simple, easy recipes! You can find my ideas featured in reputable publications such as Country Living, Good House Keeping, Yahoo News, WikiHow, Shutterfly, Parade, Brit & Co and more. Thanks for stopping by and hope you’ll stay for a while, get to know me better and come back another time. Stick around for real fun projects! Read more…