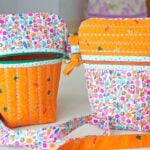
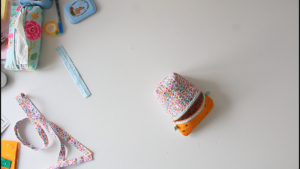
Small crossbody bag pattern
Sew the ideal small crossbody bag pattern for active people! Great for travelers and adventurers, it blends practicality with style, keeping essentials hands free!
Yield: 1 bag
Equipment
- scissors
- embroidery scissors
- measuring tape
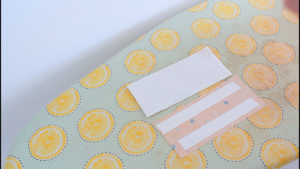
- hemming tape
Materials
- cotton fabric for the bag the loops and the strap
- cotton batting
- bias binding
- matching thread
- zipper 9" long and 1" wide
Instructions
Bag measurements
- 2 panels of fabric of 7" by 3" plus corresponding batting - for the top front
- 2 panels of fabric of 7" by 6" plus corresponding batting - for the bottom front
- 2 panels of 7" by 9 1/2" for the back of the bag plus corresponding batting
- 2 small strips of 2" by 4" for the loops (if your fabric is not sturdy enough you might need to interface these strips with medium weight interfacing)
- 1 long strip of 3" by 50" for the bag strap (interface this too if needed)
- 1" wide bias binding
Prepare the loops and strap
- Fold each strip in half.
- Then fold each half in and press.
- Fold again in half and press.
Making the bag panels
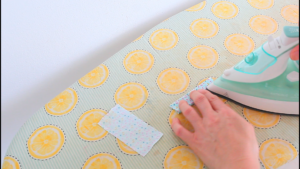
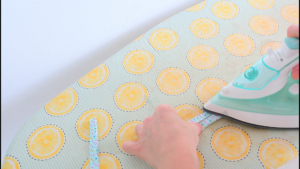
- Begin by attaching the fabrics to the batting for each individual panel. You can use hemming tape or quilting spray.
- Then quilt each panel with your favorite method. I run straight stitches then added decorative stitching along those lines.
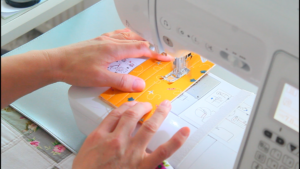
- While you are at the sewing machine, finish the bag strap and the loops by running an edge stitch along the open edge of each.
- Next take the top front panel and the bottom front panel and cover the joining edges in bias binding.
Sew the zipper
- Attach both panels to the zipper. I like to add hemming tape to the zipper then fuse the panels to the zipper. This helps me attach the panels in a straight even line.
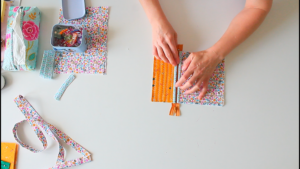
- Then sew the panels to the zipper with stitch in the ditch sewn right inside the bias binding seam. Now the front of the bag is formed.
Sew the bag pieces
- Sew the loops to the sides of the front panel or back panel (either way works). Make sure the fold points towards the inside of the bag. I left about 1" of the loop hanging outside so 1" was inside.
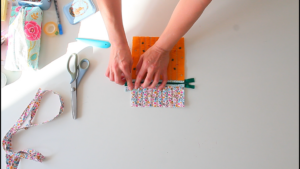
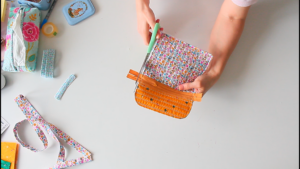
- Place the back panel on the table then top with the front panel and clip.
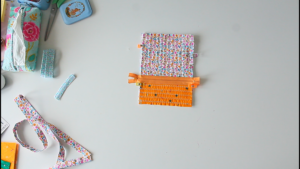
- Grab a small round object and round the top corners of the bag. This is optional but I find the bag looking much better with rounded corners.
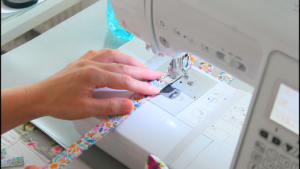
- Push the zipper pull a little to open it then sew all around the bag with 1/4" allowance.
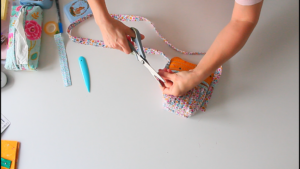
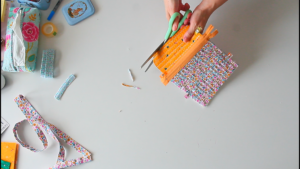
- Trim the zipper, the loops and if needed the seams too so they are even.
- Mark a 1 and 1/2" square in the bottom corners of the bag and cut out.
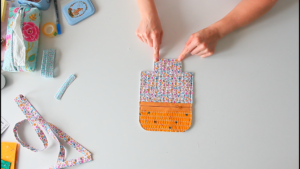
- Cover the bag in bias binding, except for the cut out corners.
Box the corners
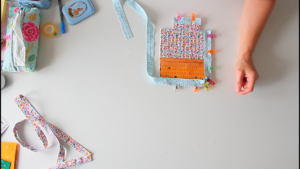
- Pinch the bag at the bottom corners so the side seam matches the bottom seam and sew with 1/4" allowance.
- Cover the boxed corners in bias binding.
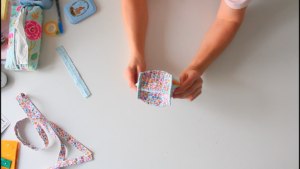
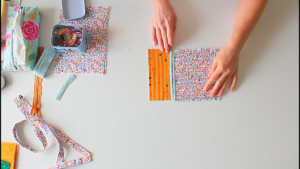
- Turn the bag right side out through the zipper opening and smooth out the seams and the corners.
- Insert the strap through the loops, cut the ends with pinking shears and tie knots to secure the strap in place.