DIY recycled tin can flower pots
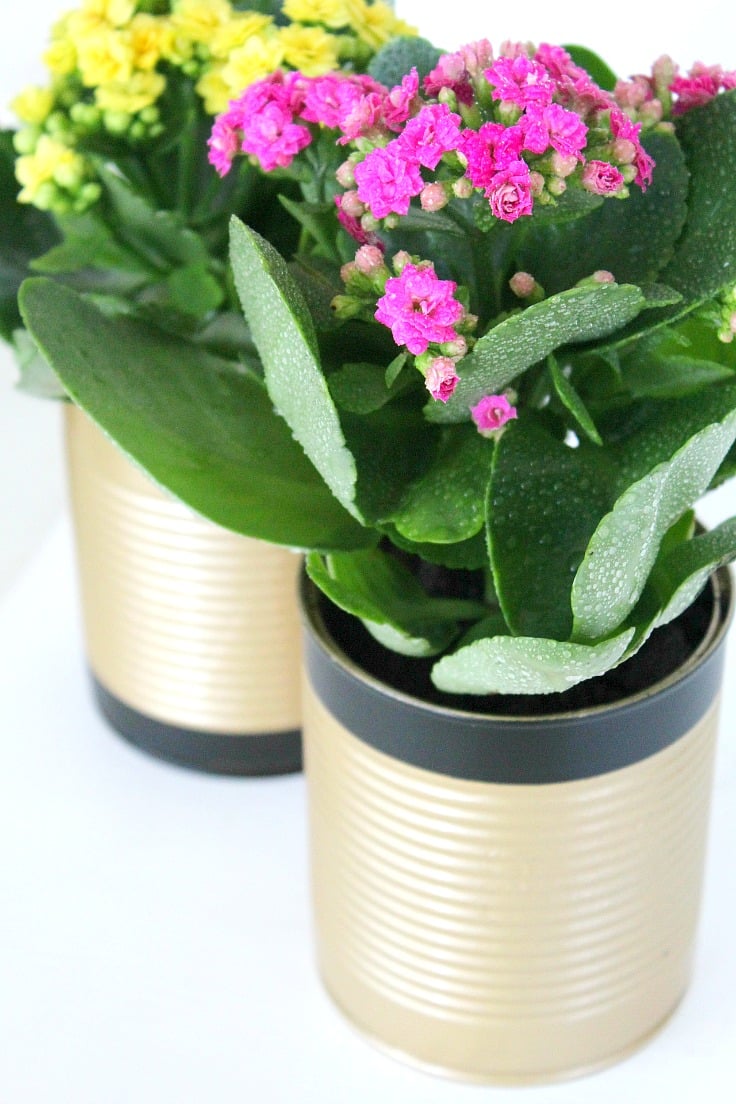
Why not recycle used tin cans into something pretty and useful like some recycled flower pots? Flower pot making has never been easier! Here’s how to make tin plant pots in just a few easy steps.
Tin planters
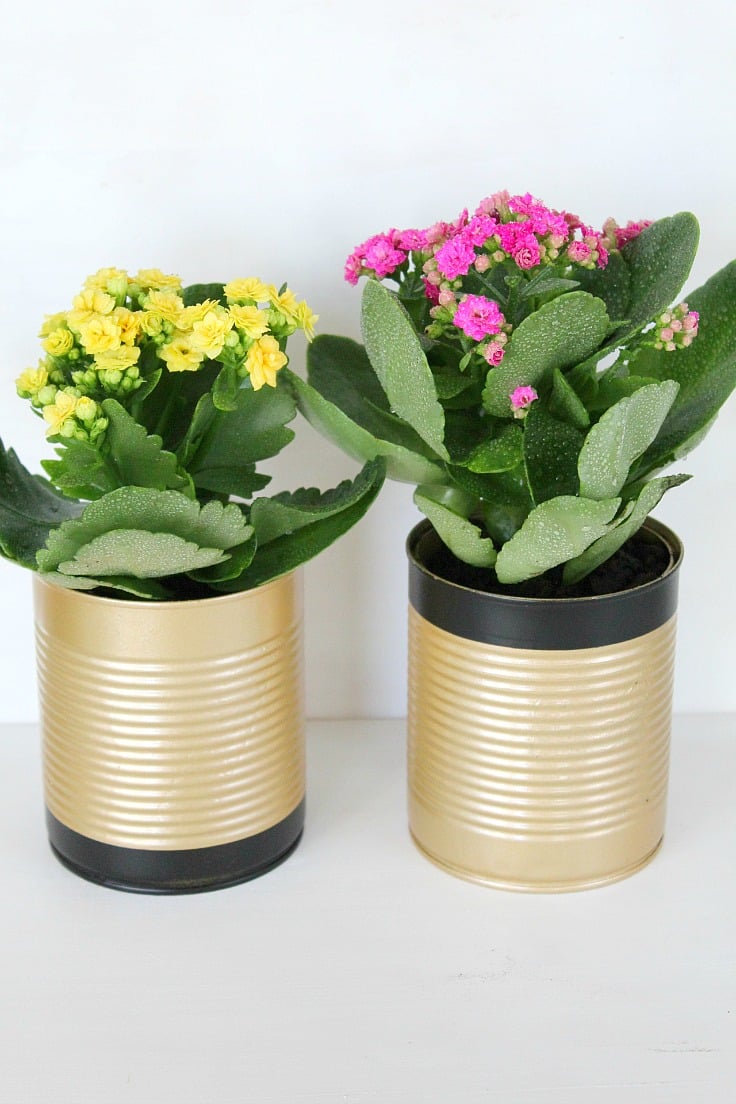
Tin cans are a really good material that can be easily upcycled! Any can works great for these tin plant pots and you no longer have to throw them away (and with them your money too). Because let’s be honest here! When we buy canned products, we pay more for the tin can than the product itself.
Similar posts you might like:
- Tin can makeup storage
- DIY flower vase out of plastic bottle
- Fabric covered planter
- Pom pom flower pot
- Recycled tin can herb pot
With just a few design ideas of your own you can transform these cans into pretty and useful items to decorate and personalize both your home and garden. These tin flower pots are just an example, the possibilities are endless! For my tin can flower pots I like to use the cans with a pop up or easy-open lid so there are no rough edges on the cans once I remove the lid thus no room for injuries.
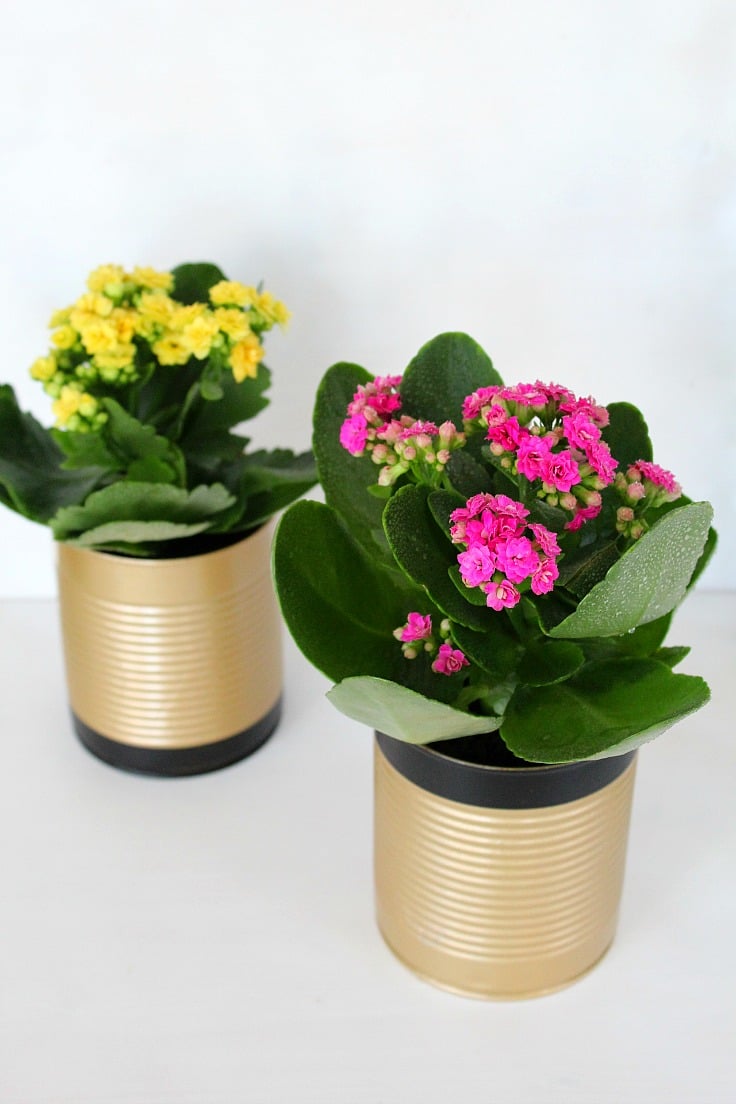
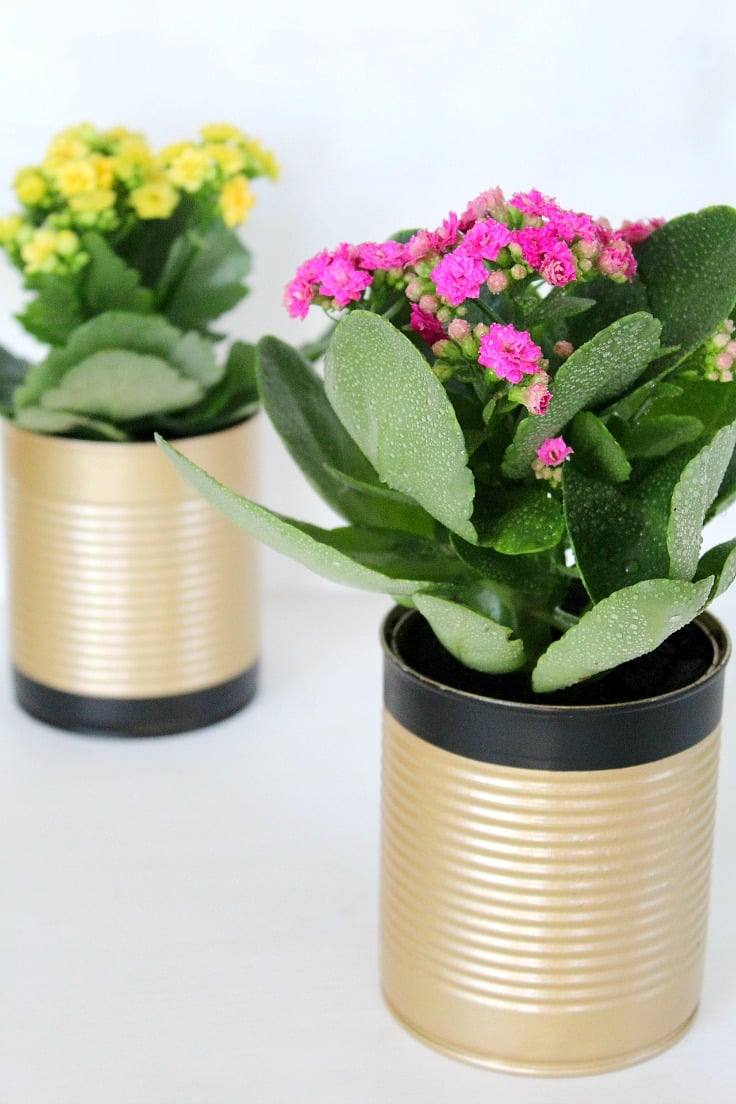
These tin plant pots are crazy easy to make, you’ll get hooked & look for more ideas to upcycle all your tin cans in the future! There are many ways you can use tin cans to make flower pots but I think the easiest and fastest is by painting them in the color and design of choice. If you’re a good designer you can create some super duper flower pots (unlike yours truly here, who’s a total disaster; and I call myself a creative blogger, haha!).
Tin plant pots
Materials:
- tin cans
- metal sandpaper P 1000
- primer
- spray paint in color/colors of choice – make sure it works on metal too (I chose golden and black because I had some left from this project where I recycled some plastic bottles into vases and didn’t want to buy new paint before finishing these; I’m the queen of savvy as you may know by now!).
- paper sheet
- scotch tape
- big piece of carton to work on to avoid spilling paint
- soil
- some gravel
- flower to plant
Directions:
- Clean the tin cans thoroughly in soap and water, both on the outside and inside and rinse well. Carefully remove any glue left from the labels. Completely dry before proceeding to the next step
- Polish the surface with the metal sandpaper to remove any possible impurities and glue traces left and prepare the surface for painting.
- Lay your tin cans on a big piece of carton before starting to work on painting them.
- Apply a coat of primer and allow to completely dry.
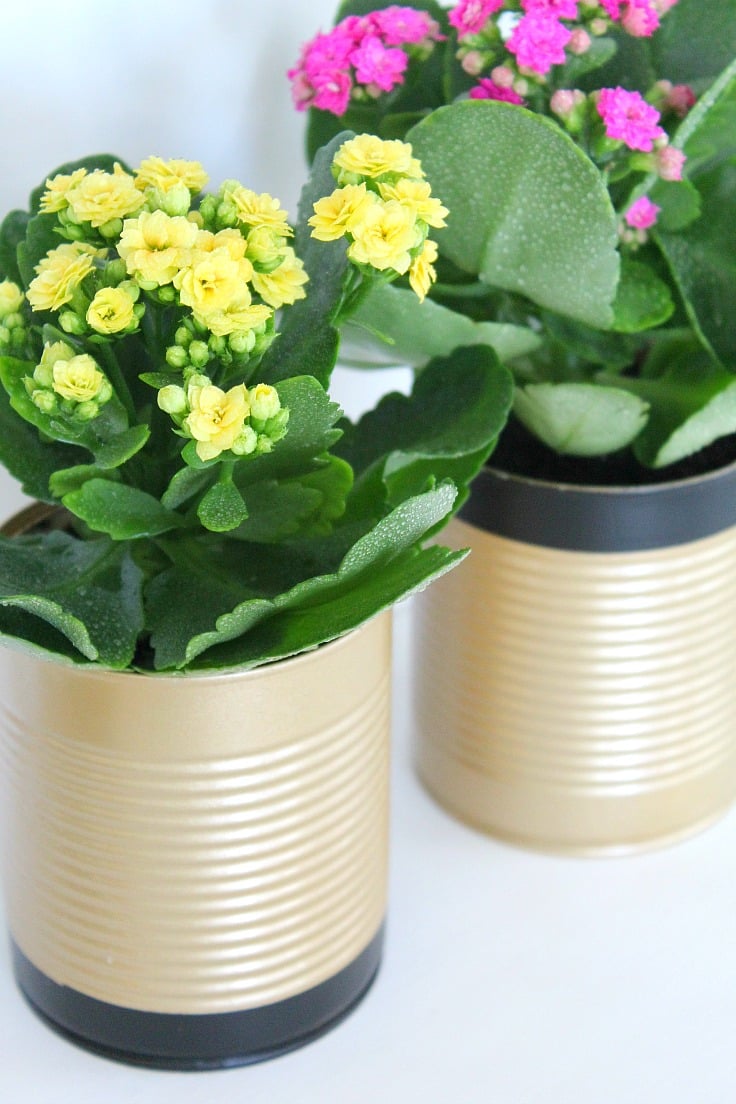
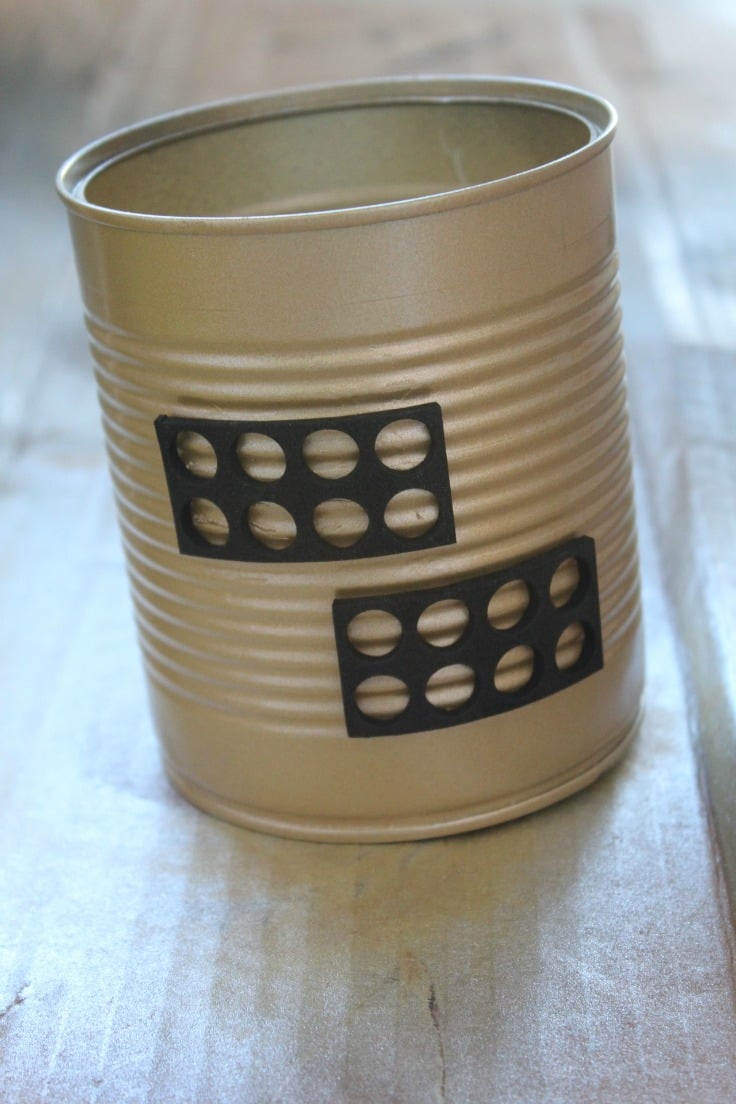
- Decide on the design you want. I tried several designs and I failed miserably so I decided to go simple and paint a black circle around my tin cans, on the bottom on one can and on the top on the other. It also suits my minimalist style too so it all worked great in the end! I wanted a golden base as a main color and I applied 2 coats (well…more, considering I tried a couple of more designs before; it all failed because: 1. me totally sucks at designing and 2. the grooves of the can are such a pain in the bottom!!).
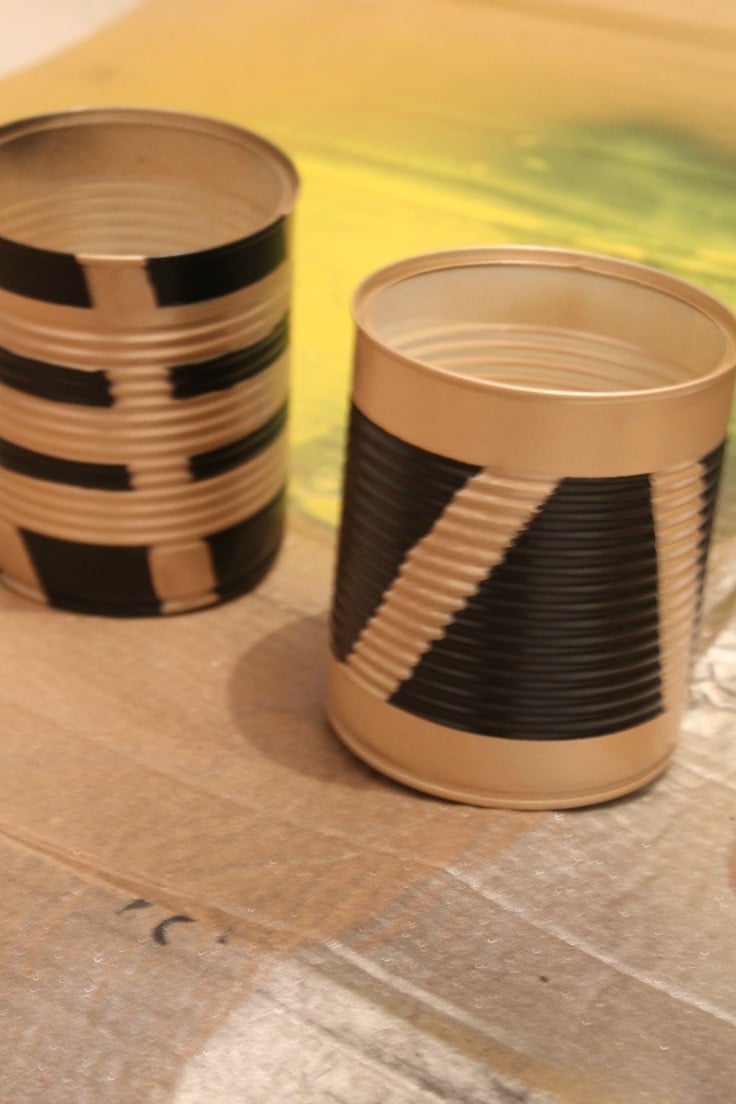
- I left it to completely dry and then I wrapped half a paper sheet around the tin can, leaving exposed just the bottom (or the top on the other can). To secure it in place I used scotch tape and sprayed black paint, two coats. I allowed it to completely dry before filling with soil.
- Before filling with soil, put some gravel at the bottom of the can to help with drainage (Alternatively you can drill holes into the bottom of the tin cans.) Fill with soil half way through, wet the soil a little, press the soil down, put the flowers in, add some more soil, wet and press again. If needed, add more soil, wet and press as before.
- You’re done! Now go place your pretty tin can flower pots all around the house!
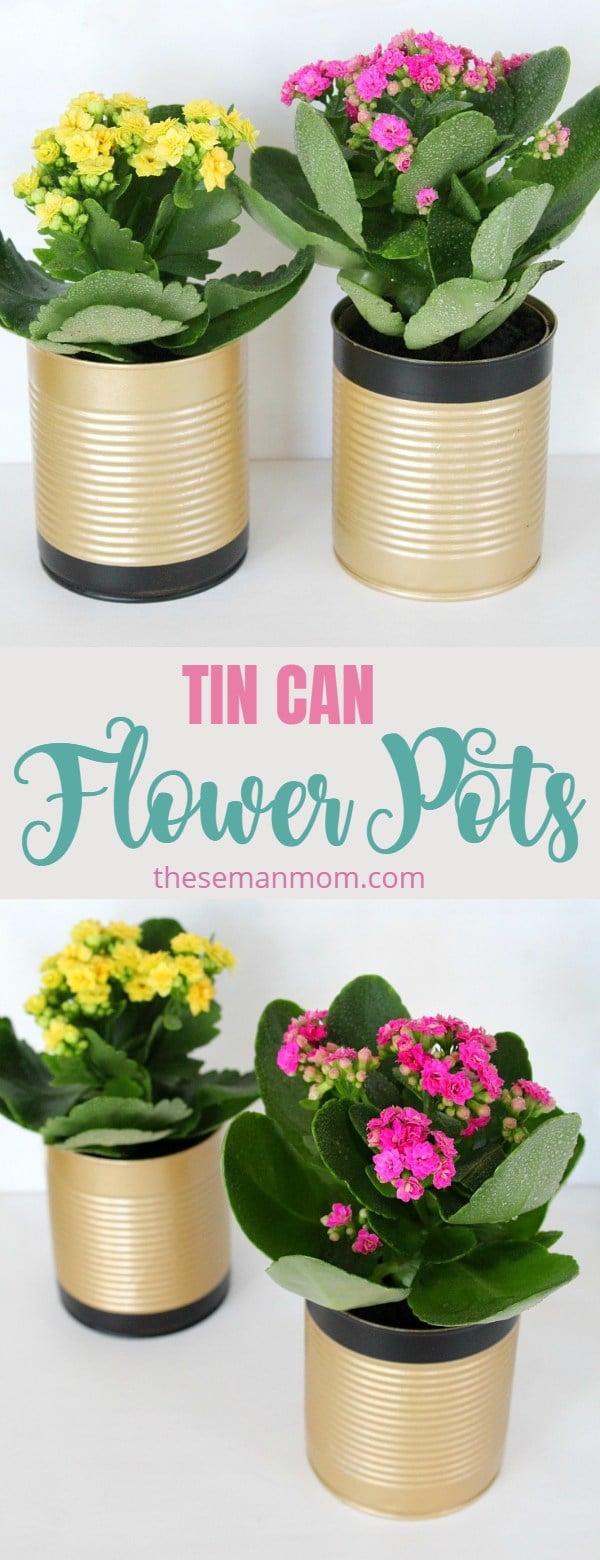
Pin to save for later
Article may contain Amazon & affiliate links. As an Amazon Associate I earn from qualifying purchases at no additional cost to you.


ABOUT PETRO
Hi, I’m Petro, author and founder of Easy Peasy Creative Ideas. Sewist, crafter, avid DIY-er, foodie, photographer, homemaker and mommy to one. I’m an expert at coming up with quick, clever sewing tips, recycling crafts and simple, easy recipes! You can find my ideas featured in reputable publications such as Country Living, Good House Keeping, Yahoo News, WikiHow, Shutterfly, Parade, Brit & Co and more. Thanks for stopping by and hope you’ll stay for a while, get to know me better and come back another time. Stick around for real fun projects! Read more…