Easy DIY Paper Tube Napkin Ring
DIY Napkin Ring
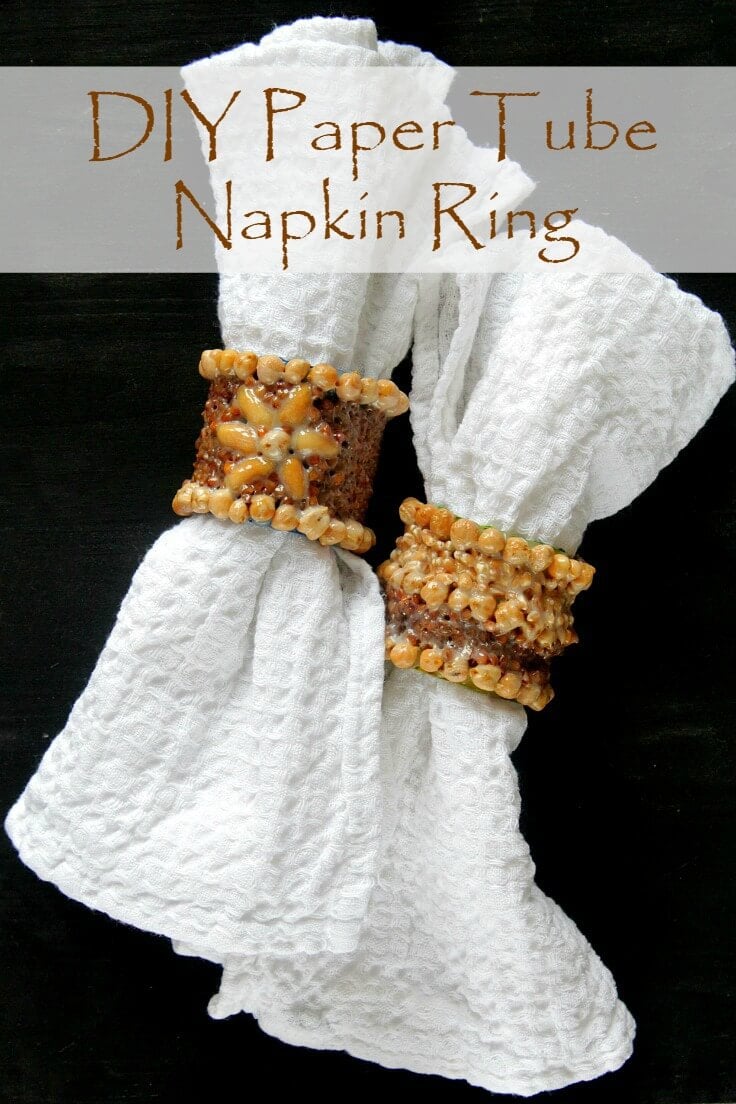
You don’t need to spend a fortune to make your holidays or family celebrations feel special! With this easy DIY napkin ring you’ll be able to create a bunch of beautiful napkin rings that you can customize to fit your needs and style.
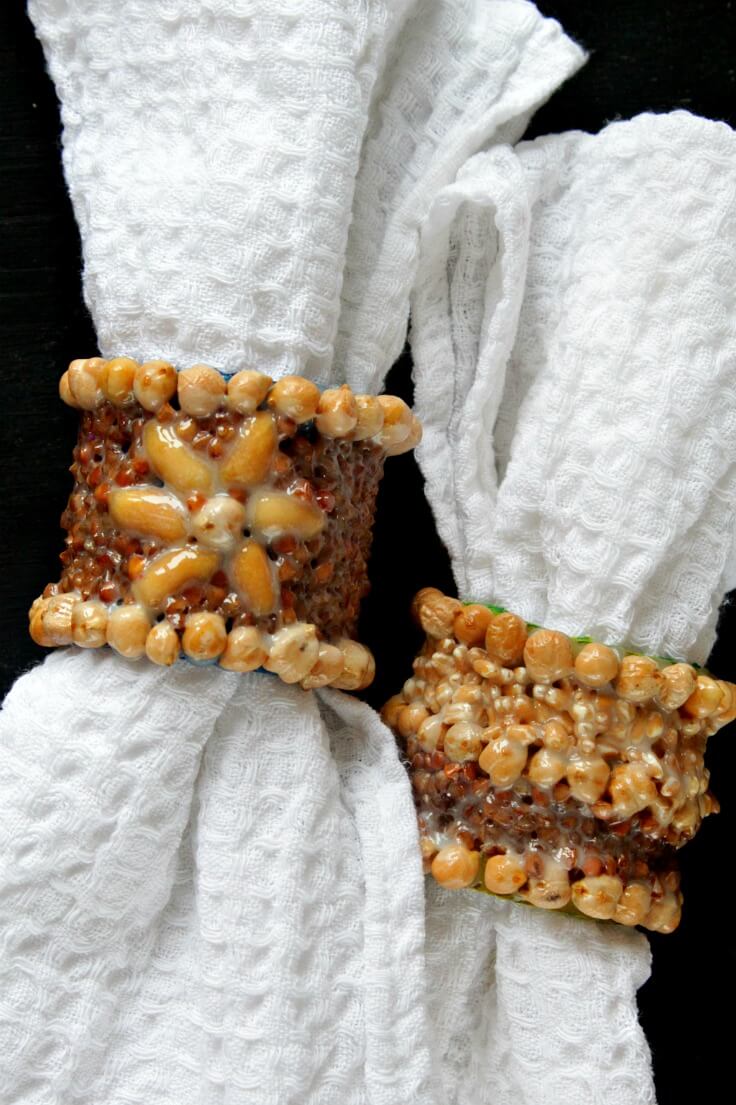
This simple DIy napkin ring project is ready in minutes and kids will be happy to help you put these napkin rings together. Easy and inexpensive, these adorable rings look festive and add a little personal touch to the table setting, making it memorable. I chose to go for a more rustic look by using peanuts, chickpeas, barley and buckwheat. But you can always glam yours up a little using other kind of embellishments like pearls and glitter.
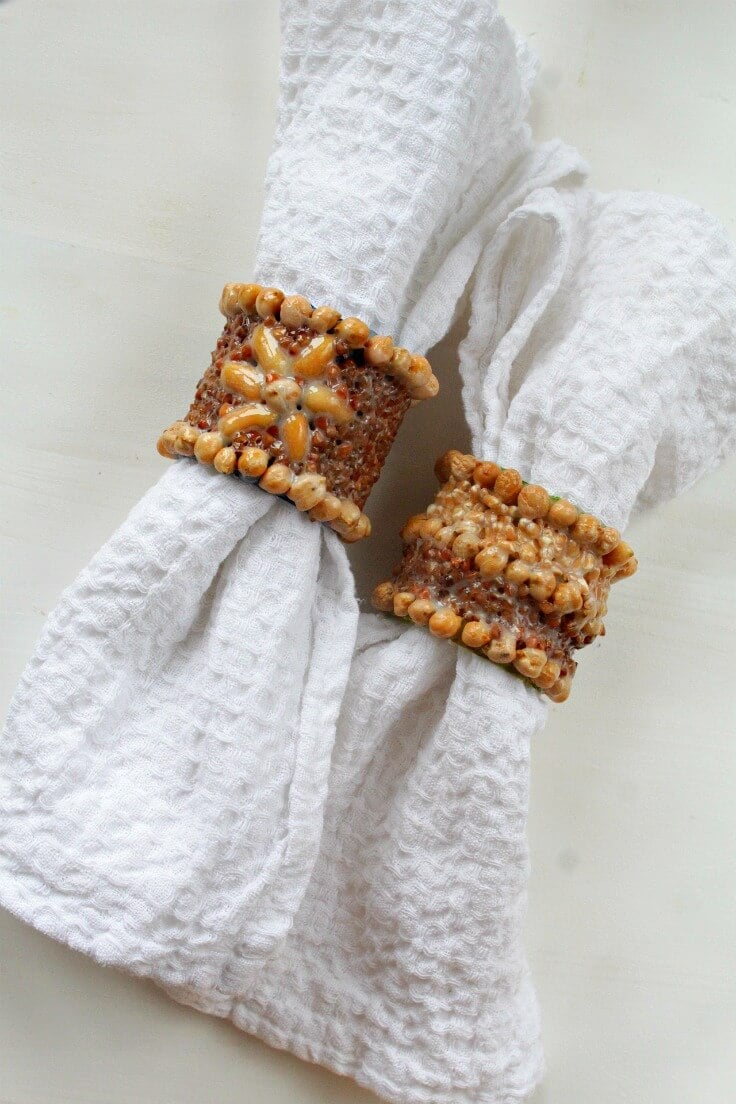
I also wanted to speed up the process and used a glue gun and spray paint for this particular napkin ring, but if you make them with kids use modge podge or wood glue and acrylic paint, throughout the whole project. This DIY napkin ring tutorial is so simple and easy and quite self explanatory, I could just skip it altogether. I won’t though so here it is.
DIY Napkin Ring Tutorial
Materials:
- paper tube (I used toilet paper tubes)
- measuring tape
- pen
- cutter
- spray paint
- gloves
- peanuts (halves)
- chickpeas
- barley
- buckwheat
- glue gun
- glue sticks
- modge podge or wood glue
Directions:
- Find the middle of your paper tubes, mark all around the tube and cut (you can go by with using a full tube but it will be harder to use when passing the napkins through)
- Put a pair of protective gloves on and spray paint the inside and the outside of the tubes. Make sure you do this in a well ventilated area or outside. Leave to completely dry before proceeding to the next step.
- Using a glue gun, apply a dollop of glue in the middle of the ring and glue a chickpea on.
- Glue peanuts halves on, all around the chickpea to create a flower.
- Apply chickpeas all around both edges, using your glue gun.
- Fill in the gaps with modge podge and sprinkle buckwheat and/or barley (play around with the designs)
- If you’re not sure your project will stay in place, apply modge podge over the entire area (to be honest I’m not completely happy with how the ring looks after this step as I used wood glue and was a bit too thick, next time I would just spray some colorless glue which applies thinner and more even). Allow to dry completely before using, preferably over night.
- That’s it! Enjoy your DIY napkin ring!

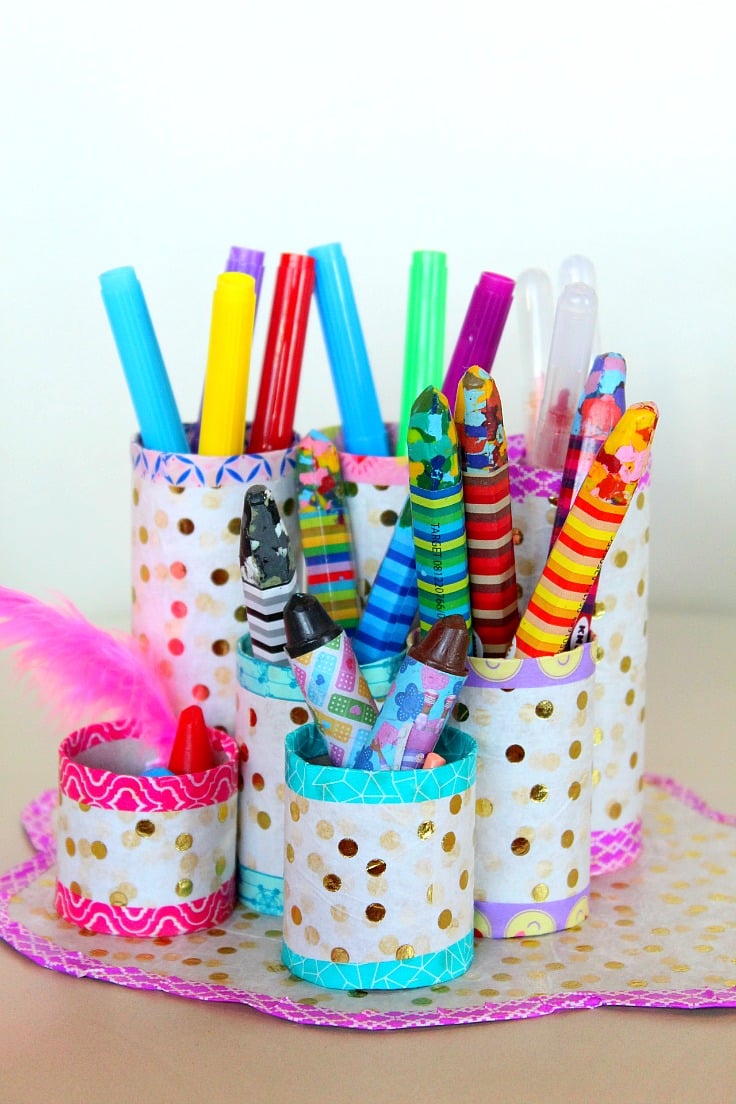
Paper tube pencil holder
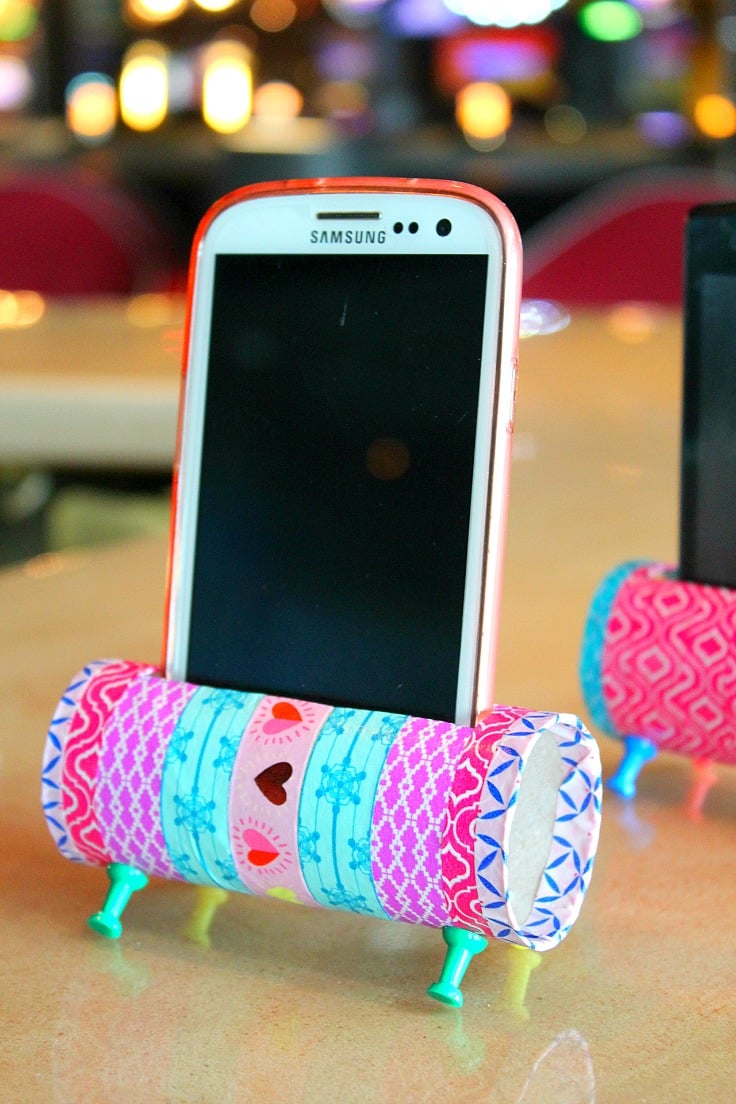
Paper tube phone holder
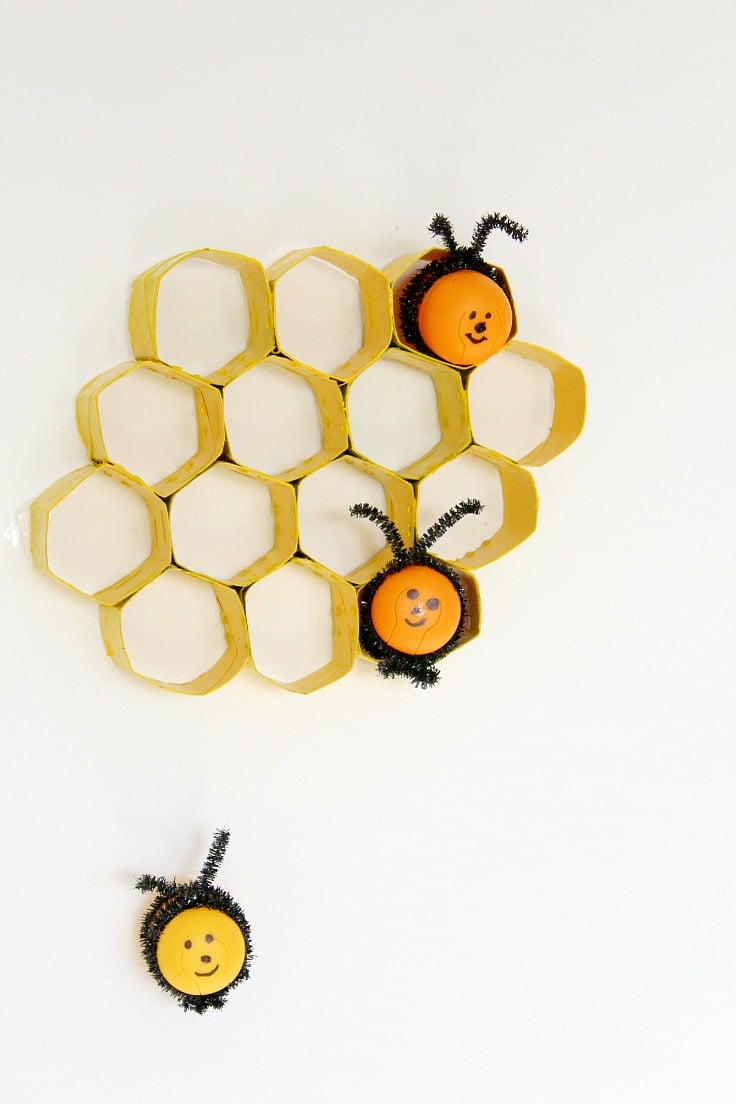
Paper tubes honeycomb wall decor
Article may contain Amazon & affiliate links. As an Amazon Associate I earn from qualifying purchases at no additional cost to you.


ABOUT PETRO
Hi, I’m Petro, author and founder of Easy Peasy Creative Ideas. Sewist, crafter, avid DIY-er, foodie, photographer, homemaker and mommy to one. I’m an expert at coming up with quick, clever sewing tips, recycling crafts and simple, easy recipes! You can find my ideas featured in reputable publications such as Country Living, Good House Keeping, Yahoo News, WikiHow, Shutterfly, Parade, Brit & Co and more. Thanks for stopping by and hope you’ll stay for a while, get to know me better and come back another time. Stick around for real fun projects! Read more…