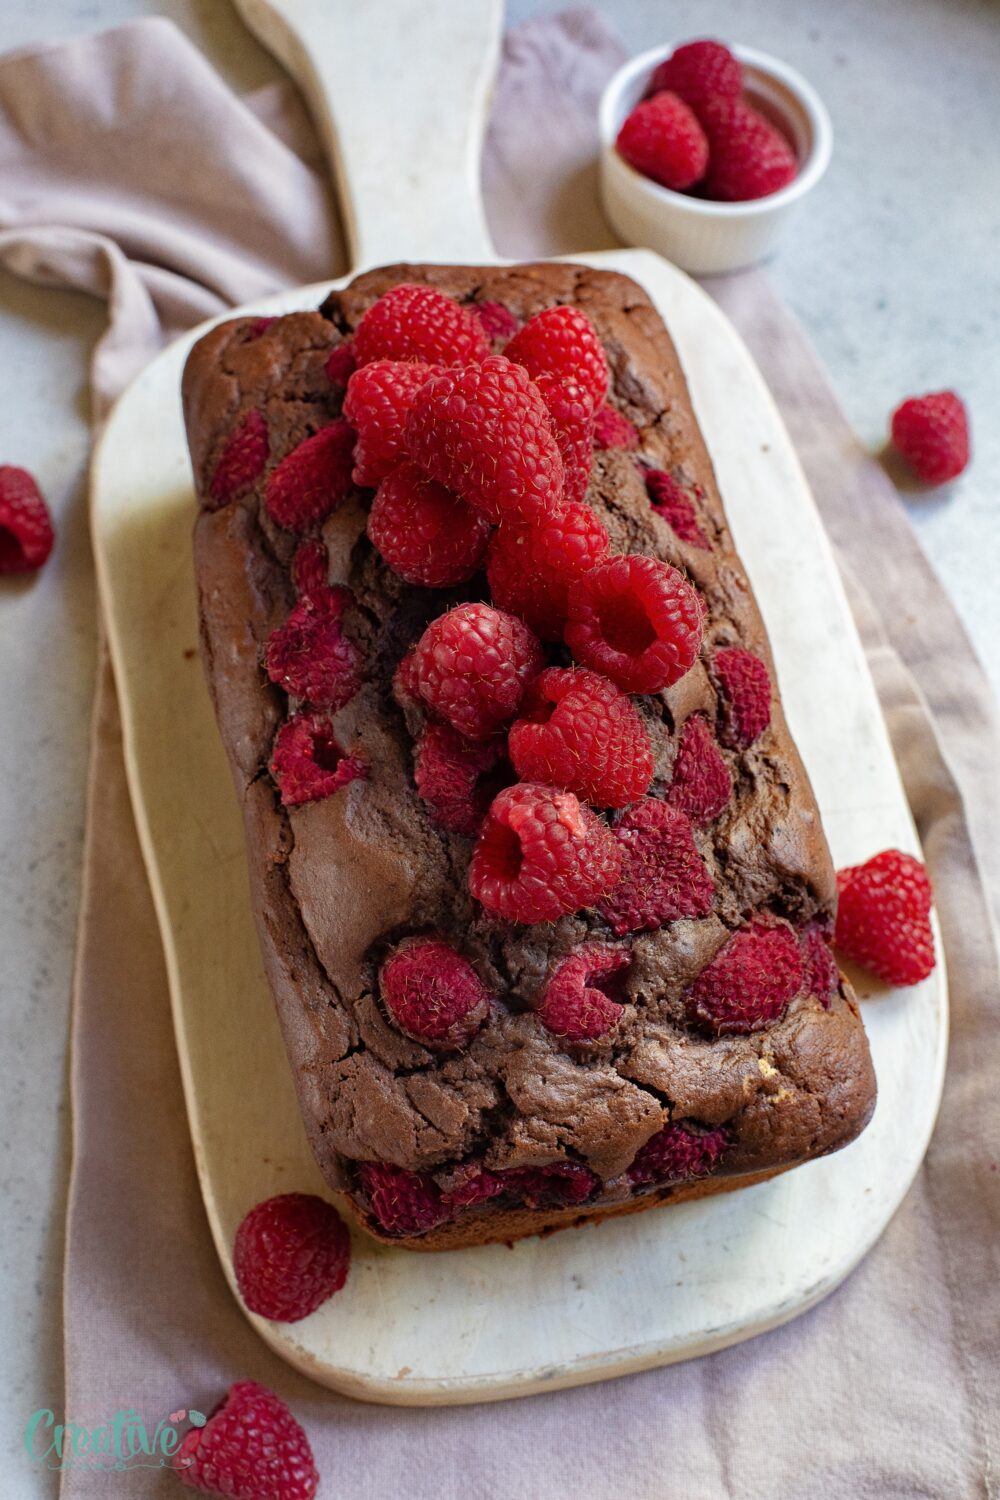
Chocolate pound cake recipe with raspberries
If you’re searching for the perfect chocolate pound cake recipe, you’ve found it! Follow these simple steps to create a moist and delightful chocolate pound cake quickly. Ideal for any occasion or as a special indulgence, this recipe guarantees to please your taste buds. So go ahead, try it today, and enjoy the delicious, indulgent flavors!
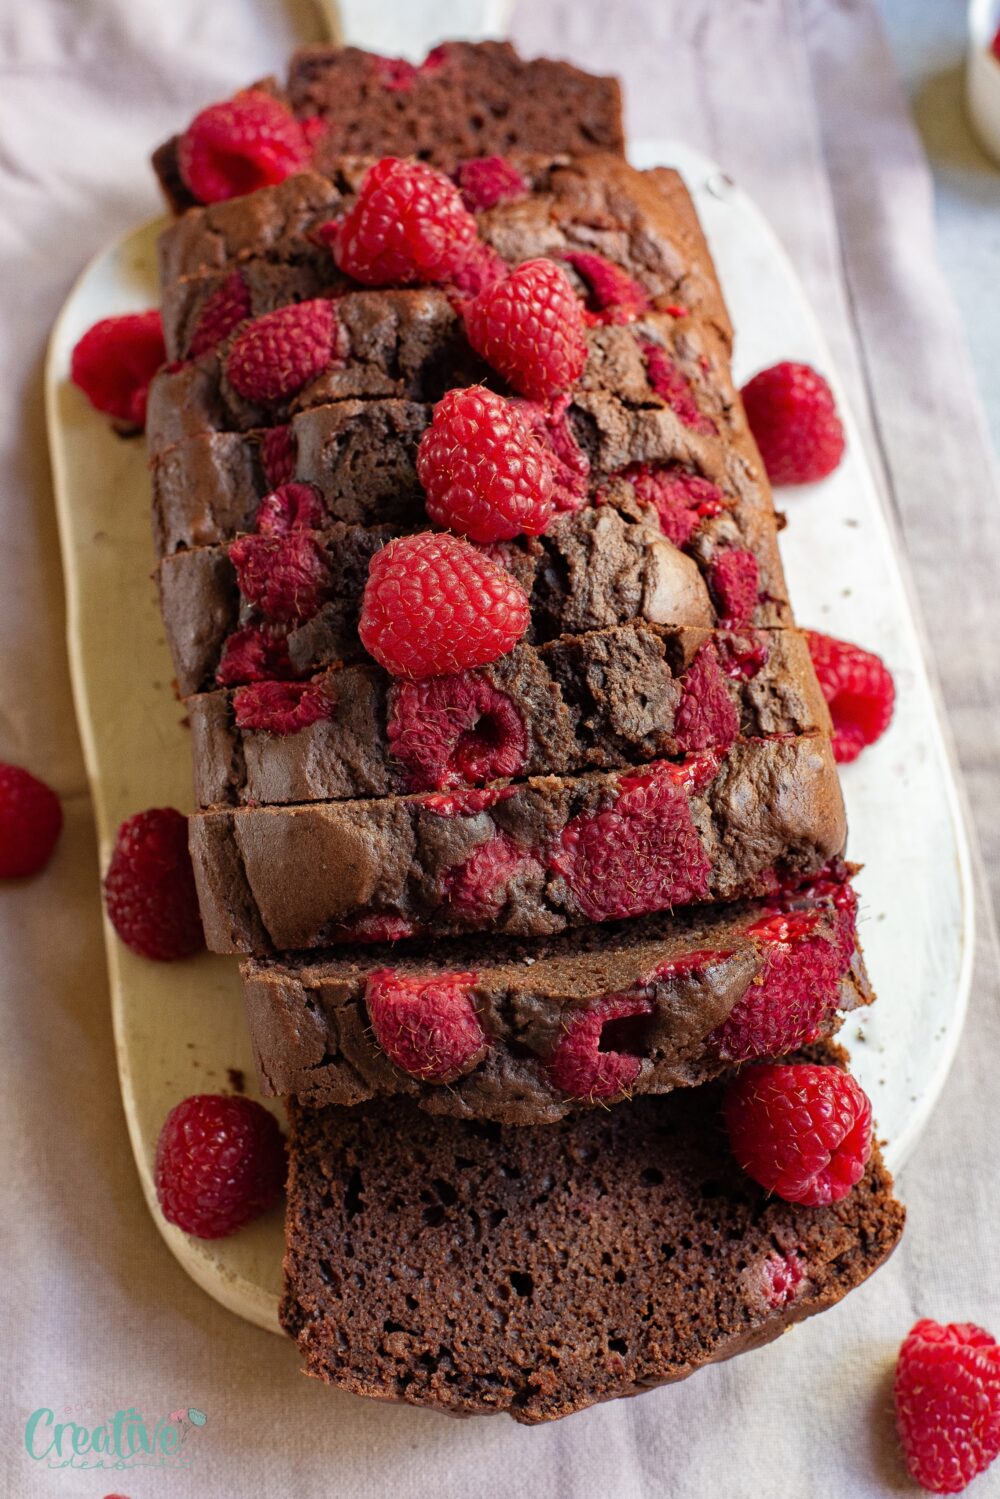
This chocolate pound cake recipe is the epitome of indulgence, blending the rich, irresistible cocoa flavors into a moist, sumptuous dessert that’s sure to become a family favorite. What sets this moist chocolate pound cake apart is its perfect balance of ingredients and the ease with which it can be made, making it the best choice for both beginners and seasoned bakers.
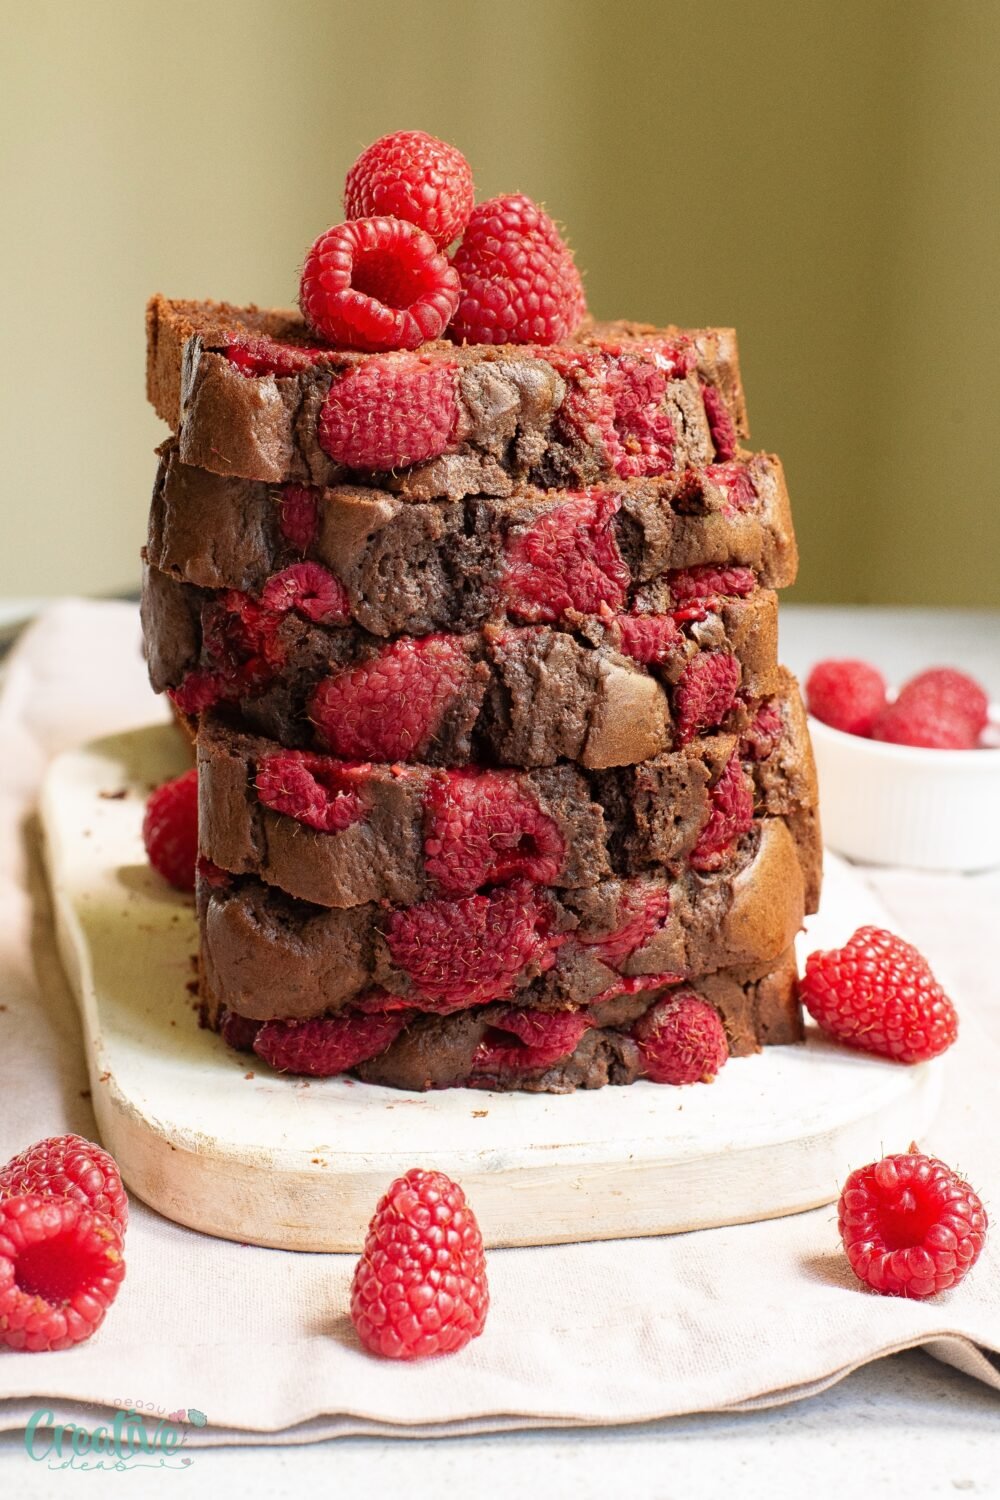
Why I love this cake so much is that it’s customizable to suit any occasion. For a casual gathering, you can serve it plain or with a dusting of powdered sugar. However, if you want to impress your guests, try adding some fresh berries and whipped cream on top or covering it with chocolate or sugar glaze. The possibilities are endless, and this recipe is versatile enough to accommodate any preferences.
How to make chocolate pound cake recipe
Ingredients
After taking a close look at the ingredients, we uncover the secrets to why this chocolate pound cake recipe is so successful and delicious:
- Flour: Serves as the foundation of the cake, giving it structure and softness. You can use all purpose flour or whole wheat (for a healthier option).
- Cocoa: The star of the recipe, providing the deep chocolate flavor. Using high-quality cocoa powder makes all the difference in achieving that rich taste.
- Baking powder & Salt: These act as leavening agents to ensure the cake rises perfectly, with the salt enhancing all the flavors.
- Butter: Adds moisture, richness, and tender crumb to the pound cake. Unsalted butter at room temperature works best.
- Sugar & vanilla sugar: They don’t just sweeten the cake; they also contribute to its moist texture. Vanilla sugar adds a delightful fragrance and complements the chocolate flavor.
- Eggs: Incorporate air into the batter and bind the ingredients together, contributing to the cake’s overall texture.
- Milk: Adds moisture, making the cake soft and delicious.
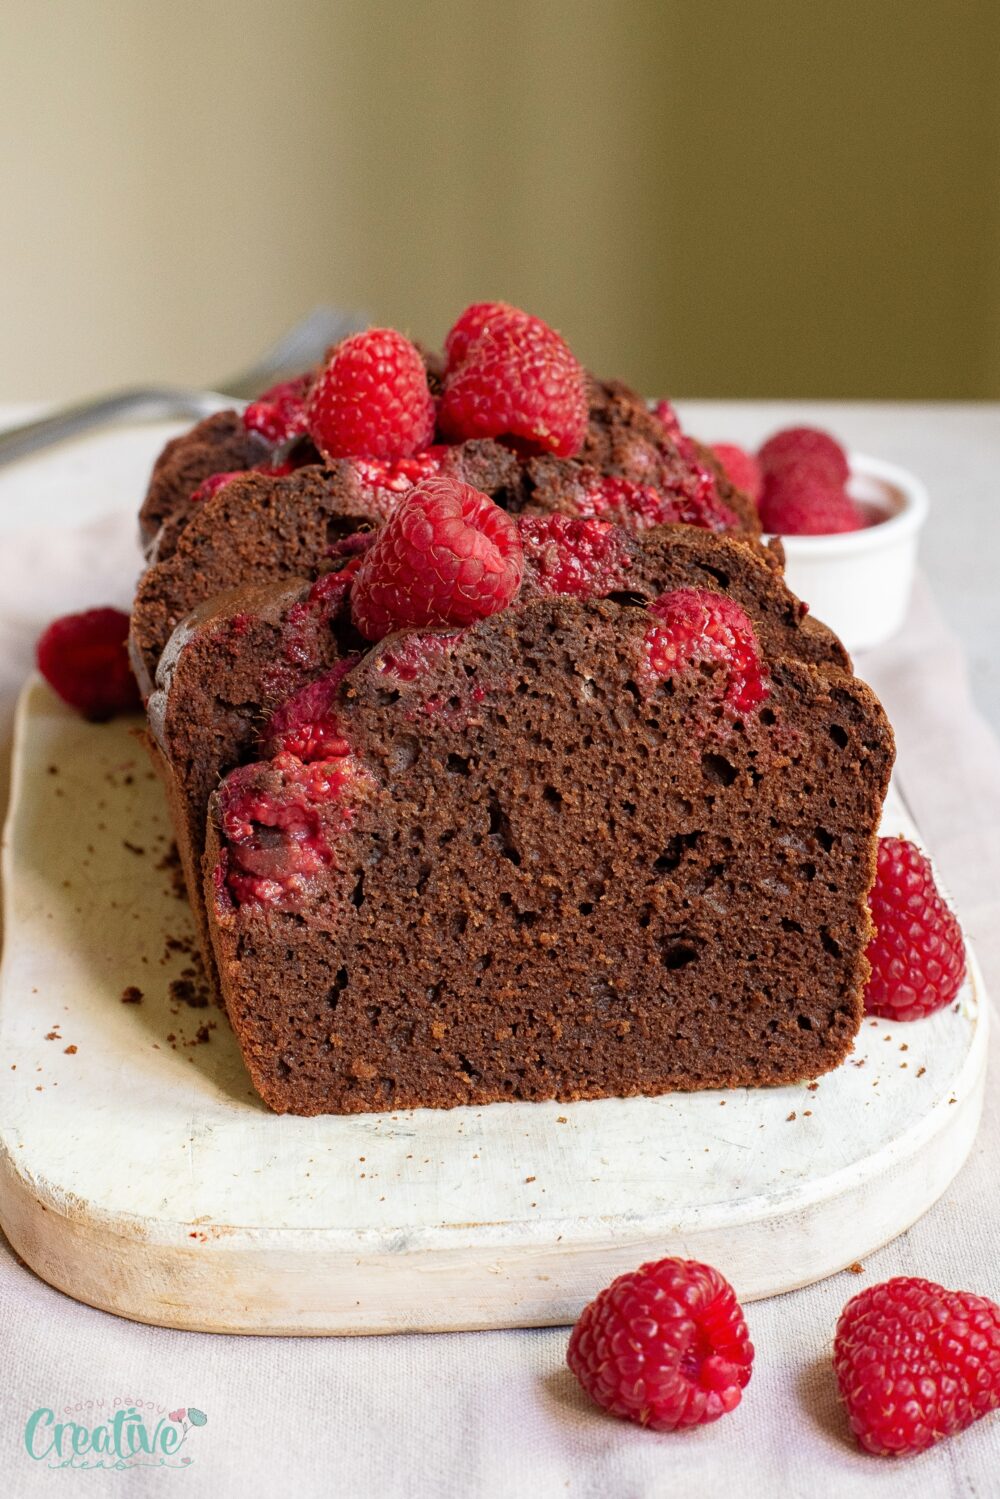
- Raspberries: An optional ingredient that introduces a tart contrast to the sweet and rich chocolate flavor. I love how cocoa and raspberry pair so beautifully together, but you can use any other berries of your choice.
Substitutes
For those with dietary restrictions or preferences, substitutions can be made without compromising on the cake’s delightful essence. Almond milk or oat milk can replace dairy milk, and gluten-free flour can be used in place of regular flour. For a vegan version, use egg substitutes and plant-based butter.
Vanilla sugar can be swapped for vanilla extract (just a bit since it’s concentrated)
If you can’t find raspberries, you can use strawberries or cherries instead. Other tart fruit you can use instead include cranberries or blackberries.
Equipment
Essential equipment includes a mixing bowl, a whisk, an electric mixer, a loaf pan, and measuring cups and spoons to ensure you measure ingredients accurately for the perfect outcome.
Instructions
Preparations:
- Preheat your oven to 350°F (175°C).
- Line your loaf pan with baking paper.
Baking the moist chocolate pound cake:
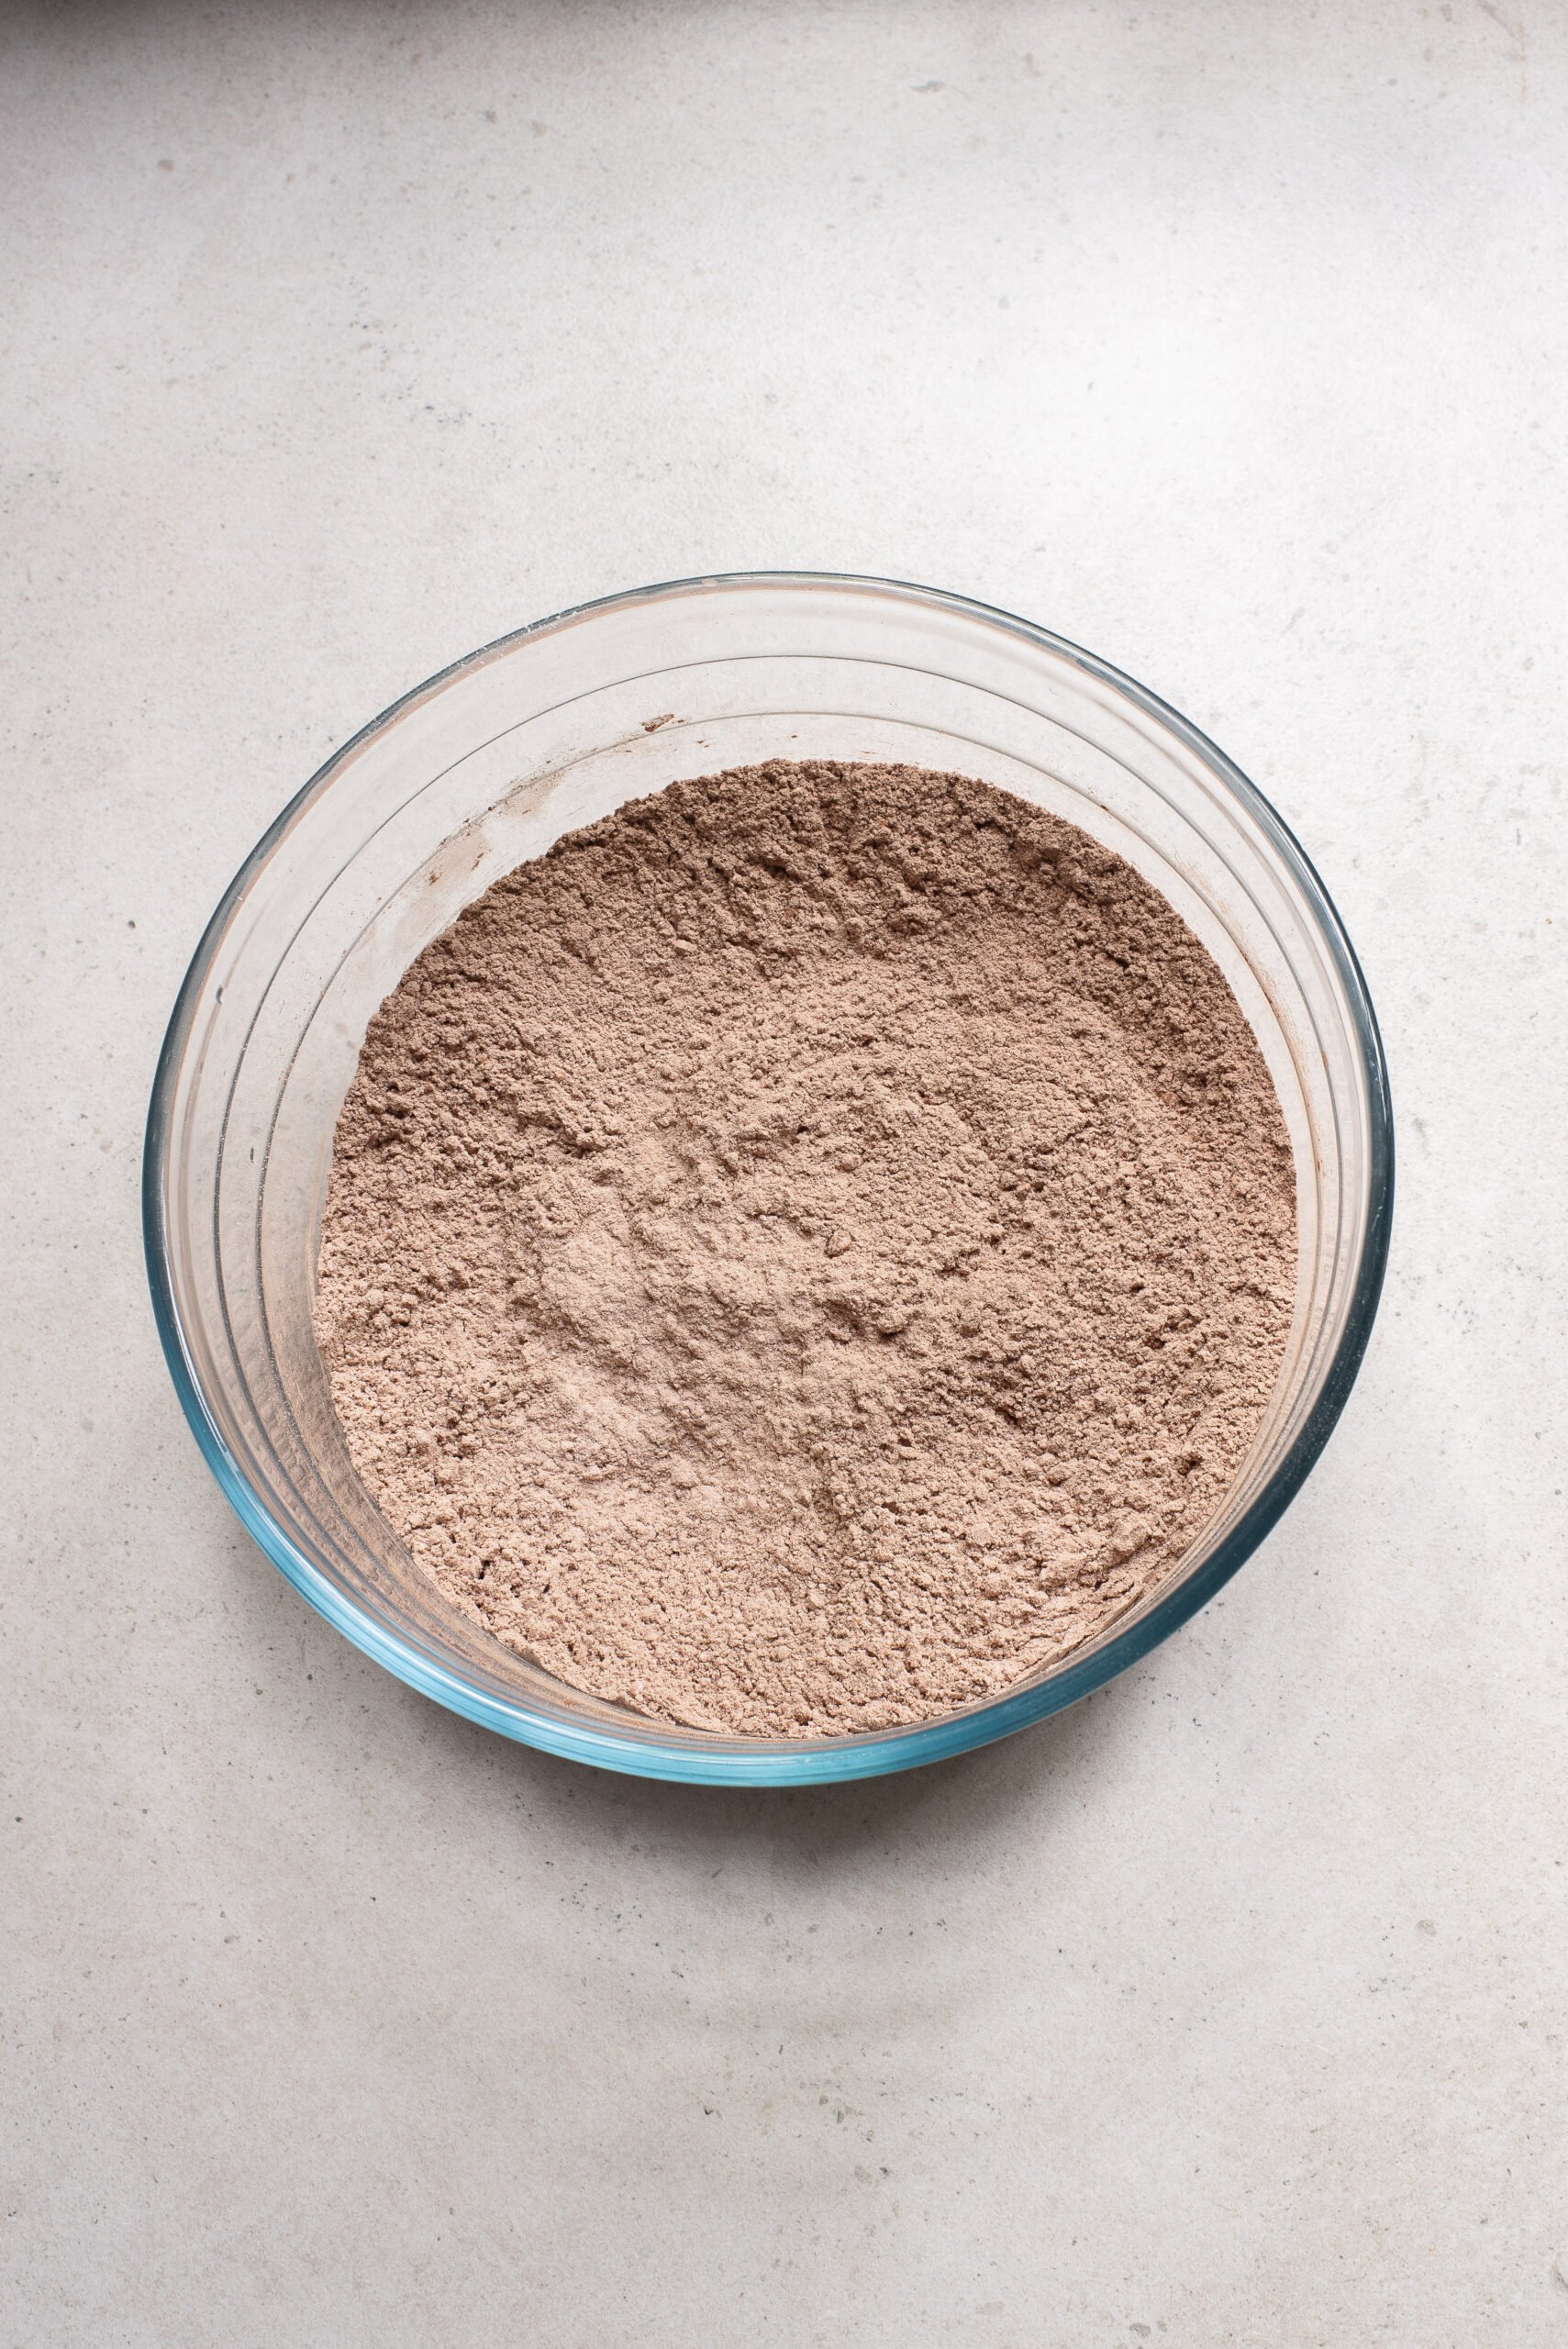
- In a bowl, whisk flour, cocoa, baking powder and salt
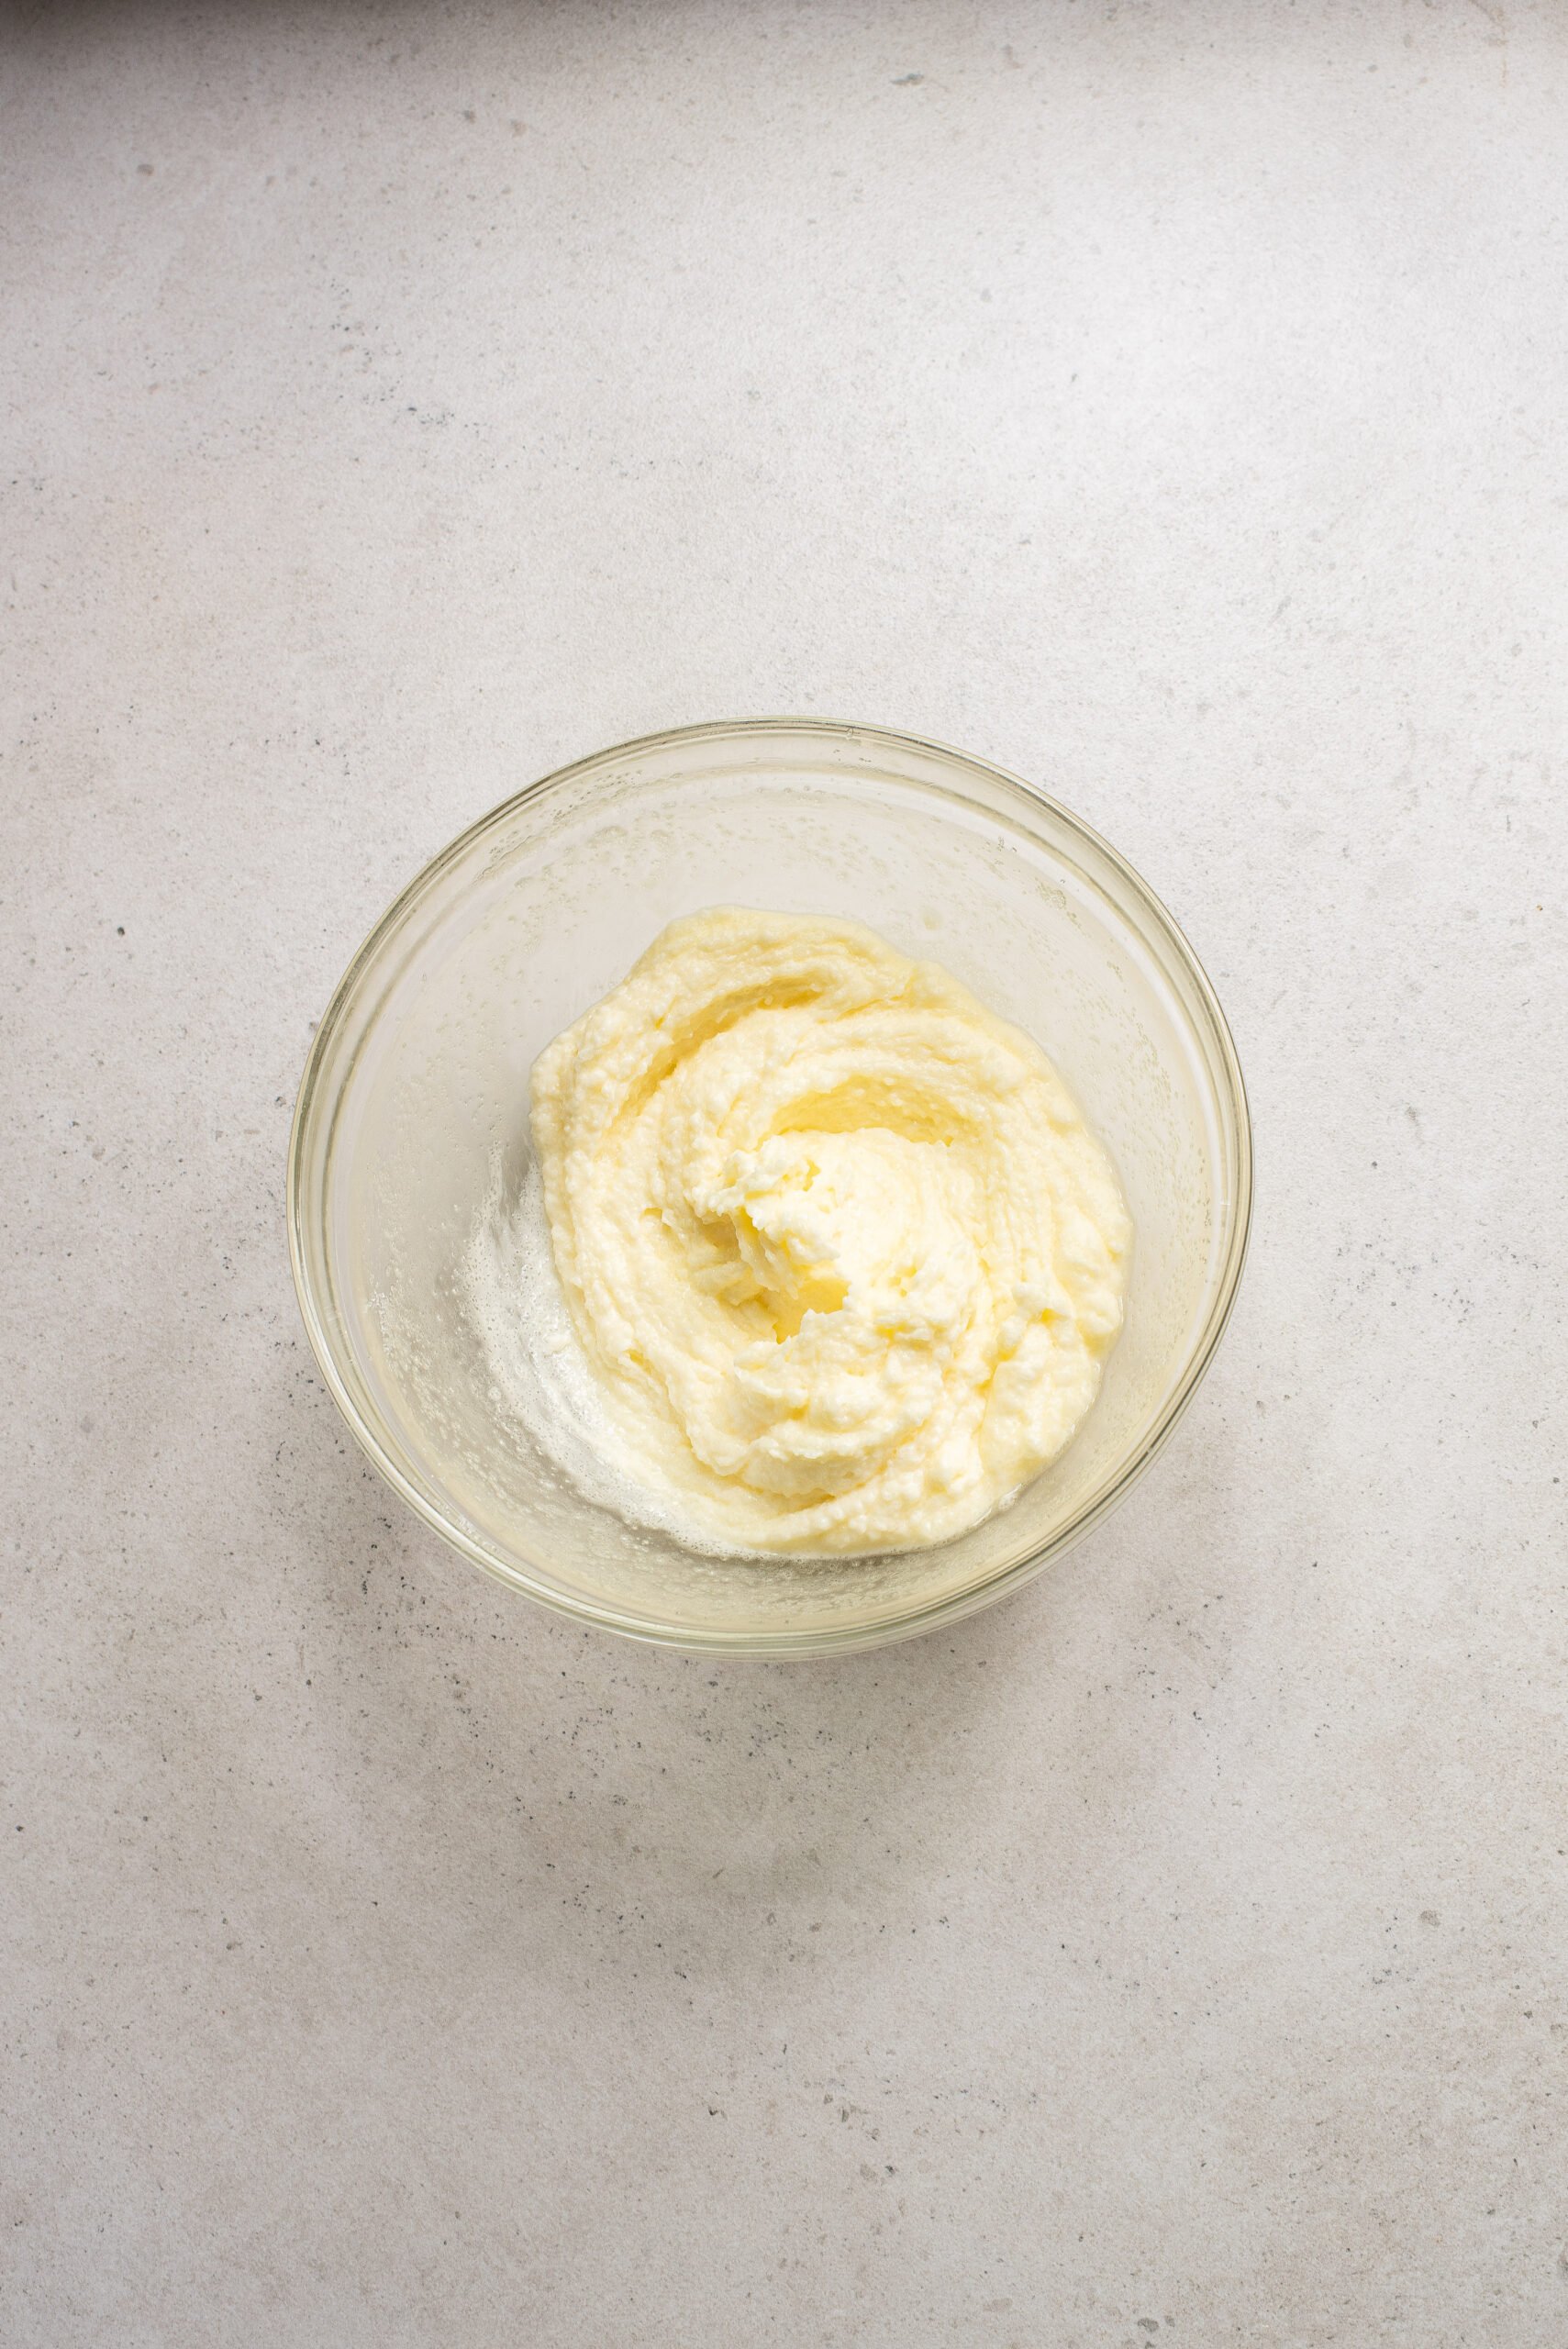
- In another bowl, cream the butter with sugar and vanilla sugar
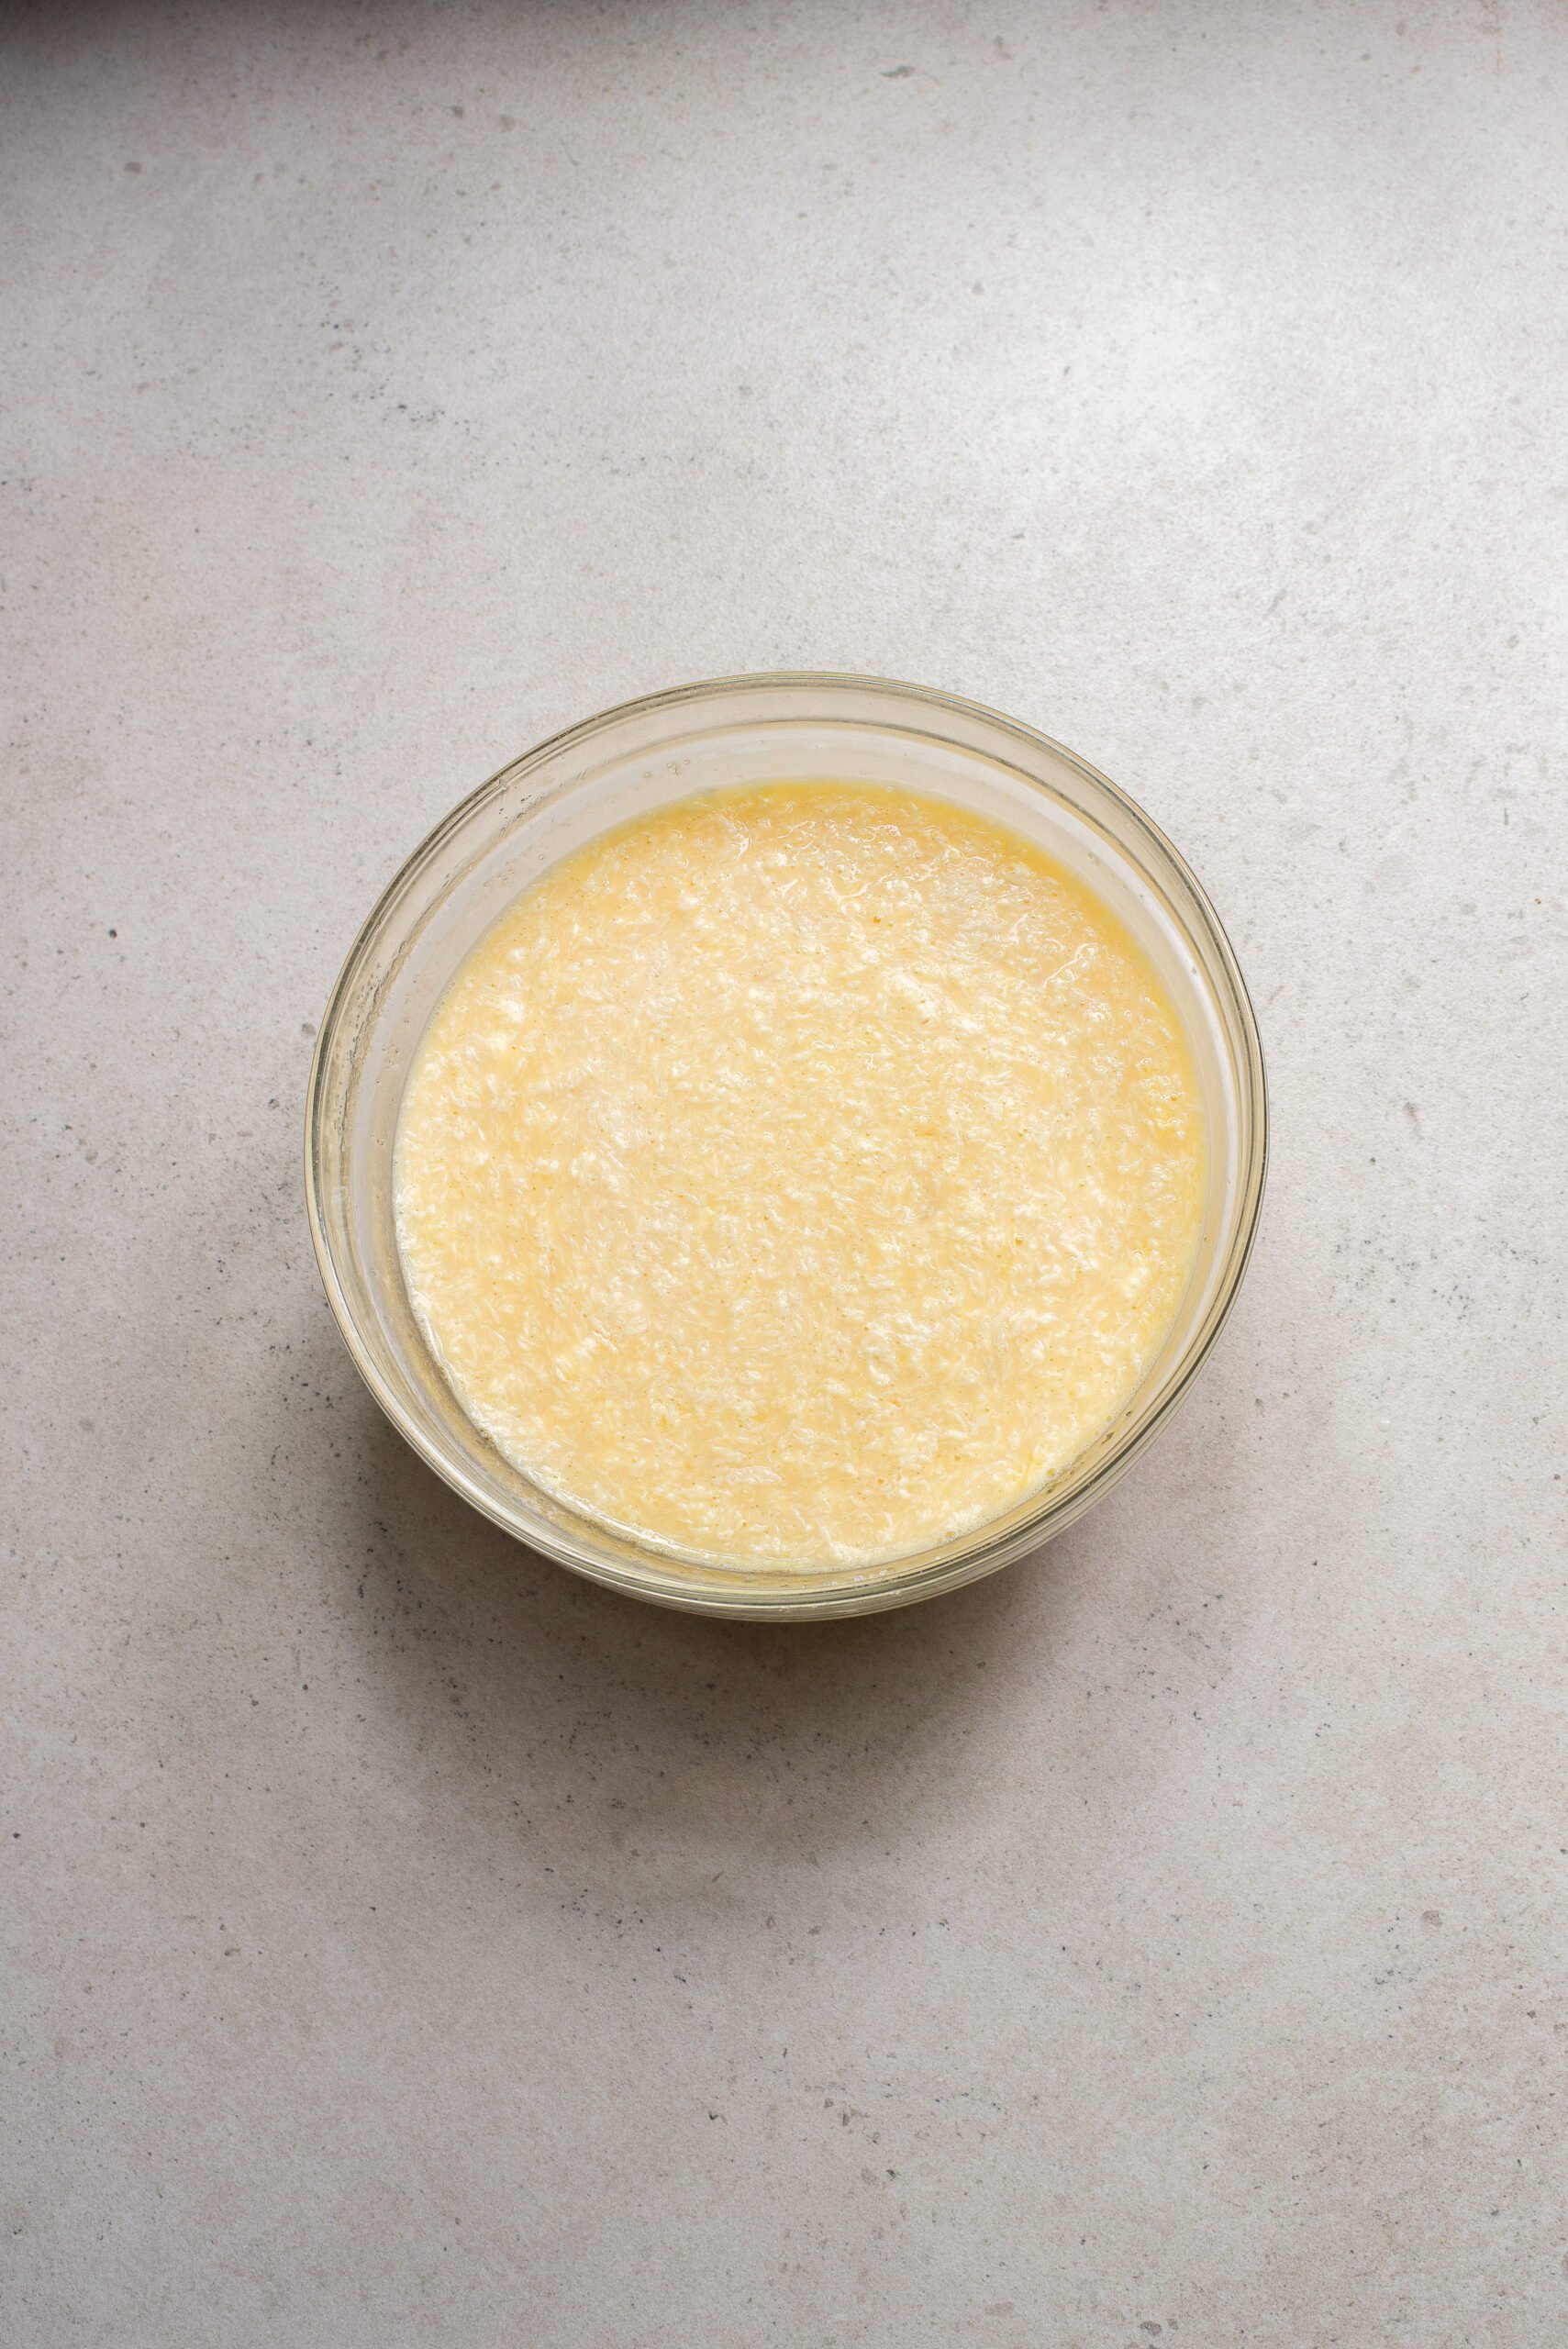
- Beat eggs well
- Add to creamed butter, add milk and mix well
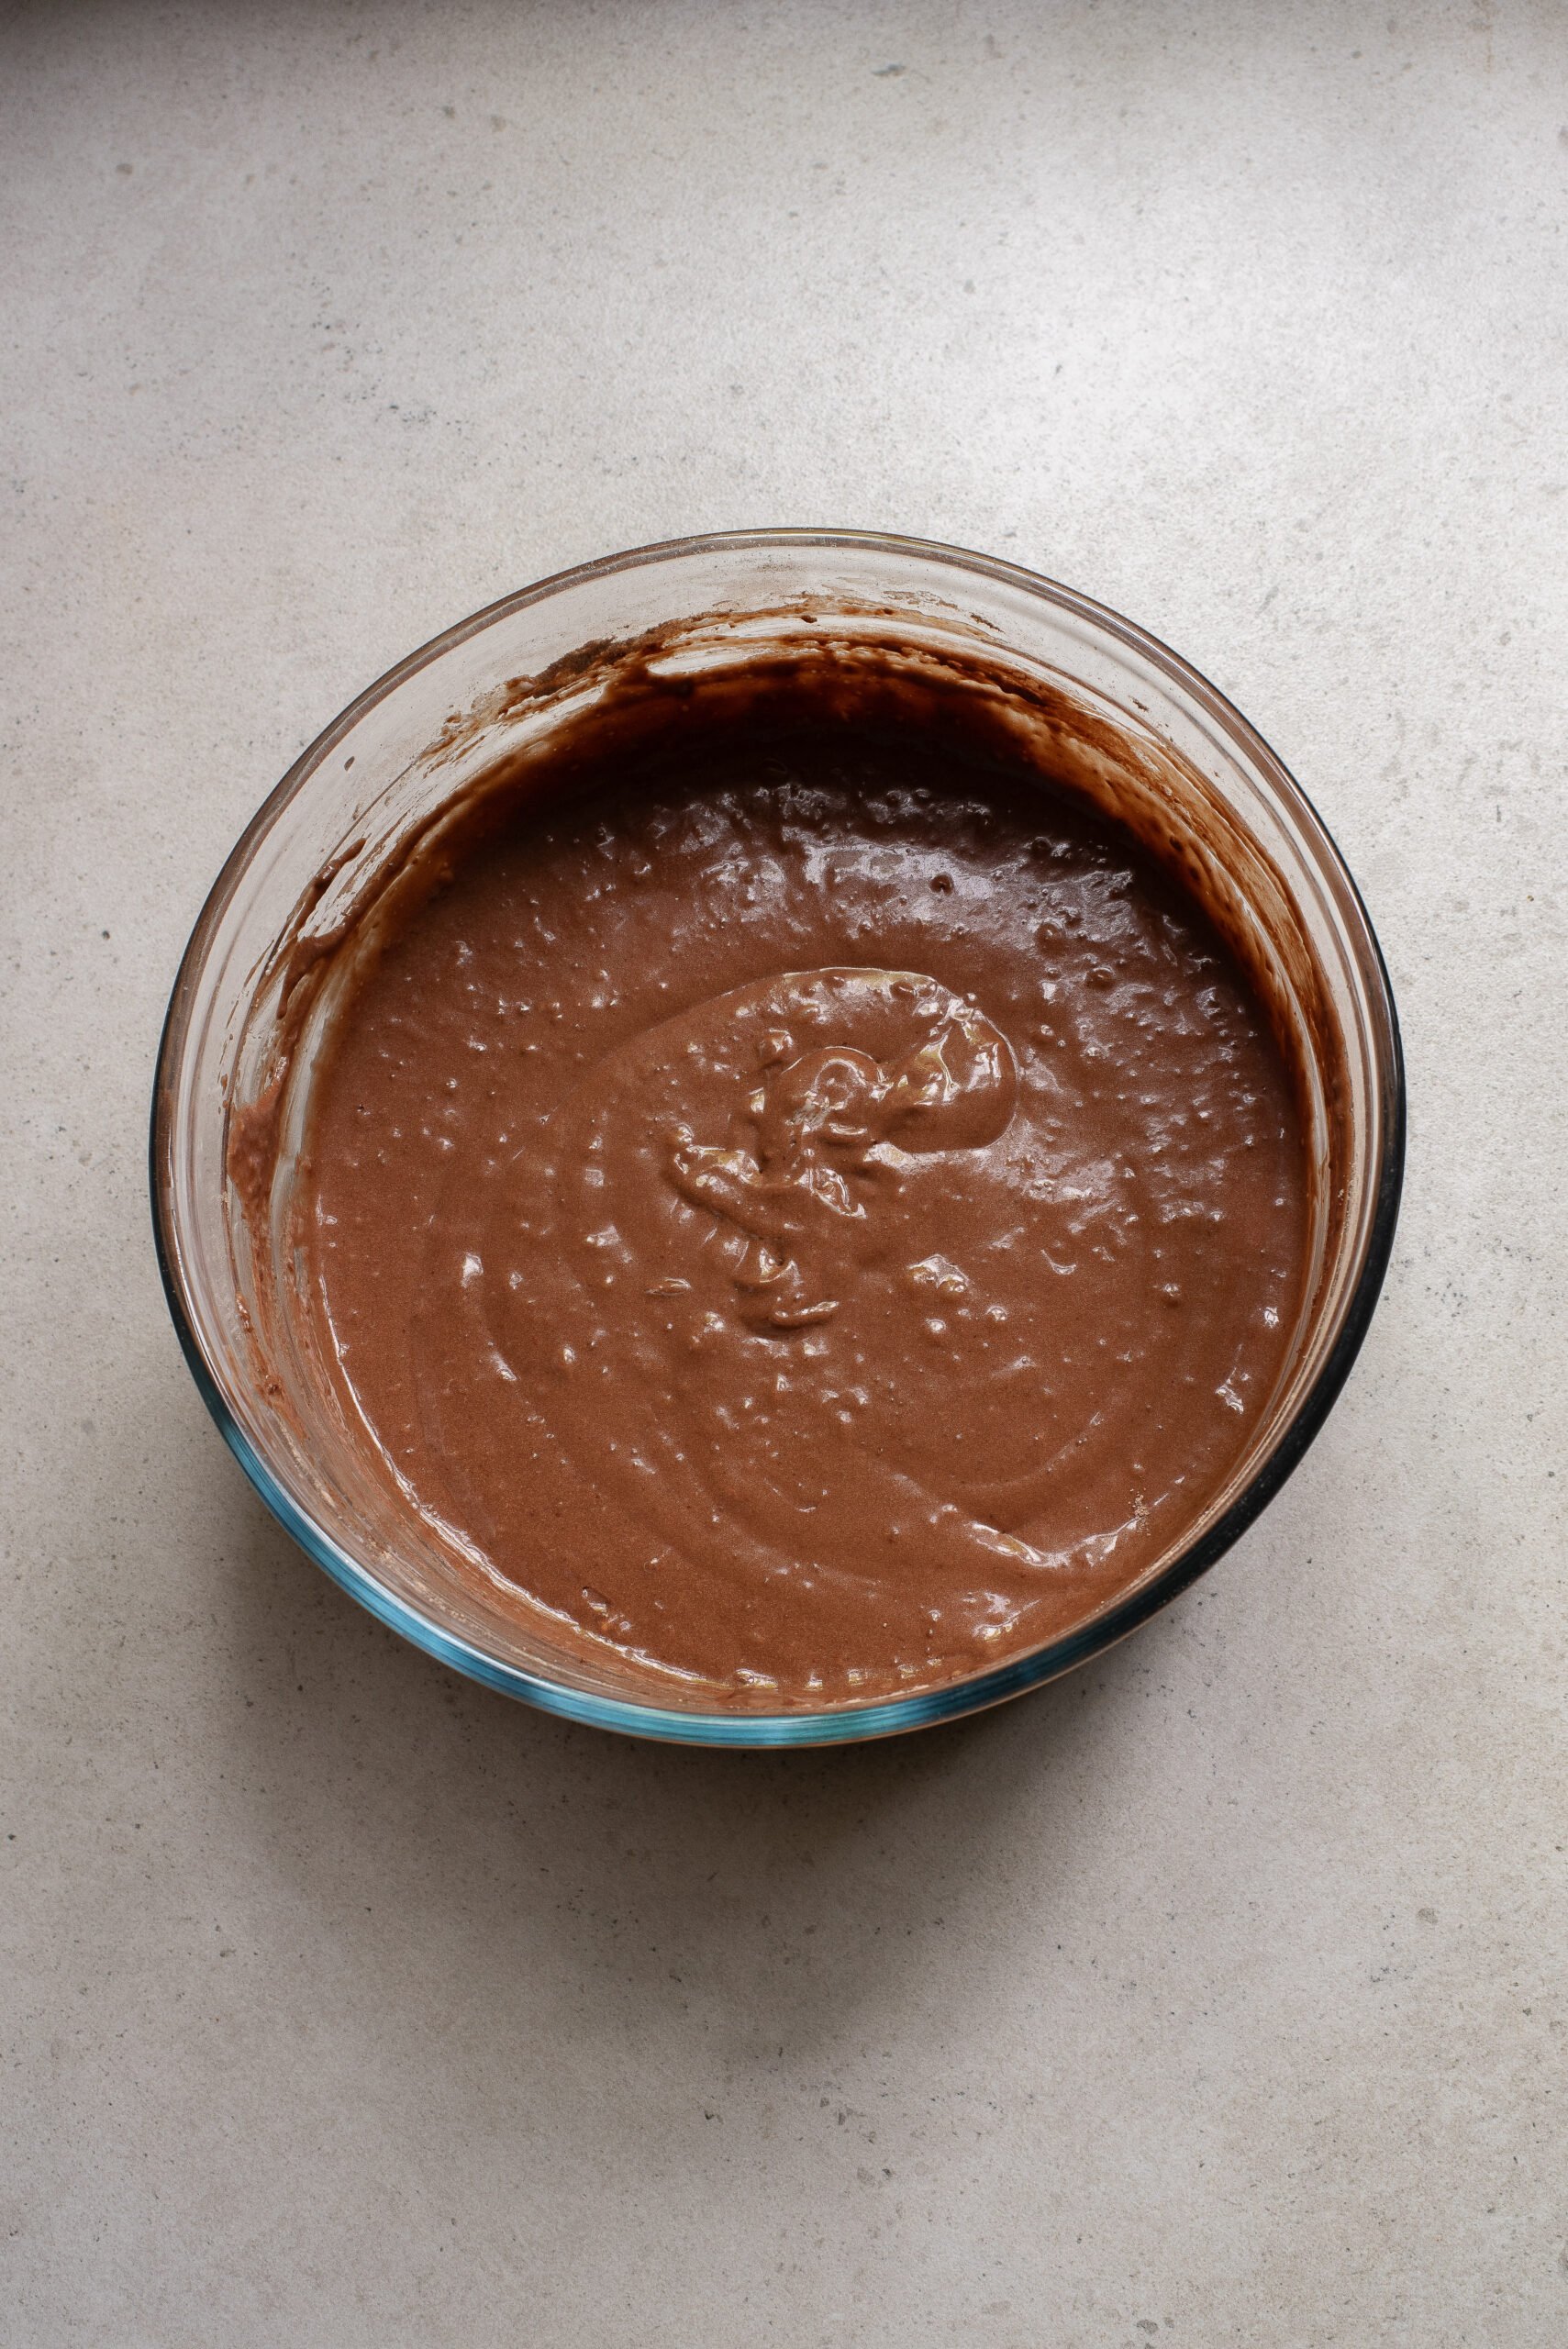
- Incorporate the dry ingredient into the wet ingredients and mix well until you get a smooth batter
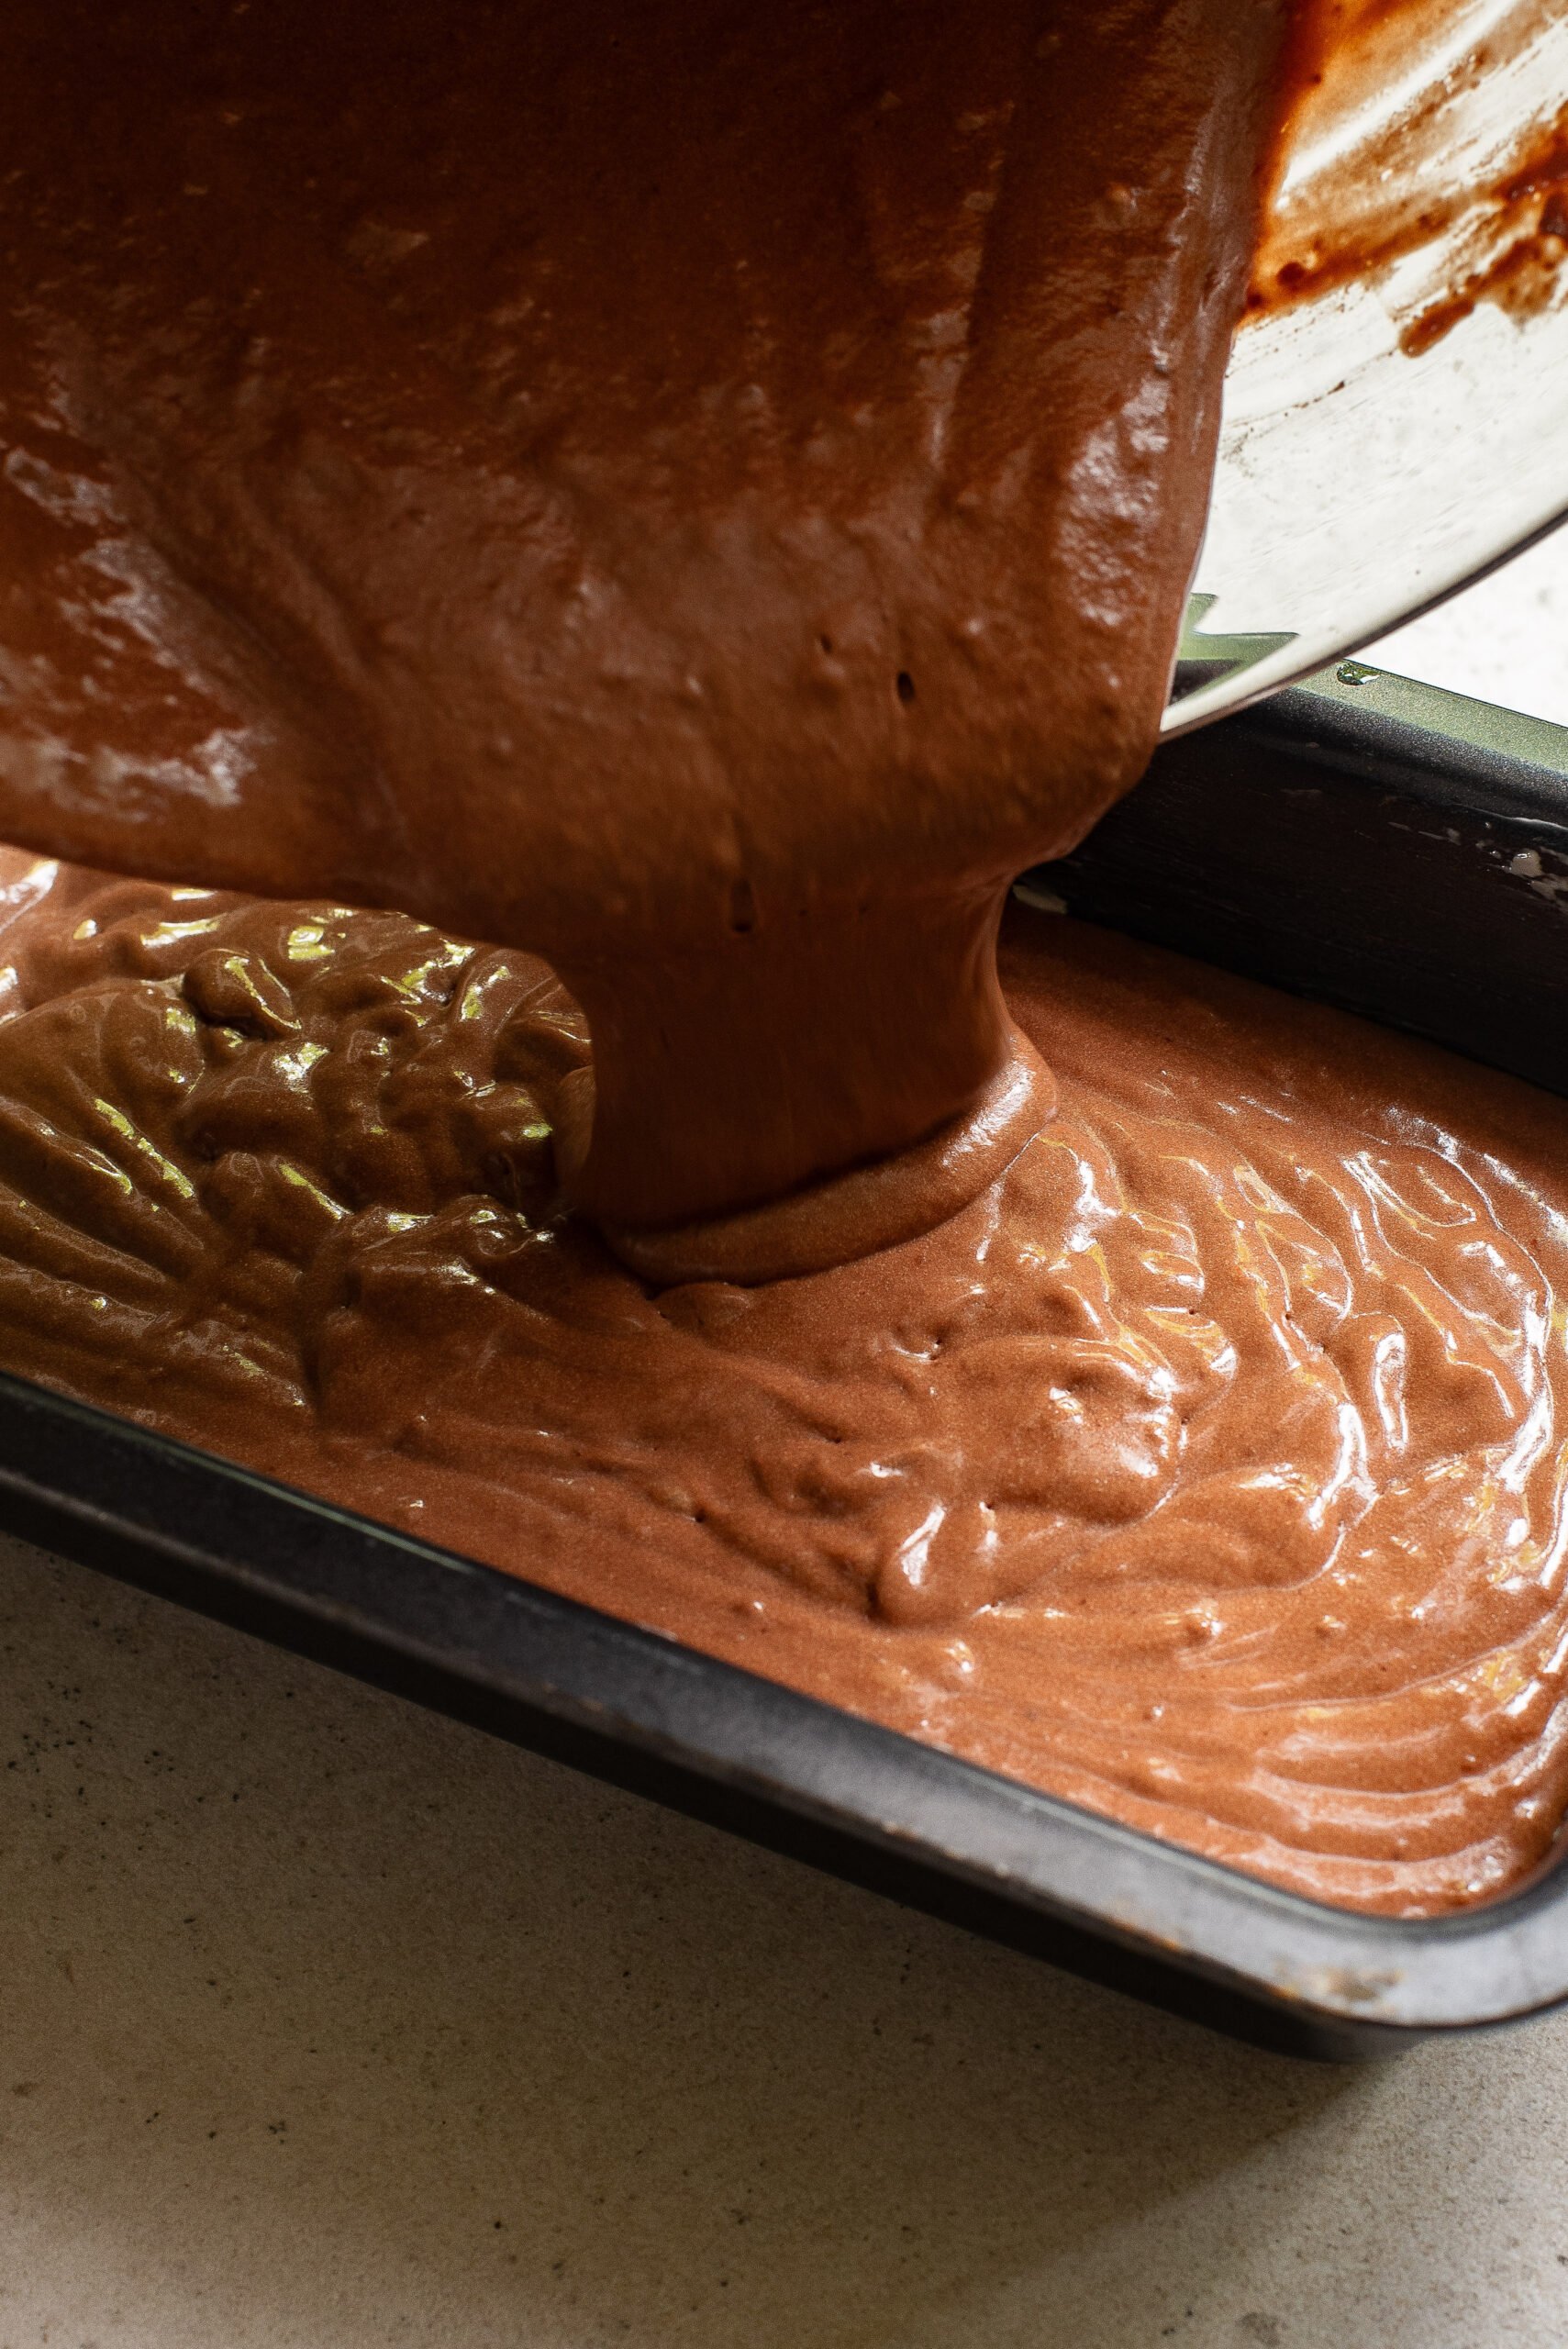
- Pour the batter in the loaf pan
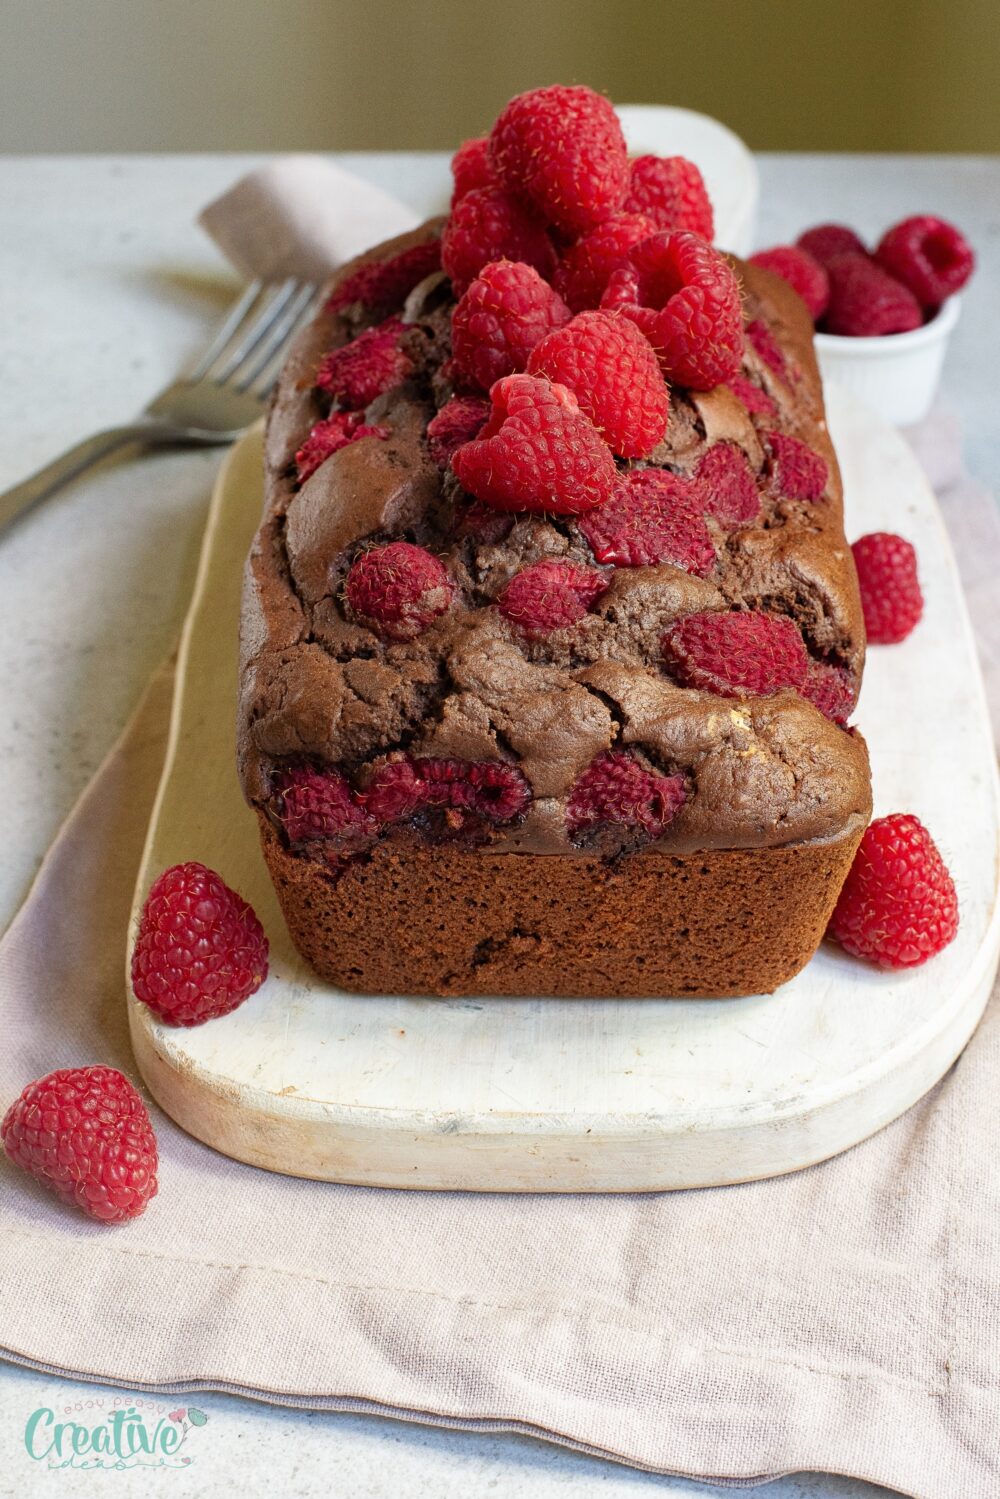
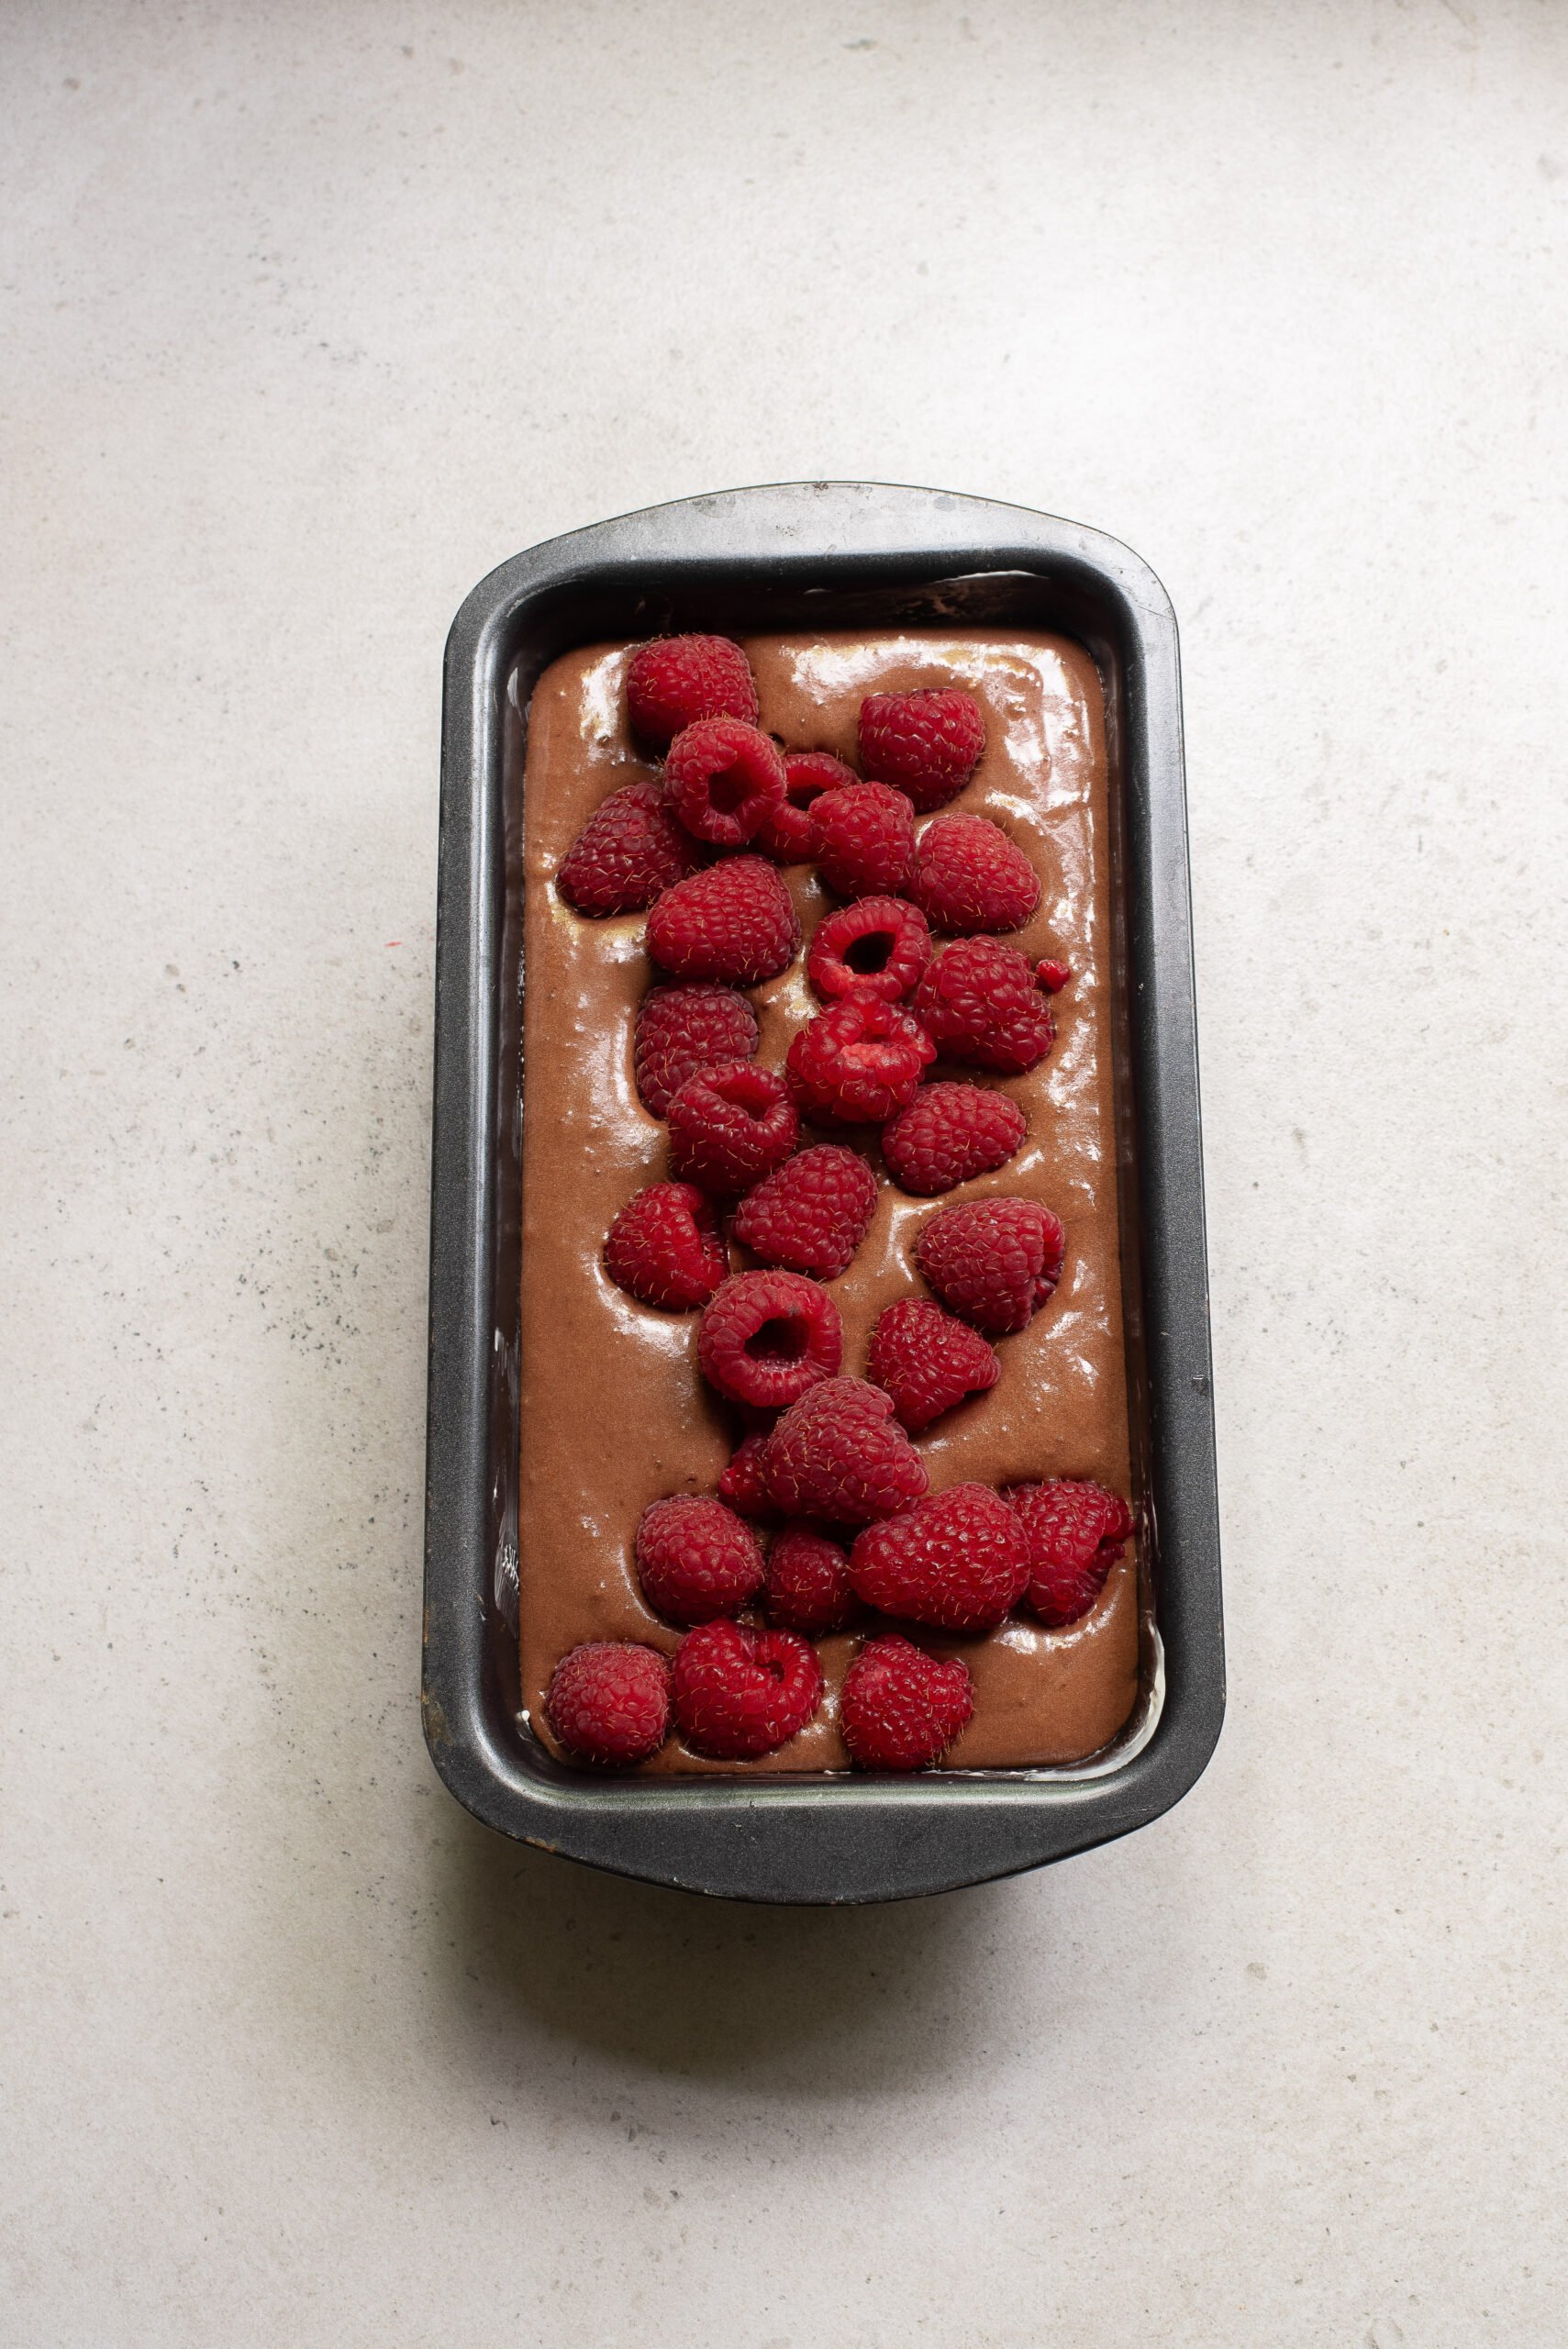
- Top with raspberries, gently pressed into the batter until completely covered
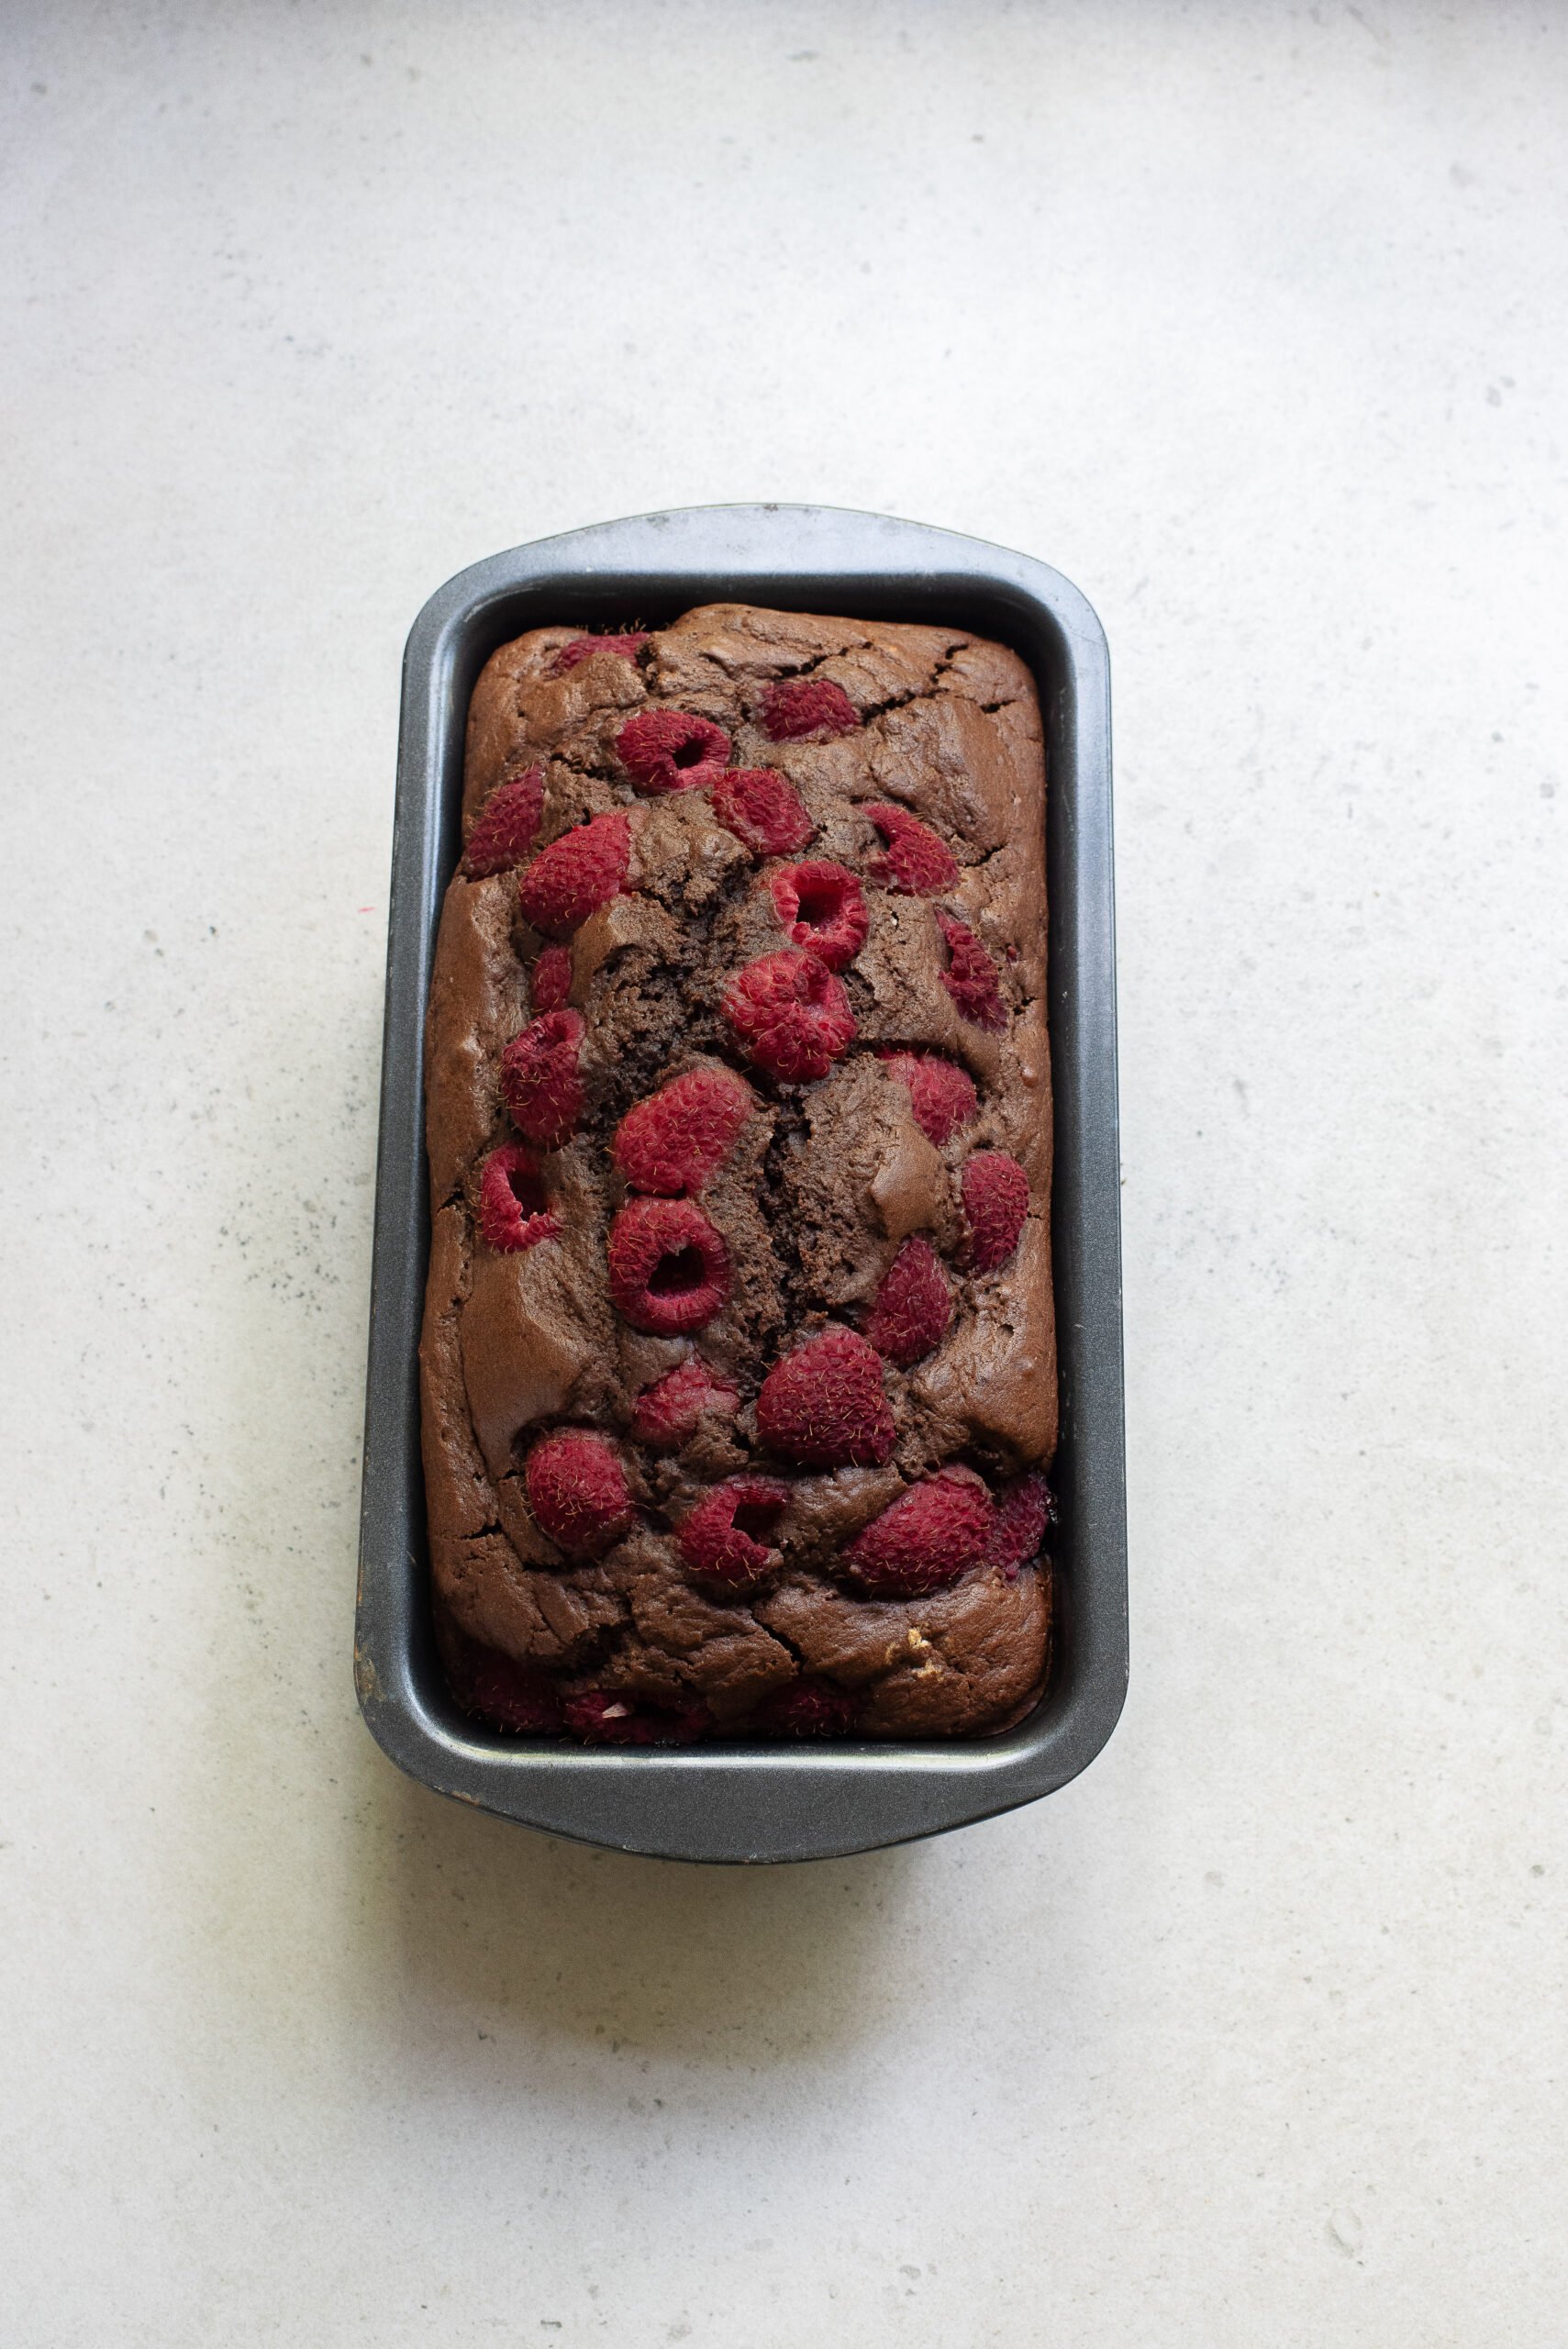
- Bake for about 50 minutes or until a toothpick inserted in center comes out clean (this is a no fail trick I always use to make sure my cakes are done)
- If you find that the cake starts to burn on top, cover the cake with aluminum foil
- Once done, leave to cool for 10 minutes before taking out the loaf pan. Cool completely before cutting to avoid crumbling.
Tips to ensure the perfect outcome
- Make sure all ingredients are at room temperature before starting.
- Use a good quality cocoa powder for rich chocolate flavor.
- Do not overmix the batter as it can result in a tough cake.
- For a more intense chocolate flavor, add finely chopped dark chocolate or semi-sweet chocolate chips to the batter.
- Let the cake cool before slicing to prevent it from crumbling.
Recipe variations
Variety is the spice of life, so here are a few variations to try:
- Add chopped nuts such as almonds, pecans or walnuts to the batter for some added crunch and texture.
- Swap raspberries with other fruits like strawberries or blueberries for a different burst of flavor.
- Drizzle melted chocolate over the top for an extra decadent touch.
- Use this recipe to make cupcakes instead of a loaf cake, adjusting the baking time as needed.
What to serve with
Pair this chocolate pound cake recipe with:
- Whipped cream, cream cheese frosting or a dollop of Greek yogurt for a lighter touch.
- Fresh berries and a sprinkle of powdered sugar for an elegant finish.
- Vanilla or chocolate syrup for an extra decadent treat.
Frequently Asked Questions
Can I freeze the pound cake?
Yes, you can store the cake in an airtight container in the freezer for up to 3 months. Thaw it overnight before serving.
How long can I keep this chocolate pound cake?
When stored properly in an airtight container, it can last up to 3 days at room temperature and up to a week in the refrigerator.
Can I make this recipe in advance?
Yes, you can bake the cake ahead of time and keep it at room temperature in an airtight container or in the refrigerator. The flavors will even deepen over time, making it an ideal choice for make-ahead desserts.
Can I use a different pan?
Yes, you can use a Bundt pan or mini loaf pans or even a baking sheet instead of a regular loaf pan to achieve a different shape. Adjust the baking time accordingly.
Storing and reheating
To keep your chocolate pound cake fresh, follow these storage tips:
- Once cooled, wrap the cake tightly in plastic wrap or store it in an airtight container at room temperature for up to 3 days.
- Store leftovers in the refrigerator for up to a week.
- To reheat, simply microwave individual slices for 15-20 seconds or warm the entire cake in the oven at 350°F for 10-15 minutes.
More recipes you’ll enjoy
If you loved this chocolate pound cake recipe, try these other delicious options from the site
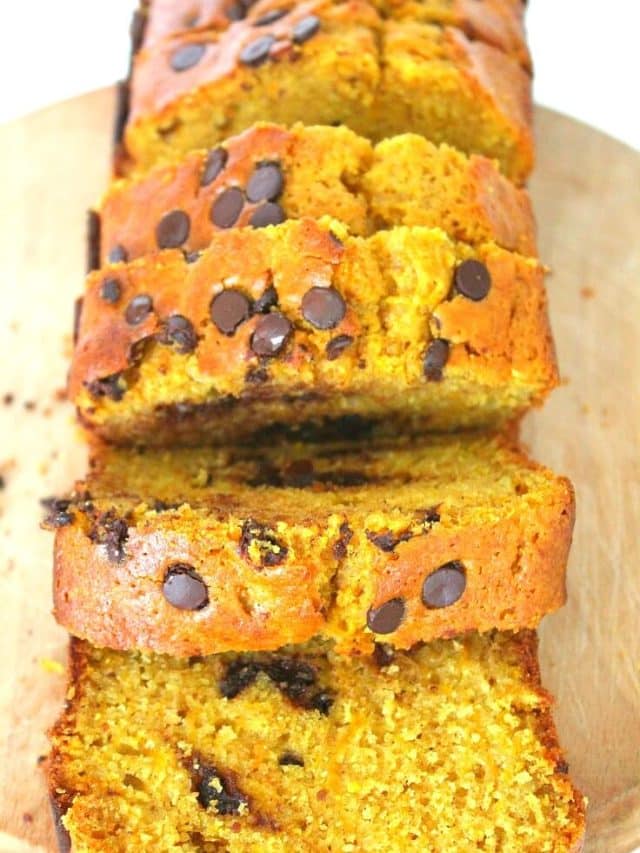
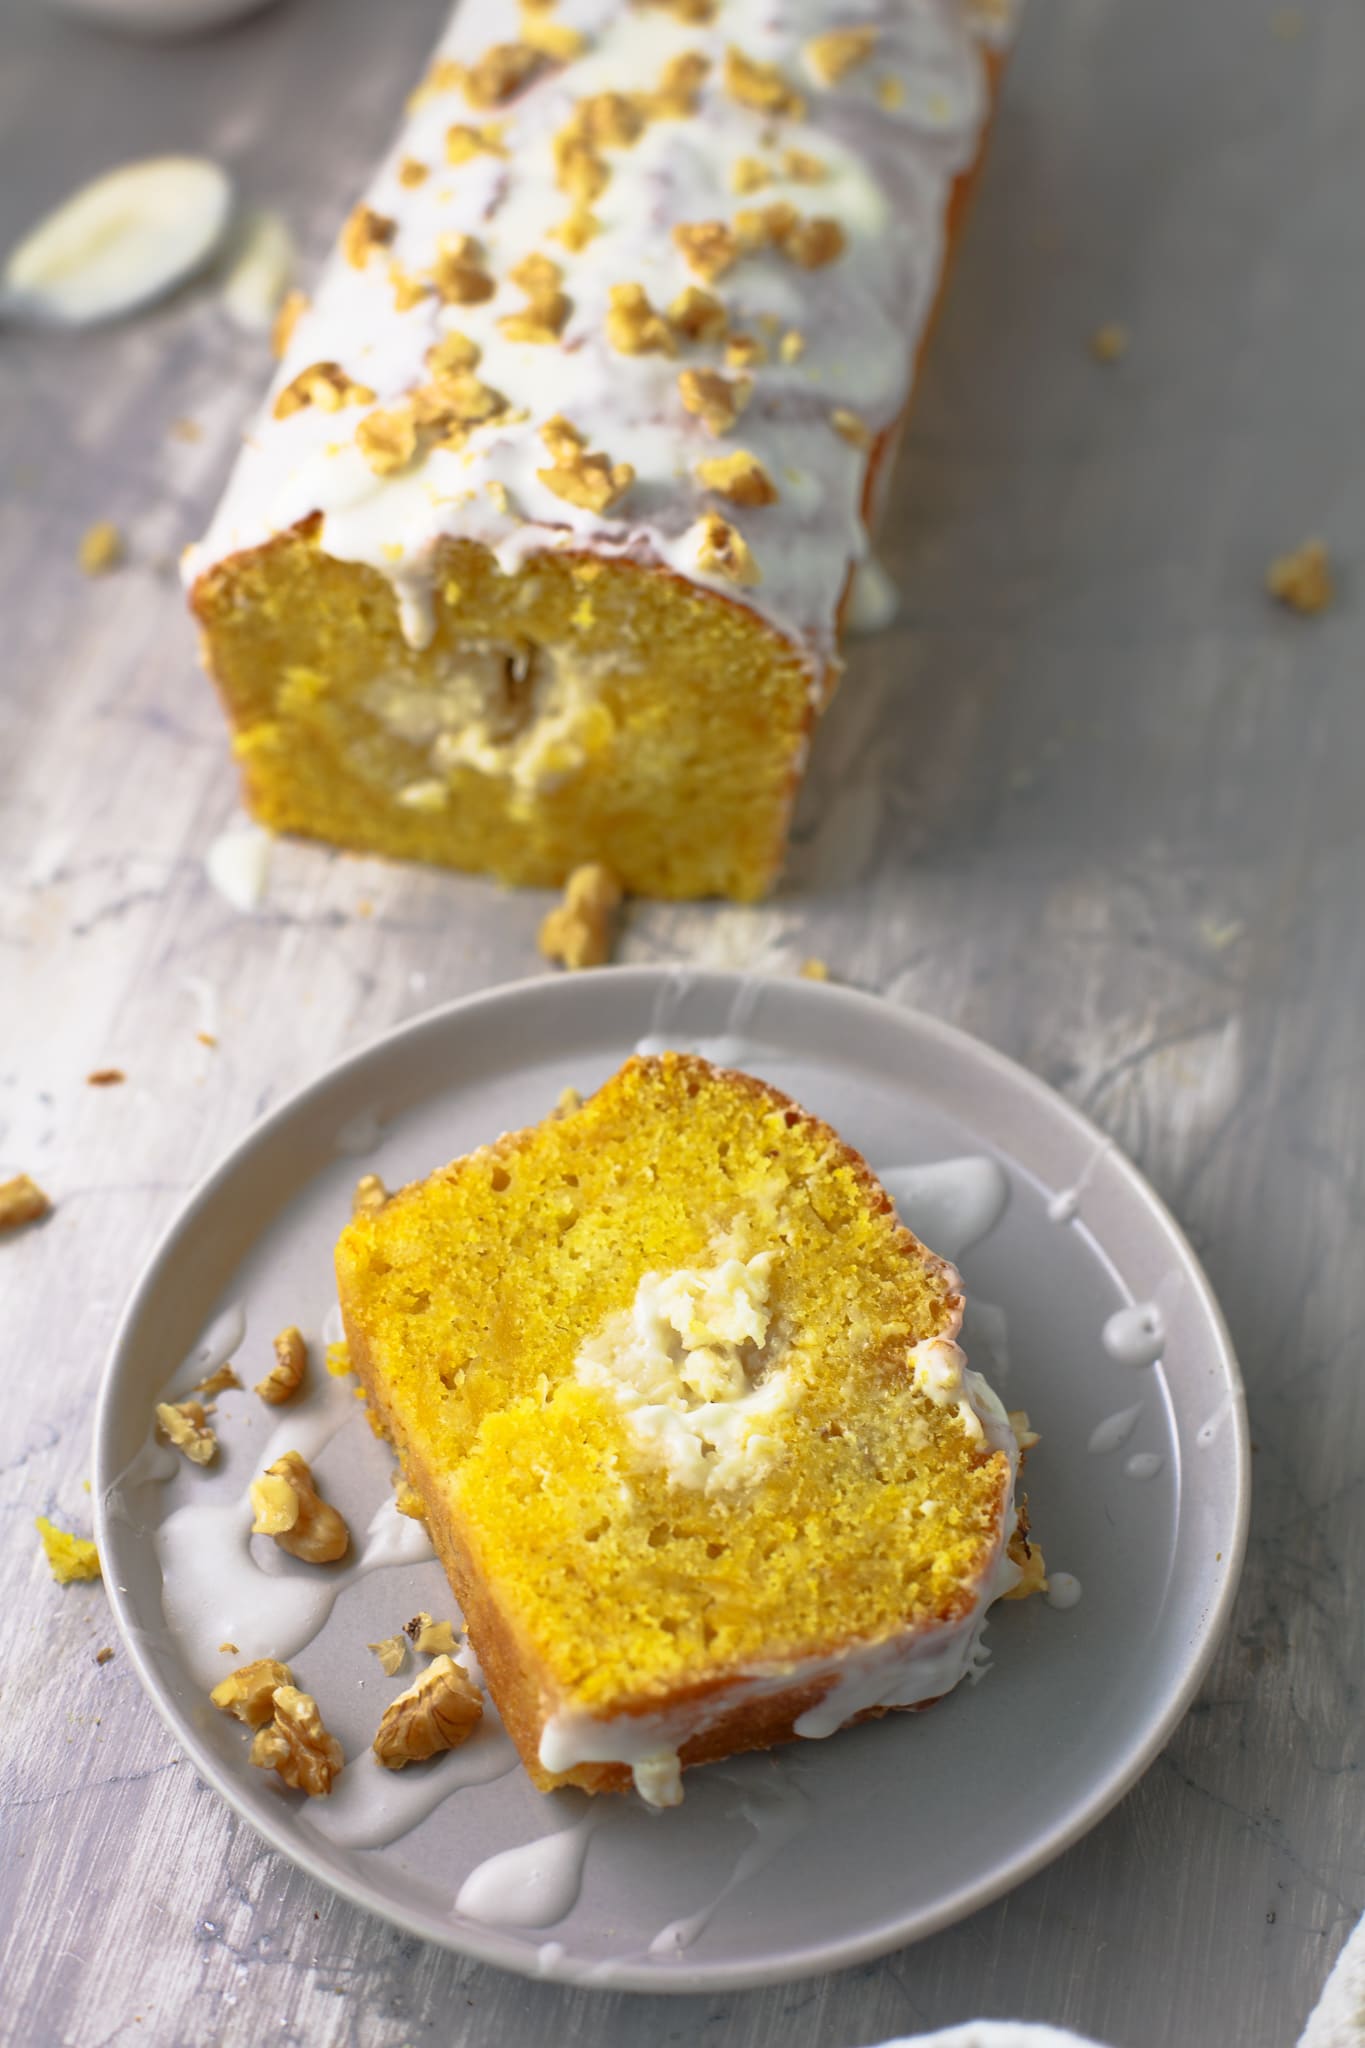
- Pumpkin bread with chocolate chips
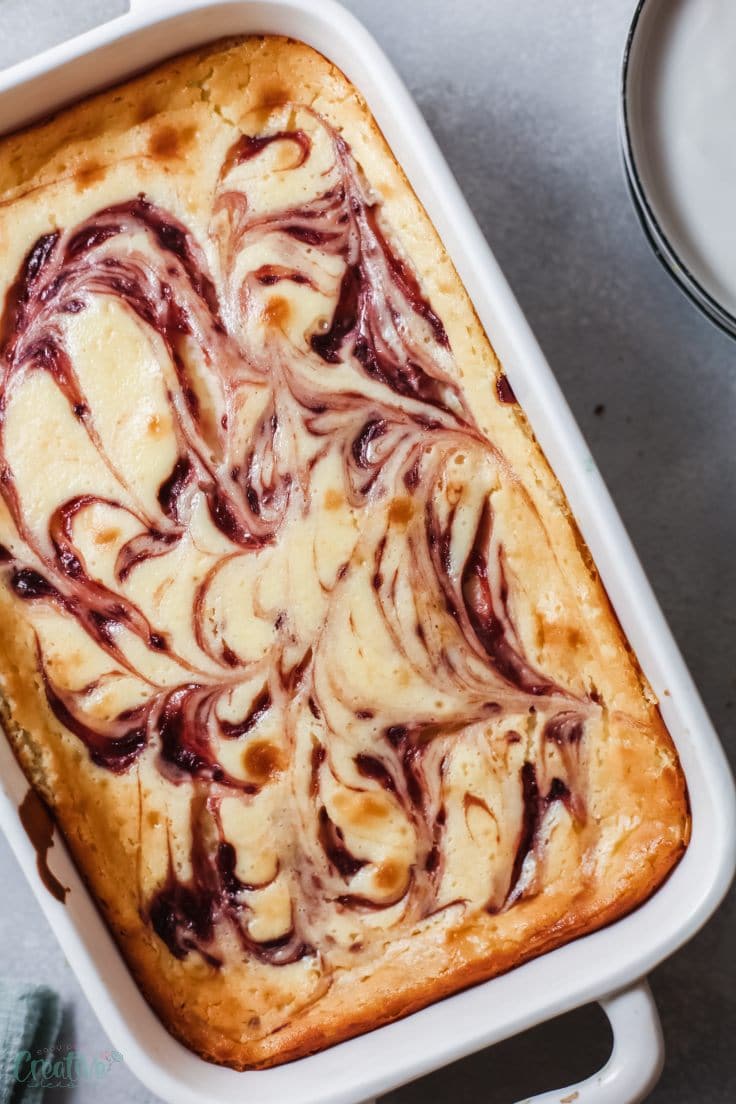
- Raspberry swirl cheesecake
- Pumpkin cream cheese bread
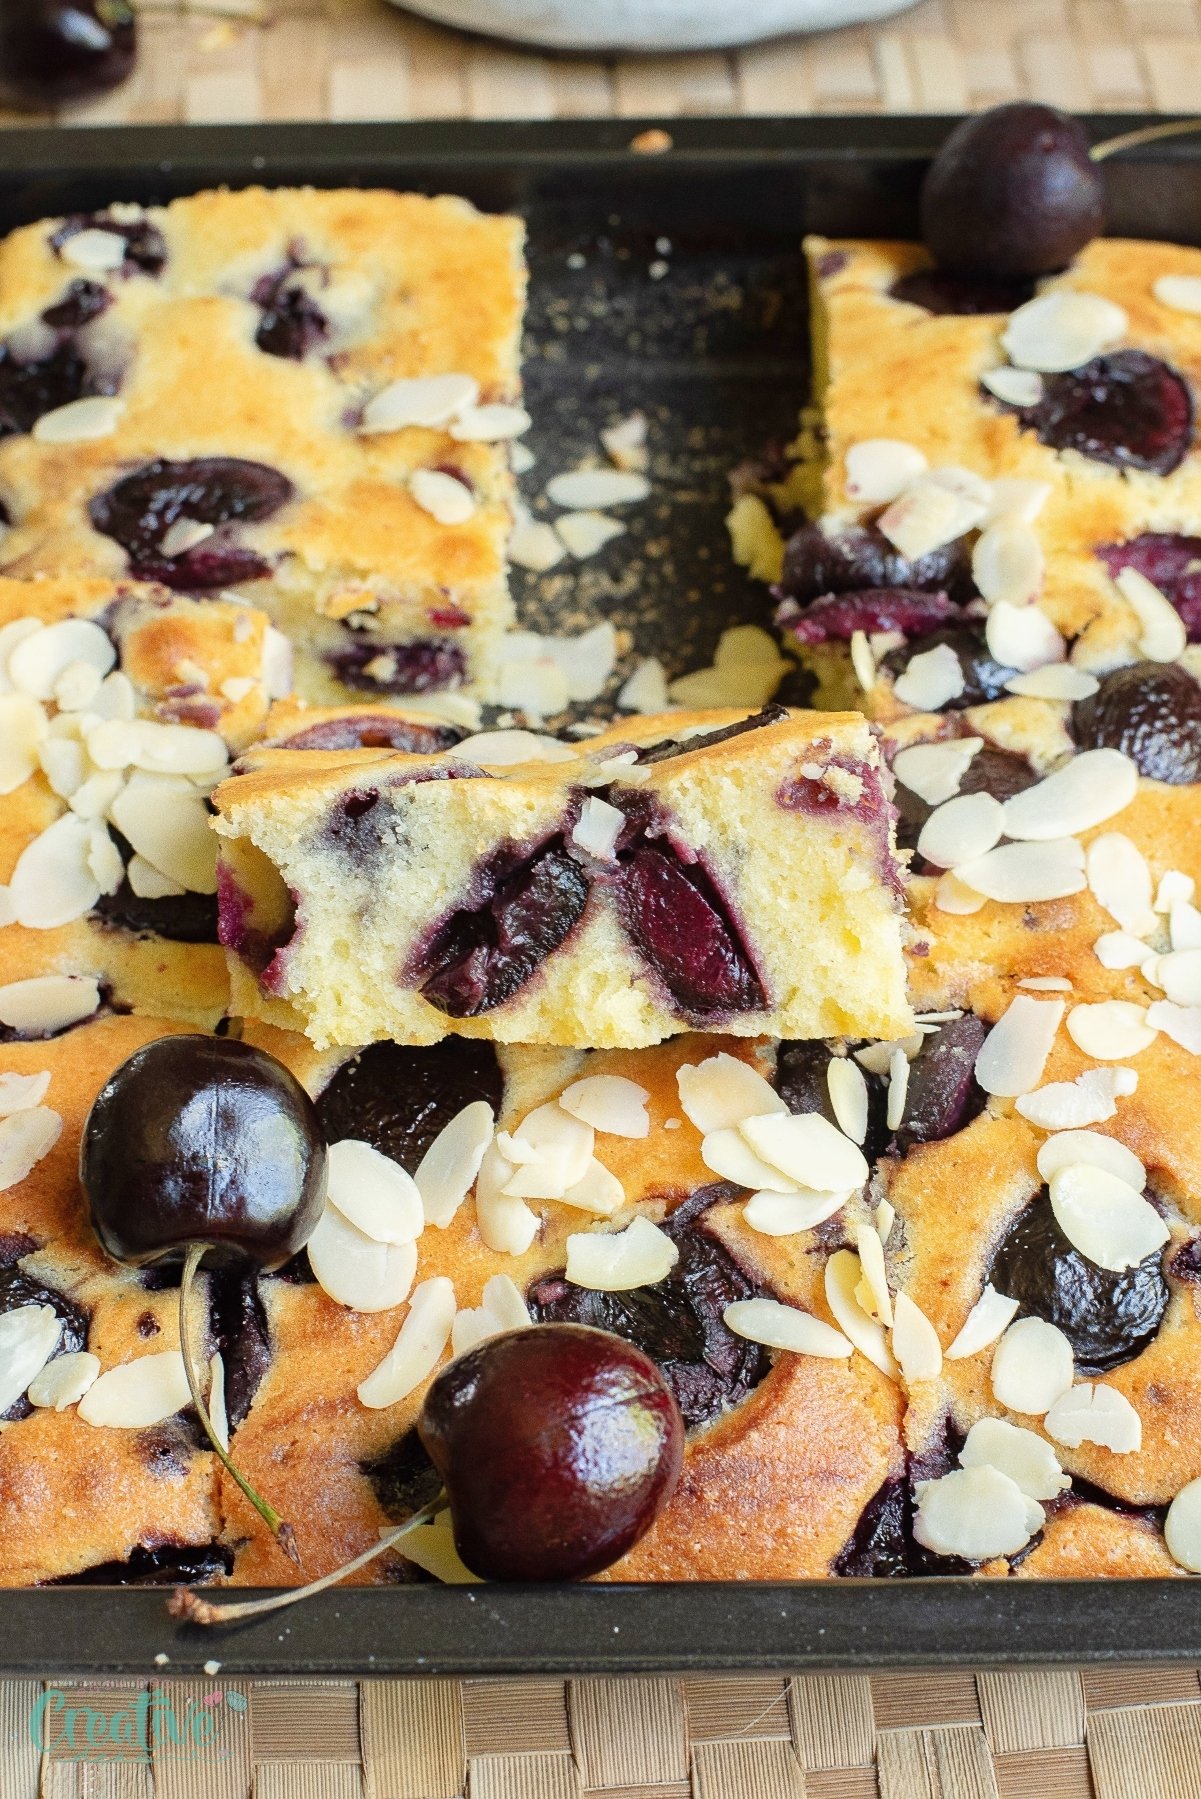
- Cherry sheet cake with fresh cherries
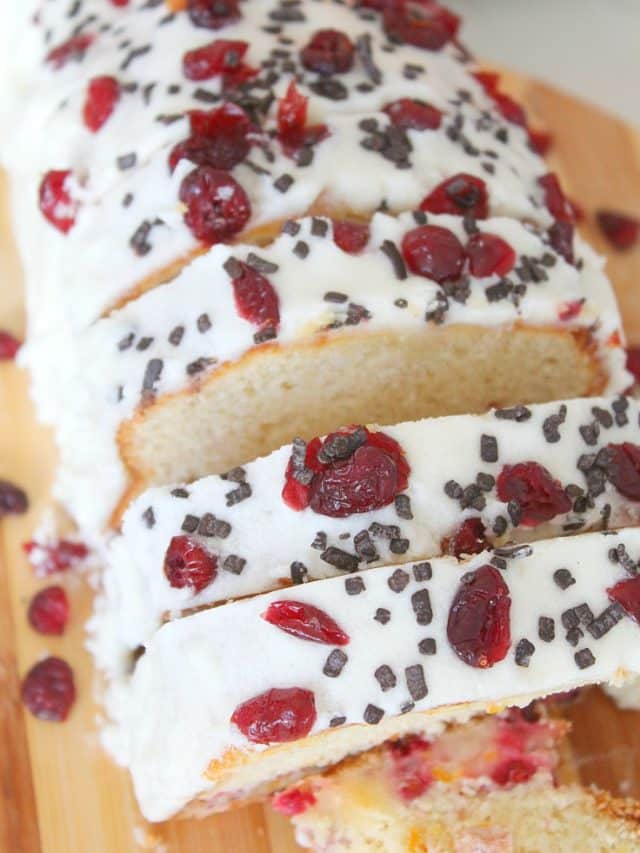
- Cranberry pound cake with orange zest
Serving size
This chocolate pound cake recipe yields one 9×5 inch loaf, which serves about 8-9 people, depending on the size of slices.
If you need to serve a larger group, feel free to double the recipe and use two loaf pans. This cake also makes for a great party dessert when sliced into smaller bite-sized pieces.
Ready to satisfy your chocolate cravings? So, it’s time to try out this delectable chocolate pound cake recipe and impress your friends and family with your baking skills. Don’t forget to sign up to my newsletter for more delicious recipes like this delivered straight to your inbox! Happy baking!
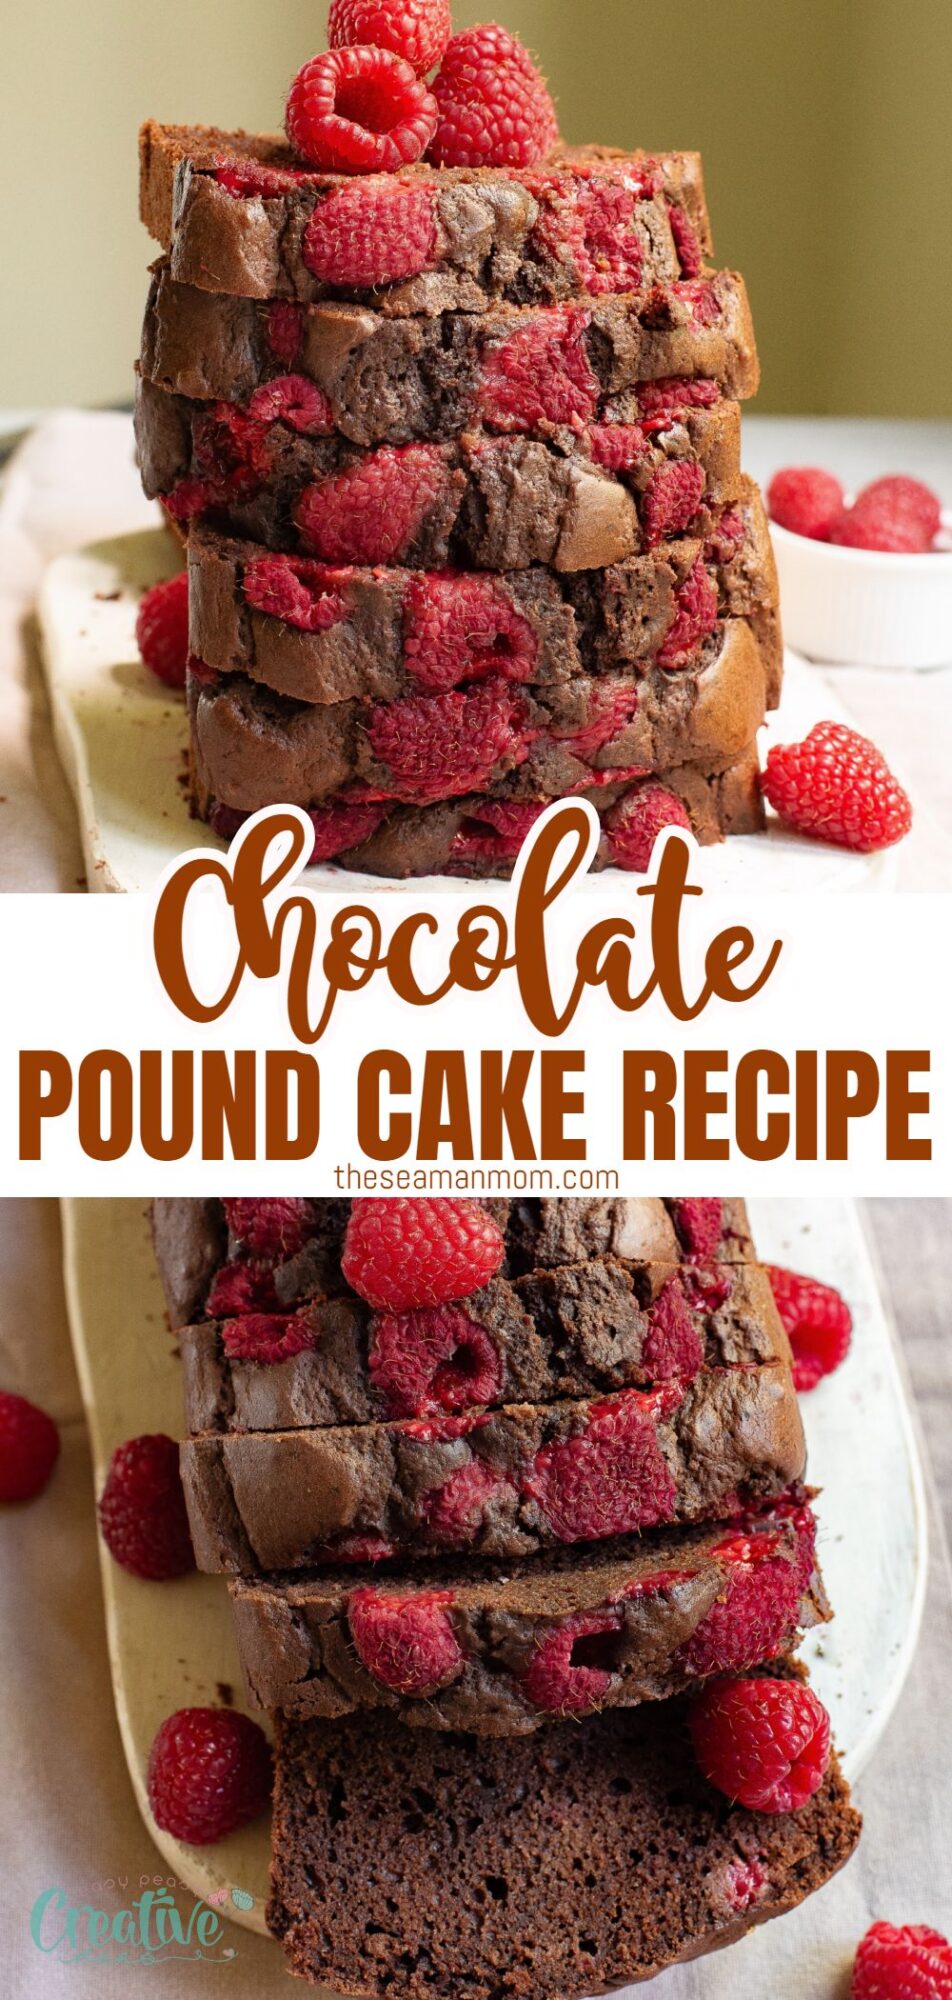
Chocolate pound cake recipe
Ingredients
- 1 1/2 cups flour
- 1/2 cup of cocoa
- 2 1/2 teaspoons baking powder
- a pinch of salt
- 1 stick butter
- 3/4 cup sugar
- 1 teaspoon vanilla sugar or 1/4 teaspoon vanilla extract
- 3 eggs
- 1 cup milk
- Raspberries as preferred
Equipment
- loaf pan
- mixing bowls
- baking paper
Instructions
- Preheat oven to 350 F. Line the loaf pan with baking paper
- In a bowl, mix flour, cocoa, baking powder and salt

- In another bowl, cream the butter with sugar and vanilla sugar

- Beat eggs well. Add to creamed butter

- Add milk and mix well

- Add dry ingredients and mix until you get a smooth batter

- Pour the batter in the loaf pan

- Top with raspberries, gently pressed into the batter until completely covered

- Bake for about 50 minutes or until a toothpick inserted in center comes out clean. If you find that it starts to burn on top, cover the cake with aluminum foil. Once done, leave to cool for 10 minutes before taking out the loaf pan

Video
Nutrition
Article may contain Amazon & affiliate links. As an Amazon Associate I earn from qualifying purchases at no additional cost to you.





Can you use frozen raspberries?
This looks so delicious and I love the combination of chocolate and raspberries. I’d like to try it with white whole wheat, a flour that is lees dense than “regular” whole wheat but healthier than white.
What a wonderful idea! The cake will definitely get fluffier and softer with white whole wheat. Thanks for the tip.
Dear Petro, This pound cake looks so inviting. I love chocolate. I would certainly find this comforting with a nice cup of coffee. Blessings dear. Catherine