Craft stick star for 4th of July
Creating a craft stick star is not only a fun DIY project but also a versatile decoration that can add a patriotic flair to your holiday décor. Perfect as a DIY 4th of July decoration or as a handmade gift, this project is simple, inexpensive, and allows for plenty of creativity.
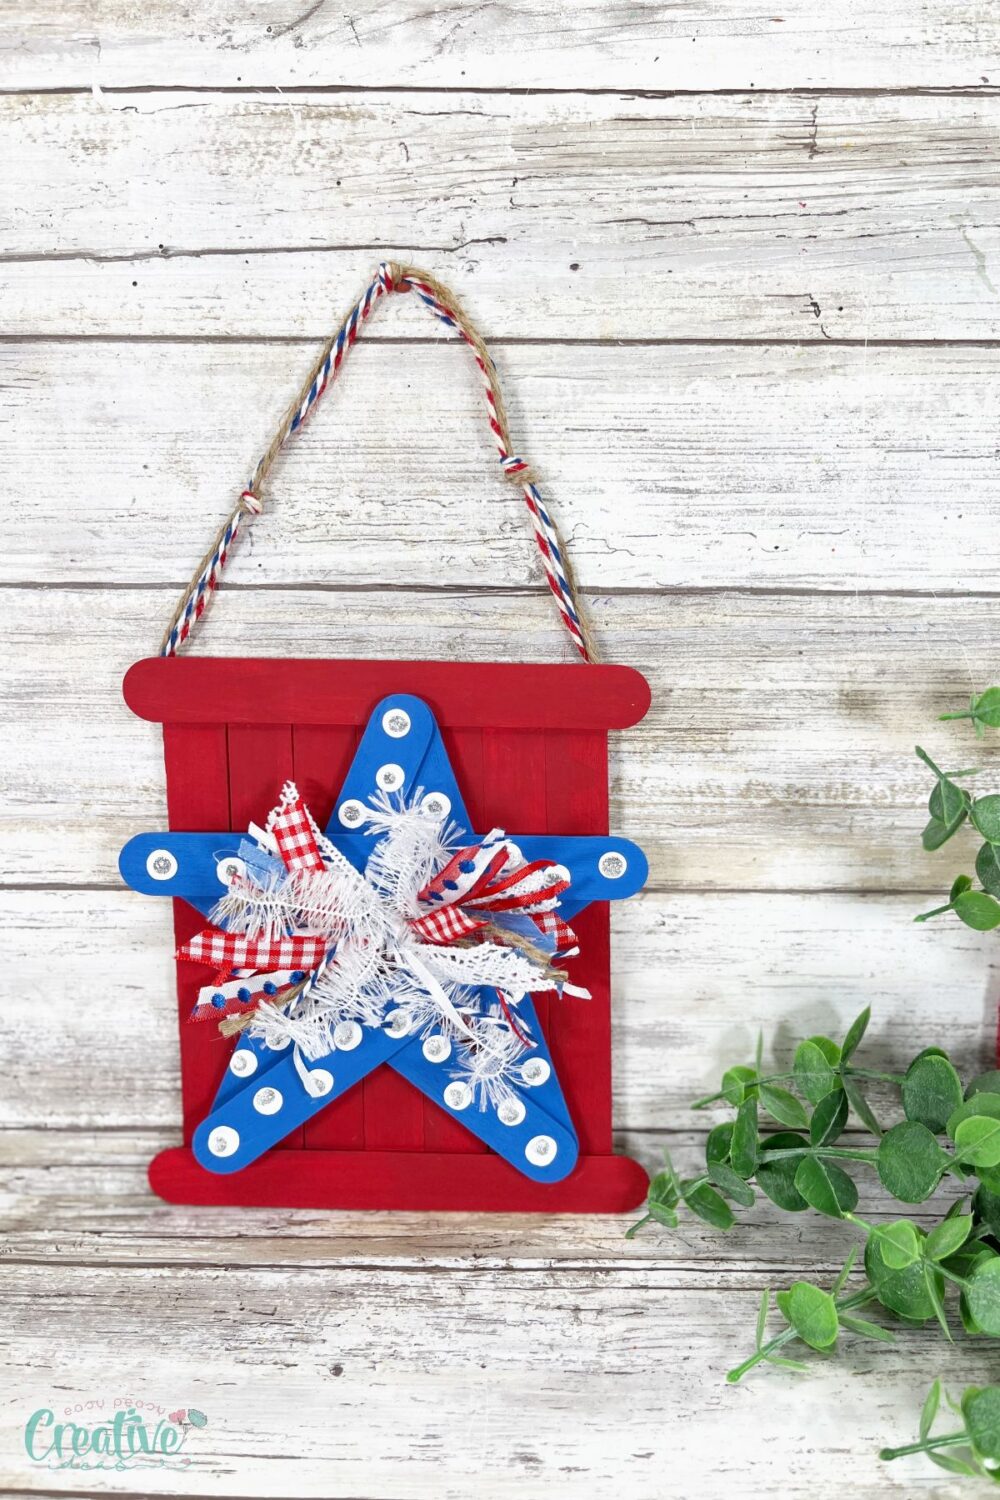
Whether you’re crafting with kids or looking for a craft stick star project for yourself, this tutorial will guide you through the simple and easy steps to create your own unique DIY patriotic star. You’ll love how simple and customizable this project is, making it the perfect craft for all ages. This DIY 4th of July star uses simple materials and is also a great way to repurpose old or unused craft sticks.
How to make a craft stick star
Materials
To create this easy craft, you’ll need the following materials:
- Jumbo craft sticks: The foundation of your star. Jumbo craft sticks are ideal for their size and sturdiness.
- Natural jute twine: For hanging your star or adding a rustic touch.
- Silver glitter glue: To add sparkle and celebration to your star.
- Assorted scraps of ribbons, lace, trim, baker’s twine: in red, white, and blue. These will add color and texture, bringing the patriotic theme to life.
- Acrylic craft paint – red, white, blue: The primary colors for your DIY 4th of July star, representing the American flag.
Substitutes
- If jumbo craft sticks are not available, you can use regular-sized craft sticks, though you might need to adjust the size of your star accordingly.
- If you don’t have silver glitter glue, consider using any sparkling decorations or stickers.
- Feel free to get creative with the materials you have at home for decorating. Any red, white, and blue materials will enhance the patriotic feel.
Equipment
To assemble your craft stick star, ensure you have the following equipment:
- Hot Glue Gun and Glue Sticks: For a secure assembly of your craft sticks.
- Paintbrush: For applying acrylic paint smoothly.
- Pencil with New Eraser: The pencil is for marking, and the eraser can be used as a stamp for polka dots or other patterns.
- Scissors: For cutting ribbons, lace, trim, and baker’s twine to size.
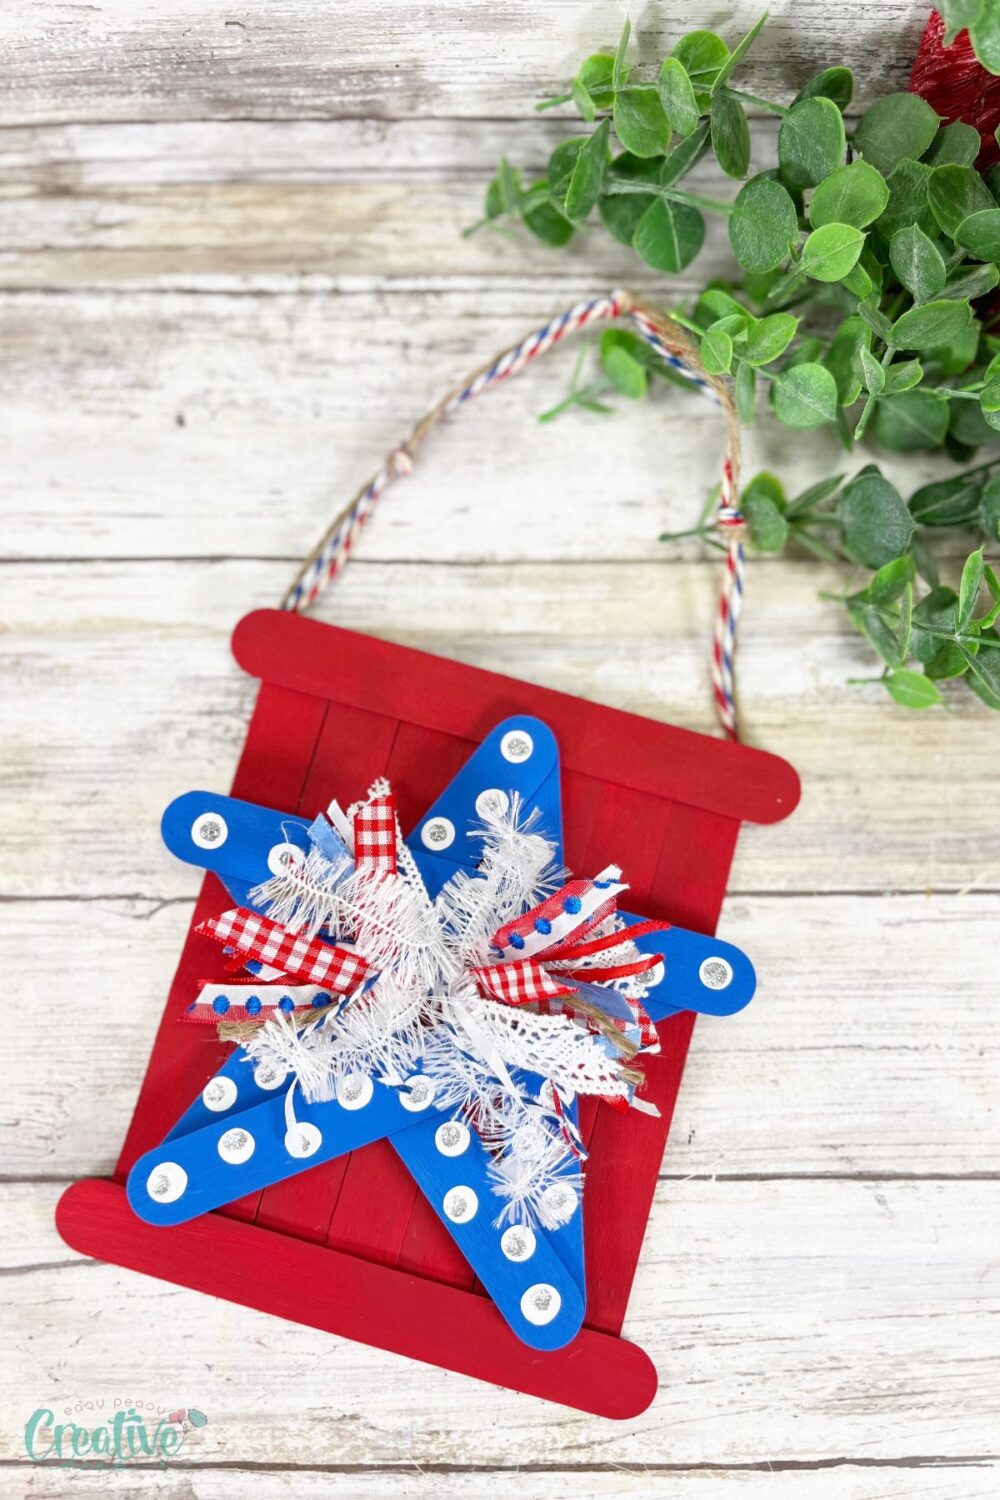
Instructions to make the DIY patriotic star
Step one
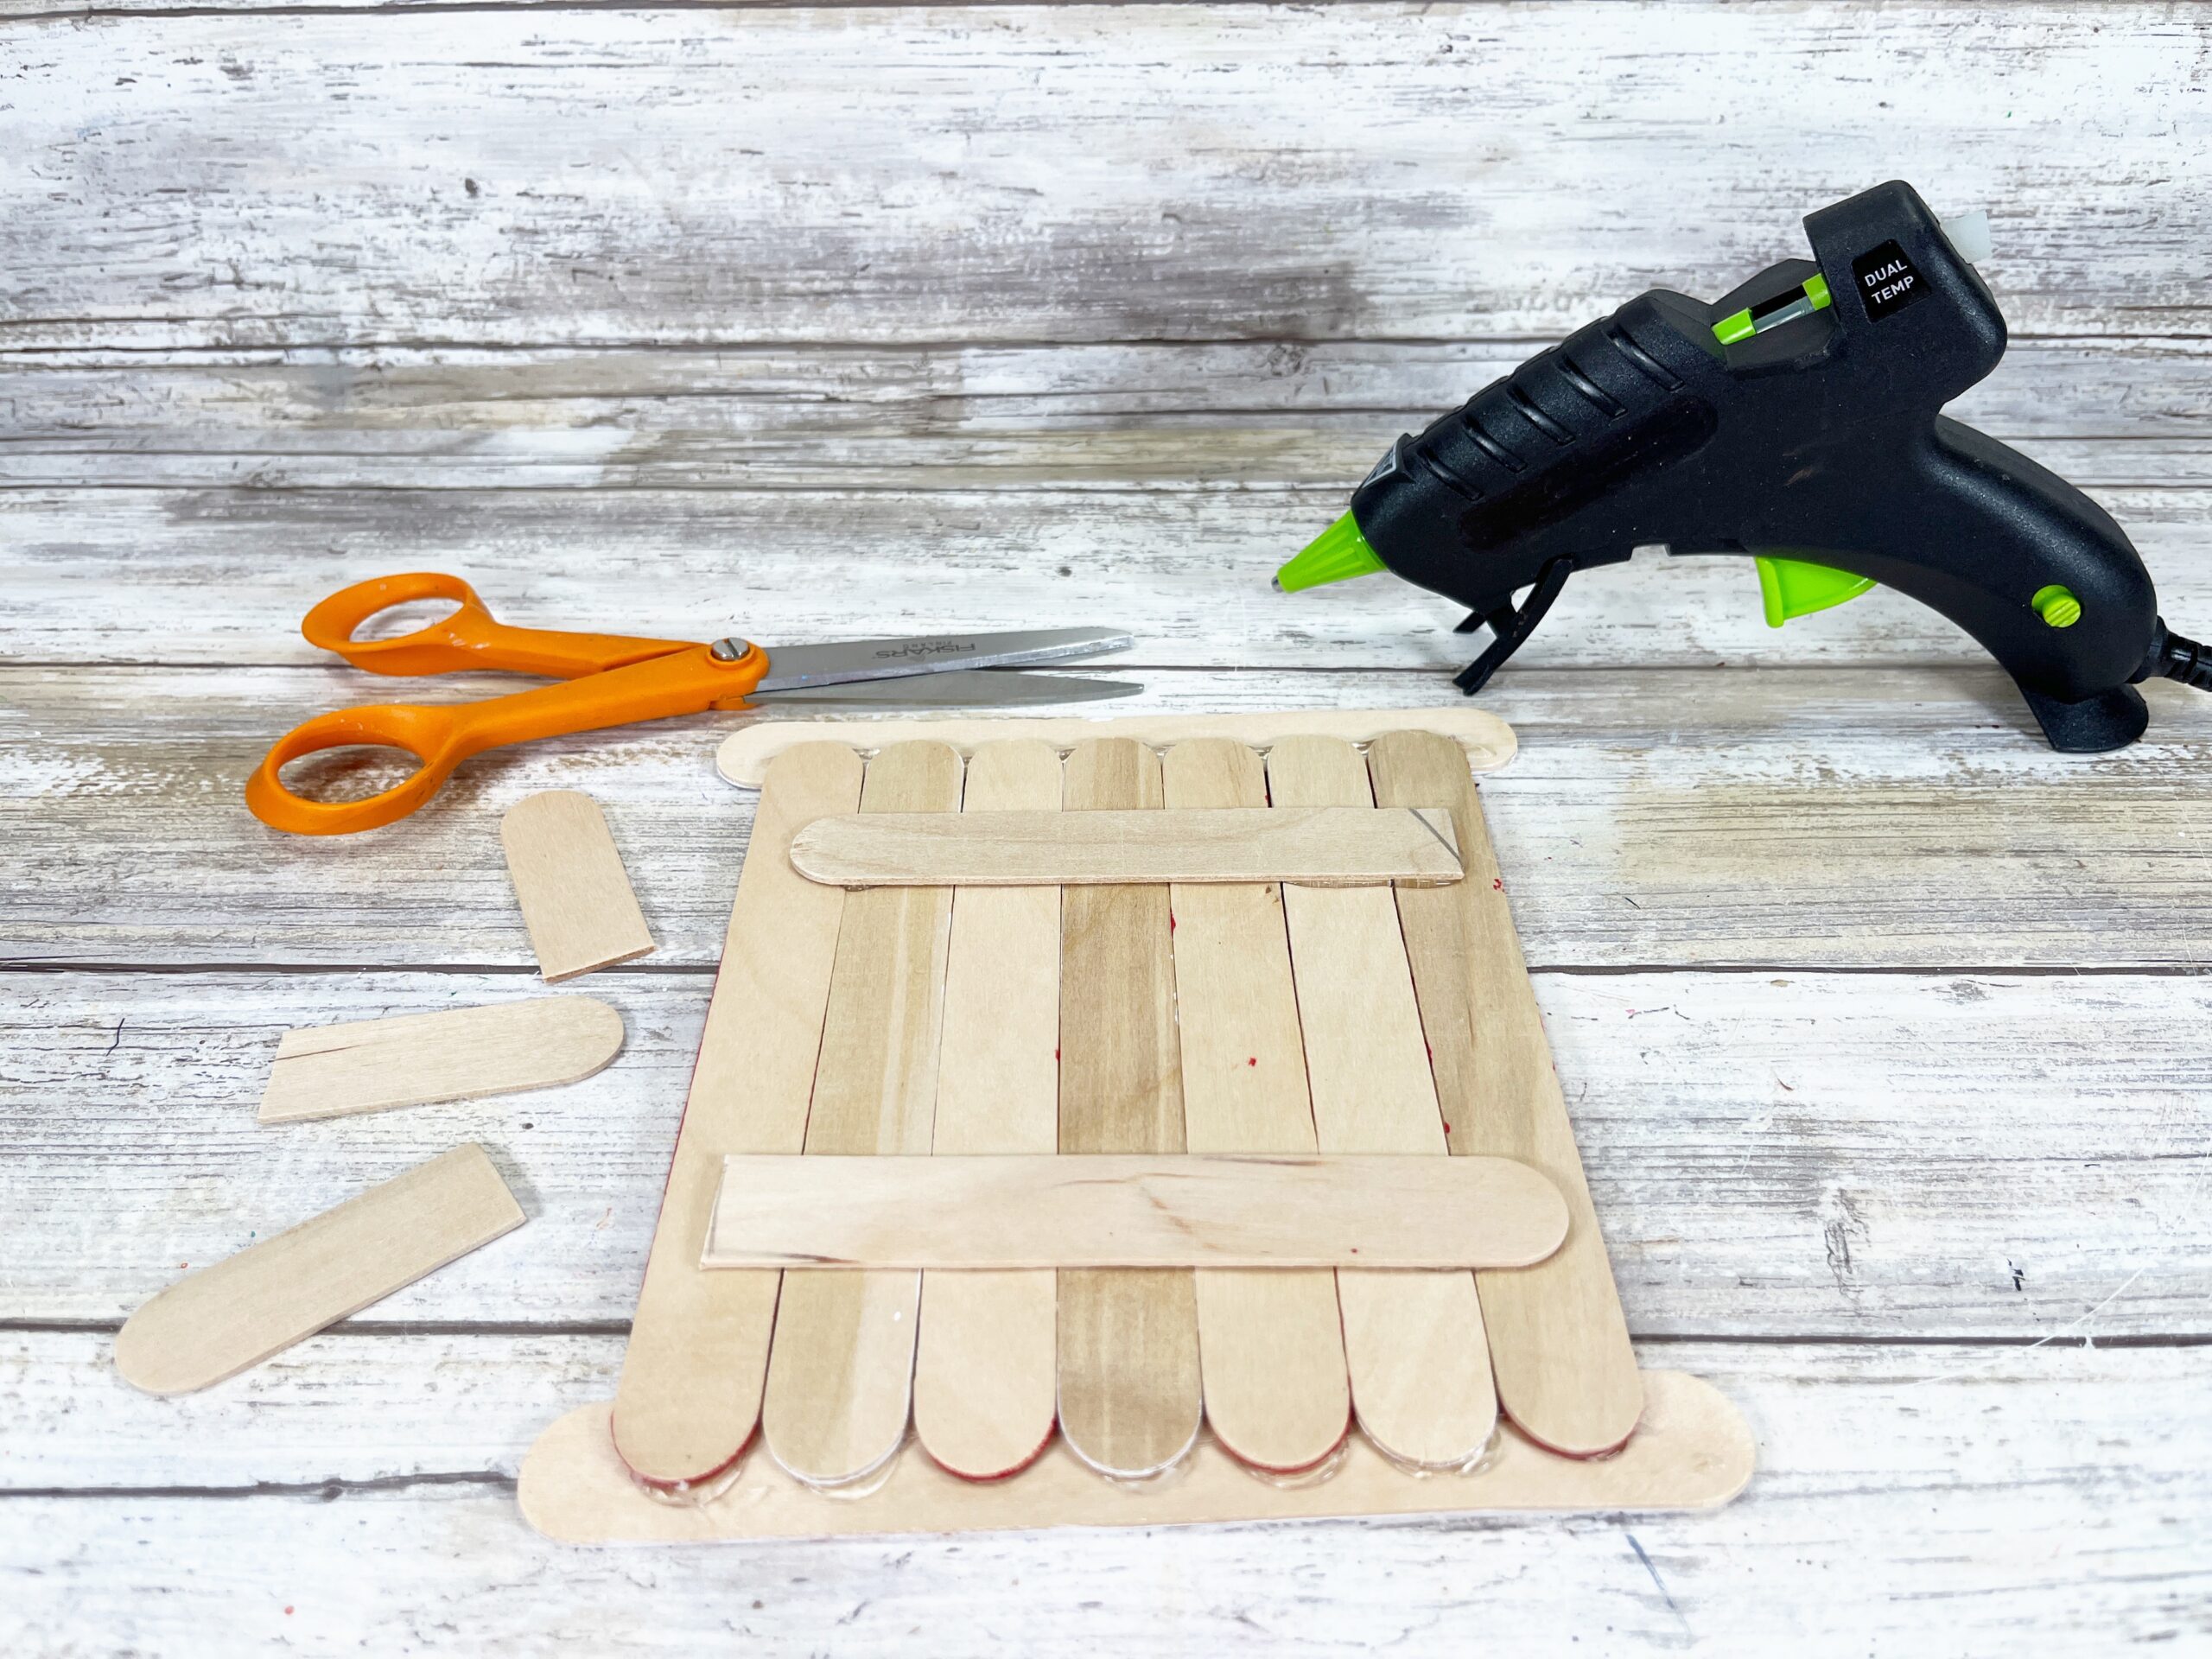
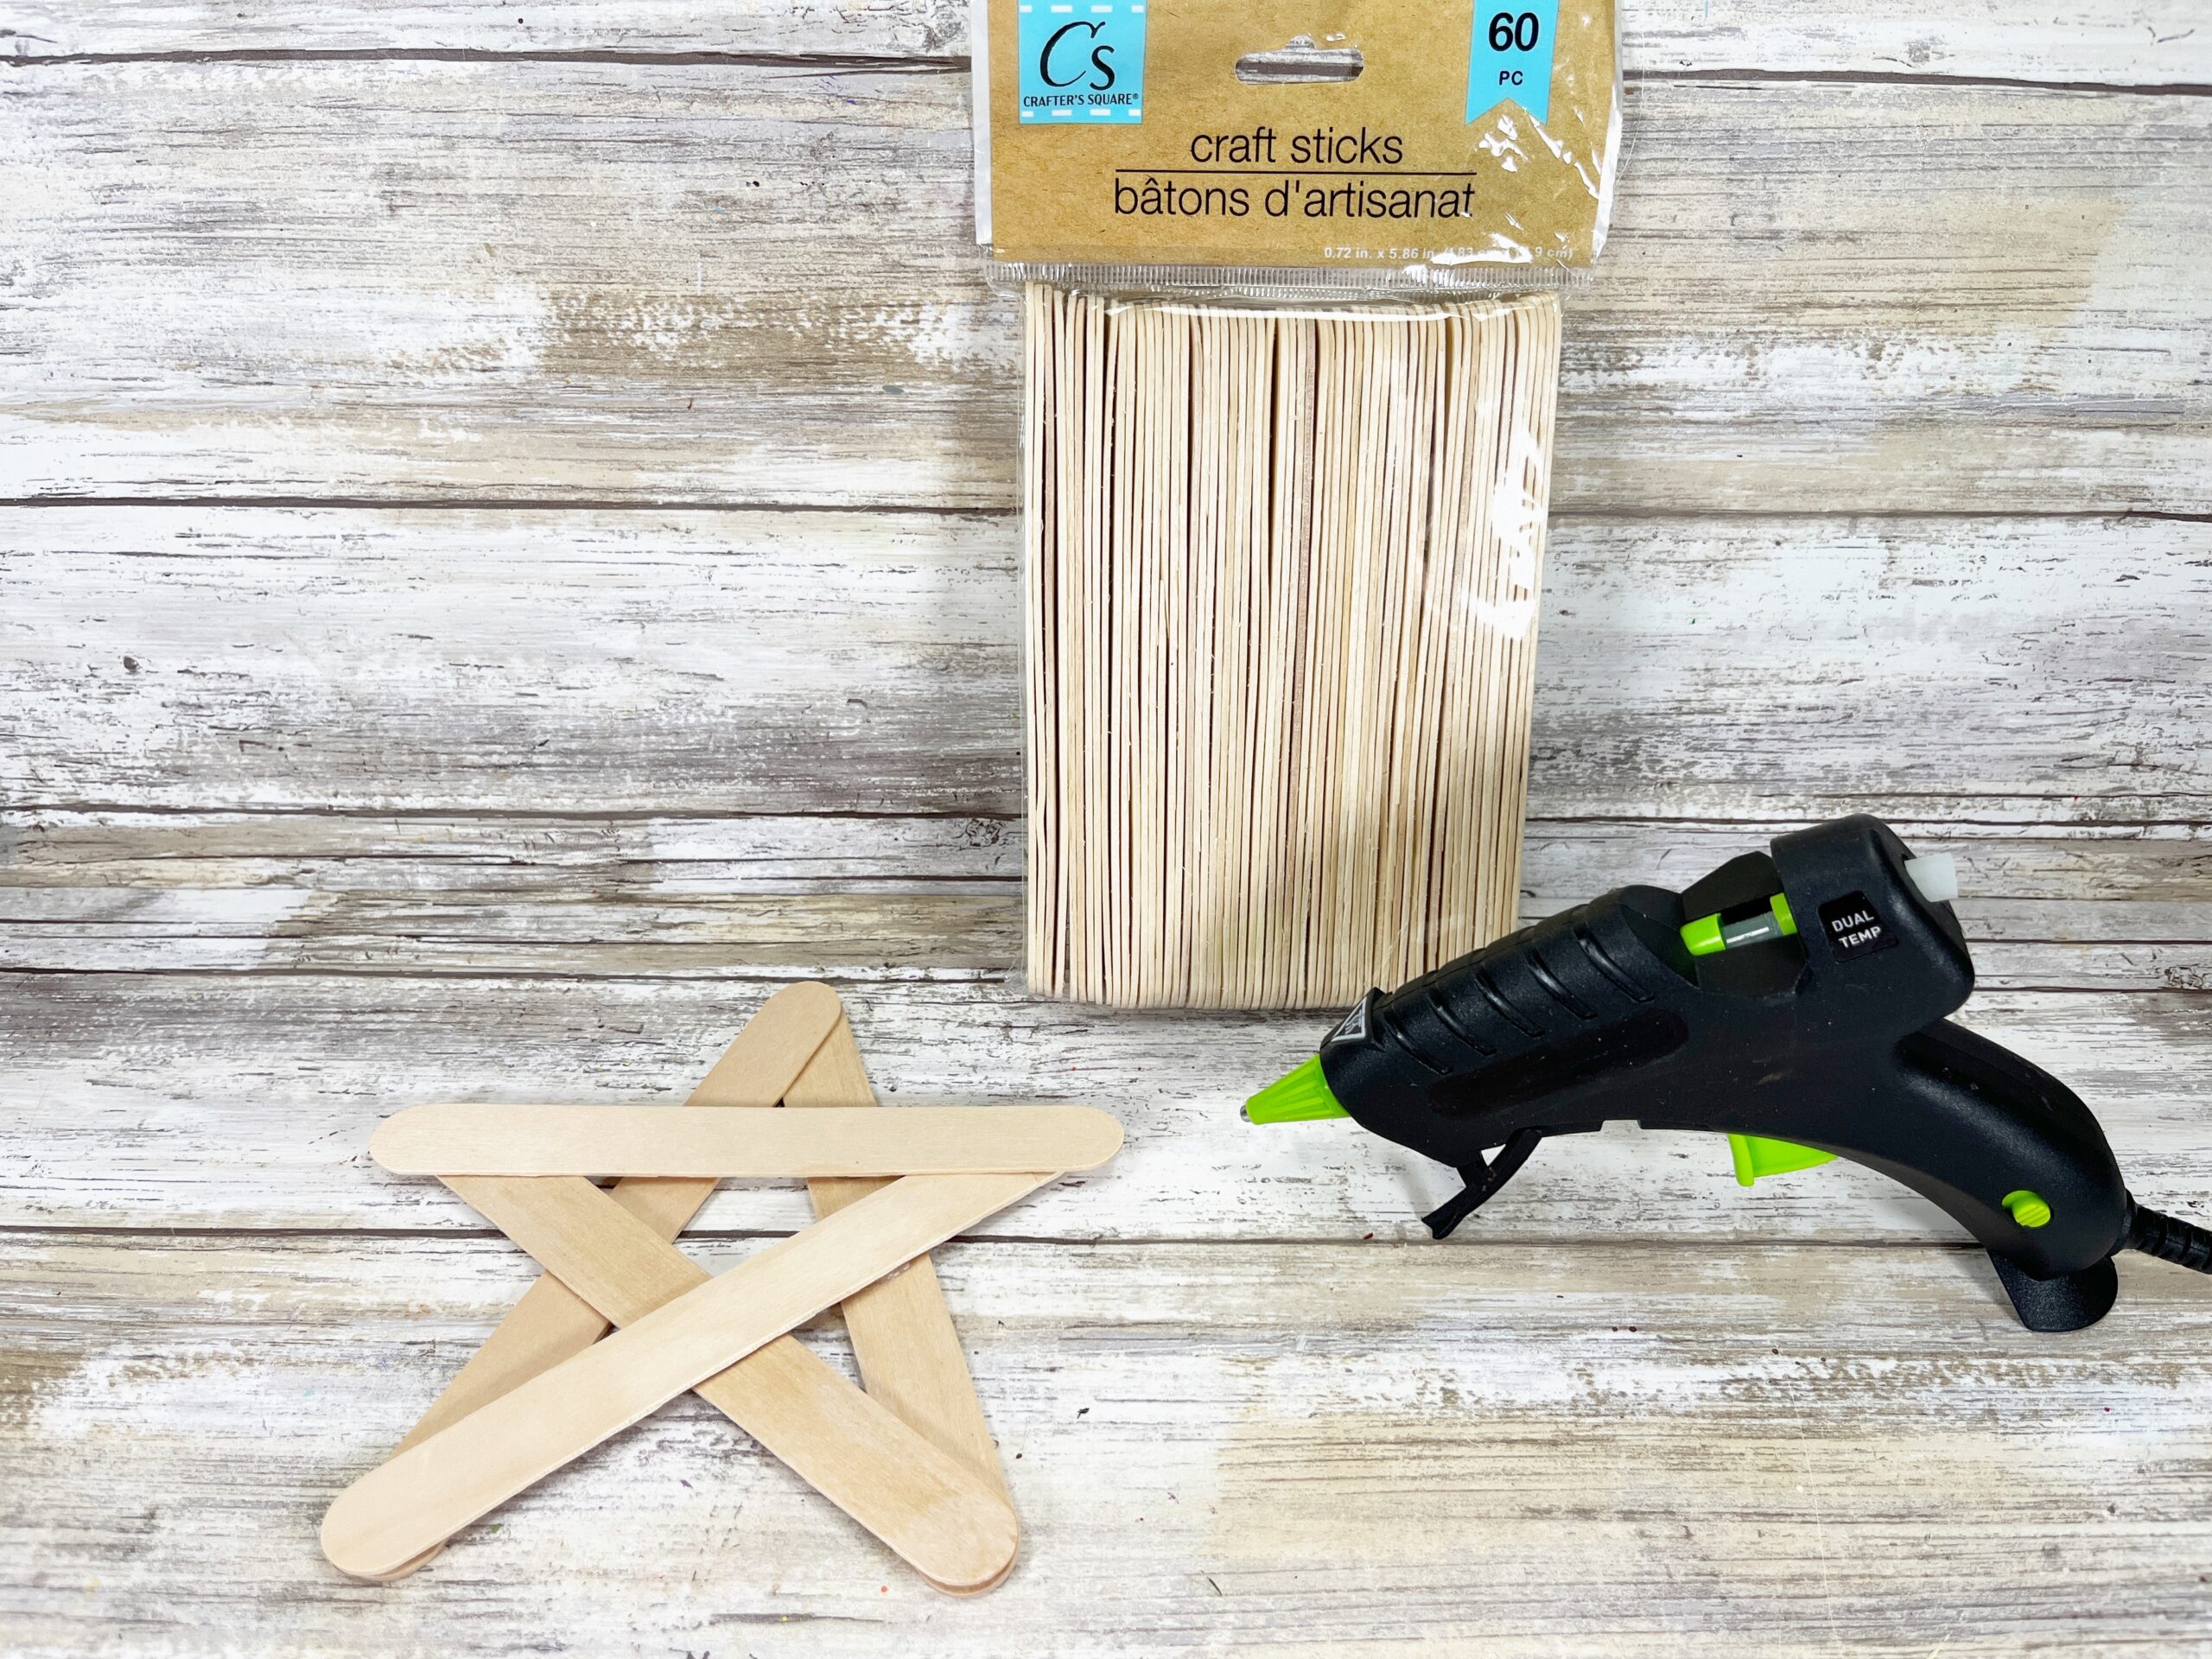
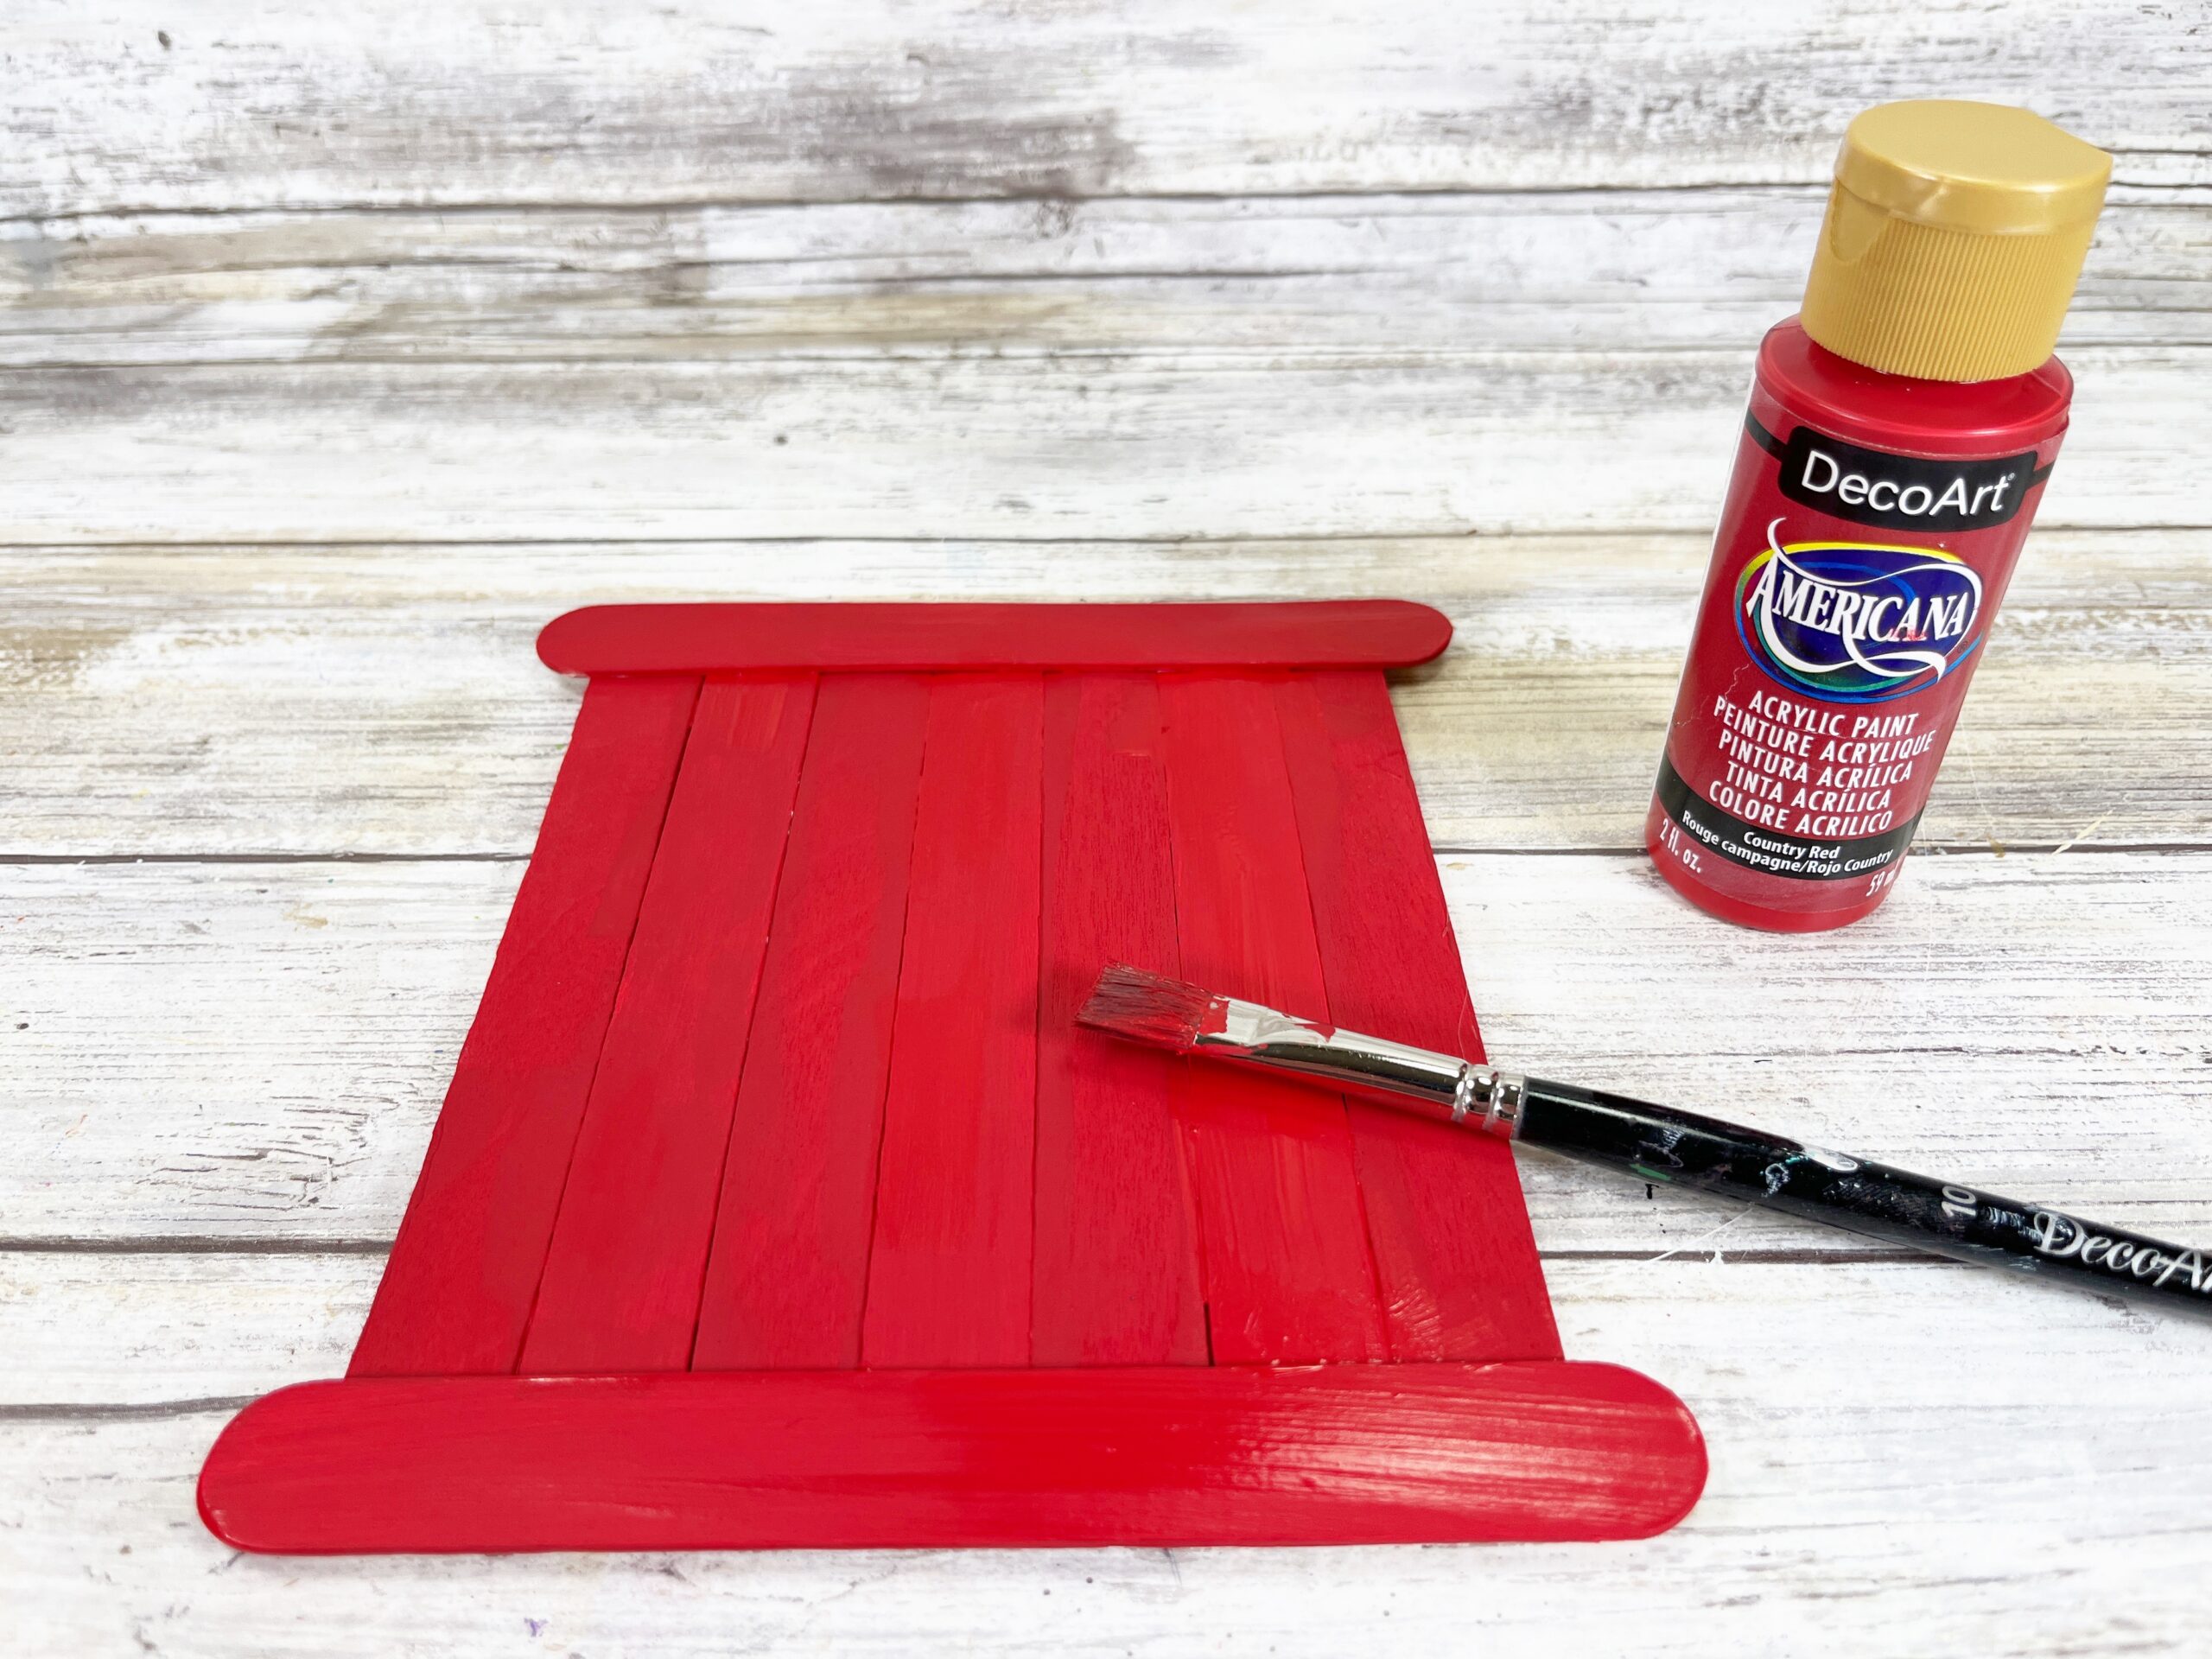
Gather all supplies. To create the sign, line up seven jumbo craft sticks on your work surface. Attach a jumbo craft stick to the front top and bottom with a glue gun and glue sticks. Cut additional craft sticks to the width of the sign and glue in place on the back.
Step two
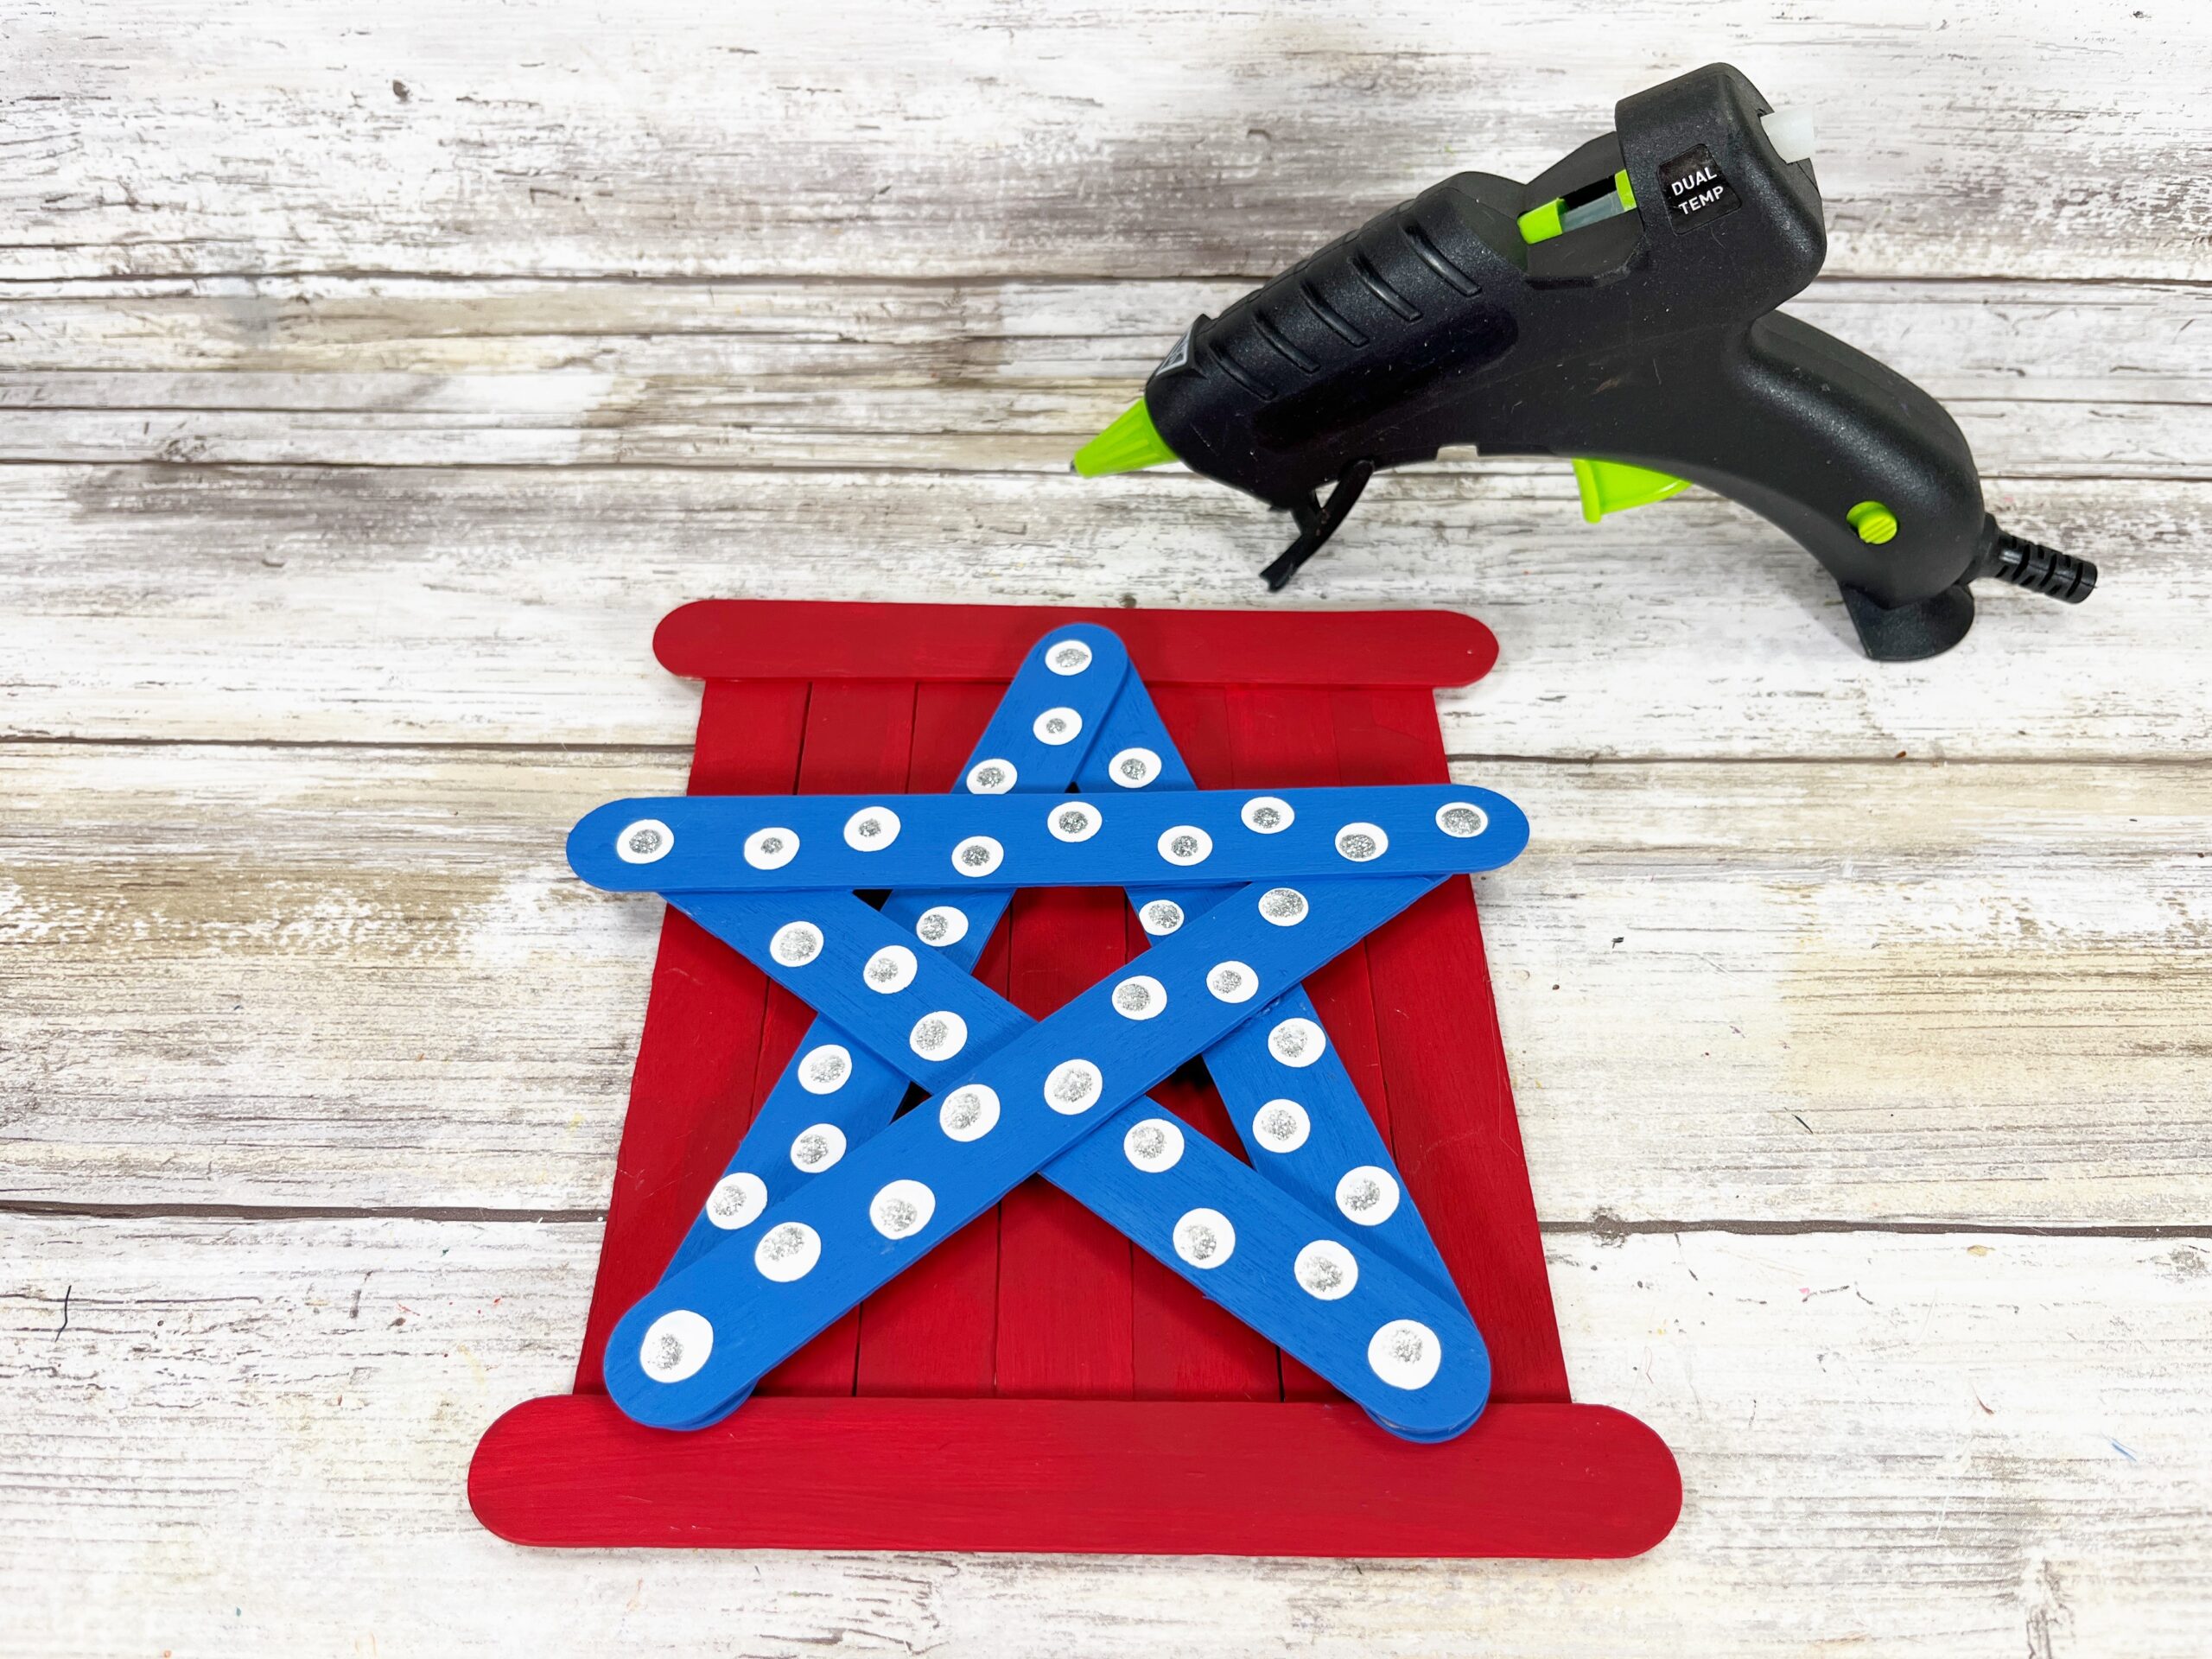
To create the star shape, line up five jumbo craft sticks on your work surface. Attach two craft sticks in an upside down “V” shape with a glue gun and glue sticks. Glue a craft stick at a diagonal from the bottom right-hand side of the “V” shape. Glue a craft stick at a diagonal from the bottom left-hand side of the “V” shape. This creates an “X” shape. Attach the final craft stick horizontally from the top right and left-hand side of the “X” shape.
Step three
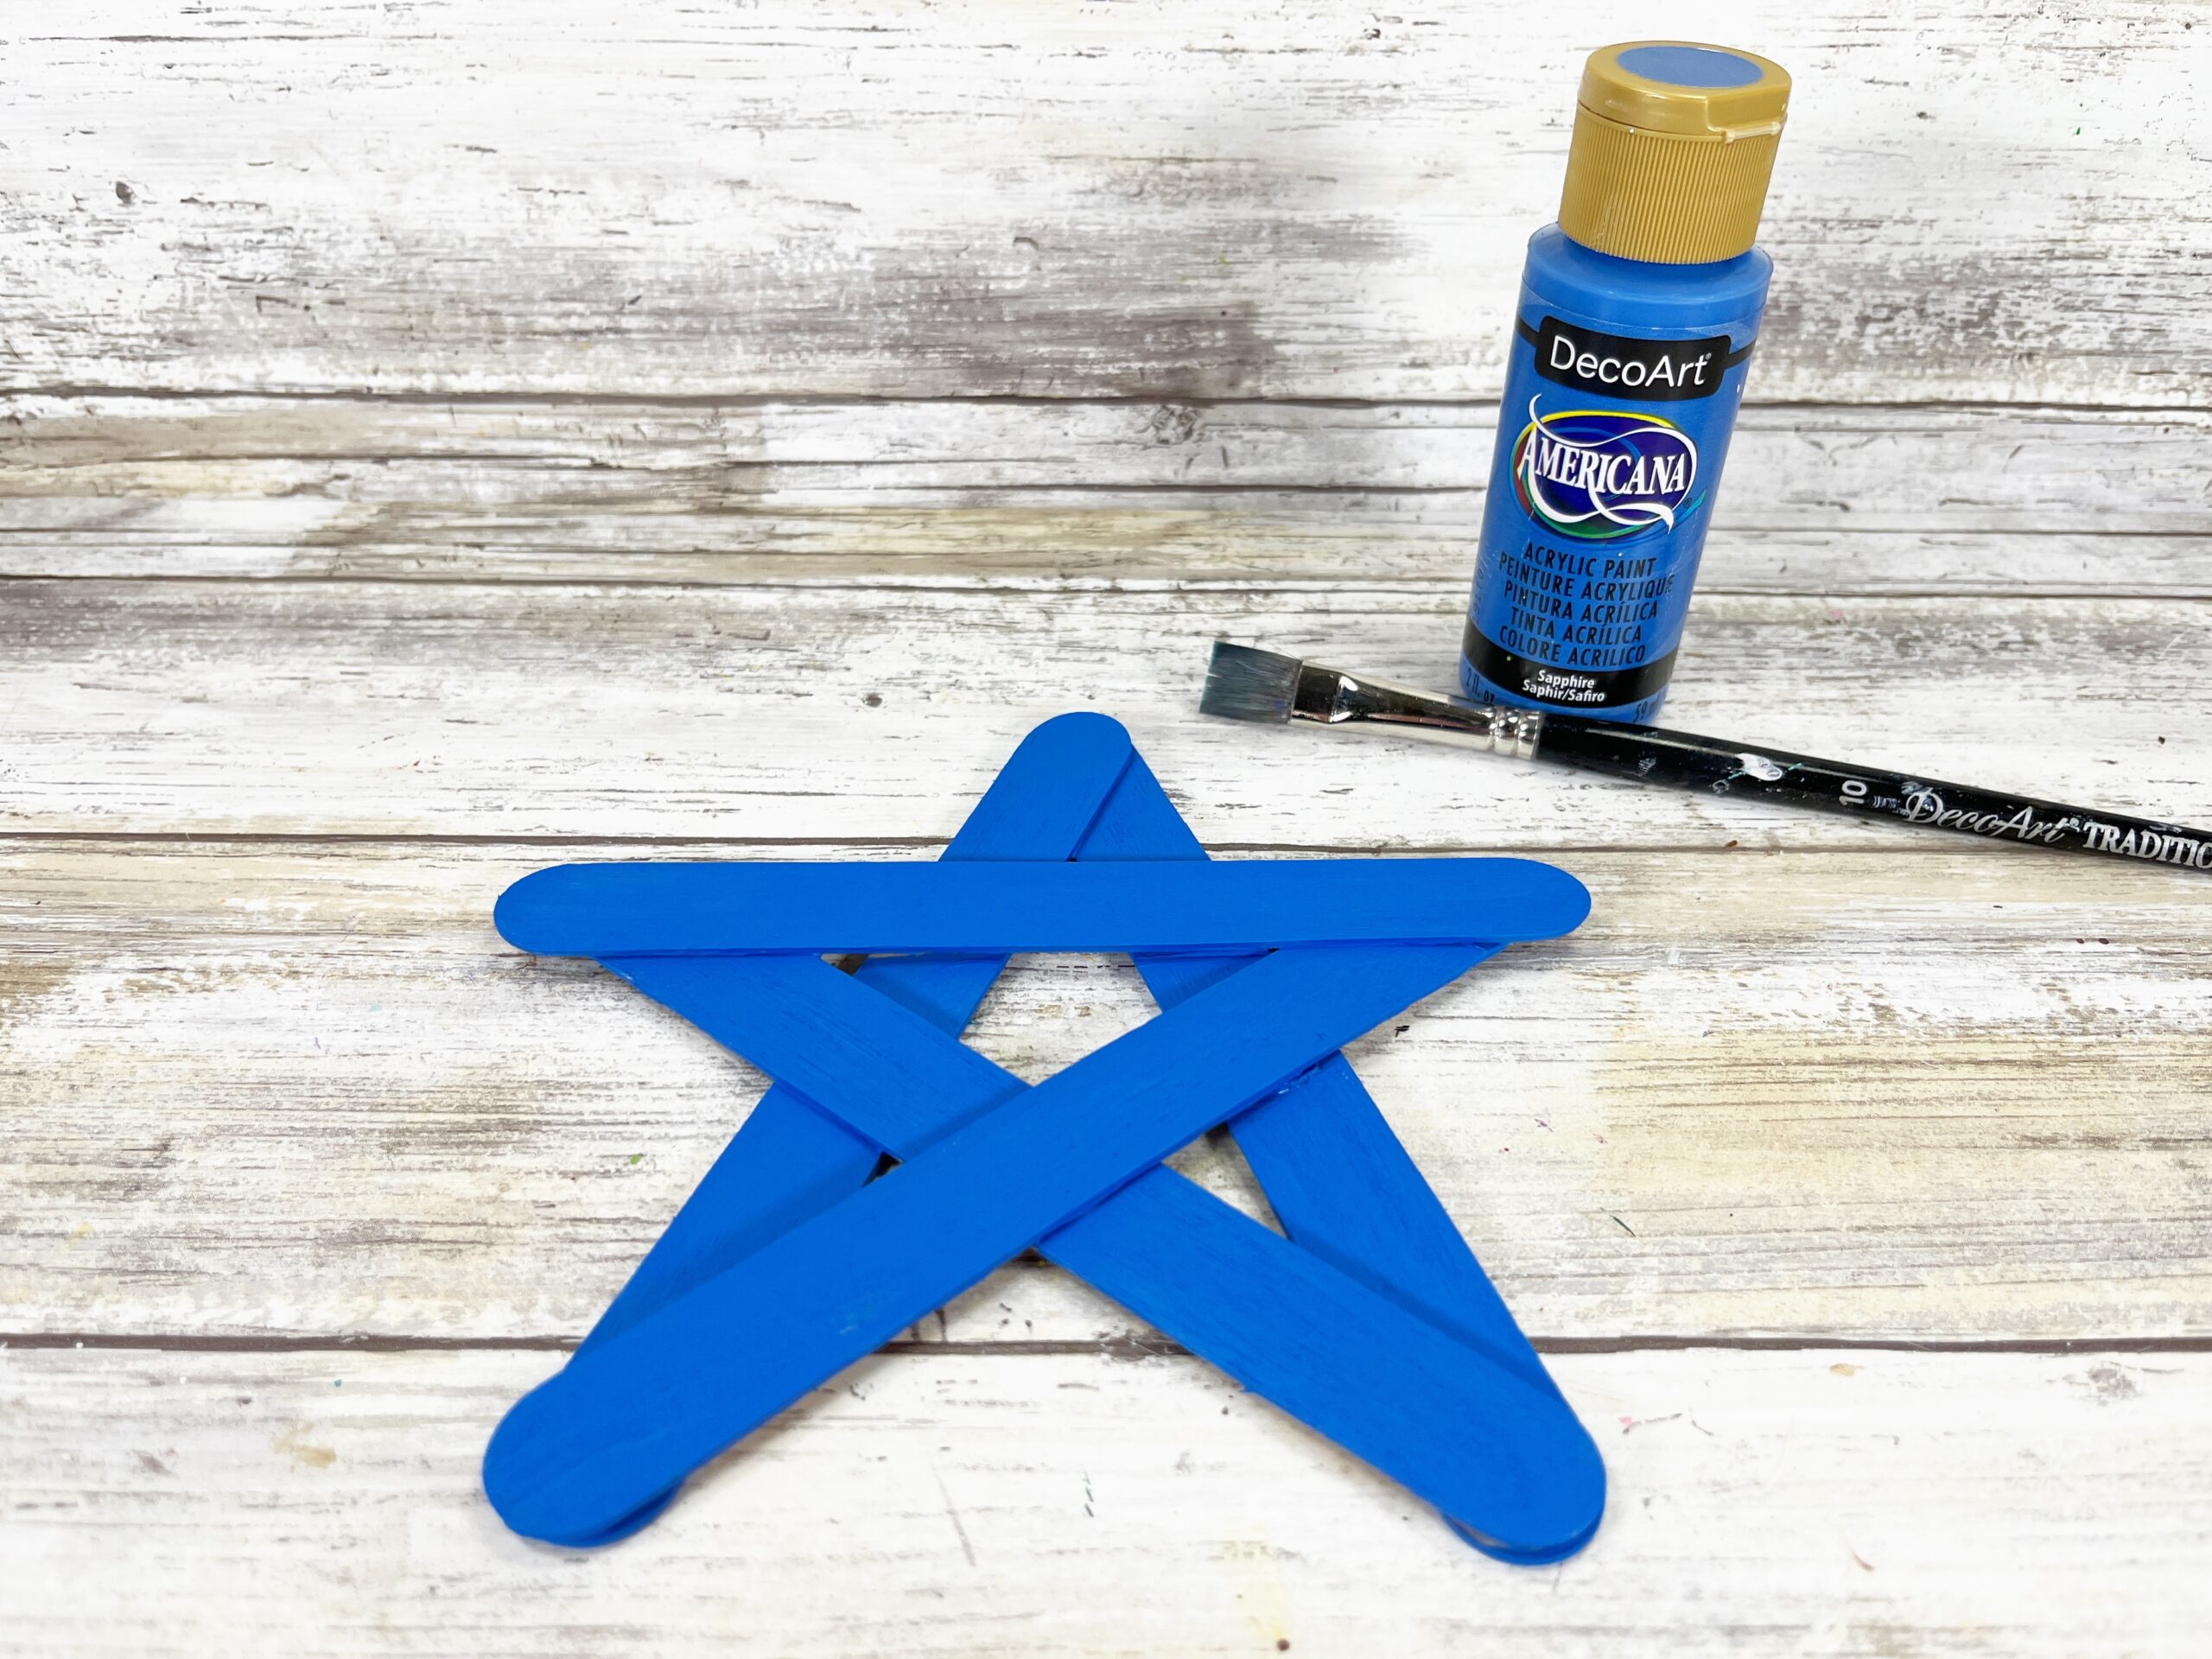
Basecoat the star with blue acrylic craft paint and the sign with red acrylic craft paint. Let dry and apply a second coat, if necessary. If working with little kids, you can use washable markers, crayon, or even colored pencil to color the jumbo craft sticks.
Step four
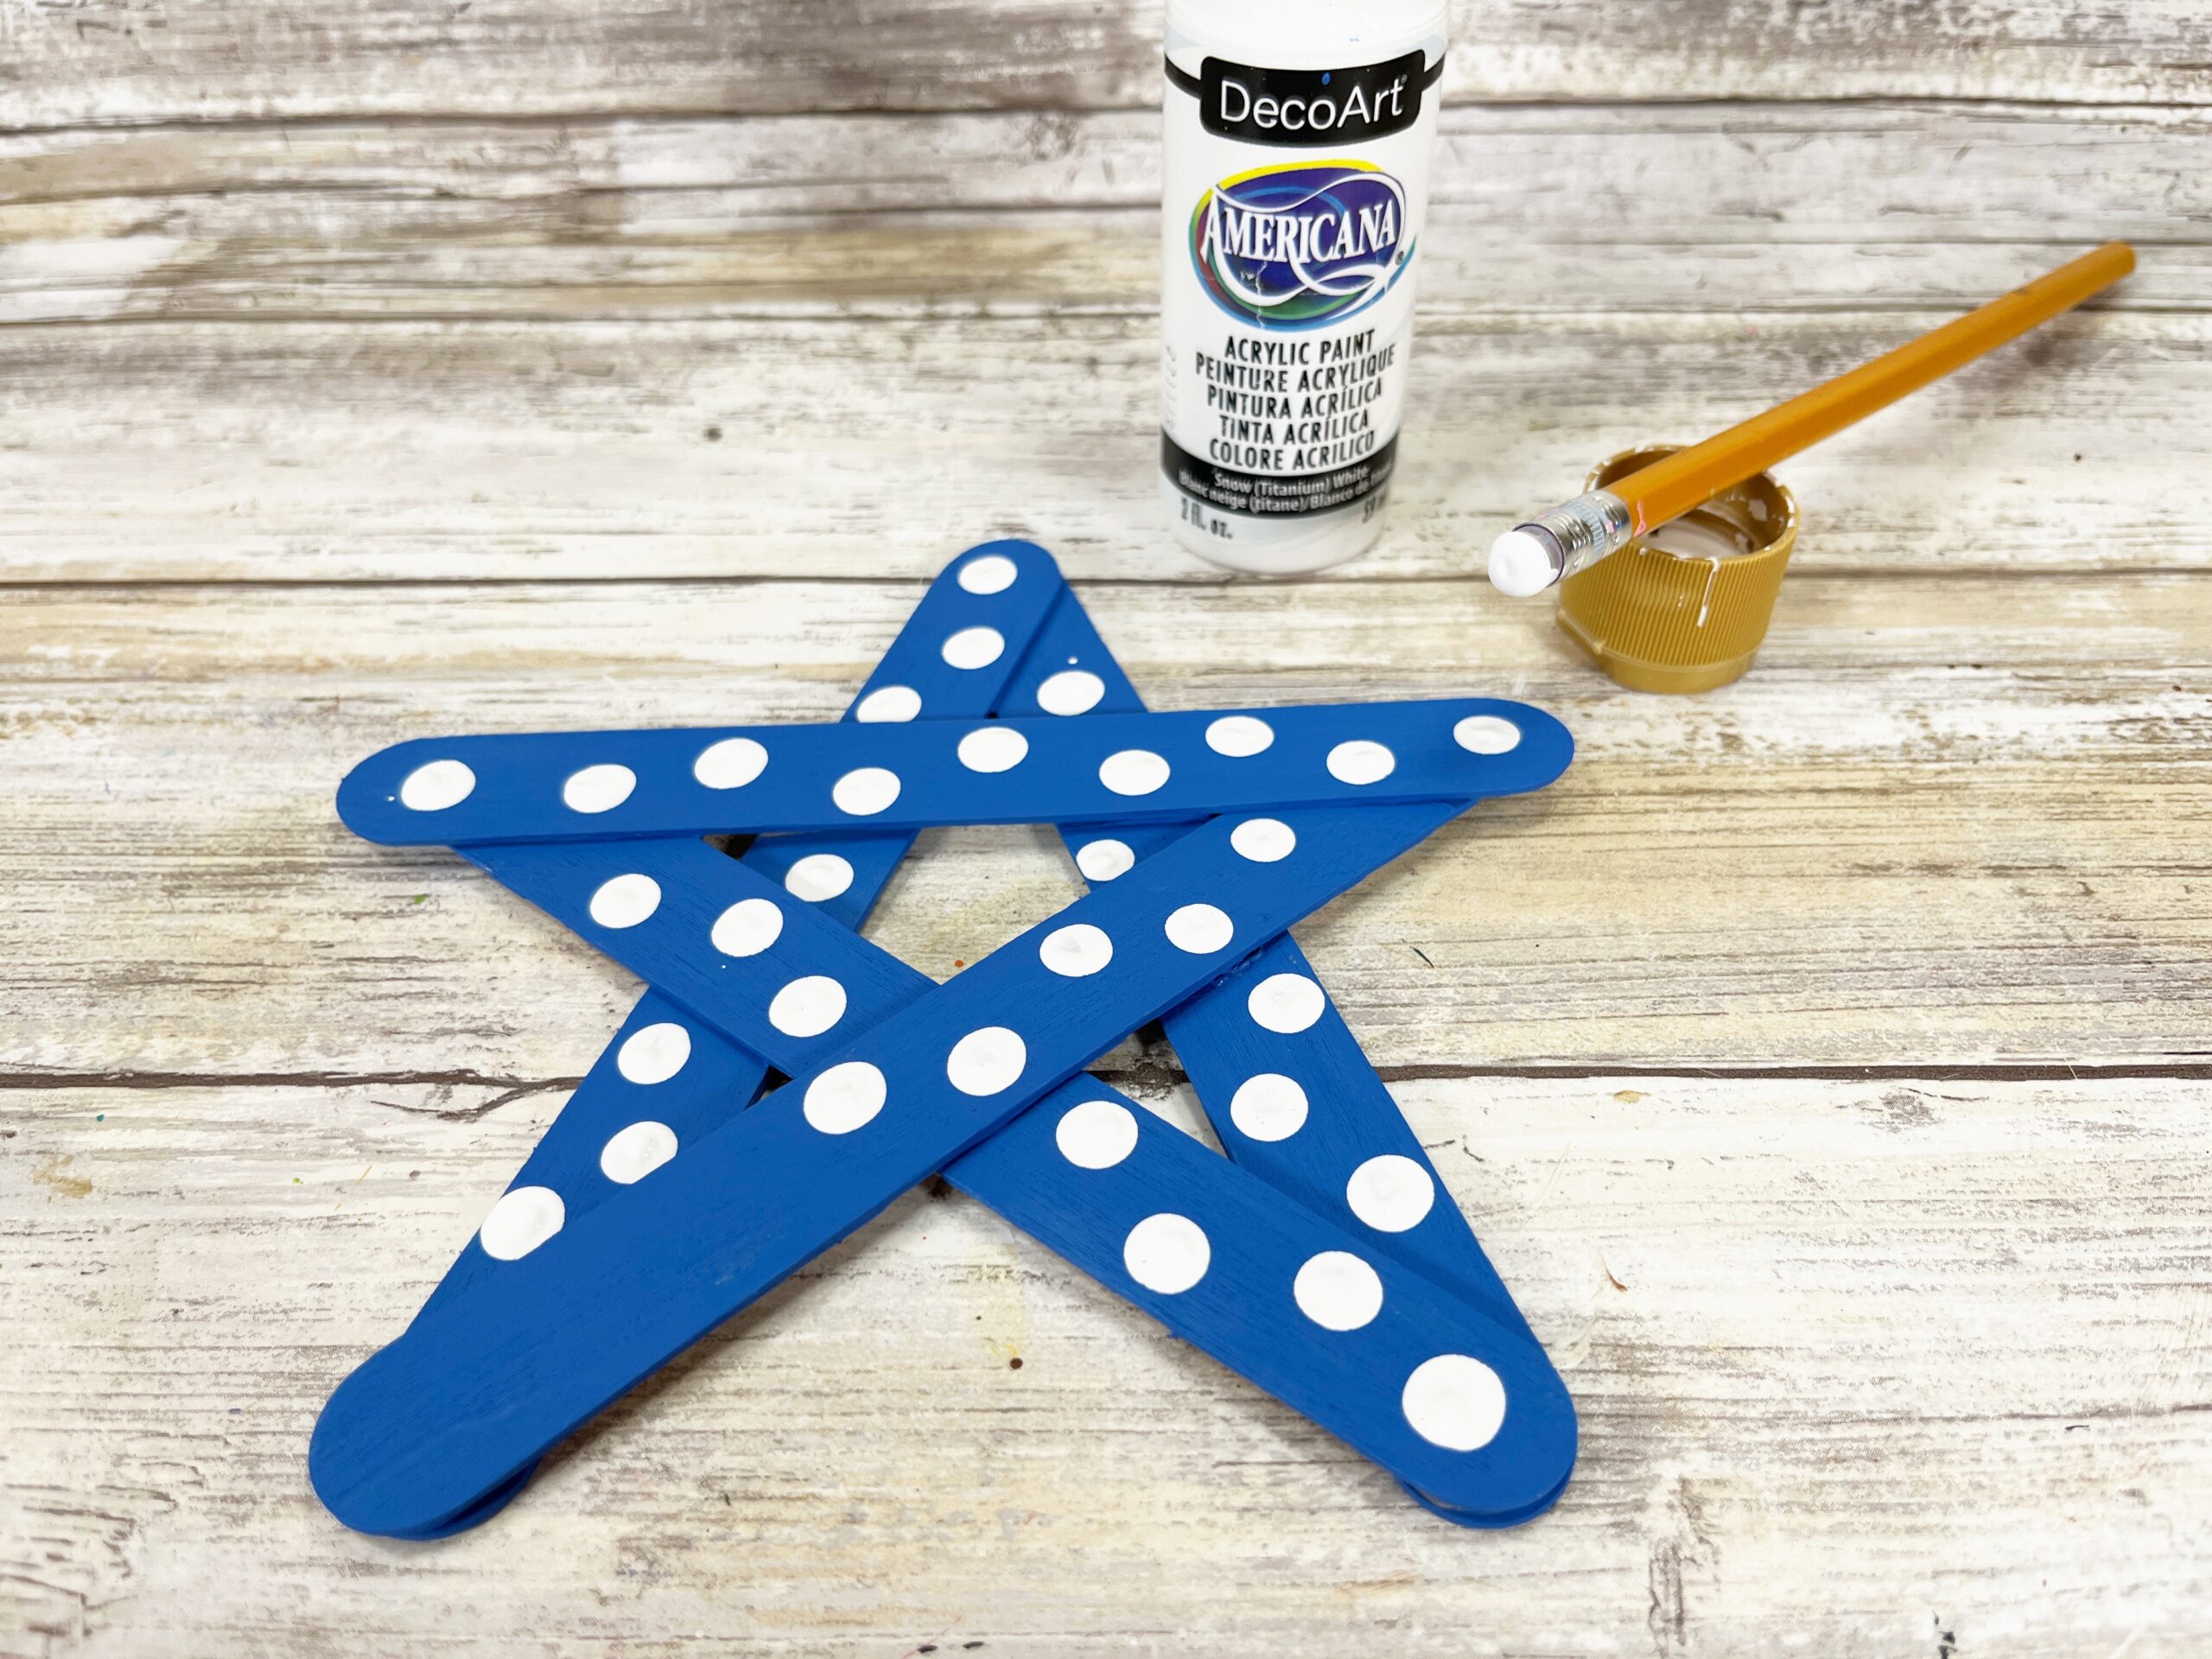
Create a polka dot pattern on the star by dipping a new pencil eraser into white acrylic craft paint. Dot the pattern randomly all over the star. Once dry, embellish the painted polka dots with smaller dots of silver glitter glue. This is where you can get creative with the kiddos and have them make their own patterns and color combinations!
Step five
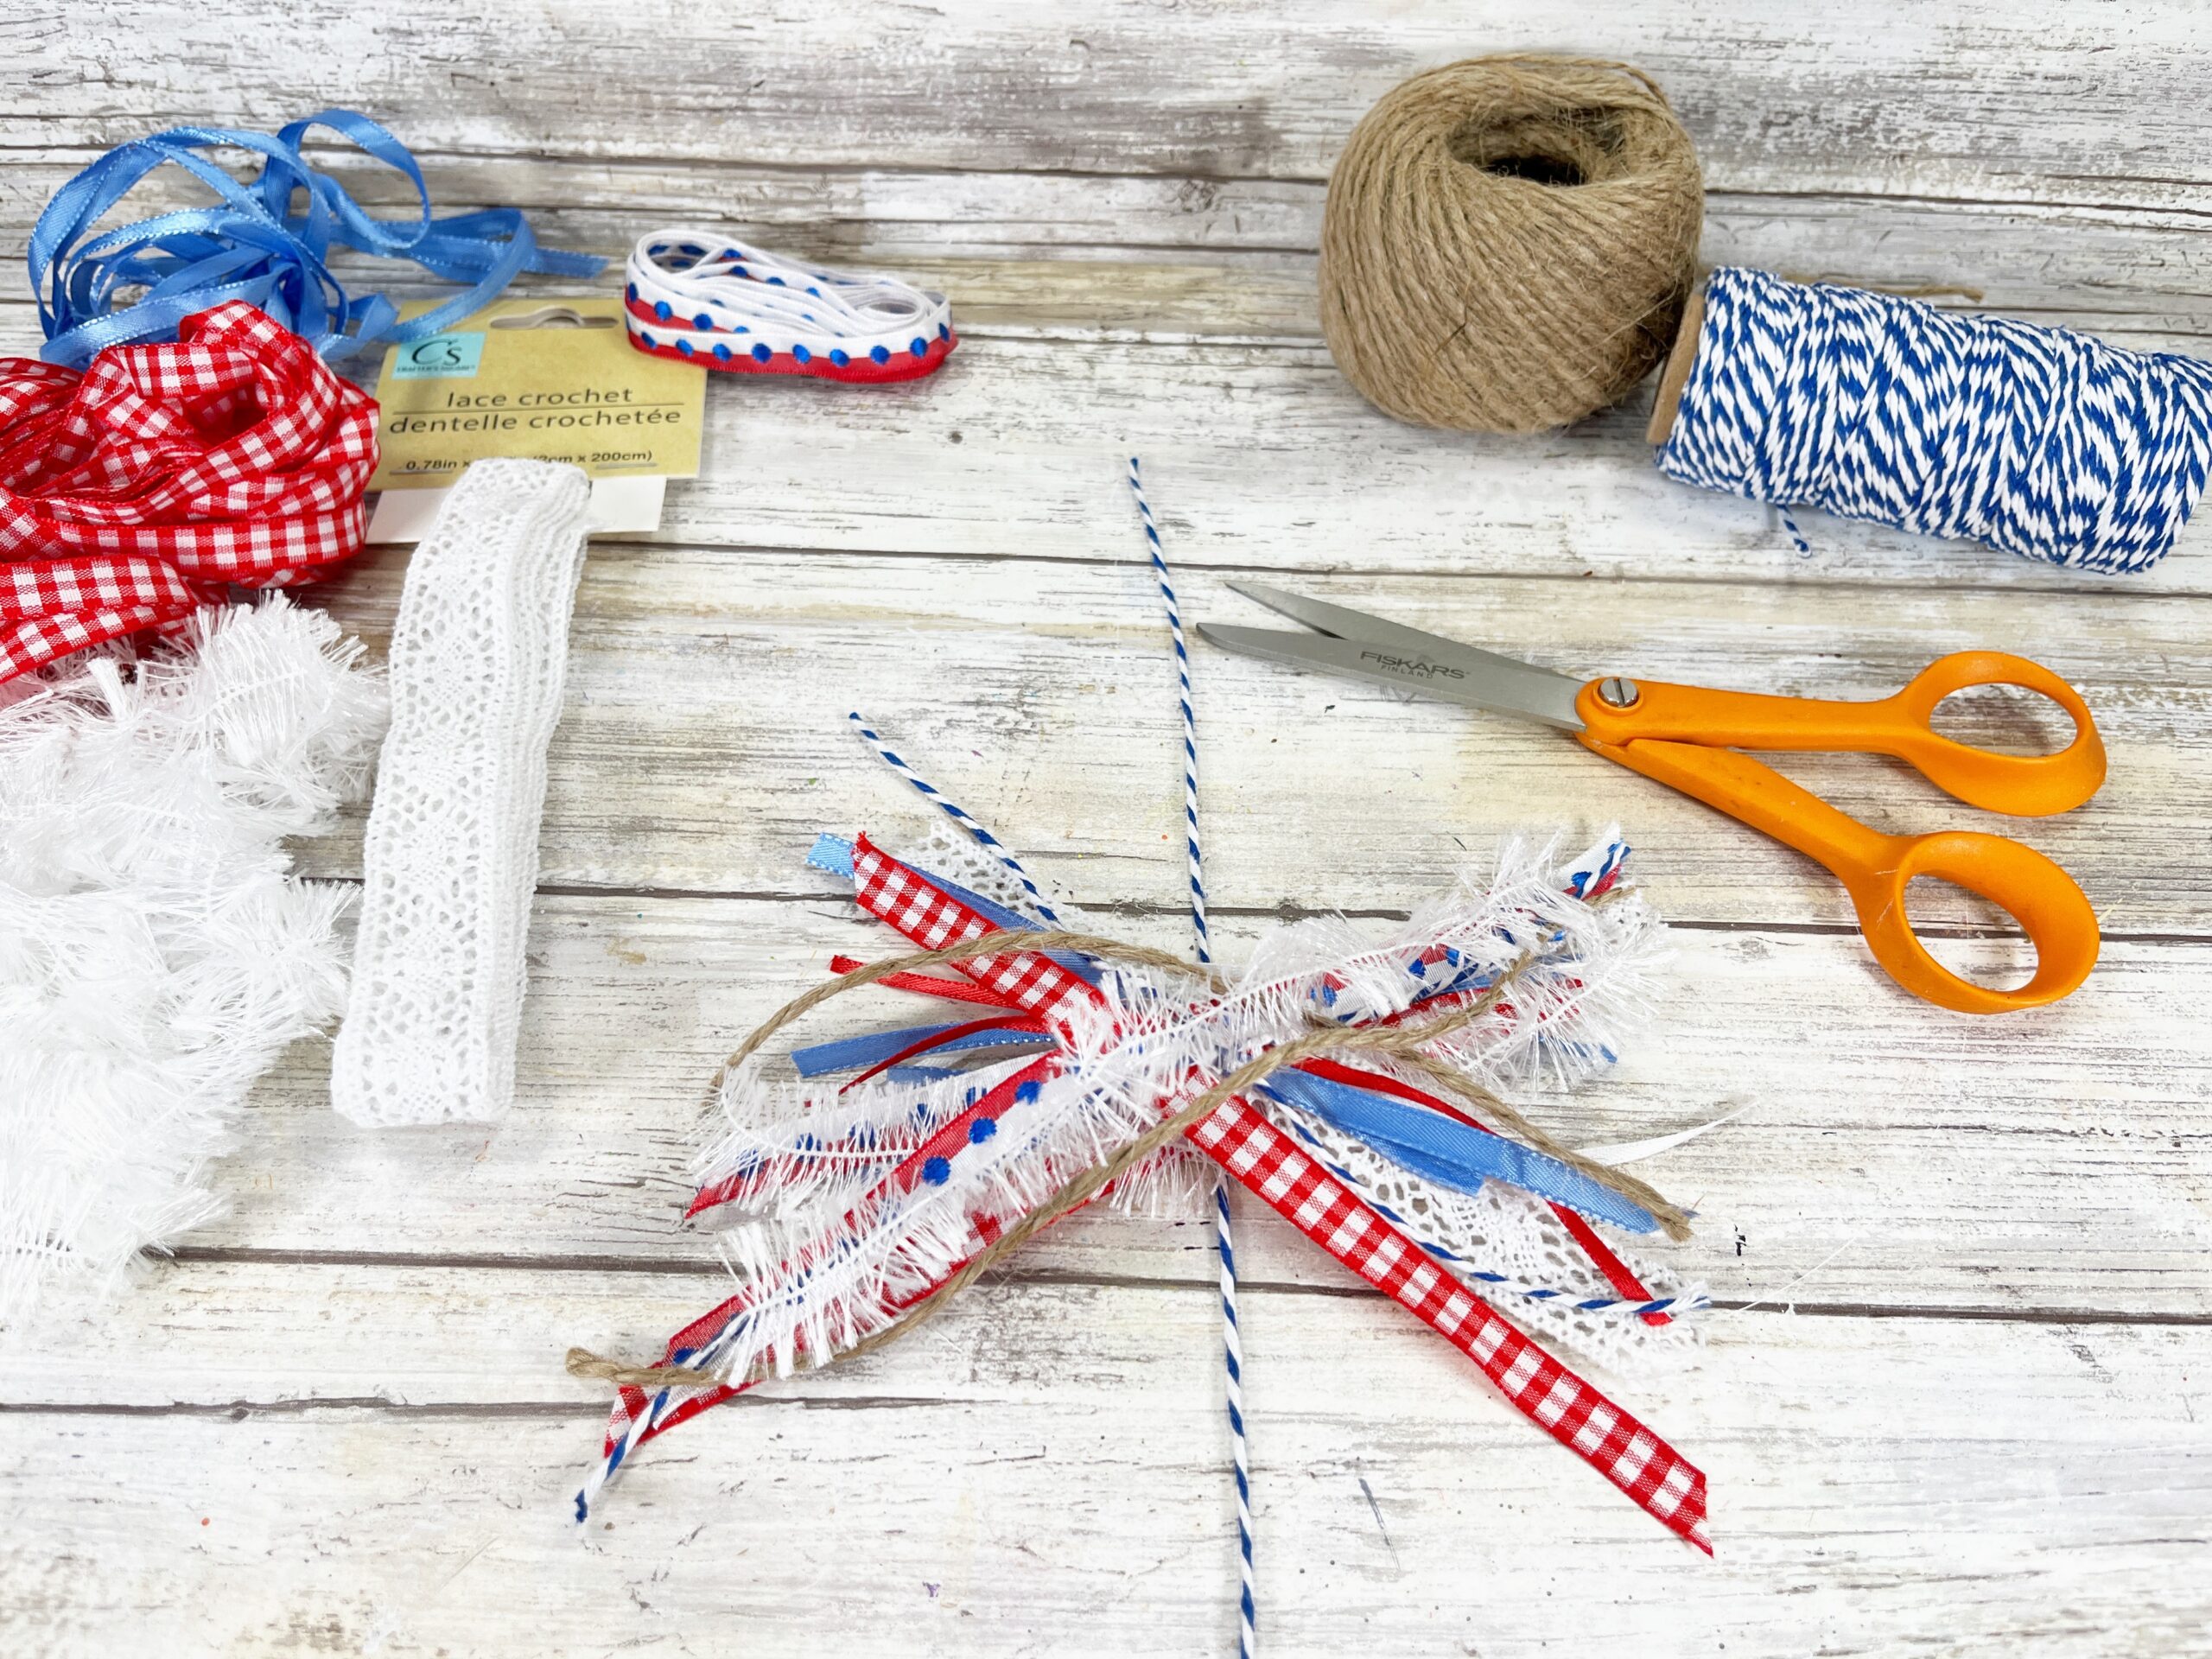
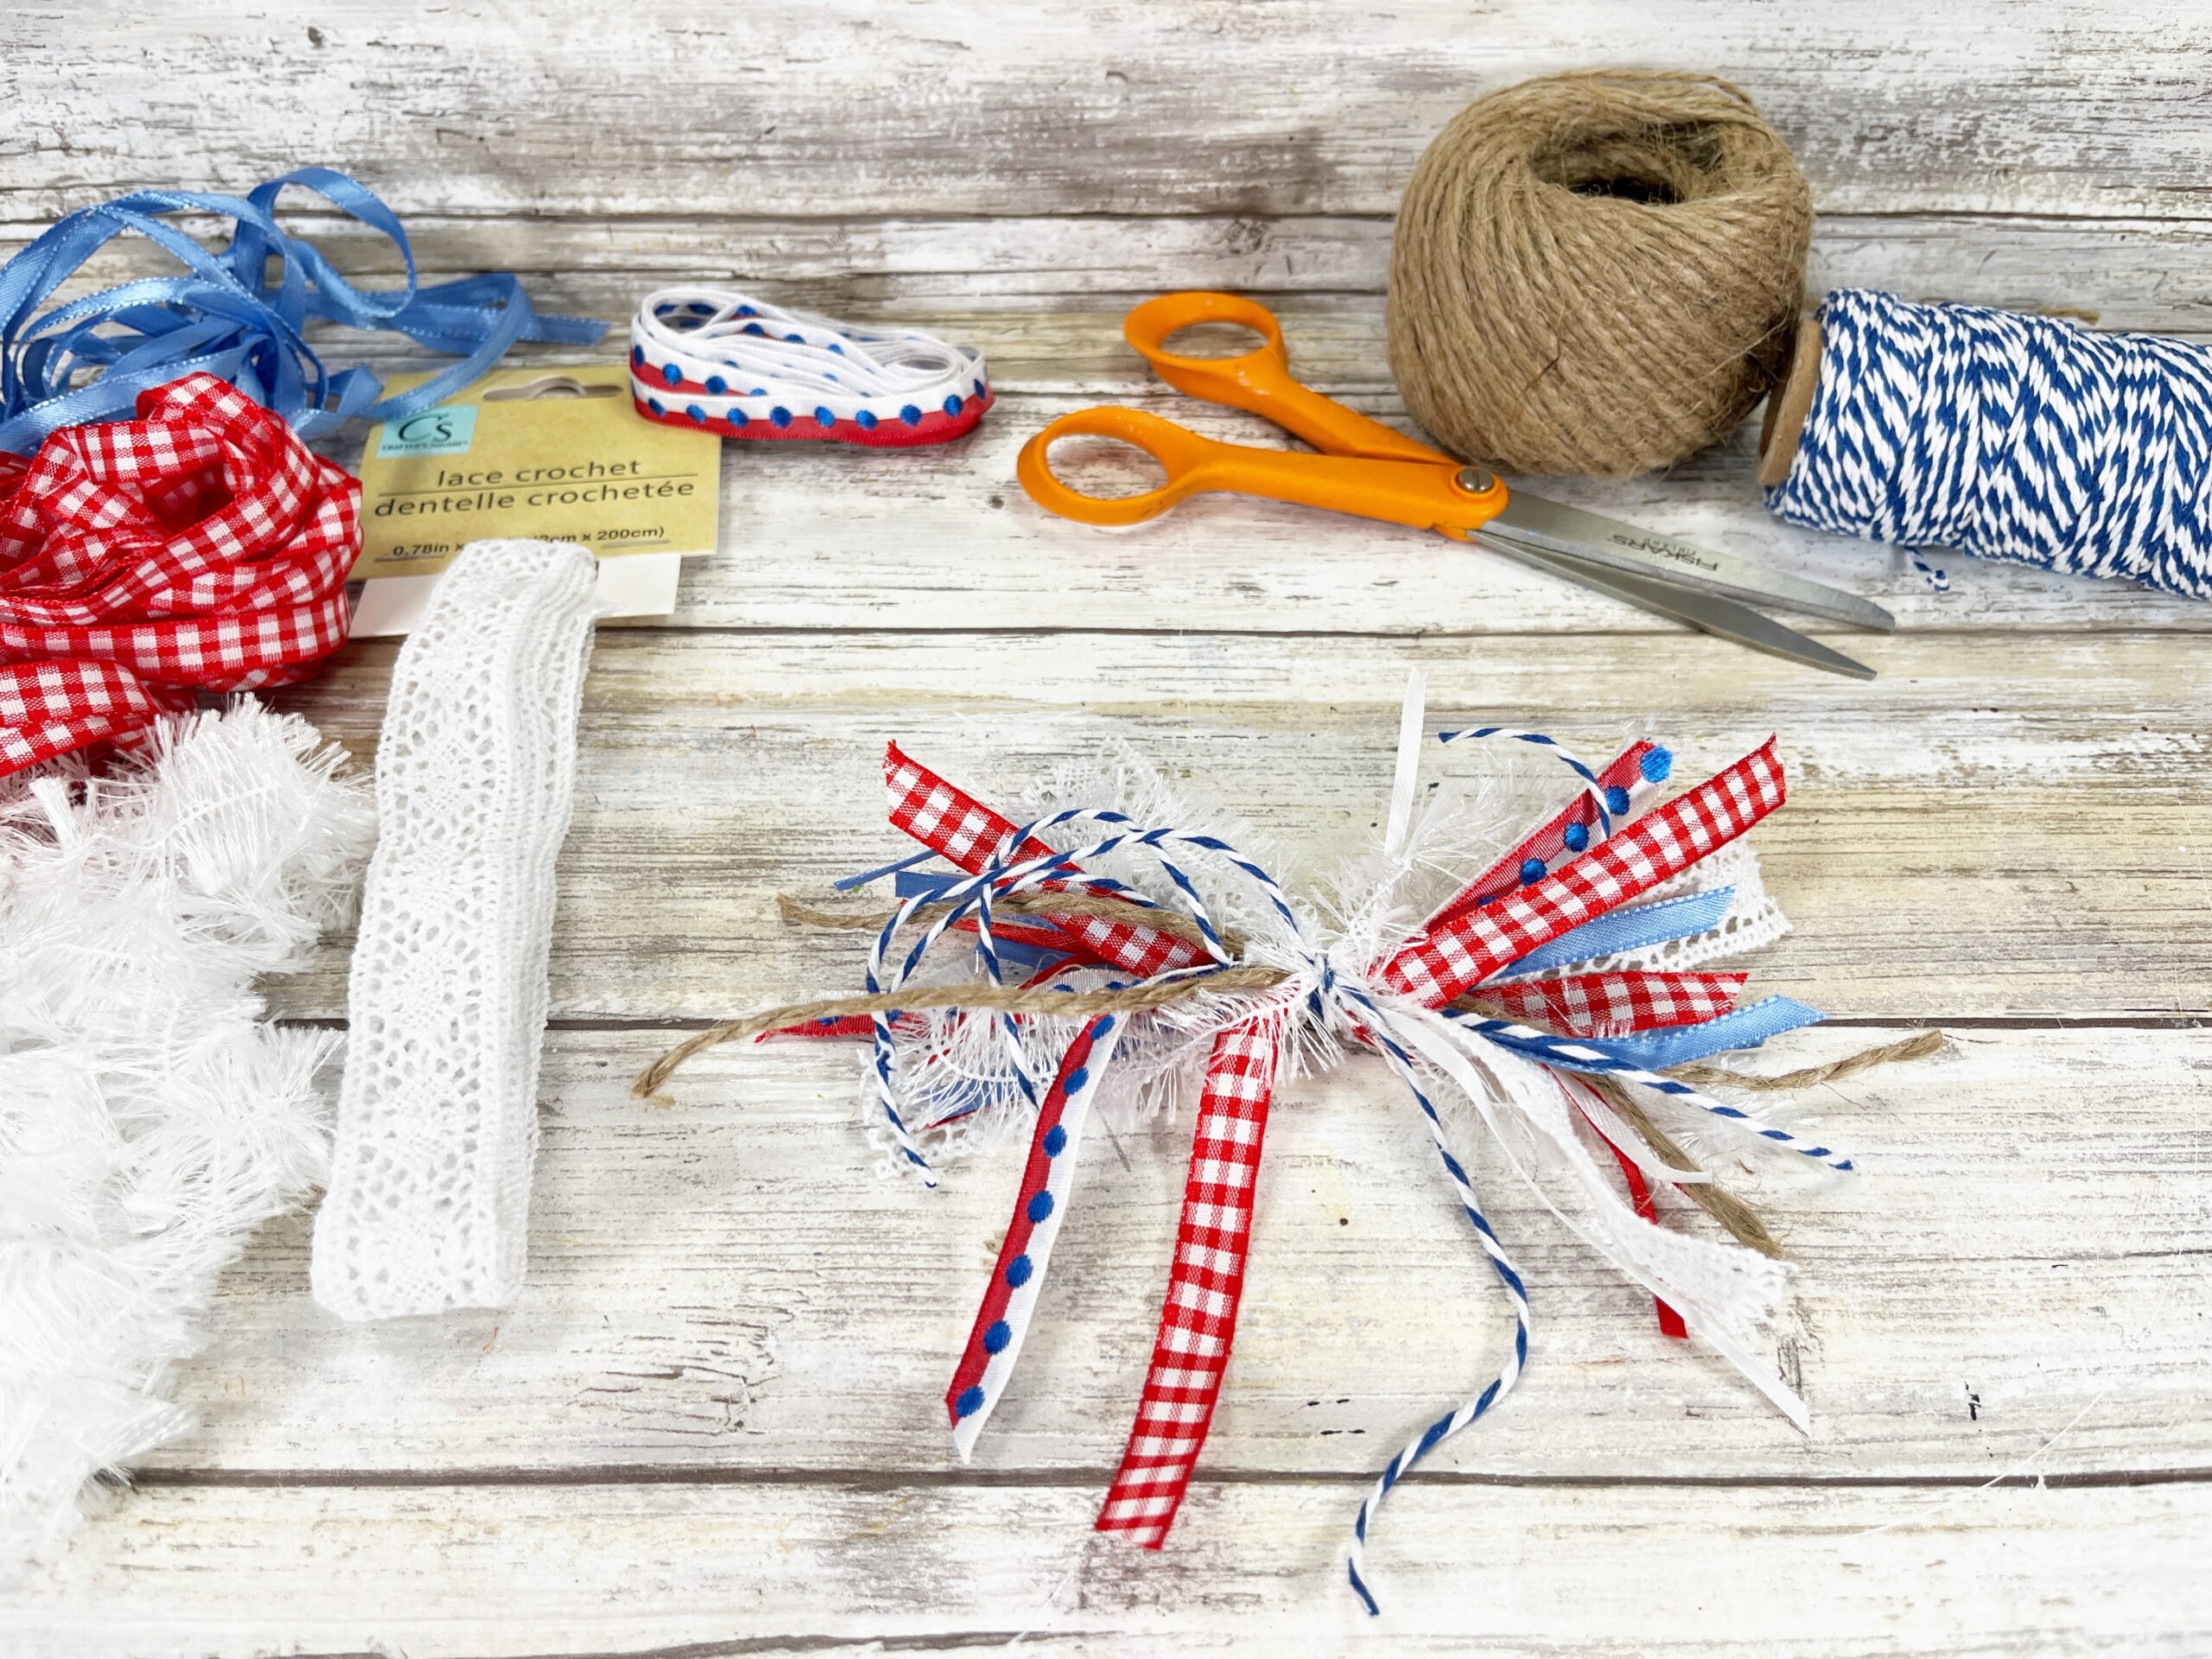
Measure and cut a 10” length of strong twine and place vertically on your work surface. Layout 6” long scraps of red, white, and blue ribbons, lace, string, baker’s twine, yarn, and natural jute twin in an “X” pattern on top of the vertical length. Use approximately 20-24 scraps. Tie the vertical twine tightly around the center of the bundle and secure with a knot.
Step six
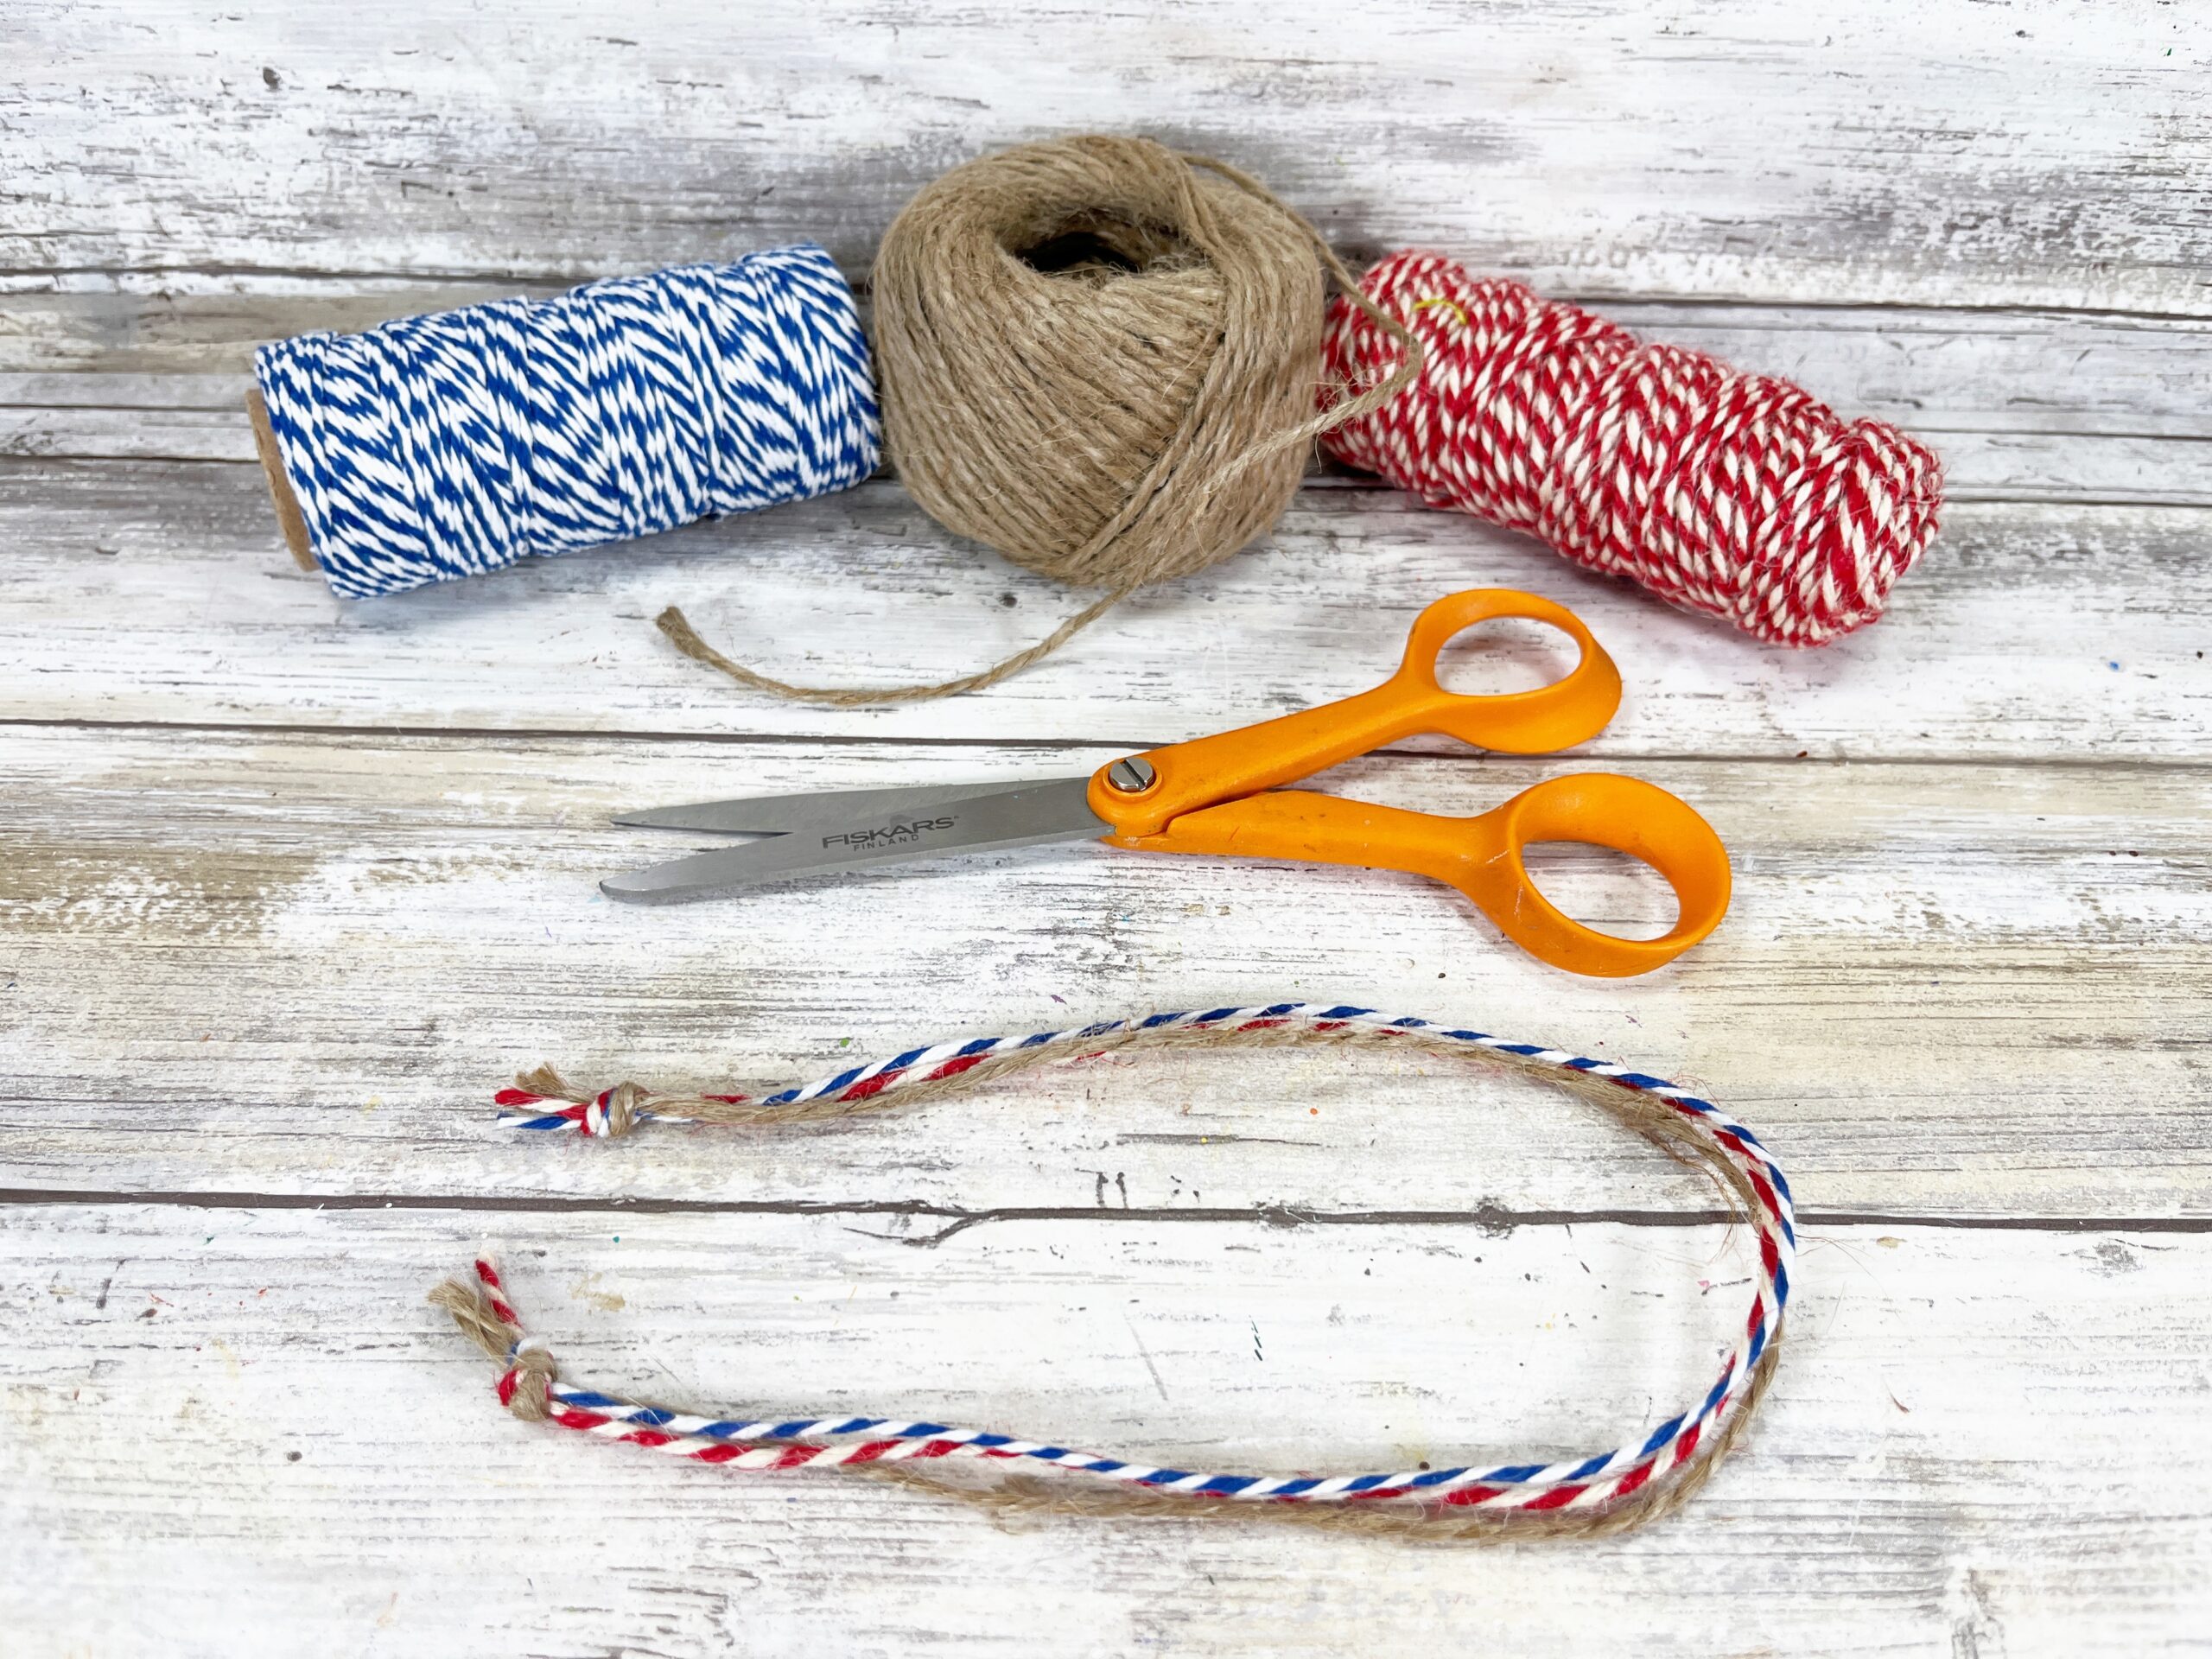
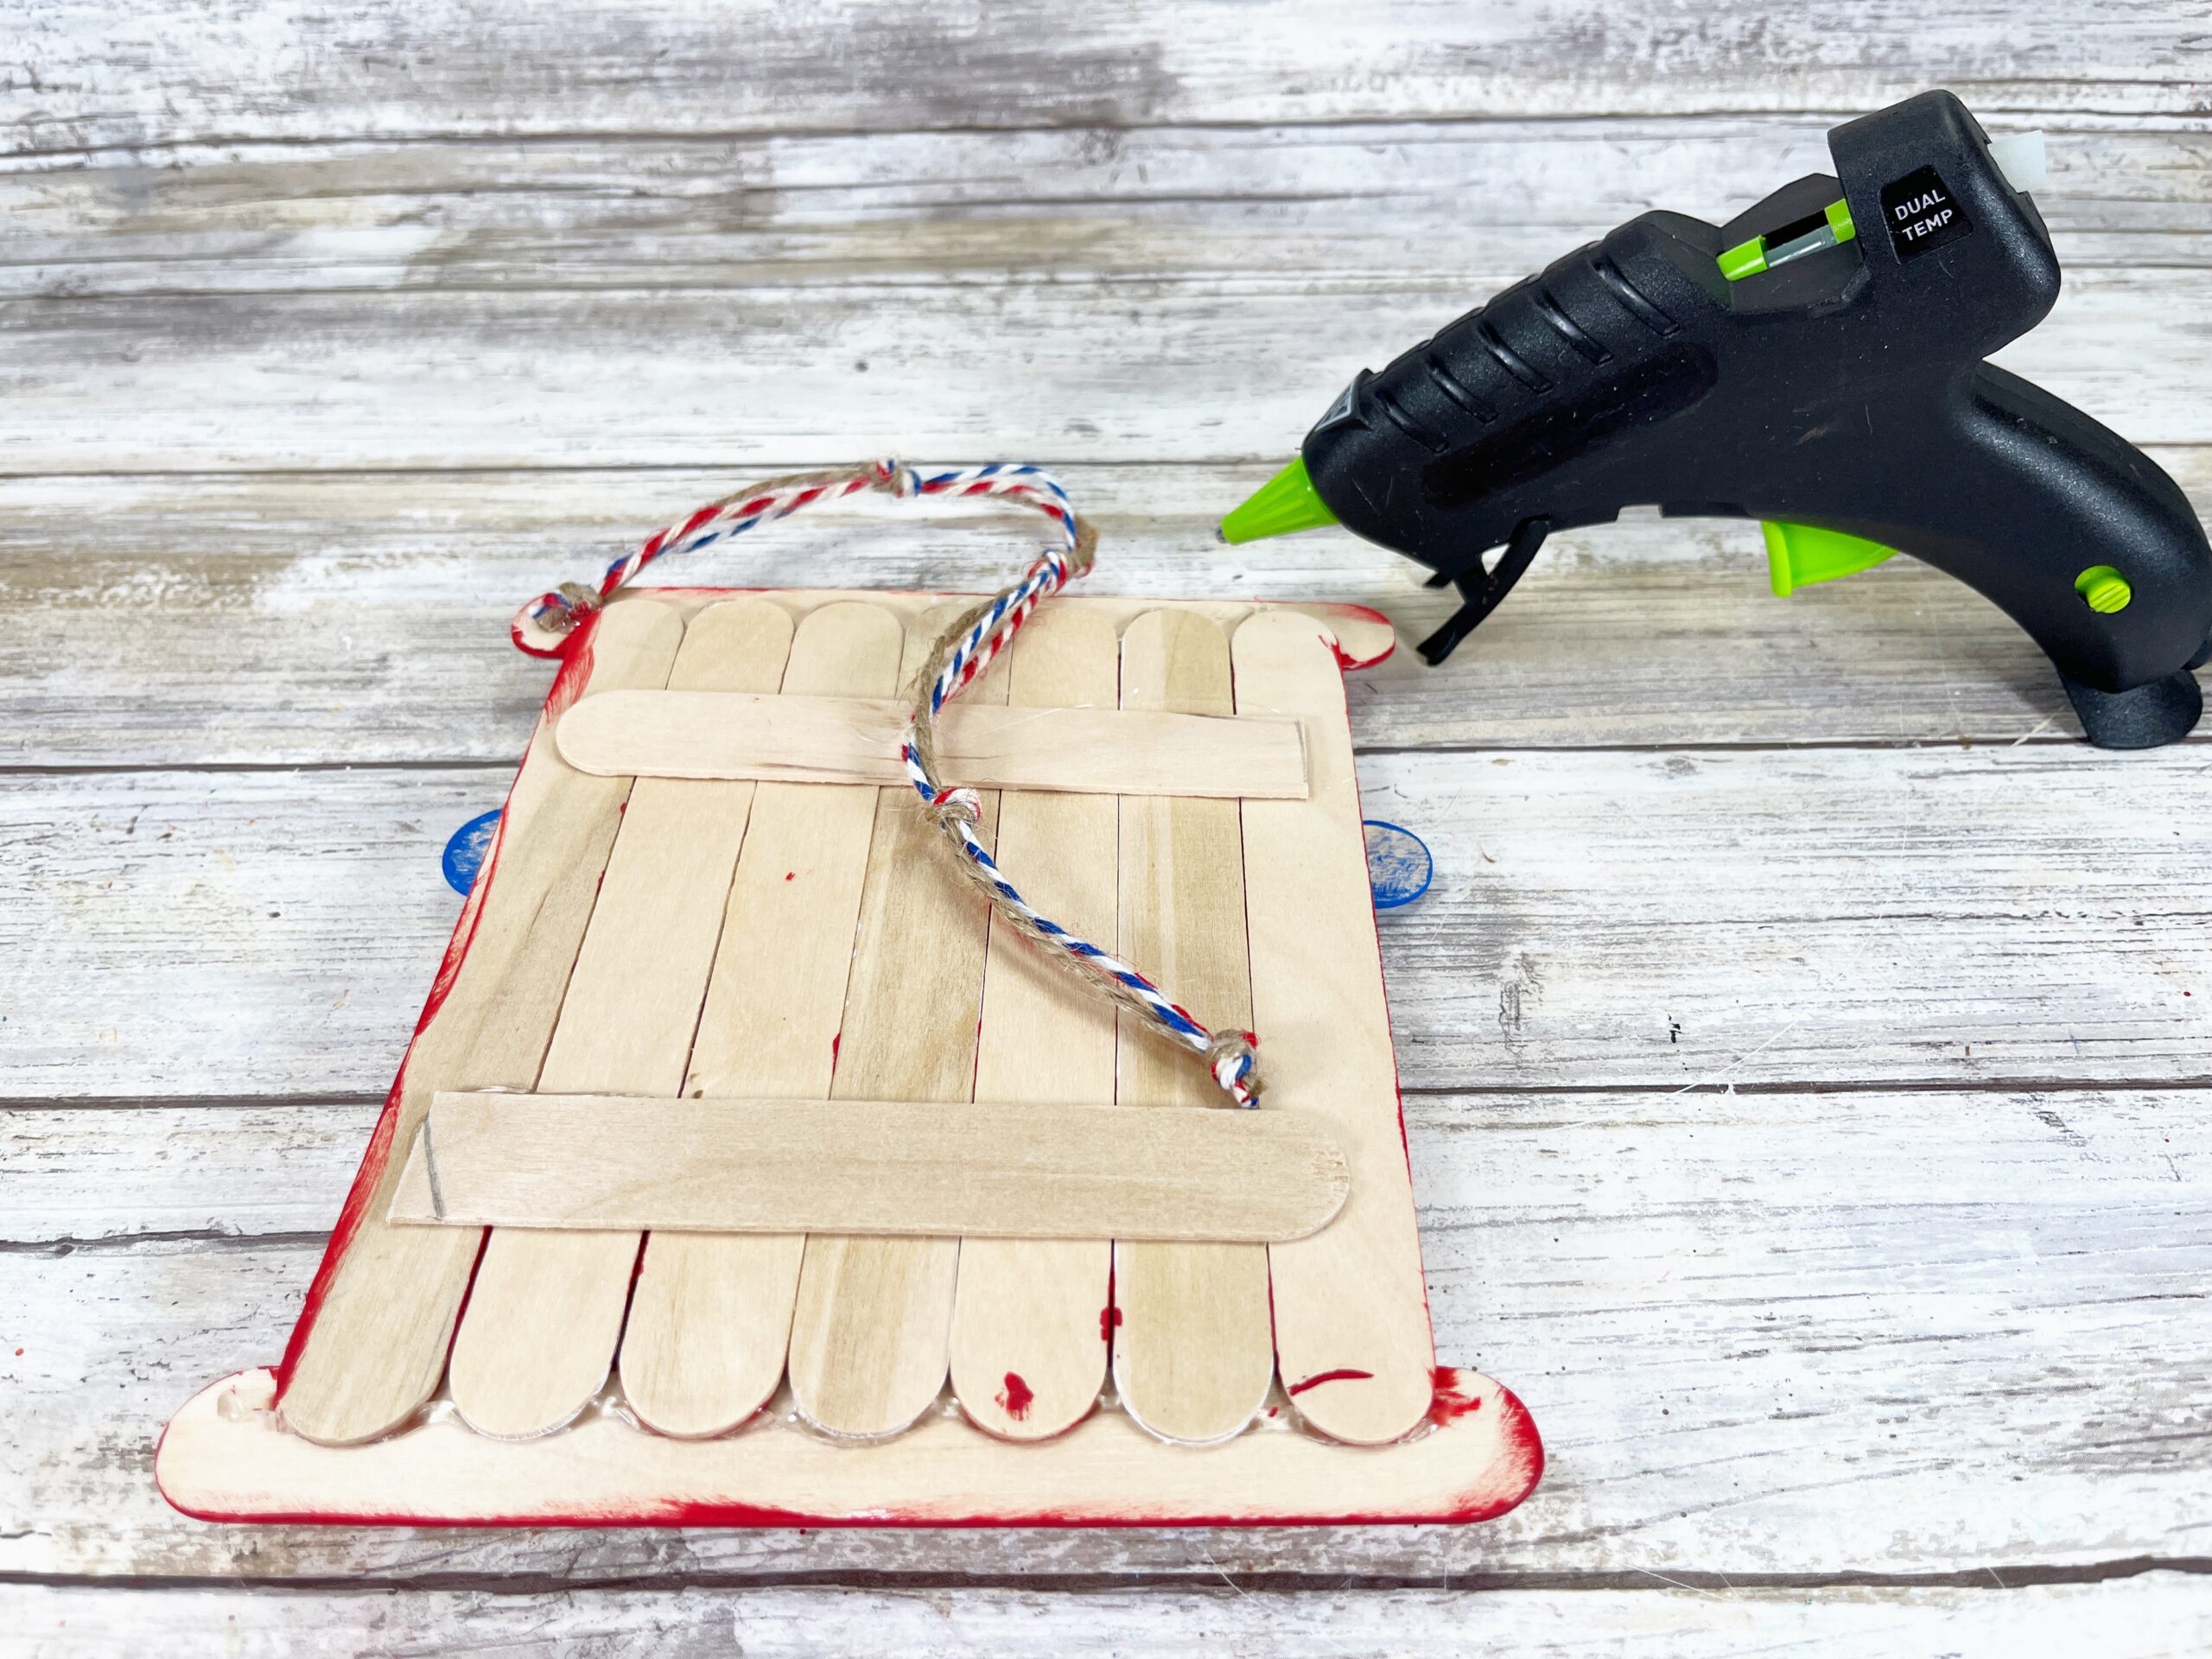
To create a hanger, measure and cut three 12” lengths of twine and/or ribbon. Tie the ends and the center into knots for a clean finished project.
Step seven
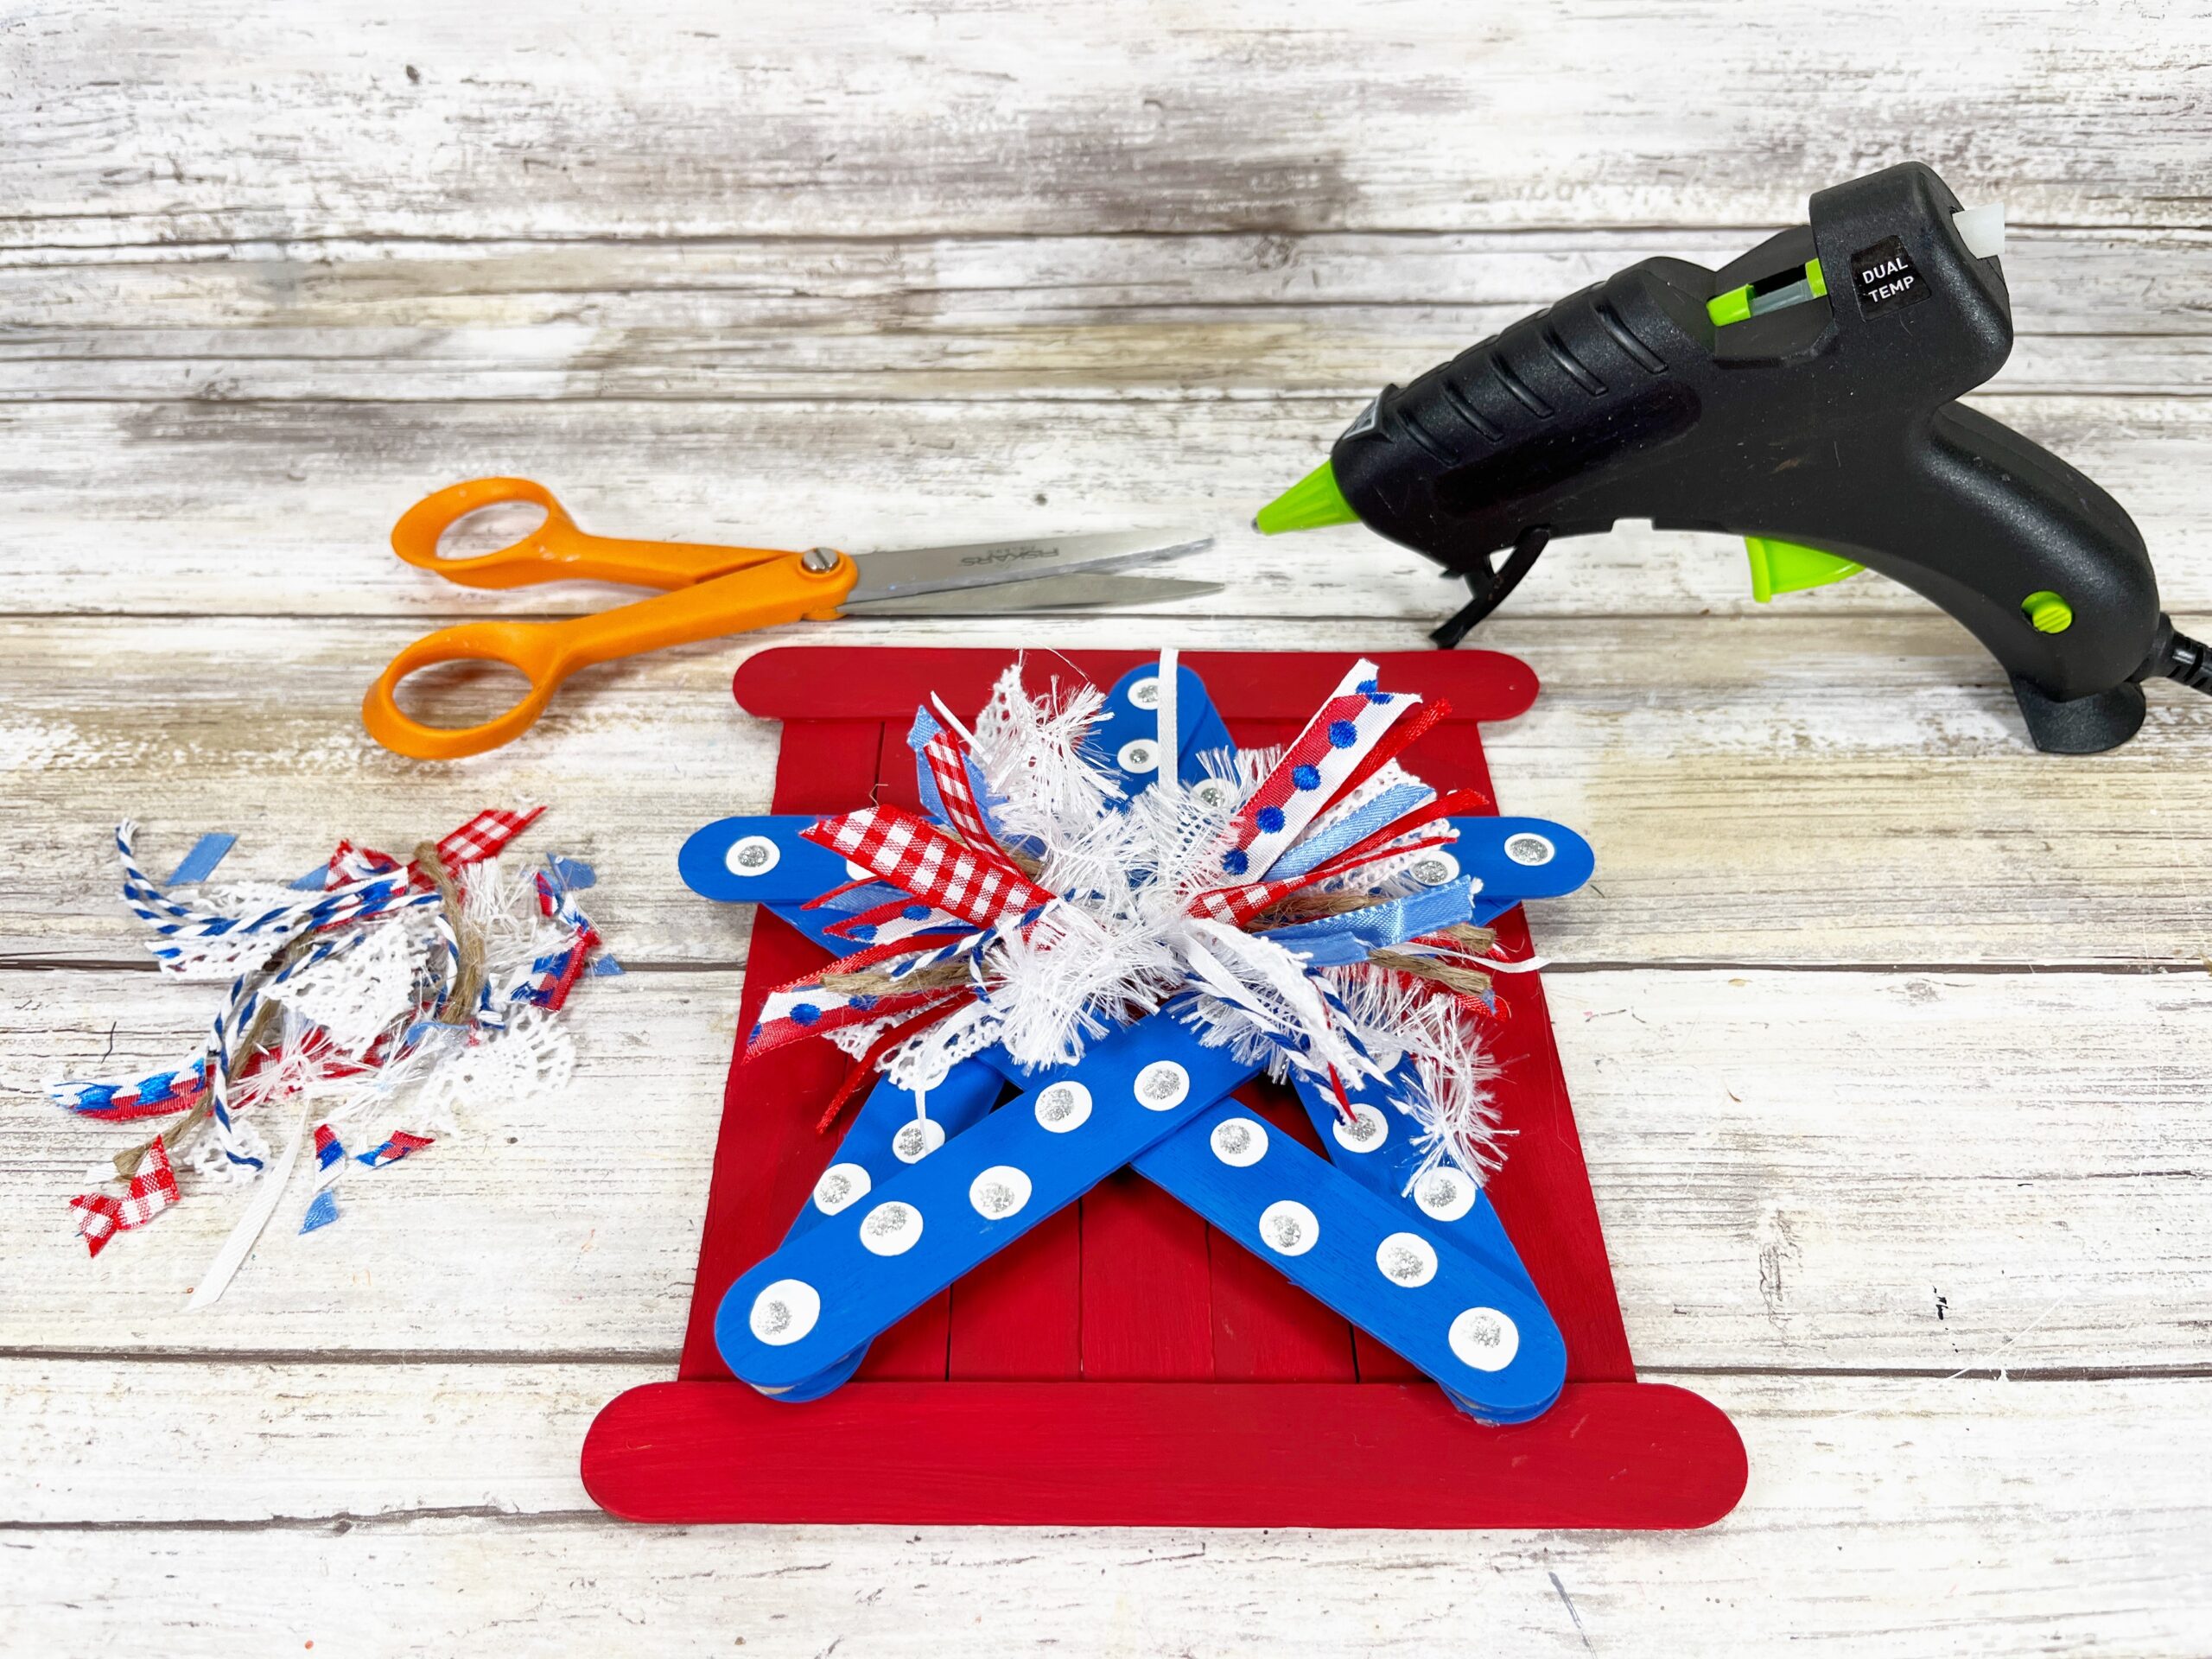
Attach the star to the sign with a glue gun and glue sticks, and then glue the scrappy bow to the center of the star. Trim any long ends of the scrappy bow with scissors.
Step eight
To finish this simple craft project, flip the sign over and attach the ends of the hanger to top right and left-hand sides with a glue gun and glue sticks.
Tips
- You can use liquid craft glue for this project, but you will have to wait for it to dry.
- For a more durable star, consider applying a coat of clear craft sealant over the entire project once it is dry. This will help protect the paint and decorations, especially if you plan to use it outdoors.
- Get creative with your patterns and decorations. Use the pencil eraser dipped in paint to make polka dots, or create stripes with painter’s tape.
- If making multiple stars, consider making different sizes stars for a dynamic display.
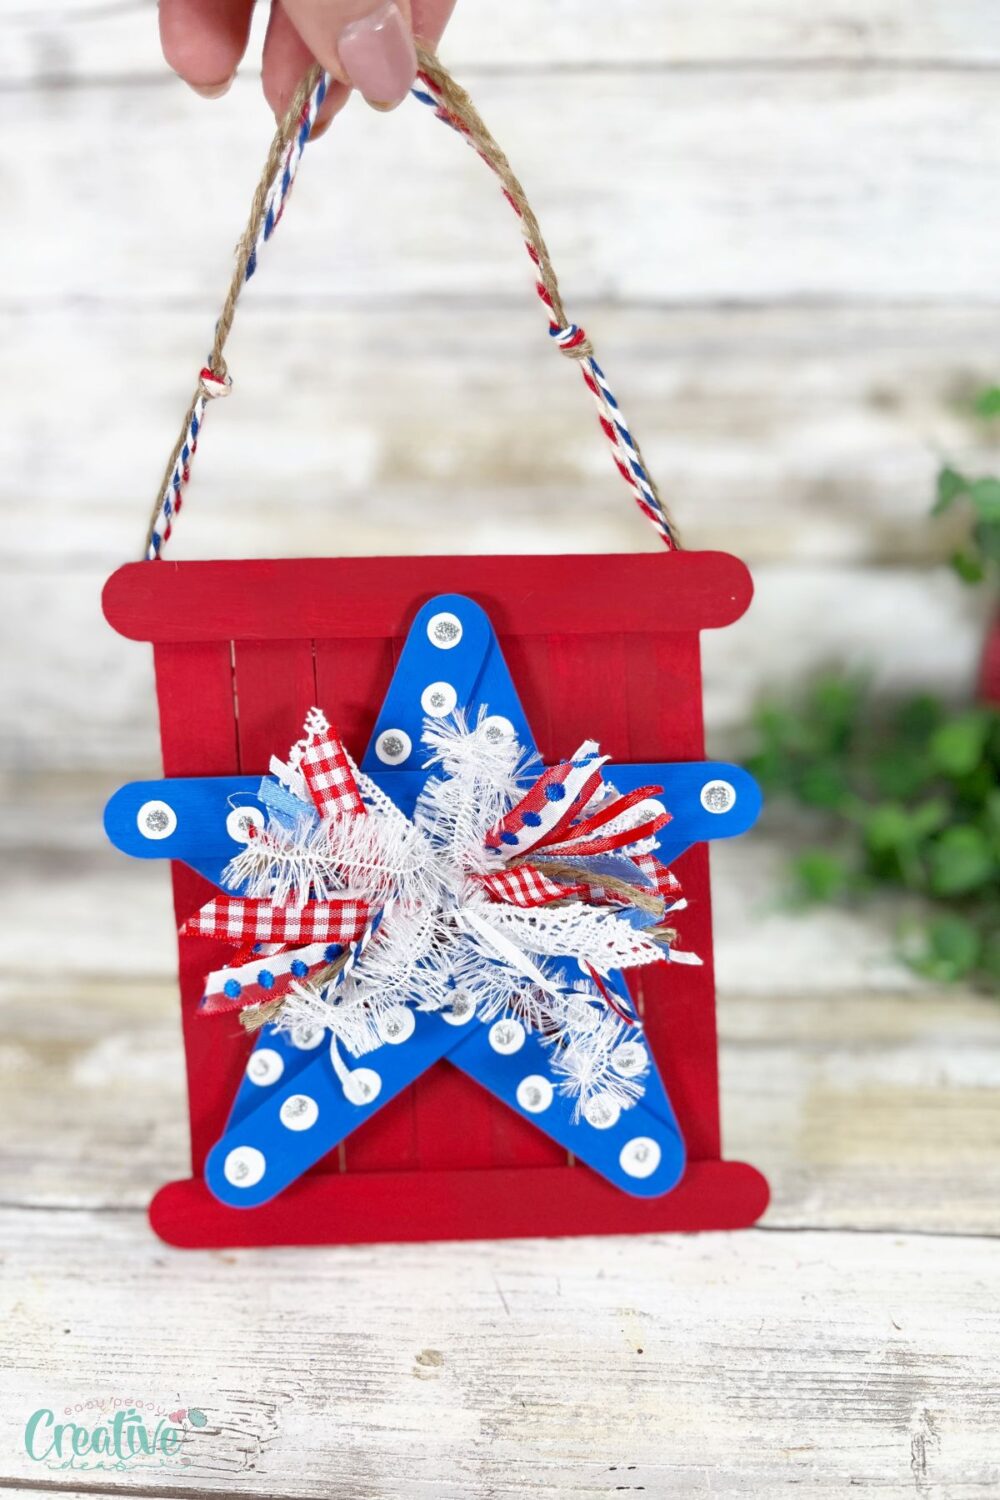
Craft variations
- Glow-in-the-dark star: Incorporate glow-in-the-dark paint for a star that lights up the night during your 4th of July celebrations.
- Mini stars garland: Make smaller stars and string them together to create a festive garland.
- Flag pattern star: Use painter’s tape to design a flag pattern on your star before painting for a detailed homage to the American flag.
- Add various embellishments: Consider adding buttons, beads, mini pom poms or sequins to the star for a different texture and look. You can also experiment with different colors and materials for a more personalized touch.
How to use the craft stick star
Your DIY 4th of July star can adorn your front door, walls, or serve as a centerpiece for your holiday table. These lovely homemade decorations also make great gifts or party favors for patriotic holidays or any occasion that calls for a bit of handmade charm.
Frequently Asked Questions
- Can I use other types of glue? Yes, while a glue gun provides a strong bond quickly, you can use other strong adhesives; just allow extra drying time.
- Is this project suitable for young children? Yes, with supervision and assistance, particularly with the glue gun and scissors, children can enjoy crafting their own stars.
- Can I make this craft with popsicle sticks? Yes, you can use popsicle sticks instead of craft sticks for a smaller star. Just make sure to adjust the measurements and number of sticks accordingl.
- Can I use different colors? Of course! Feel free to get creative with your color choices and make stars in different color combinations. You can also customize the decorations and patterns to fit the theme or occasion (for example, you could turn this into a Christmas ornament for your Christmas tree)
More patriotic crafts you’ll enjoy
- American flag coasters with mini pallets
- Uncle Sam craft from wooden spoon
- 4th of July candle holders
Creating your own adorable star is a fun and easy way to add some handmade charm to your 4th of July celebrations. So gather your supplies and get ready to craft something truly special! And don’t forget to sign up for my newsletter to get more easy and fun craft ideas straight to your inbox. Happy crafting!
Craft stick star DIY
Materials
- Jumbo craft sticks
- Natural jute twine
- Silver glitter glue
- Assorted scraps of ribbons, lace, trim, baker’s twine in red, white, and blue.
- Acrylic craft paint red, white, blue
Tools
- Pencil with New Eraser
- scissors
Instructions
- Gather all supplies. To create the sign, line up seven jumbo craft sticks on your work surface. Attach a jumbo craft stick to the front top and bottom with a glue gun and glue sticks. Cut additional craft sticks to the width of the sign and glue in place on the back.

- To create the star shape, line up five jumbo craft sticks on your work surface. Attach two craft sticks in an upside down “V” shape with a glue gun and glue sticks. Glue a craft stick at a diagonal from the bottom right-hand side of the “V” shape. Glue a craft stick at a diagonal from the bottom left-hand side of the “V” shape. This creates an “X” shape. Attach the final craft stick horizontally from the top right and left-hand side of the “X” shape.

- Basecoat the star with blue acrylic craft paint. Let dry and apply a second coat, if necessary. If working with little kids, you can use washable markers, crayon, or even colored pencil to color the jumbo craft sticks.

- Basecoat the sign with red acrylic craft paint.

- Create a polka dot pattern on the star by dipping a new pencil eraser into white acrylic craft paint. Dot the pattern randomly all over the star. Once dry, embellish the painted polka dots with smaller dots of silver glitter glue. This is where you can get creative with the kiddos and have them make their own patterns and color combinations!

- Measure and cut a 10” length of strong twine and place vertically on your work surface. Layout 6” long scraps of red, white, and blue ribbons, lace, string, baker’s twine, yarn, and natural jute twin in an “X” pattern on top of the vertical length. Use approximately 20-24 scraps.

- Tie the vertical twine tightly around the center of the bundle and secure with a knot.

- To create a hanger, measure and cut three 12” lengths of twine and/or ribbon. Tie the ends and the center into knots for a clean finished project.

- Attach the star to the sign with a glue gun and glue sticks

- Then glue the scrappy bow to the center of the star. Trim any long ends of the scrappy bow with scissors.

- To finish this simple craft project, flip the sign over and attach the ends of the hanger to top right and left-hand sides with a glue gun and glue sticks.

Video
Article may contain Amazon & affiliate links. As an Amazon Associate I earn from qualifying purchases at no additional cost to you.


ABOUT PETRO
Hi, I’m Petro, author and founder of Easy Peasy Creative Ideas. Sewist, crafter, avid DIY-er, foodie, photographer, homemaker and mommy to one. I’m an expert at coming up with quick, clever sewing tips, recycling crafts and simple, easy recipes! You can find my ideas featured in reputable publications such as Country Living, Good House Keeping, Yahoo News, WikiHow, Shutterfly, Parade, Brit & Co and more. Thanks for stopping by and hope you’ll stay for a while, get to know me better and come back another time. Stick around for real fun projects! Read more…