

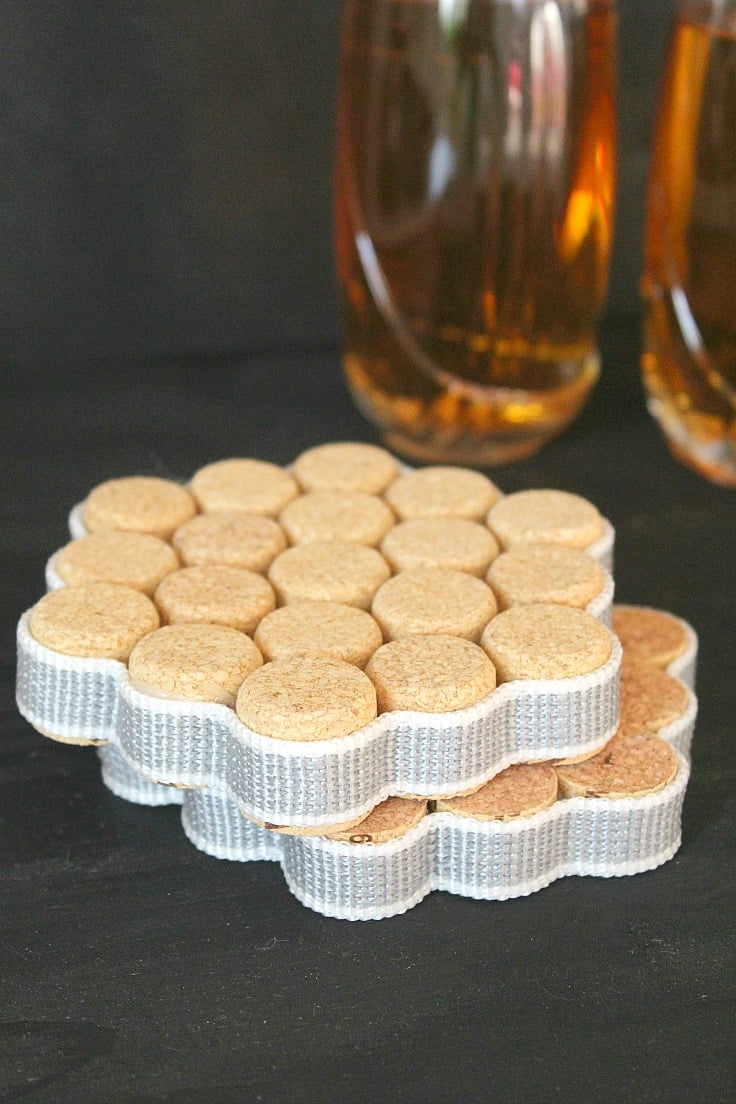
How to make coasters with wine corks
These cool DIY cork coasters are not only a super easy and fun way to show off your love for wine, but they also add a touch of rustic charm to your home décor!
DIY Cork Coasters
Hey, guys! As you know by now, I love any craft that I can create using things I already have on hand and that other people usually trash after use. I love recycling! And these DIY cork coasters are the perfect way to recycle and reuse items that you otherwise just toss in the garbage bin. In this tutorial I’ll show you how to make these adorable and functional cork coasters in just a few simple and easy steps.
Made from eco-friendly cork material, these wine cork crafts are not just stylish, but they also help protect your countertop from those pesky drink rings. And they make great conversation starters or gifts for friends and family. So create a collection of these awesome cork coasters and elevate your entertaining game with a unique and personalized touch!
Other cork crafts you will love:
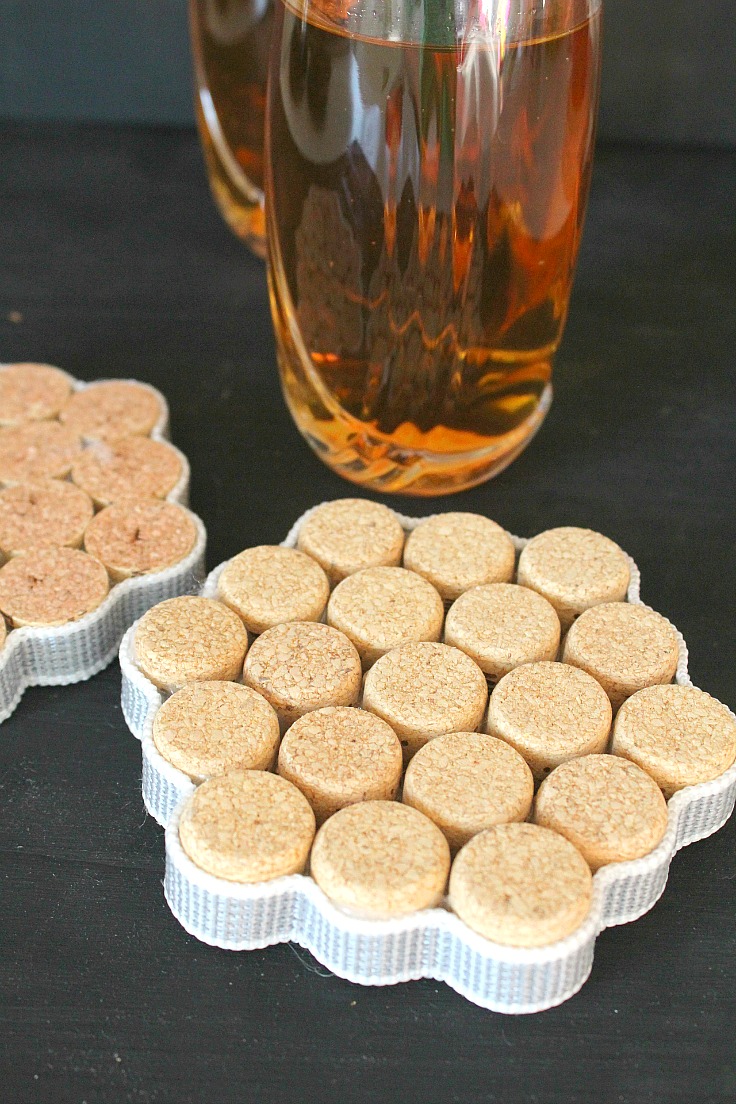
If you are a wine lover and don’t know how a better use for your corks other than trash, give these wine cork coasters a try. Simply twist your leftover wine corks, some hot glue and a ribbon onto these DIY wine cork coasters!
I love the versatility of craft ideas that wine corks have inspired and this DIY cork coasters project is so easy and simple to make it would be a shame not to give it a try. These wine cork coasters are perfect for your next cocktail party and will make you the talk of your friends!
I don’t do alcohol but luckily (lol), some members of my family like to sip on a glass once in a while. And I was double lucky as they like white wine! Which means the corks were not stained and didn’t need any complicated prepping to remove the stains, other than cleaning with dish liquid to remove the smell.
How to make wine cork coasters
Materials:
- webbing (similar here)
- 19 old wine corks (available here if you don’t have any)
- sharp cutter or sharp knife
- ruler
- hot glue gun
- hot glue sticks
- cutting board to cut the corks. You can cut into slices or half pieces depending on how tall your corks are.
Directions:
- Measure the webbing against the corks and mark about 1/8″ away from the webbing edges, on both sides. This measurement is just for reference, you can leave more or less space, it’s totally up to you.

- Using a sharp cutting tool, cut all corks following these measurements. You need a clean, uniform cut across the surface of each cork so the coasters are stable once assembled.
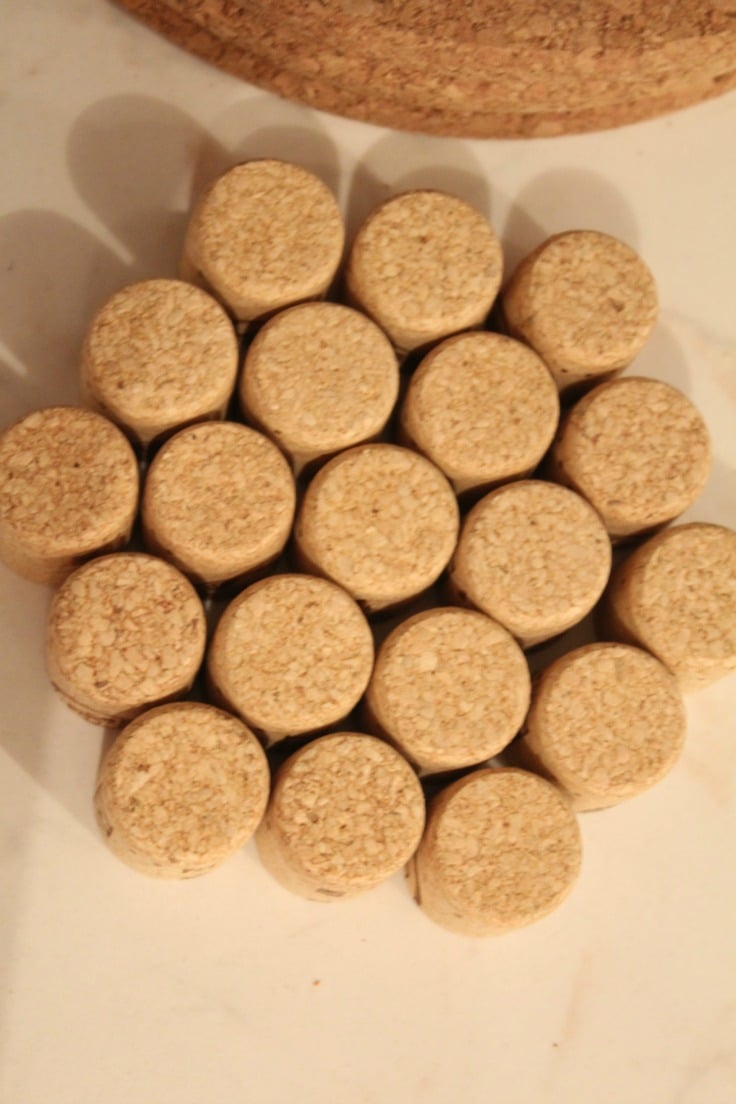
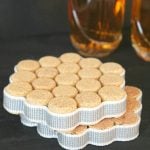
- Using your glue gun, glue all pieces together to form a honeycomb
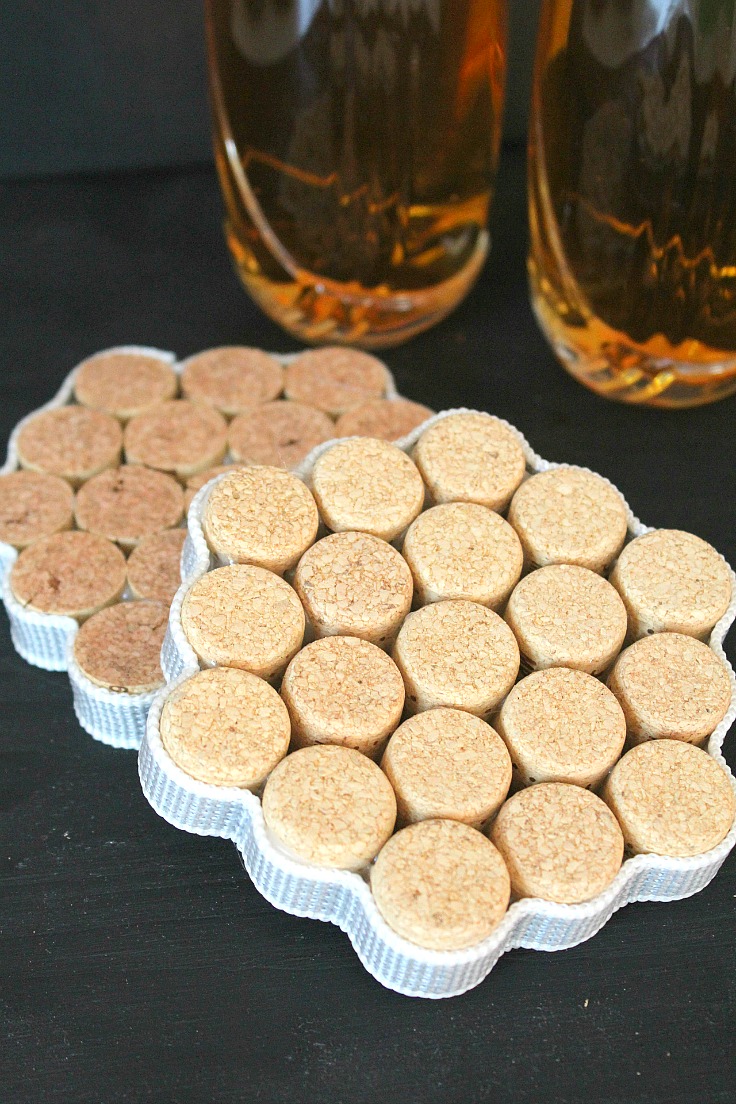
- Glue the webbing on the outside of the newly formed coaster, applying glue one cork piece at a time.
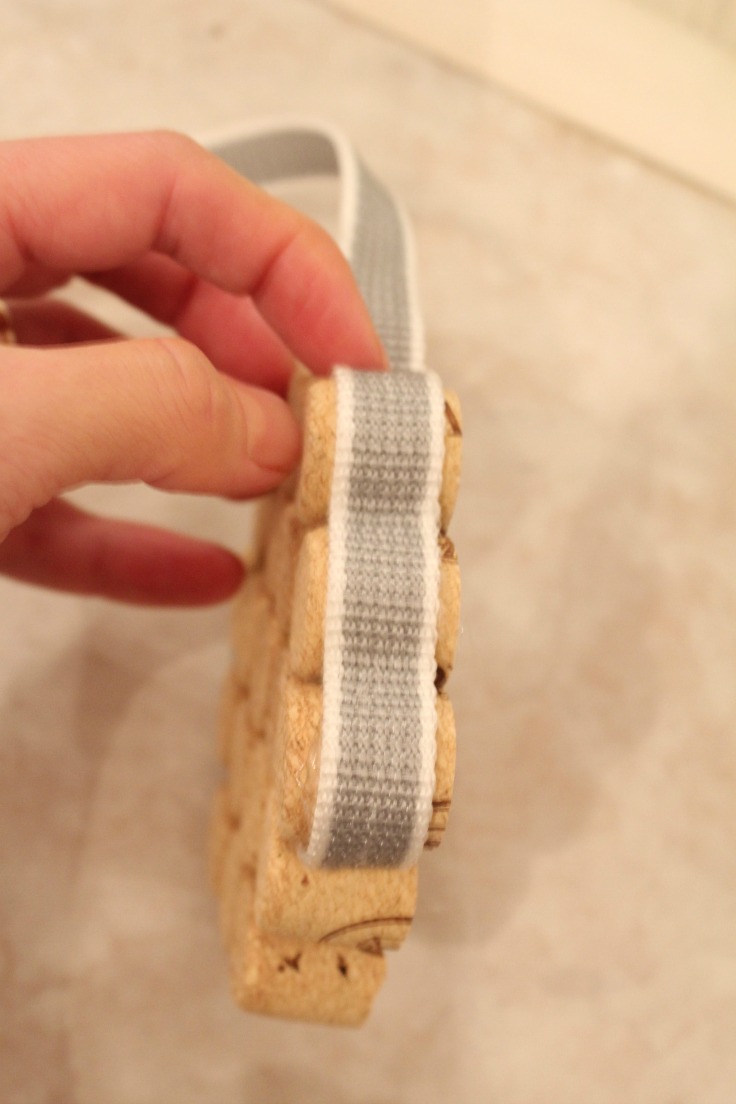
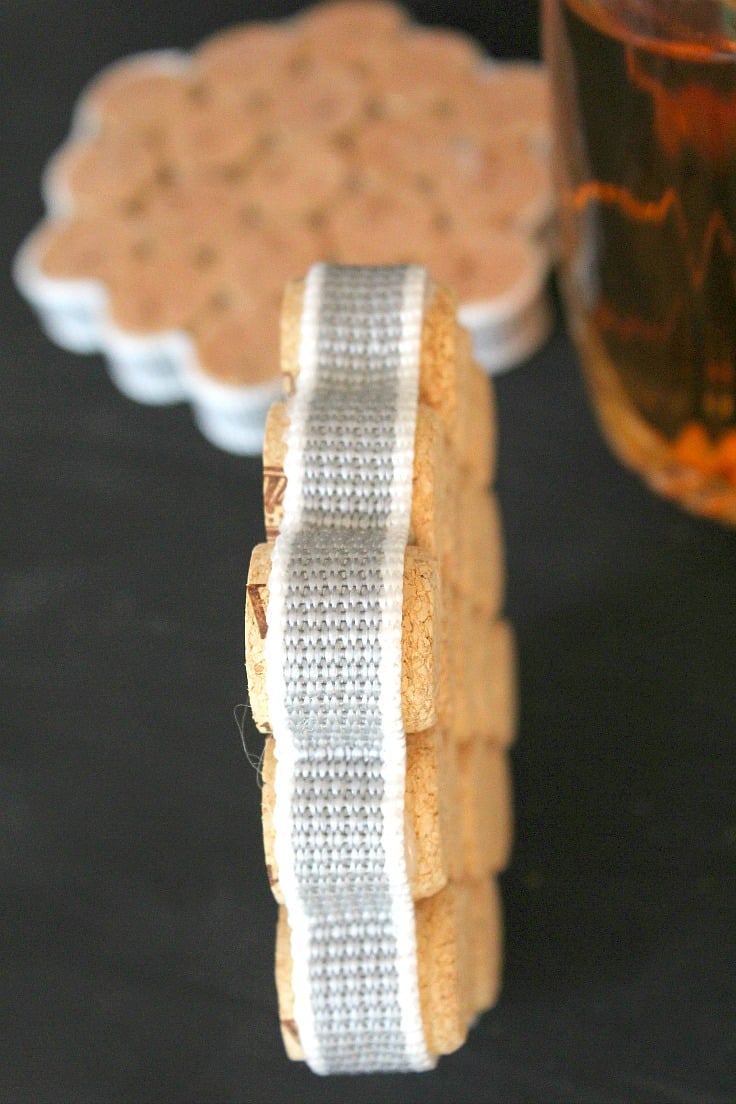
You’re done! Now enjoy your beautiful DIY cork coasters and celebrate with a glass of your favorite wine (or apple juice if you are a nerd like me! lol)
Pin to save for later

Print the craft card
DIY cork coasters
Materials
- webbing
- 19 old wine corks
Tools
- sharp cutter or sharp knife
- ruler
- hot glue sticks
- cutting board to cut the corks
Instructions
- Measure the webbing against the corks and mark about 1/8" away from the webbing edges, on both sides. This measurement is just for reference, you can leave more or less space, it's totally up to you.
- Using a sharp cutting tool, cut all corks following these measurements. You need a clean, uniform cut across the surface of each cork so the coasters are stable once assembled.
- Using your glue gun, glue all pieces together to form a honeycomb
- Glue the webbing on the outside of the newly formed coaster, applying glue one cork piece at a time.
- You're done! Now enjoy your beautiful DIY cork coasters and celebrate with a glass of your favorite wine (or apple juice if you are a nerd like me! lol)
Article may contain Amazon & affiliate links. As an Amazon Associate I earn from qualifying purchases at no additional cost to you.
ABOUT PETRO
Hi, I’m Petro, author and founder of Easy Peasy Creative Ideas. Sewist, crafter, avid DIY-er, foodie, photographer, homemaker and mommy to one. I’m an expert at coming up with quick, clever sewing tips, recycling crafts and simple, easy recipes! You can find my ideas featured in reputable publications such as Country Living, Good House Keeping, Yahoo News, WikiHow, Shutterfly, Parade, Brit & Co and more. Thanks for stopping by and hope you’ll stay for a while, get to know me better and come back another time. Stick around for real fun projects! Read more…