Cork Frame Made With Recycled Wine Corks
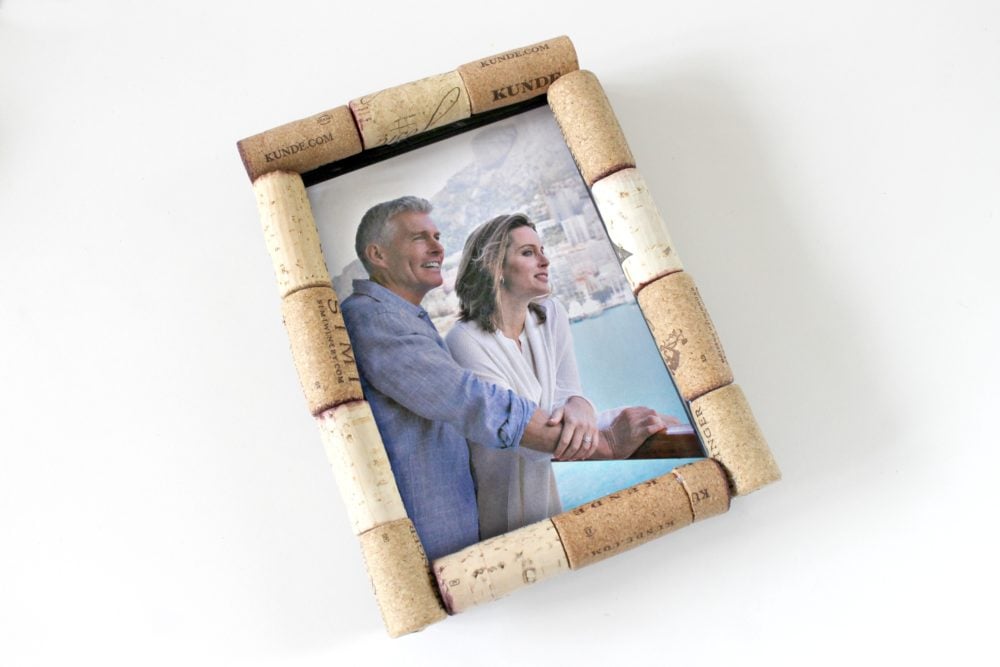
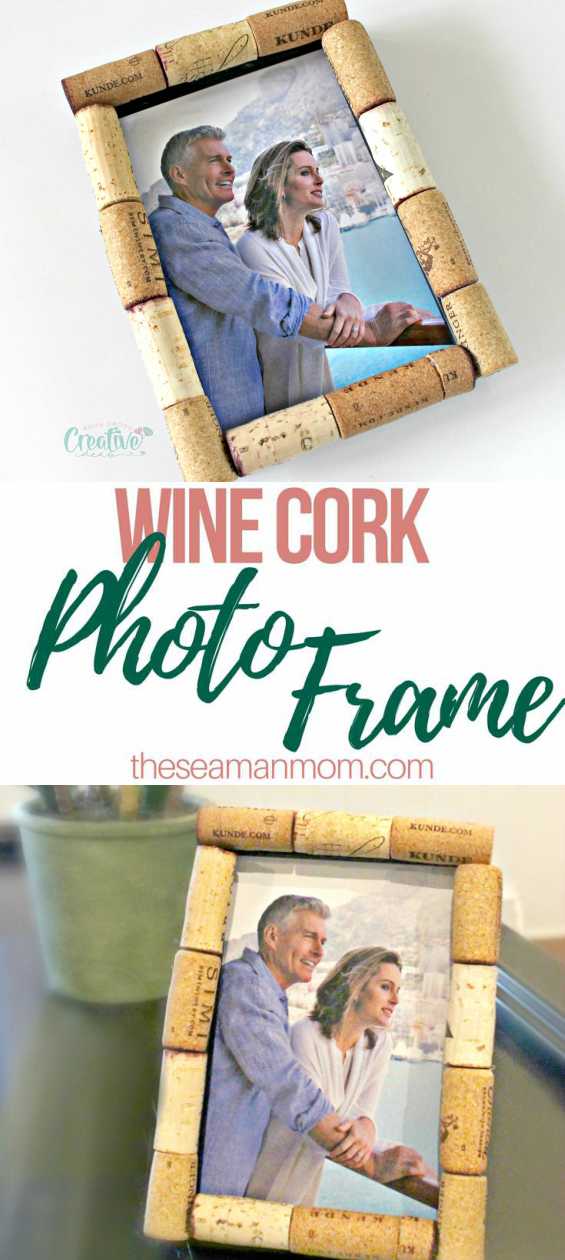
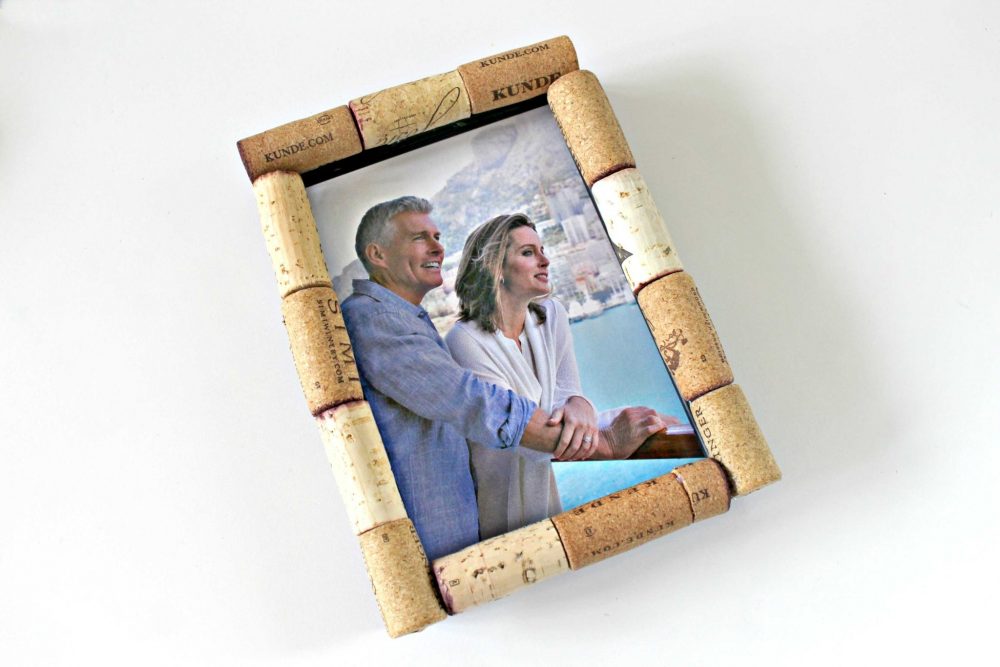
This simple cork frame is such an easy peasy and fun project and a great way to recycle wine corks you may have accumulated over the years! If you are a wine cork hoarder like me, you’ll find this cute wine cork frame right up your alley!
Wine Cork Frame
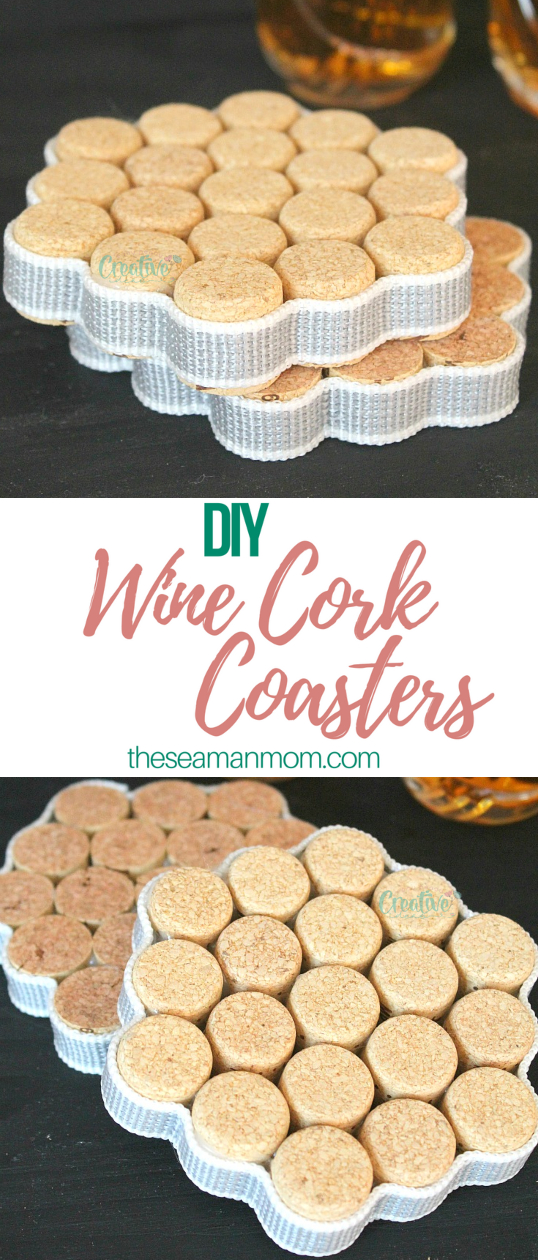
Last time I made a wine cork project (check out these cork coasters!) I was afraid I’m going to project myself as a bit of an alcoholic (LOL). And I must confess, the thought of it haunted me again when I decided to make this cork frame project.
It actually stopped me from creating this wine cork picture frame for a while now, but then one day I decided to stop being a chicken and just do what I love most about crafting: recycling! And I also realized that if you’ve been following me for a while (if you don’t, just sign up for my newsletter here), you must know I have actually completely quit alcohol in 2009. So it’s safe to say when I collect all these wine corks it’s simply because I’m a freak! A crafting freak, I mean! I love recycling and love making pretty things for my home out of ordinary stuff, just like this lovely cork frame!
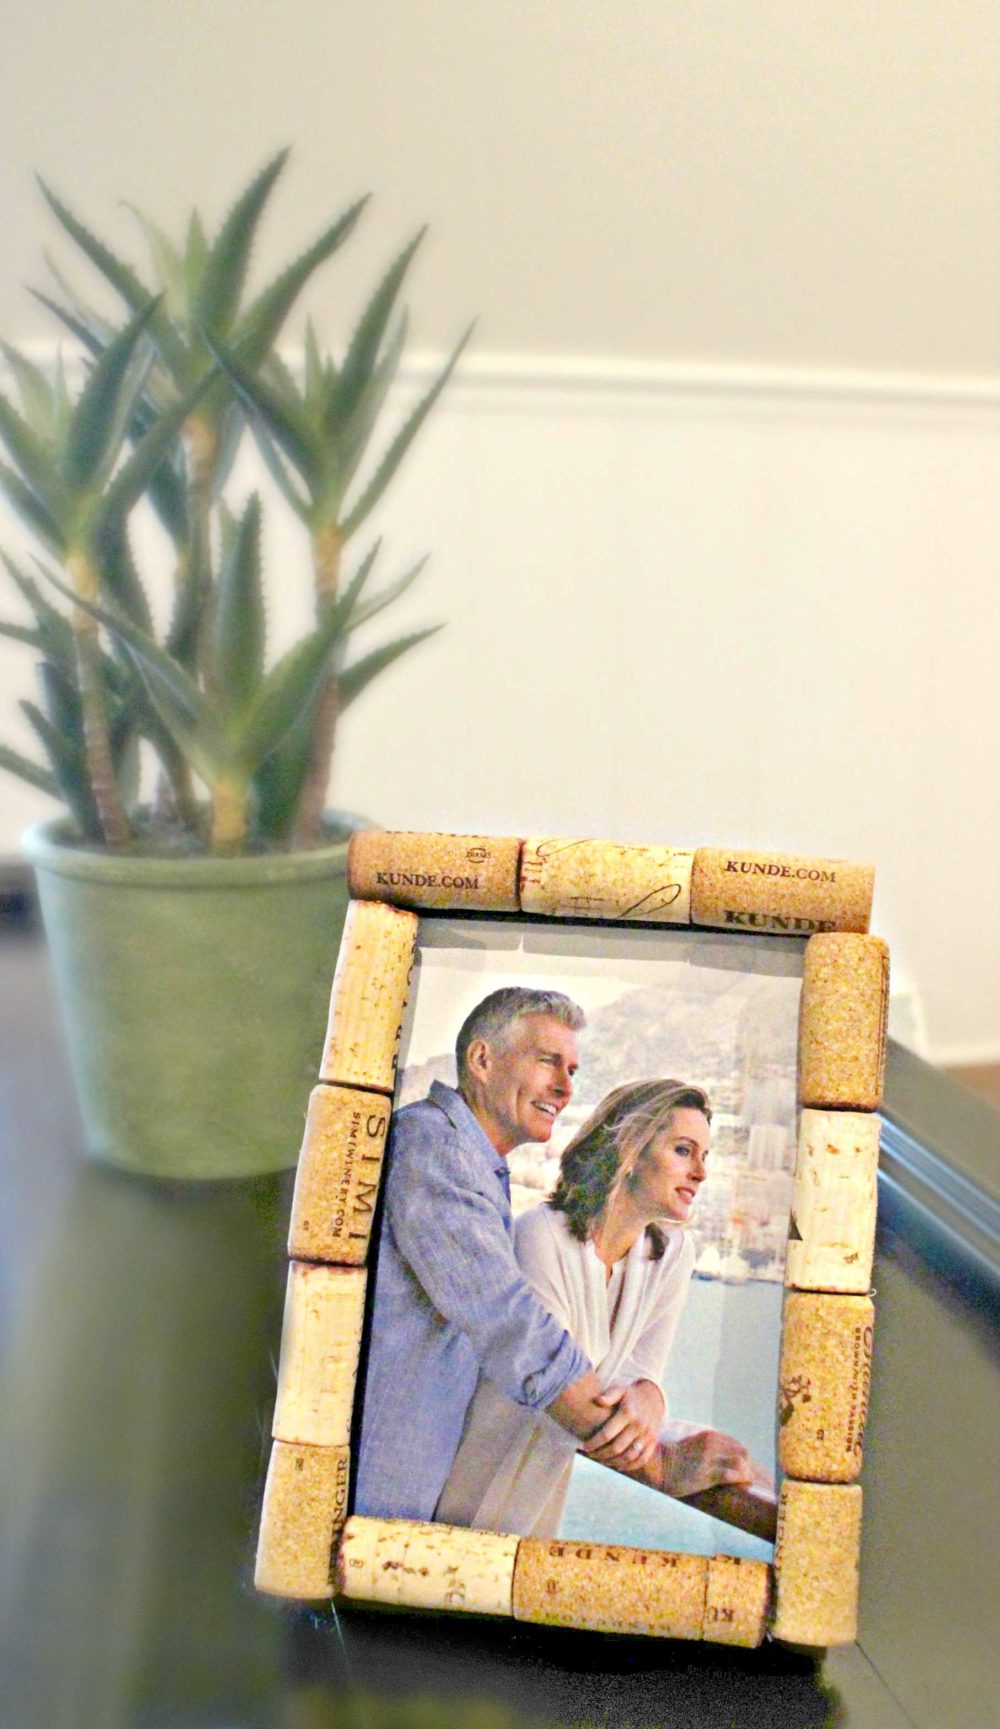
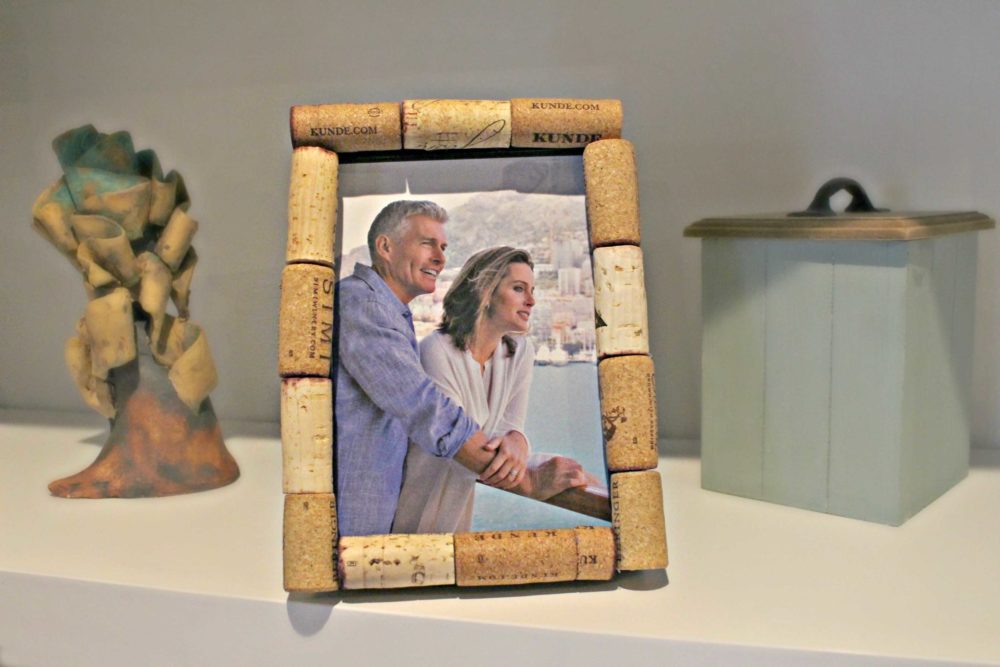
It’s amazing what one can do with such simple supplies like wine corks, glue and an old, plain and boring picture frame! The corks add so much more structure, design and interest to such a photo frame and makes it truly stand out! So next time you finish a bottle of wine, don’t toss the cork, save it until you have enough to make this pretty cork frame (or you can use the corks for the cork coasters I mentioned above).
This wine cork decor will add a rustic touch to your home and is perfect for farmhouse or minimalist decors. These frames are also a great gift idea for friends and family and are pretty versatile in terms of shapes. Wine corks are such an easy to work with and so much fun!
Cork Frame
Materials:
- A 5” x 7” frame with a flat front
- 13 – 15 wine corks
- A knife to cut the wine cork
- Strong craft glue (such as E-6000)
- White paper
- Pencil
Instructions:
- Remove the glass and back from the frame and set aside.
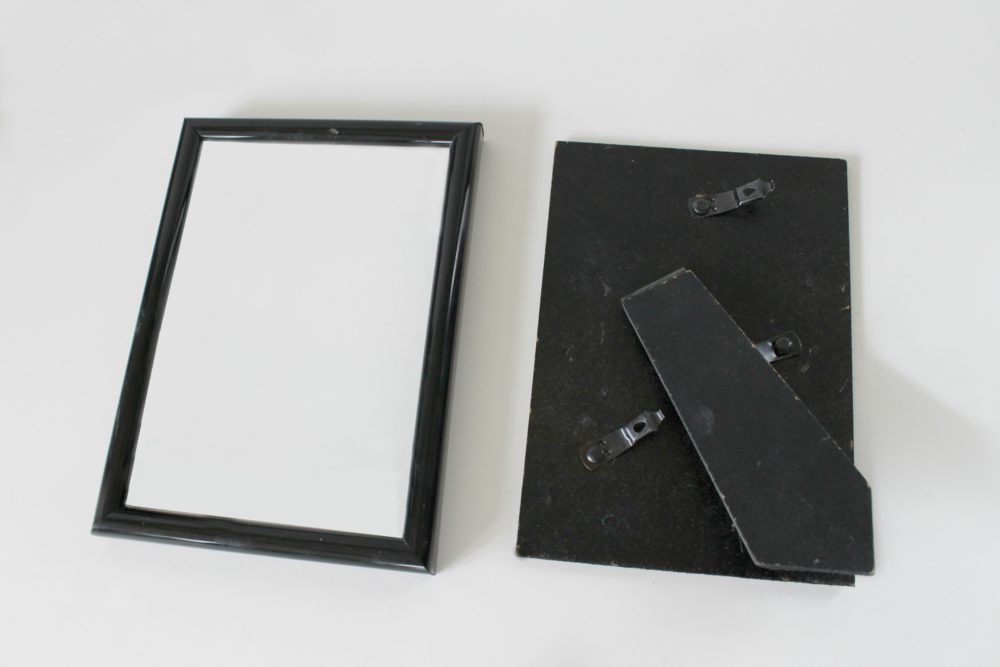
- Put the frame on the piece of paper and trace the inside of the frame. Set out the corks on the pencil lines and move them around until they fit as you like.
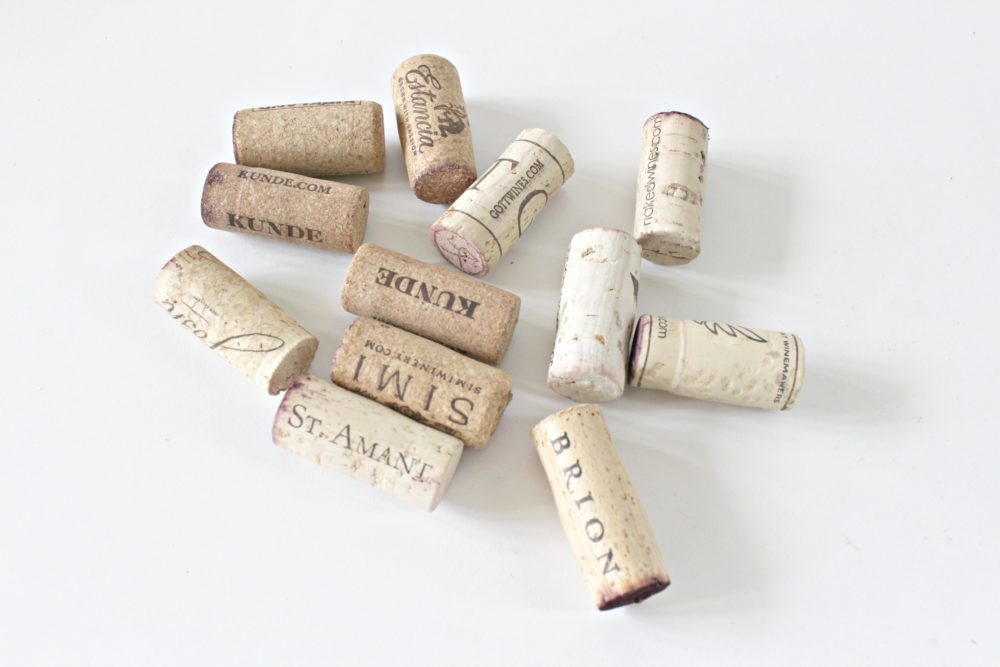
- Use the craft glue to attach the corks to the frame.
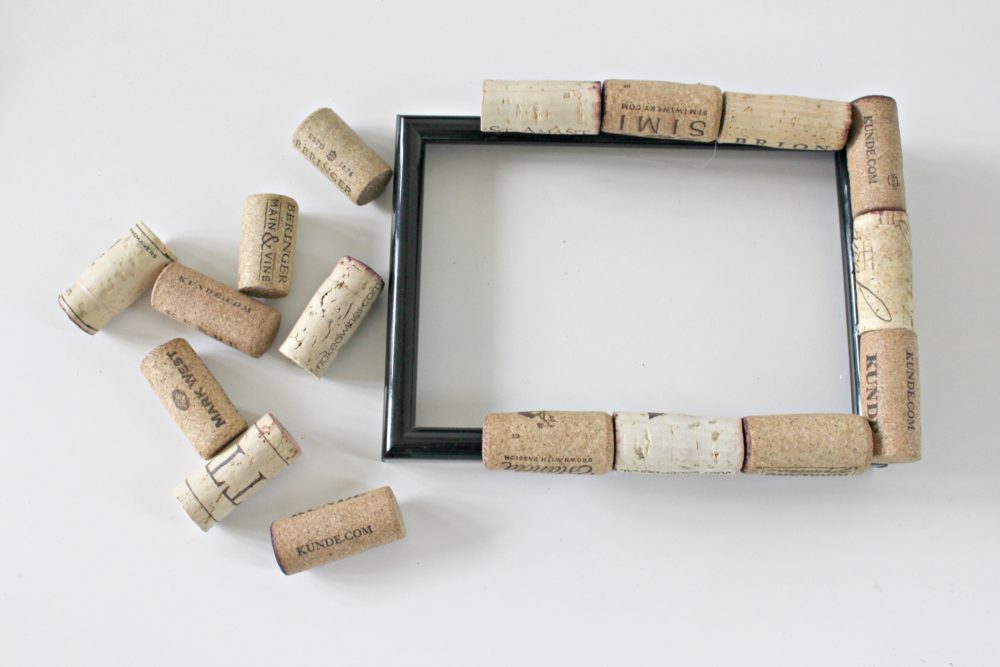
- Once all the corks are attached to the frame, see where you need to cut pieces to fill in any spots. Do your cuts carefully and glue them into place. Let the glue dry completely.
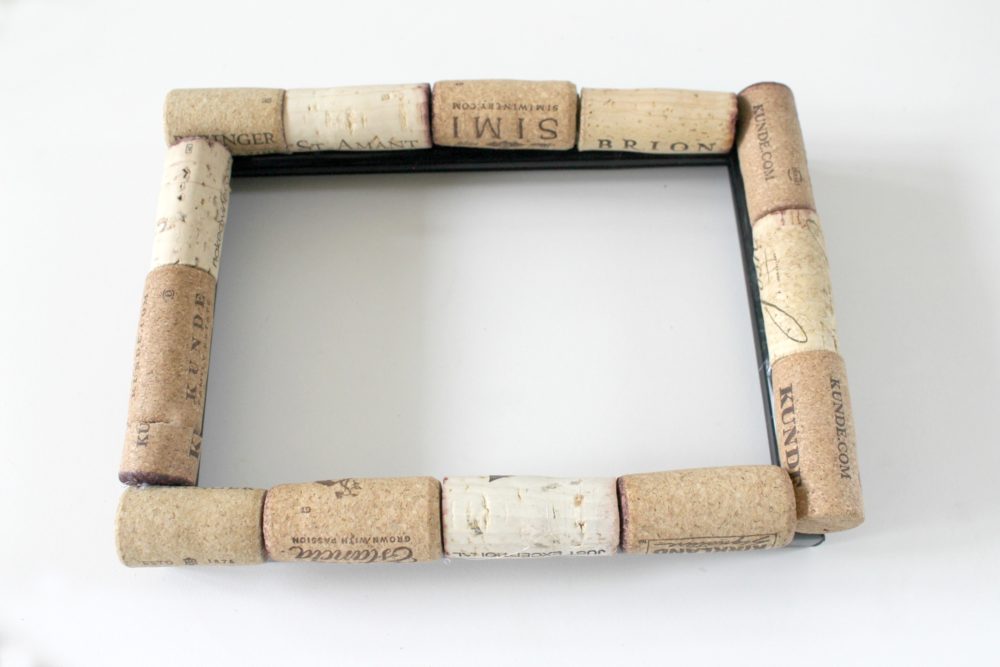
- Replace the glass, insert your own photo, attach the back of the frame and you are ready to set it out in your home or office. (This makes a great gift as well.)


Most popular craft
Article may contain Amazon & affiliate links. As an Amazon Associate I earn from qualifying purchases at no additional cost to you.




ABOUT PETRO
Hi, I’m Petro, author and founder of Easy Peasy Creative Ideas. Sewist, crafter, avid DIY-er, foodie, photographer, homemaker and mommy to one. I’m an expert at coming up with quick, clever sewing tips, recycling crafts and simple, easy recipes! You can find my ideas featured in reputable publications such as Country Living, Good House Keeping, Yahoo News, WikiHow, Shutterfly, Parade, Brit & Co and more. Thanks for stopping by and hope you’ll stay for a while, get to know me better and come back another time. Stick around for real fun projects! Read more…