Star shaped DIY patriotic wreath
If you’re looking for a fun and creative way to display your patriotism, this DIY patriotic wreath is the perfect project for you! Not only is it a great addition to your home décor, but it also serves as a reminder of the values and principles that our country stands for. Plus, making your own wreath allows you to customize it to fit your personal style.
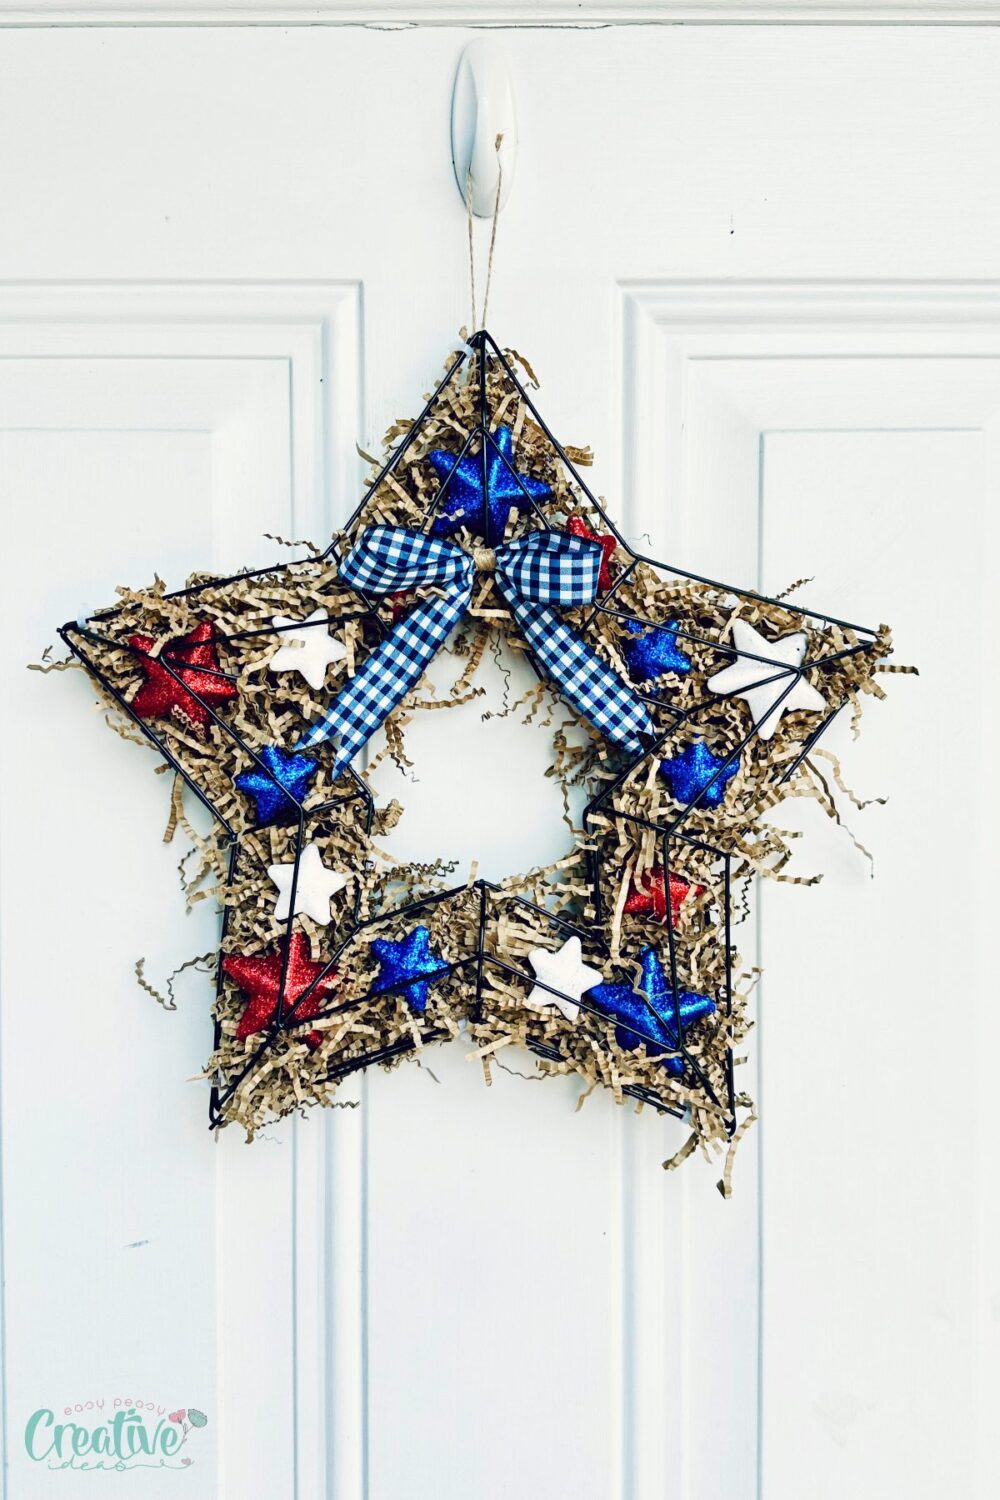
This DIY patriotic wreath is one of my favorite projects! It’s an easy-to-make decoration that will add a touch of Americana to your home, whether it’s for Independence Day, Memorial Day, or just to show off your love for the red, white, and blue. Plus, making this wreath is a fun activity for the whole family to enjoy together.
This DIY patriotic wreath combines simple materials and equipment with easy-to-follow steps that result in a beautifully festive decoration. With just a few supplies, you can create a stunning wreath that will impress your guests and add some patriotic flair to your home.
Out of all the patriotic wreath options out there, this DIY star wreath is the best because it allows you to customize it to your liking. You can choose different materials, colors, and sizes to make a wreath that truly reflects your personal style and celebrates your love for America.
How to make a DIY patriotic wreath
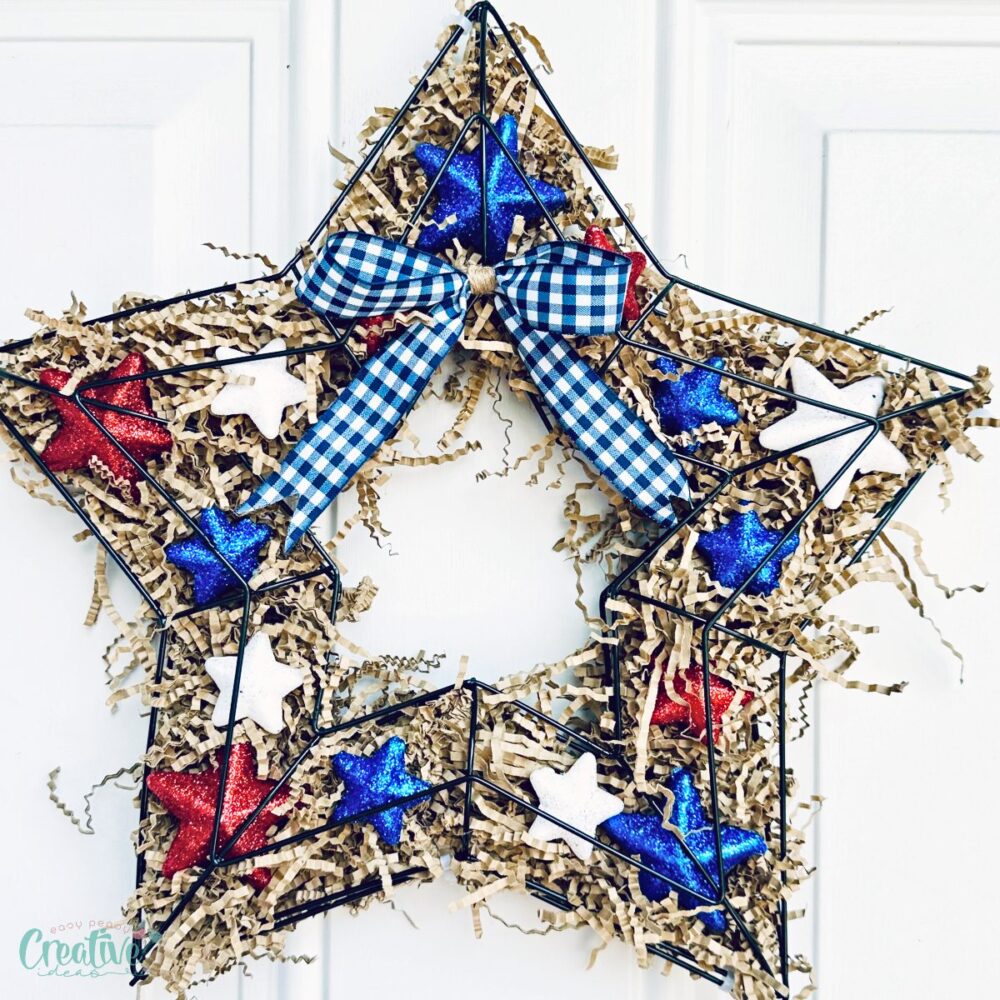
Materials you need
To create this DIY patriotic wreath, you will need the following materials:
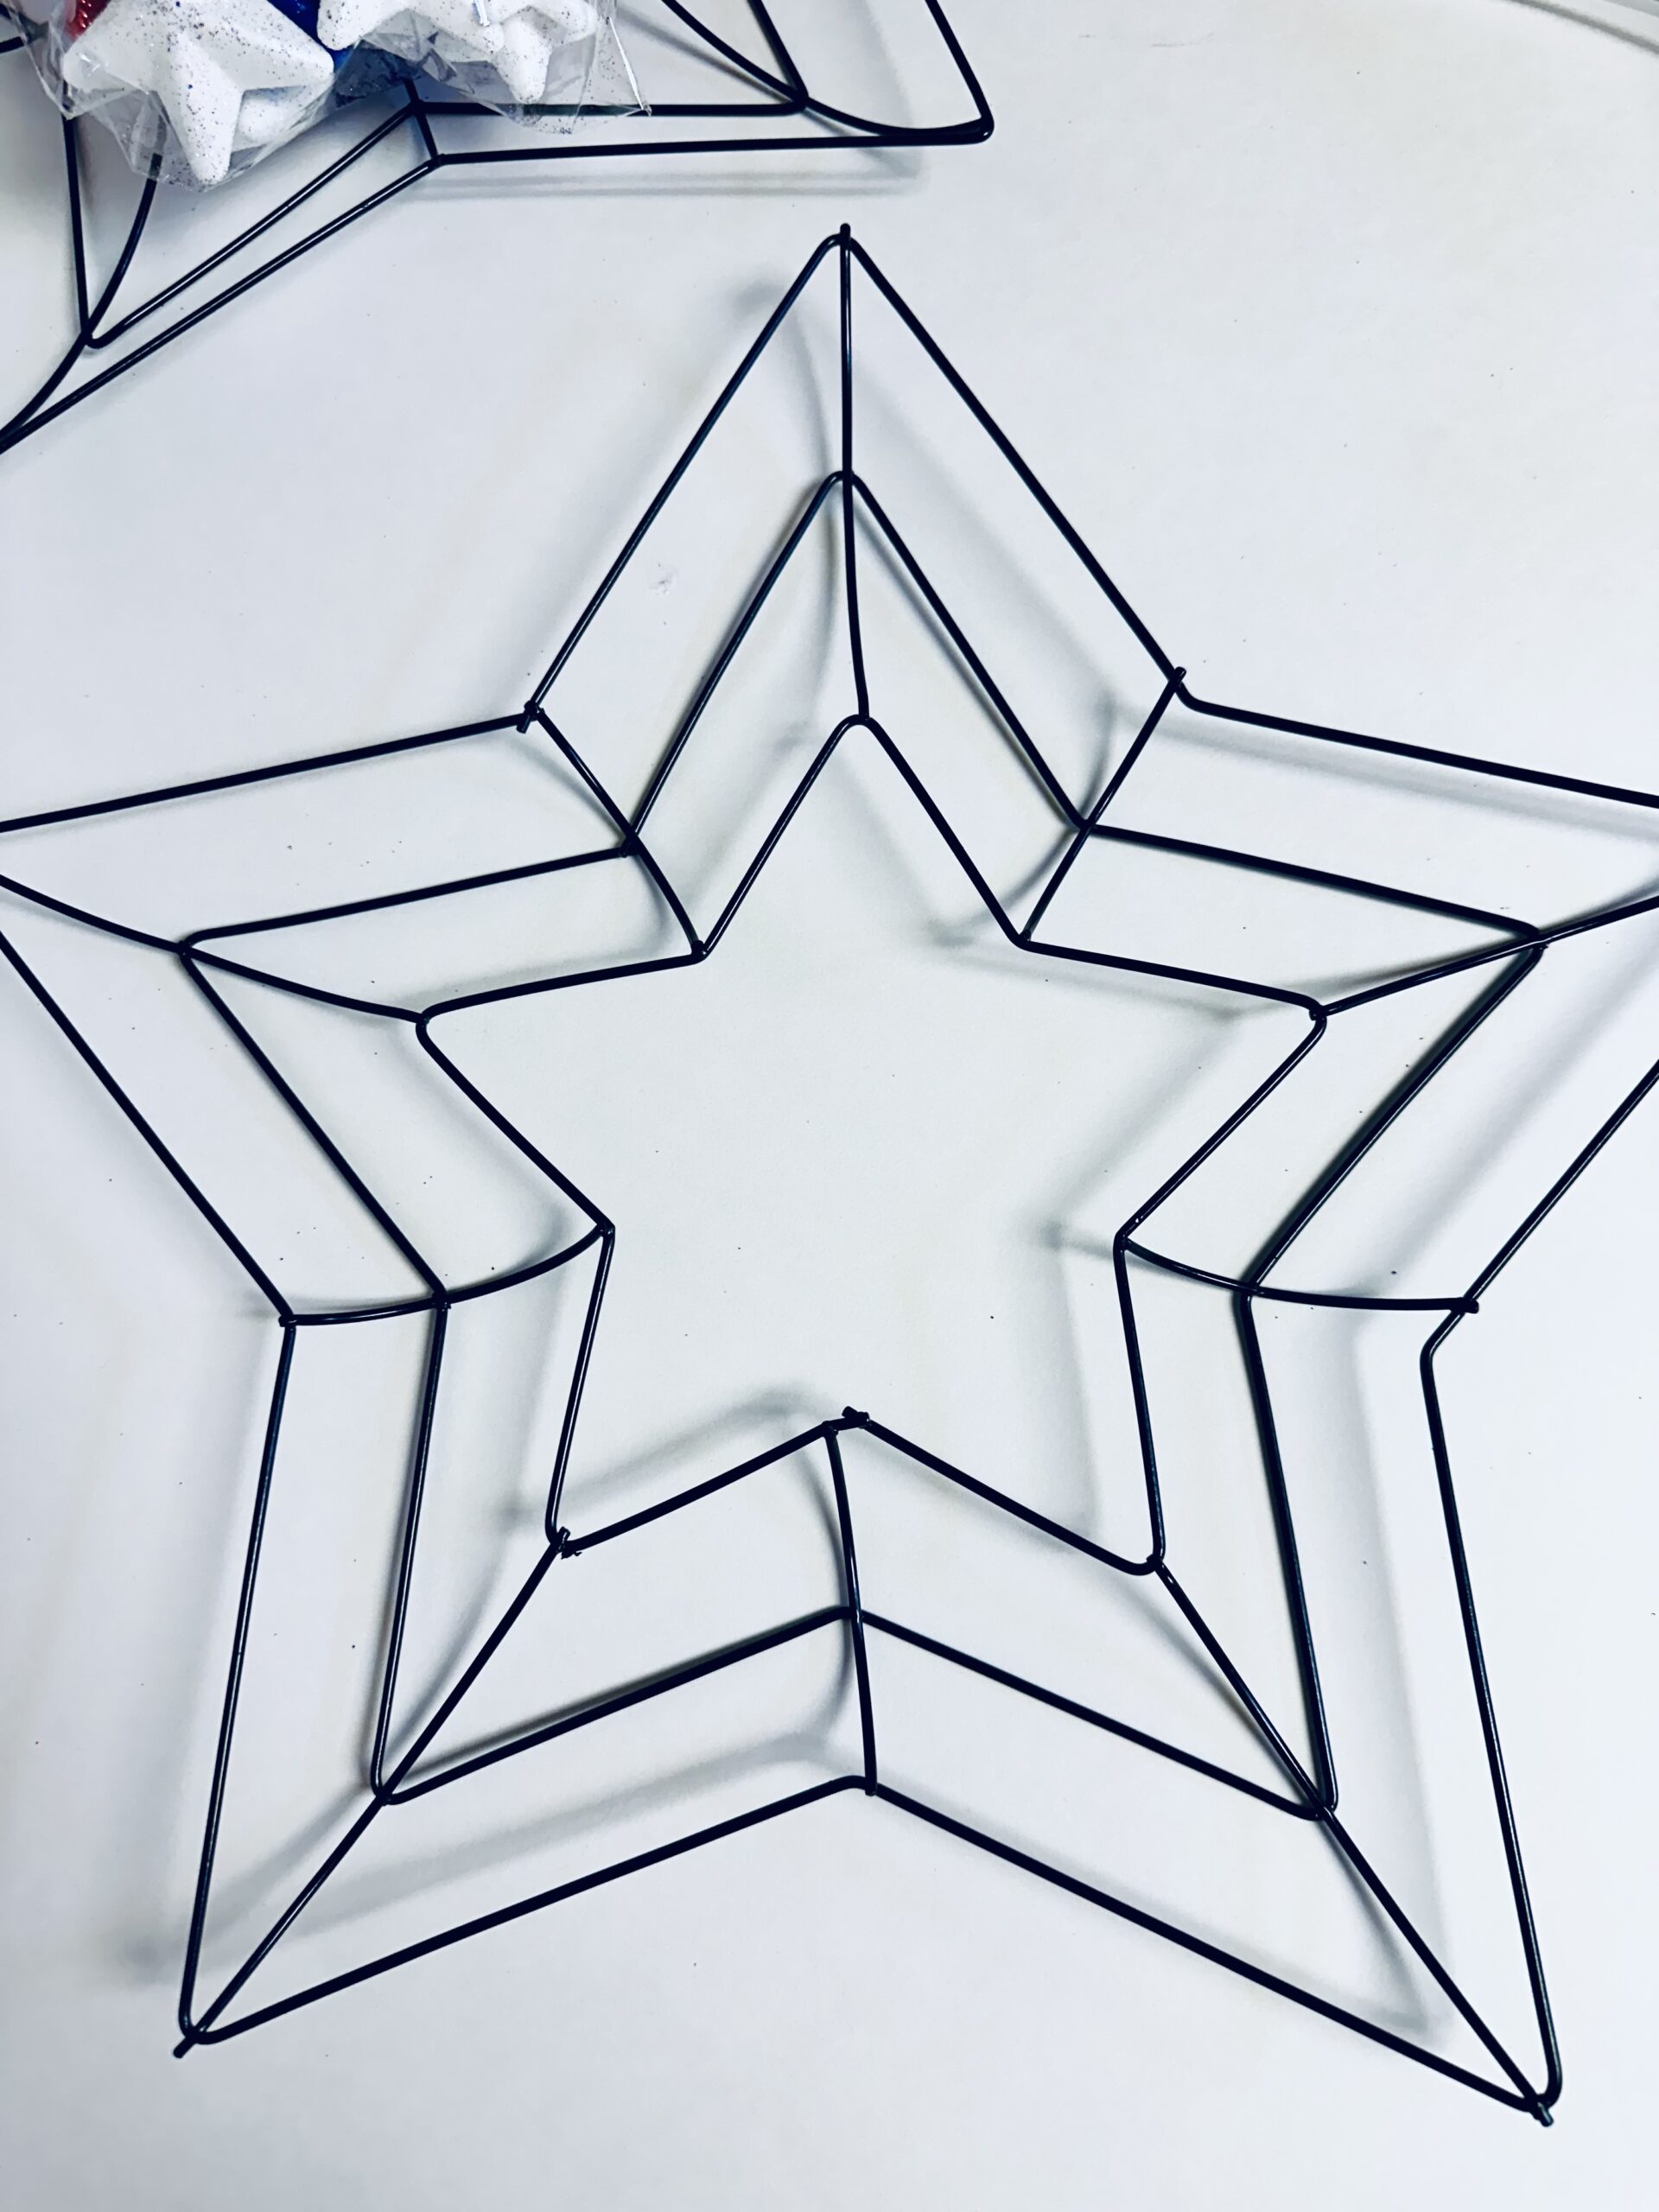
- Star wire wreath forms: These can be found at most craft stores and come in various sizes.
- Foam star scatter: These are also available at craft stores and will add a pop of color to your wreath.
- Decorative shred: This material adds texture and volume to your wreath.
- Star ribbon: A few yards of this ribbon will add a festive touch to your wreath.
Substitutes
Don’t have access to the exact materials listed above? No problem! You can easily substitute some of these materials with things you may already have at home. For example, instead of using foam star scatter, you can use glitter or paint to decorate plain foam stars. And if you don’t have star ribbon, you can use any red, white, and blue ribbon or fabric to create a similar effect.
Equipment
To make this DIY star wreath, you will also need the following equipment:
- Scissors: These will come in handy for cutting materials to size.
- Twine: Use twine to secure materials onto the wreath form.
- Zipties: These are great for holding materials in place while you work on your wreath.
- Hot glue gun: This will be used to attach any small embellishments or decorations onto the wreath.
Instructions to make the DIY patriotic wreath
Now that you have all your materials and equipment ready, it’s time to dive into making your patriotic star wreath!
Preparations
- Lay out all your materials and equipment in a clear work area.
- Heat up your hot glue gun so it is ready to use.
Crafting
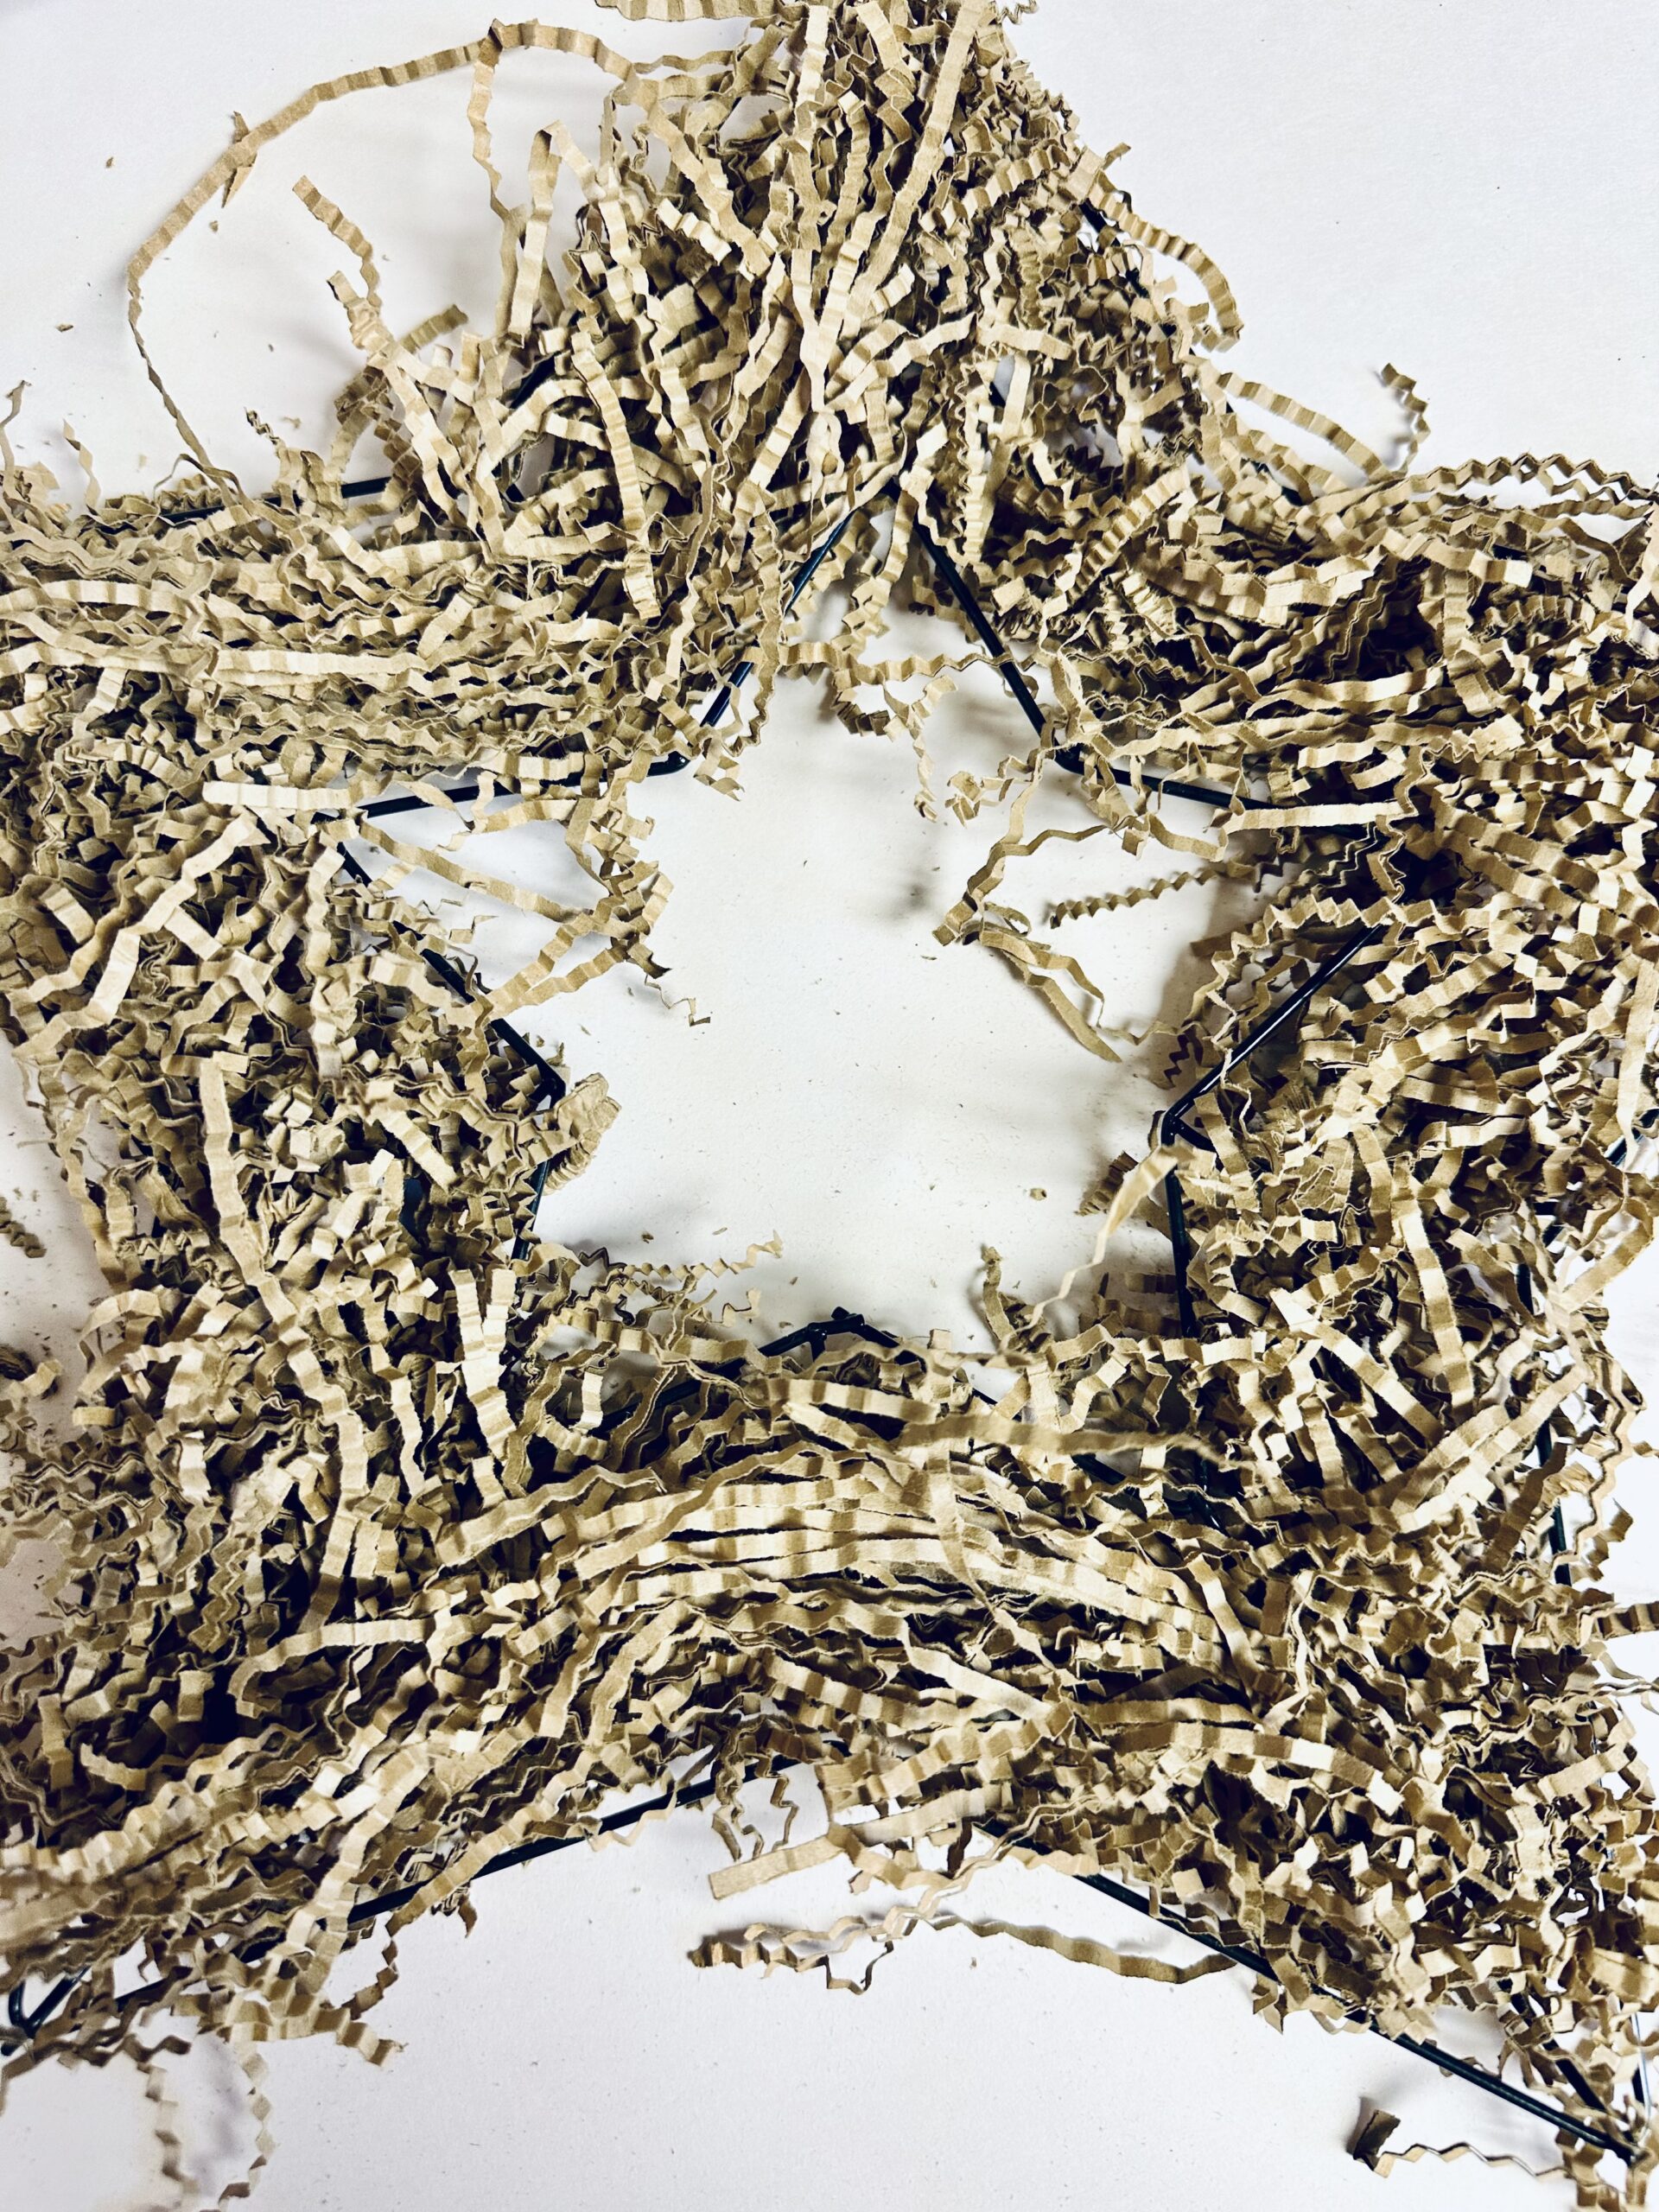
- Start by flipping the star wreath form over on its backside. This will make the wreath form like a basket to hold the items.
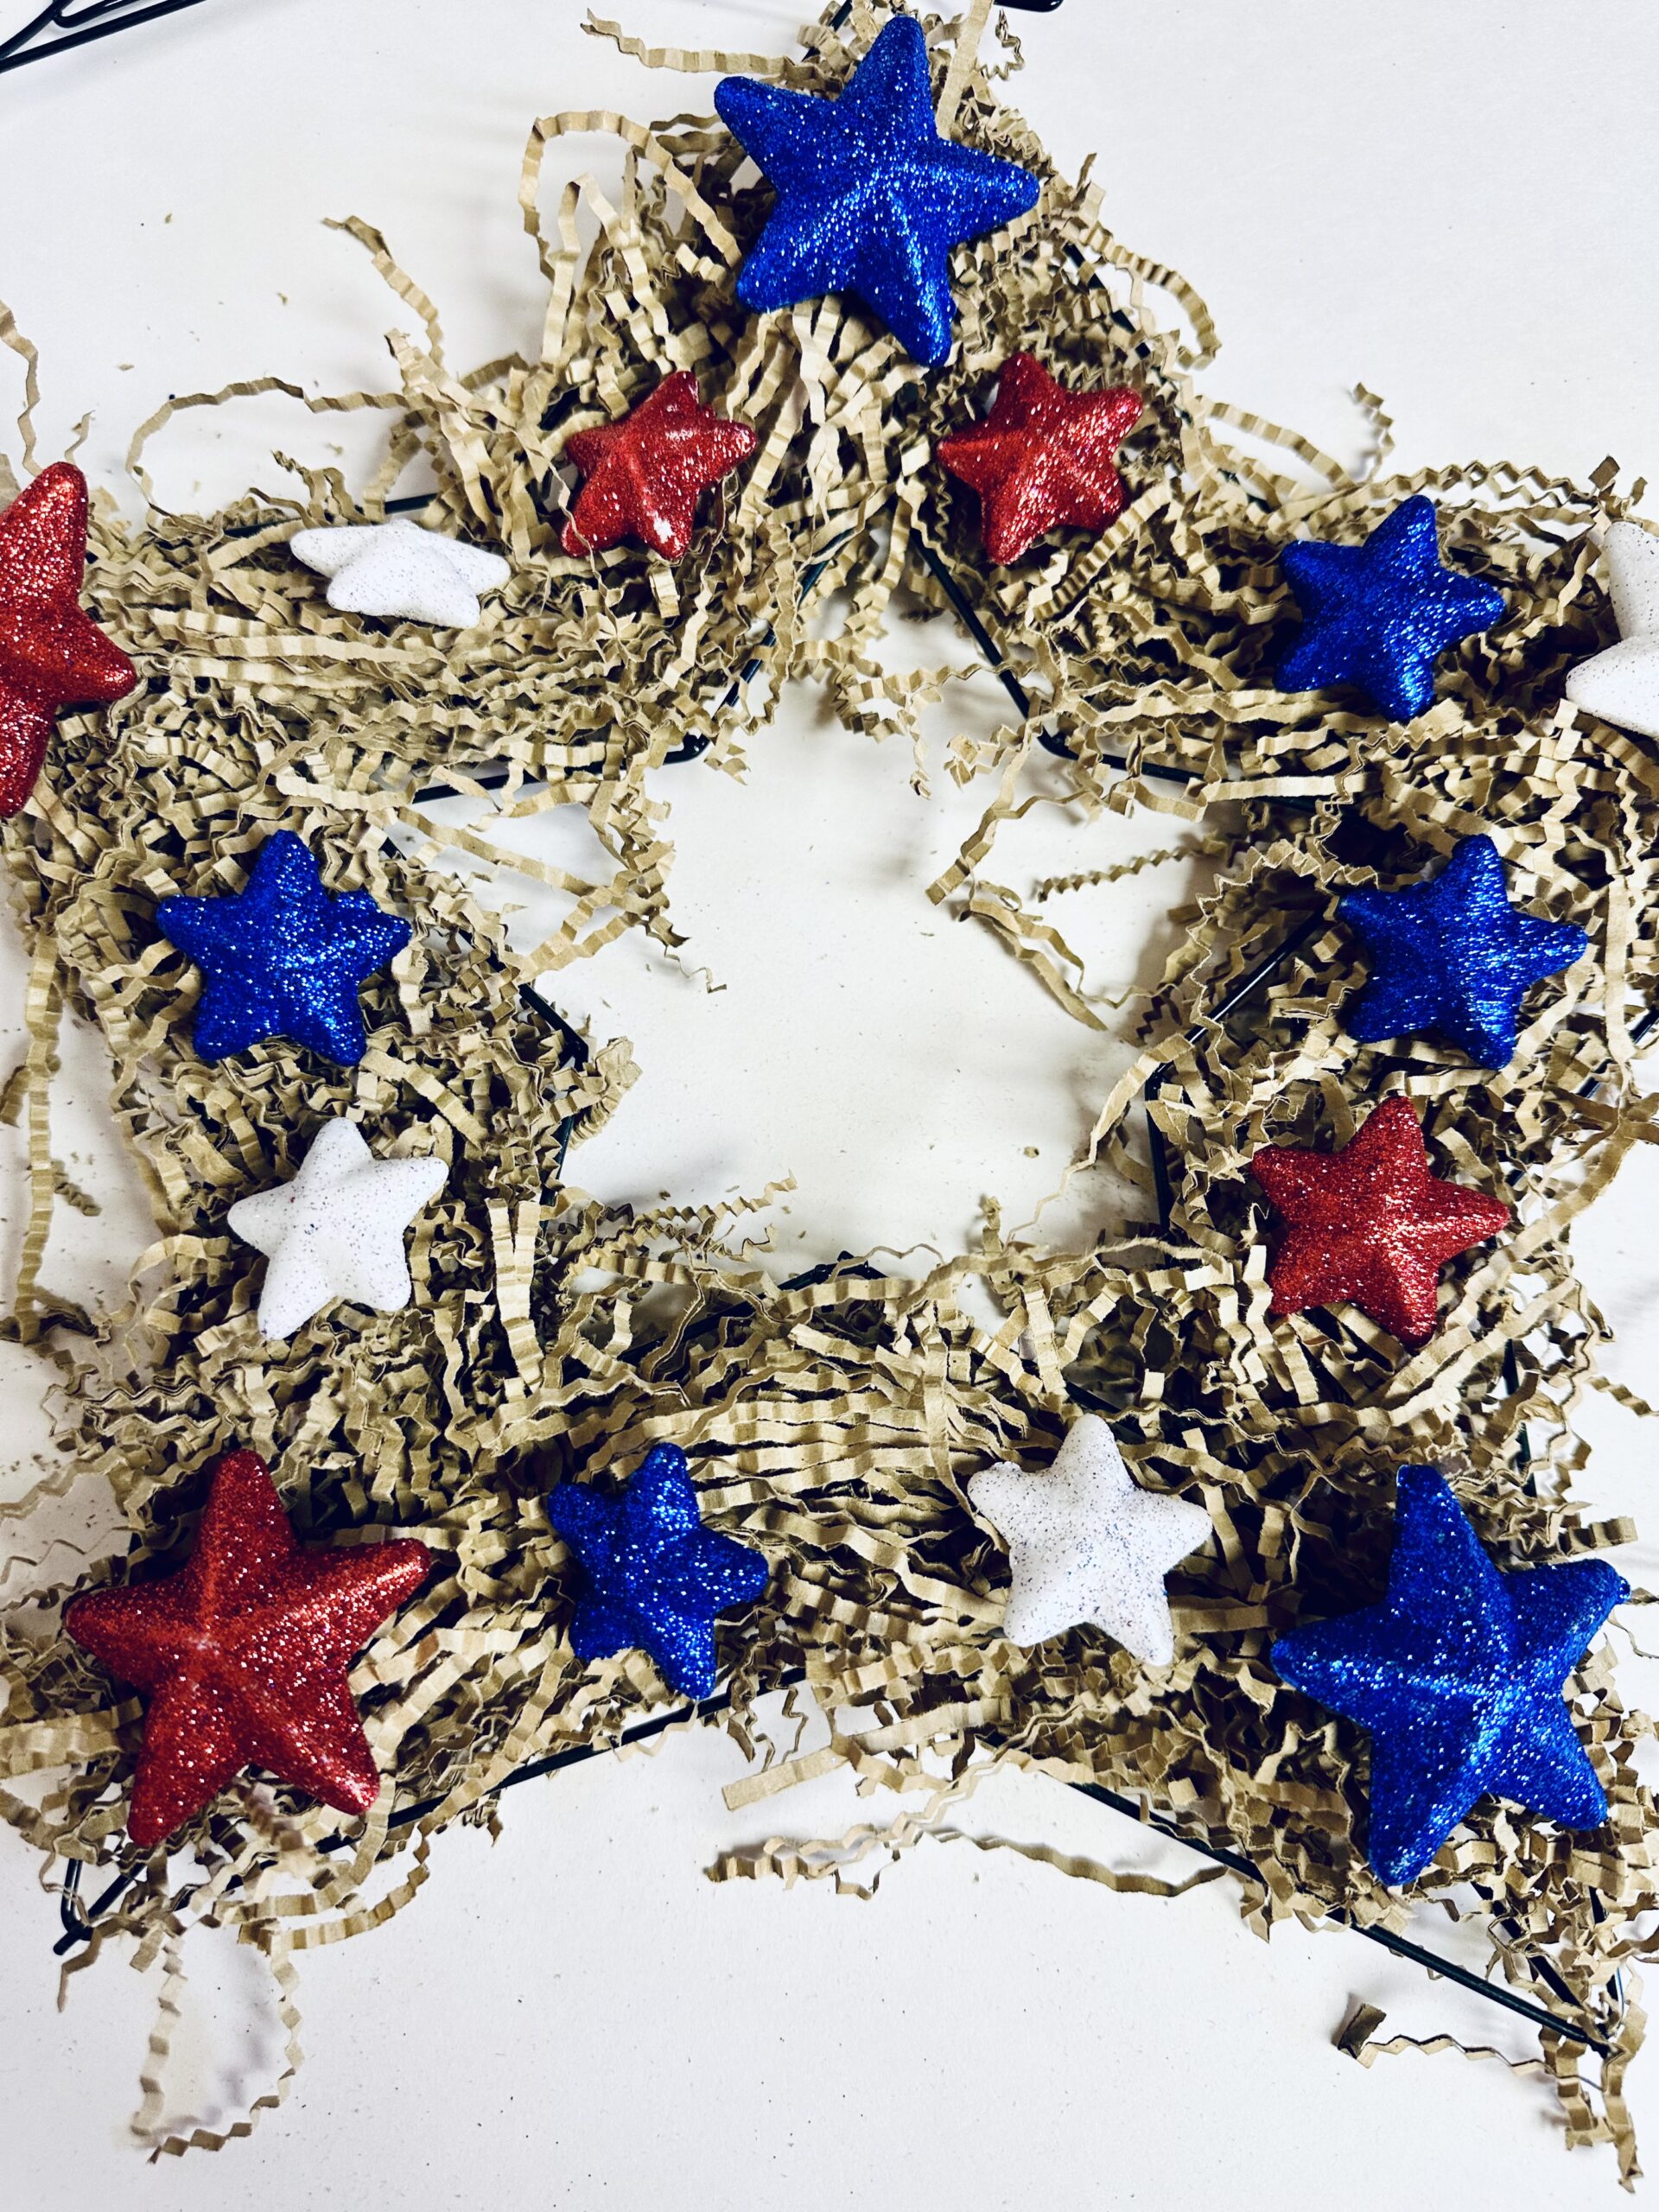
- Fill the inside with the decorate shred. I added a good amount to make it full. I then added the foam stars on top. You can hot glue them down (I did to make them more secure)
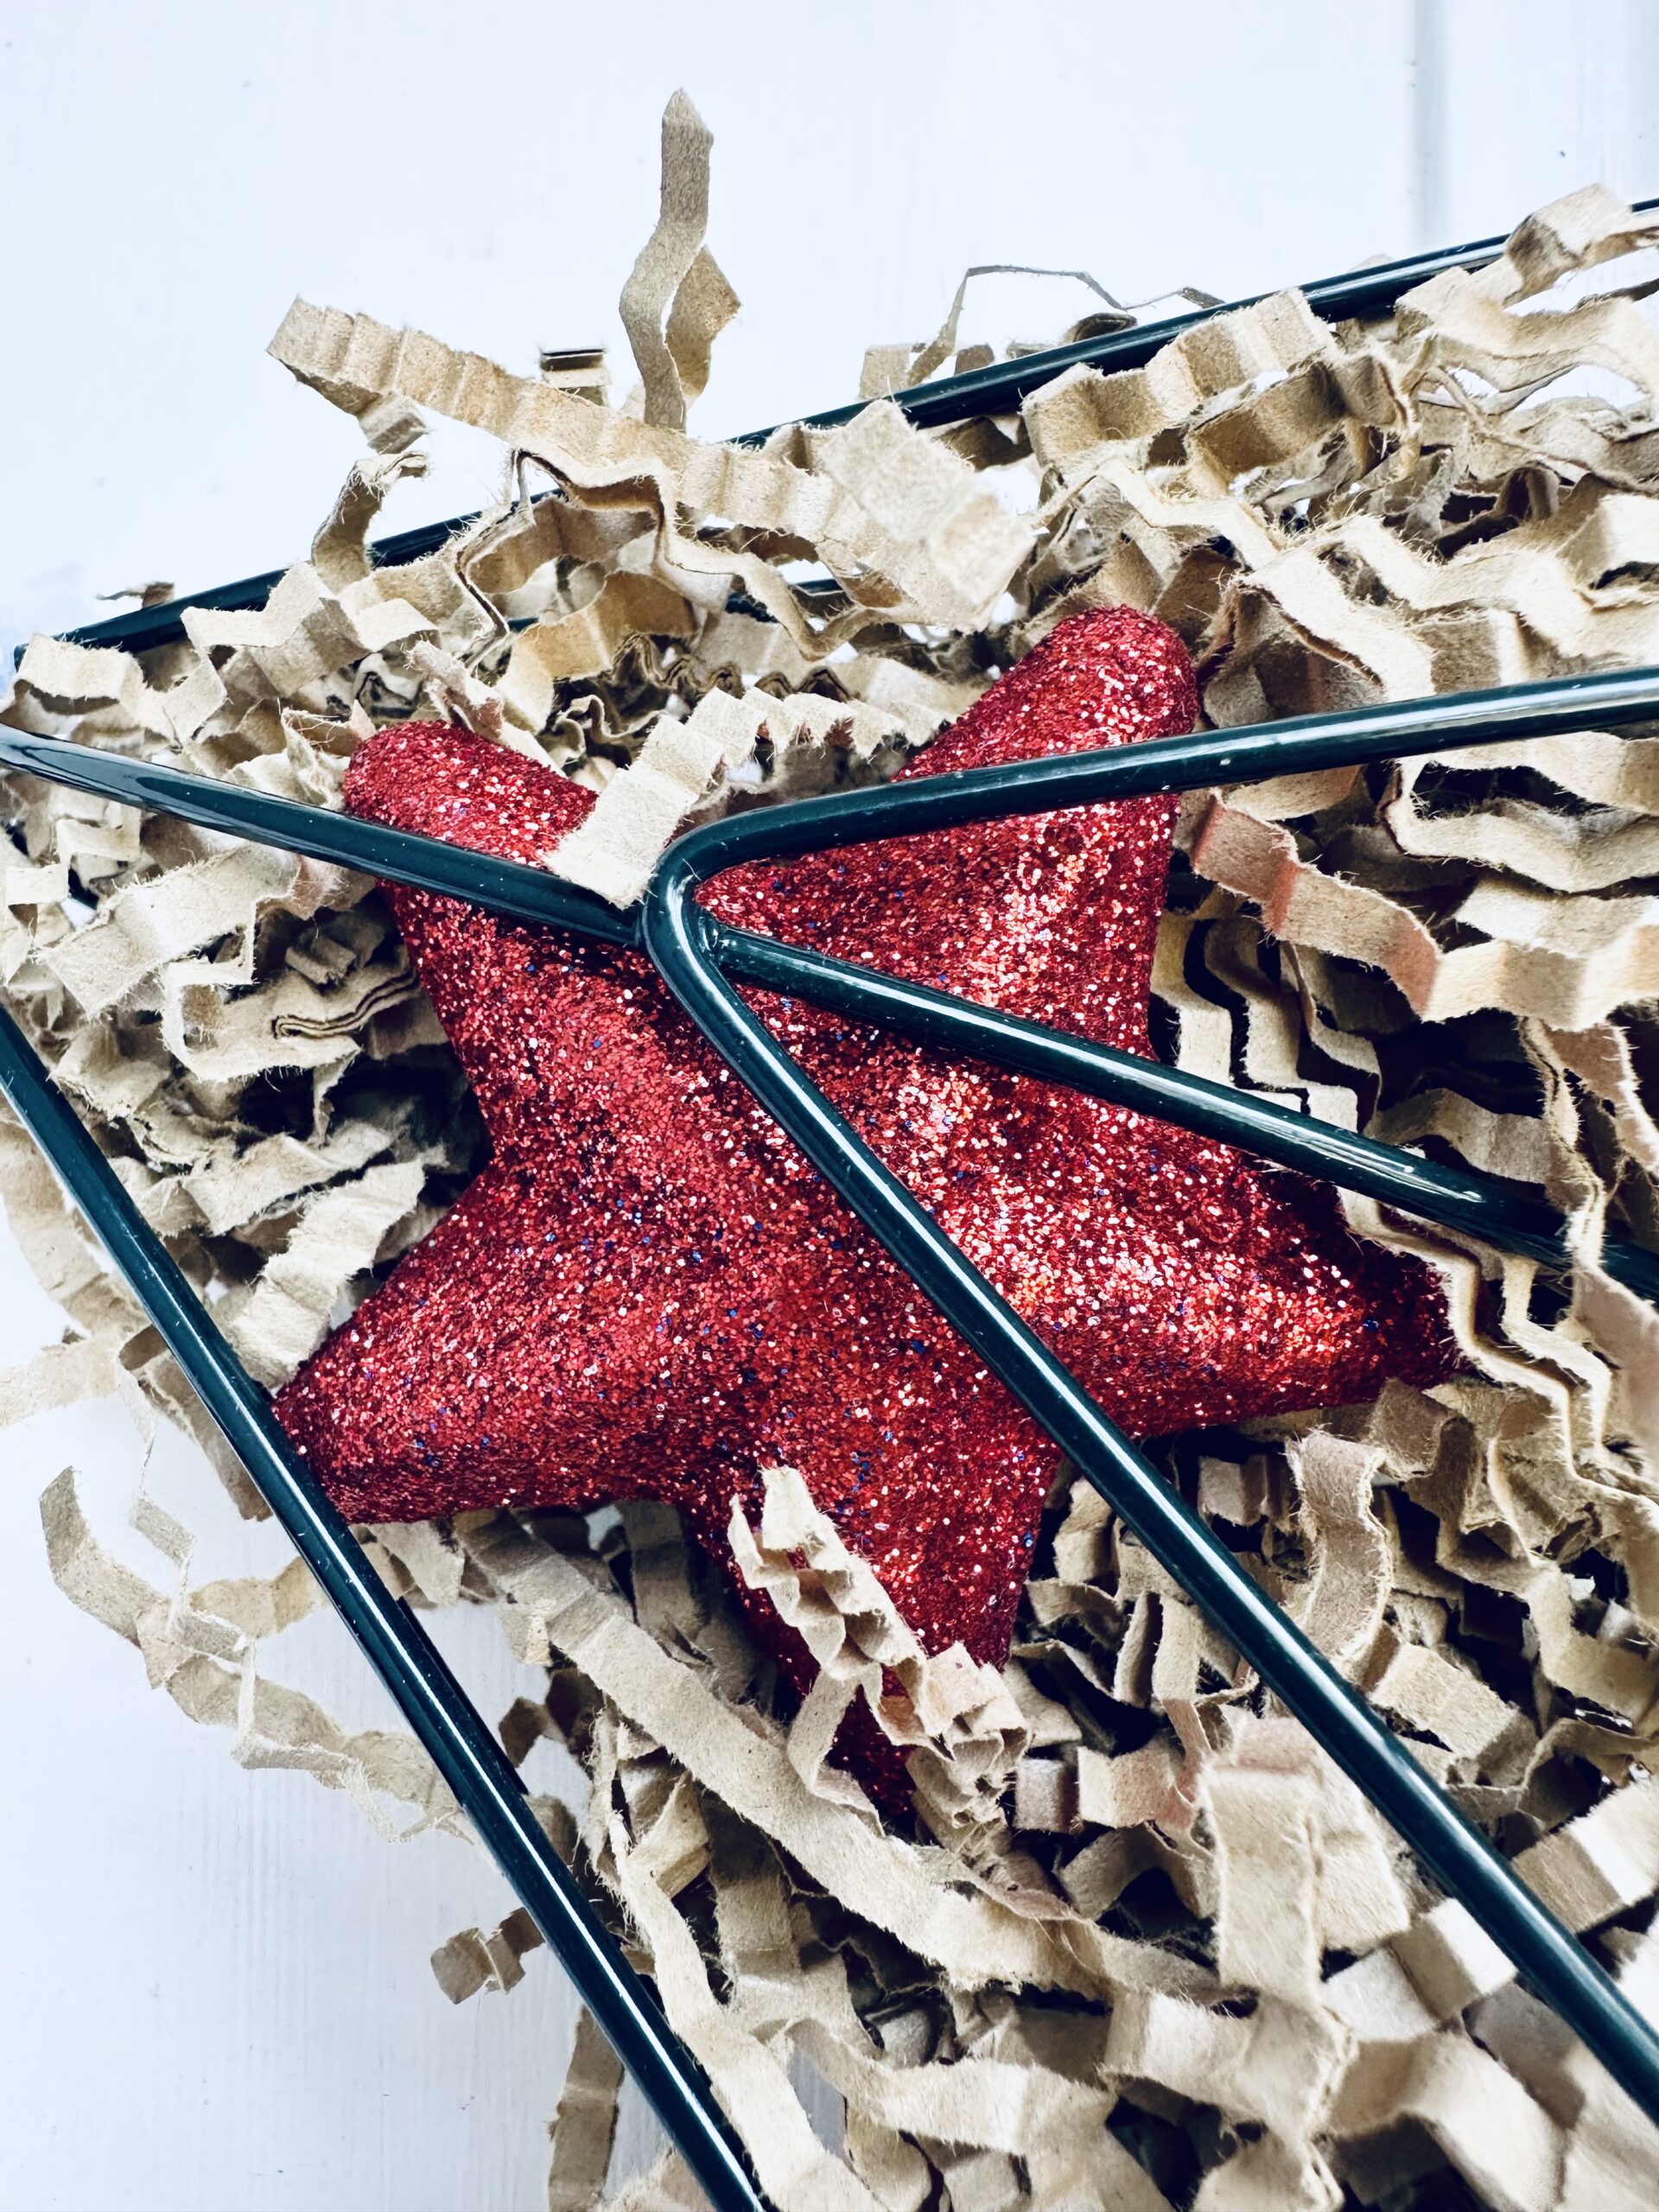
- Place the other wire star form on top to make it like a cage effect over the top and will secure items.
- Use the zip ties to secure the wire star wreath forms into place. Trim the ends.
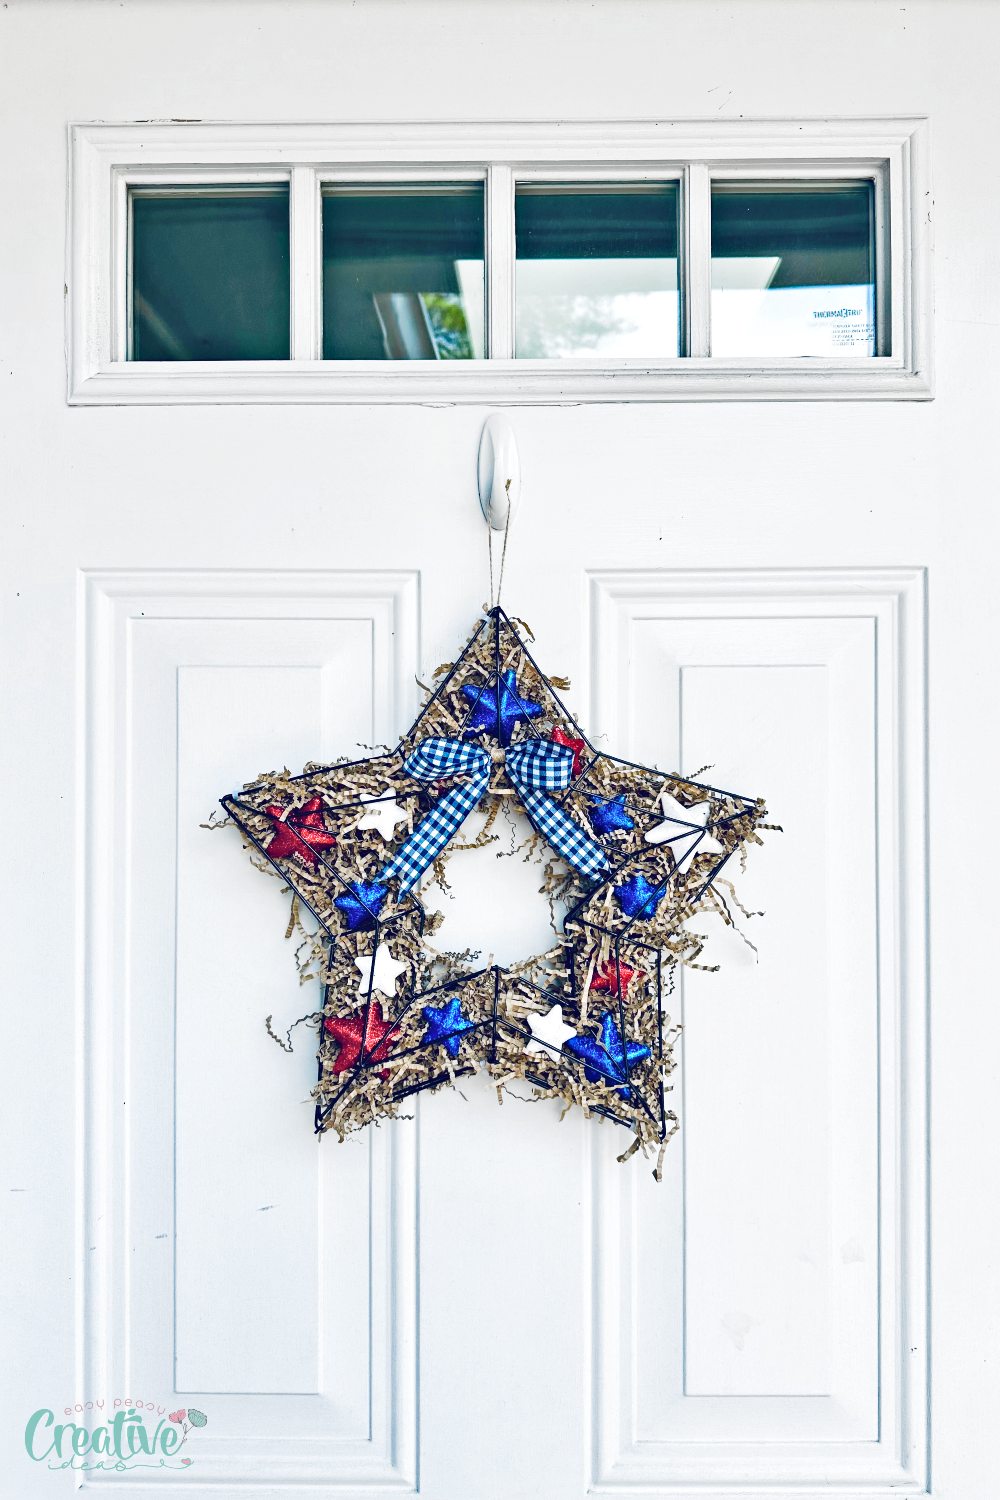
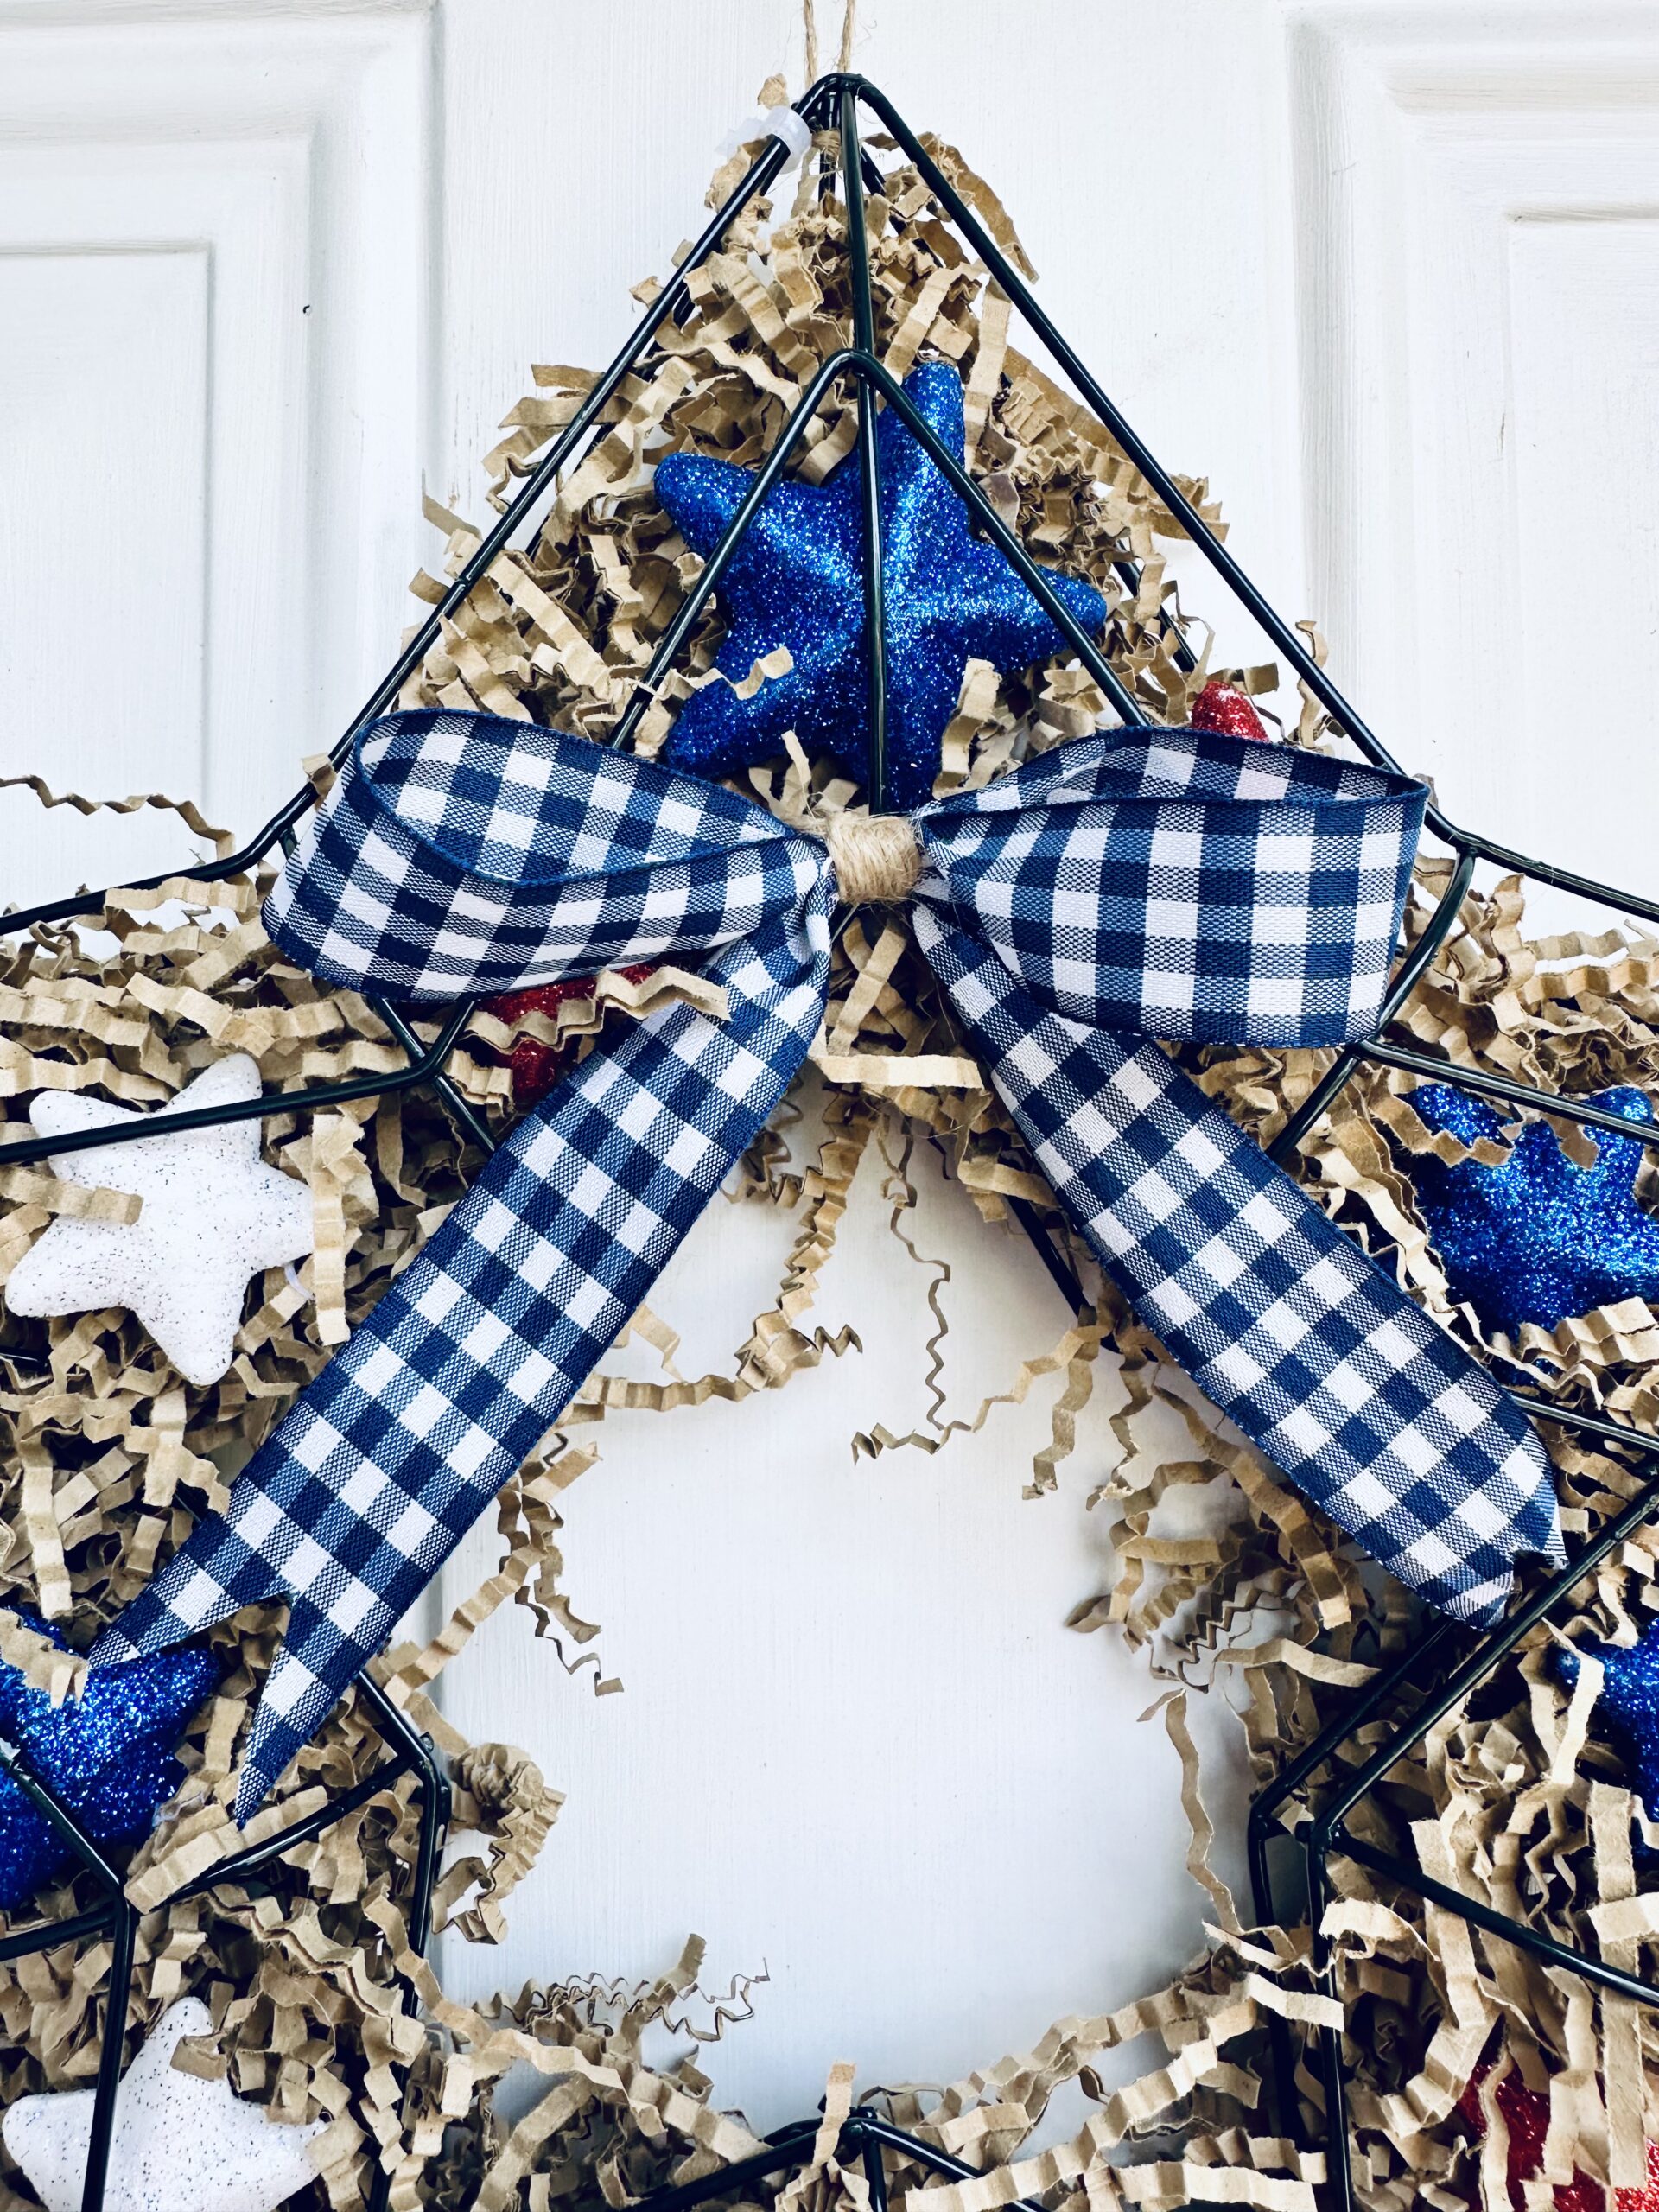
- I made a simple bow with the ribbon and wrapped some twine in the center. I hot glued it to the center of the wreath. You could also tie it around the inside if you don’t want to use hot glue to secure it.
Tips
- Choosing the Right Materials: When selecting materials for your DIY patriotic wreath, aim for quality and durability, especially if you plan to display the wreath outdoors. Weather-resistant materials will ensure your wreath looks great throughout the season.
- Layering for Effect: To achieve a full and luxurious look for your wreath, don’t shy away from layering your materials. Layering the foam stars over the decorative shred, for instance, adds depth and dimension to the design.
- Creativity in Substitutions: Feel free to get creative with substitutions. For a unique twist, consider using LED lights entwined with the star ribbon to create a wreath that sparkles at night, offering a striking patriotic glow.
Craft variations
- Rustic Patriotic Wreath: Swap out the traditional star ribbon for burlap ribbon and use rustic, wooden stars instead of foam stars to create a wreath with a charming, country feel.
- Vintage Americana Wreath: For a vintage flair, incorporate elements like aged paper stars and antiqued blue and red ribbons.
- Glowing Patriotic Wreath: Incorporate a string of battery-operated mini American flags or star-shaped lights into your design for a wreath that shines brightly during the evening.
Frequently Asked Questions
- Can the DIY patriotic wreath be displayed outdoors?
Yes, the wreath can be displayed outdoors but ensure that the materials you use are suitable for outdoor conditions, especially if the wreath will be exposed to direct sunlight or rain.
- How can I store my patriotic wreath when not in use?
Store your wreath in a cool, dry place, preferably in a wreath storage box or a large bag to prevent dust accumulation and to maintain its shape. If storing flat isn’t an option, consider hanging it in a closet or on a wall in your garage. Avoid stacking heavy items on top of the wreath to maintain its form and decorations integrity.
More patriotic crafts you’ll enjoy
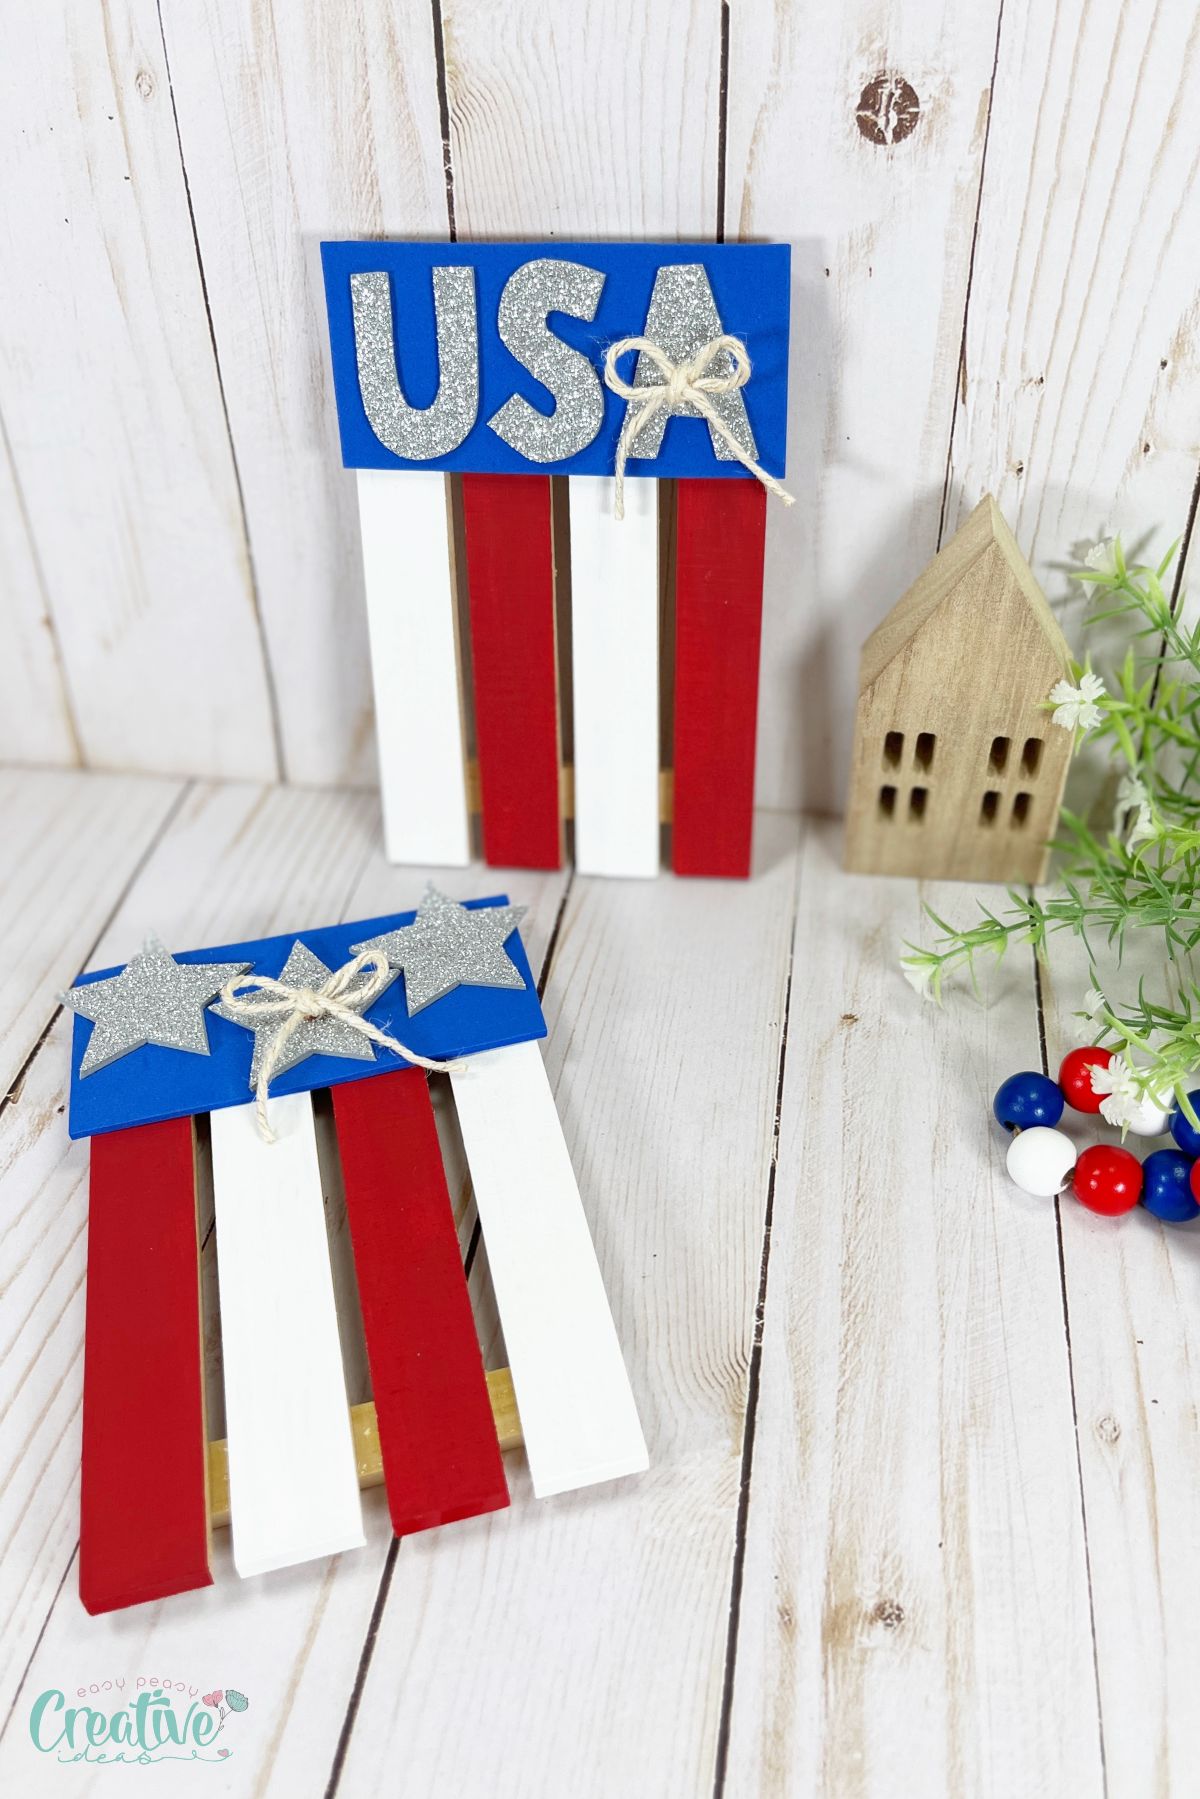
- Uncle Sam craft with wooden spoon
- American flag coasters from mini pallets
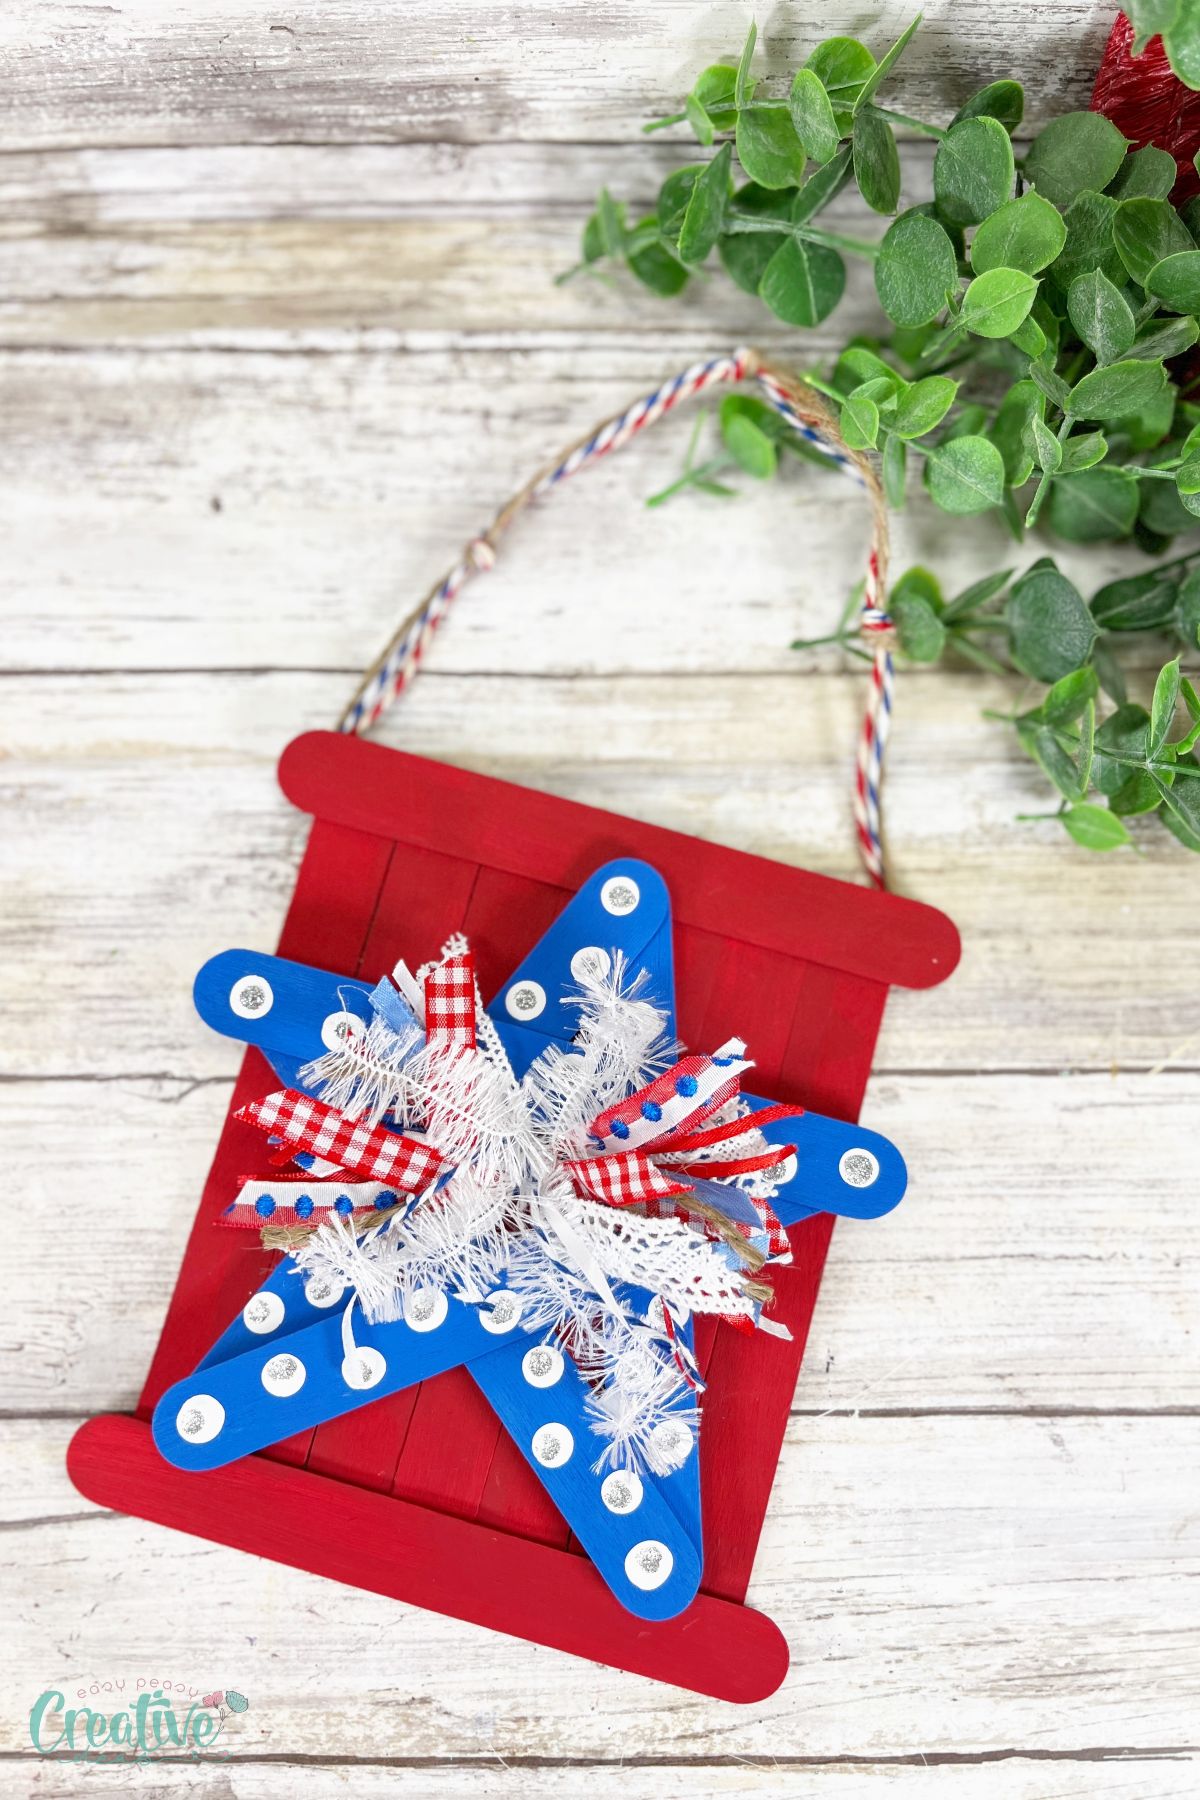
- 4th of July craft stick star sign
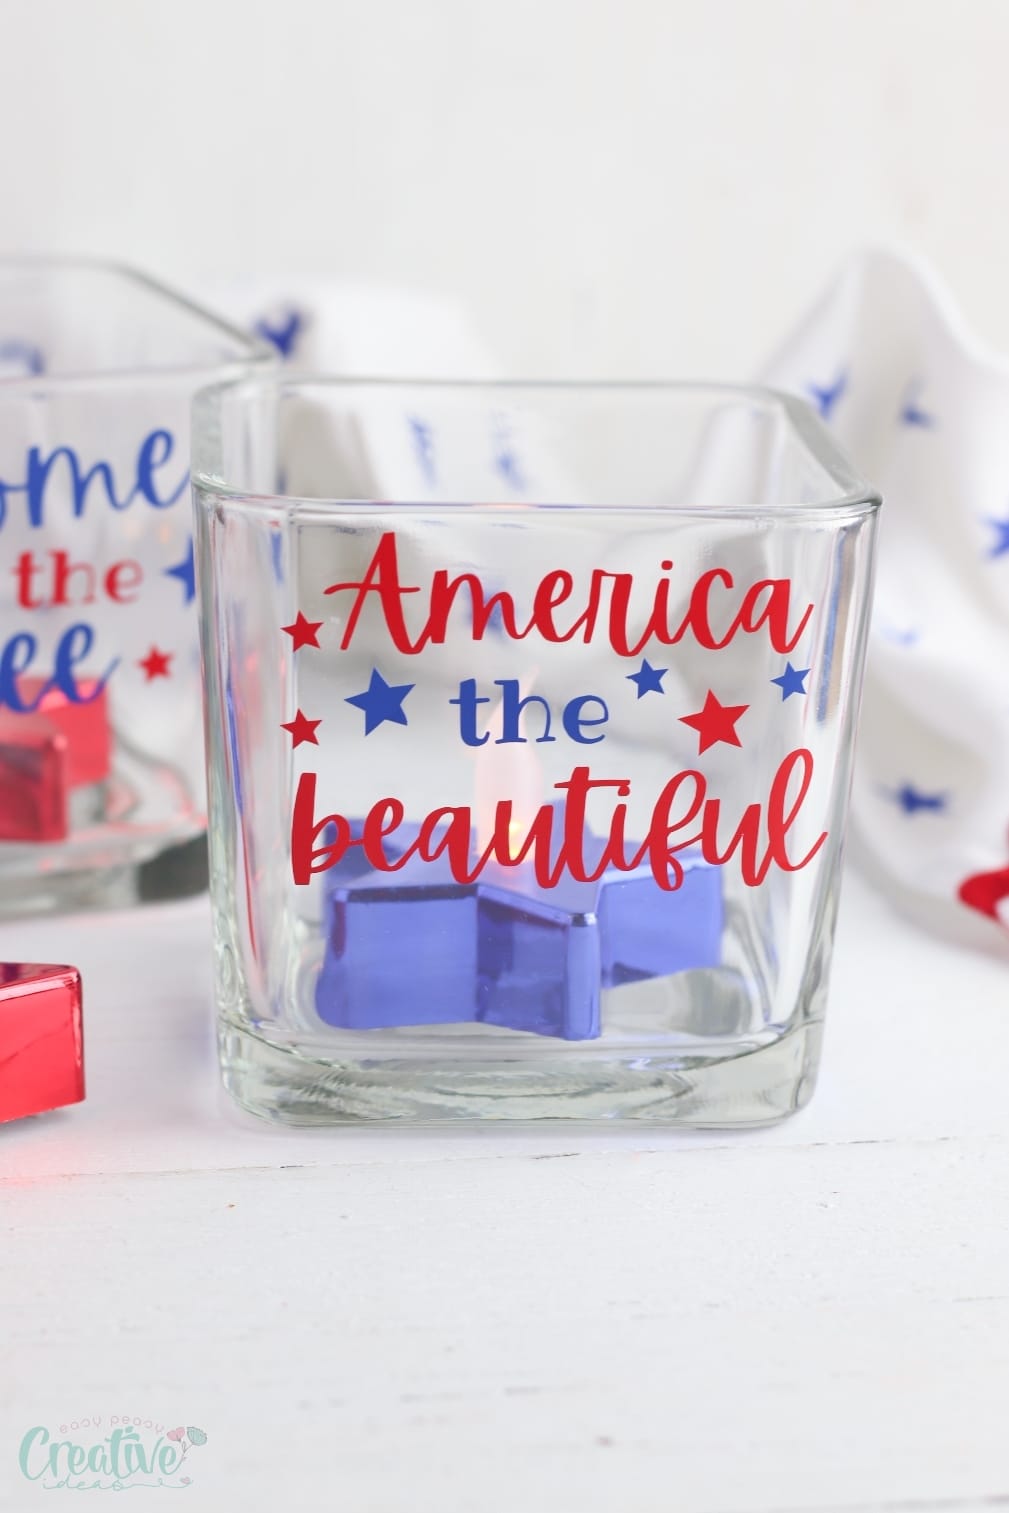
- Patriotic candle holders
If you enjoyed creating this DIY patriotic wreath, let me know in the comments below and rate the craft card. Also, consider signing up for my newsletter for more crafty ideas and seasonal projects to spruce up your home décor. Happy crafting!
DIY patriotic wreath
Materials
Tools
- scissors
- Twine
- Zipties
Instructions
- Start by flipping the star wreath form over on its backside. This will make the wreath form like a basket to hold the items.

- Fill the inside with the decorate shred. I added a good amount to make it full.

- I then added the foam stars on top. You can hot glue them down (I did to make them more secure)

- Place the other wire star form on top to make it like a cage effect over the top and will secure items.

- Use the zip ties to secure the wire star wreath forms into place. Trim the ends.
- I made a simple bow with the ribbon and wrapped some twine in the center. I hot glued it to the center of the wreath. You could also tie it around the inside if you don’t want to use hot glue to secure it.

Article may contain Amazon & affiliate links. As an Amazon Associate I earn from qualifying purchases at no additional cost to you.



ABOUT PETRO
Hi, I’m Petro, author and founder of Easy Peasy Creative Ideas. Sewist, crafter, avid DIY-er, foodie, photographer, homemaker and mommy to one. I’m an expert at coming up with quick, clever sewing tips, recycling crafts and simple, easy recipes! You can find my ideas featured in reputable publications such as Country Living, Good House Keeping, Yahoo News, WikiHow, Shutterfly, Parade, Brit & Co and more. Thanks for stopping by and hope you’ll stay for a while, get to know me better and come back another time. Stick around for real fun projects! Read more…