

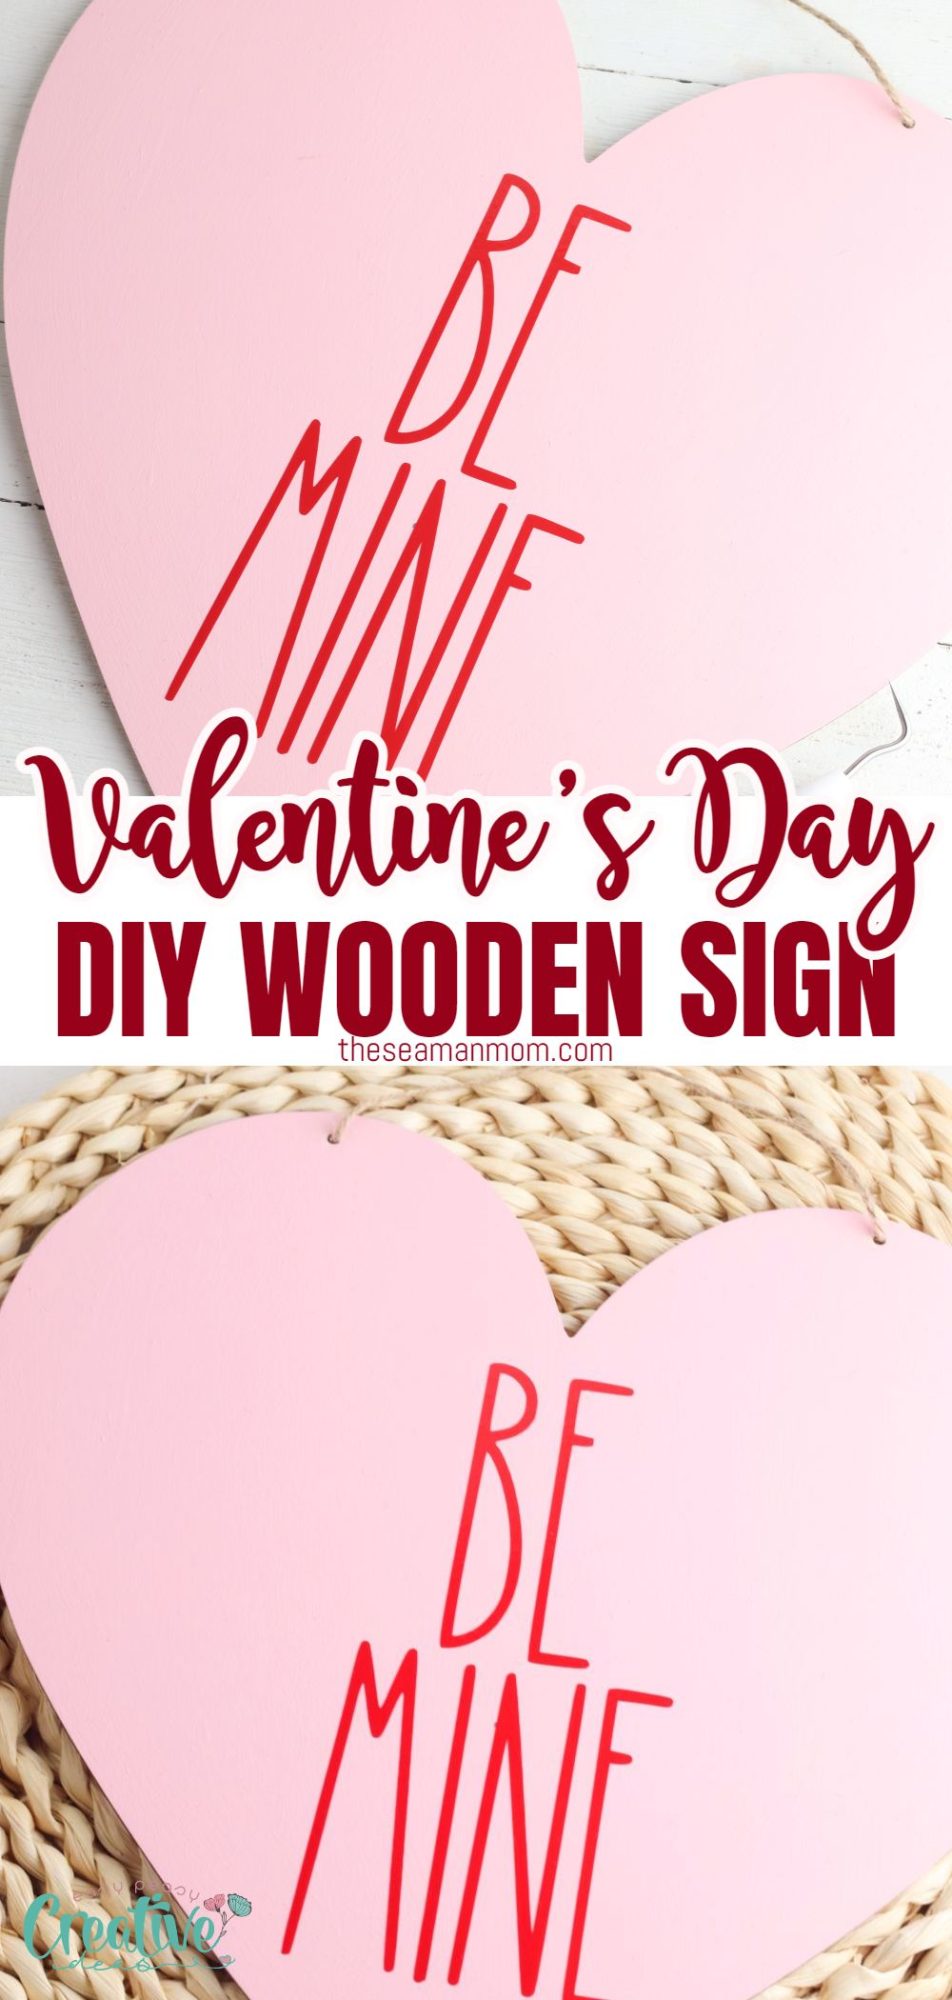
Rae Dunn inspired DIY wood Valentine’s day sign
Crafts are a great way to express your creativity and show affection to a loved one on Valentine’s Day. Here is an easy tutorial for a cute, Rae Dunn inspired wood Valentine’s Day sign you can make this year!
Valentine’s day sign
It’s that time of year again, when the love bugs are out in full force, from couples in love to boys with their crushes! No matter what you’re celebrating, Valentine’s Day is a great excuse to express yourself creatively. Check out this Valentine’s day sign and then get creative on your own in just a few easy steps!
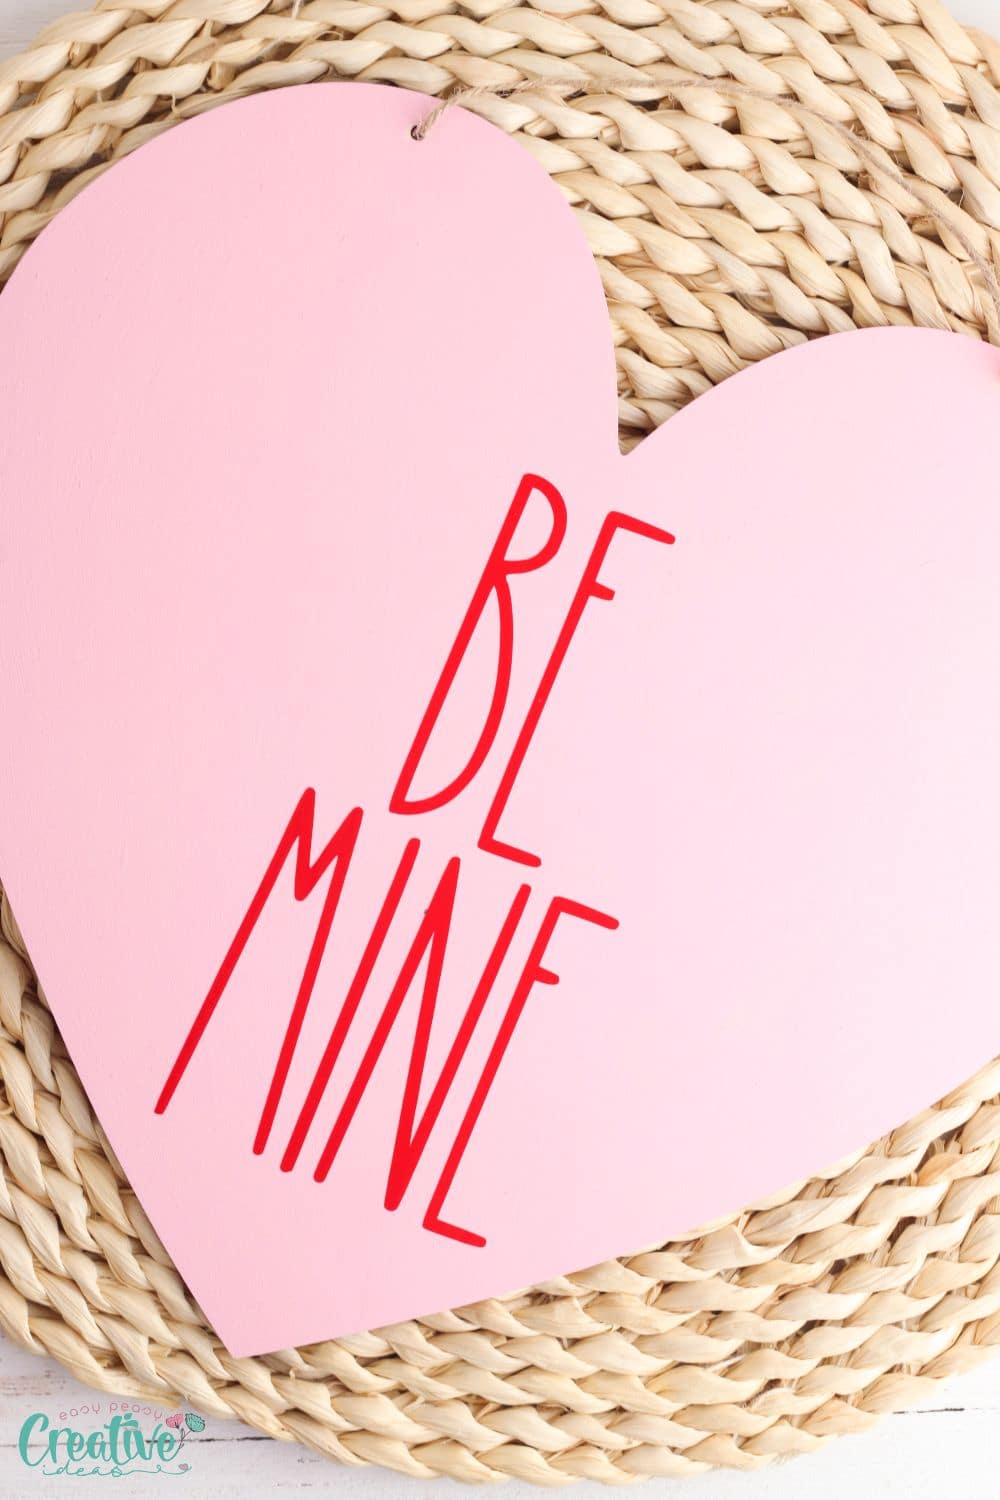
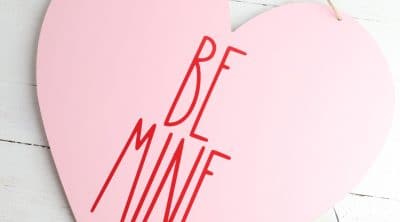
Creating your own Valentine’s decor doesn’t have to be difficult! With the help of some dollar store supplies and your Cricut, you can create an adorable Rae Dunn inspired sign to decorate your home. All you need is a wooden heart sign, some paint, and my free SVG file to turn a plain Dollar Tree sign into an adorable conversation heart decoration.
Other Valentine ideas you will love:
- Pretty LOVE wreath
- Valentine heart decorations for wall
- Valentine’s day pillow
- Printable Valentine goldfish cards
Supplies for Conversation heart decoration
You won’t believe how easy it is to decorate a Dollar Tree sign when you have a Cricut at home. This handy machine turns sign making into a quick and easy craft you can make in a matter of minutes. To create your own Valentine’s day decorations, you’ll need:
- Wooden heart sign. The most important element of this cute DIY project is the wooden heart. You can get a wooden heart sign at the dollar store or at your favorite craft store.
- Paint. Once you have your heart sign, you’ll need to add some Valentine’s Day cheer with a little bit of paint. You can stick to traditional Valentine’s Day colors, like pink and red, or make your sign look more like candy conversation hearts by incorporating other pastels, like yellow, blue, or orange.
- Vinyl. In addition to paint, you’ll also need vinyl to add the words to your conversation heart. To transfer the vinyl to the sign, it’s also a good idea to have some transfer tape on hand to ensure your letters line up properly.
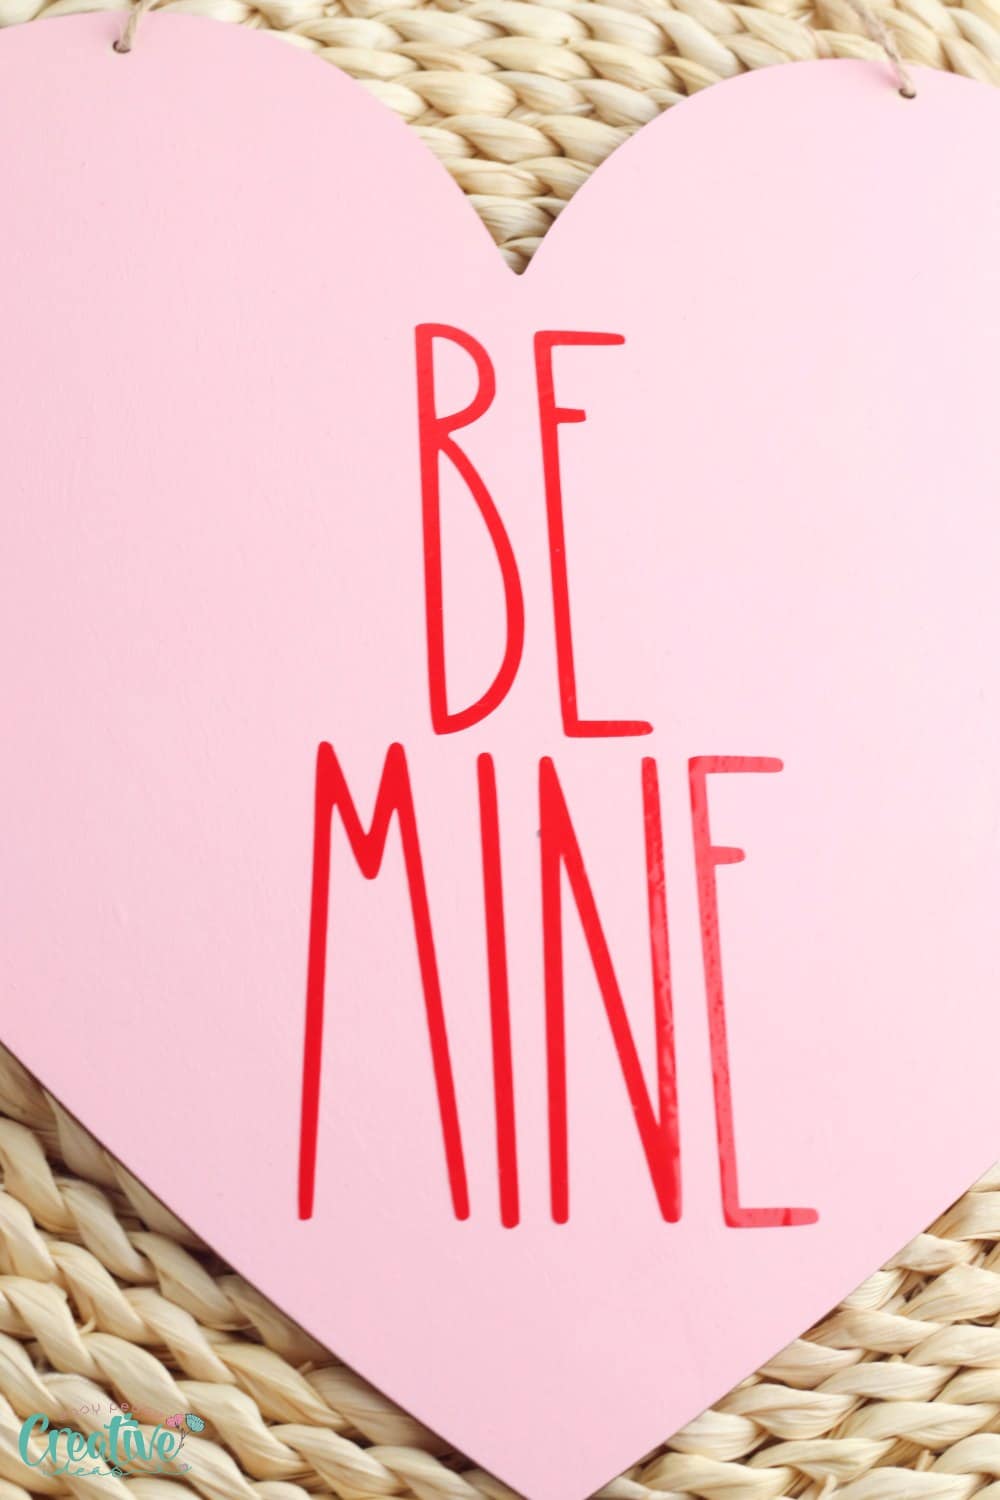
- Be Mine SVG. To give your conversation heart some Rae Dunn style, you can use my free SVG file. The file includes the phrase Be Mine in a Rae Dunn inspired font.

How to make a Cricut Valentine’s Day sign
Creating a Valentine heart decoration with your Cricut is so easy! Once you have all your supplies gathered, just follow these three simple steps to turn your dollar store wooden signs into cute holiday decorations.
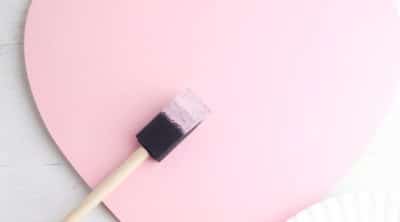
Paint the sign
Before adding the vinyl words to your wood heart, you need to paint the sign. Give your sign a few coats of paint, making sure that the wood is completely covered. Then allow the paint to dry completely before you start adding your vinyl letters.
Cut the Valentine’s Day phrase
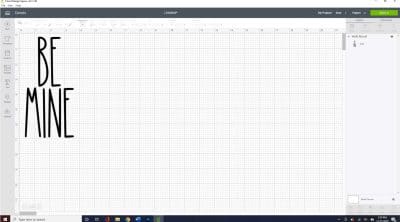
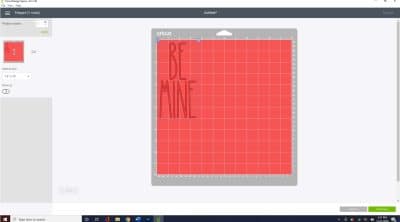
While the paint on your sign is drying, you can head over to your computer to start cutting your vinyl letters. Start by uploading the SVG file into Design Space. After that, measure your sign to determine how big your phrase should be. Then, resize the design to fit on your wooden heart. When the design is the correct size, select all the letters in the phrase and weld them together by clicking the weld button in the bottom right-hand corner of the screen. Once that’s finished, all that’s left to do is hit the green “Make It” button and cut the vinyl.
Transfer the vinyl to the sign
After you have cut your Valentine’s Day phrase on the vinyl, use your weeding tool to remove all the extra vinyl from around the letters. Then, cut a piece of transfer tape to the size of your vinyl design and carefully place the tape over the top of the letters. Press the transfer sheet onto the vinyl letters, then lift the tape up to remove the letters from the backing paper. Align the vinyl design in the center of your wooden heart sign, then press the letters onto the wood. When the vinyl is secured on the sign, you can carefully lift the transfer tape off the sign.
How to Use Vinyl for a Painted Valentine’s day Sign
This Valentine’s day wood sign is so quick and easy to make because all you have to do is transfer the vinyl words directly to the top of the sign. But if you want your DIY sign to have a smoother appearance, you can also use your vinyl to create a painted sign.
To make a sign using this method, start by deciding what color you want your text to be. If you want your letters to be red, for example, start by painting a layer of red on the sign. Once the paint is dry, place your vinyl design on top of the red paint. After that, paint a second layer of red paint over your letters to keep the paint from bleeding under the vinyl.
Once the second layer of paint is dry, add a coat of paint in the color you want your sign’s background to be. For a pink sign, paint the entire sign with a coating of pink paint. Continue adding coats of paint until the bottom layer is completely covered, then use your weeding tool to remove the vinyl letters from the sign to reveal the text in the color of the first coat of paint.
I hope you enjoyed this little fun craft as much as I did! If you decided to show a little love with this Valentine’s day sign, let me know how you found it, in the comments below. Happy Valentine’s Day!
Pin to save for later
Print the craft card

Valentine's day sign
Materials
- Wood heart sign from Dollar Tree
- Pink paint
- Red vinyl
- Be Mine SVG
- Transfer tape
Tools
Instructions
- Paint the wood heart sign with pink paint and allow to dry completely.

- Upload the Be Mine SVG into Design Space and resize if needed.
- Cut the file on red vinyl and use the weeding tool to remove extra vinyl.
- Transfer the vinyl to the sign with transfer tape.
Article may contain Amazon & affiliate links. As an Amazon Associate I earn from qualifying purchases at no additional cost to you.
ABOUT PETRO
Hi, I’m Petro, author and founder of Easy Peasy Creative Ideas. Sewist, crafter, avid DIY-er, foodie, photographer, homemaker and mommy to one. I’m an expert at coming up with quick, clever sewing tips, recycling crafts and simple, easy recipes! You can find my ideas featured in reputable publications such as Country Living, Good House Keeping, Yahoo News, WikiHow, Shutterfly, Parade, Brit & Co and more. Thanks for stopping by and hope you’ll stay for a while, get to know me better and come back another time. Stick around for real fun projects! Read more…