

DIY Wooden vase with Jenga blocks
Discover how to make a stunning DIY wooden vase using Dollar Tree Hexagon Signs and jenga pieces, perfect for adding a rustic charm to your home décor. Follow this step-by-step guide to create your own unique DIY wood flower vase.
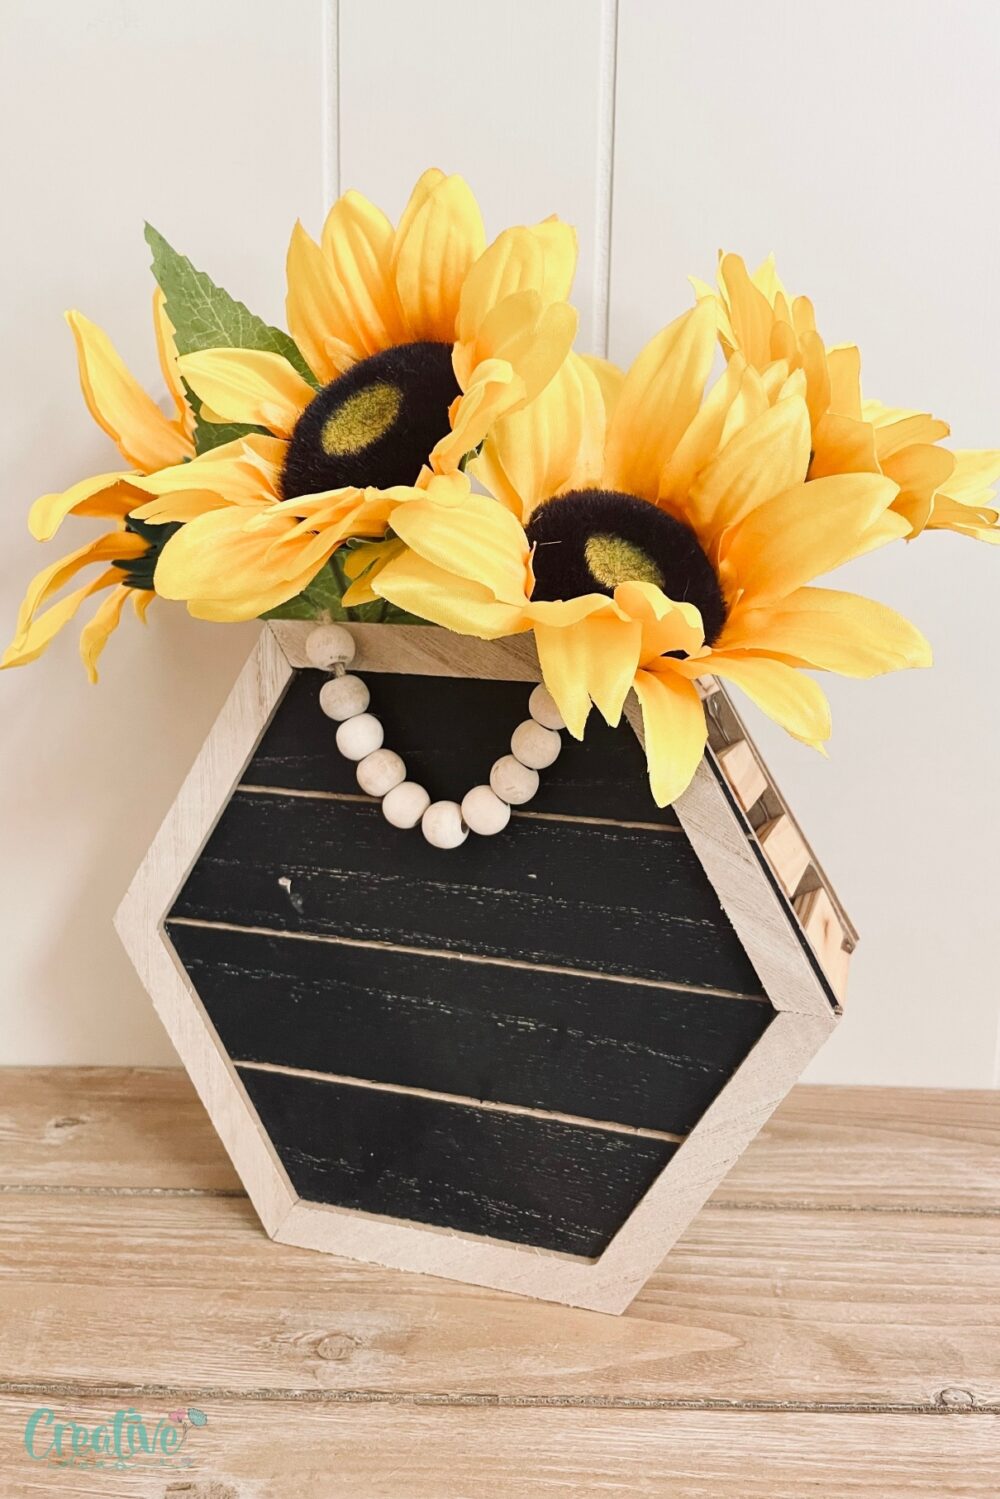
Creating your own DIY wooden vase is a fantastic way to personalize your home décor while exploring your crafty side. This project not only allows you to make a beautiful DIY wood flower vase but also gives you the satisfaction of creating something unique with your hands. Whether you’re an experienced crafter or a novice, this guide will walk you through the entire process, ensuring a stunning end result.
A DIY wooden vase combines functionality with a rustic, handcrafted aesthetic that can elevate any room’s décor. You’ll love the flexibility this project offers, allowing you to customize the vase to suit any design preference, whether it’s minimalistic or ornate. Plus, the materials are affordable and easy to find, making this a cost-effective way to enhance your living space.
How to make a DIY wooden vase

Materials you’ll need
- Dollar Tree Hexagon Signs: These versatile signs form the base structure of your vase, providing a sturdy and stylish foundation.
- Jenga Pieces: These pieces add a unique texture and design to your vase, allowing for endless creative possibilities in pattern and arrangement.
Equipment
- Hot Glue Gun: An essential tool for this project, the hot glue gun will help you securely attach the wood pieces together with precision.
- Hot Glue Sticks: Ensure you have plenty on hand, as they are crucial for keeping your DIY wooden vase intact.
Step-by-step instructions
Preparations
- Gather all your materials and equipment. Ensure your workspace is clean and organized.
- Lay out the Dollar Tree Hexagon Signs and Jenga pieces, so you can visualize your design before starting.
- Preheat the hot glue gun, making sure it is ready for use by the time you begin assembly.
Making a wooden vase
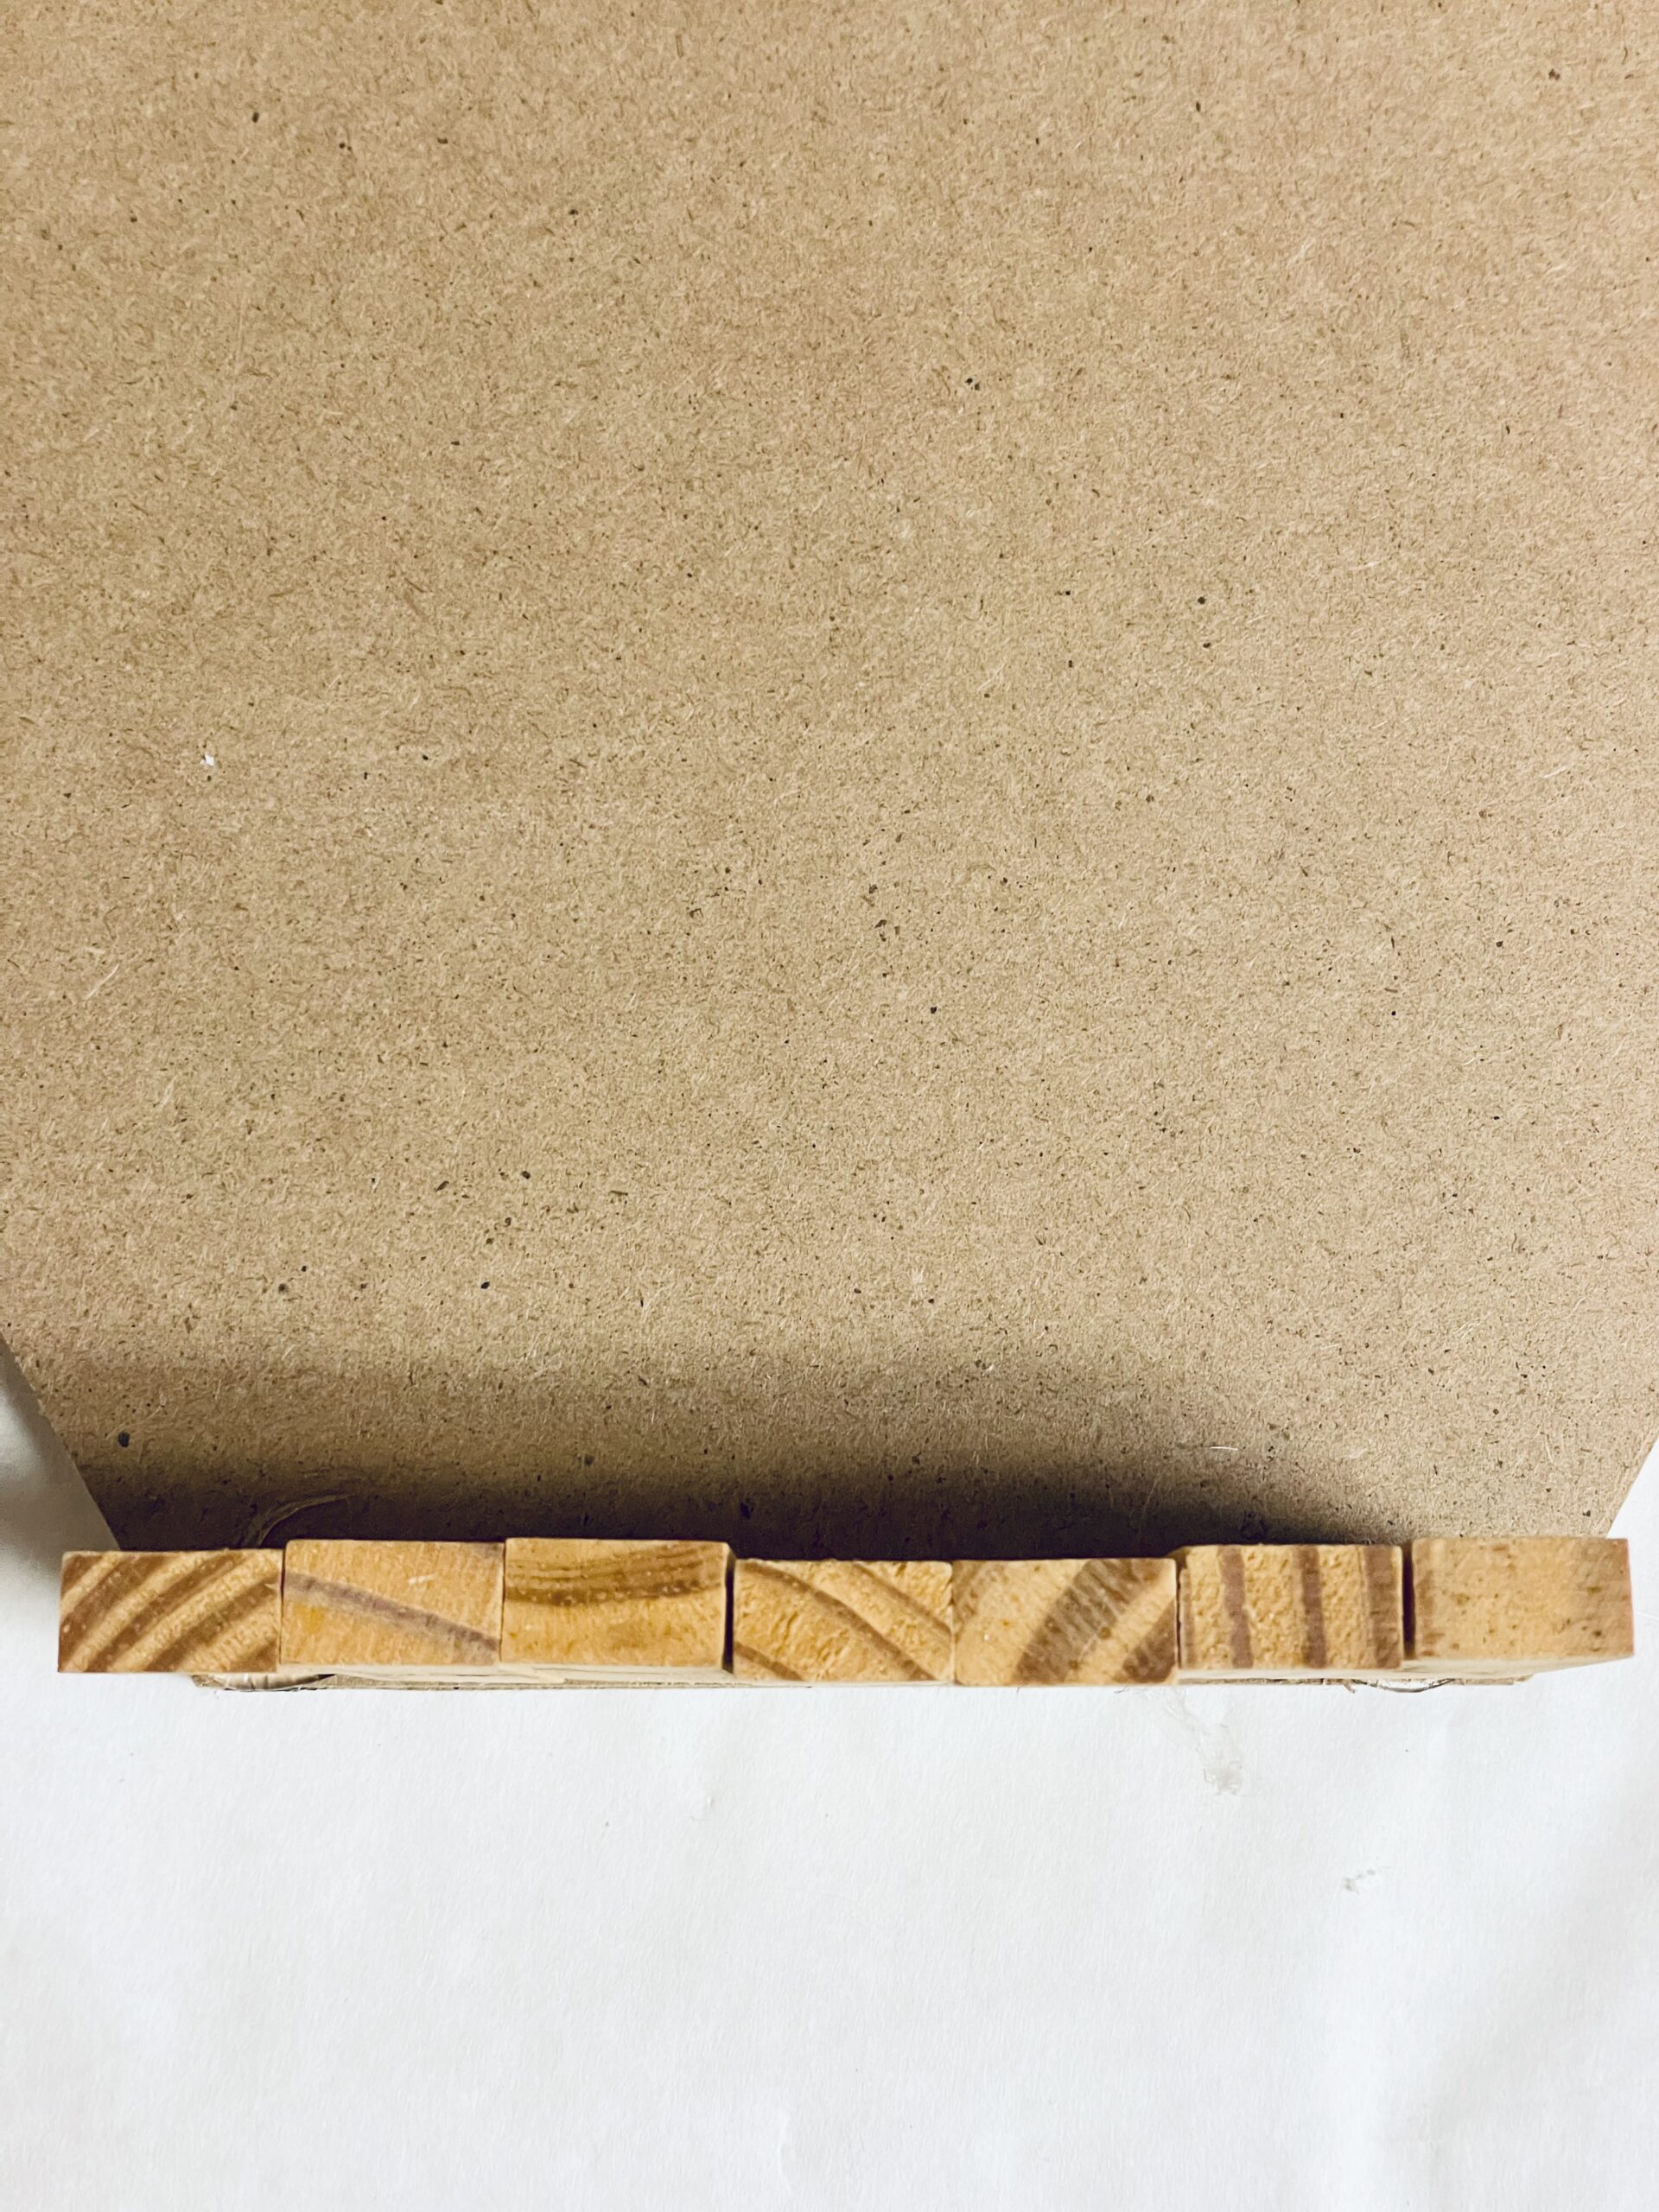
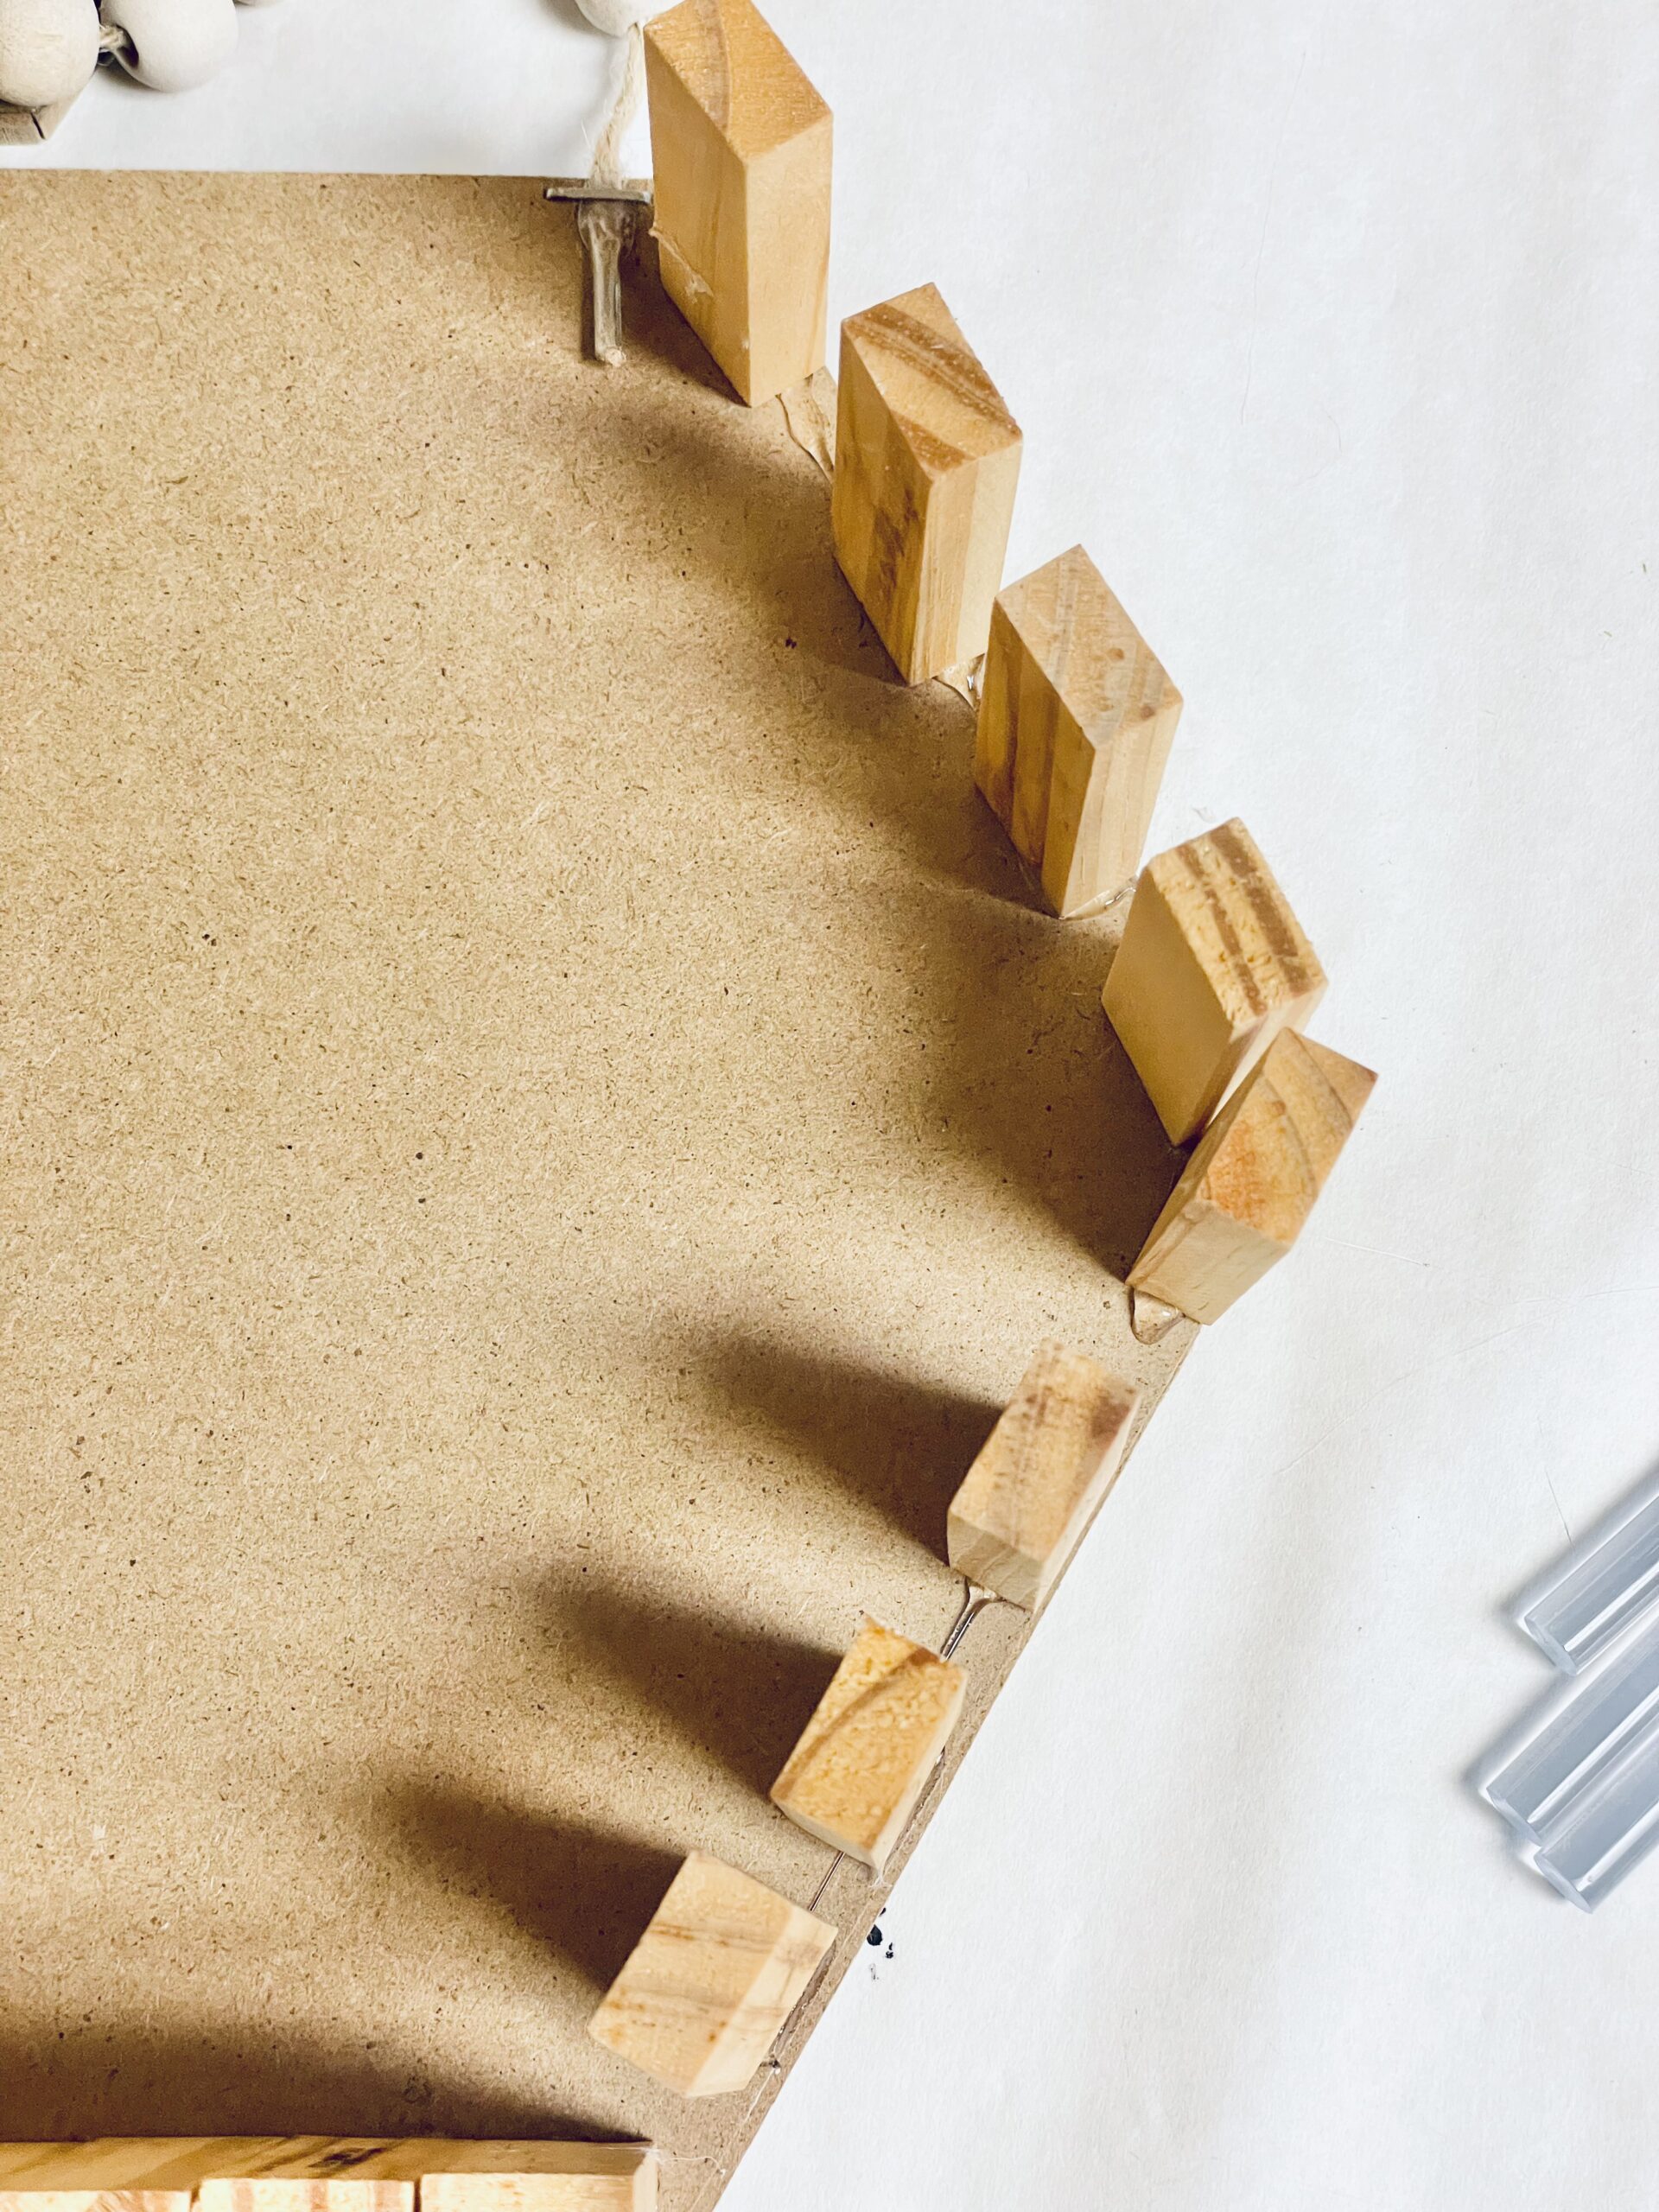
- I started off by created the bottom section of the vase with the jenga pieces.
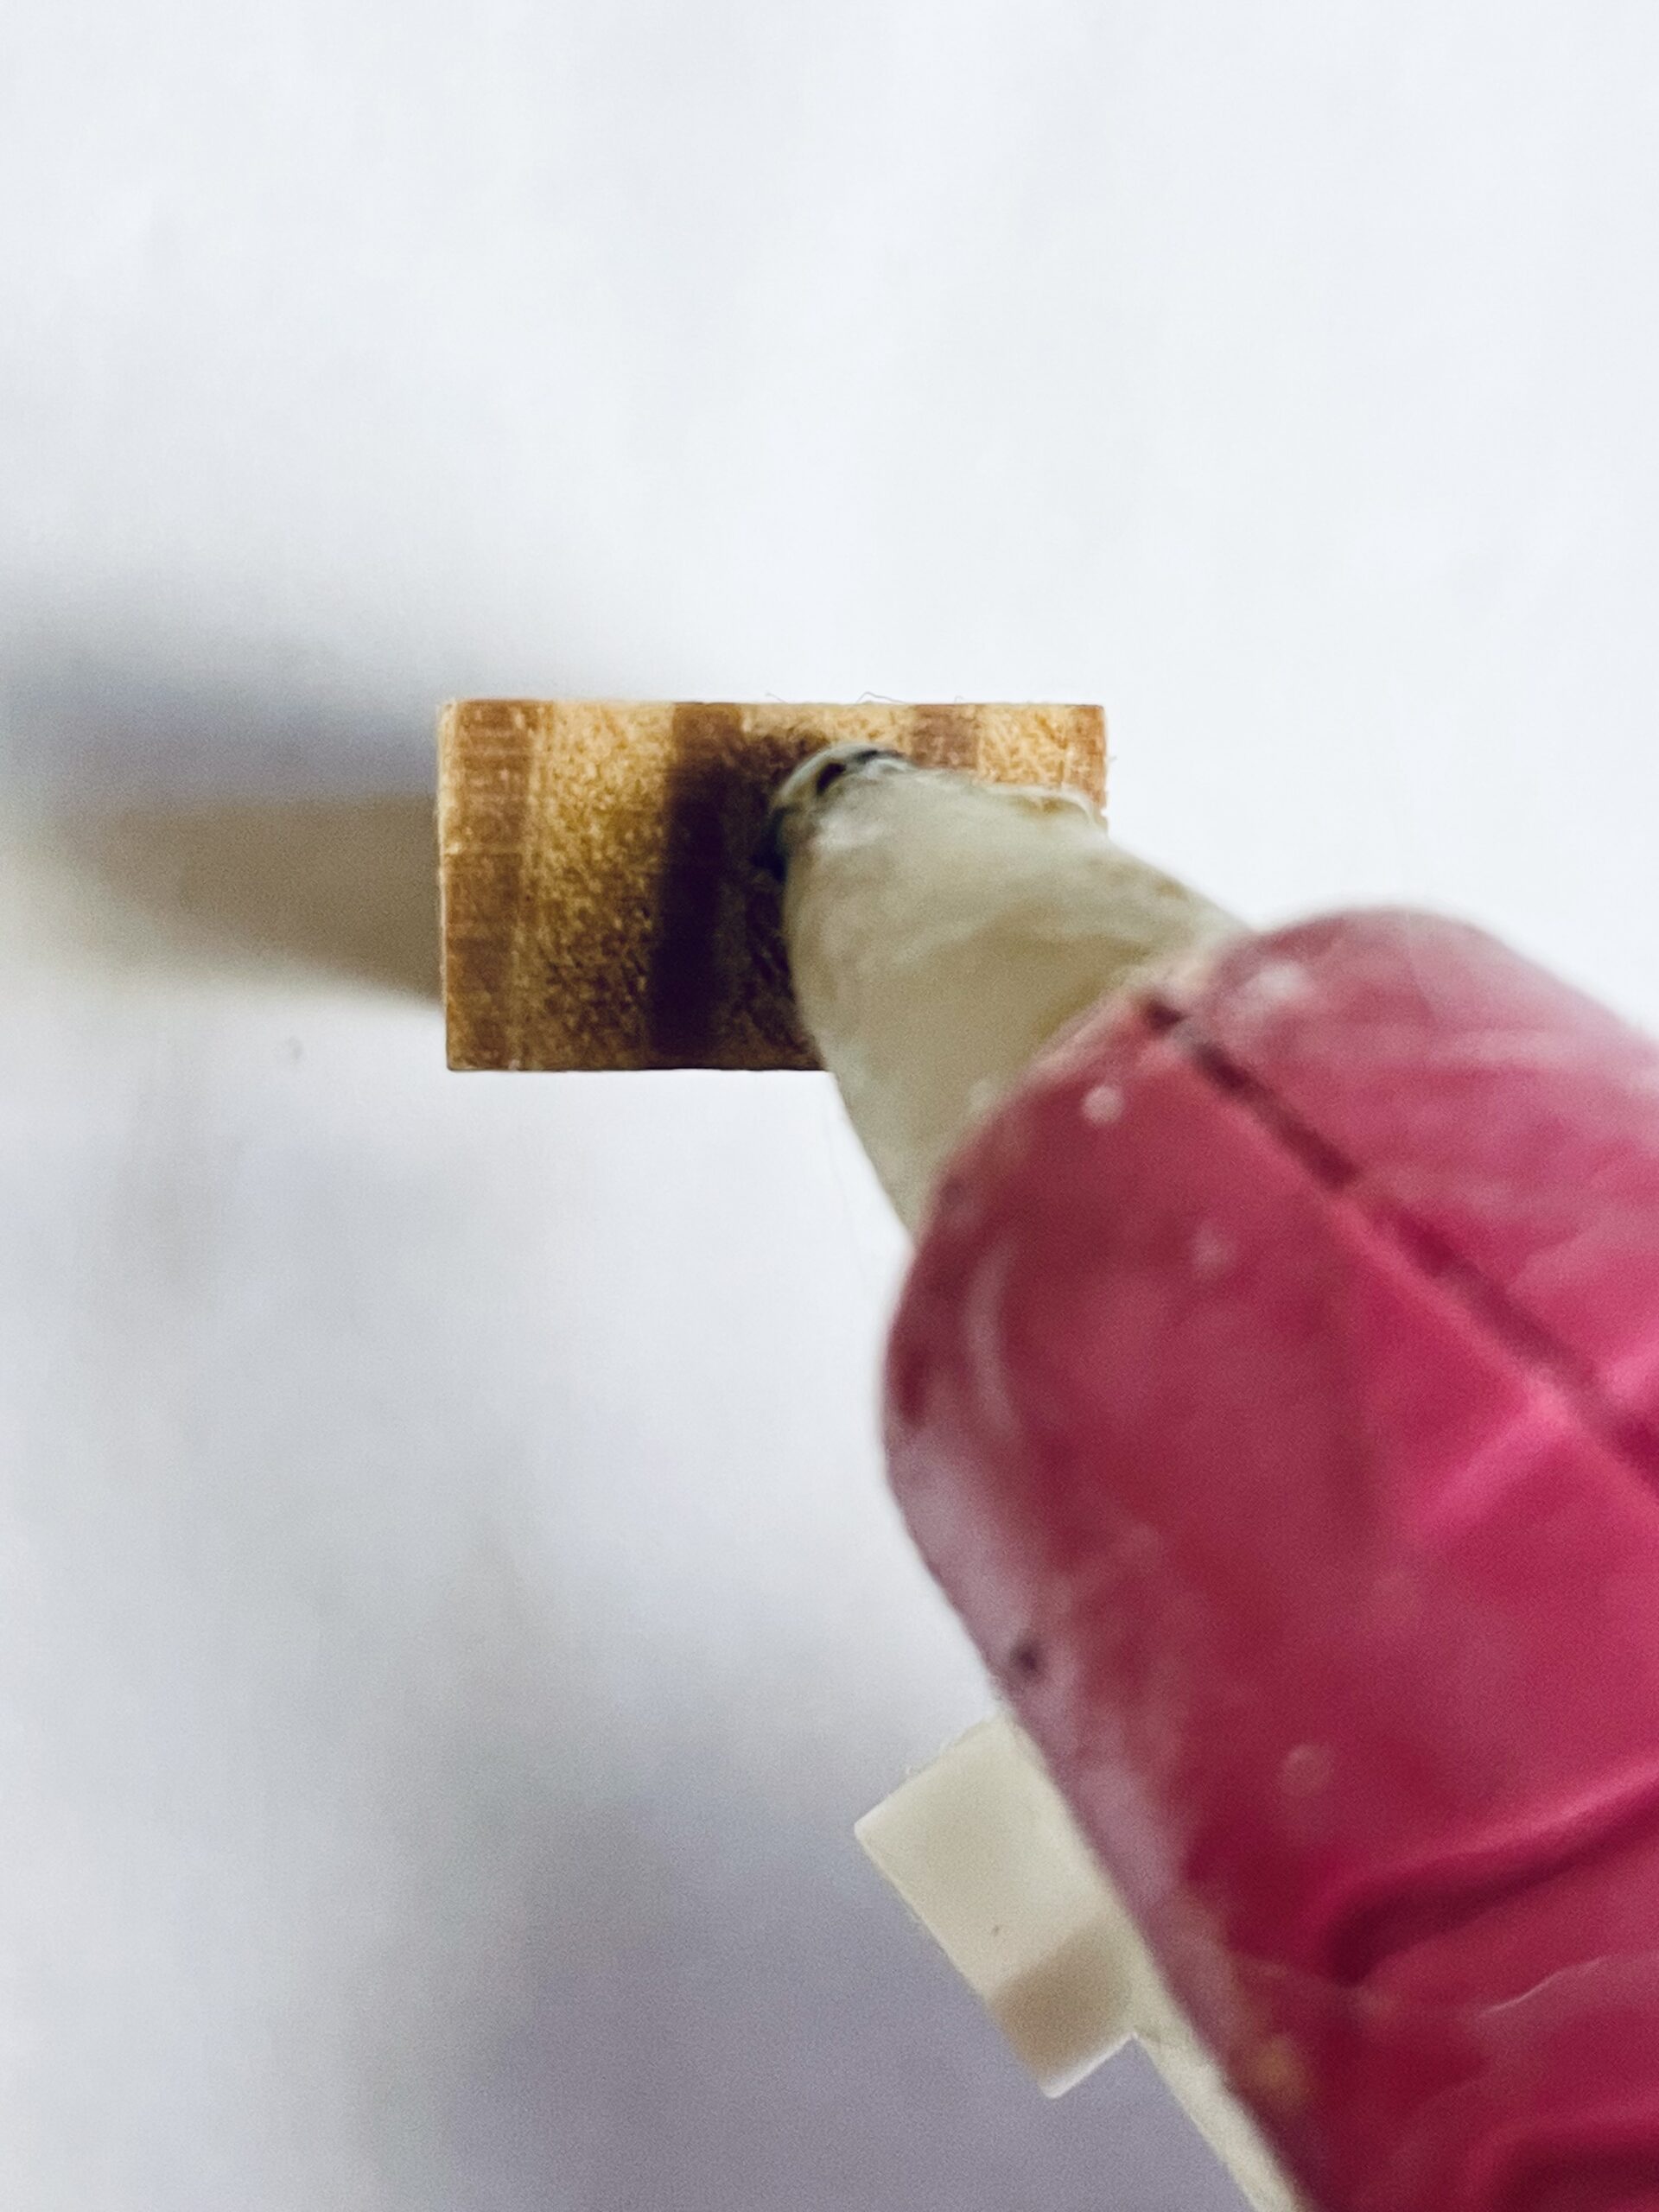
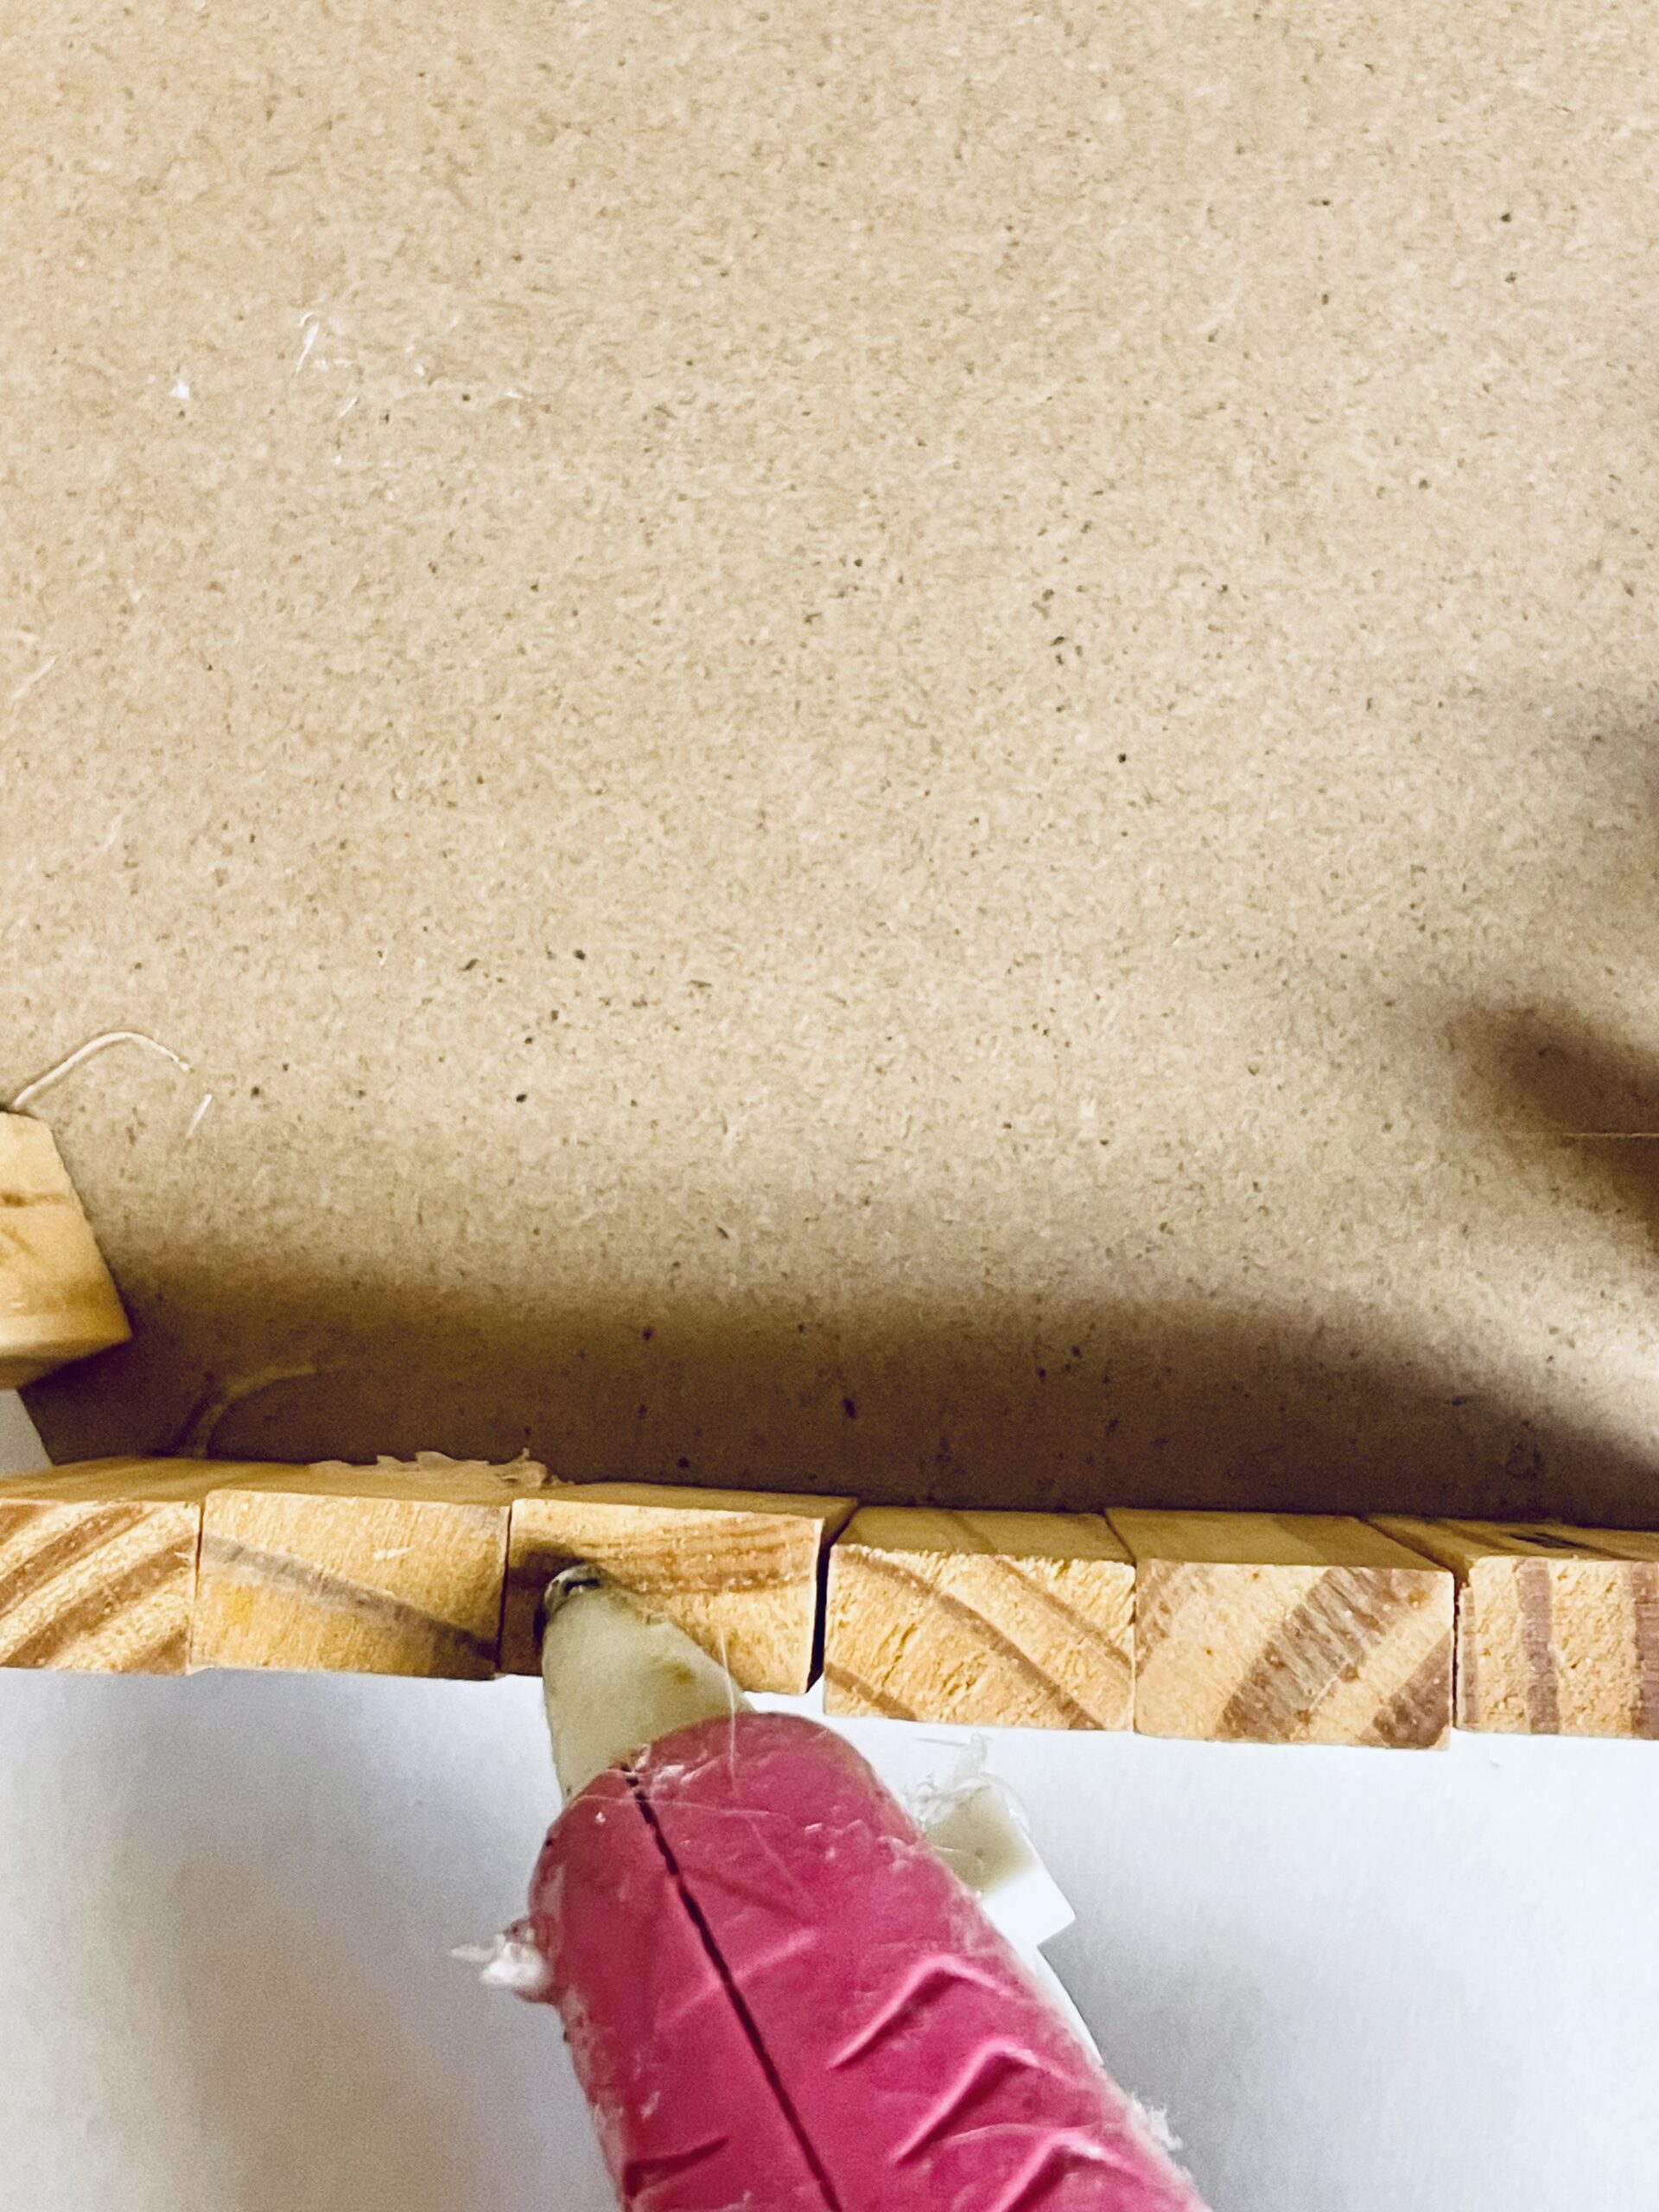
- Add a dab of hot glue to one end of the jenga piece and press firmly on the backside of the hexagon sign. Repeat this until the entire bottom section is covered. I used 7 jenga pieces.
- I next repeated this but left some space in between each jenga piece on the other sides of the hexagon sign leaving the top section open.
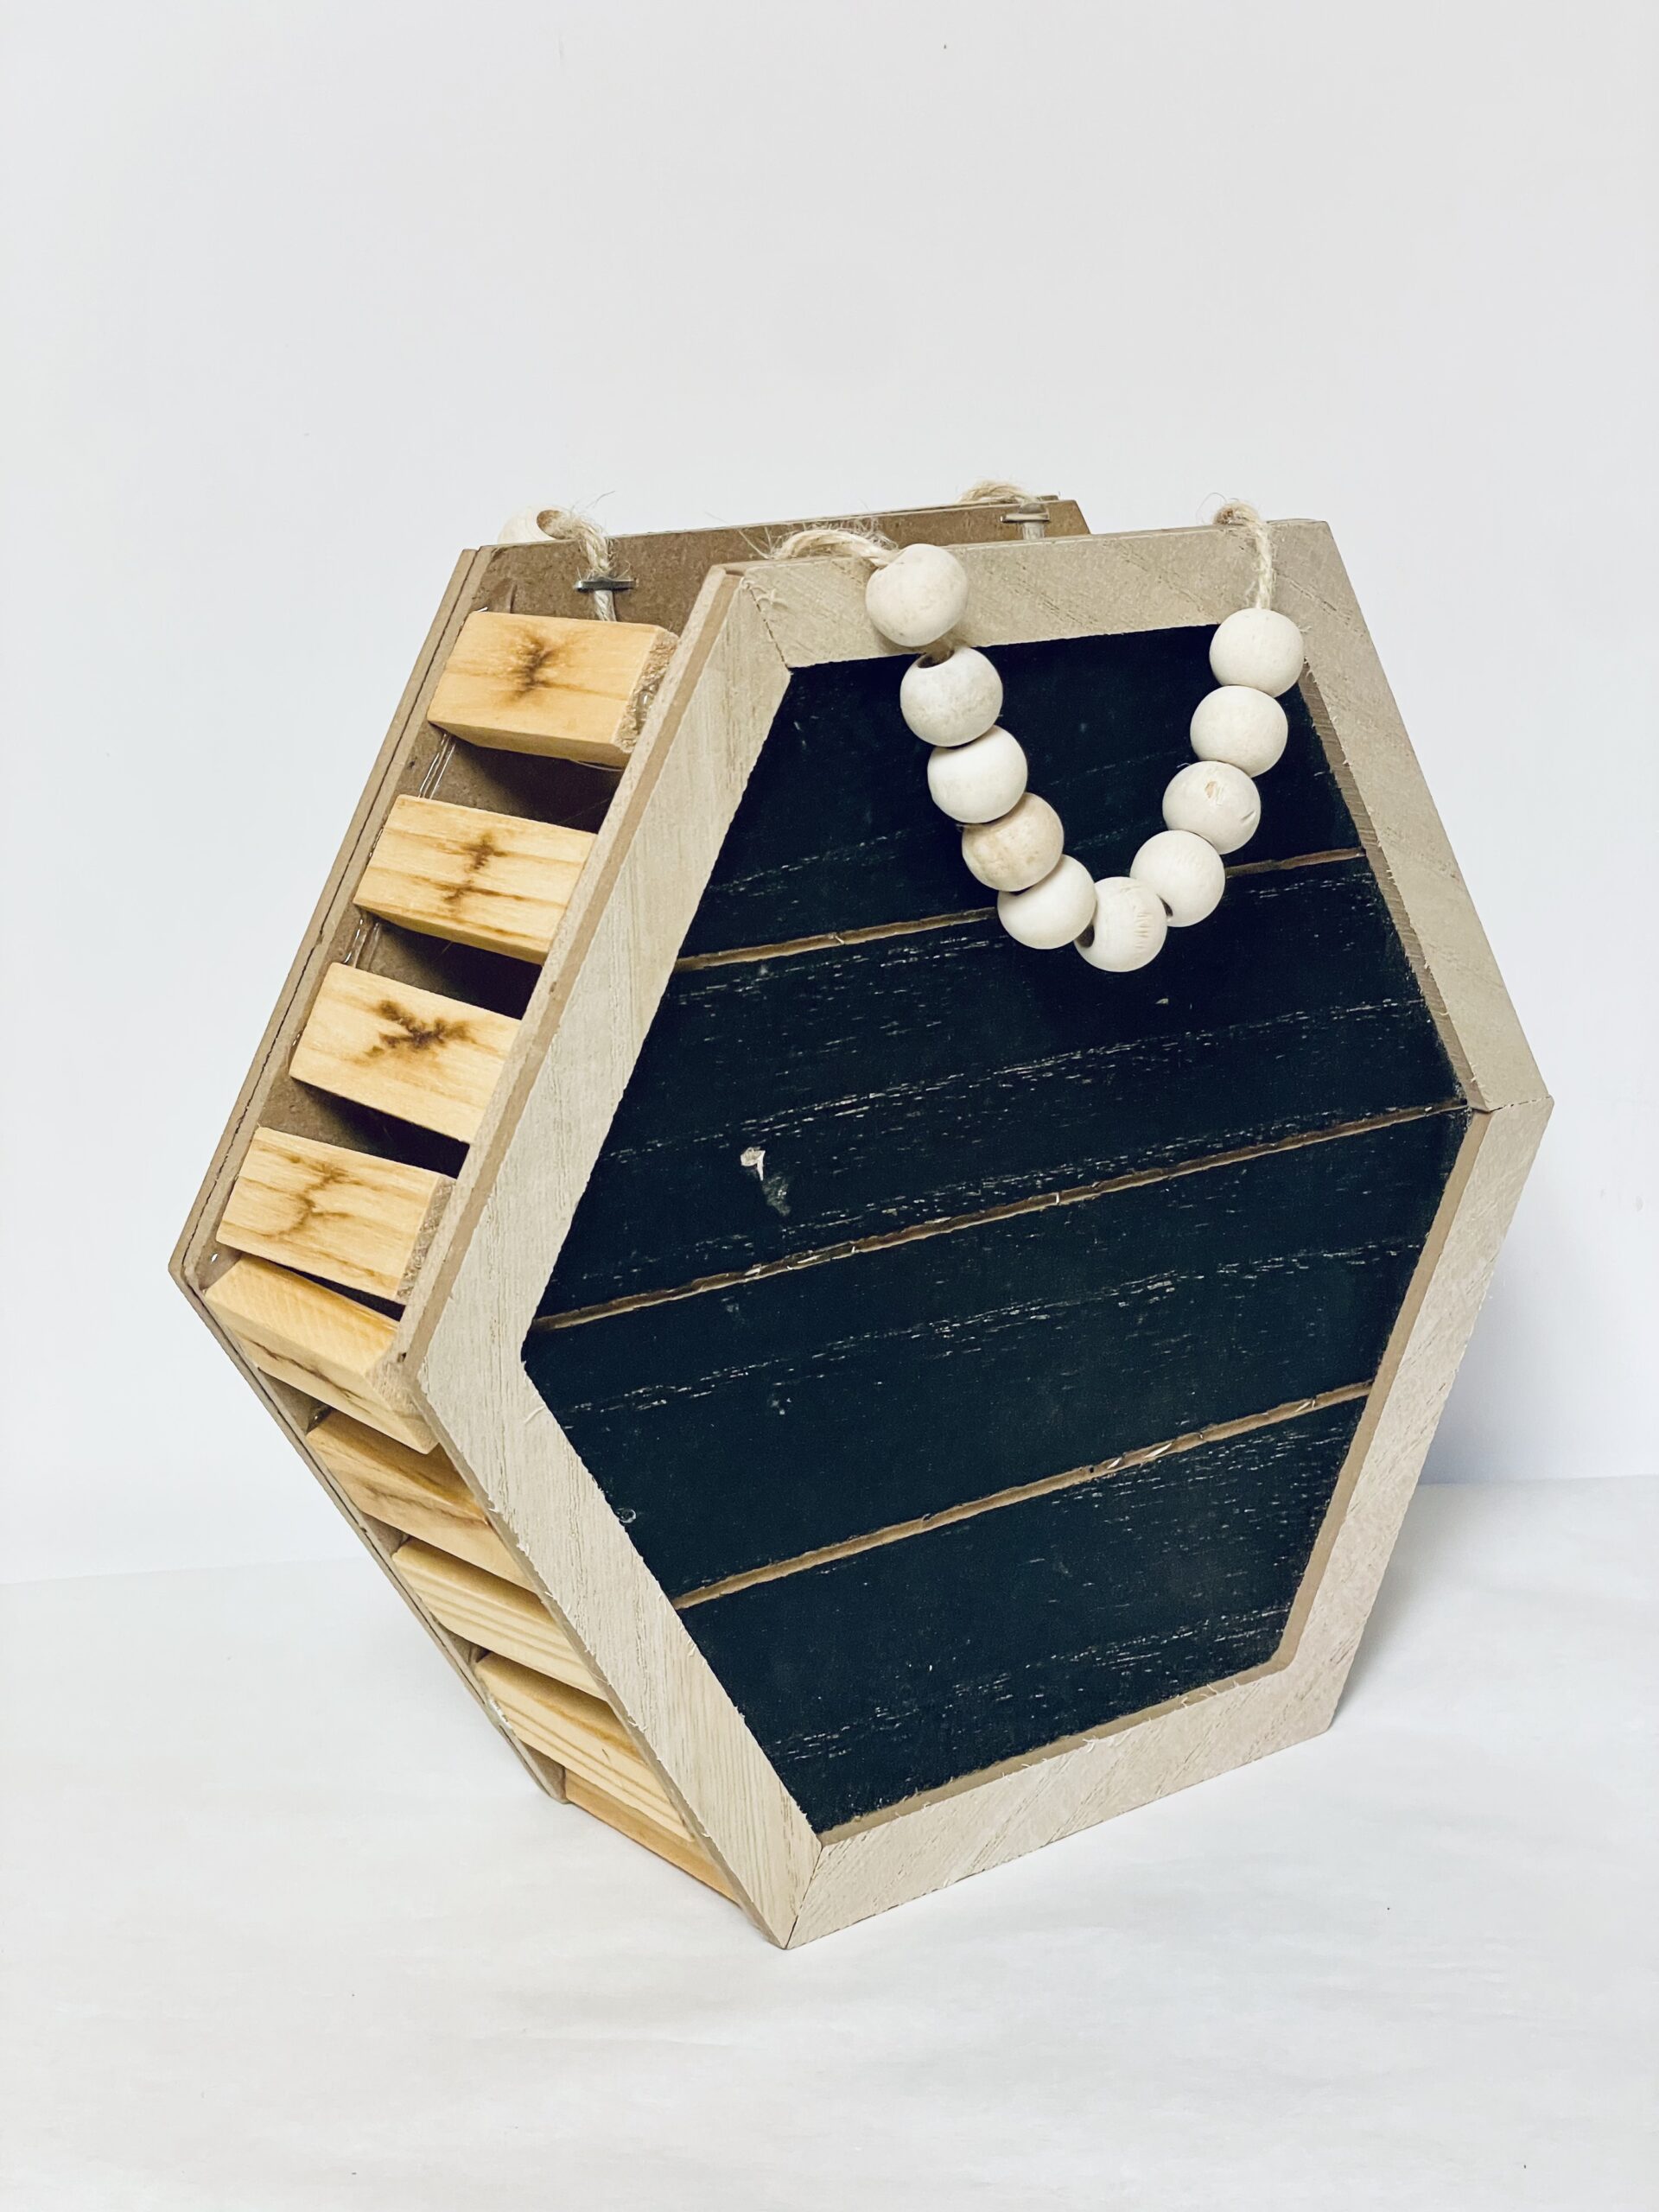
- Add dabs of glue to each jenga piece and press the backside of the other hexagon sign on top. I allowed it to settle and added dabs of hot glue where needed.
Tips
- Precision Placement: Use a pencil to mark placement lines on the hexagon signs before gluing. This ensures that your pieces are aligned perfectly.
- Optimize Glue Bonding: Apply the hot glue in small sections to avoid it cooling too quickly and losing its adhesive properties.
- Sealing the Vase: Consider using a wood sealant once your vase is assembled to add an extra layer of protection and give it a polished finish.

Craft Variations
- Painted Vase: Add a splash of color by painting the Jenga pieces before gluing them onto the hexagon signs.
- Stained Wood: Use wood stain to enhance the natural look of the Jenga pieces, giving your vase a more sophisticated appearance.
- Mixed Materials: Incorporate other materials like rope or fabric for a mixed-media vase.
- Engraved Design: Personalize your vase by engraving patterns or initials into the wood before assembly.
Frequently Asked Questions
Can I use other types of wood pieces?
Absolutely! Feel free to experiment with different shapes and sizes of wood pieces to achieve a unique look.
How durable is the DIY wooden vase?
When properly assembled and glued, your wooden vase can be quite sturdy. Using a sealant can also enhance its durability.
Is it safe to put water in this wooden vase?
It’s recommended to use the vase for dry arrangements or place a waterproof container inside the vase to hold water for fresh flowers.
Can children participate in this craft?
Yes, but supervision by an adult is recommended, especially when using the hot glue gun.
More Crafts You’ll Enjoy
- Farmhouse cutting board décor
- DIY door wreath with plastic shovel
- Tile vase farmhouse décor
- DIY cotton stems farmhouse décor
- Upcycled pasta jar vase
- DIY Jenga pumpkins home décor
- DIY faux leather vase
Now that you have completed your DIY wooden vase, it’s time to proudly display it in your home. This versatile project offers endless creative possibilities and can be a great addition to any room’s décor. So go ahead and let your creativity flow as you create beautiful wooden vases for yourself or as gifts for loved ones. Happy crafting!
DIY wooden vase
Materials
- 2 Hexagon Signs Dollar Tree
- 1 package Jenga pieces
Instructions
- Create the bottom section of the vase with the jenga pieces. Add a dab of hot glue to one end of the jenga piece

- Press firmly on the backside of the hexagon sign. Repeat this until the entire bottom section is covered.
- Repeat this but leave some space in between each jenga piece on the other sides of the hexagon sign leaving the top section open.
- Add dabs of glue to each jenga piece and press the backside of the other hexagon sign on top.
- I allowed it to settle and added dabs of hot glue where needed.
Article may contain Amazon & affiliate links. As an Amazon Associate I earn from qualifying purchases at no additional cost to you.
ABOUT PETRO
Hi, I’m Petro, author and founder of Easy Peasy Creative Ideas. Sewist, crafter, avid DIY-er, foodie, photographer, homemaker and mommy to one. I’m an expert at coming up with quick, clever sewing tips, recycling crafts and simple, easy recipes! You can find my ideas featured in reputable publications such as Country Living, Good House Keeping, Yahoo News, WikiHow, Shutterfly, Parade, Brit & Co and more. Thanks for stopping by and hope you’ll stay for a while, get to know me better and come back another time. Stick around for real fun projects! Read more…