

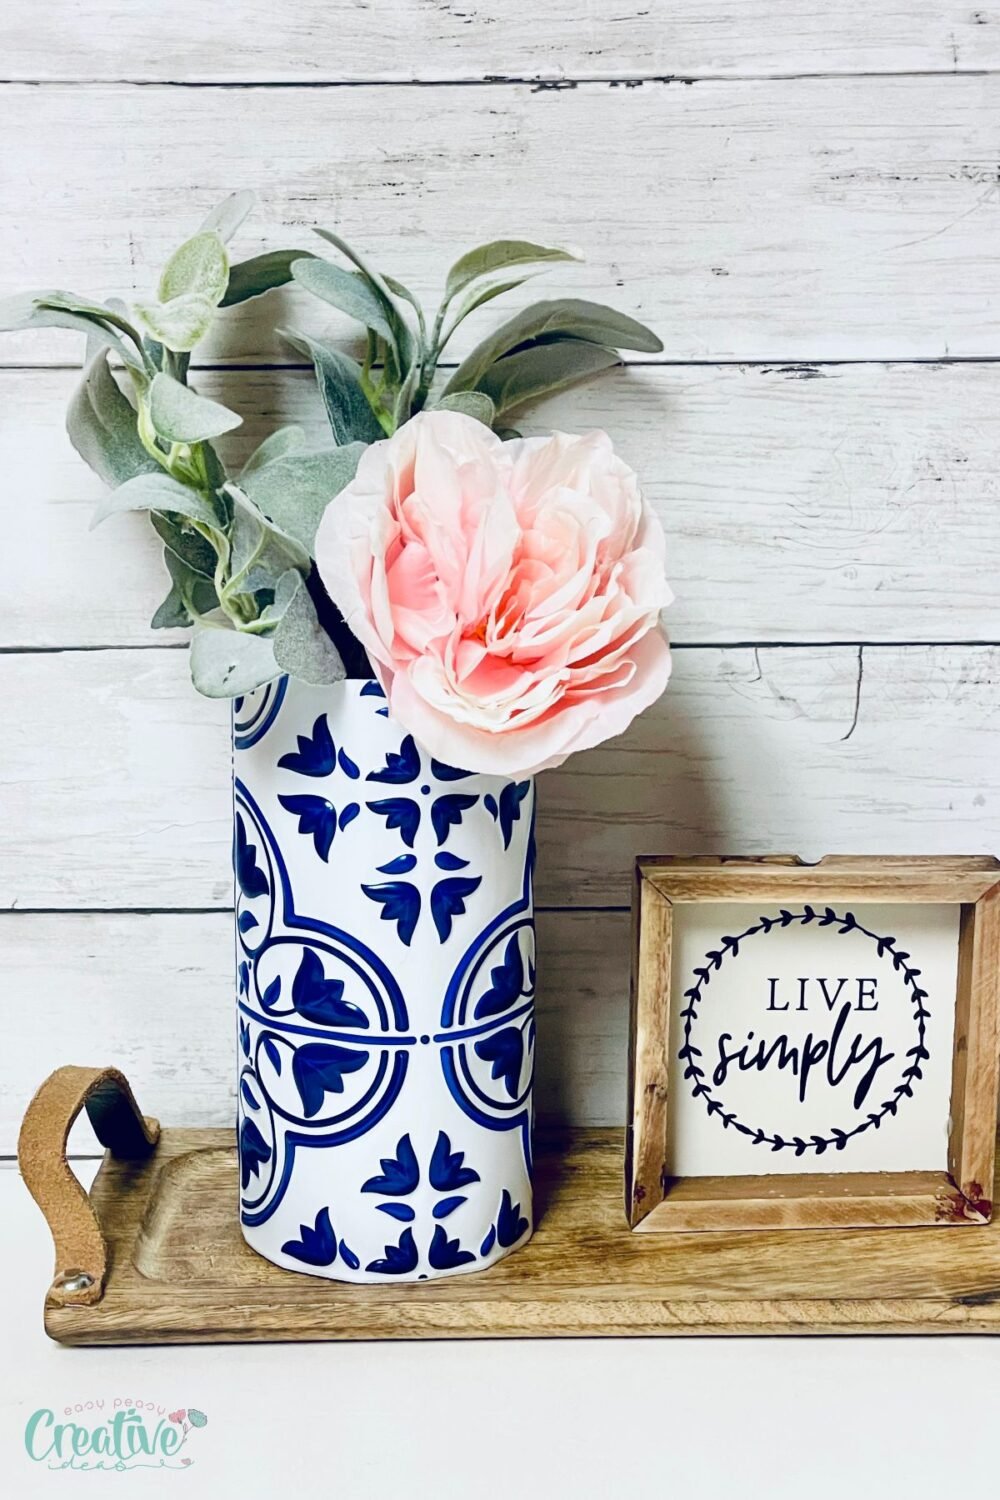
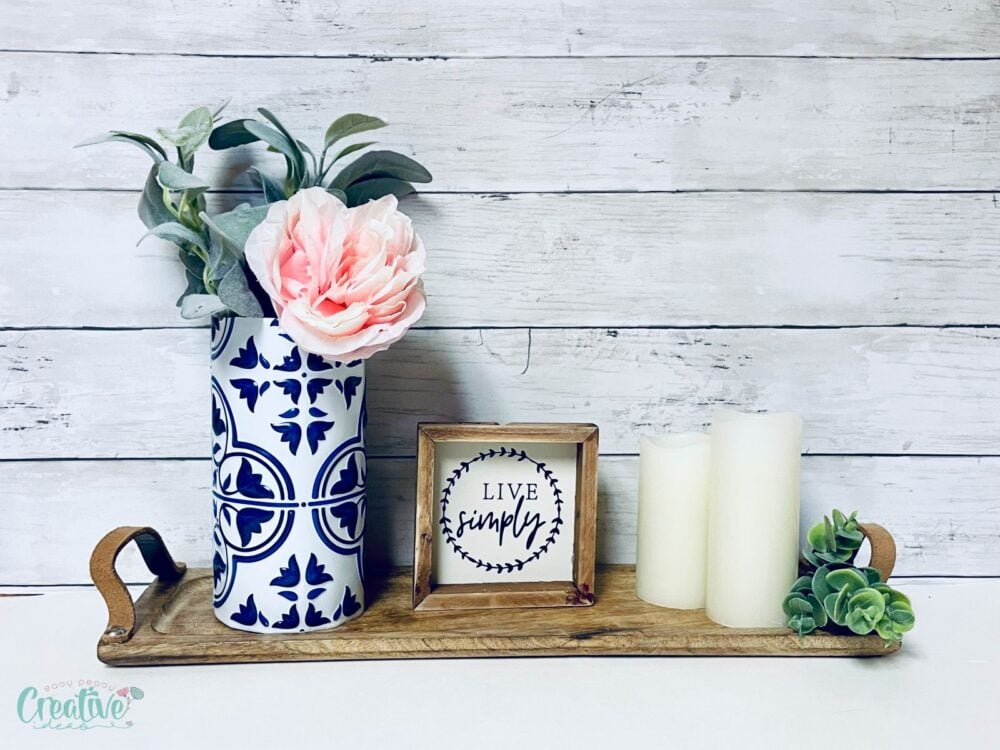
DIY tile vase farmhouse decor
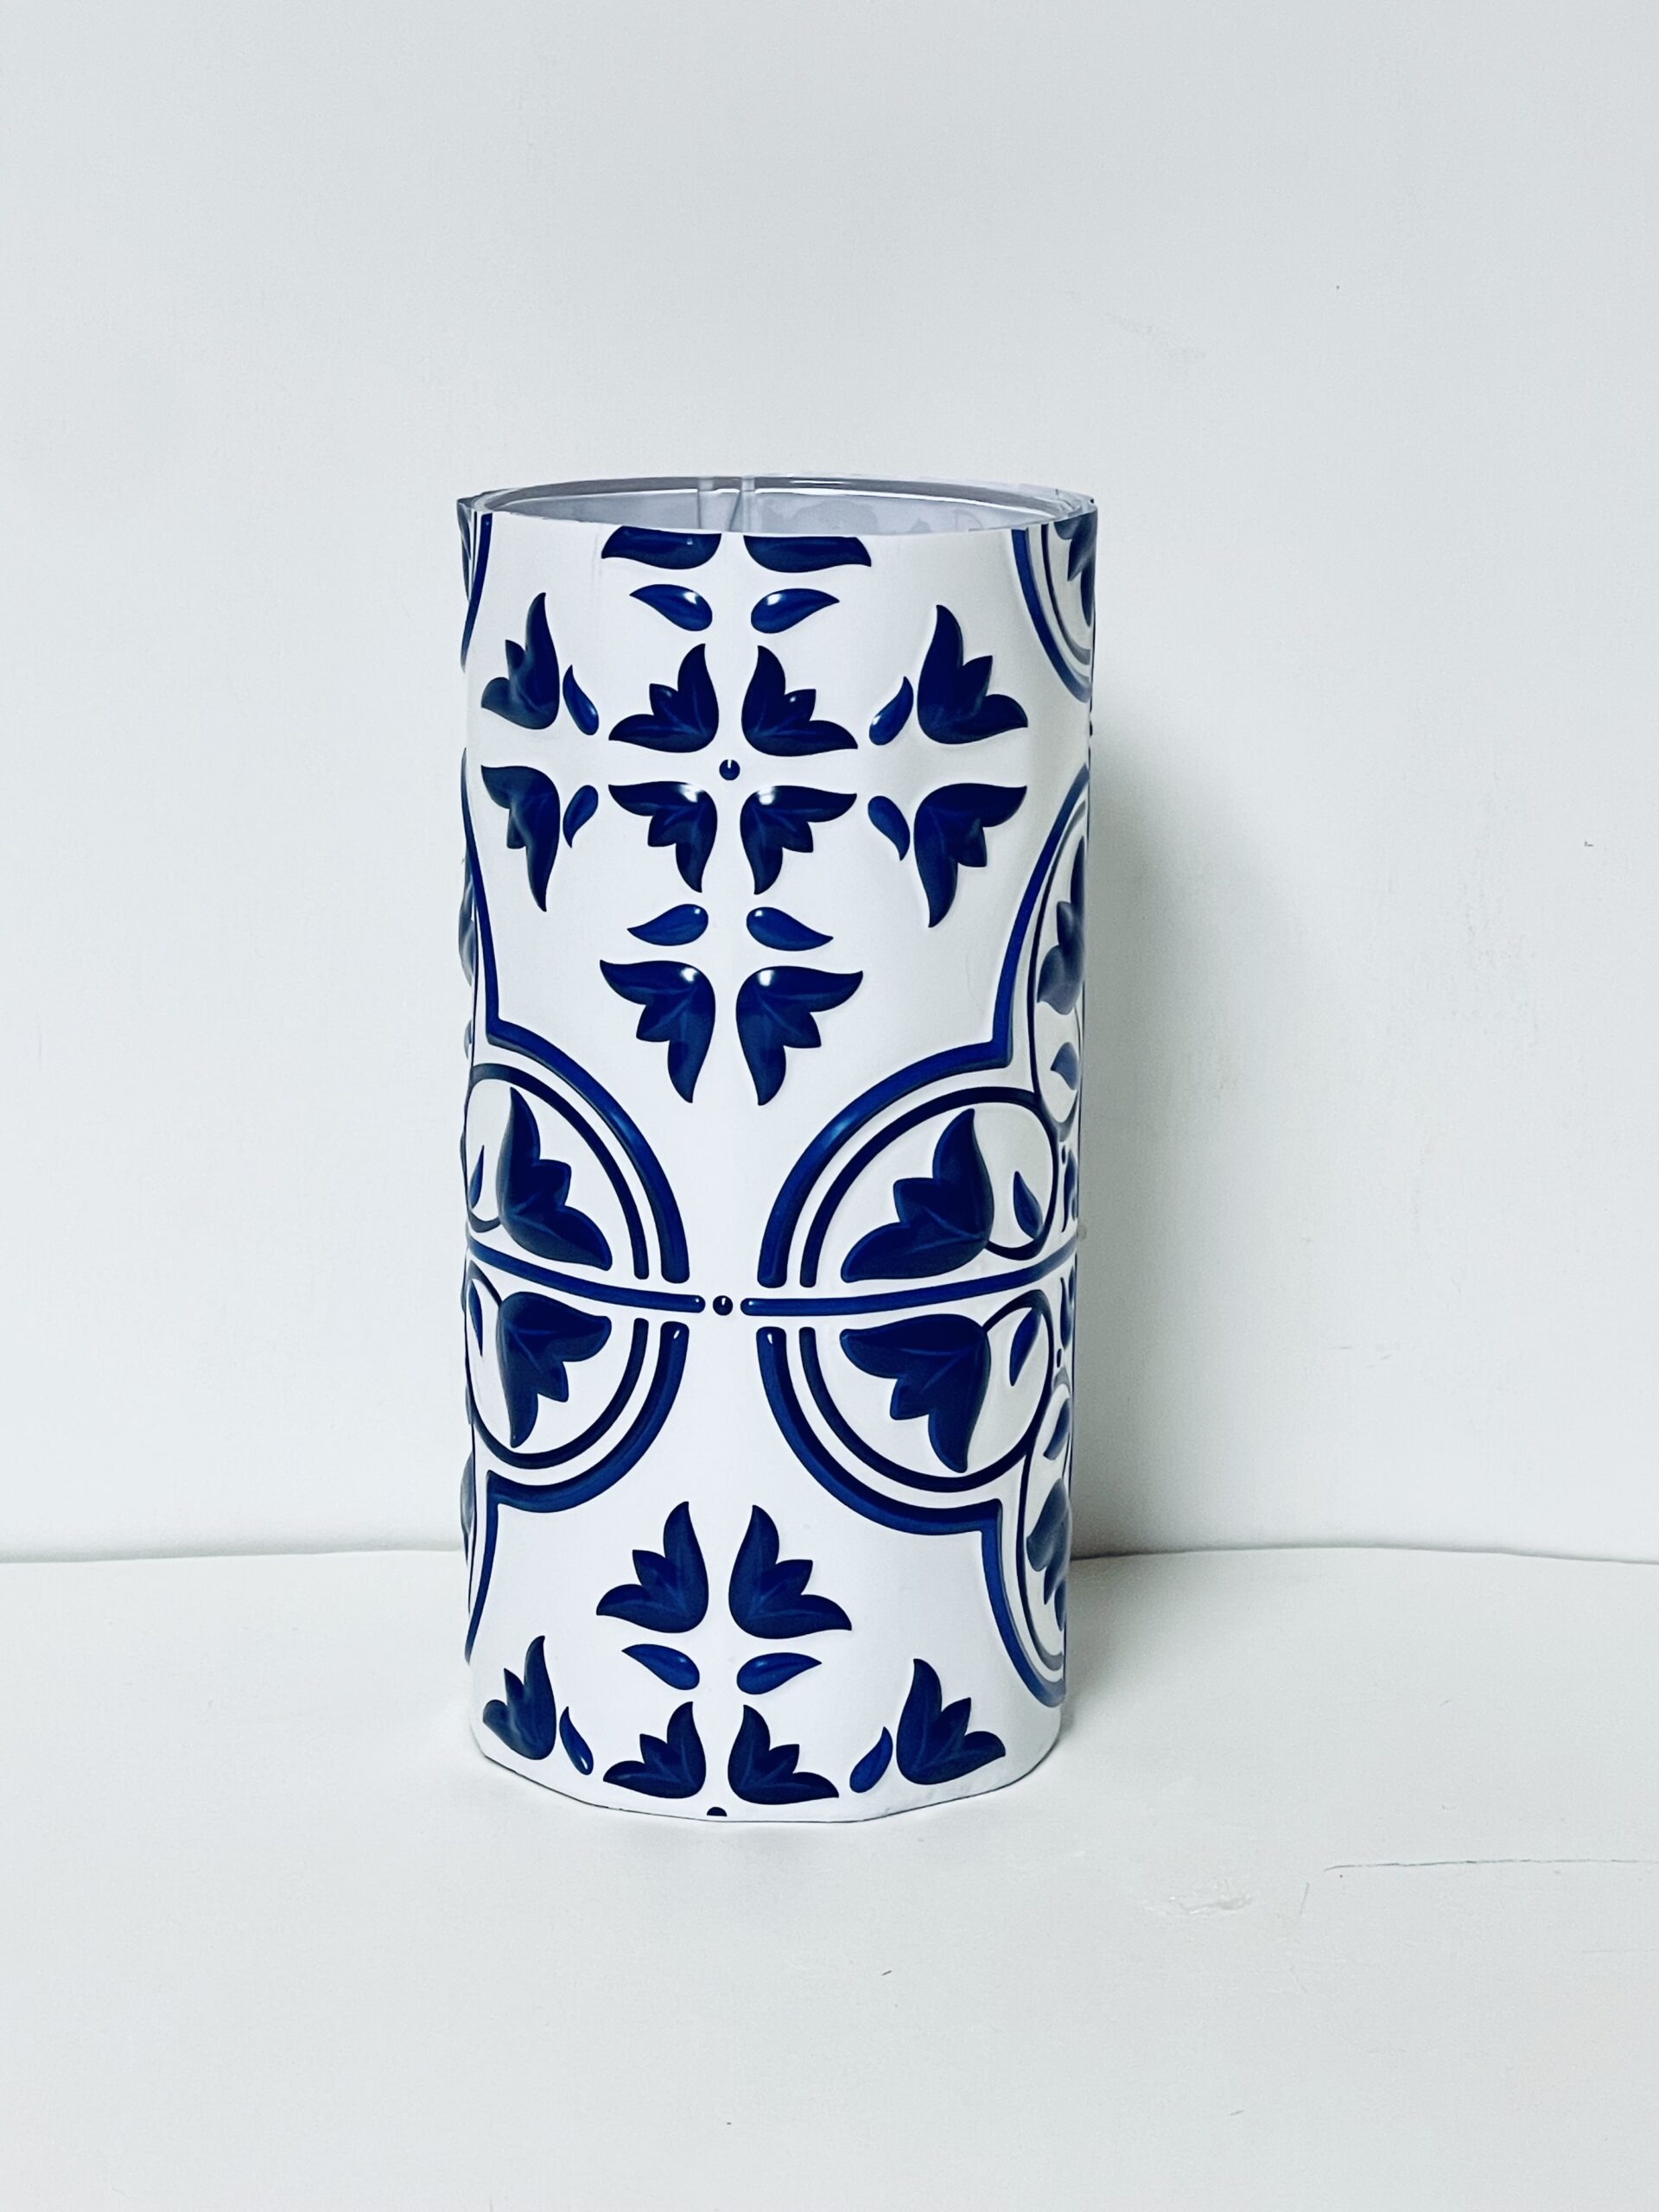
DIY tile vase is a fun and budget-friendly way to spruce up your home decor! With just a few supplies from the dollar store, such as tiles, glue, and a simple glass vase, you can create a stunning and easy piece that adds a pop of color to any room. Not only is it a creative project that allows you to personalize your living space, but it also makes for a great conversation starter and a unique handmade gift.
Whether you choose bright, bold tiles or a more subdued, elegant palette, your DIY tile vase will surely brighten up any corner of your home. As someone who loves DIY projects, I am always on the lookout for affordable materials that can be transformed into something beautiful. This is why I love this DIY tile vase – it uses simple and inexpensive supplies but yields impressive results. Plus, it’s incredibly easy to make, making it perfect for beginners.
How to make a DIY tile vase
Materials
To make this DIY tile vase, you will need some basic supplies that you can easily find at your local craft store. Here’s a closer look at each ingredient:
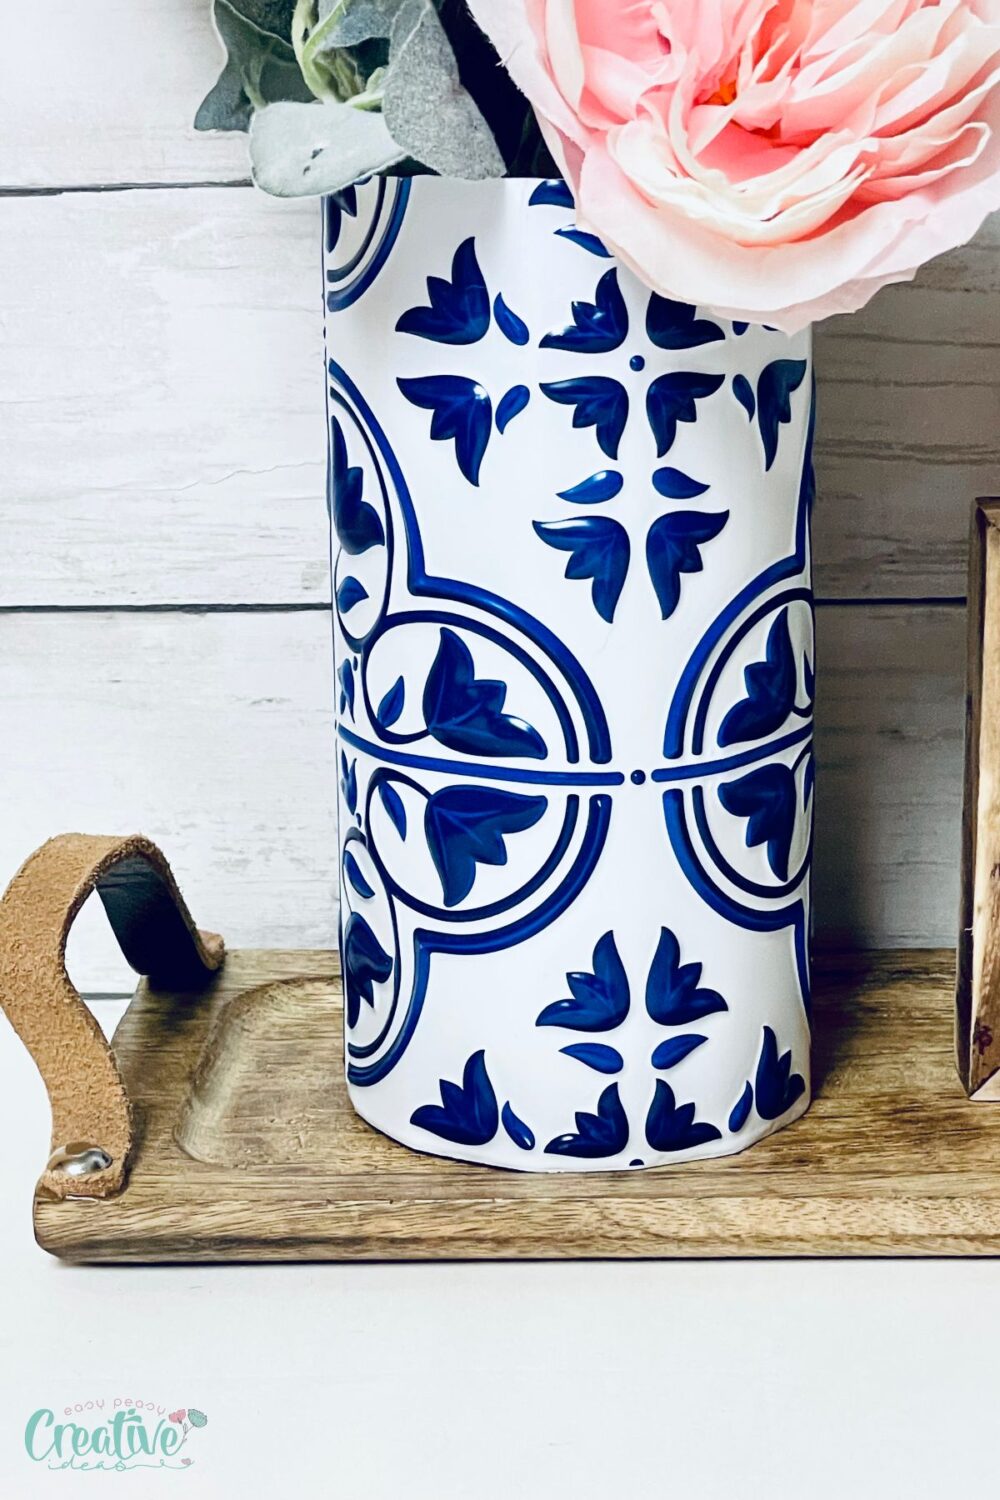
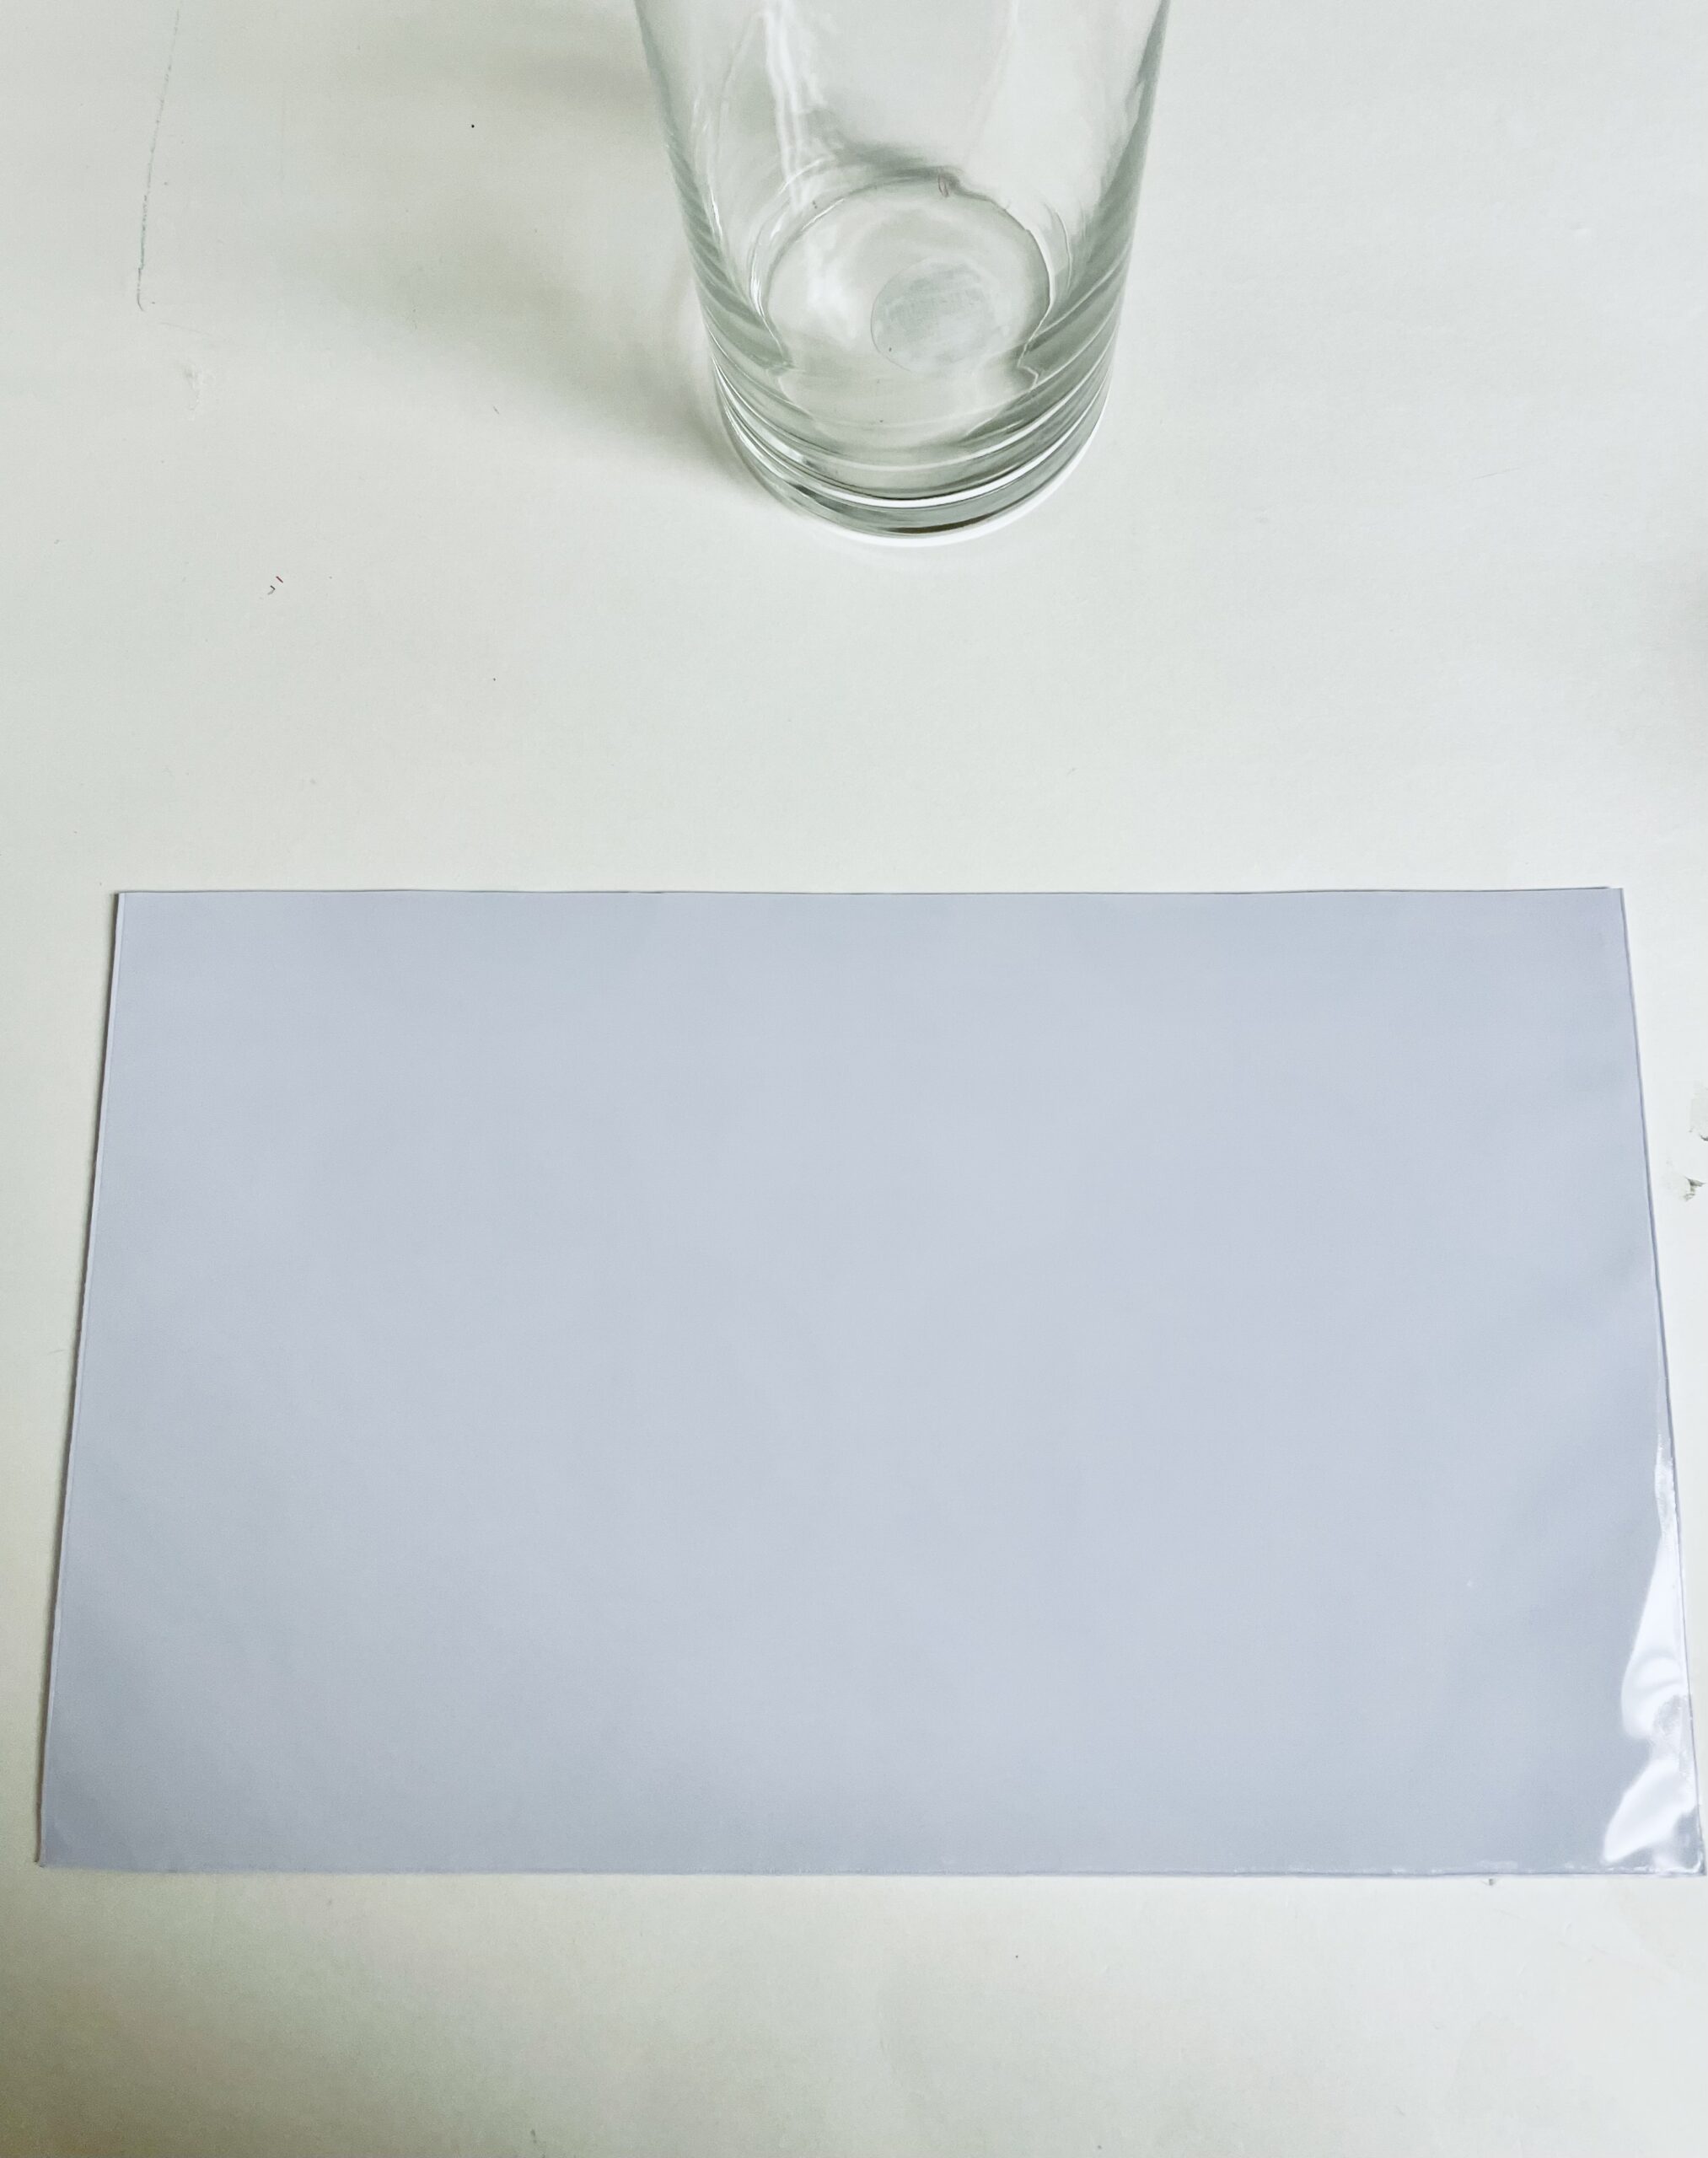
- 7-inch pillar vase: A plain glass vase that serves as the base for your project. Its cylindrical shape makes it perfect for wrapping with tiles.
- Blue and white plastic tile: These decorative tiles add a touch of color and pattern to your vase, giving it a unique and stylish look.
Equipment
- Hot glue gun and glue sticks: A reliable hot glue gun ensures the plastic tiles stay firmly in place.
- Scissors: Sharp scissors will make it easier to cut through the plastic tiles cleanly.
- Pen or marker: To accurately trace the vase’s shape on the tile for precise cutting.
Instructions to make the tile vase
Preparations
- Gather Supplies: Make sure you have all the supplies and equipment listed above.
- Workspace Setup: Prepare a clean, flat workspace to lay out your materials and work on your project.
Making
- Lay the Vase on Tile: Start by positioning the vase on top of the blue and white tile. Make a line where the top of the vase meets the tile.
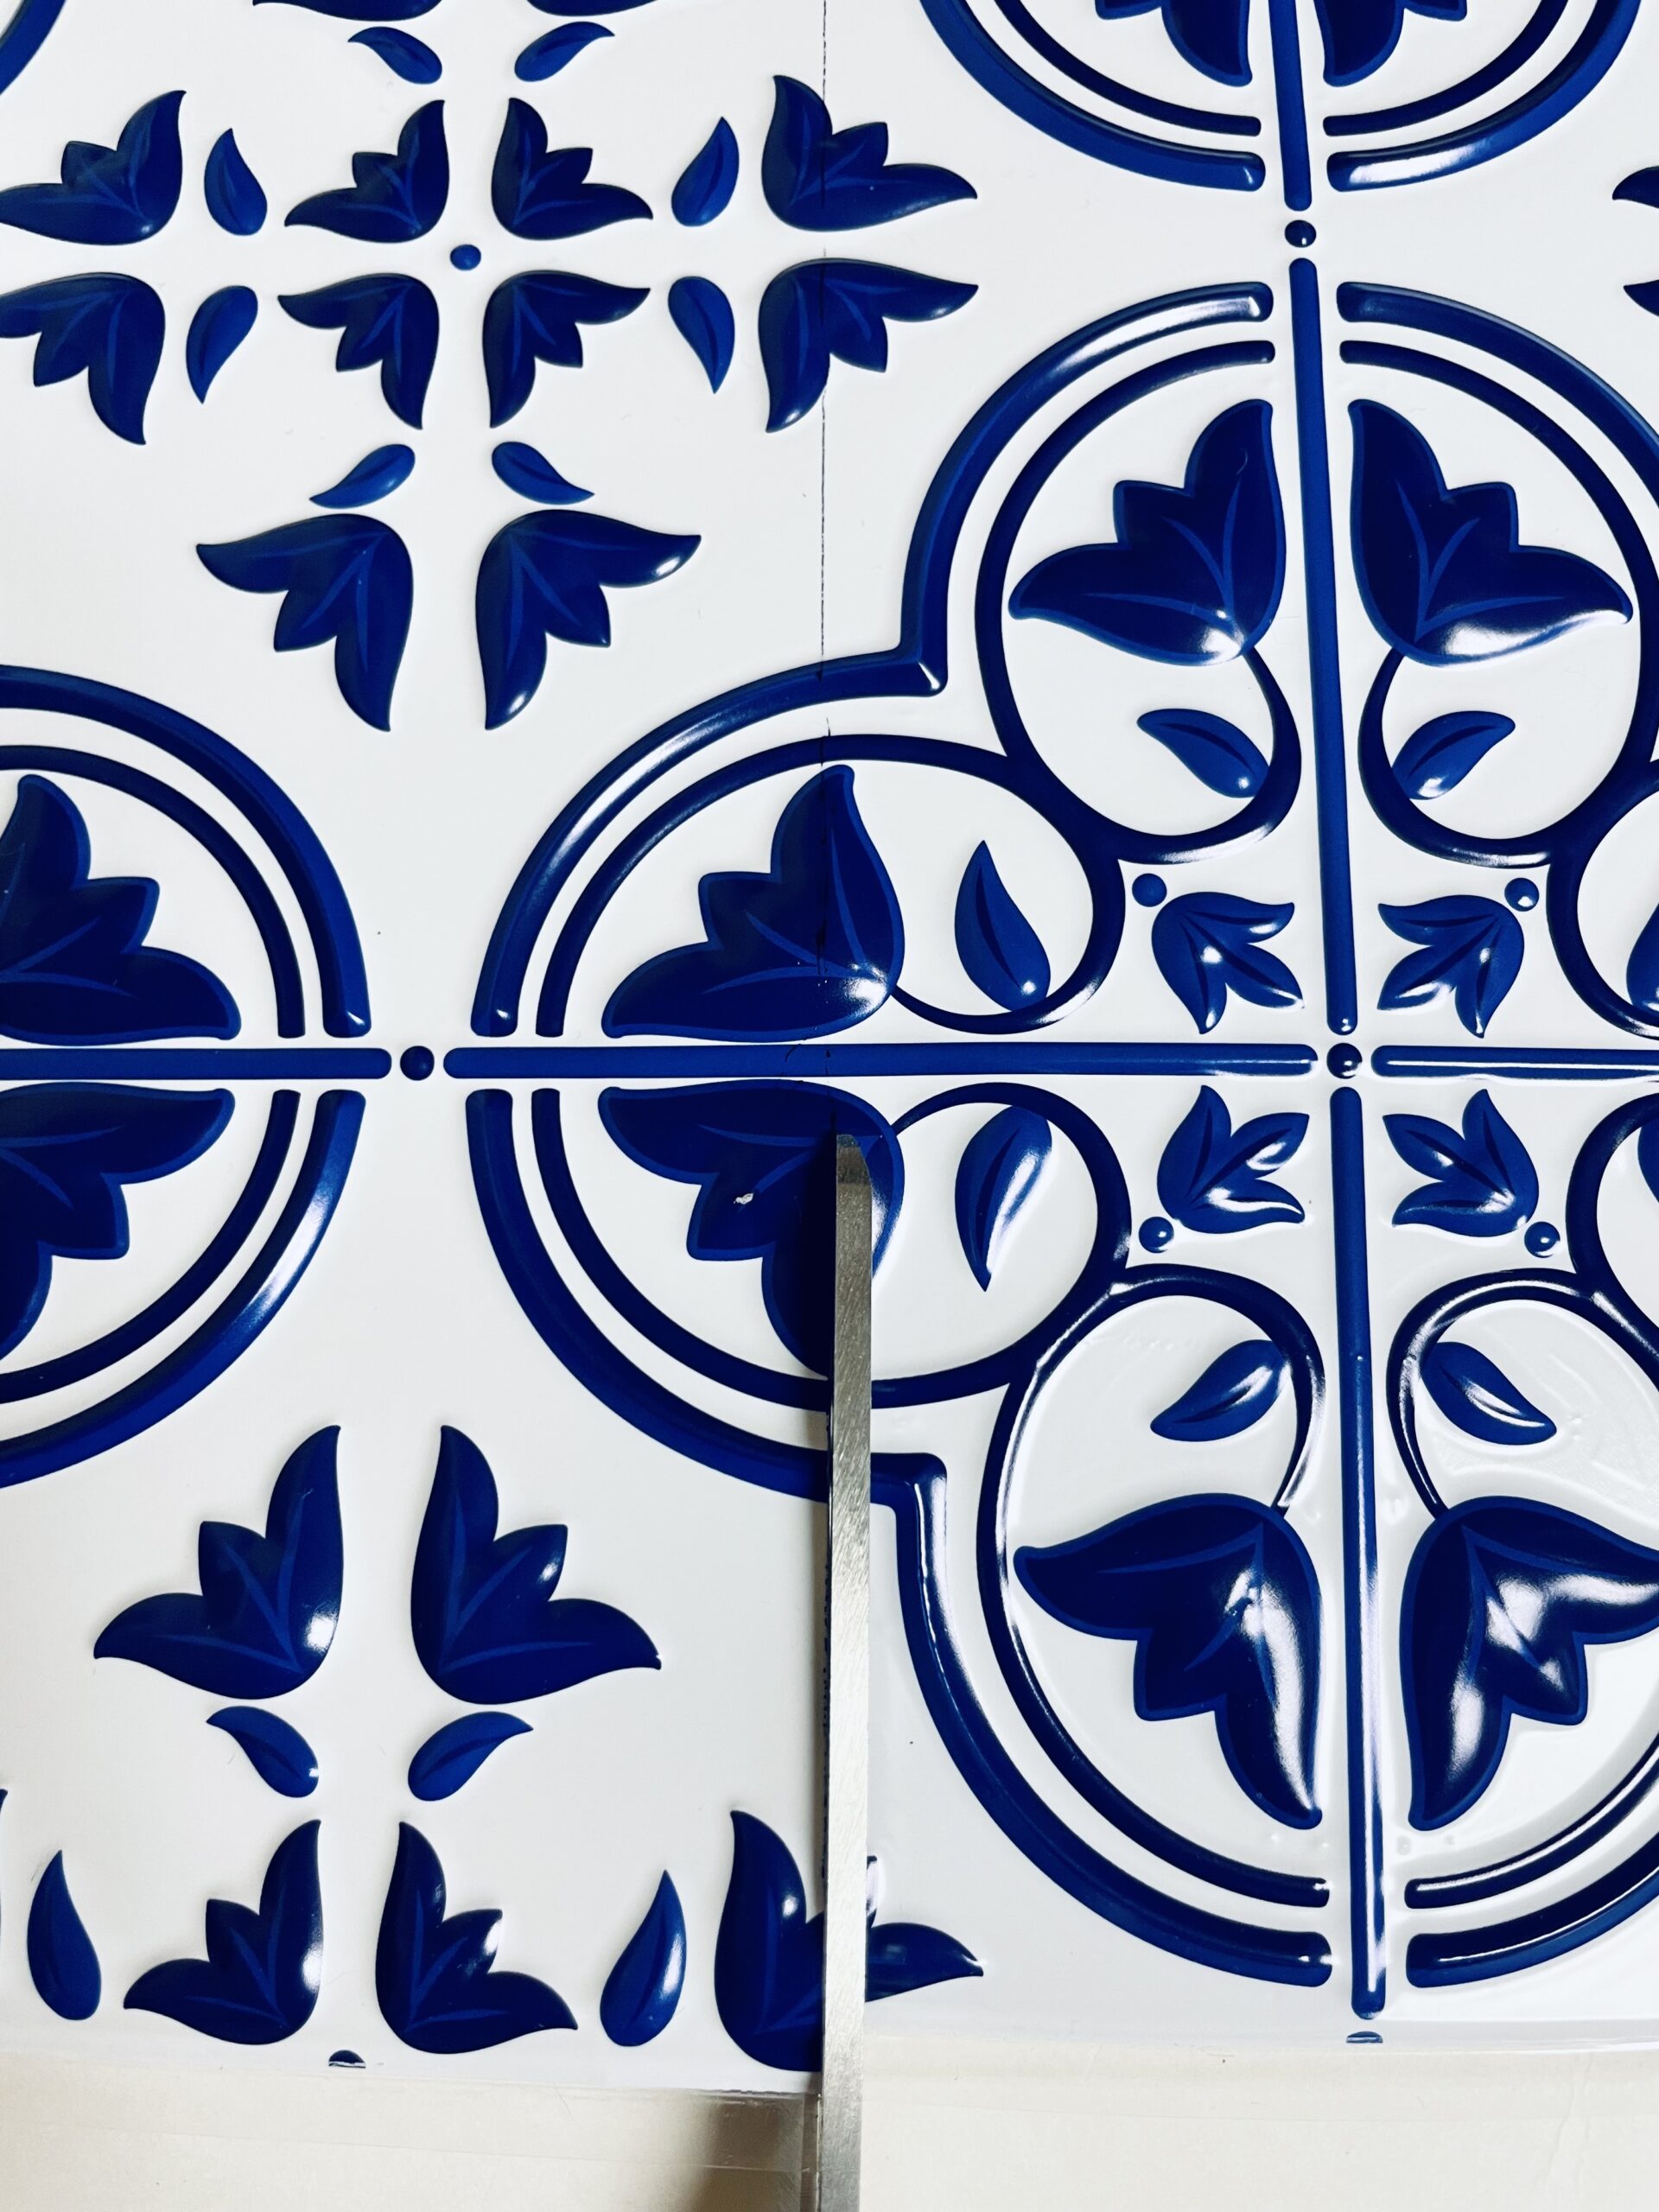
- Trace and Cut: Roll the vase across the tile and trace its top edge with a pen or marker. Once traced, use scissors to cut along the marked line.
- Remove Tile Backing: Carefully peel off the backing from the tile to expose its sticky side.
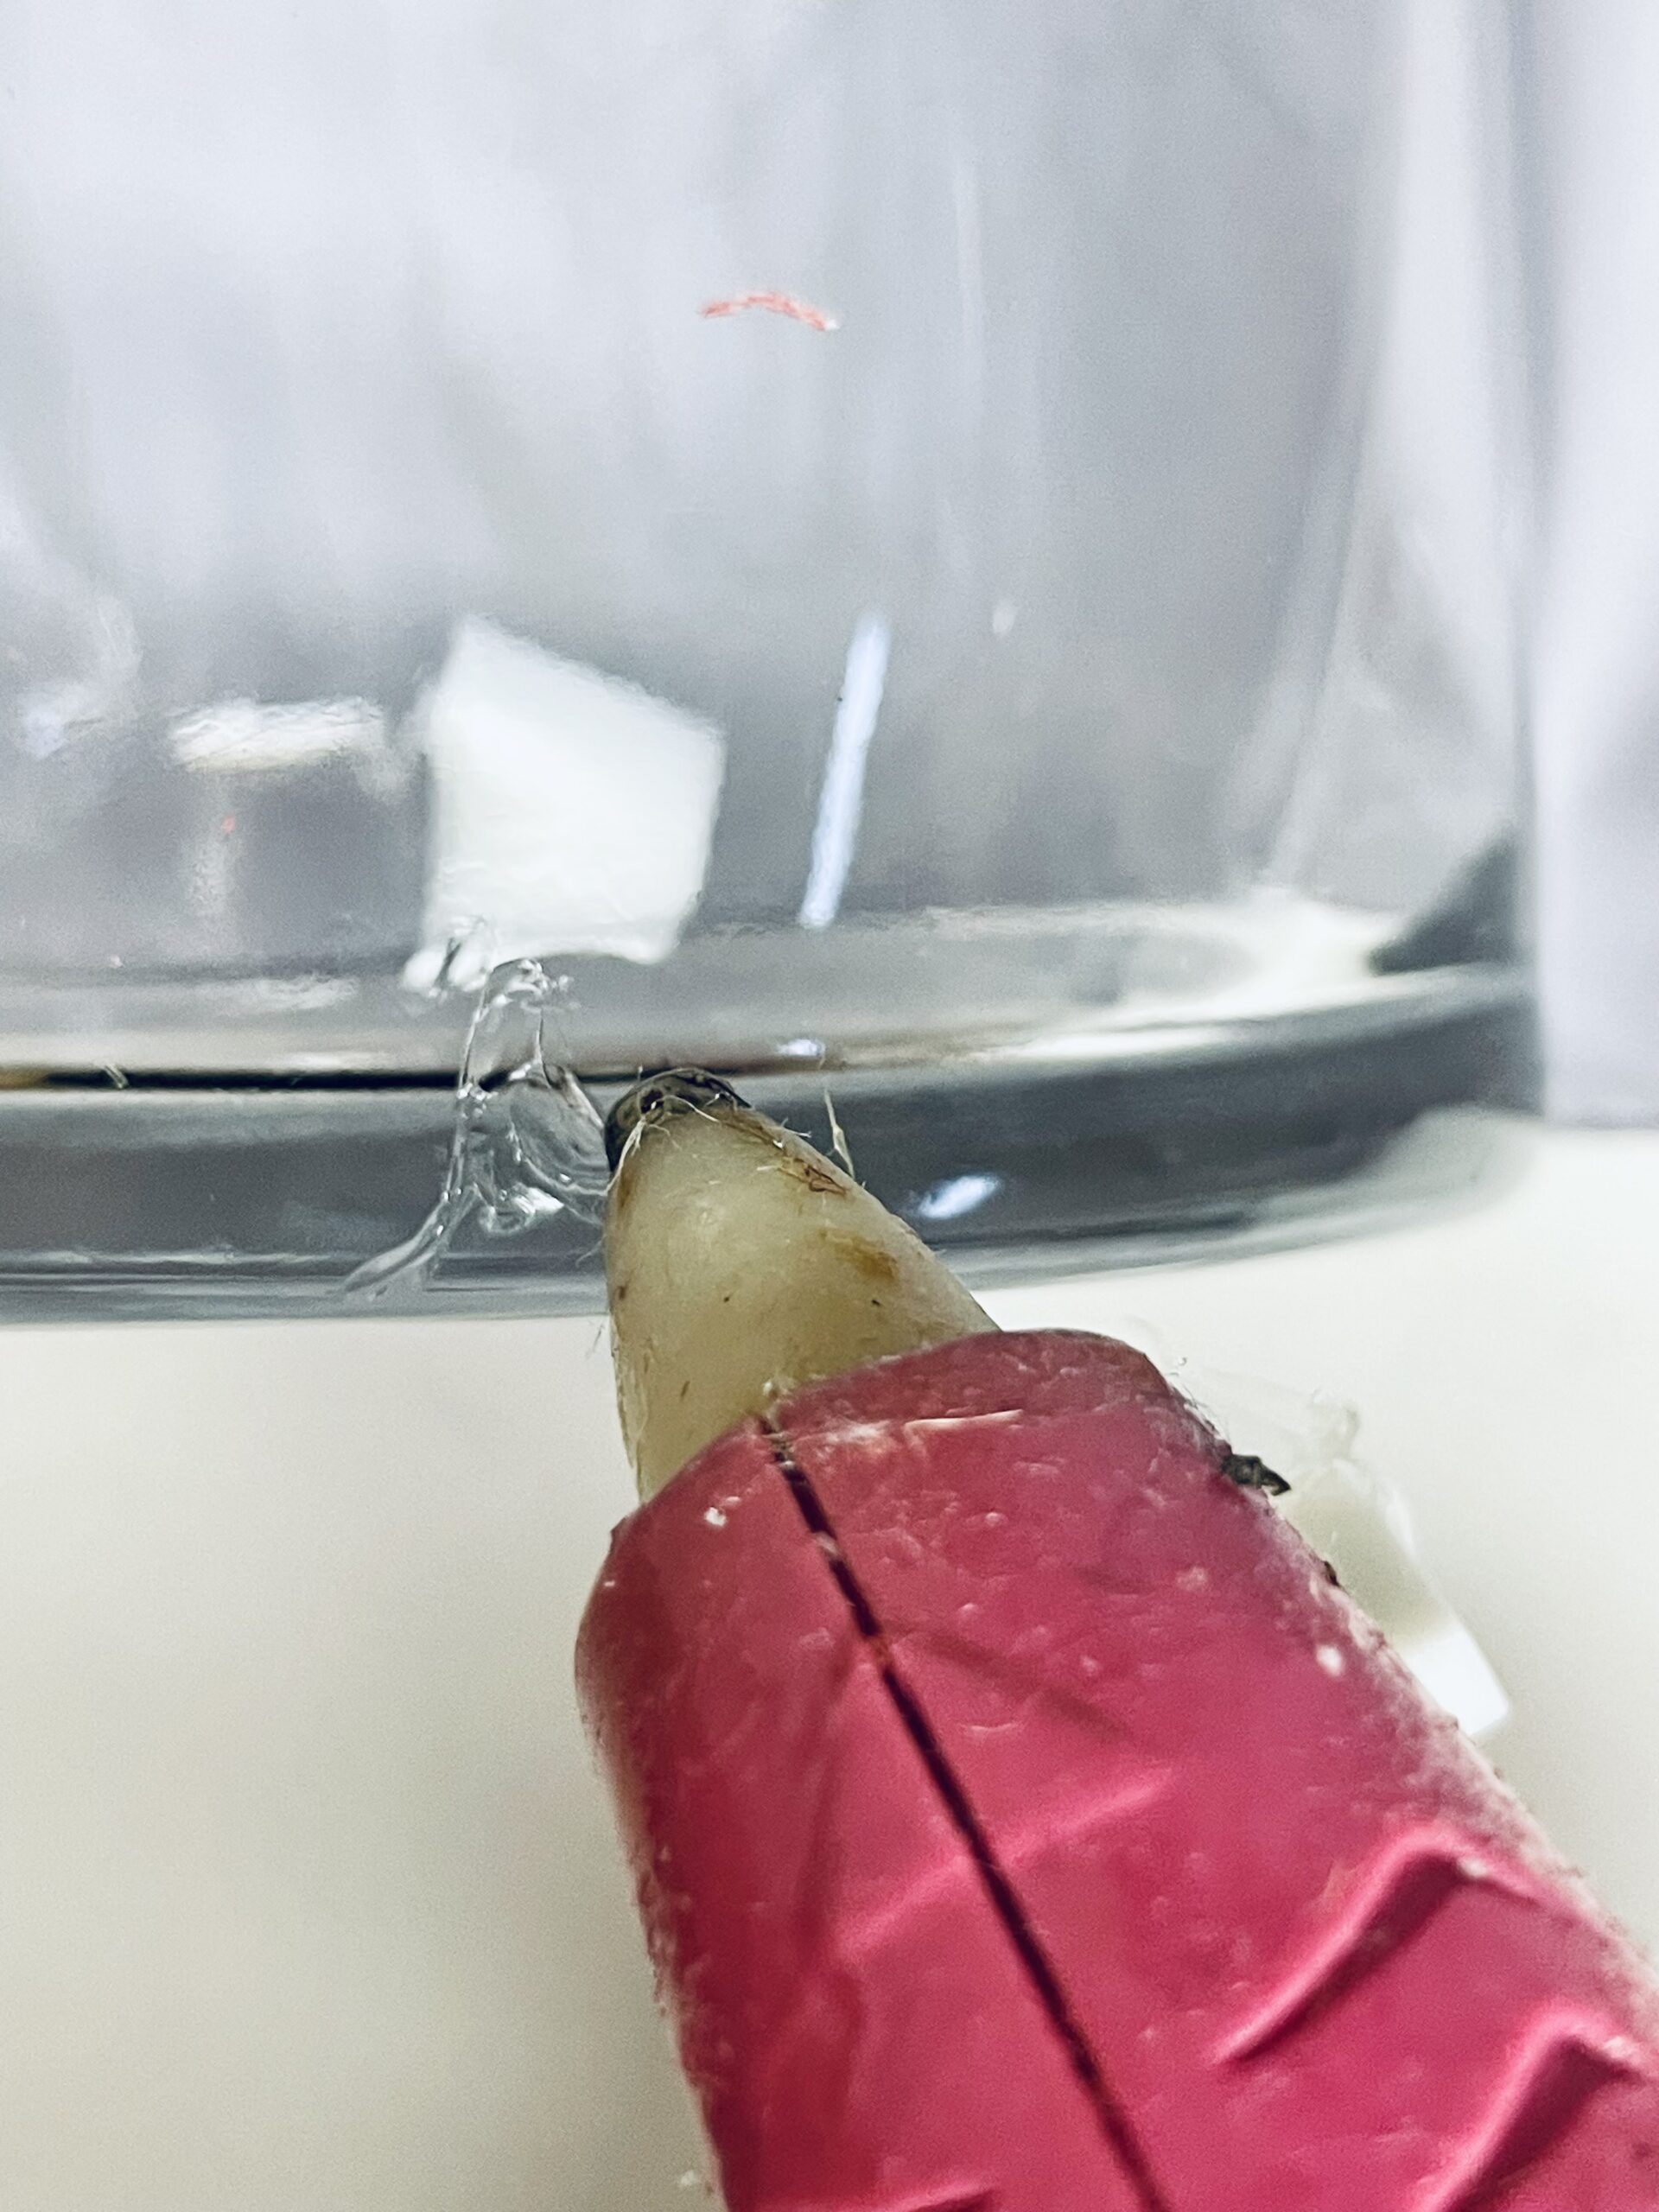
- Wrap the Vase: Gently wrap the sticky tile around the pillar vase. For a seamless finish, add a line of hot glue at the end where the tiles overlap.
- Trim Excess Tile: If there’s any excess tile at the top, trim it with scissors for a neat edge.
Tips
For a professional-looking finish, ensure the tile is wrapped tightly around the vase. This helps prevent any air bubbles or gaps that could mar the appearance of your vase.
Applying the hot glue in an even, continuous line at the overlap point ensures a secure and clean bond.
Craft Variations
- Mosaic Masterpiece: Mix different tile colors and patterns for a vibrant, mosaic-style vase.
- Sparkling Addition: Add a touch of glitter for a sparkling effect.
- Rustic Feel: Wrap some burlap ribbon around the vase for a rustic, farmhouse-inspired vase.
Frequently Asked Questions
Q: Can I use a different kind of vase?
A: Absolutely! Just make sure the vase has a smooth surface that tiles can adhere to easily.
Q: How do I clean the vase once it’s wrapped in tile?
A: Simply wipe it with a damp cloth – avoid using harsh chemicals to preserve the adhesive backing.
More Crafts You’ll Enjoy
- DIY cotton stems farmhouse décor
- Farmhouse book stack DIY
- Rustic embroidery hoop wreath
- Tobacco basket wreath DIY
- Farmhouse door wreath from plastic shovel
- Farmhouse cutting board décor
- DIY wooden vase with Jenga blocks
- Upcycled pasta jar vase
- DIY faux leather vase
Head to your nearest craft store, gather your supplies, and start creating your own DIY tile vase today! Sign up for our newsletter for more amazing DIY projects and inspiration!
Transform Your Home with a Budget-Friendly DIY Tile Vase!
Materials
- 7 inch pillar vase from dollar tree
- Blue and White plastic tile
Tools
- scissors
- Pen or marker
Instructions
- Start by laying the vase on top of the blue and white tile. Make a line where the top of the vase is and then roll the vase along tracing the top so you can cut.

- Cut along the line

- Remove the backing from the tile so that the backside is sticky. Gently wrap the pillar vase with the tile and when you get to the end add a line of hot glue and overlap the tile.
- Trim the top if some of the tile overlapped.
Article may contain Amazon & affiliate links. As an Amazon Associate I earn from qualifying purchases at no additional cost to you.
ABOUT PETRO
Hi, I’m Petro, author and founder of Easy Peasy Creative Ideas. Sewist, crafter, avid DIY-er, foodie, photographer, homemaker and mommy to one. I’m an expert at coming up with quick, clever sewing tips, recycling crafts and simple, easy recipes! You can find my ideas featured in reputable publications such as Country Living, Good House Keeping, Yahoo News, WikiHow, Shutterfly, Parade, Brit & Co and more. Thanks for stopping by and hope you’ll stay for a while, get to know me better and come back another time. Stick around for real fun projects! Read more…