

Farmhouse cutting board decor
Transform your kitchen with beautiful farmhouse cutting board décor. Discover how to make this simple DIY project using a mini cutting board to create a charming rustic touch in your home.
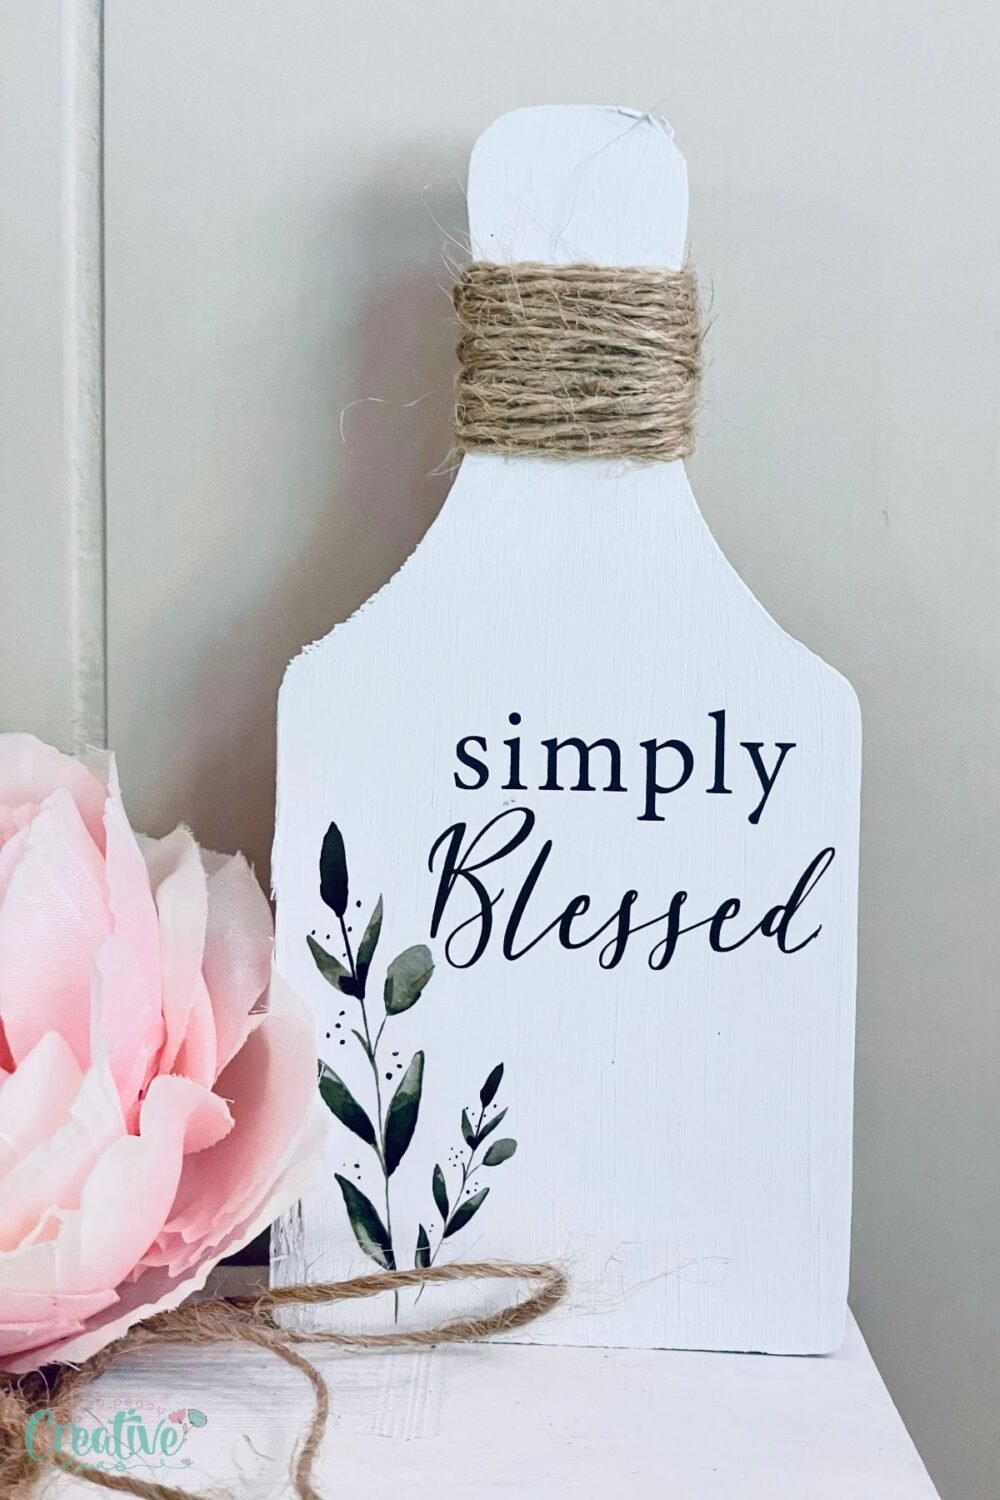
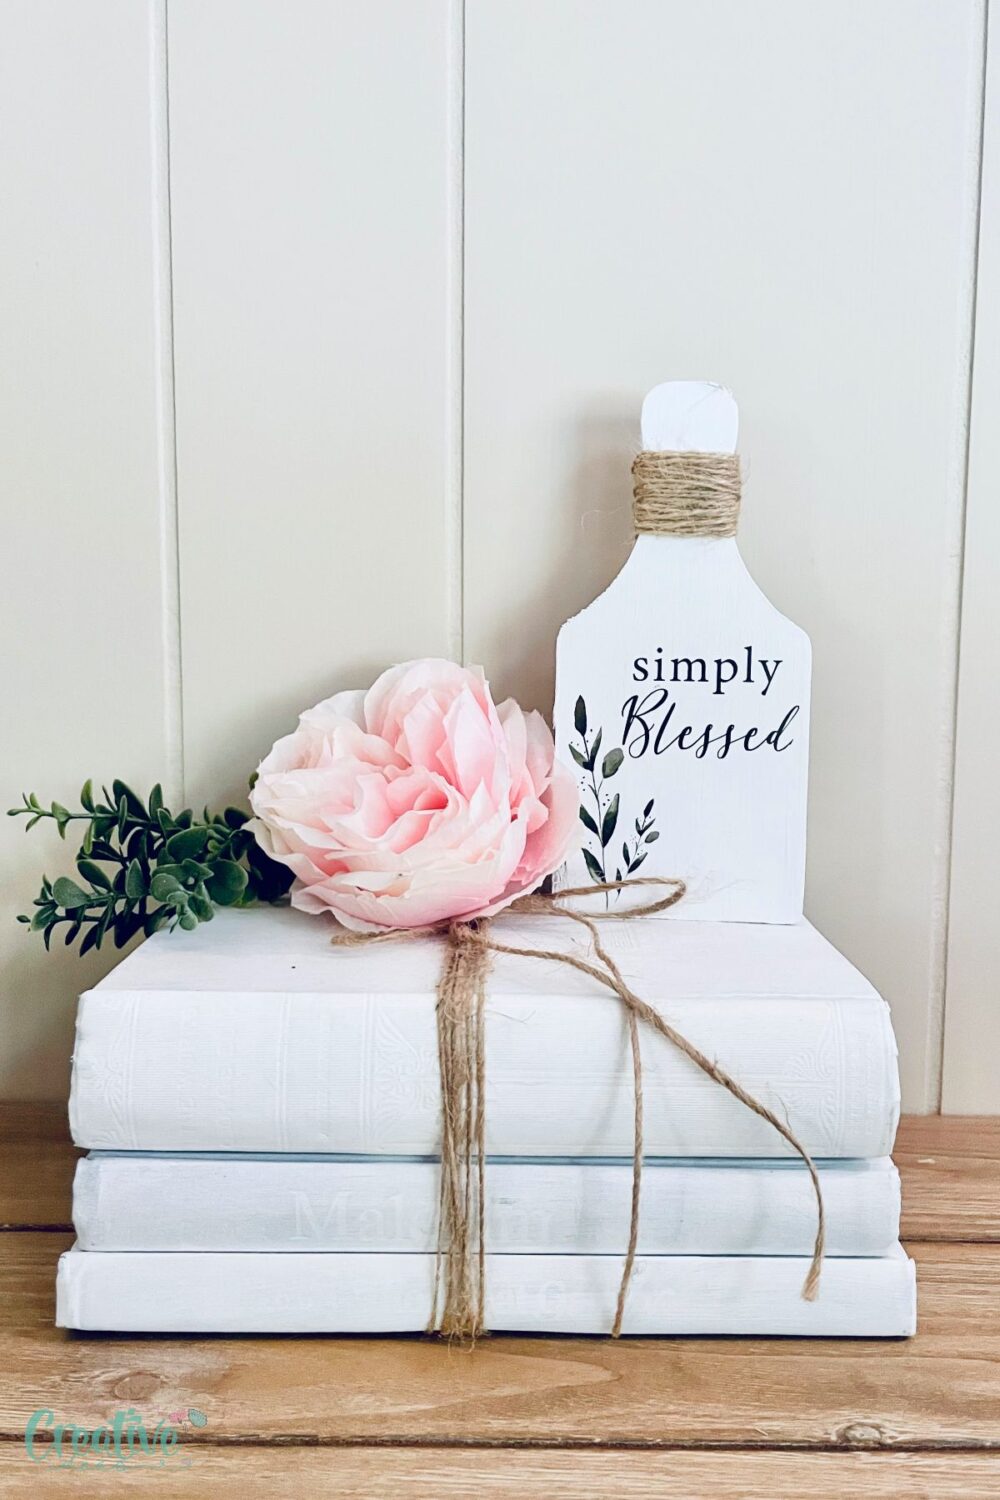
If you’re looking to add a touch of rustic charm to your kitchen this farmhouse cutting board décor is the perfect way to achieve that cozy, countryside vibe. This simple DIY project allows you to create a beautiful piece of art that not only enhances your kitchen’s aesthetic but also showcases your creativity and love for farmhouse style.
You’ll adore this farmhouse cutting board décor for its blend of simplicity and rustic elegance. It’s an easy craft that creates a significant impact, bringing warmth and charm to your kitchen. Plus, it can be personalized to match your specific taste and style.
How to make farmhouse cutting board décor
Materials you need
- Mini Wooden Cutting Board – A mini wooden cutting board forms the base of this project. Its natural wood grain and sturdy construction make it the ideal canvas for your farmhouse décor piece.
- Waverly White Chalk Paint (or whatever white paint you have) – White chalk paint provides a perfect matte finish, enhancing the rustic look. Waverly White Chalk Paint is easy to apply and gives excellent coverage.
- Twine (or whatever jute cord you have on hand) – Twine adds a touch of rustic elegance and texture. Wrapping it around the cutting board enhances the farmhouse aesthetic.
- Farmhouse Rub-on Designs – These designs effortlessly transfer rustic motifs onto the cutting board. They come in various patterns and phrases, adding personalized charm and character.
Substitutes
If you don’t have the exact materials listed, consider these alternatives:
- Instead of a mini wooden cutting board, use any small wooden board or plaque.
- For paint, any white acrylic paint can substitute if you don’t have chalk paint.
- Instead of twine, try using thin rope or even thick yarn.
- Custom printed decals can be used in place of rub-on designs.
Equipment
- Scissors – essential for cutting the twine and trimming the rub-on designs precisely.
- Paint Brush – A quality paint brush ensures smooth and even application of your paint, making the project look professional.
Step by step instructions
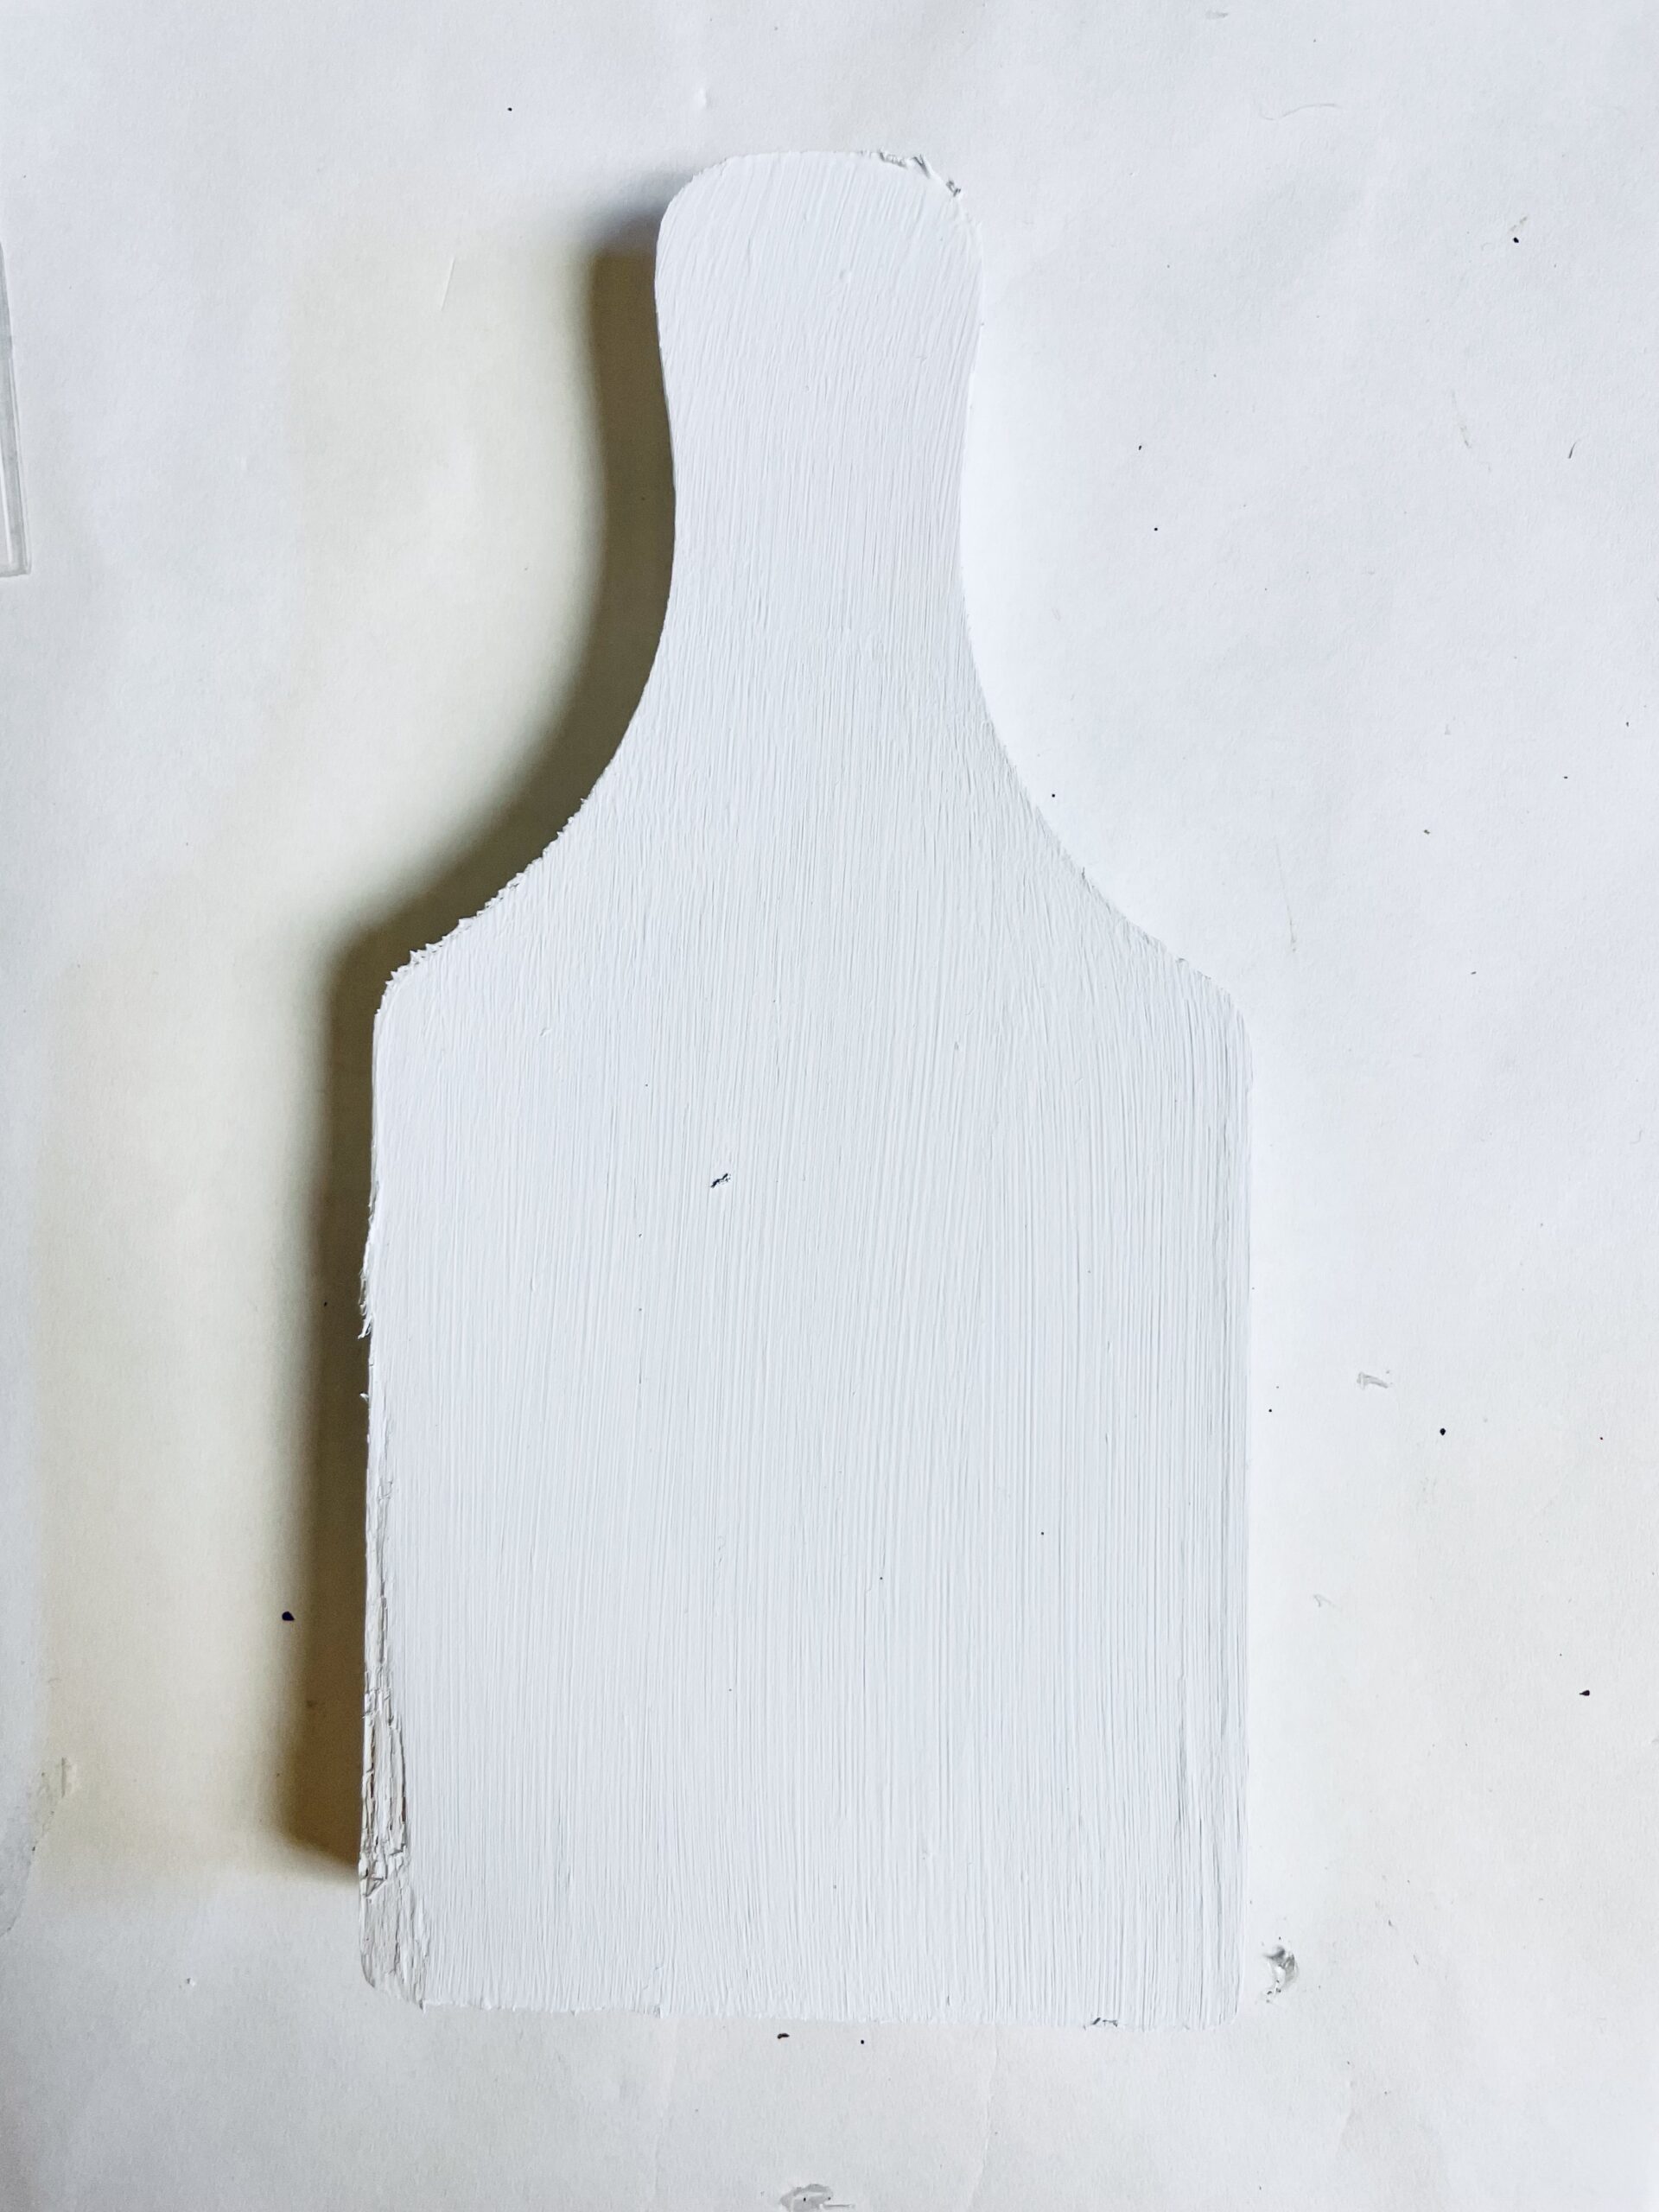
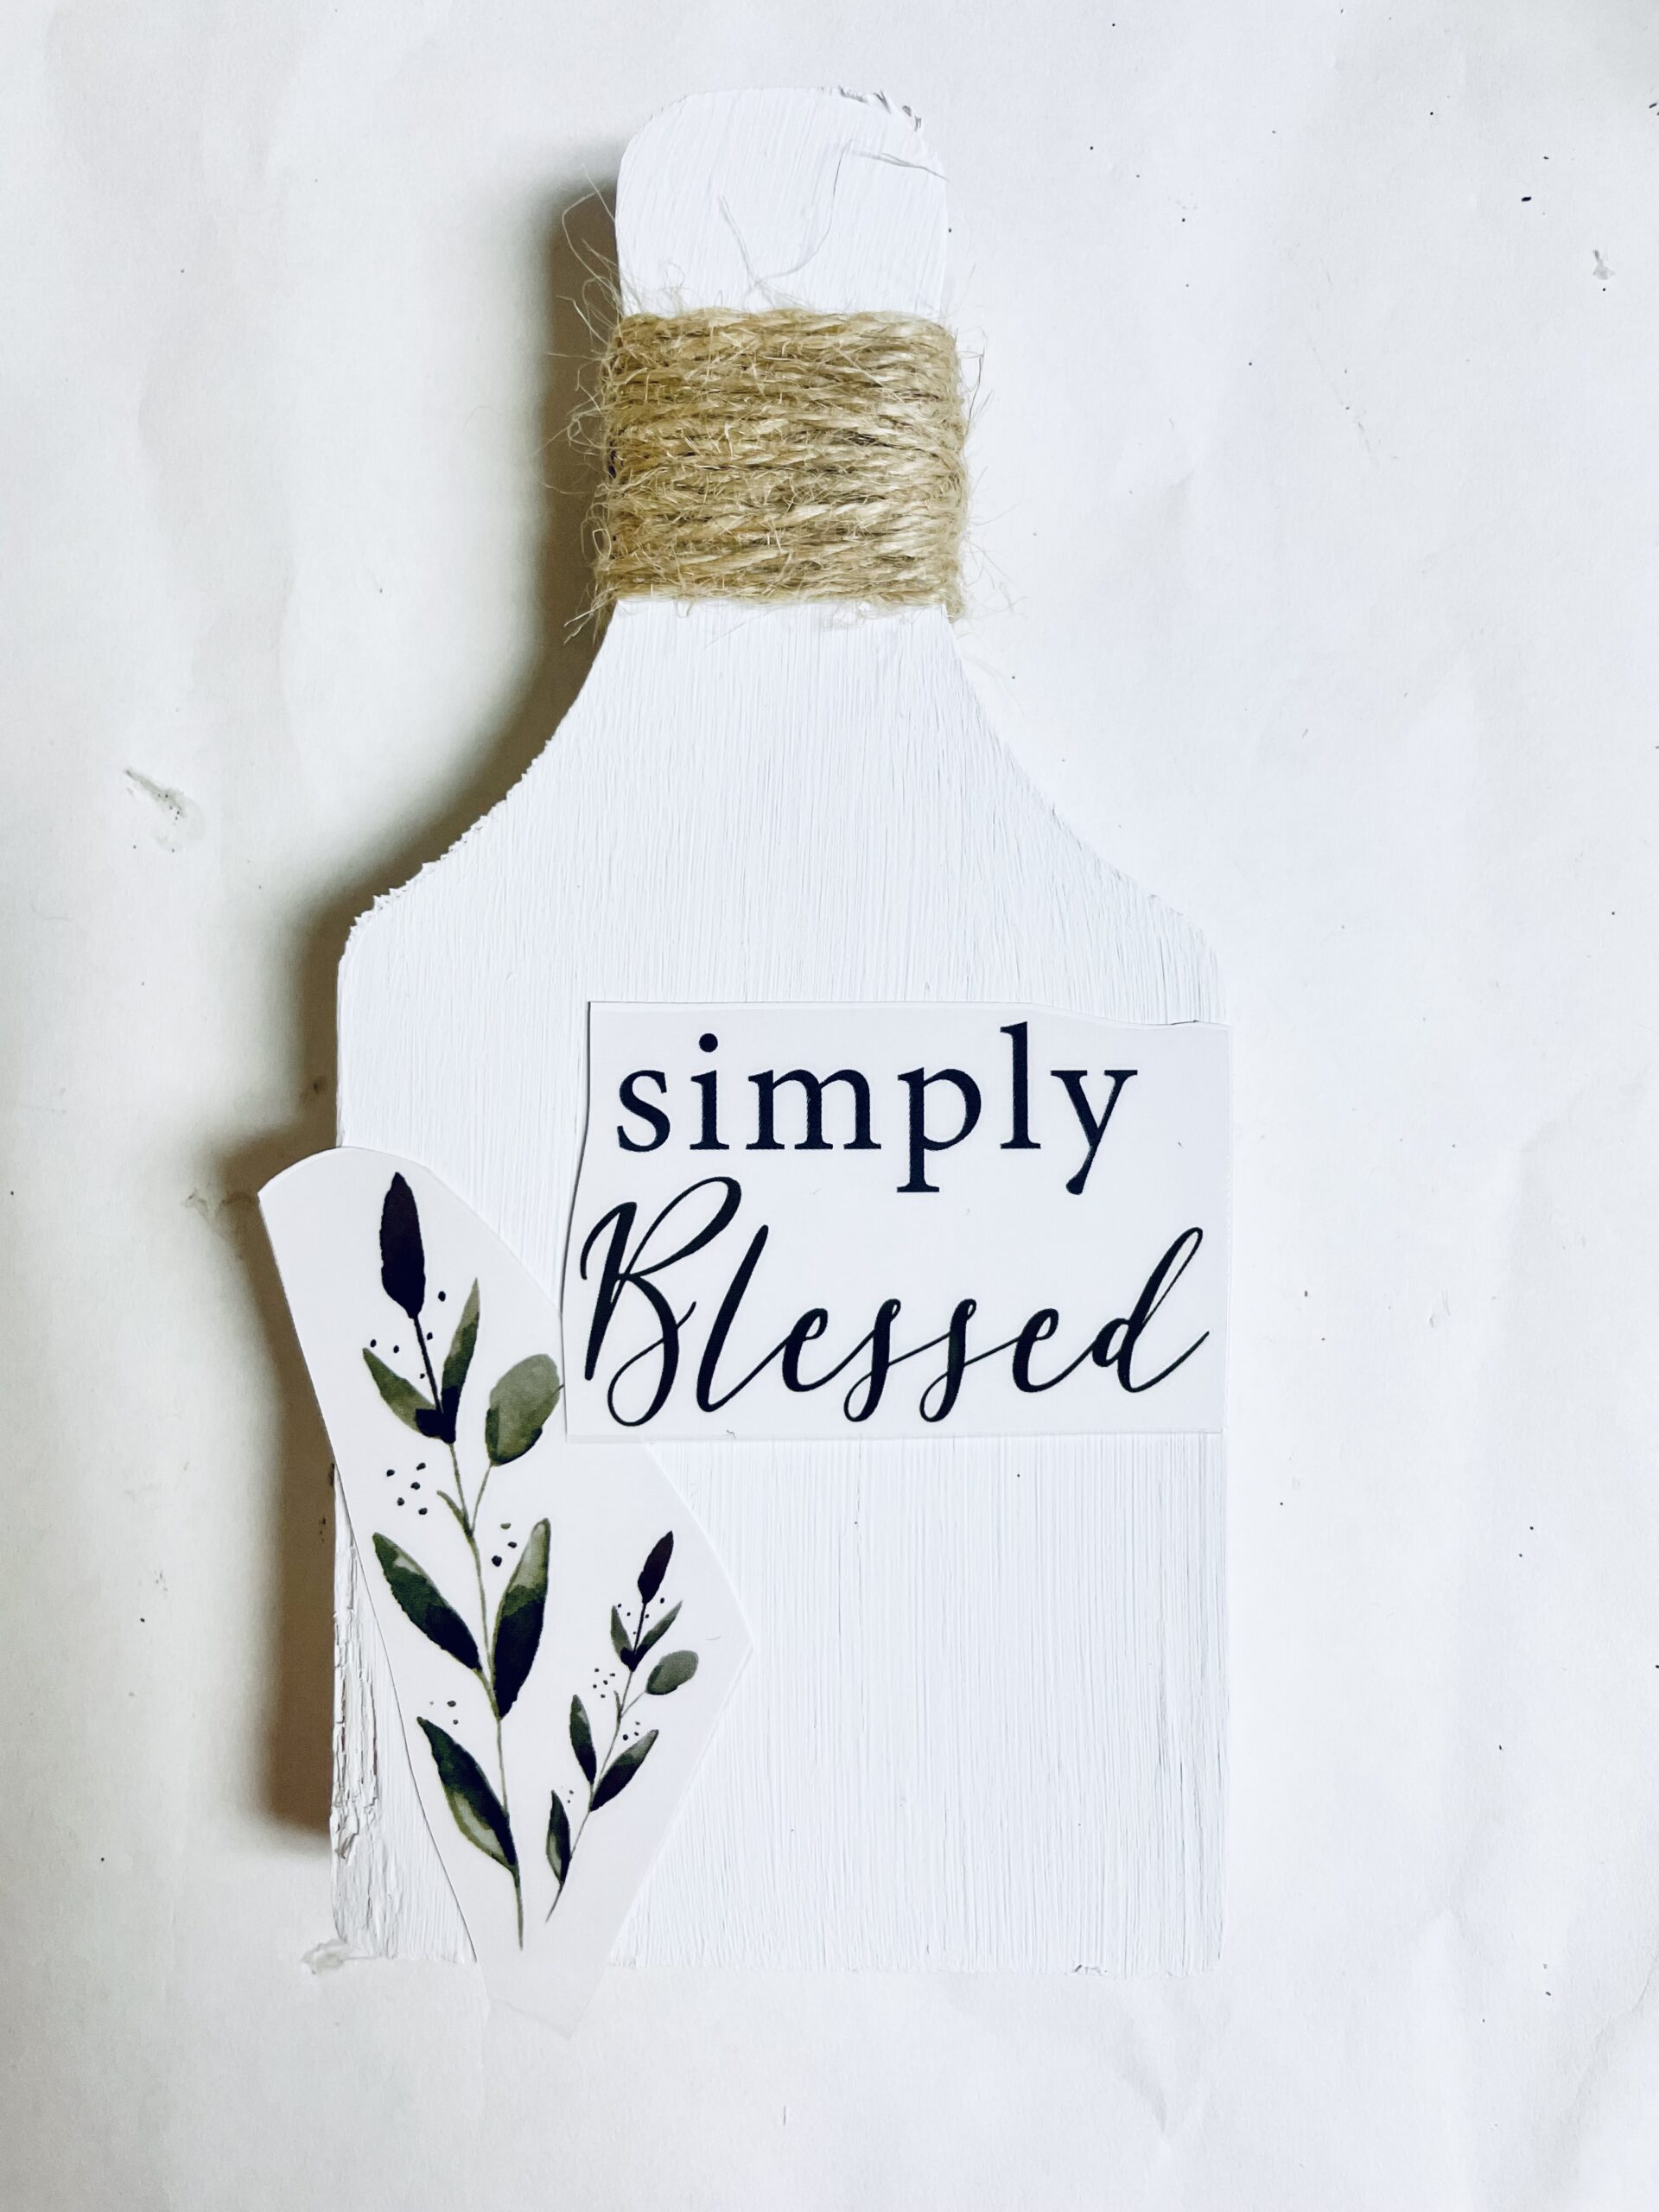
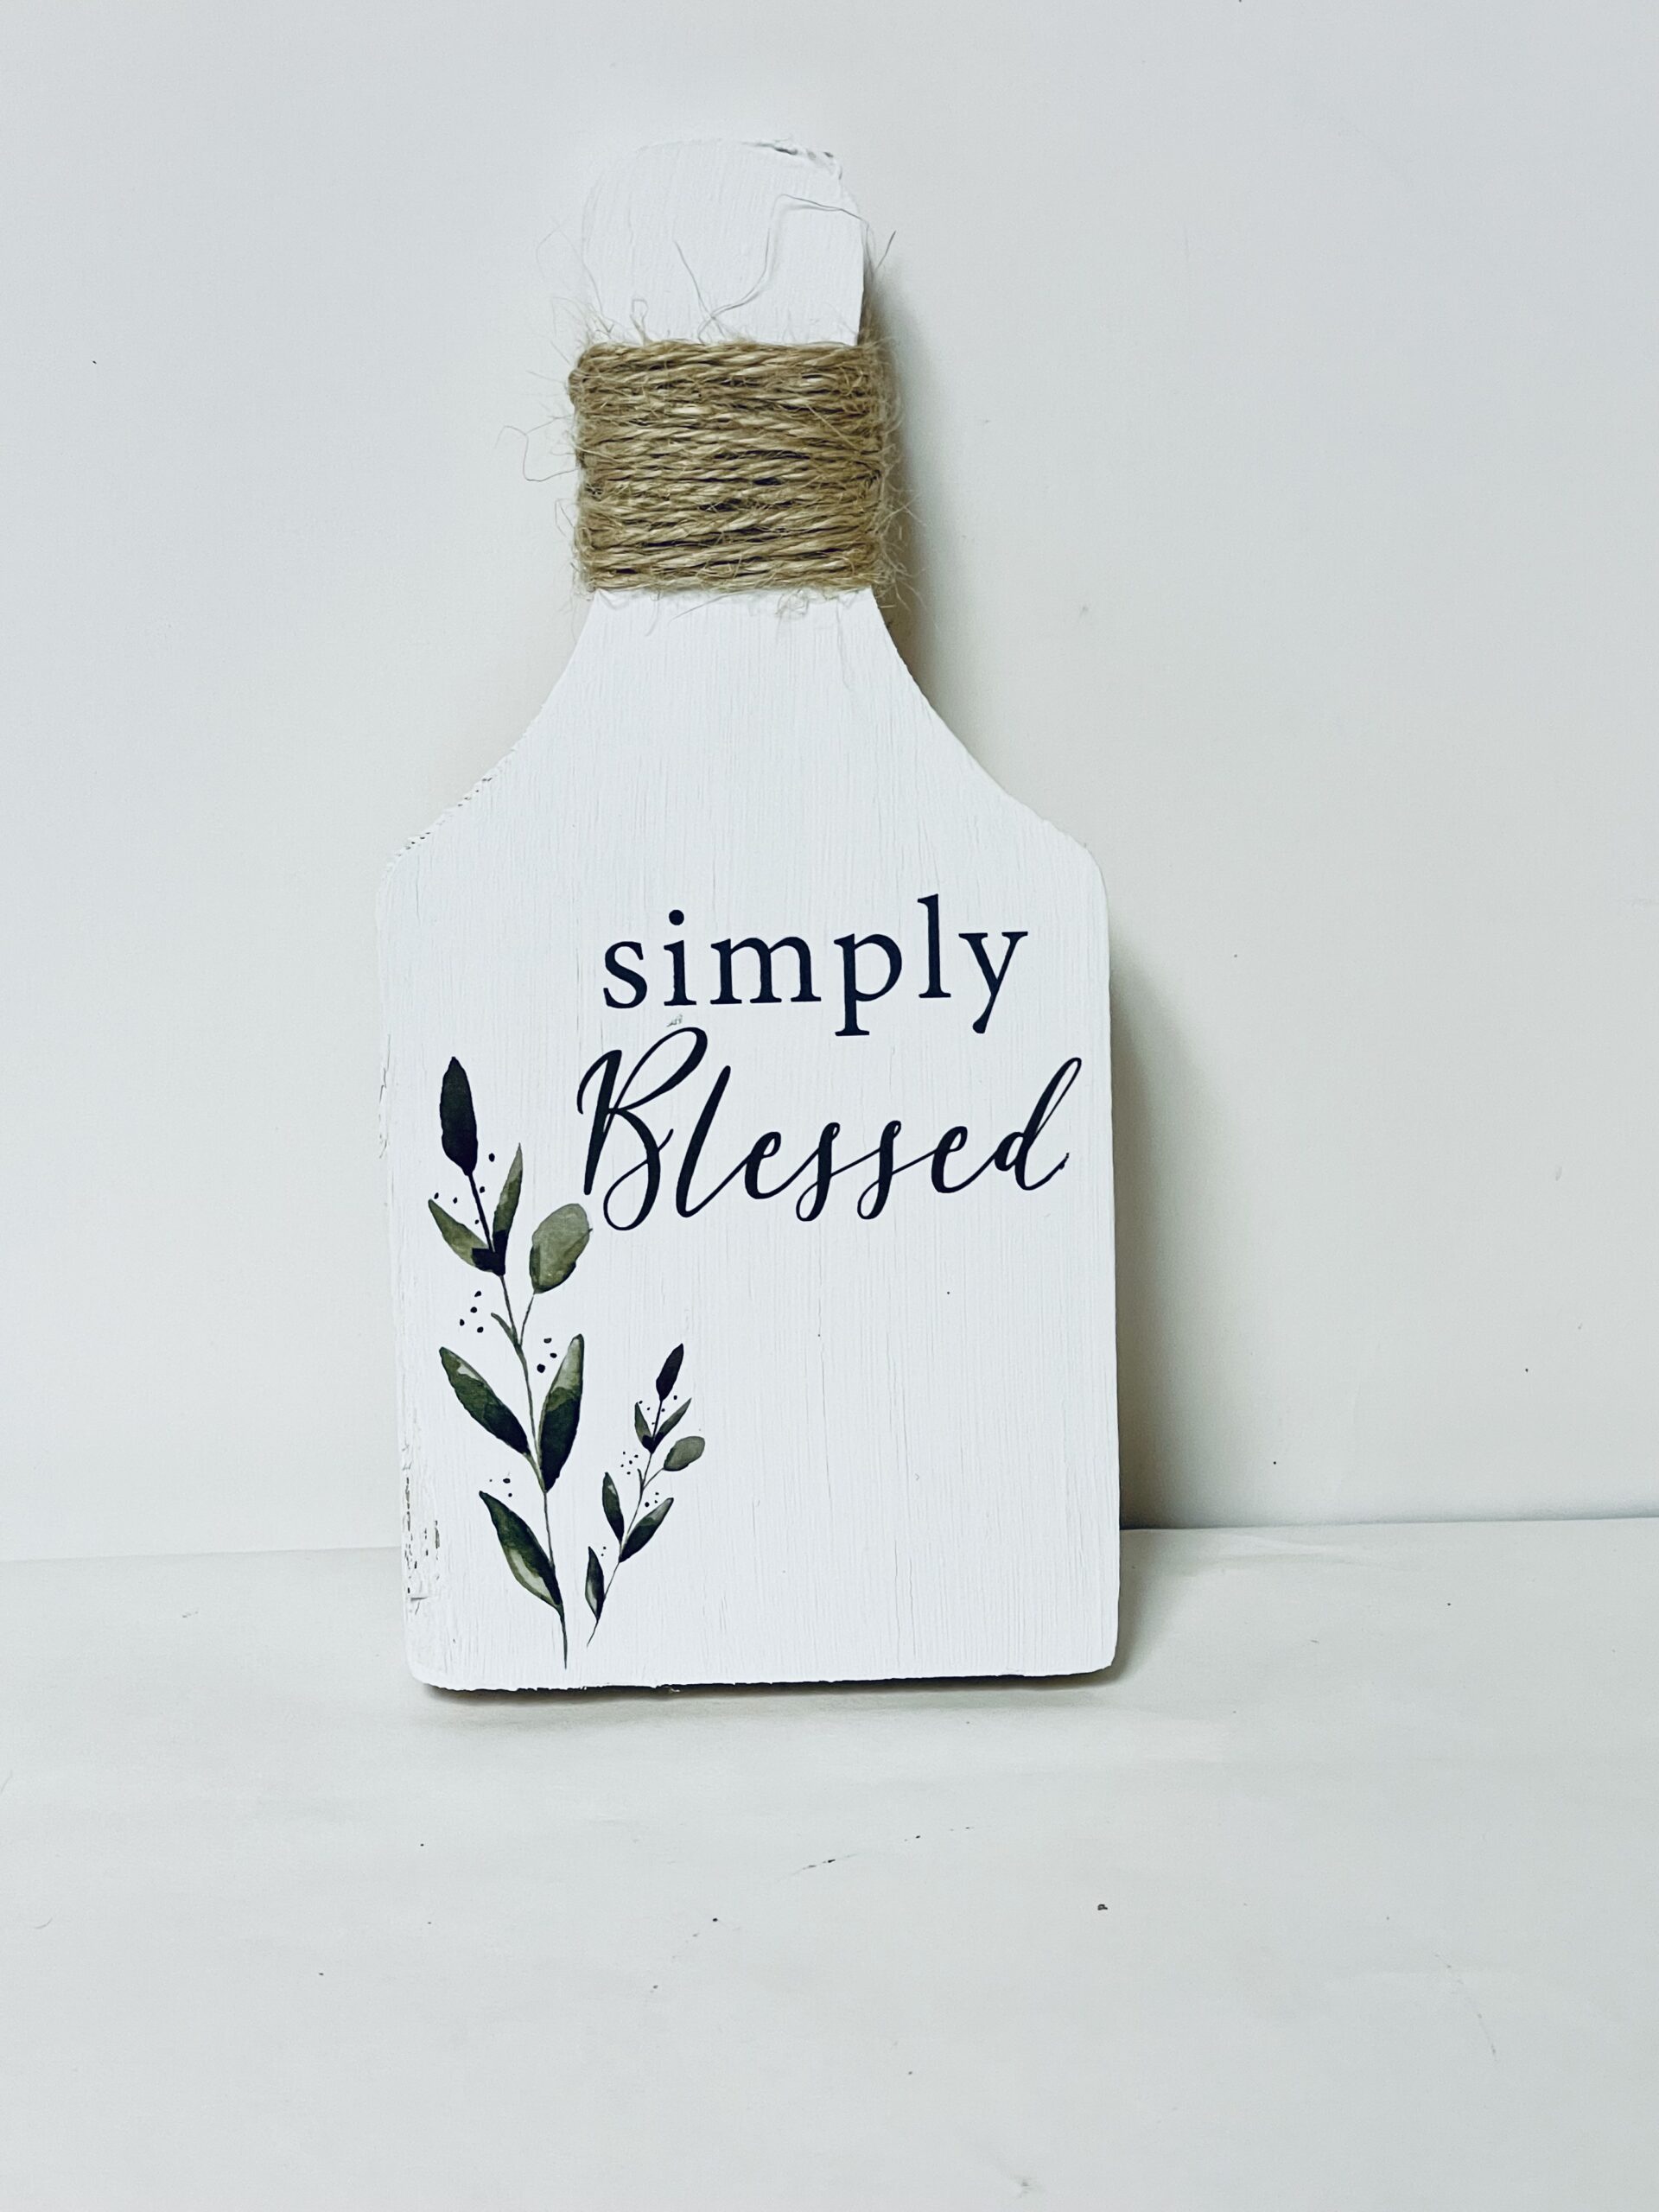
- Start by painting the mini wooden cutting board with the white chalk paint. Apply a few coats to ensure complete coverage.
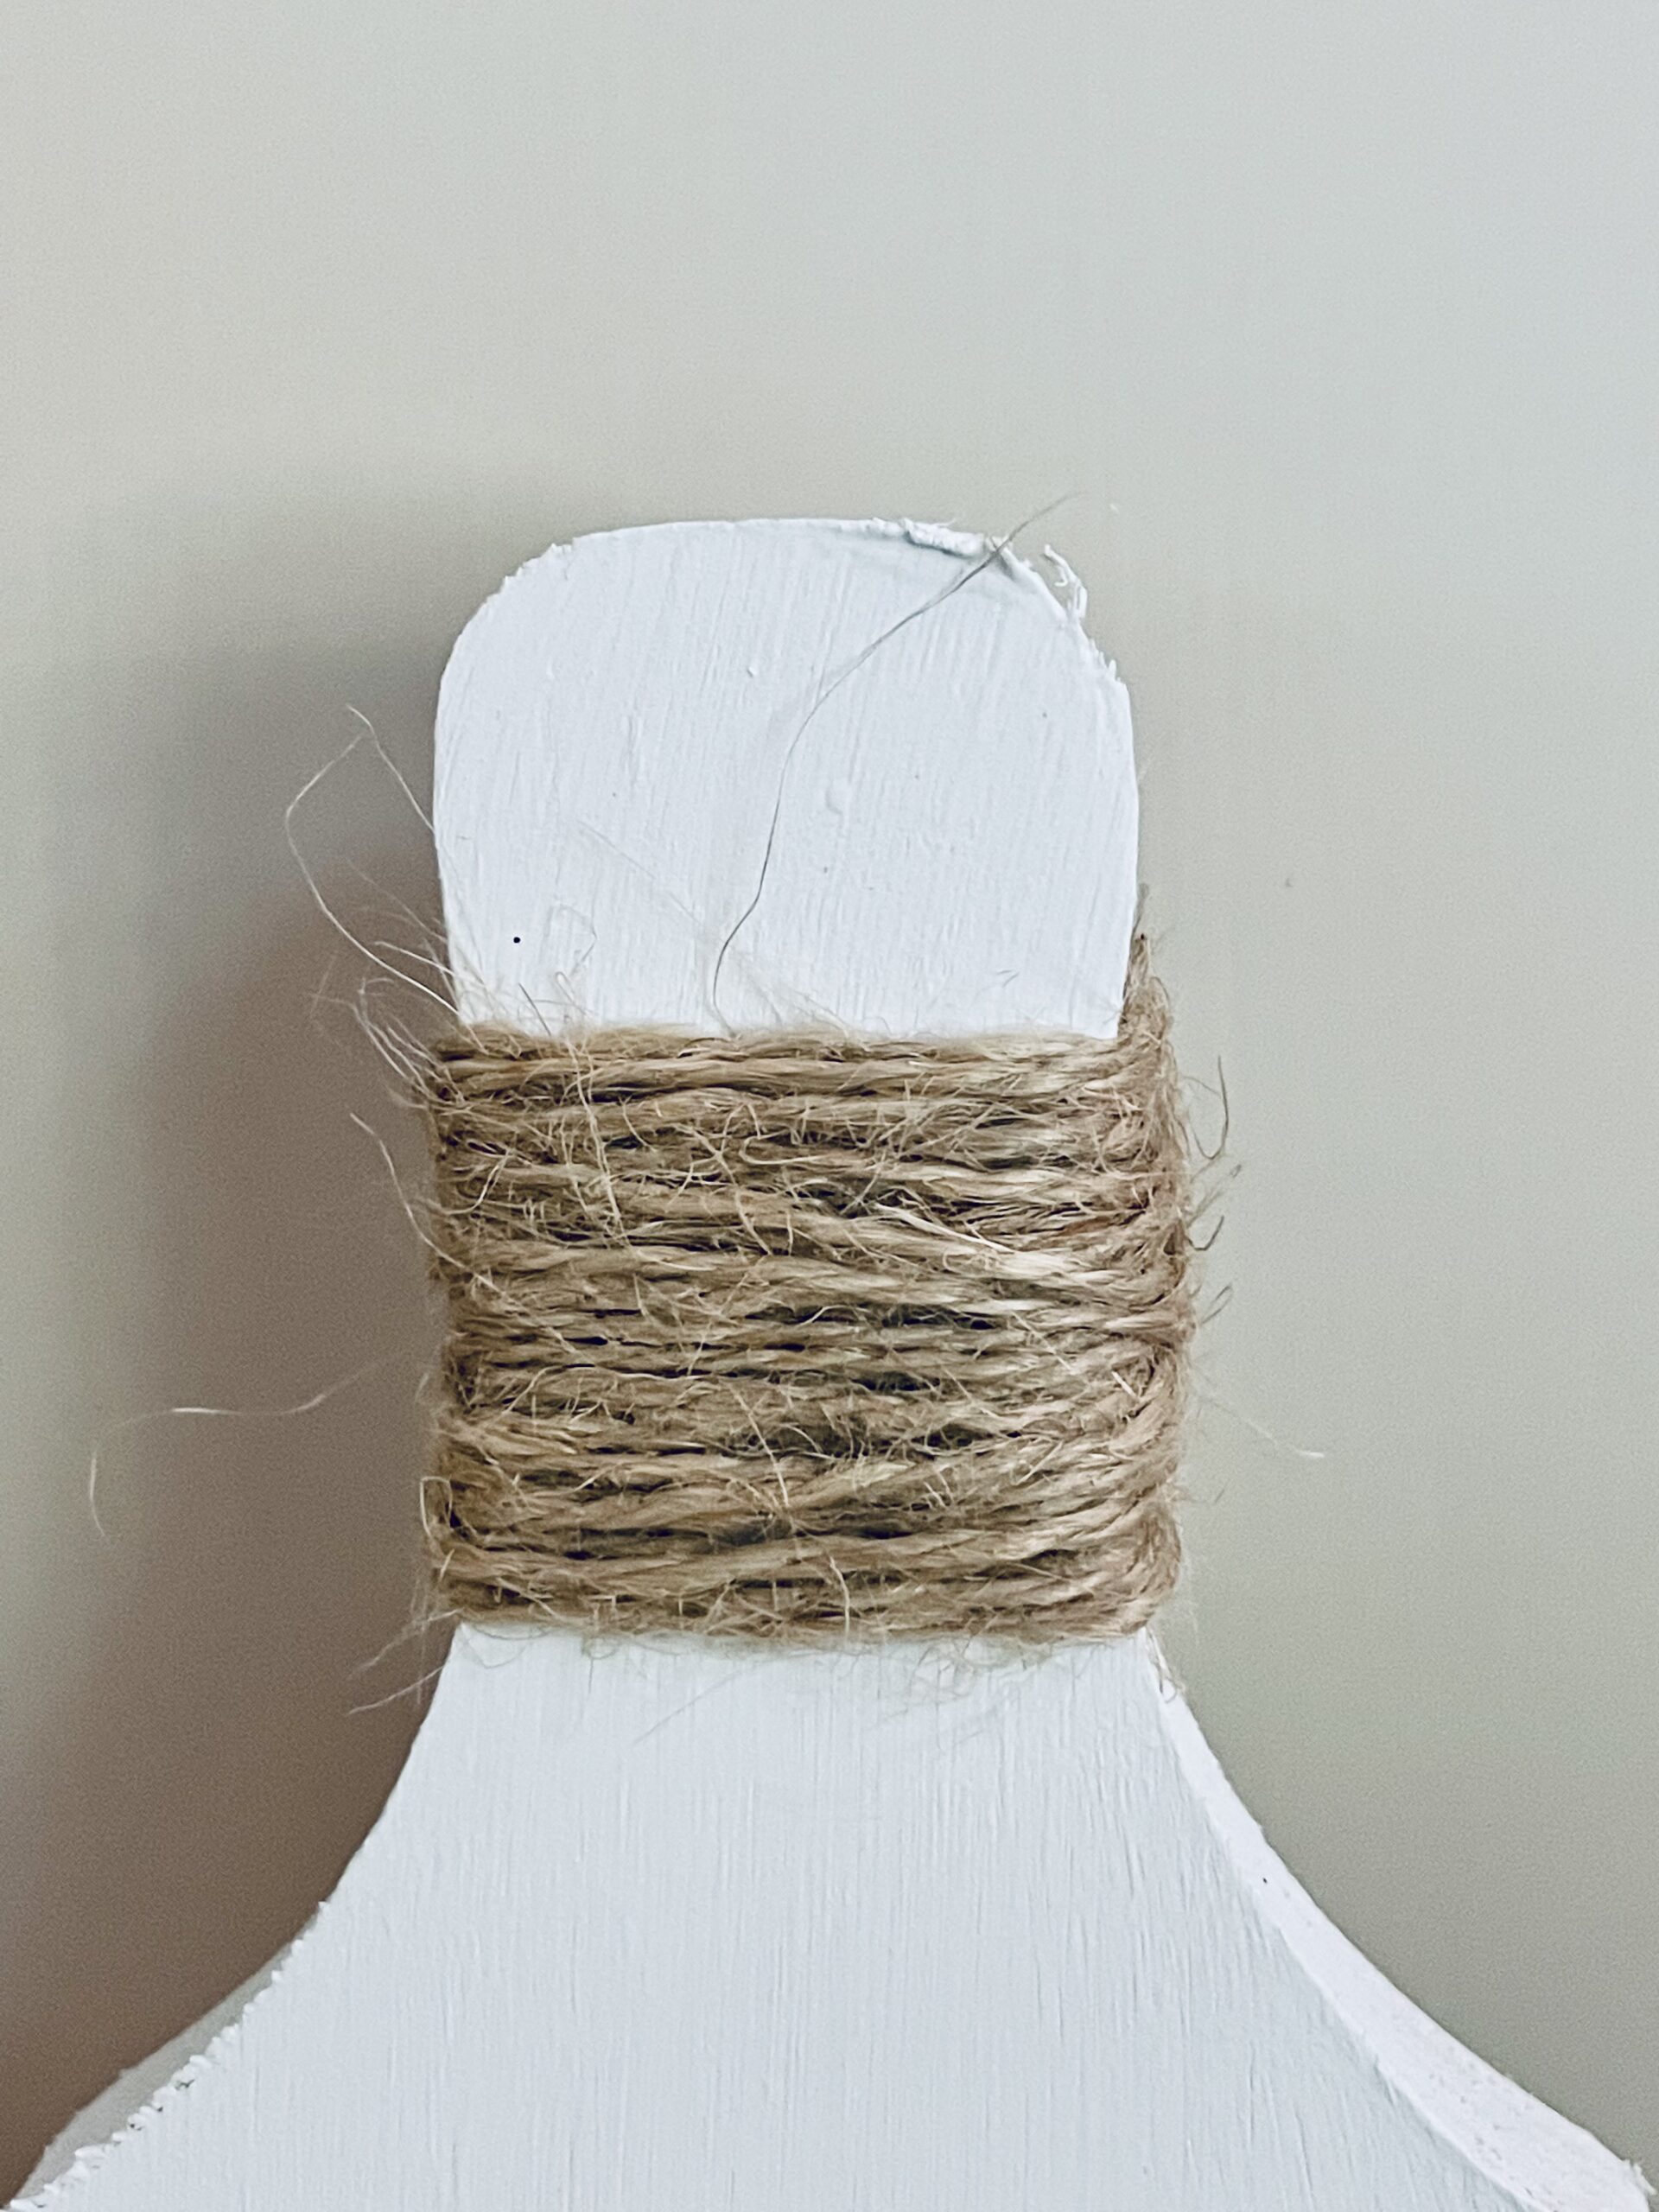
- Add a dab of hot glue to the top portion of the cutting board, and wrap the jute twine around the top until your desired look is achieved. Wrap it quite a bit for a fuller look. Trim the end and secure with another dab of glue.
- Cut out the “simply blessed” and green floral piece from the farmhouse rub-on designs. Be careful not to set them down until you’re ready to apply them.
- Place the design on the cutting board, and use your finger, credit card, or the edge of scissors to rub it onto the cutting board. Ensure it is firmly adhered.
Tips
- Multiple light coats of paint usually give a smoother finish than one heavy coat.
- Use a hairdryer between layers of paint to speed up the drying process.
- Apply a sealer post-crafting to protect your design and ensure longevity.
Craft Variations
- Use different colors of paint to match your kitchen décor.
- Experiment with different rub-on designs or customize your own.
- Add small hooks to the bottom for a functional and decorative key holder.
- Incorporate small faux flowers or greenery for additional texture.
How to display
You can use this décor piece in multiple ways, such as:
- Hang it on a wall using a small nail or hook.
- Prop it up on your kitchen counter against the backsplash.
- Place it on a shelf with other farmhouse décor items.
Frequently Asked Questions
Can I use other paint colors?
Yes, you can use any color that matches your décor theme.
Where can I find farmhouse rub-on designs?
These designs are available at craft stores and online marketplaces.
Can I use a larger cutting board?
Absolutely, a larger board can make an even more impactful statement.
Do I need to seal the final design?
Sealing is optional but recommended for added protection and durability.
More farmhouse crafts you’ll enjoy
- Farmhouse door wreath from plastic shovel
- DIY farmhouse fall centerpiece
- Cotton stems farmhouse décor
- Tile vase farmhouse décor
- DIY wooden vase with Jenga blocks
- DIY wooden riser
Loved this farmhouse cutting board décor project? Subscribe to my newsletter for more inspiring DIY crafts and décor tips! Happy crafting!

Farmhouse cutting board decor
Materials
- Mini Wooden Cutting Board
- Waverly White Chalk Paint
- Twine
- Farmhouse Rub on Designs
Tools
- scissors
- Paint brush
Instructions
- Start by painting the mini wooden cutting board with the white chalk paint. I did a few coats to make sure that it was completely covered

- Next on the top portion of the cutting board, add a dab of hot glue and wrap the jute twine around the top portion to your desired look is achieved. I wrapped it quite a bit to get a fuller look. Trim the end and add a dab of glue to secure
- Next cut out the simply blessed, and the green floral piece. Make sure not to set it down anywhere without the back piece on otherwise it will stick to it and then the rubbing will come off.
- Place the design on the cutting board and using your finger or credit card (even the edge of scissors works) and rub it onto the cutting board.
Article may contain Amazon & affiliate links. As an Amazon Associate I earn from qualifying purchases at no additional cost to you.
ABOUT PETRO
Hi, I’m Petro, author and founder of Easy Peasy Creative Ideas. Sewist, crafter, avid DIY-er, foodie, photographer, homemaker and mommy to one. I’m an expert at coming up with quick, clever sewing tips, recycling crafts and simple, easy recipes! You can find my ideas featured in reputable publications such as Country Living, Good House Keeping, Yahoo News, WikiHow, Shutterfly, Parade, Brit & Co and more. Thanks for stopping by and hope you’ll stay for a while, get to know me better and come back another time. Stick around for real fun projects! Read more…