

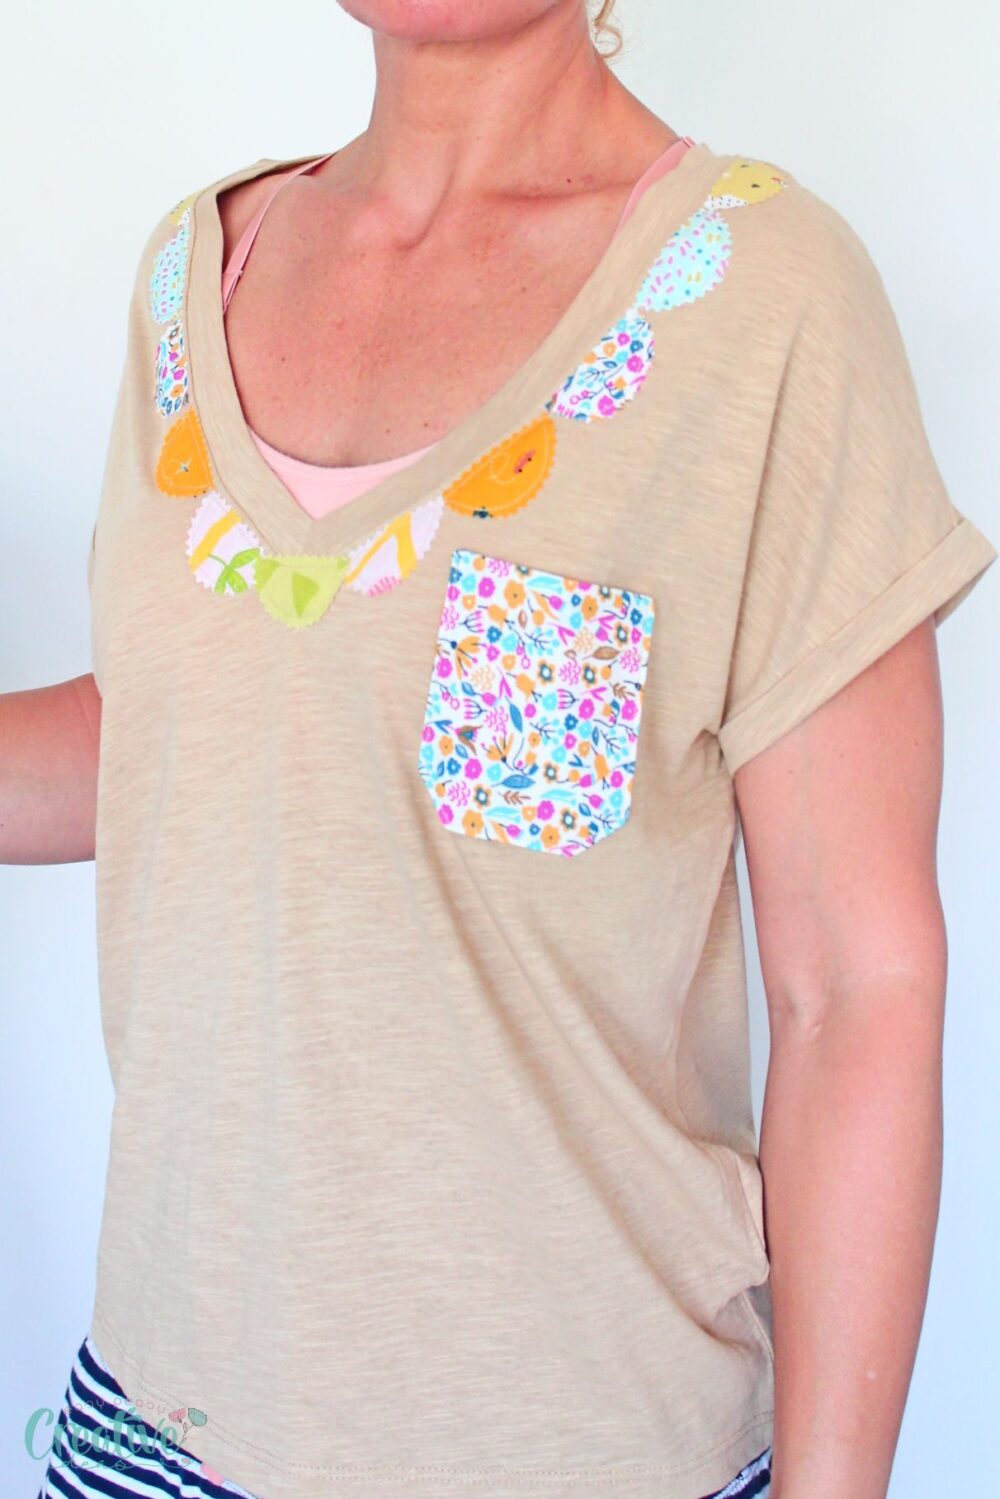
How to add a pocket to a t-shirt
Learn how to add a pocket to a t-shirt with this easy step-by-step guide! Whether you’re a beginner or an experienced sewer, this tutorial will help you create a stylish and functional addition to your wardrobe.
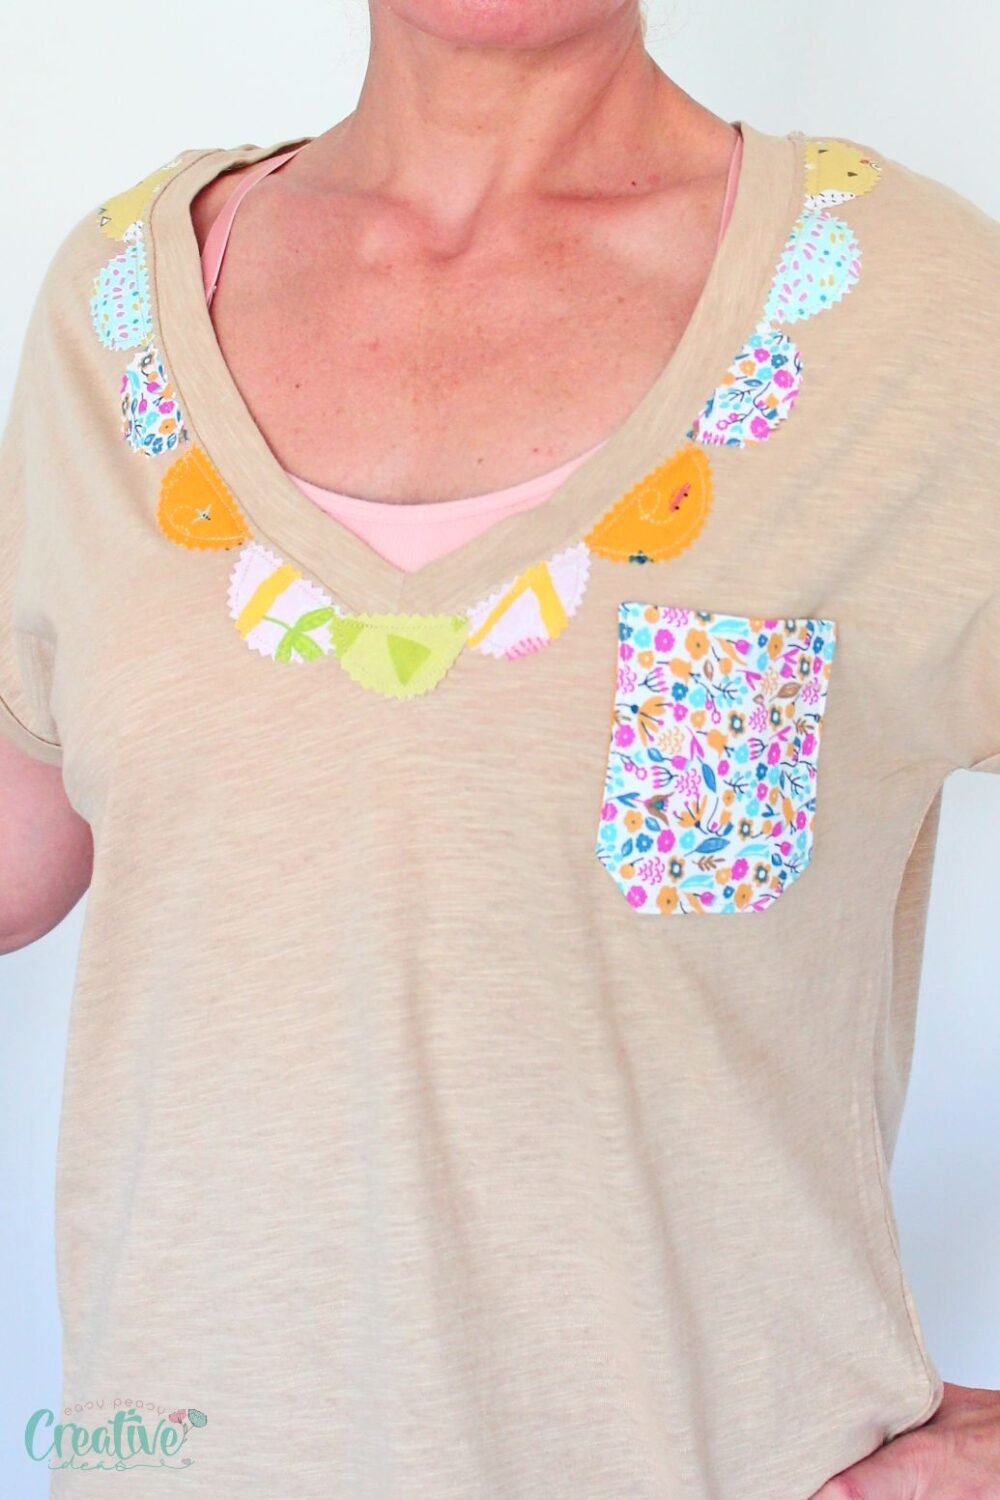
If you ever wanted to personalize your favorite t-shirt with an extra pocket, whether for functionality or style, learning how to add a pocket to a t-shirt is a simple sewing project that can elevate your wardrobe. By following a few straightforward steps, you can transform a plain shirt into something unique and practical in just a few minutes.
Adding a pocket to a t-shirt not only enhances its functionality but also allows you to showcase your creativity. It’s an ideal project for both beginners and seasoned sewers. The sense of accomplishment you’ll feel wearing your customized t-shirt is unmatched.
How to add a pocket to a t-shirt
Materials you need
To get started on adding a pocket to a t-shirt, you’ll need the following materials:
- 2 Pieces of Fabric: Cut to at least 5″x5″ dimensions. Choose a fabric that complements or contrasts with your t-shirt for a personalized touch.
- Matching Thread: Ensures your stitches blend seamlessly into your pocket and t-shirt.
- T-Shirt: Select the t-shirt you wish to customize with a pocket.
Equipment
Having the right tools is crucial for successfully sewing a pocket to a t-shirt. Here’s what you’ll need:
- Pocket Template: Get the free pocket template from here.
- Pins: These are necessary to hold your fabric pieces in place while sewing.
- Scissors: Sharp fabric and craft scissors will ensure clean cuts.
- Fabric Pen: Useful for marking where you’ll place your pocket.
- Sewing Machine: While you could sew by hand, a sewing machine will make the process faster and more accurate.
- Point Turner Tool: This helps to achieve crisp, clean corners on your pocket.
- Pressing iron: An iron with a steam function is best for pressing the fabrics and ensuring neat edges.
Instructions to Sew the Pocket
Photo and video details are available in the craft card below, at the bottom of the tutorial.
Preparations
- Begin by washing and drying your t-shirt and fabric pieces to prevent shrinkage after sewing.
- Iron press each item to ensure smooth, wrinkle-free fabric.
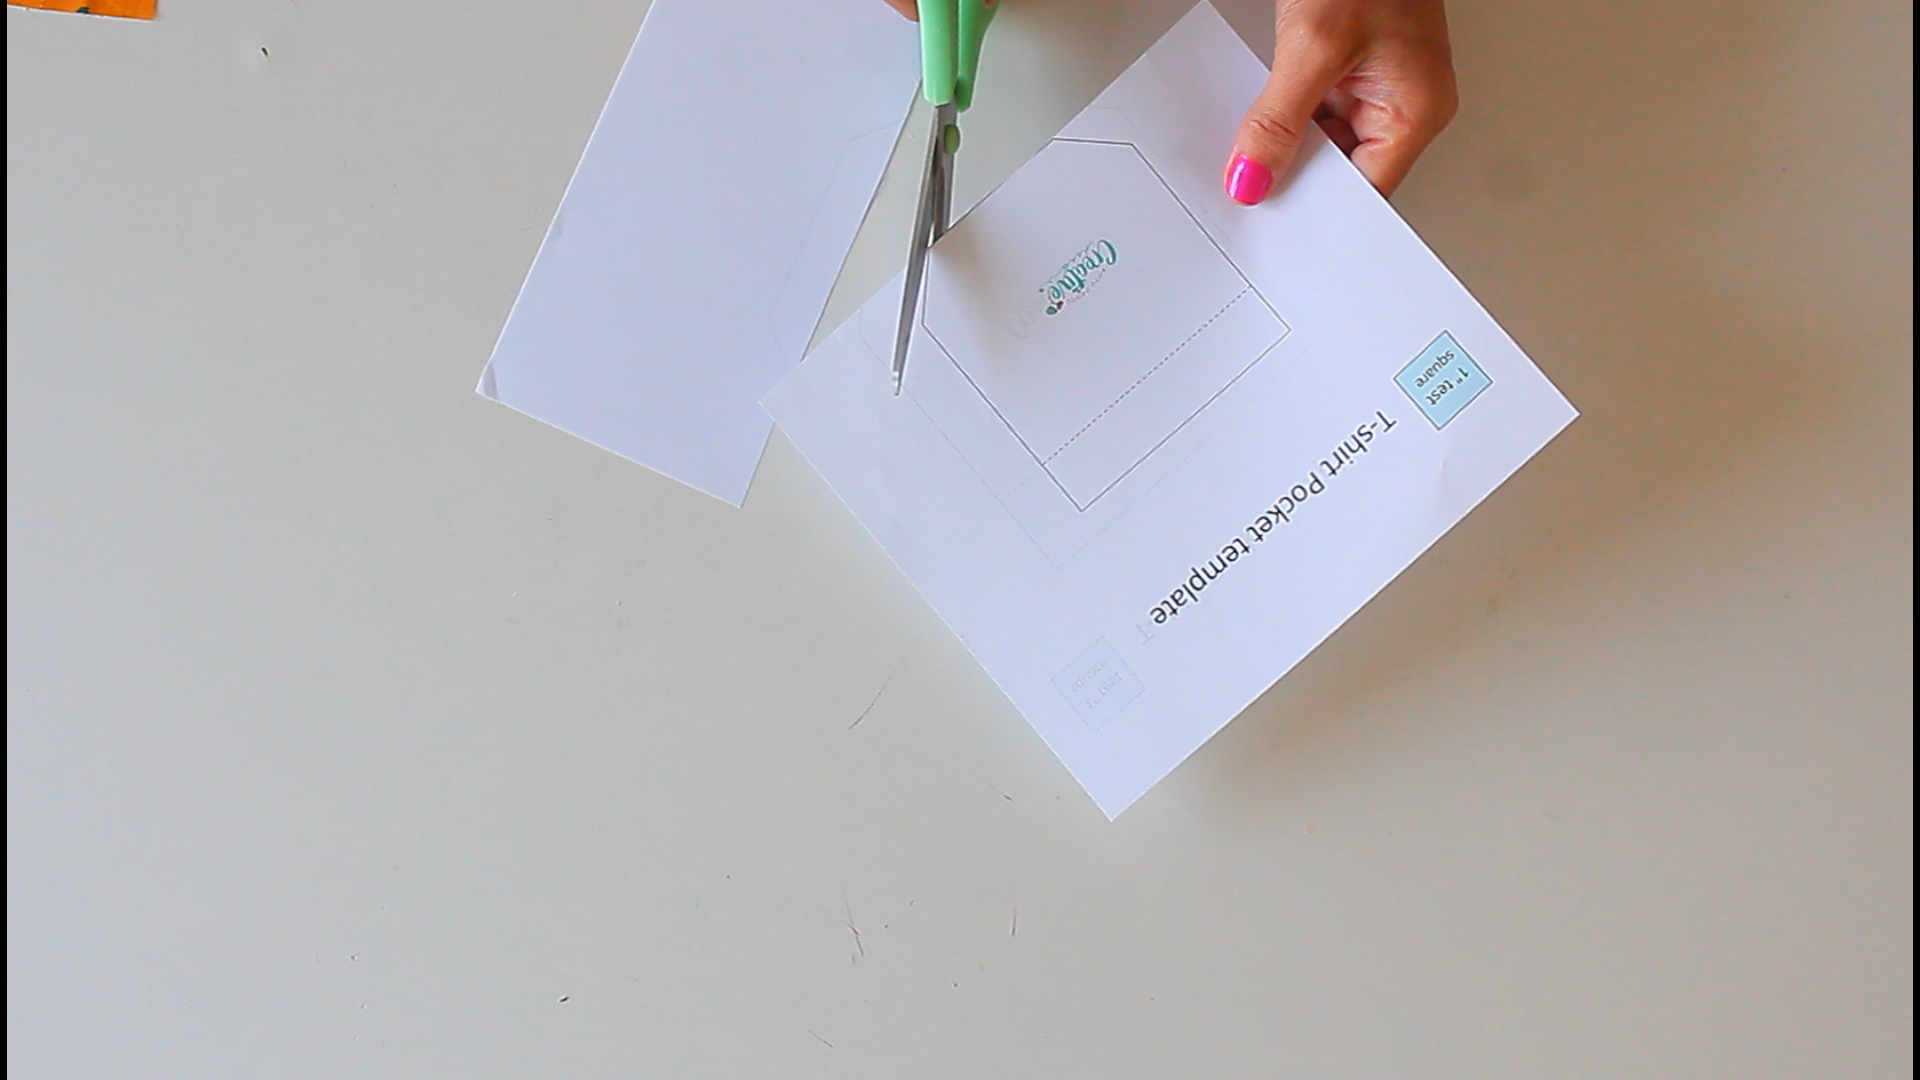
- Print the free pocket template from here.
- Carefully cut out your pocket shape from the template.
Sewing
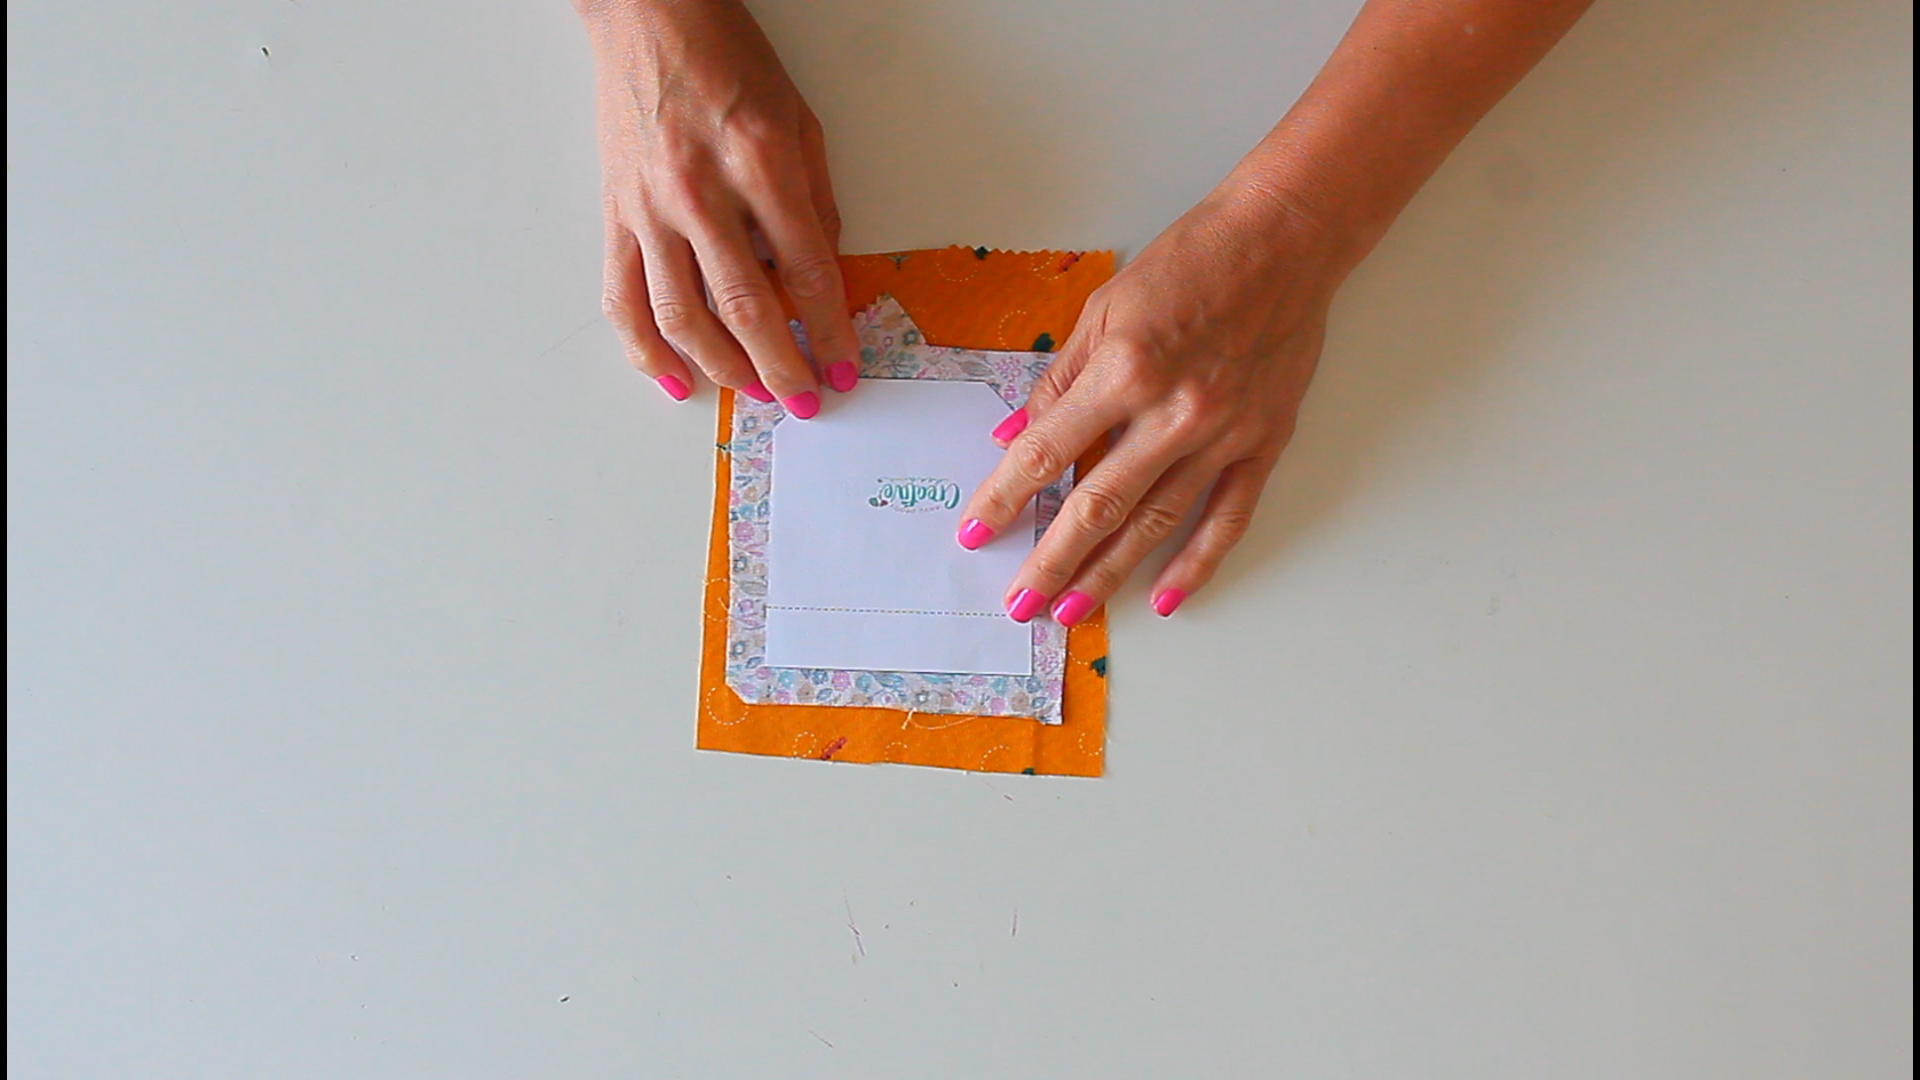
- Place the fabric pieces with their right sides facing each other.
- Use your pocket template as a guide to trace onto the wrong side of one fabric piece with your fabric pen.
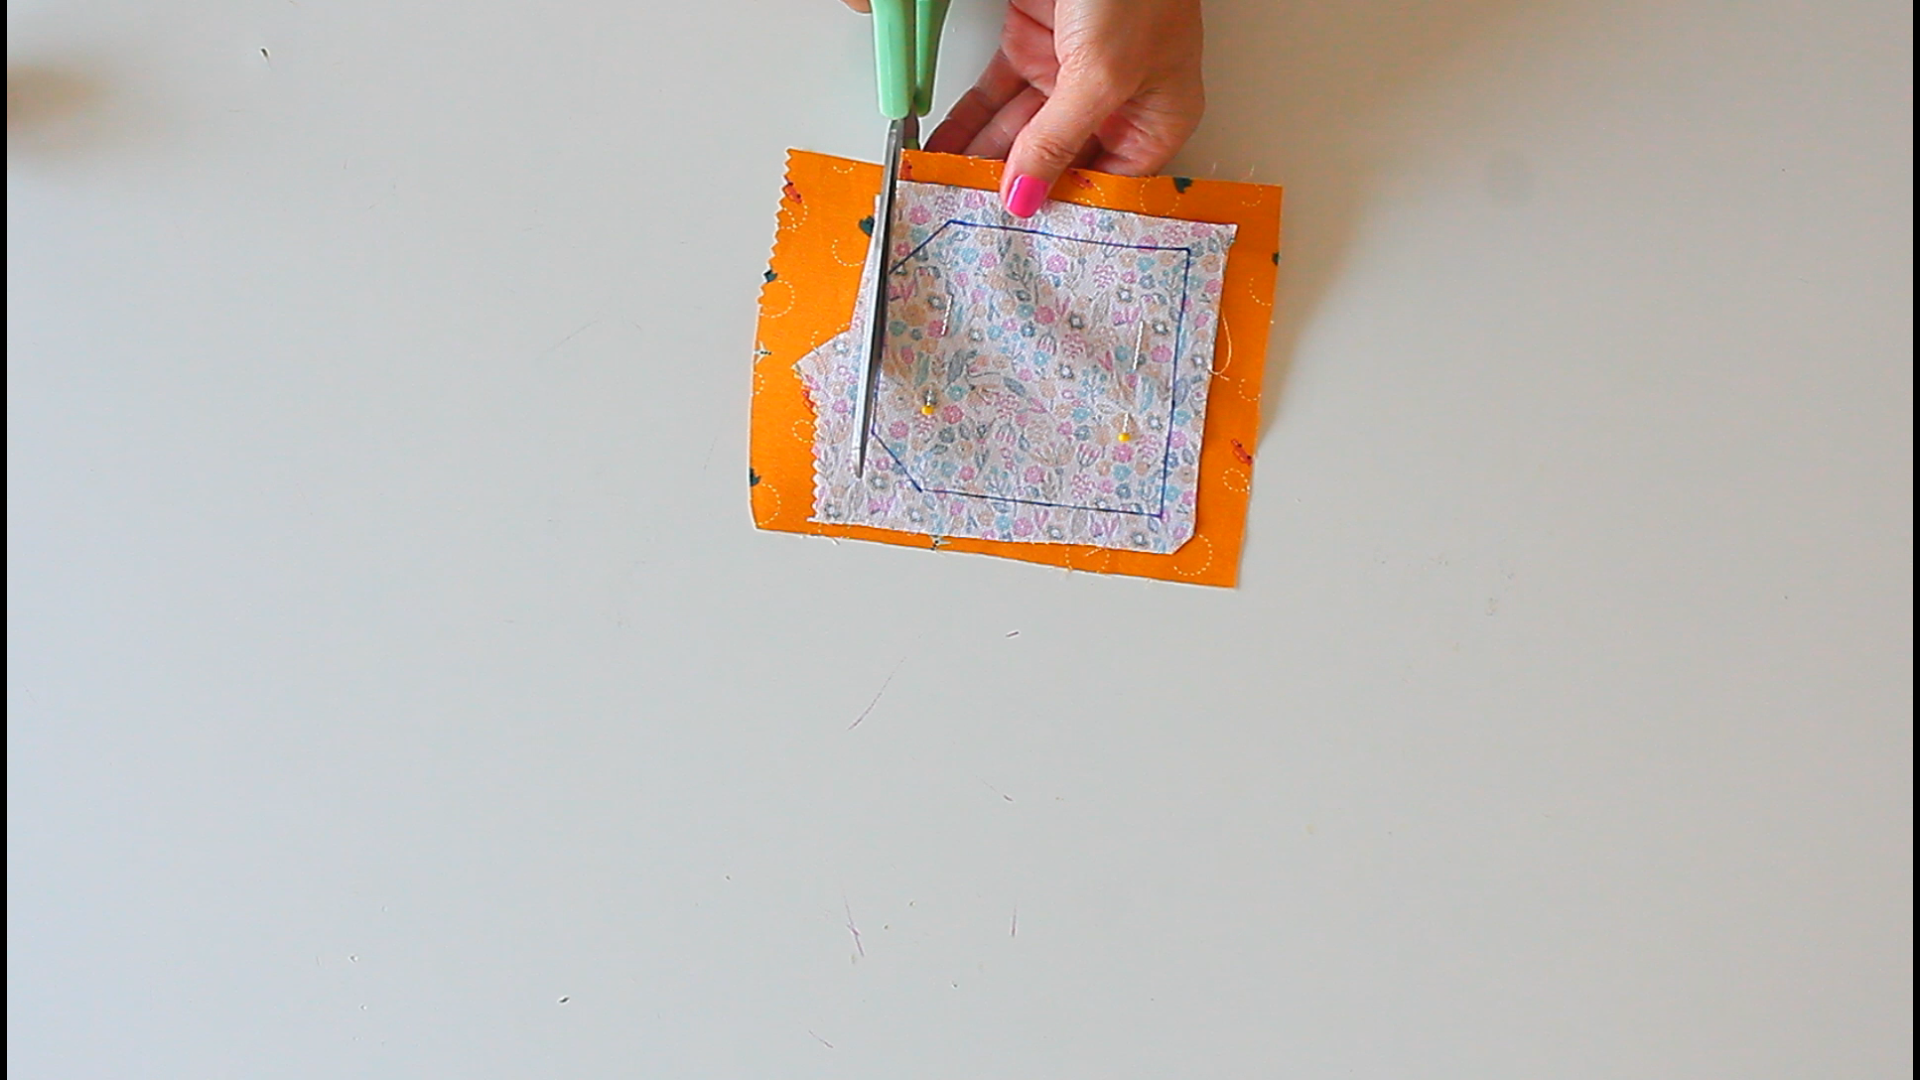
- Pin the two fabrics then cut along the traced lines. A ¼ inch seam allowance is included on all sides.
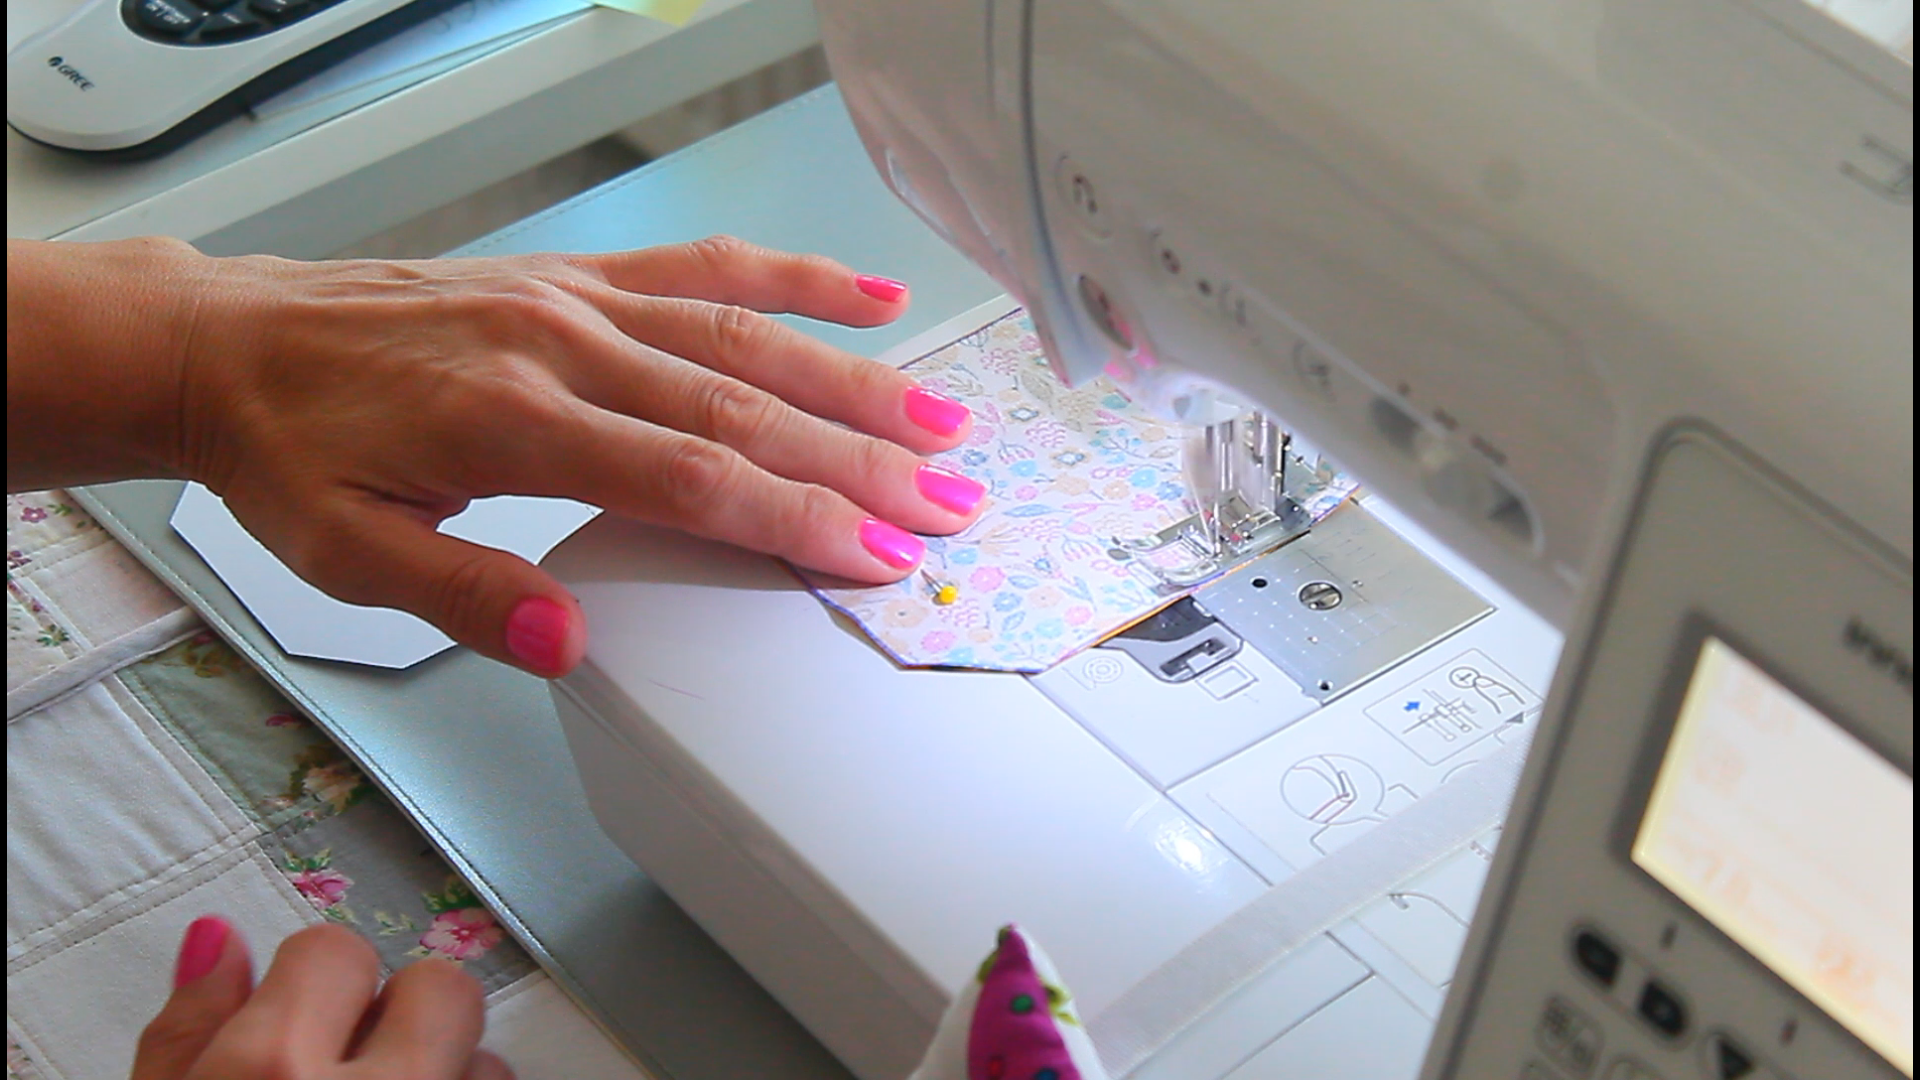
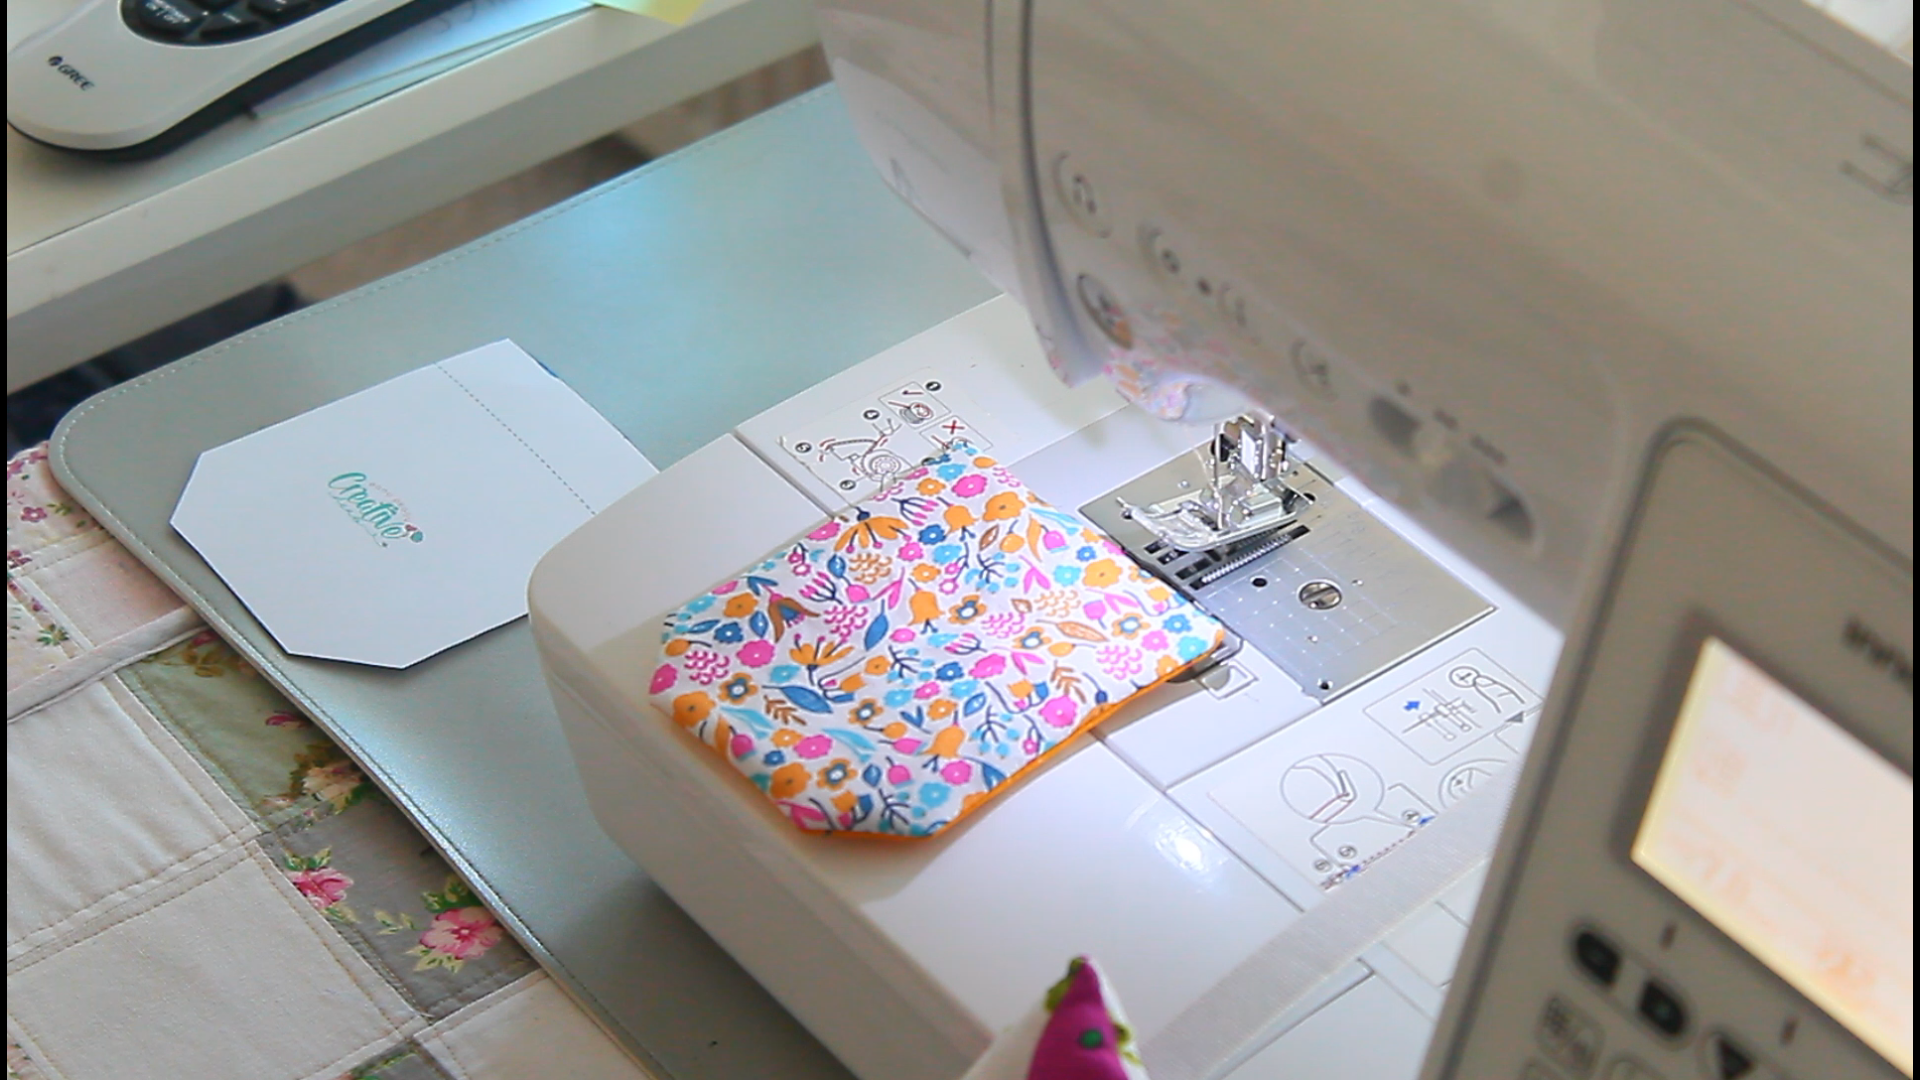
- Next, sew around the edges of your pocket with 1/4″ allowance, leaving an opening on one side for turning it inside out.
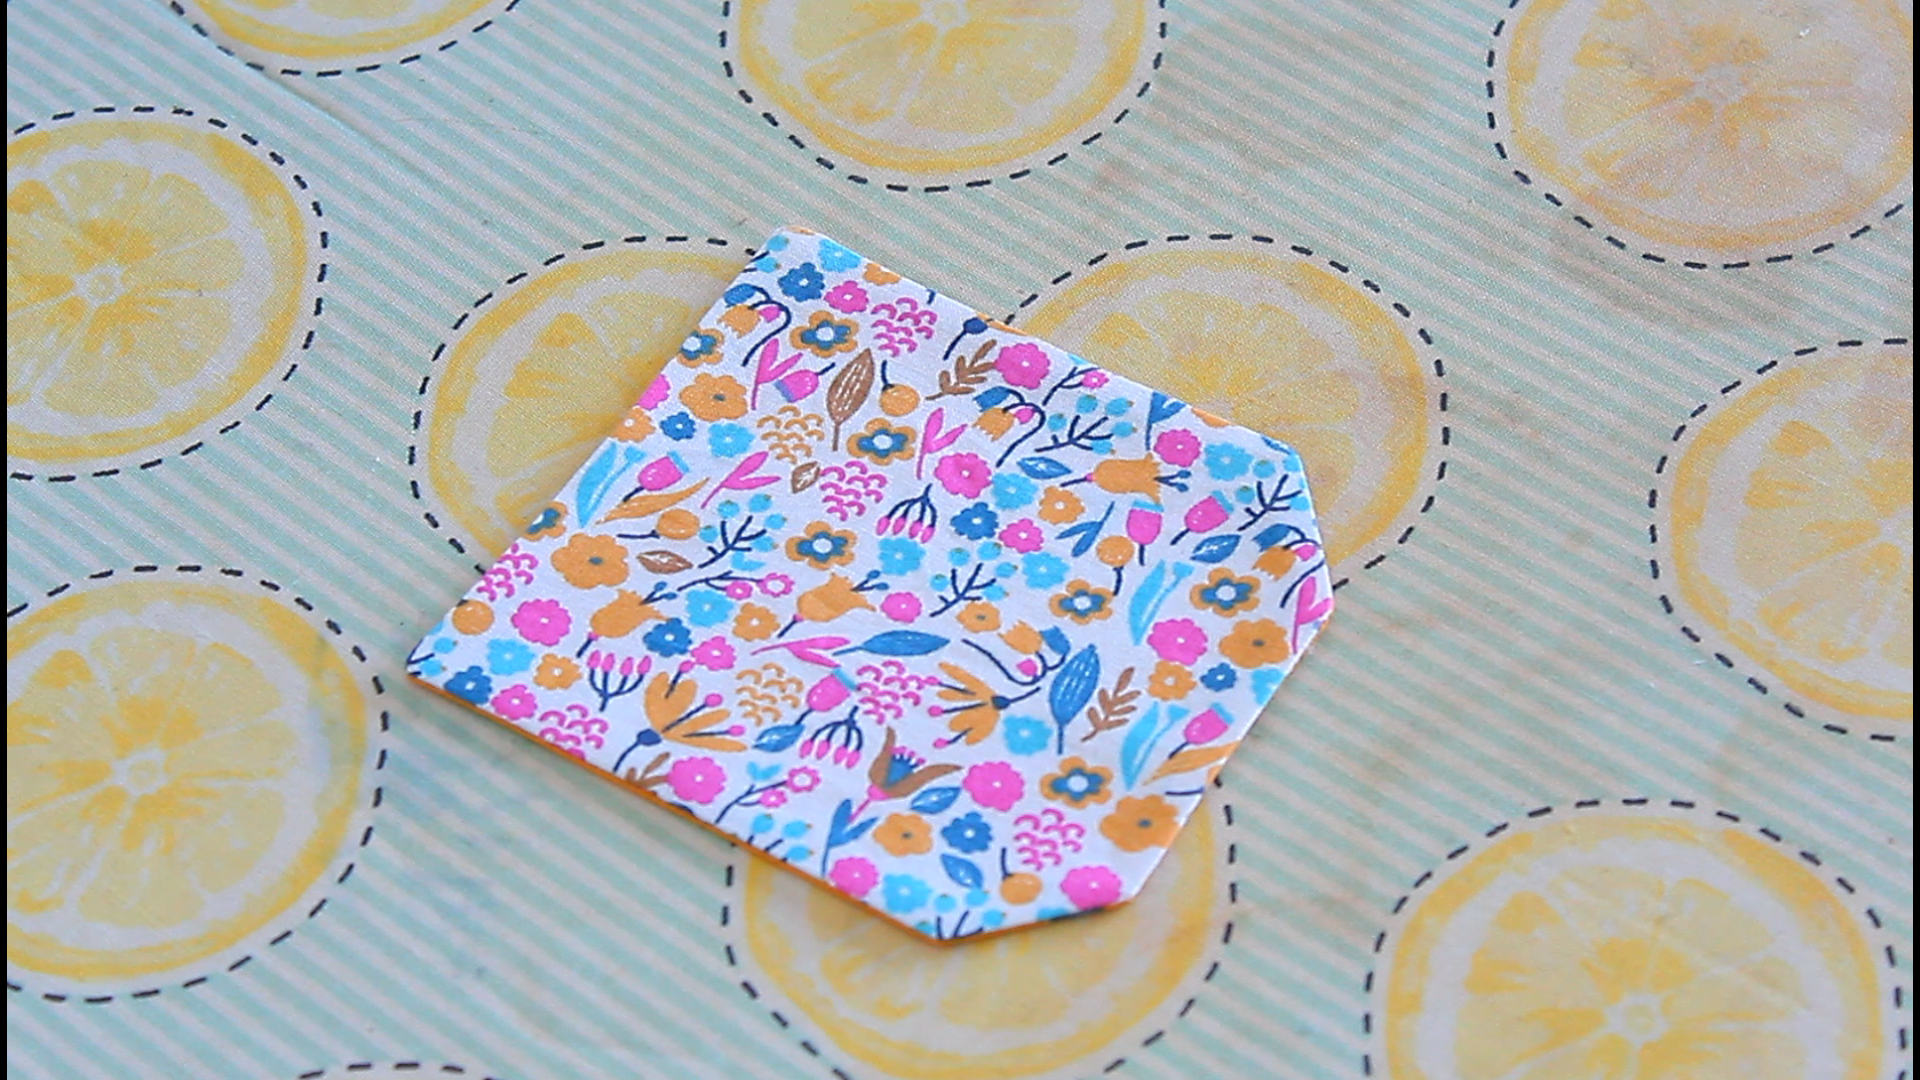
- Trim any excess material from the corners and turn your pocket inside out using a point turner tool to achieve crisp corners.
- Press your pocket with an iron to remove any wrinkles and flatten the edges.
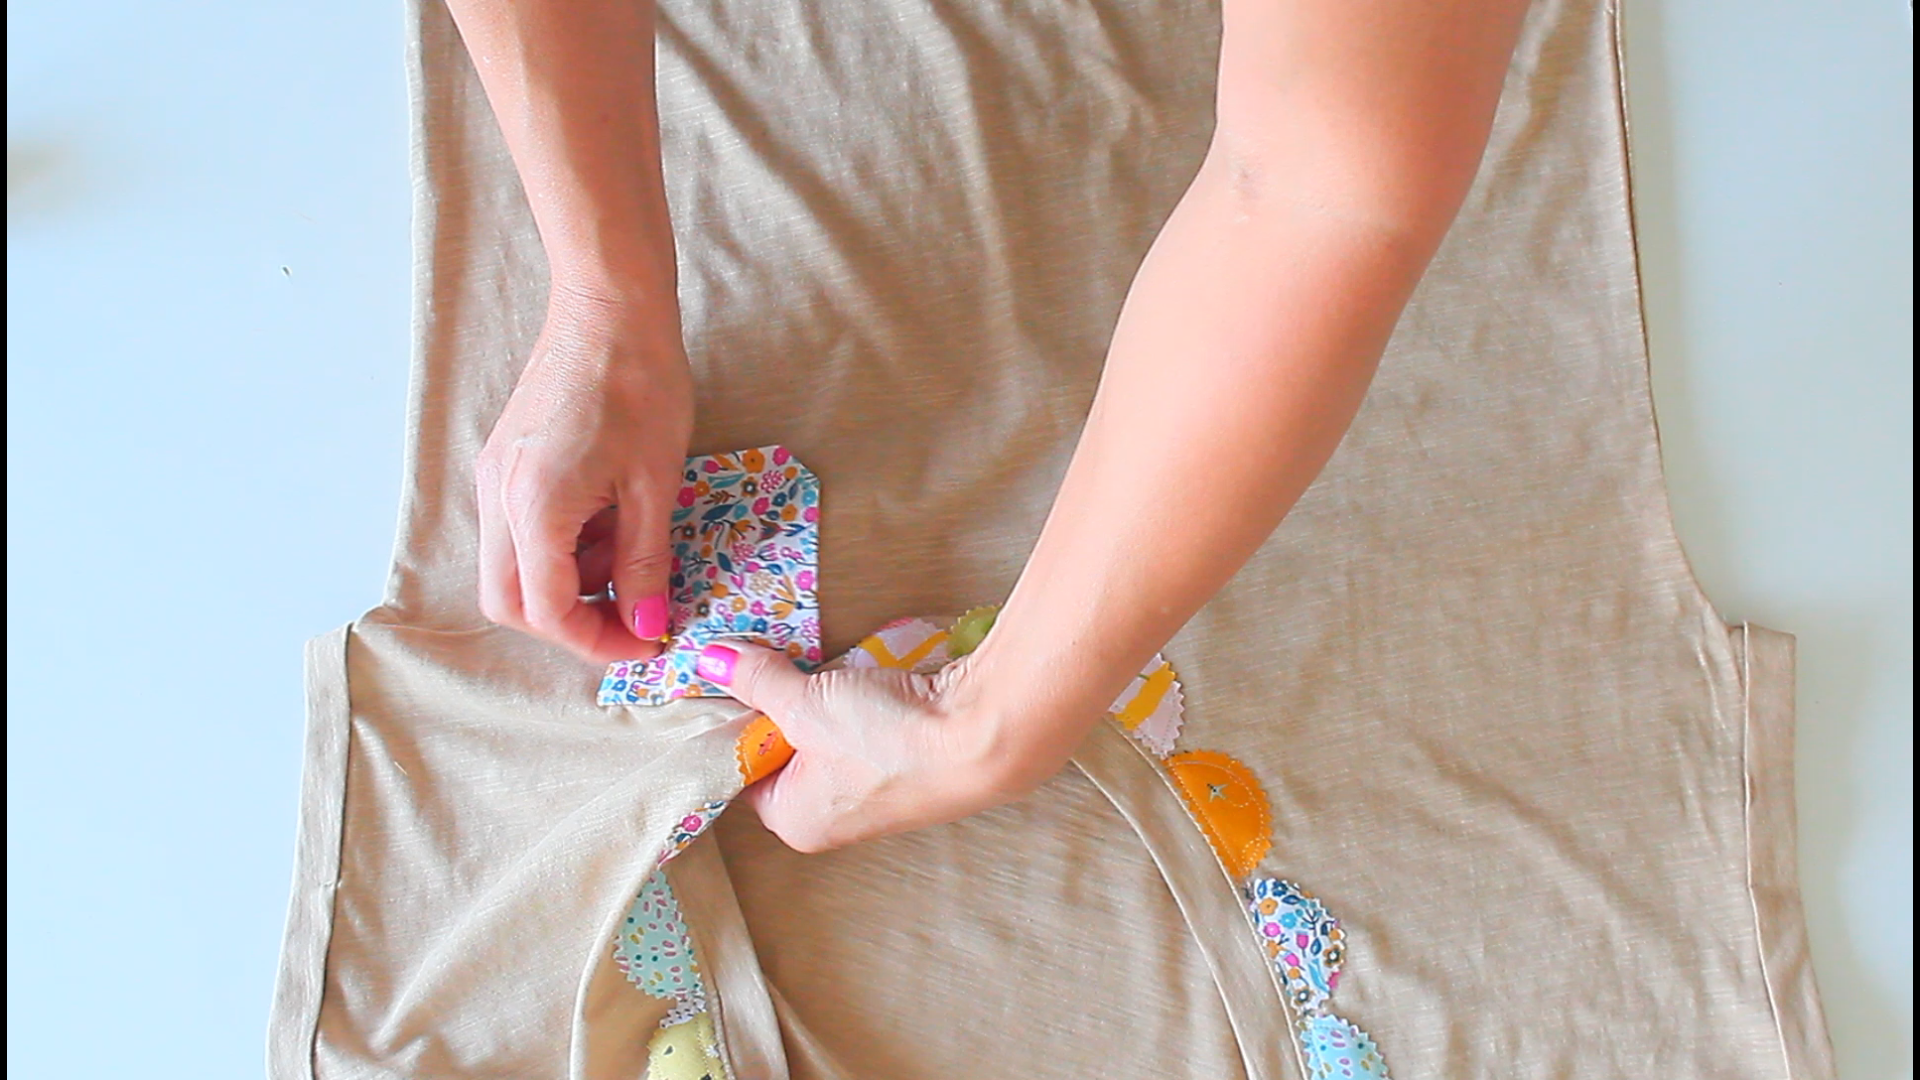
- Place your t-shirt on a flat surface and decide where you want your pocket to be placed. Using pins, secure your pocket in place on the t-shirt, making sure you won’t pin through both sides of the t-shirt.
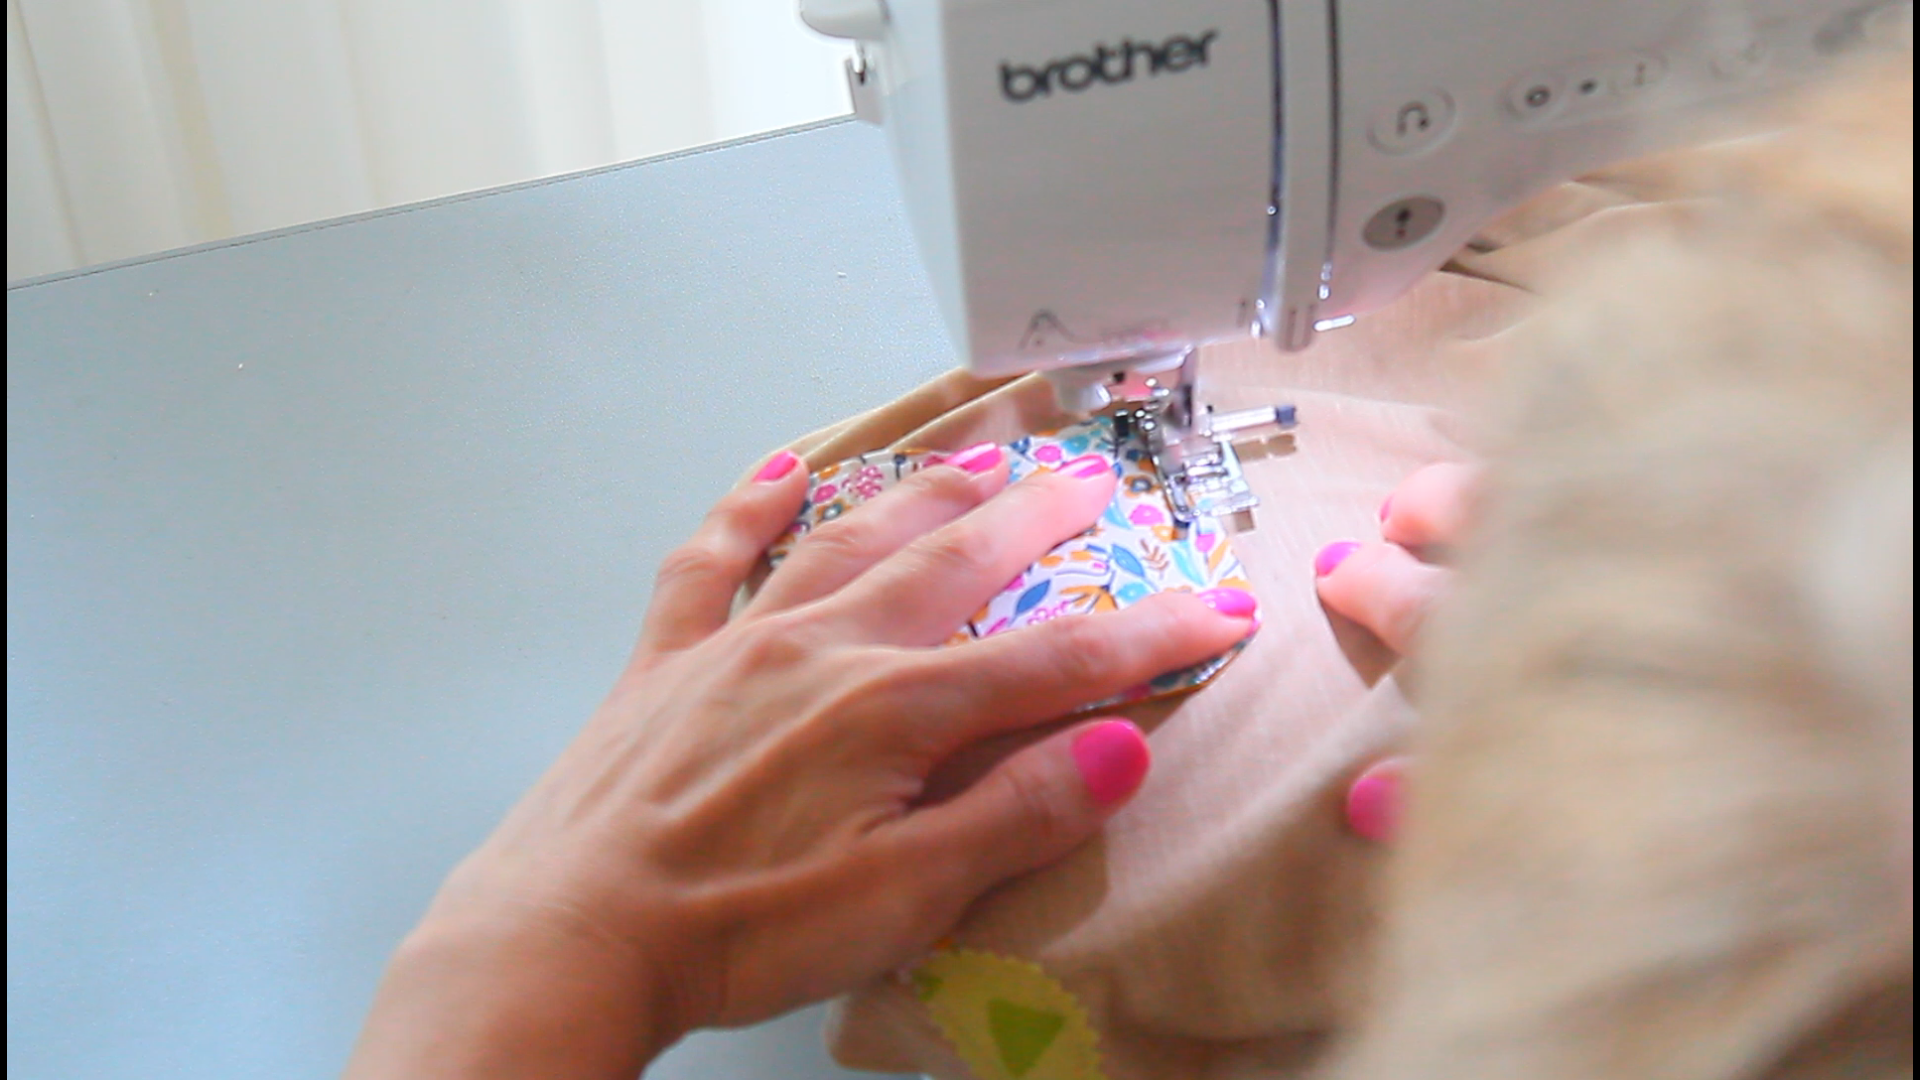
- Sew around the edges of your pocket, making sure to backstitch at the beginning and end for durability.
- Trim any stray threads, and voila! You’ve successfully added the pocket!
Tips for best results
- Use contrasting thread or decorative stitches to add extra flair to your pocket.
- Experiment with different fabric patterns and textures for a unique look.
- Change the shape of the pocket to match your style.
Sewing Project Variations
- Instead of using fabric, use a piece of old denim or leather for a more rugged look.
- Play with different pocket shapes, such as a heart or star, for added personality.
- Add a large pocket to the back of a tee for a fun twist on the traditional front pocket.
More Sewing Projects You’ll Enjoy
- Creative easy ways to jazz up your sewing projects
- How to add a scalloped neckline to a t-shirt
- Sweet and easy to sew apron with ruffles
- How to add pockets to a skirt or dress
- How to add a fringe to a pair of jeans
Frequently Asked Questions
- Can I add a pocket to any t shirt? Yes! This tutorial works for most t-shirts regardless of fabric type or design.
- Do I need to be an expert sewer to add a pocket? No, this project is beginner-friendly and can be completed with basic sewing skills.
- What other items can I customize by adding pockets? You can add pockets to jackets, sweatshirts, backpacks, skirts and more!
- How long will it take me to complete this project? On average, it takes about 20-30 minutes to add a pocket to a t-shirt.
Ready to add pockets to all your favorite t-shirts? Go ahead, get creative and make your wardrobe truly one of a kind. Happy sewing!
How to add a pocket to a t-shirt
Materials
- 2 Pieces of Fabric - cut to at least 5"x5" dimensions
- Matching Thread
- T-Shirt
Tools
- Pin
- scissors
- Point turner tool
- pressing iron
Instructions
- Begin by washing and drying your t-shirt and fabric pieces to prevent shrinkage after sewing.
- Iron press each item to ensure smooth, wrinkle-free fabric.
- Print the free pocket template from here.
- Carefully cut out your desired pocket shape from the template.

- Place the fabric pieces with their right sides facing each other. Place the template over.
- Use your pocket template as a guide to trace onto the wrong side of one fabric piece with your fabric pen.
- Pin the two fabrics then cut along the traced lines. A ¼ inch seam allowance is included on all sides.
- Next, sew around the edges of your pocket with 1/4" allowance, leaving an opening on one side for turning it inside out.
- Trim any excess material from the corners and turn your pocket inside out using a point turner tool to achieve crisp corners.
- Press your pocket with an iron to remove any wrinkles and flatten the edges.
- Optional: you can run a line of stitches as indicated in the template (the dotted line).
- Place your t-shirt on a flat surface and decide where you want your pocket to be placed. Using pins, secure your pocket in place on the t-shirt, making sure you don't pin through both sides of the t-shirt.
- Sew around the edges of your pocket, making sure to backstitch at the beginning and end for durability. Leave the top open if you want functionality in your pocket
- Trim any stray threads, and voila! You’ve successfully added a pocket to your t-shirt!

Video
Article may contain Amazon & affiliate links. As an Amazon Associate I earn from qualifying purchases at no additional cost to you.
ABOUT PETRO
Hi, I’m Petro, author and founder of Easy Peasy Creative Ideas. Sewist, crafter, avid DIY-er, foodie, photographer, homemaker and mommy to one. I’m an expert at coming up with quick, clever sewing tips, recycling crafts and simple, easy recipes! You can find my ideas featured in reputable publications such as Country Living, Good House Keeping, Yahoo News, WikiHow, Shutterfly, Parade, Brit & Co and more. Thanks for stopping by and hope you’ll stay for a while, get to know me better and come back another time. Stick around for real fun projects! Read more…