

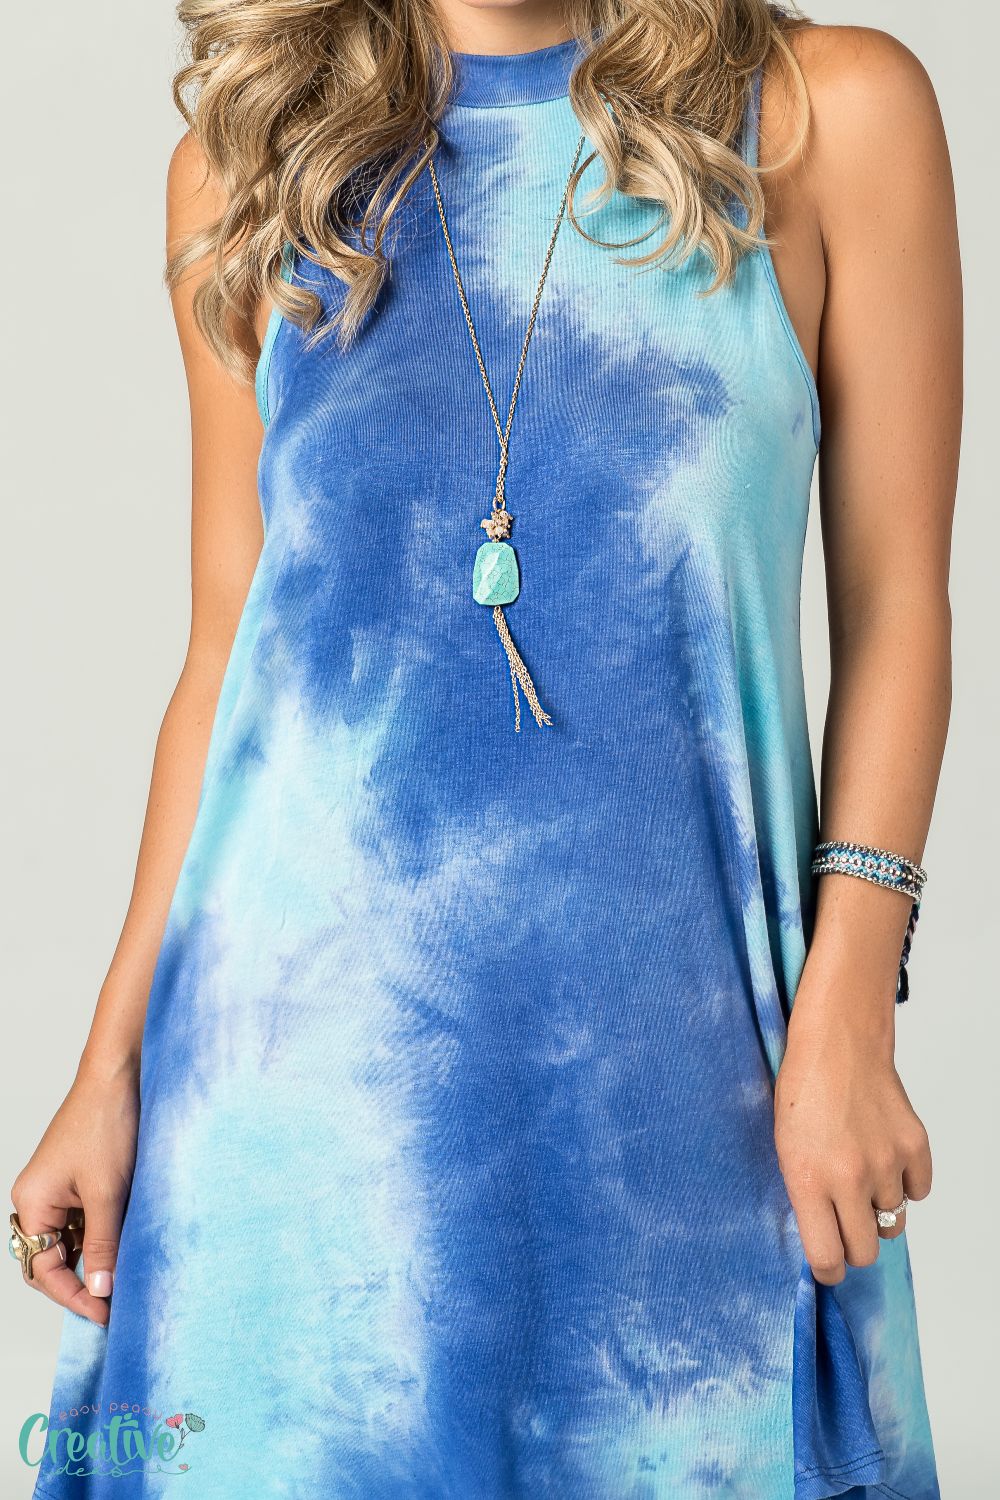
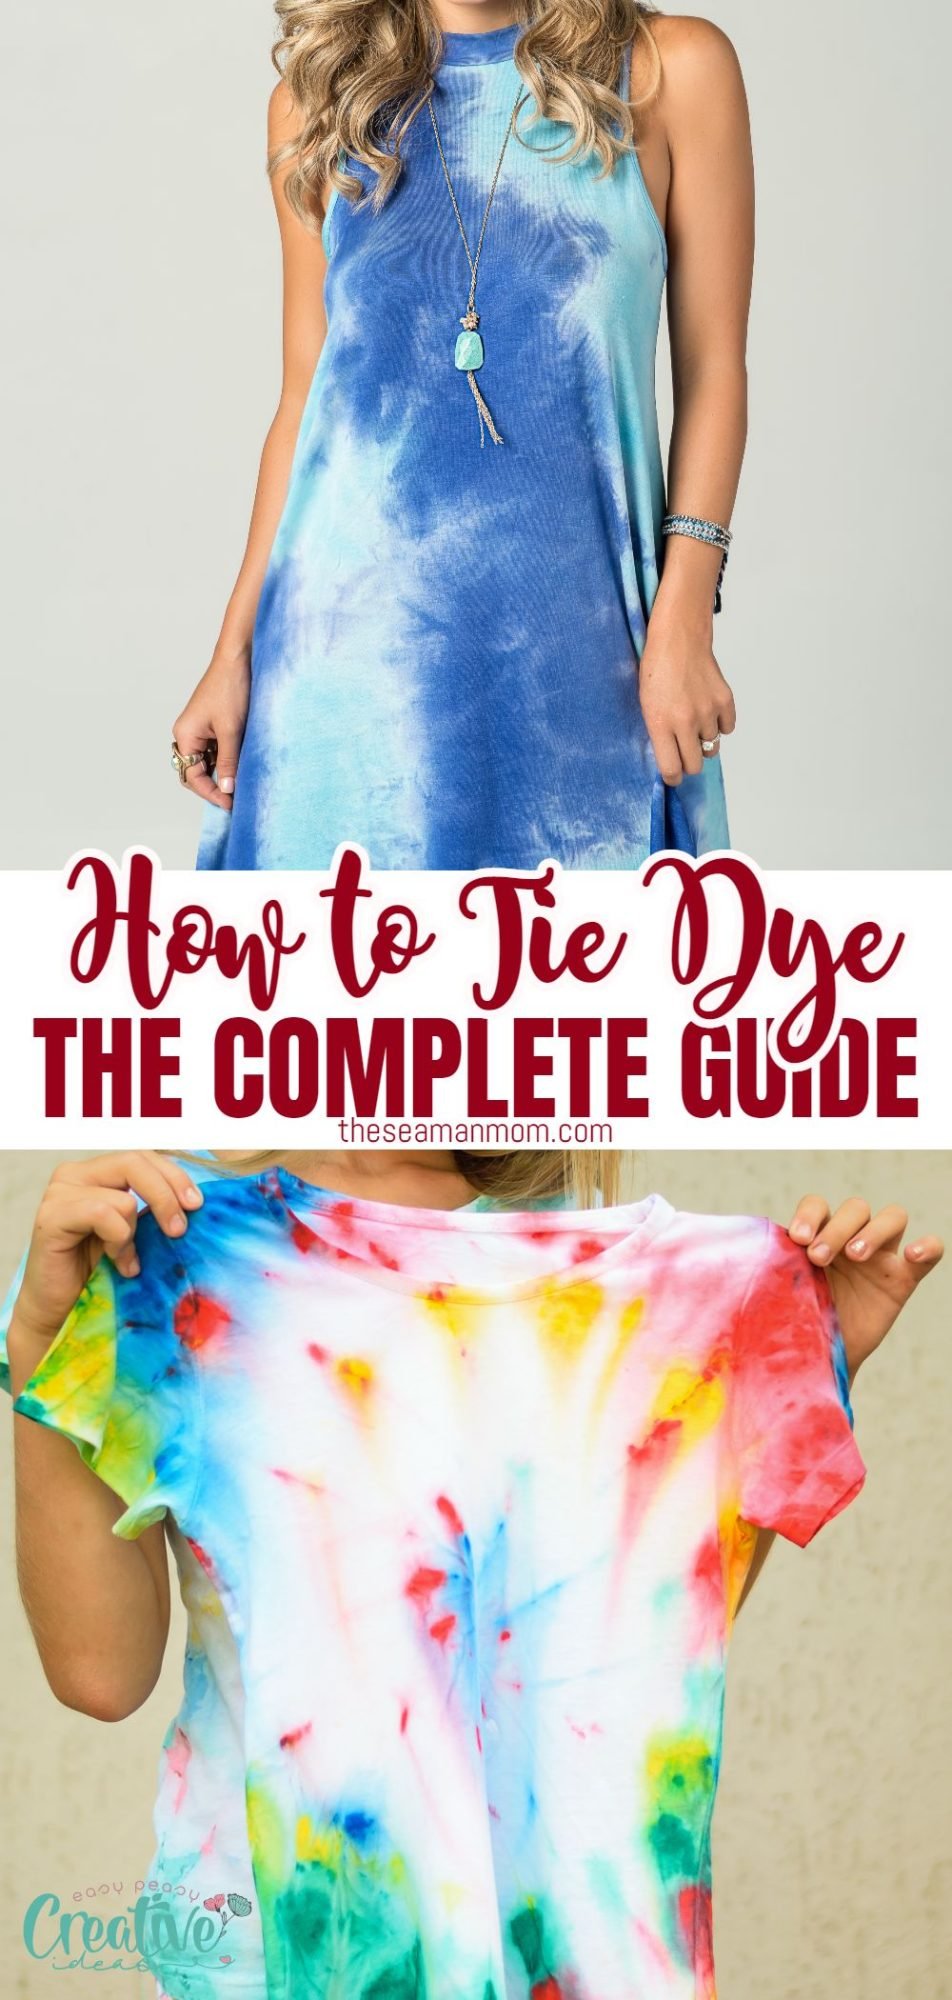
How to tie dye for beginners
Learn how to tie dye in the comfort of your own with this fun tutorial! Add vibrant colors to your wardrobe using simple supplies and techniques, and create beautiful designs for any occasion!
Follow these simple steps and you’ll learn how to tie dye like a pro in no time! Tie dyeing is a fun and easy way to add some color and excitement to your wardrobe. This tutorial will show you how to tie dye clothing at home, using some simple supplies and techniques. All you need is a white t-shirt, some fabric dye, and a little bit of time. With some practice, you’ll be able to create beautiful designs that are perfect for any occasion.
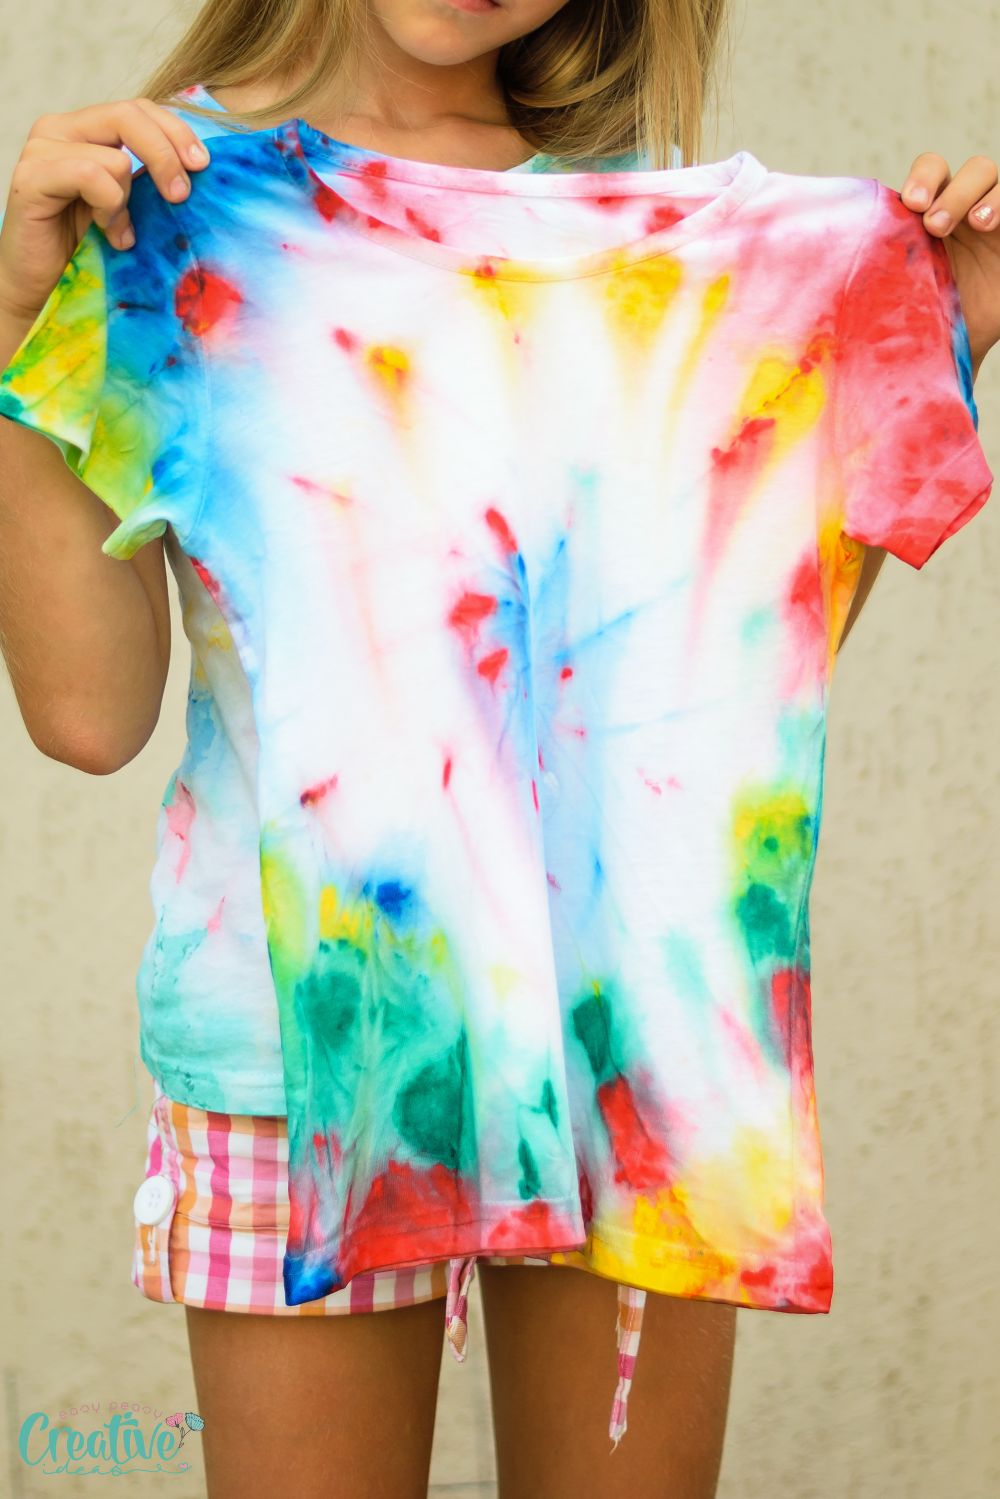
Tie-Dyed garments are so cute and colorful, it’s no wonder so many people love them. Dyeing is super-easy and can be a fun project to make with kids (under supervision, of course). They will create the most amazing, unique, and personalized pieces of clothing they’ll be proud to wear.
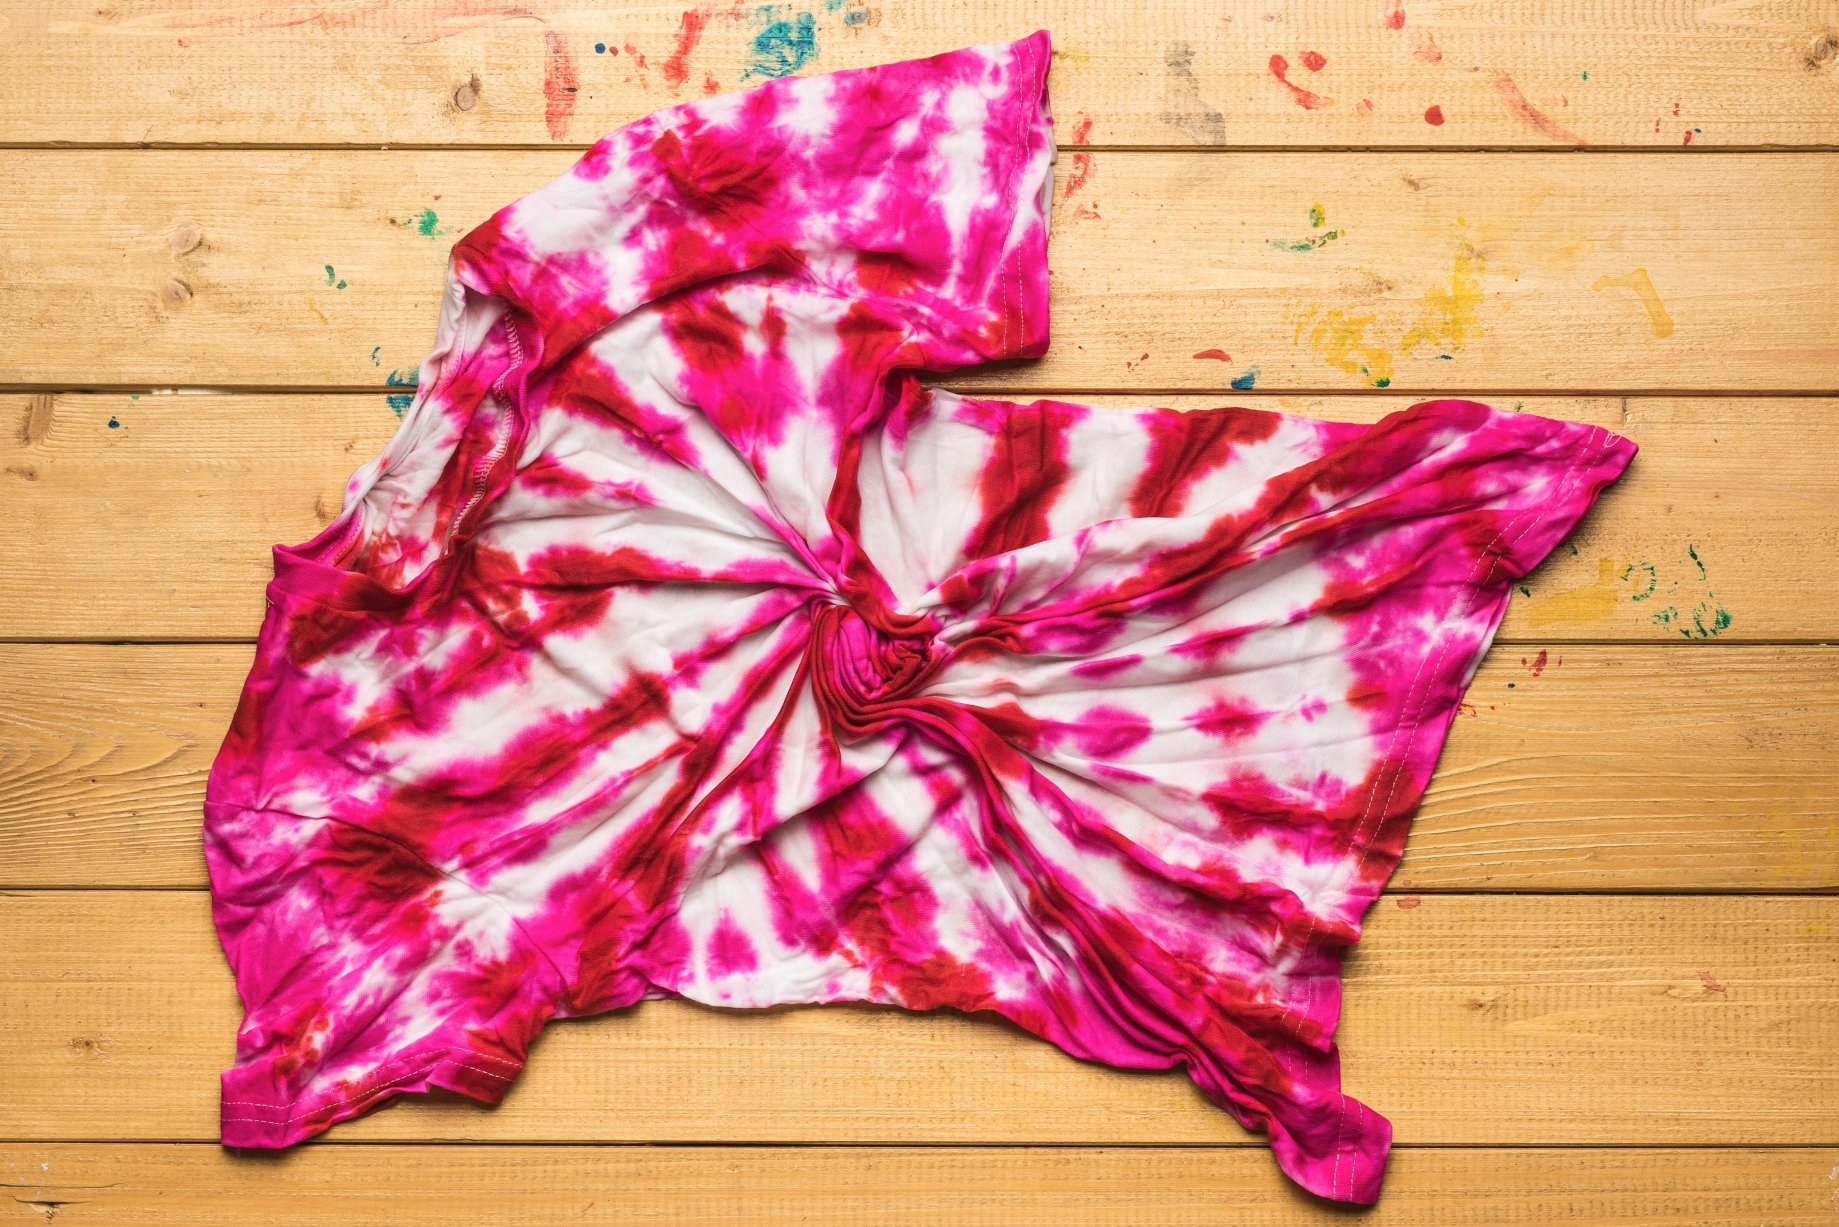
Read on to see all the essential instructions and tips for making lots of fun tie-dye designs at home, including the famous rainbow spiral. When it comes to how to DIY tie dye, the basic principle is in its own name: simply fold or crumple a piece of fabric, tie it, and apply the dye either directly on the fabric, or by dipping it in the dye. Ties create white patterns, as they don’t allow the dye to penetrate the fabric evenly. The pattern depends on your style and what you want to achieve.
Ready to have fun tie dyeing your clothes? Let’s get started!
How to tie dye
As I mentioned above, this is a super fun and easy project that kids will surely enjoy. They love playing around with color and expressing their personalities, so tie-dyed garments will keep them entertained and proud of their work.
Now, let’s get to the actual dyeing.
Materials needed
- fabric items to tie dye such as these plain t-shirts
- laundry detergent
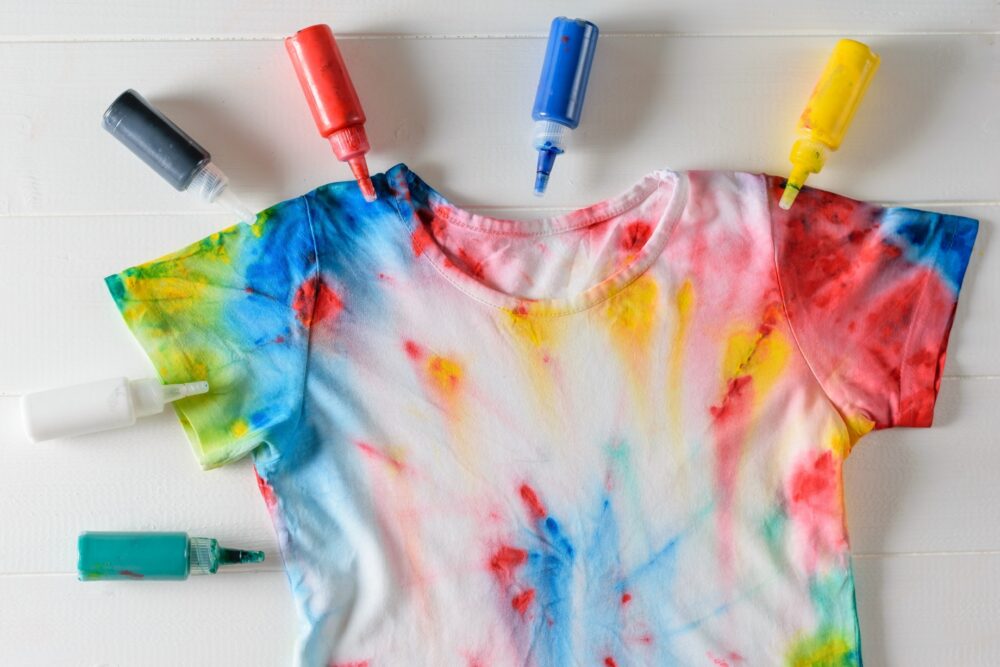
- dye in assorted colors
- soda ash dye fixer
- trash bags or table cloths
- paper towels or rags
- a bucket or a large bowl or basin
- rubber bands or strings
- squeeze bottles, to apply dye
- sponge or brush (depending on the pattern you want to achieve)
- zip lock bags
- gloves
- dust mask
Step by step instructions to tie dye
1. Prepare your fabrics and work surface
First, prewash your fabrics with a laundry detergent to remove any dirt, oils or substance that might react to the dyes and create unwanted pale spots.
Choose an outdoor working area or protect your indoor area with trash bags or plastic tablecloths. Keep some rags or paper towels at hand just in case any spills occur.
2. Mix your dyes
Prepare your dye mixture according to the package instructions. Depending on the dye type, you will just have to add a certain amount of water to the bottle or mix the dye and water in a bucket and stir to dissolve it, then add a soda ash solution. If mixing in a dye bottle, shake well.
If necessary, pre-soak your garment.
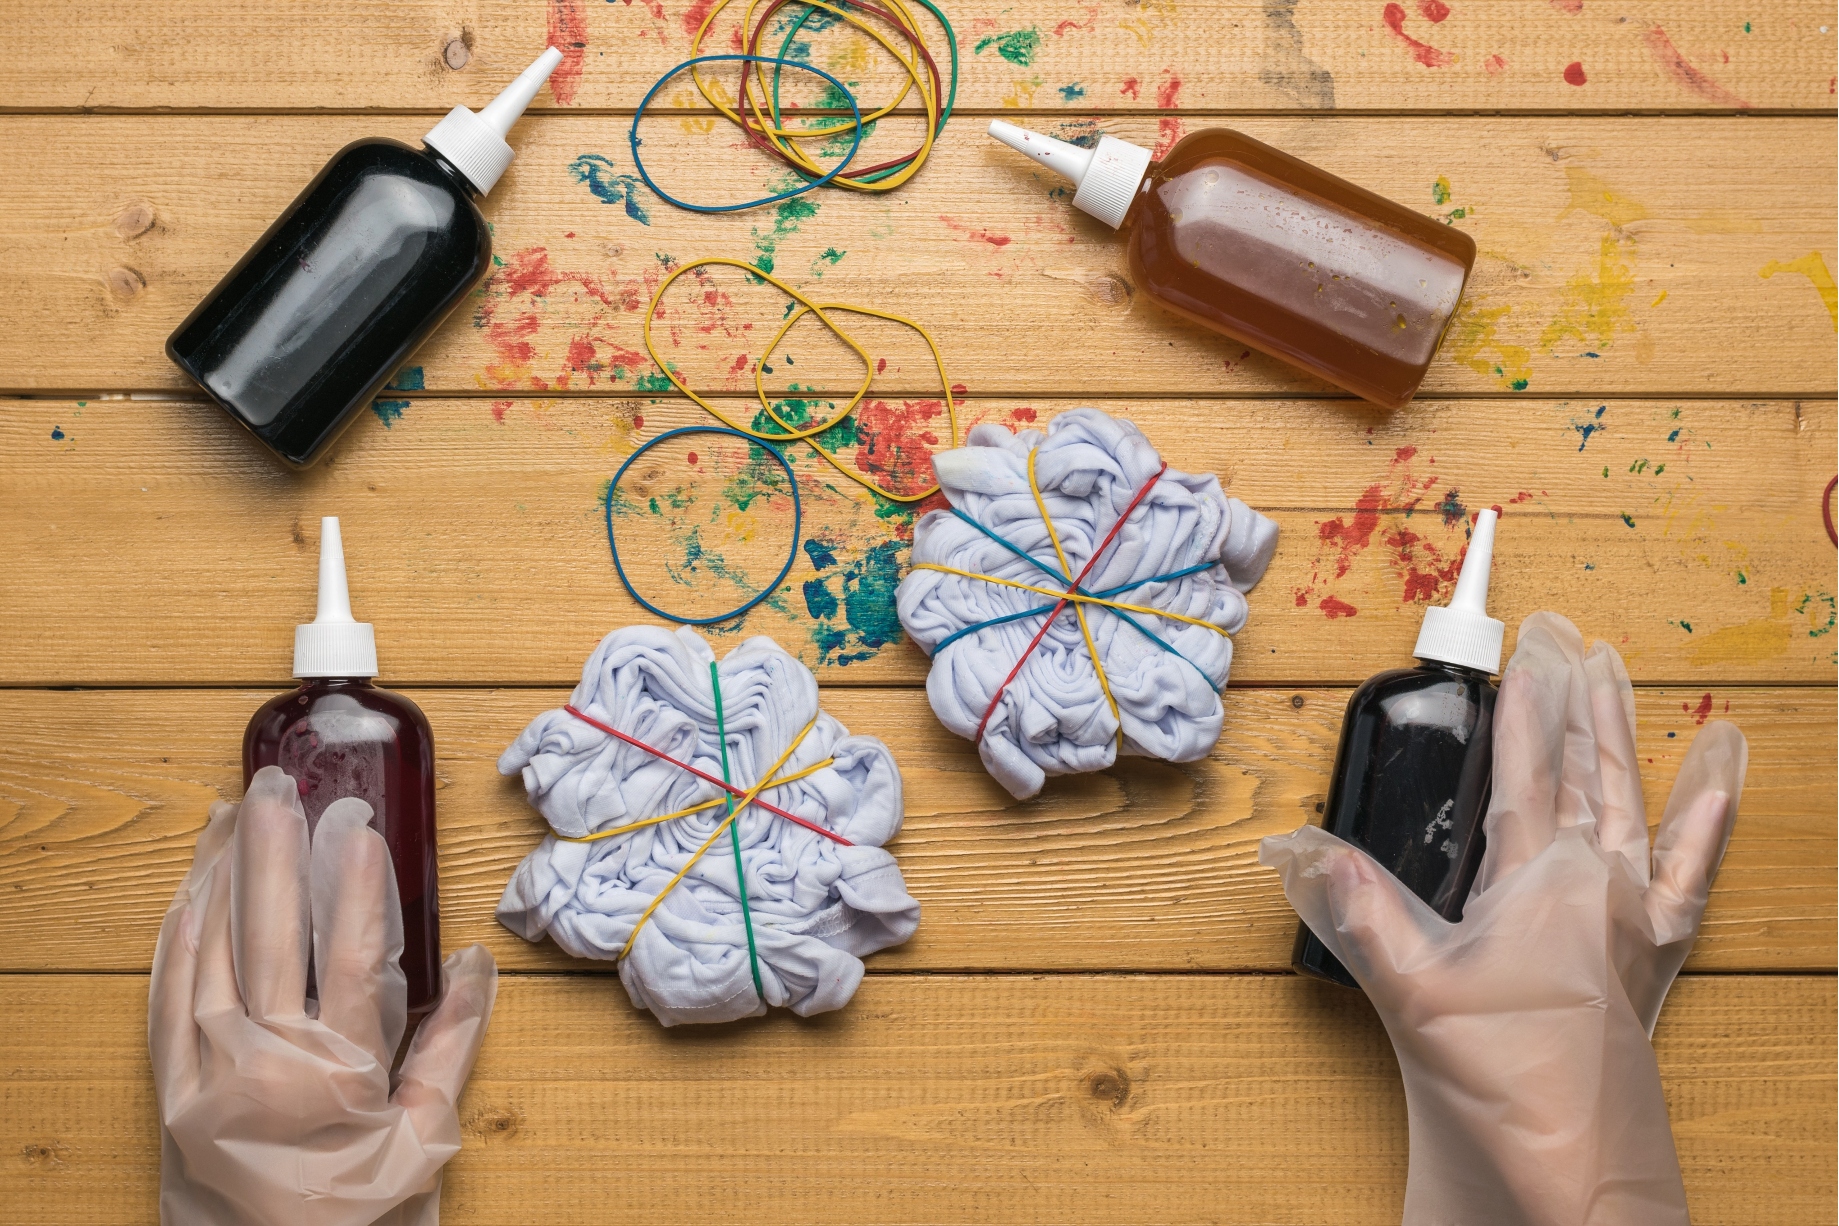
3. Create the design by folding and tying your fabric
There are many ways of folding and tying the fabrics for tie-dye, from simple to very complex ones. The easiest way is to scrunch, fold or clamp the garment and secure with bands. You can also stitch a more intricate design with needle and thread.
I’ll describe a few folding techniques below.


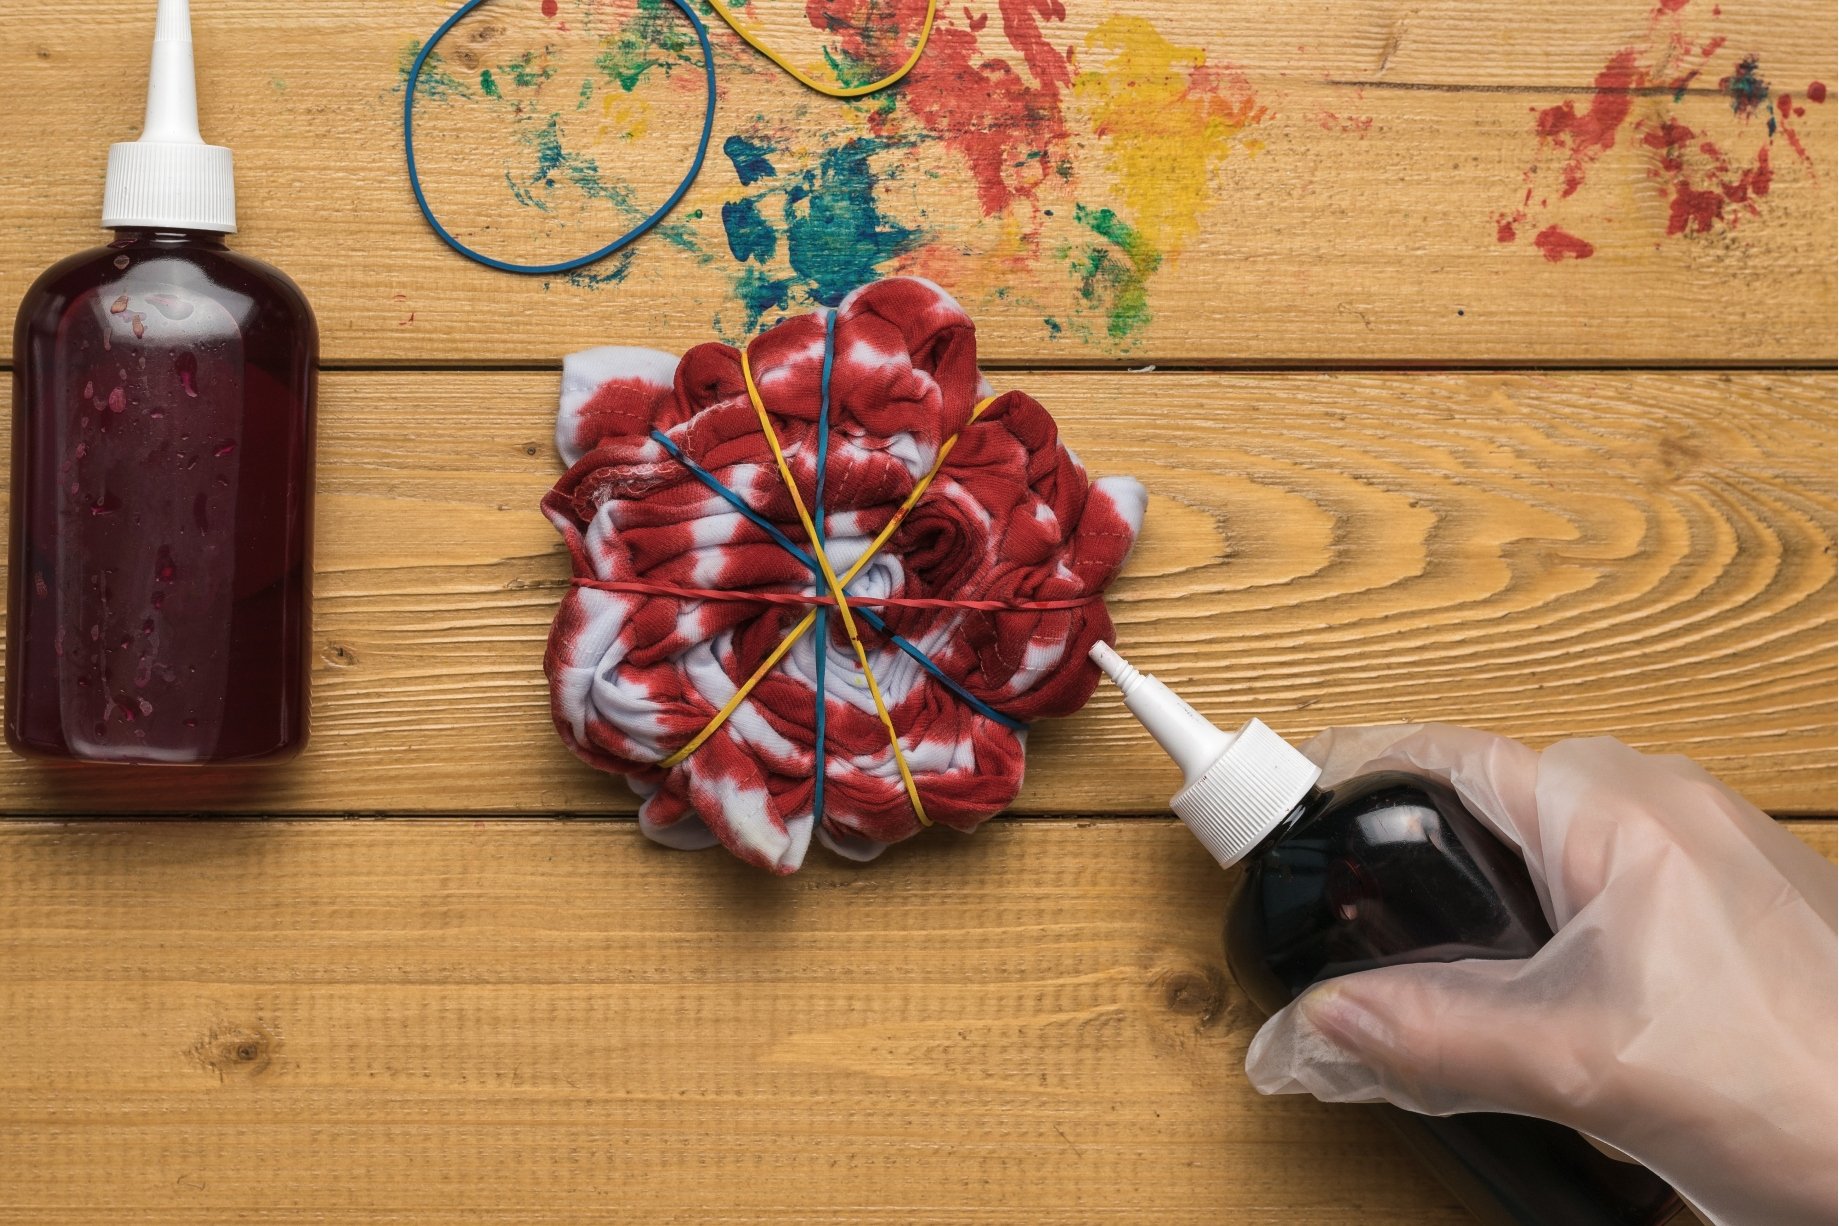
4. Apply the dye
There is no standard application method. You can either dip the garment in the dye bucket, or apply the dye directly from a squeeze bottle, or with a sponge or with a paintbrush. Use how many colors you like and whatever painting pattern (circles, zig-zag, lines etc).

5. Let the dyes set
This is the hardest step, as you can only wait and think of your amazing tie-dyed garment. The dye needs time to react to the fabric, though. Keep the fabric warm and damp (the warmer the fabric, the quicker the reaction).
Put your dyed garment in a ziplock bag (or any plastic bag) or wrap it in plastic wrap. Place it in a warm, sunny spot and let it sit for about 6 – 8 hours. You will get the brightest results after 24 hours.
You can also set it in the microwave if you don’t have the time to wait. Place your dyed garment into a heavy-duty, microwave-safe ziplock bag (freezer ones are great for this) and squeeze the air out. Seal it and microwave for 60 – 90 seconds in small increments (10 – 30 seconds). Watch it closely and stop the microwave immediately if the bag inflates with steam.
You want to heat it, but not actually dry any part of it, so the time for each garment type may vary. Let it cool, then follow the next steps to rinse it.
6. Rinse and wash
The wash and rinse step takes time, but is super important to get the cleanest, brightest colors.
First, rinse under cold water with the rubber ties still on. Then, remove the bands as you rinse with lukewarm water. Rinse until the water runs clear. After that, run your dyed fabric through a washing machine cold cycle with detergent.
For the first few times, it’s best to wash them separately, to allow the dyes to set and to wash out any residue. After that, you can safely wash them with your other clothes.

Tips and safety measures
- Wear old clothes or an apron to avoid staining your everyday clothes;
- Wear gloves to avoid staining your hands. Dyes will eventually come off, but it’s a real pain trying to clean them;
- Protect your work surface or work outside where you won’t stain anything in your home;
- Use a dust mask when mixing dye powders or using soda ash.
Tie dye patterns and folding techniques
There are several ways to tie dye. The most common and easy to do is probably the scrunch method, but you can also try out other folding methods like the accordion fold or the spiral shape technique. Whatever pattern you choose it doesn’t have to be perfect, that’s the beauty of tie dyeing!
Let’s see some fun tie-dye patterns and designs you can use. The general rule is, the tighter you scrunch it, the more white areas will be.
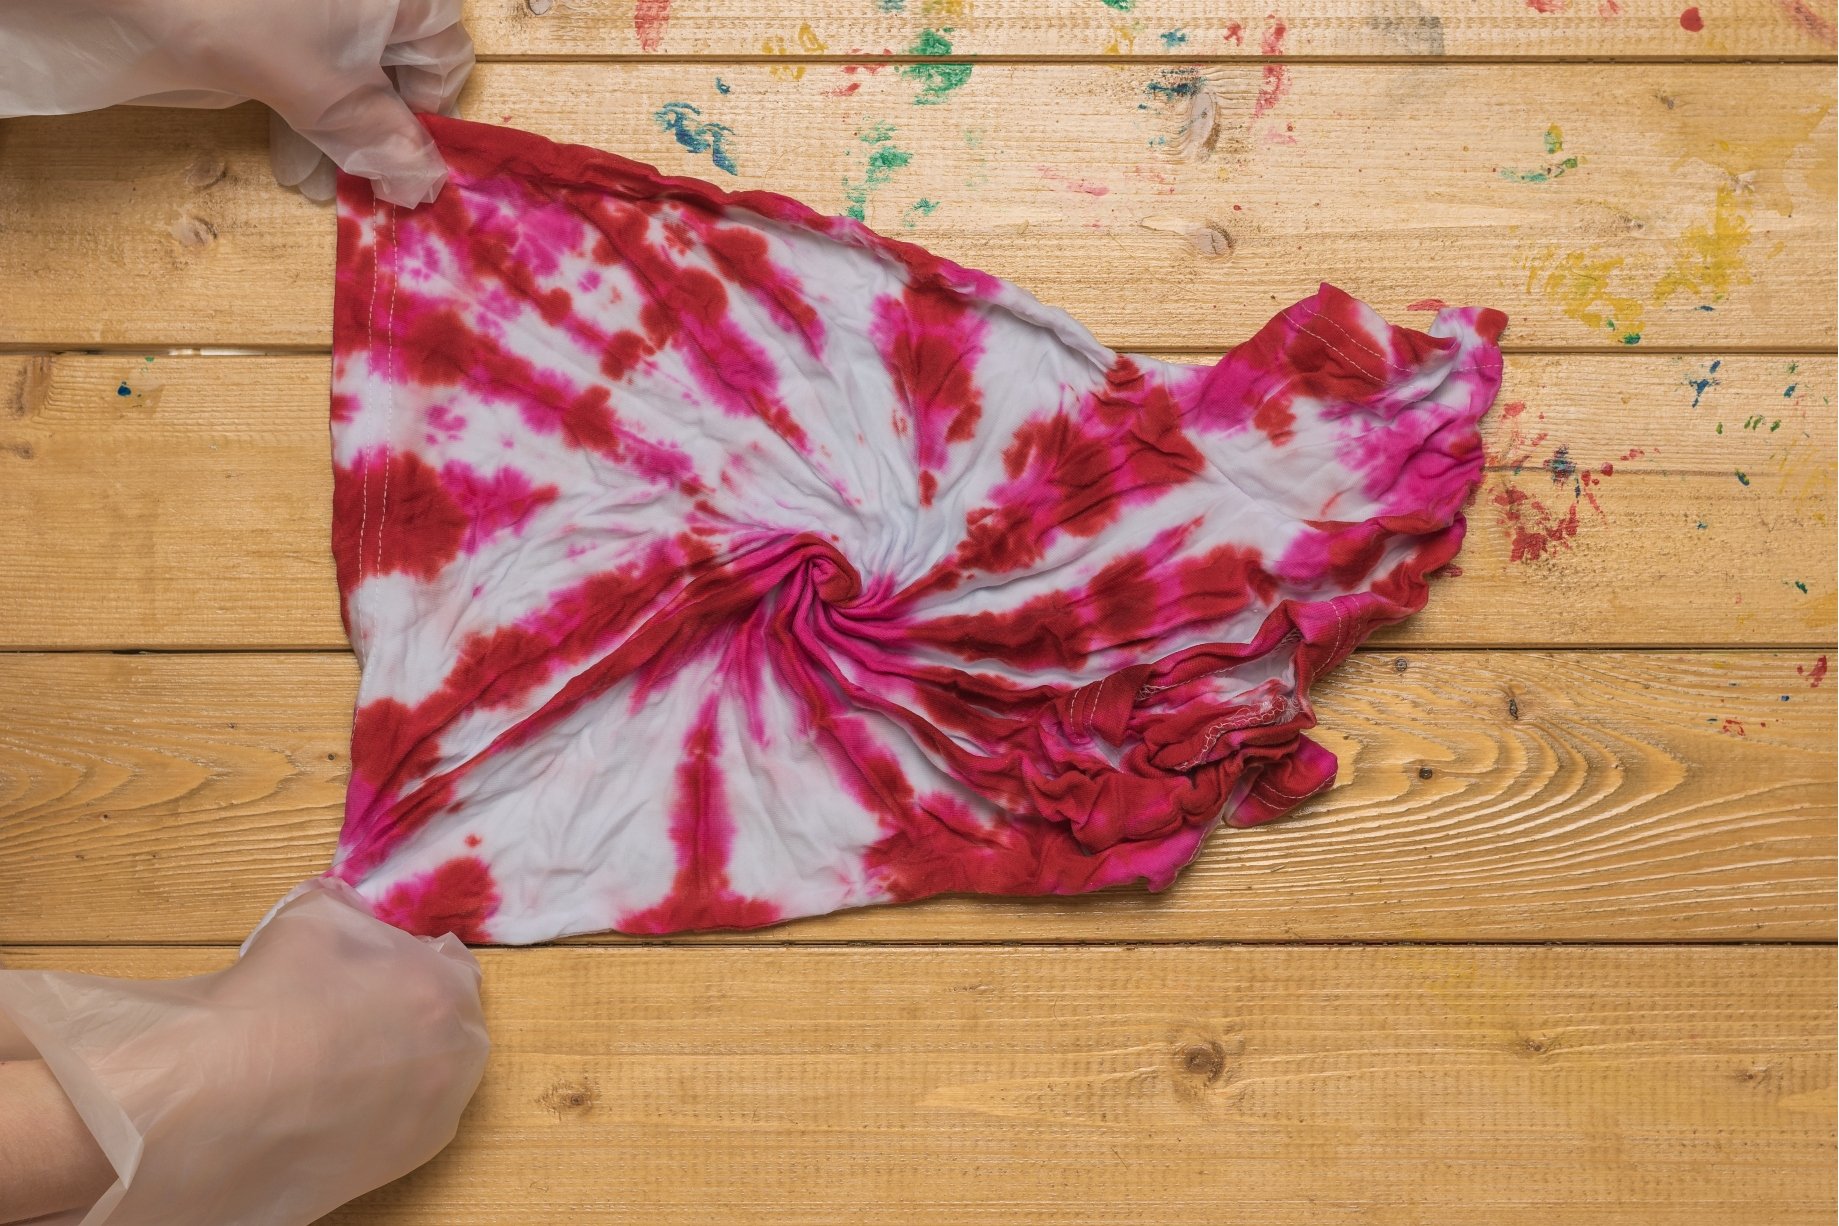
- Swirl pattern: Pinch a small area in the middle of your garment and twist clockwise. You should get something like a cinnamon roll. Secure it with a few crisscrossing rubber bands.
- Bullseye: pinch a small area in the middle of your fabric. Pull it up to create a thin cone, then wrap rubber bands at relatively equal lengths between them around the cone.
- Sunbursts: similar to the bullseye technique, on the flat garment, pinch different small areas and tie with rubber bands, to create several small cones.
- Scrunch or Nebula: scrunch the garment in a tight disk and wrap several bands around it.
- Stripes: Fold your garment in accordion-style folds and wrap it with rubber bands every 1 to 2 inches.
Types of Tie Dye you can use
Traditional Tie Dye
The post popular type of tie-dye is liquid dye in bright colors. It is usually kept and applied on the tied garment from squeeze bottles for easier handling.
Ice Dye
Ice dyeing is somewhat similar to traditional tie-dyeing. It also starts from a white or very light-colored garment folded and tied or secured with rubber bands. Unlike traditional tie-dyeing, dye is not simply applied to the T-shirt. It is first covered in ice cubes and sprinkled with colored powdered dye. The melting ice dissolved the powders and stain the fabric.
Bleach
Bleach is also called reverse tie-dye and has gained great popularity during the last couple of years. This technique uses a dark-colored garment which is tied just like white ones, and them bleach is applied to create beautiful designs on the exposed fabric.
Frequently asked questions you might find helpful
What is the easiest tie-dye technique?
If you’re looking for an easy and fun way to tie dye, the rainbow spiral technique is probably the easiest and most versatile. This design involves folding a t-shirt into a narrow strip, rolling it up into a cone shape, then using rubber bands to secure it in place. You can create all kinds of beautiful designs by adding different colors and layers of dye, or by folding the tie-dyed garment into different shapes.
Best dye for Tie Dyeing
You want bright, long-lasting colors that won’t fade after a few washes, so the best you can use is fiber reactive dye. This dye will hold well on cotton fabrics and are super easy to use compared to other types.
These dyes react with textiles in cold water and build a permanent bond, so that you will be able to wash your tie-dyed clothes many times without worrying about colors leaking or fading.
Although all-purpose dyes like Dylon or Rit will stick to the fabric, they are a lot paler and wash out under hot water, so you might want to avoid these.
A powder kit might be the easiest way to tie-dye at home. These kits usually come with powdered dye, bottles for easy handling, rubber bands and a color chart. The fabric is folded or tied according to the chosen design and the powder is sprinkled on it.
Best garments to Tie Dye
All textile items made of natural fibers take well tie-dyeing. You can dye lots of clothes and items, like cotton sweatshirts, shirts, socks, and even shoes. Check the label for any of these fabrics: cotton, hemp, rayon, linen, and even natural silk.
Avoid synthetic fibers, as they don’t take in fiber reactive dyes very well.
Even if you can’t find 100% natural fiber garments, blends like 80/20 cotton/polyester will do, though the colors won’t be as bright as in 100% natural textiles. Don’t go lower, as 50/50 blends will not react well to the dyes, and the colors will be faded.
A few great items to tie-dye are any kind of T-shirts, hoodies, socks, pajamas, baby onesies, bed sheets or tote bags.
How important is to prewash your fabric?
Very important. Pre-washing it removes any oils or dirt, which may prevent the dyes from penetrating the fabric and affect the final result.
Should the shirt be wet or dry to tie dye?
It really depends on what is your desired result and it’s also great to experiment with this. Usually, it is best to use slightly damp fabric, but not dripping wet. Water helps dyes absorb better into the fibers, ensuring better coverage. Applying dyes to dry fabric may lead to less uniform coverage and more white spots.
Can you set it in the microwave?
Yes, you can try speeding up the process a bit if you are more impatient. Heating the garments quickens the dye reaction, so they may be ready in a few minutes rather than one day. Only use small time increments and constantly check your garment.
How long should you wait to rinse tie-dye?
Don’t rinse it immediately after applying the dye. This allows the dye to set completely and develop its full color potential. For the best colors, the dye should be left to react for at least 6-8 hours. This helps it soak into the textile. It is best to leave it even longer, ideally up to 24 hours if you have the time.
Rinsing your fabric too soon may lead to faded colors that won’t be very bright or intense. To get the best results, rinse the fabric in cool water and then let it air dry. If you want to speed things up a bit, you can also use a hair dryer on a low heat setting.
What happens if you let tie-dye sit too long?
If you let the dye sit on the fabric for too long, it may actually start to bleed and run. So if you want intense and well-defined colors, don’t leave the dye on for more than 24 hours.
Is tie-dye supposed to dry before rinsing the clothes?
Technically, no. The dye should be rinsed out of the fabric as soon as it is set, so that it does not bleed or run. However, waiting for the garment to dry can help you avoid dripping dye all over your bathroom sink and floor. So if you have time to wait, feel free to let your tie-dye dry before rinsing it out.
How do you wash a tie dye shirt after dying it?
To wash a tie dye shirt after dying it, you should first rinse the fabric in cool water to remove any excess dye. Then, launder the item as usual, using gentle detergents and warm or cold water. Avoid exposing your tie-dyed clothing to direct sunlight or high heat, as this can cause fading or other damage.
How do you keep tie dye colors vibrant?
- Use the best quality dyes and 100% cotton. The dyes will react best and be more vibrant on cotton than any synthetic fabrics.
- Pre-wash it and soak it in a soda ash solution if the dye instructions require it.
- Allow plenty of times to soak and react, the longer the better. Always ensure that the garment is fully submerged in dye and let it soak for at least 6-8 hours.
- You should also rinse your tie-dyed items as soon as the dye has set to avoid any color bleed.
- Finally, store your items in a cool, dark place to prevent fading.
How to get the dye off your hands?
If you forgot to use gloves to keep the dye away from your skin, wash your hands with soap and warm water. It will eventually fade in about a day with several washes.
Can tie dye come out of clothes?
Splashed garments can often be salvaged by laundering immediately in the hottest water recommended on the care label with a color-safe bleach. If the dye has set, you can try to remove it with a commercial dye remover or dye stripper, following the package directions.
You might also try one of these home remedies:
- Soak in vinegar: Soak the item in a mixture of vinegar and water for several hours to help remove any excess dye.
- Dissolve salt in water: Add some salt to a bowl of water and soak the item in this solution. The salt will help draw out remaining dye, leaving your garment looking brighter and cleaner.
- Scrub with bar soap: To remove tough dye stains, try scrubbing the affected area with a bar of soap. This can help break up the dye and lift it away from your clothing.
Whatever method you use, be sure to rinse the item thoroughly after removing the dye.
Can tie dye shirts go in the dryer?
Yes, you can put your tie dye shirts in the dryer. However, it is best to air dry them if possible to prevent fading or other damage. If you must use a dryer, set it to a low heat setting and remove the clothing as soon as it is dry.
Tie dyeing other items
How to Dye Hoodies and Sweatpants
Tie dyeing thicker items such as hoodies and sweatpants can be a bit trickier, but with the right techniques, you can achieve amazing results. Here are some tips to help you get started:
- Pre-wash your hoodie or sweatpants before dyeing to remove any sizing or chemicals.
- For best results, use 100% cotton items as they absorb the dye better.
- Make sure to properly secure your item before dyeing. Creating tight folds and using rubber bands or string will help ensure the dye penetrates only the intended areas, creating those iconic tie-dye patterns we all love.
- Apply the dye according to the pattern you’ve chosen. Choose a simpler pattern as it’s easier to control with thick clothing items than complicated patterns
How to Tie Dye Sneakers
If you want to add a pop of color to your footwear, tie dyeing sneakers is a great way to do it. Here’s how:
- Start by cleaning your sneakers with soap and water.
- Stuff the insides of the shoes with paper towels or plastic bags to prevent the dye from seeping through.
- Use fabric-safe markers or paints instead of traditional dyes for more control over design placement.
- You can also use a spray bottle to achieve an Ombre effect on your sneakers. Simply mix the dye with water in the desired ratio and spray it onto your shoes.
- Let the sneakers dry completely before wearing them. Once dry, heat set them by putting them in the dryer on high heat for 30 minutes.
Tie dyeing your home décor
Tie dye isn’t just for clothing, it can also be used to add a unique touch to your home décor. Here are some fun ideas to get you started:
- Tie dye curtains using the same folding and binding techniques as with clothing items.
- Create tie-dye pillow covers by simply tying rubber bands or string around the pillows and dyeing them according to your desired pattern.
- Add some color to your table setting by tie-dyeing napkins or a tablecloth.
- Tie dye can even be used on furniture, such as chair cushions or throw pillows, for a bold and vibrant accent piece in any room.
How to Tie Dye Socks
Who says your feet can’t be fashionable? Tie dyeing socks is a fun and simple way to add some personality to your everyday attire. Here’s how:
- Start by dampening your socks with water before applying the dye to ensure the color penetrates evenly.
- Use bright, bold colors for a playful look or stick to one color for a more subtle tie-dye effect.
- Twist, scrunch or fold your socks and secure with rubber bands or string to create the desired pattern.
- After dying, wrap the socks in plastic wrap and let them sit for at least 6 hours to allow the dye to set.
- Rinse and wash your socks separately from other clothing items to avoid staining.
How to tie dye a skirt
Tie dyeing a skirt is a great way to add some color and personality to your wardrobe. Here’s how:
- Start by choosing a plain white or light-colored skirt made of 100% cotton.
- Follow the same steps as tie-dyeing other clothing items, such as pre-washing and securing with rubber bands or string.
- For a unique twist, try using different dye colors or tie-dye techniques on different sections of the skirt.
- After dying and letting it set, wash and dry the skirt separately from other items to avoid staining.
I do hope this guide helped you gain some insight into the tie-dye technique, as there are soo many great designs and color combinations. I’m anxious to read about your successes and recommendations, so please share your experience in the comments below.
How to tie dye
Materials
- fabric items to tie dye
- laundry detergent
- dye in assorted colors
- soda ash dye fixer
Tools
- trash bags or table cloths
- paper towels or rags
- a bucket or a large bowl or basin
- rubber bands or strings
- squeeze bottles to apply dye
- sponge or brush to apply dye (depending on the pattern you want to achieve)
- zip lock bags
- gloves
Instructions
- First, prewash your fabrics with a laundry detergent to remove any dirt, oils or substance that might react to the dyes and create unwanted pale spots.
- Choose an outdoor working area or protect your indoor area with trash bags or plastic tablecloths. Keep some rags or paper towels at hand just in case any spills occur.
- Prepare your dye mixture according to the package instructions. Depending on the dye type, you will just have to add a certain amount of water to the bottle or mix the dye and water in a bucket and stir to dissolve it, then add a soda ash solution. If mixing in a dye bottle, shake well.

- If necessary, pre-soak your garment.
- Create the design by folding and tying your fabric
- There are many ways of folding and tying the fabrics for tie-dye, from simple to very complex ones. The easiest way is to scrunch, fold or clamp the garment and secure with bands. You can also stitch a more intricate design with needle and thread.

- Apply the dye. There is no standard application method. You can either dip the garment in the dye bucket, or apply the dye directly from a squeeze bottle, or with a sponge or with a paintbrush. Use how many colors you like and whatever painting pattern (circles, zig-zag, lines etc).
- Let the dyes set. This is the hardest step, as you can only wait and think of your amazing tie-dyed garment. The dye needs time to react to the fabric, though. Keep the fabric warm and damp (the warmer the fabric, the quicker the reaction).
- Put your dyed garment in a ziplock bag (or any plastic bag) or wrap it in plastic wrap. Place it in a warm, sunny spot and let it sit for about 6 – 8 hours. You will get the brightest results after 24 hours.
- You can also set it in the microwave if you don’t have the time to wait. Place your dyed garment into a heavy-duty, microwave-safe ziplock bag (freezer ones are great for this) and squeeze the air out. Seal it and microwave for 60 – 90 seconds in small increments (10 – 30 seconds). Watch it closely and stop the microwave immediately if the bag inflates with steam.
- You want to heat it, but not actually dry any part of it, so the time for each garment type may vary. Let it cool, then follow the next steps to rinse it.
- Rinse and wash. First, rinse under cold water with the rubber ties still on. Then, remove the bands as you rinse with lukewarm water. Rinse until the water runs clear.

- After that, run your dyed fabric through a washing machine cold cycle with detergent.
- For the first few times, it’s best to wash them separately, to allow the dyes to set and to wash out any residue. After that, you can safely wash them with your other clothes.

Video
Article may contain Amazon & affiliate links. As an Amazon Associate I earn from qualifying purchases at no additional cost to you.
ABOUT PETRO
Hi, I’m Petro, author and founder of Easy Peasy Creative Ideas. Sewist, crafter, avid DIY-er, foodie, photographer, homemaker and mommy to one. I’m an expert at coming up with quick, clever sewing tips, recycling crafts and simple, easy recipes! You can find my ideas featured in reputable publications such as Country Living, Good House Keeping, Yahoo News, WikiHow, Shutterfly, Parade, Brit & Co and more. Thanks for stopping by and hope you’ll stay for a while, get to know me better and come back another time. Stick around for real fun projects! Read more…