

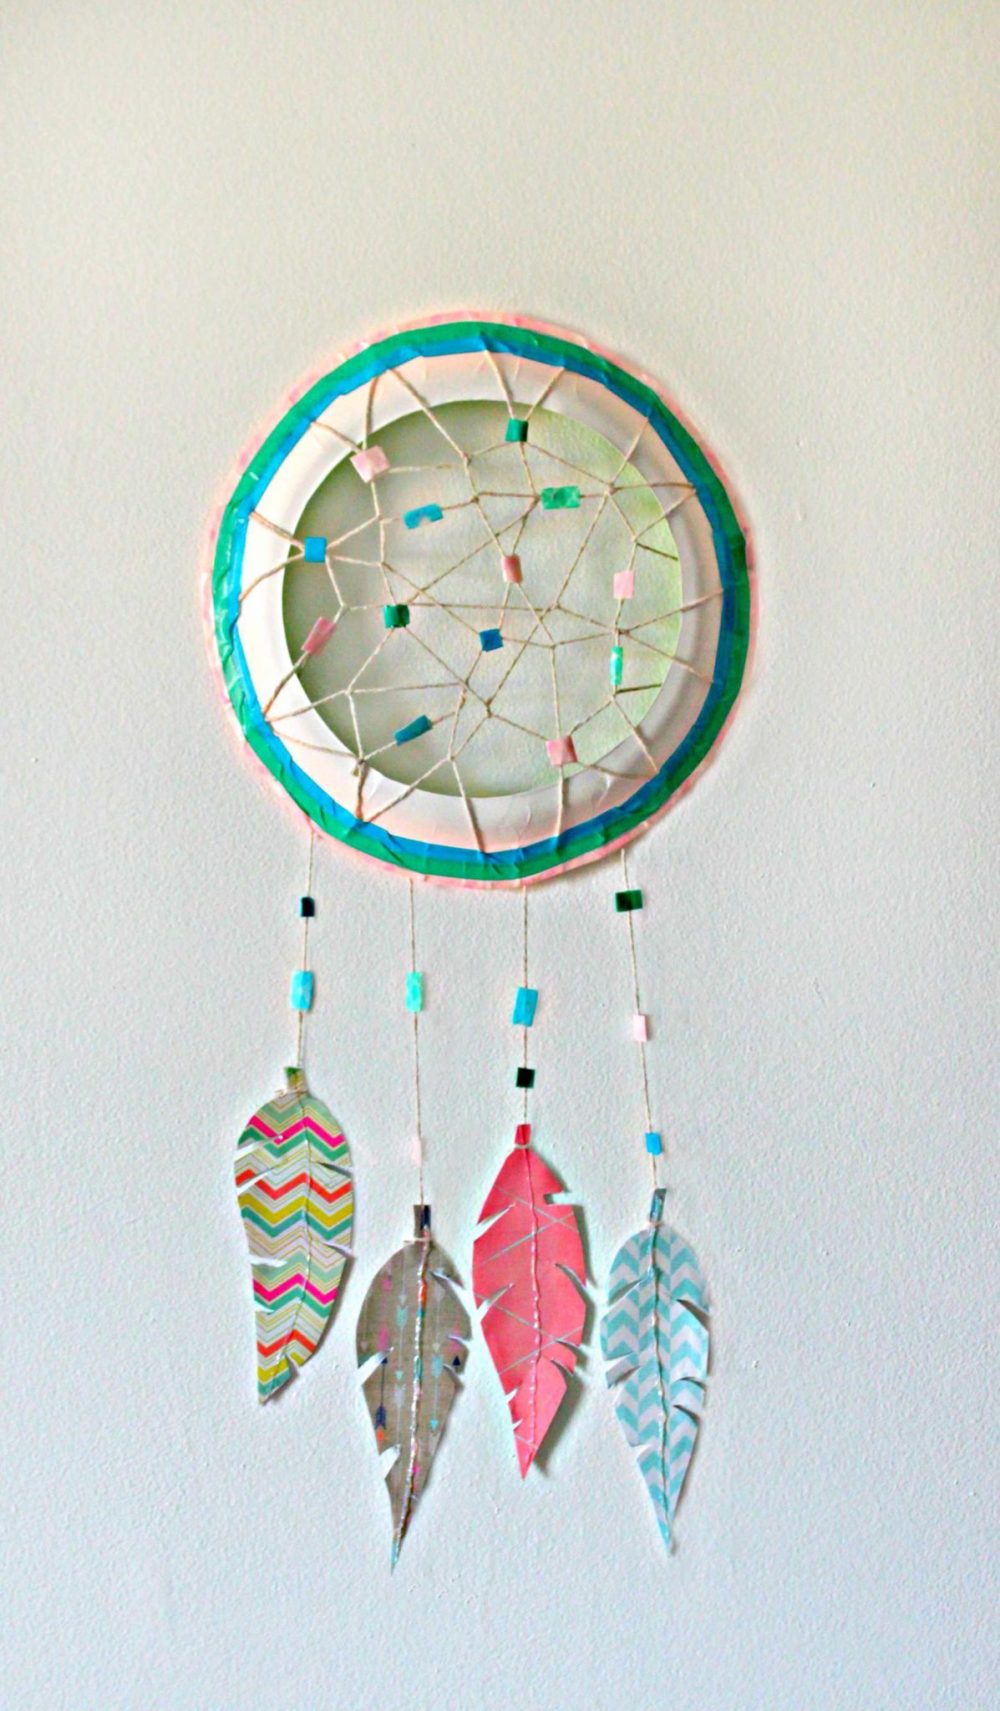
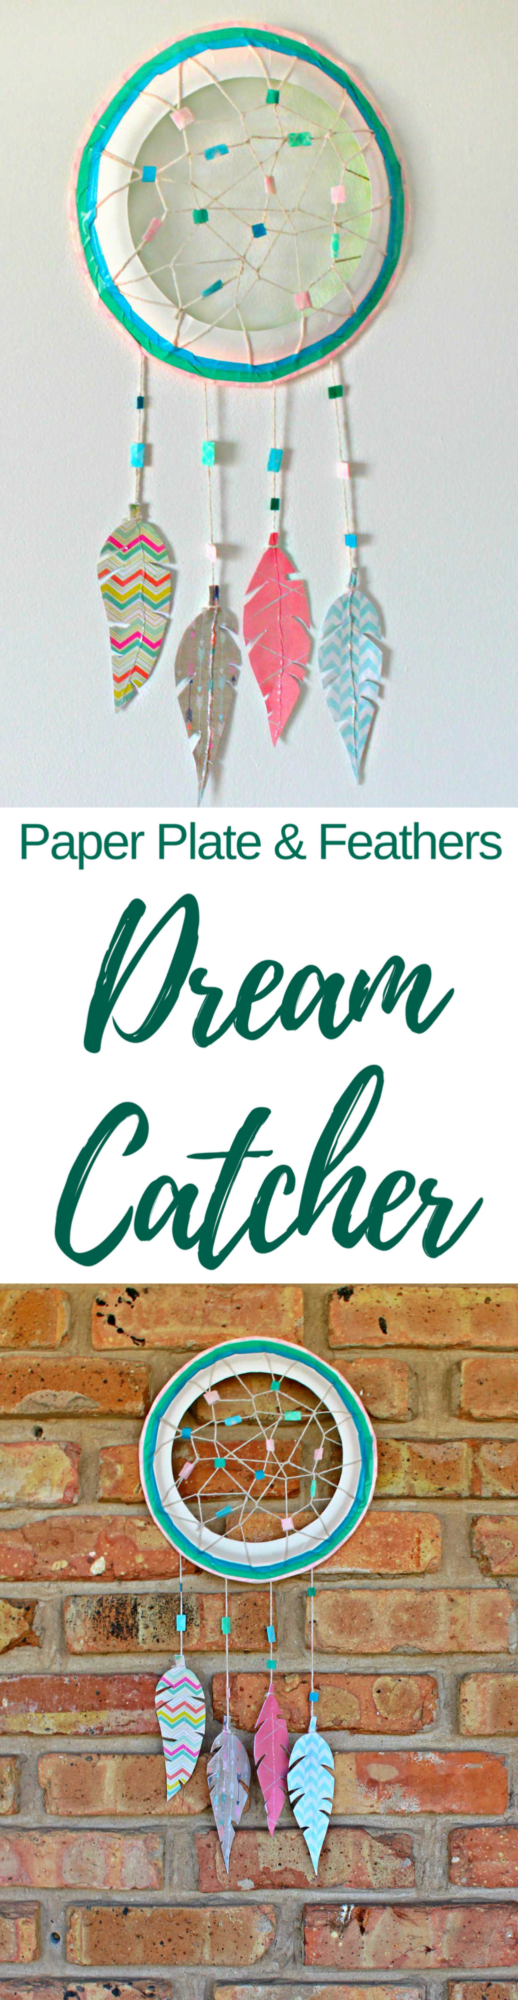
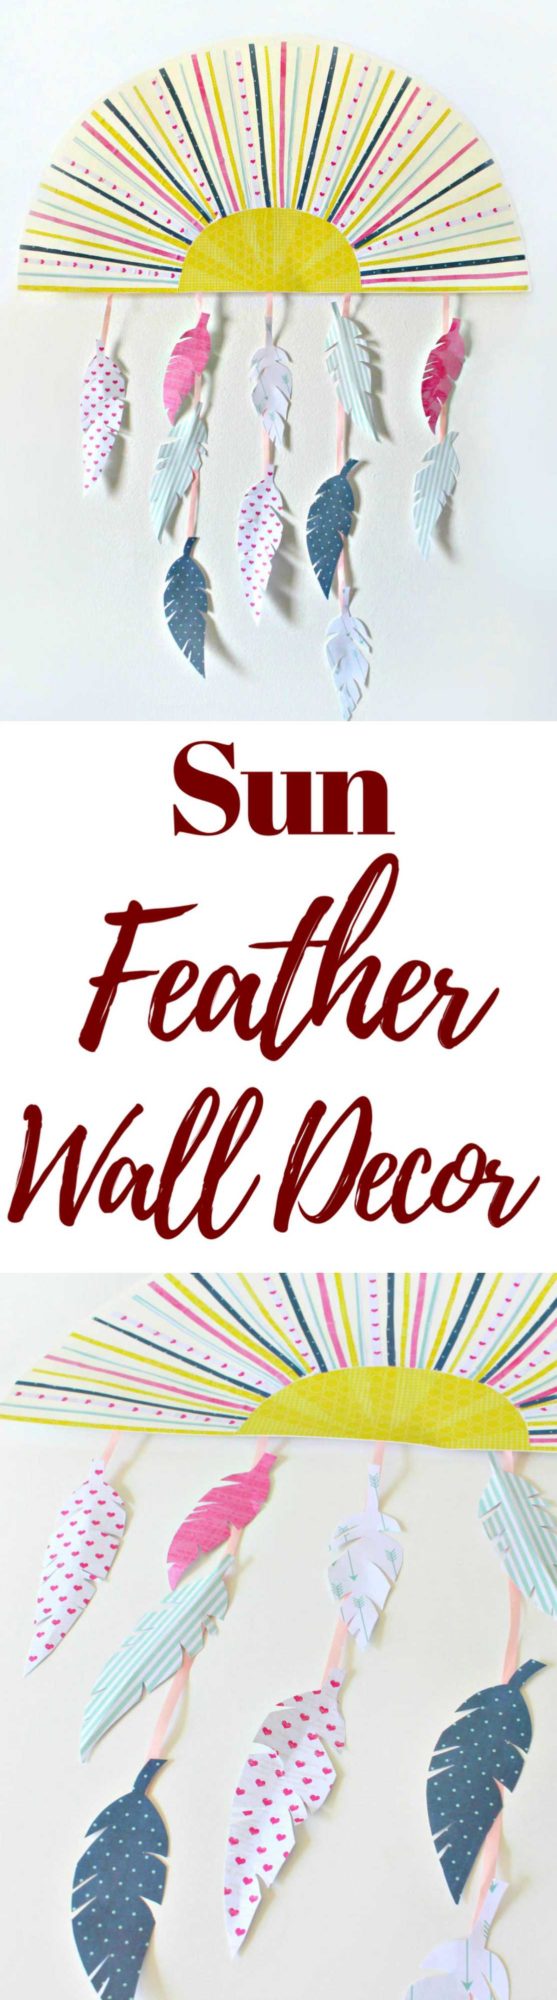
DIY Paper Plate Dream Catcher For Kids
Have you been looking for the perfect dream catcher? Why not make one yourself? This paper plate dream catcher is so easy to make and uses supplies you most likely have on hand! Kids will love helping you create this gorgeous feather dream catcher!
Paper Dream Catcher

Love recycling and crafting with kids? Then this paper plate dream catcher is just the perfect project for you! It’s not only easy to make but so much fun too! This DIY dream catcher for kids is a wonderful opportunity to spend quality time with your kids while creating something beautiful to decorate your home with.
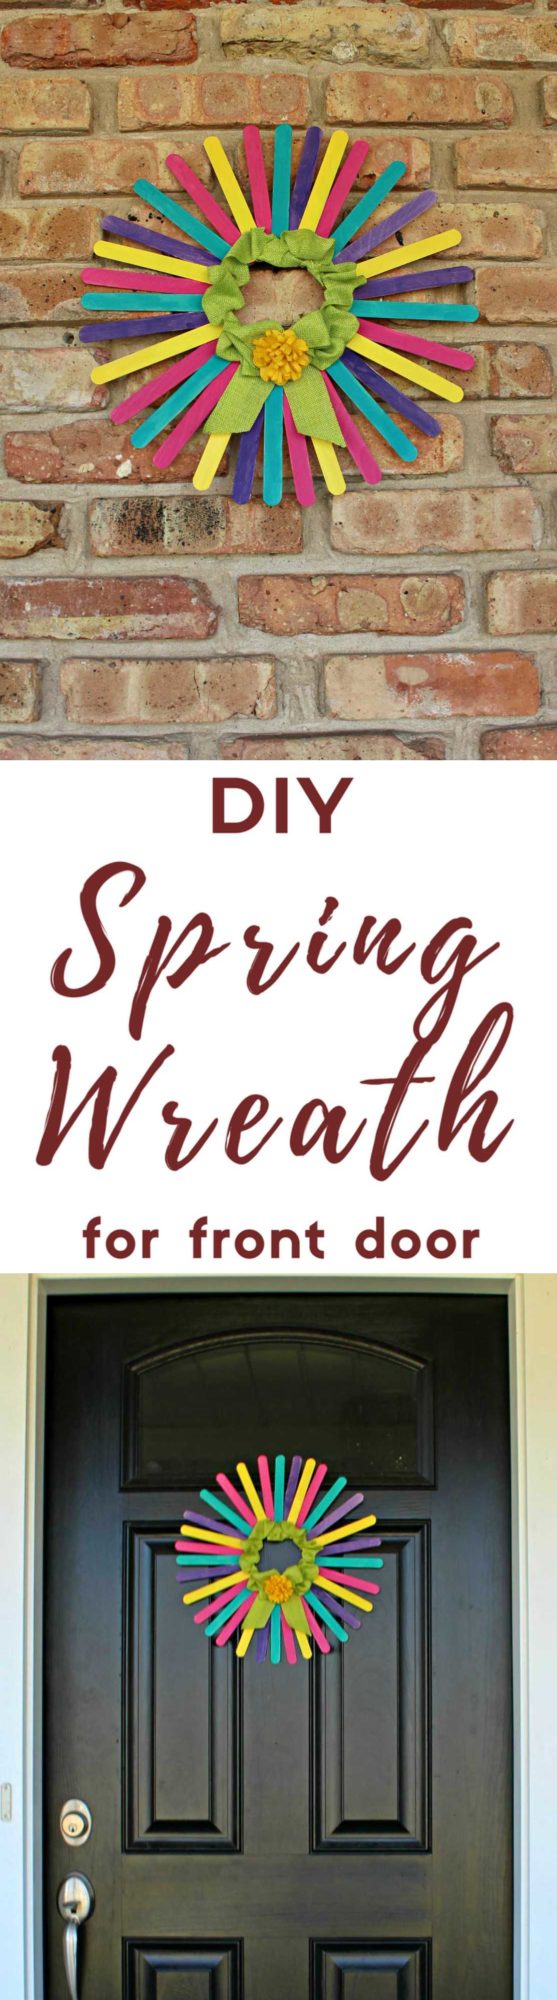
This paper plate dream catcher is great to display as wall decor, hang on your front door or for your garden on sunny days. It’s super easy to make and pretty cheap as it uses simple supplies you most likely have on hand like paper plates, twine, scrapbook paper and washi tape.
Making a paper plate dream catcher is such a great opportunity for the kids to express their creativity! And they’ll feel so much safer at bed time, this beautiful feather dream catcher will whisk away all their bad dreams!
Paper Plate Dream Catcher
Materials:
- Paper plate
- Roll of twine
- Craft scissors
- pencil
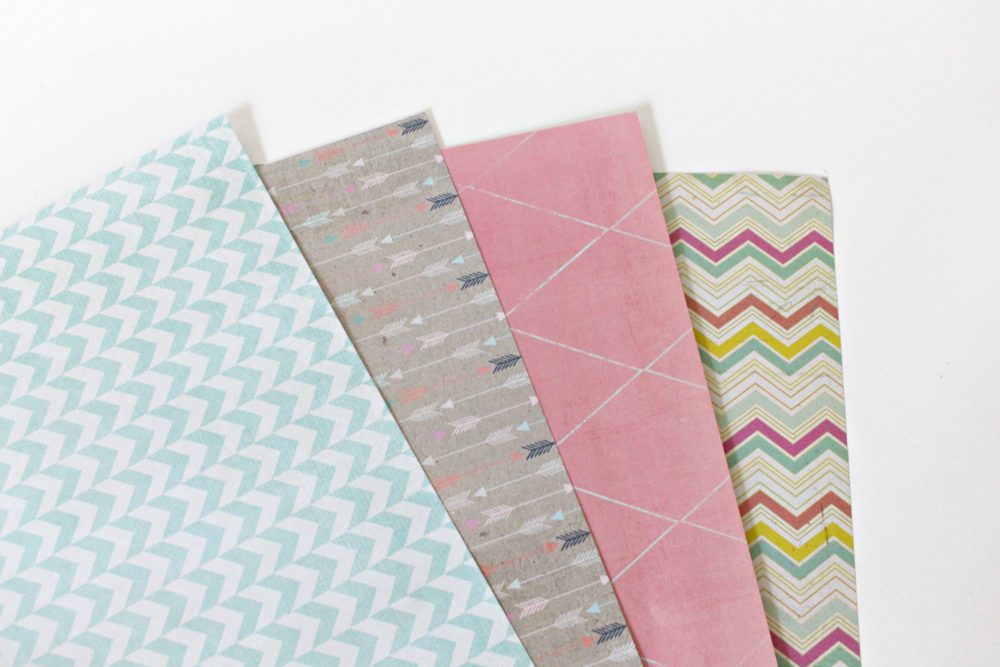
- 4 coordinating Scrapbook papers
- 4 coordinating rolls of washi tape
Instructions:
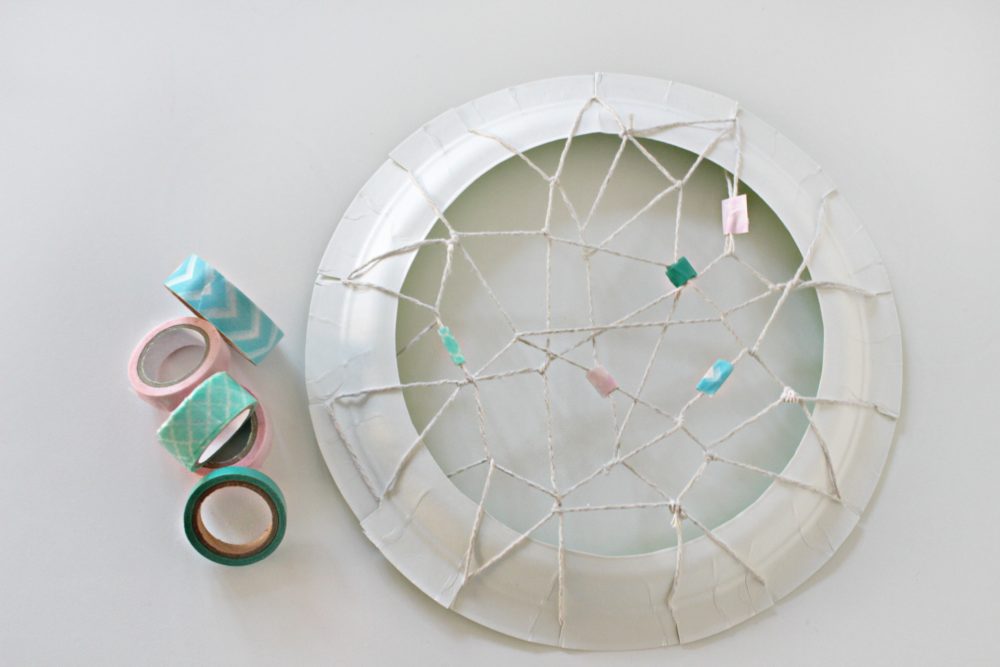
- Use the craft scissors to cut out the center of the paper plate leaving only the outer rim intact.
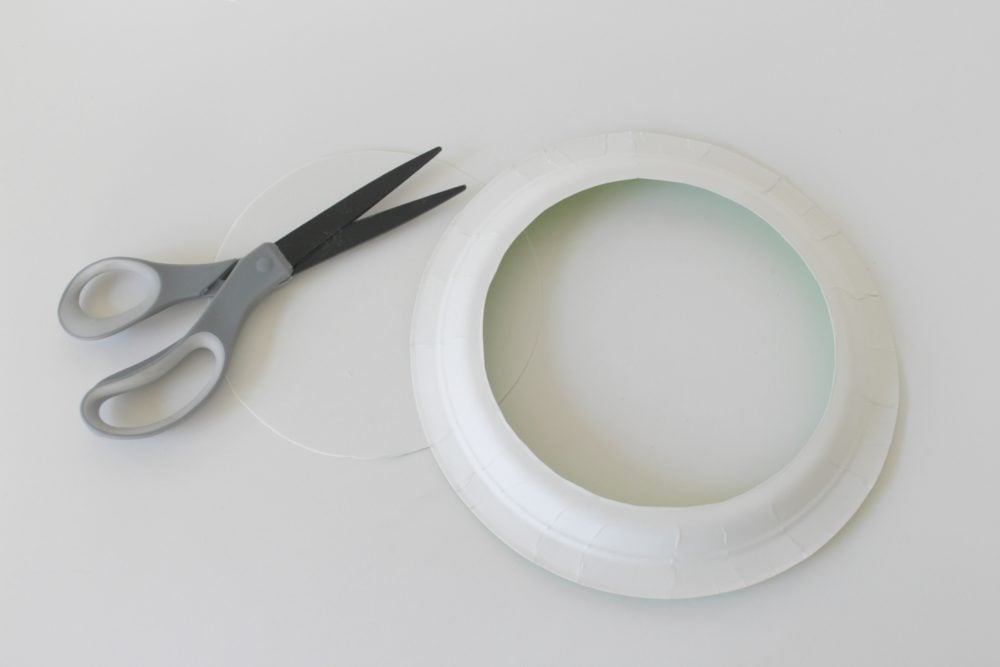
- Make 3/4 inch cuts evenly around the outside of the paper plate.
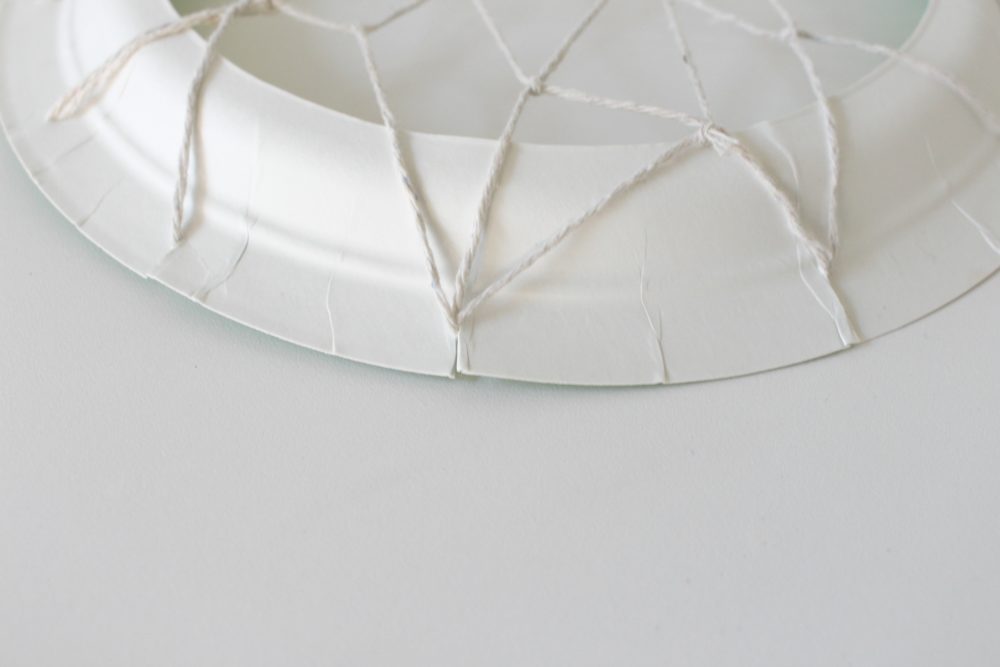
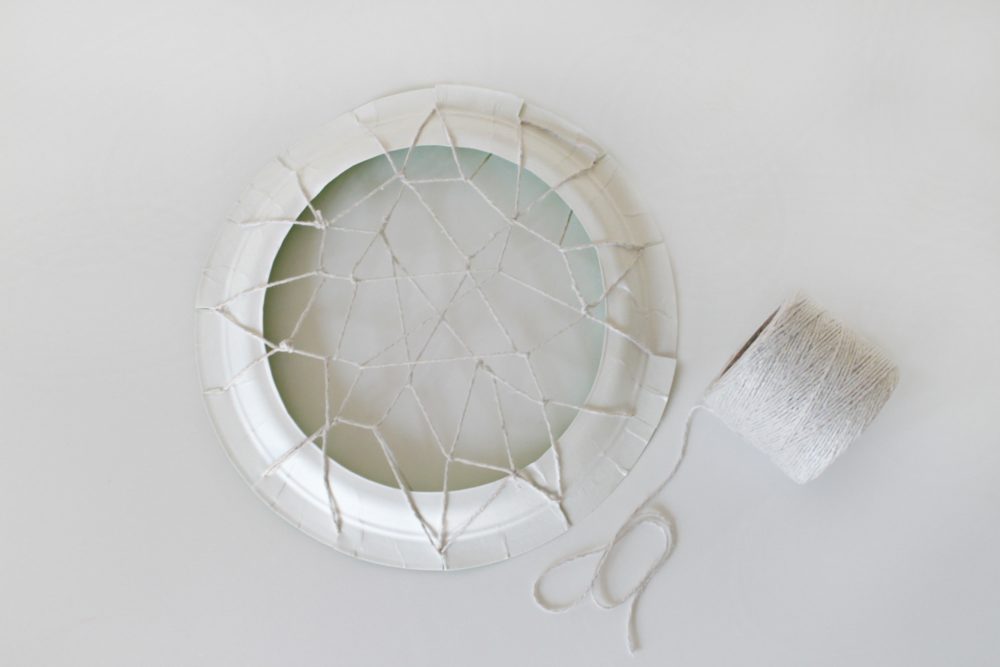
- Take the string and wrap it back and forth around the plate using the cuts to hold the string in place. Use whatever pattern you think looks good and continue weaving the string to create a design inside the plate (small knots were used here to keep the string in place.)
- Use strips of washi tape to make “beads” on the string inside the dream catcher. Do this by ripping off pieces of tape 2” – 3” long and wrap them around the string. Make as many as you think look good.
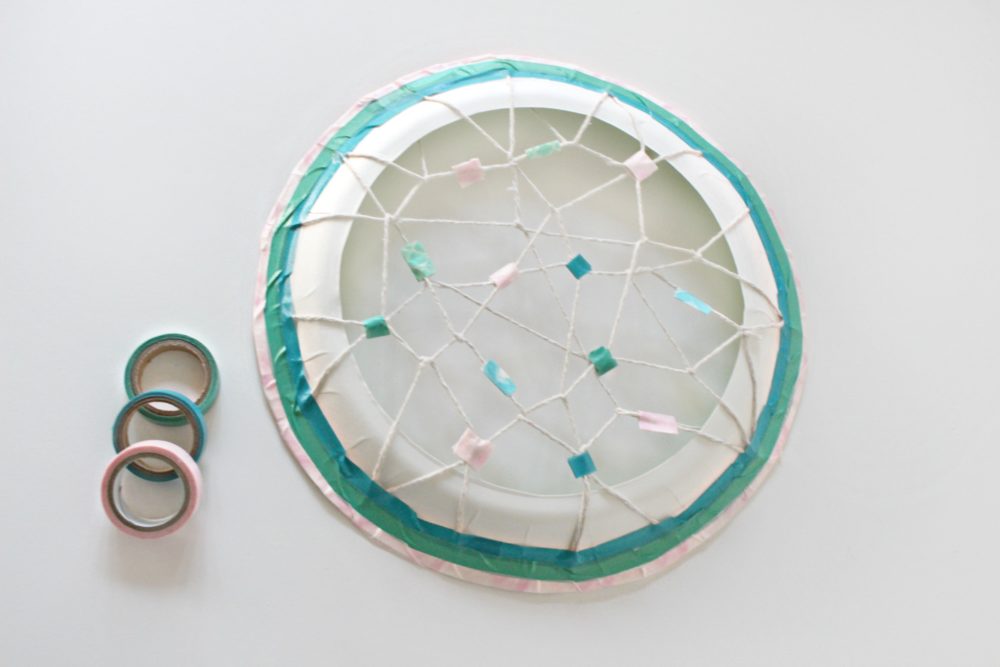
- Use a few rolls of tape to cover the outside edge of the paper plate. This will cover up the cuts in the plate where the string is woven through as well as make a cool border.
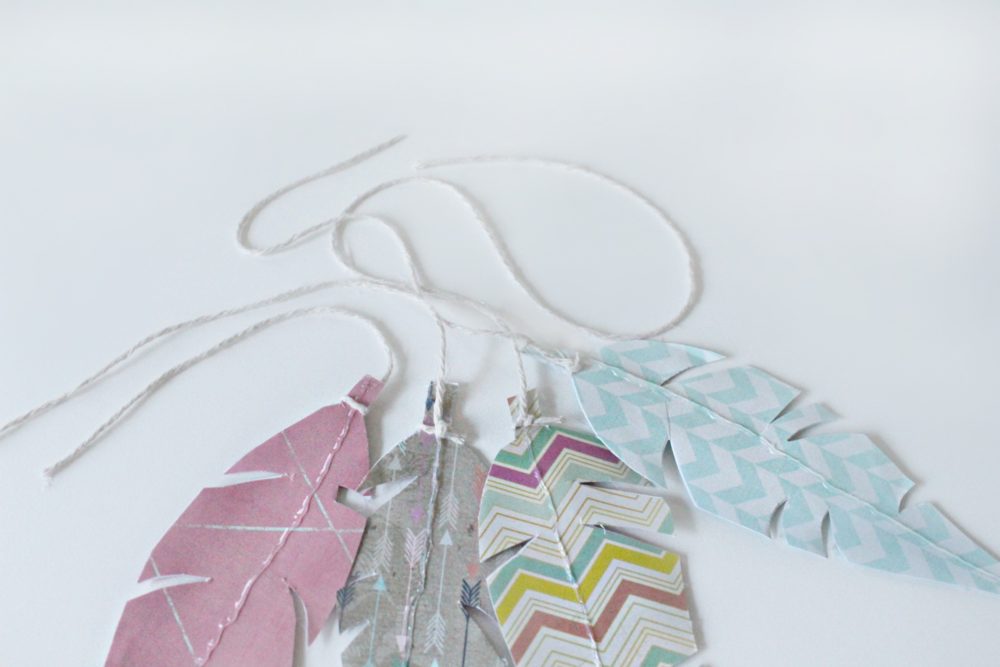
- Get out your four pieces of scrapbook paper. On the back of each piece, draw a feather about 4 – 5 inches long and 2 – 3 inches wide.
- Cut out the feathers.
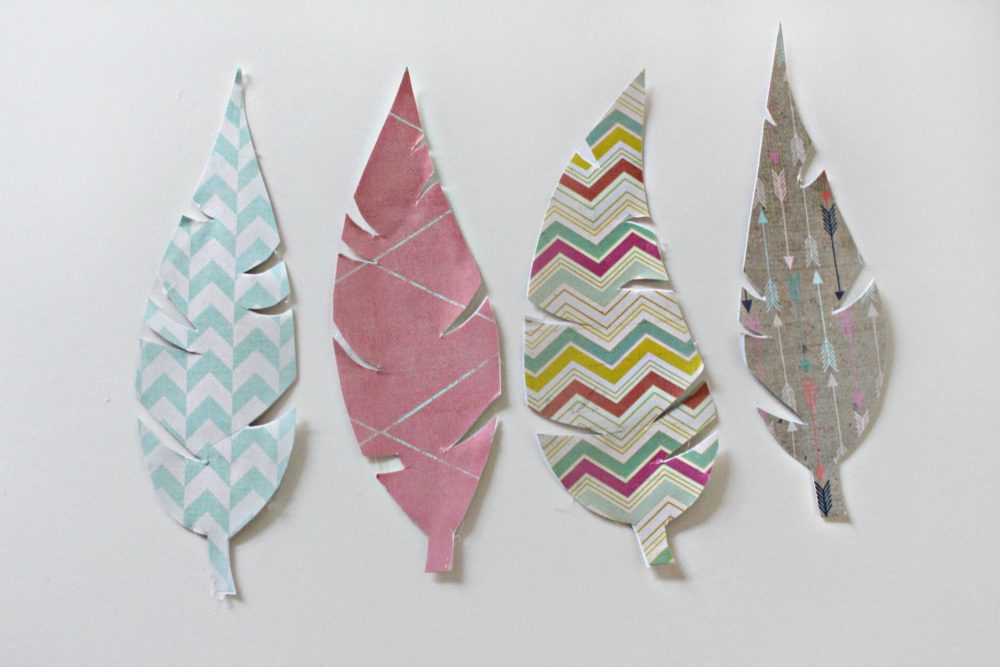
- Cut four pieces of string about a foot long. Tie one end around the bottom of the feathers.
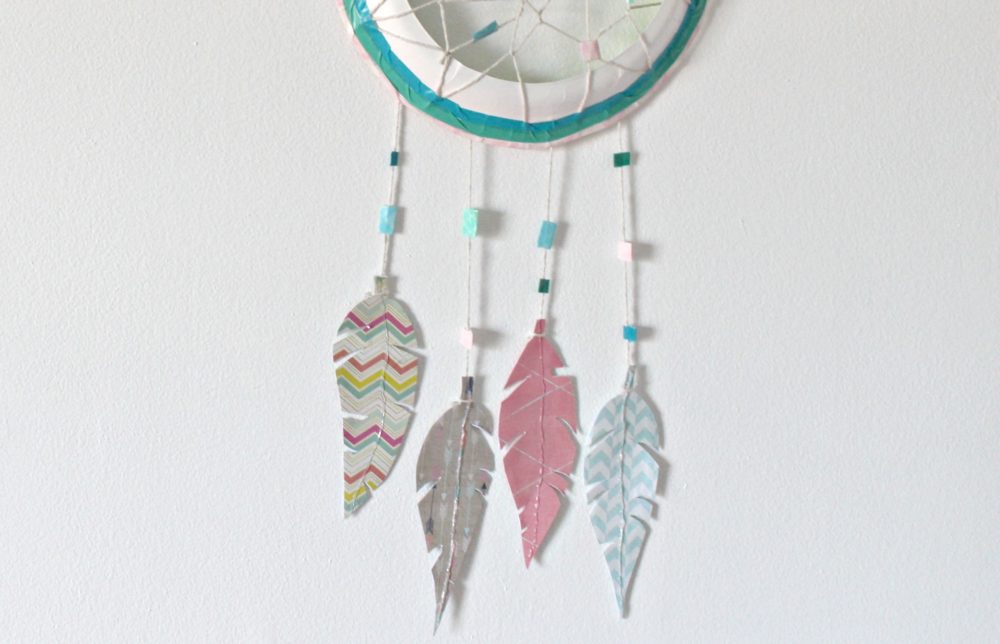
- Lay out the dreamcatcher with the feathers coming down from the bottom. Trim the string to the size you like and use tape to secure these ends on the back of the dreamcatcher.
- Use a few more strips of washi tape to make more beads on the strings that are hanging down.


Most popular craft

Article may contain Amazon & affiliate links. As an Amazon Associate I earn from qualifying purchases at no additional cost to you.
ABOUT PETRO
Hi, I’m Petro, author and founder of Easy Peasy Creative Ideas. Sewist, crafter, avid DIY-er, foodie, photographer, homemaker and mommy to one. I’m an expert at coming up with quick, clever sewing tips, recycling crafts and simple, easy recipes! You can find my ideas featured in reputable publications such as Country Living, Good House Keeping, Yahoo News, WikiHow, Shutterfly, Parade, Brit & Co and more. Thanks for stopping by and hope you’ll stay for a while, get to know me better and come back another time. Stick around for real fun projects! Read more…