

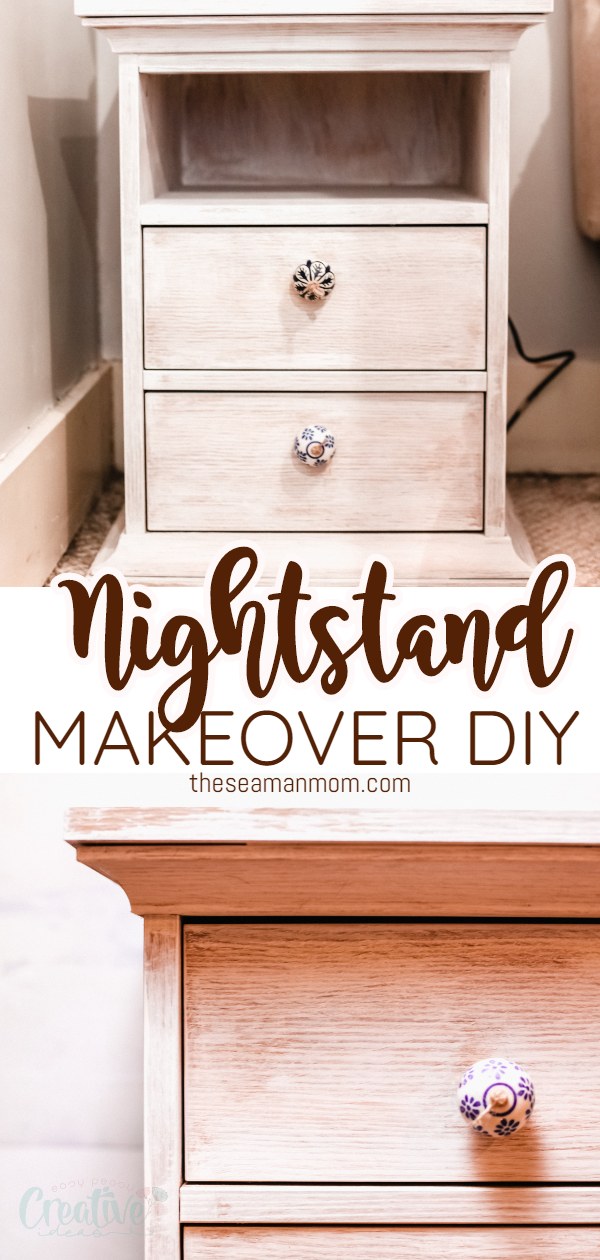
DIY Whitewashed nightstand makeover
Repurposing old furniture, like this whitewashed nightstand, is a great way to infuse new life to your home without needing to break the bank! If you’re sick of your old and boring nightstand, improve the look of your bedside table with this nightstand makeover, for less than $10 and in almost no time!
Nightstand makeover
One of the easiest ways of giving new life to a room is by changing the furniture. However, let’s be honest here, new furniture can be incredibly expensive; I mean most nightstands cost hundreds of dollars at stores! But what if I told you, you don’t really need to buy something in order to have something new? What if all you need to completely overhaul the look of your bed area is a simple nightstand makeover?
Actually you can make your old, boring nightstands look brand new by giving them a good fresh coat of paint. This DIY nightstand makeover process is super easy! You just need your nightstands and a can of chalk paint and you are all set.
You can use the nightstands you already have, some hand-me-downs or purchase them from a thrift shop or craigslist. If you are buying them just make sure they are in fairly good shape, you want the drawers to work properly, for example.
Using chalk paint to refinish an old nightstand
One of the easiest ways to refinish old furniture is using chalk paint. You can get it at craft shops as well as hardware stores.
The great thing about chalk paint is that it’s very forgiving. If you are not an expert at painting furniture it will pretty much cover all your mistakes. It’s also great because you don’t need to carefully sand it beforehand.
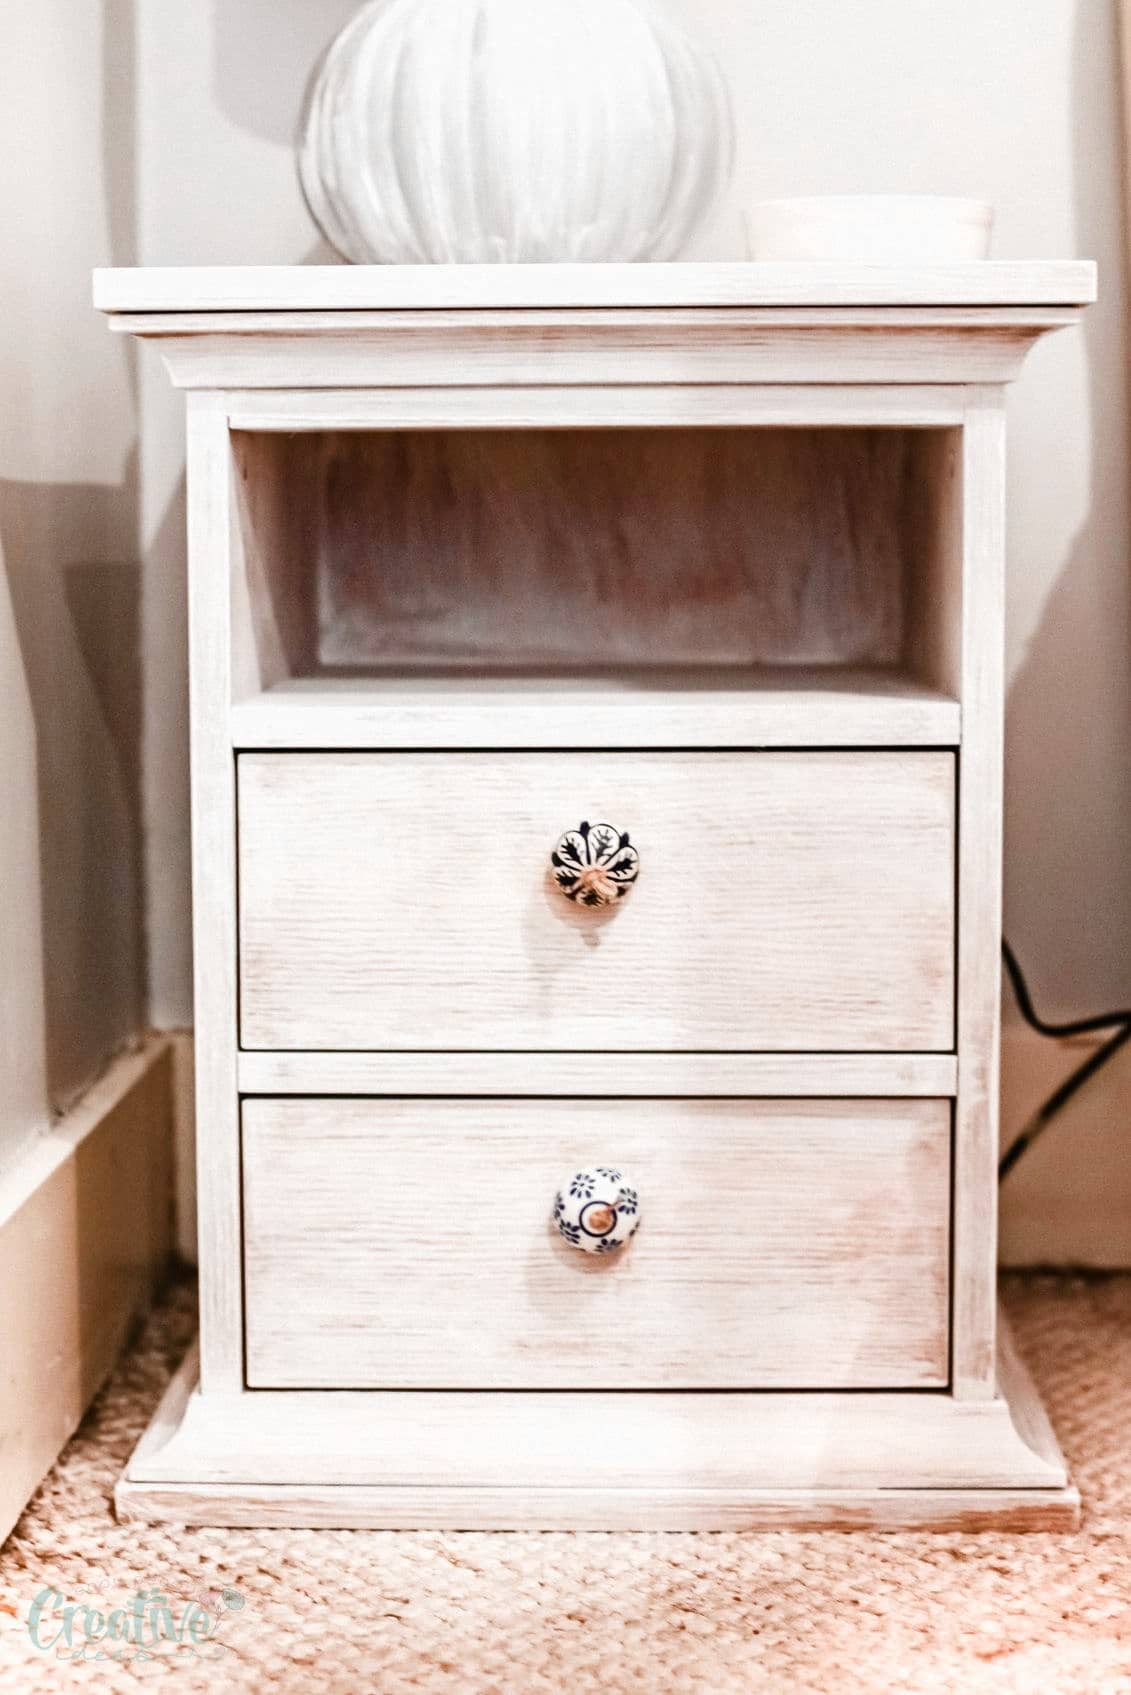
How to white wash a nightstand
I love how vintage furniture looks! You can achieve that look with a technique called whitewashing. It’s actually just mixing the paint with water and painting it lightly so the brushstrokes will show. Then, soften up the harsh lines with a wet sponge.
Repeat the process a couple of times until you get the finish and color you like. It will vary a lot depending on the initial color and finish of your nightstand. Since mine was very light I only needed to give it 2 hands of paint.
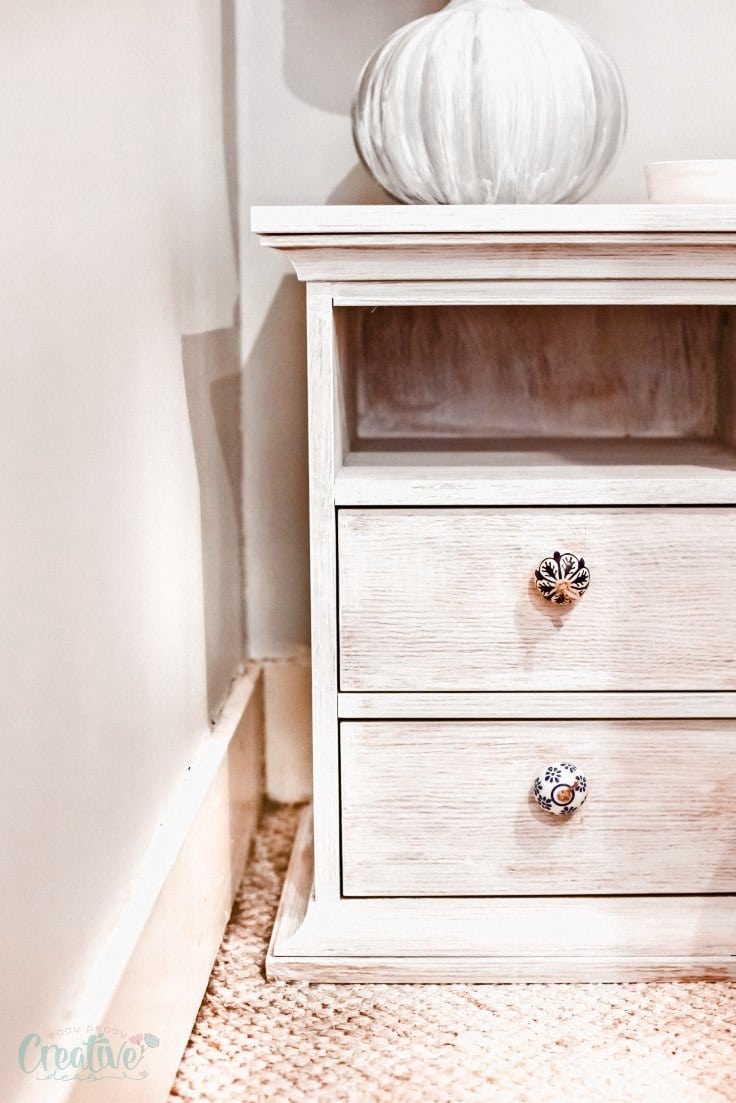
Changing the knobs to make your upcycled nightstand pop!
After your nightstands are painted change the knobs! I got some vintage, ceramic ones that fitted perfectly with the coastal theme I was going after. I secured them with a bit of rope to keep the rustic theme going
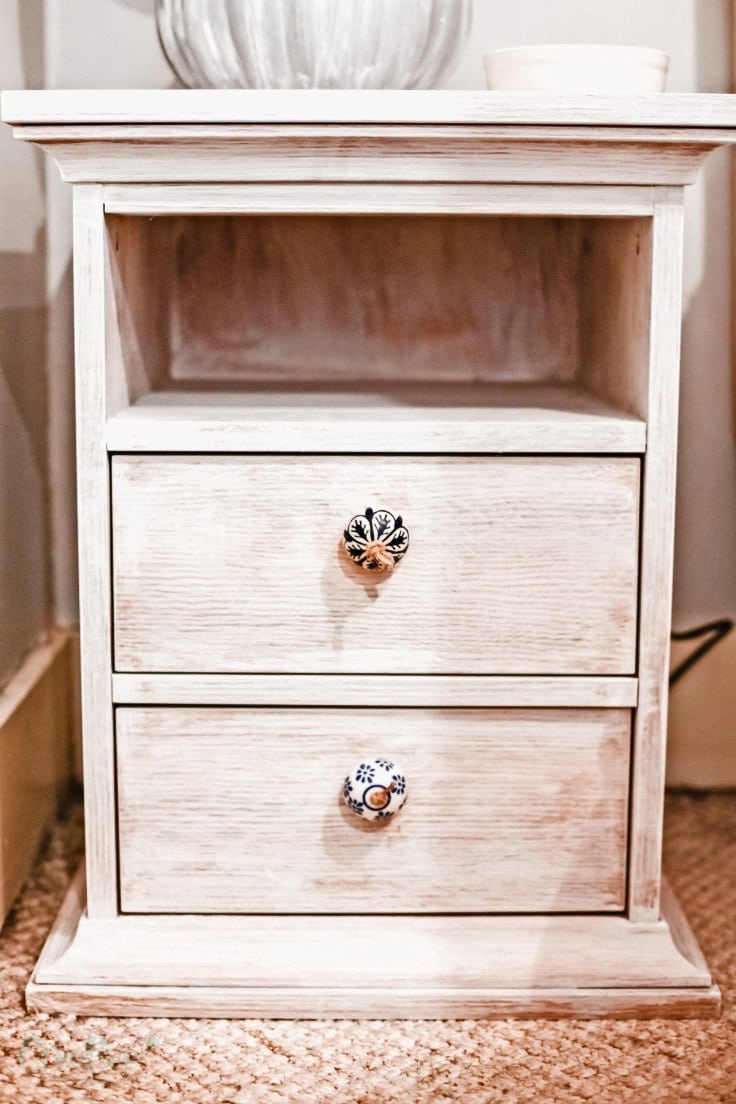
Painting your furniture is a really low effort way of giving them a totally new look!
Painted nightstand
Materials:
- old nightstand
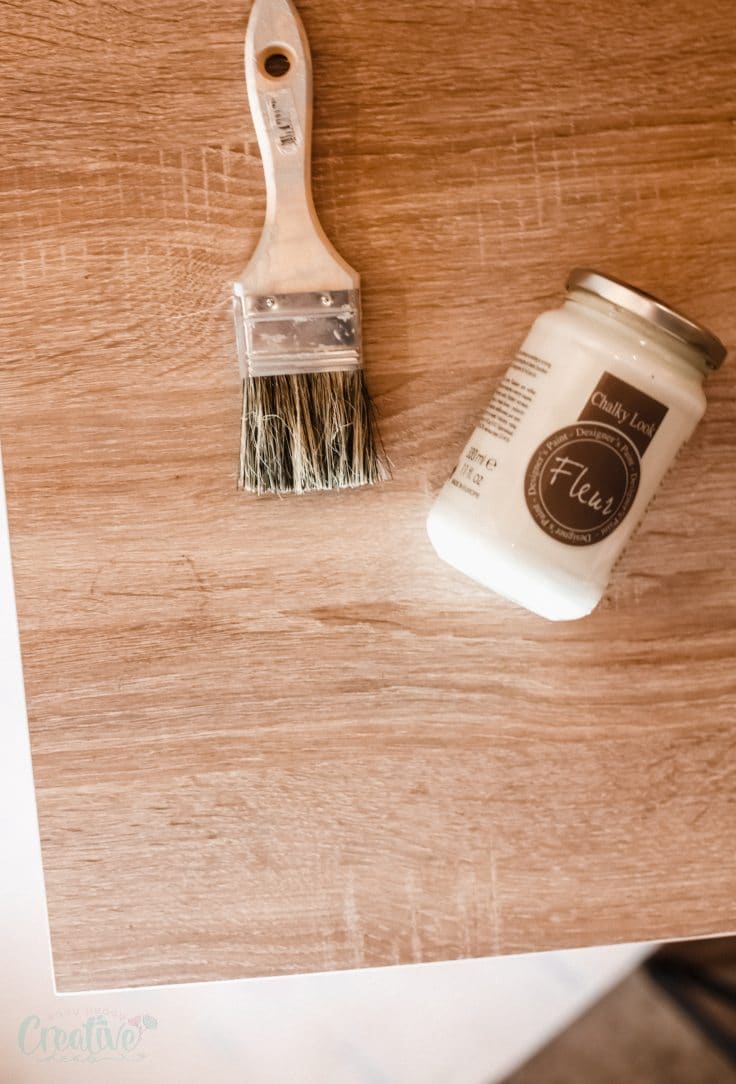
- chalk paint in color of choice (I used Fleur Chalky Look paint in white)
- water
- vinegar
- fine grit sanding paper
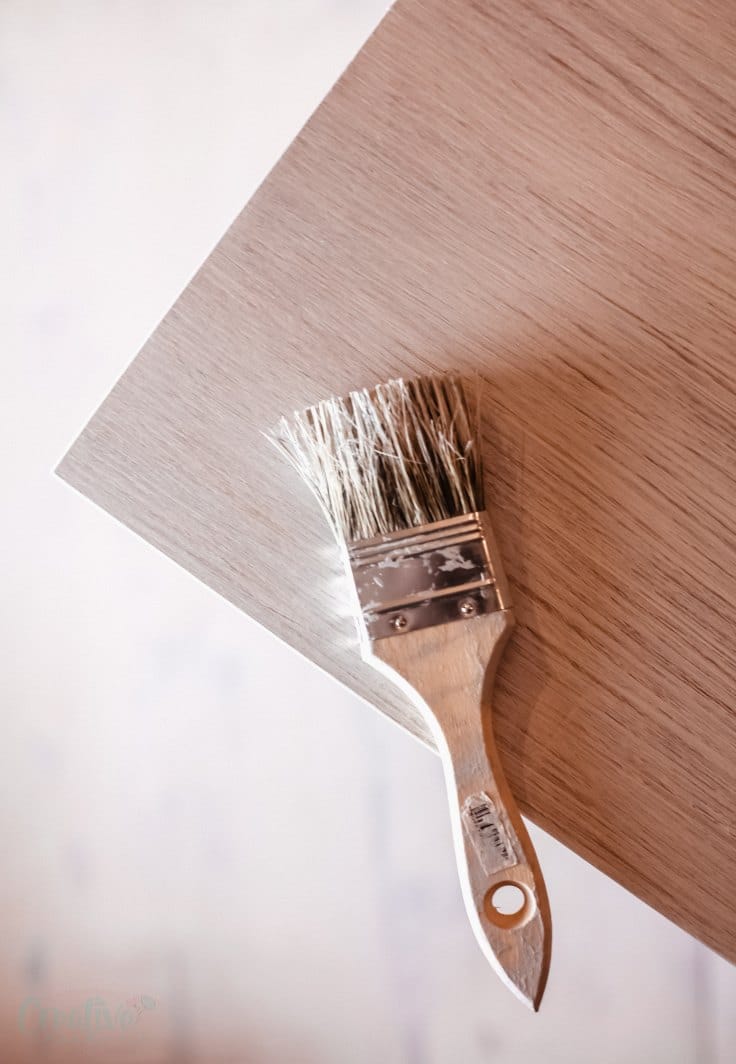
- brush
- sponge
- new knobs
Instructions:
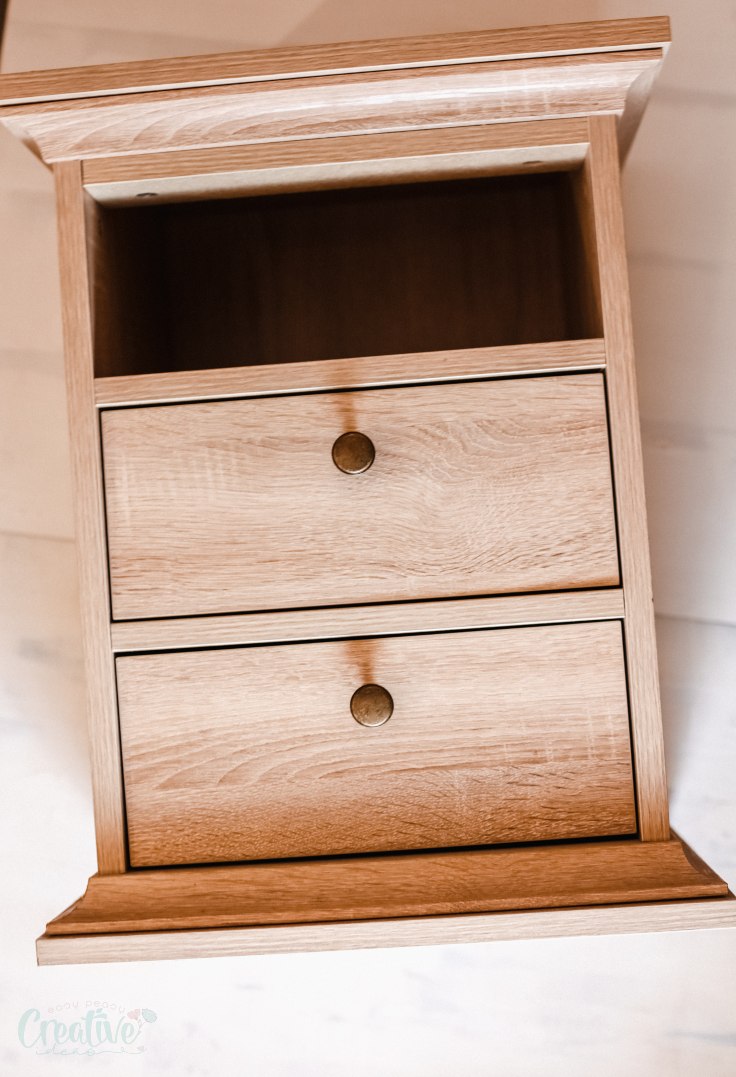
This is my nightstand before whitewashing.
1. Clean up the nightstand! Use warm water and a couple drops of vinegar to get rid of dust and grime.
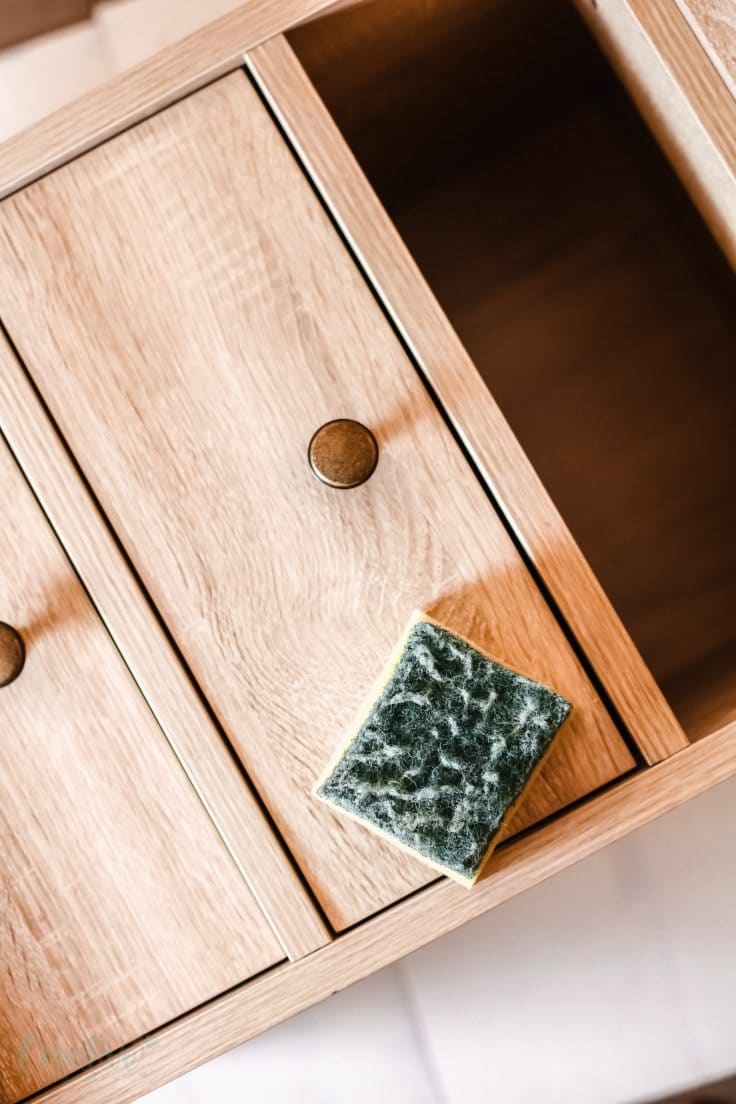
2. Lightly sand the surface. You don’t need to completely sand it done, just a light hand to get rid or the clean, shiny coat some wood pieces have. Getting rid of it helps the paint to penetrate the wood more with will result in a better finishing.
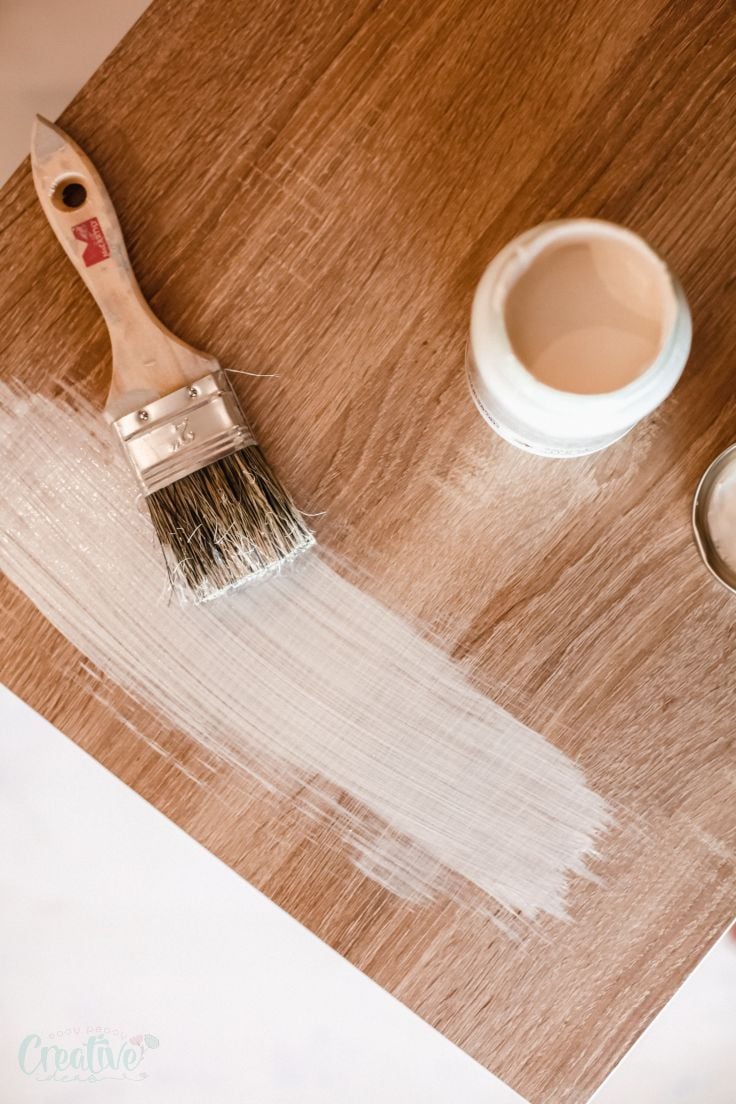
3. Mix 1 part of chalk paint with 2 parts of water.
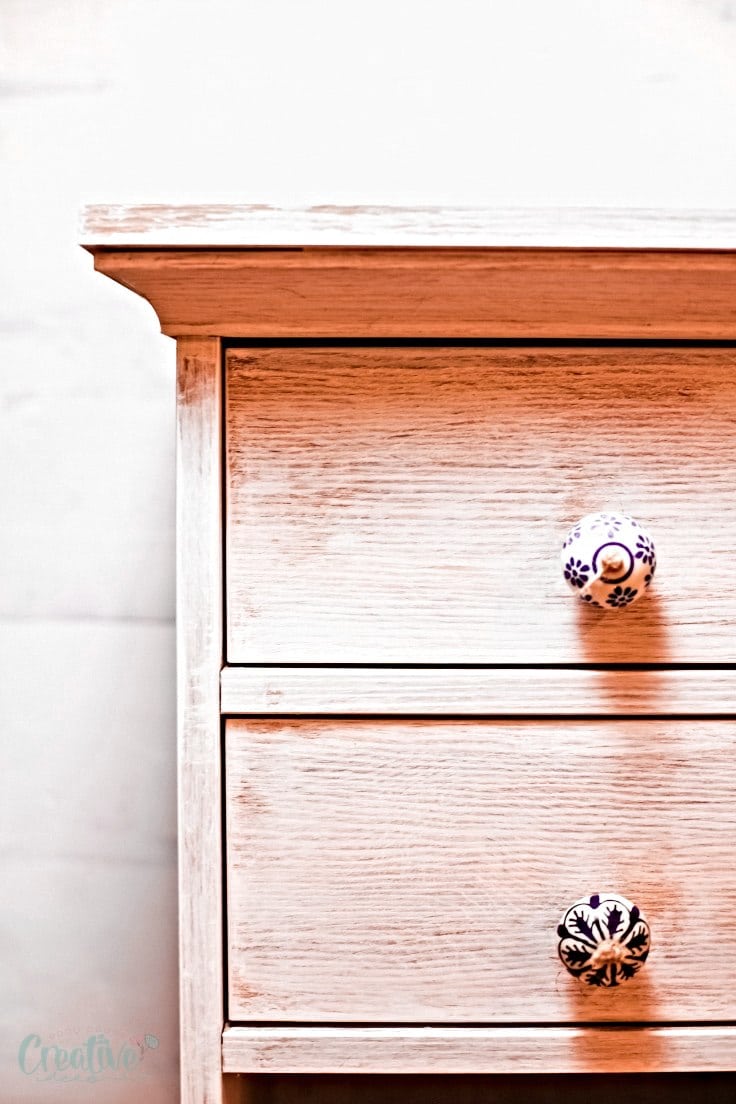
4. Give light strokes with a brush to lightly coat the nightstand. You want to leave some of the brush marks so you can actually peek the wood from under.
5. Soften the harsh lines with a wet sponge and repeat the process until you are happy with the end result.
6. Let it air dry completely. This is the process that takes the most time. I actually advice you let it air dry for 48 hours before moving it and touching it too much.
7. If you want the get more of that distressed painted wood look we’re all crazy about, do some sanding to the areas where you want the wood exposed. Choose the areas where your piece of furniture might actually have faced some wear and tear such as edges, corners, legs, around the knobs etc
8. Change the knobs for new ones.
9. Decorate your nightstand and fall in love with it! Ok that’s really not necessary, but I’m pretty sure you are going to love it!
Pin to save for later
Article may contain Amazon & affiliate links. As an Amazon Associate I earn from qualifying purchases at no additional cost to you.

Very nice, but what sort of finish / sealer did you put on once everything was dry and to your liking?
Hi Colleen! Thanks for your kind comment! I didn’t use any finish. I like the rustic/farmhouse look and by not using any sealer the paint will hopefully chip a little more with time and use.