DIY Dino Easter Eggs Kids craft tutorial
Easter may be all about bunnies and egg hunting but for a little dinosaur lover, this easy Paper Dinosaur Egg Kids Craft is perfection!
Paper dinosaur egg kids craft
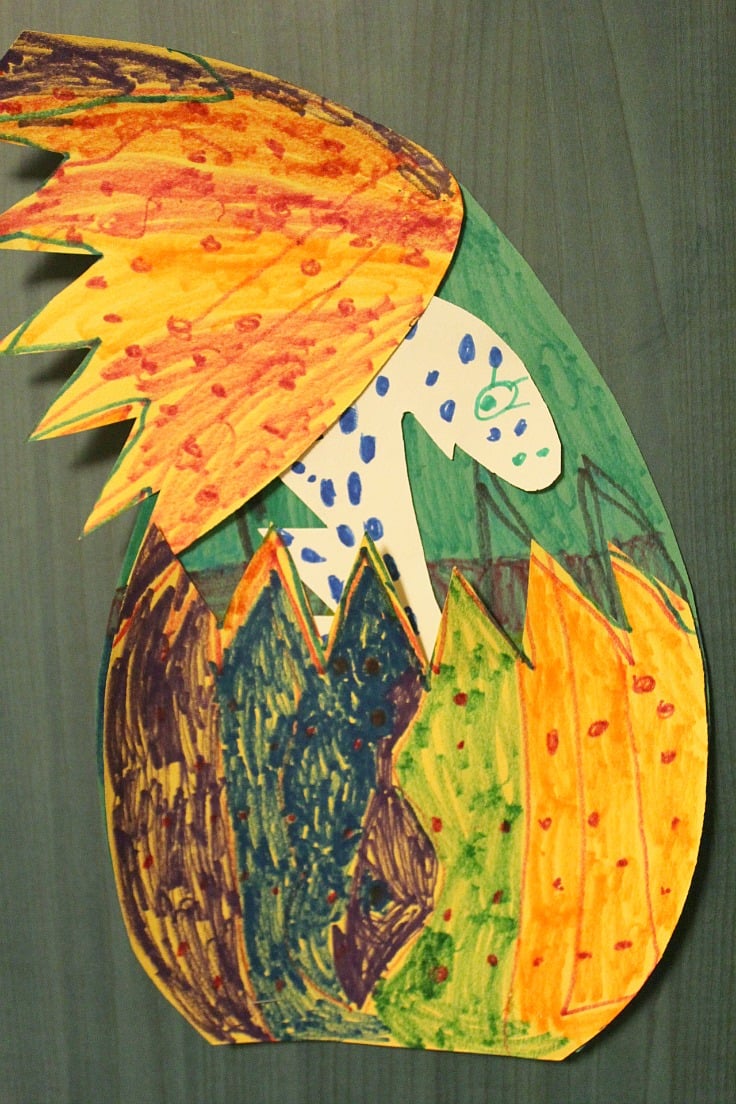
If you’ve been following me on my social media, Facebook page in particular you know Ellie and I are currently traveling the Caribbean. While we have a lot of fun soaking up the sun, a kid like Ellie needs more than just that to stay challenged and happy. We can’t do much crafting while we’re here but we do our best to keep our creative minds sharp. And since boys and girls alike are so enchanted with dinosaurs I thought this Paper Dinosaur Egg Kids Craft would be perfect to make with Ellie and call it our Easter craft.
And I’m happy to announce that it was probably the best decision I’ve taken in a while. Ellie loves us bonding over creating stuff like this and she is of course a sucker for dinosaurs! She had a blast designing the eggs, “cracking” them, coloring and playing around with scissors (which it doesn’t happen very often since her mommy is a control freak!).
Similar Easter crafts you will love:
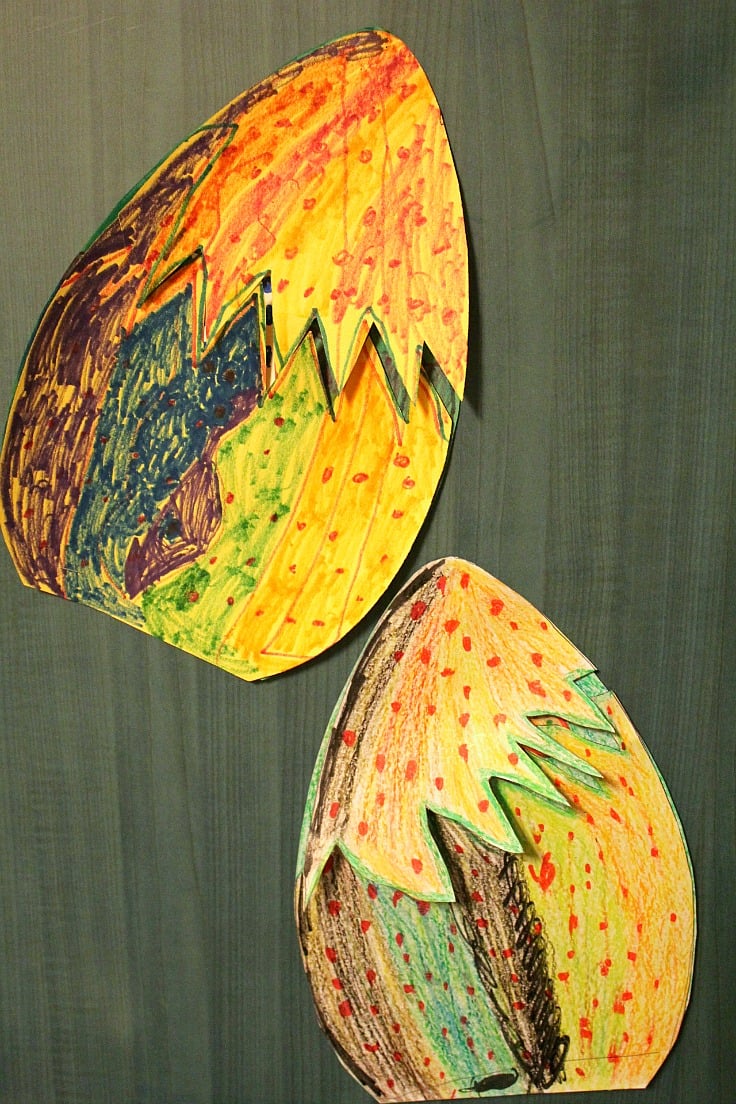
This little craft is so insanely easy, it provides about half an hour of great fun and laughter and is an awesome way for parents and kids to bond and build a stronger relationship! The best homemade DIY project at your fingertips!
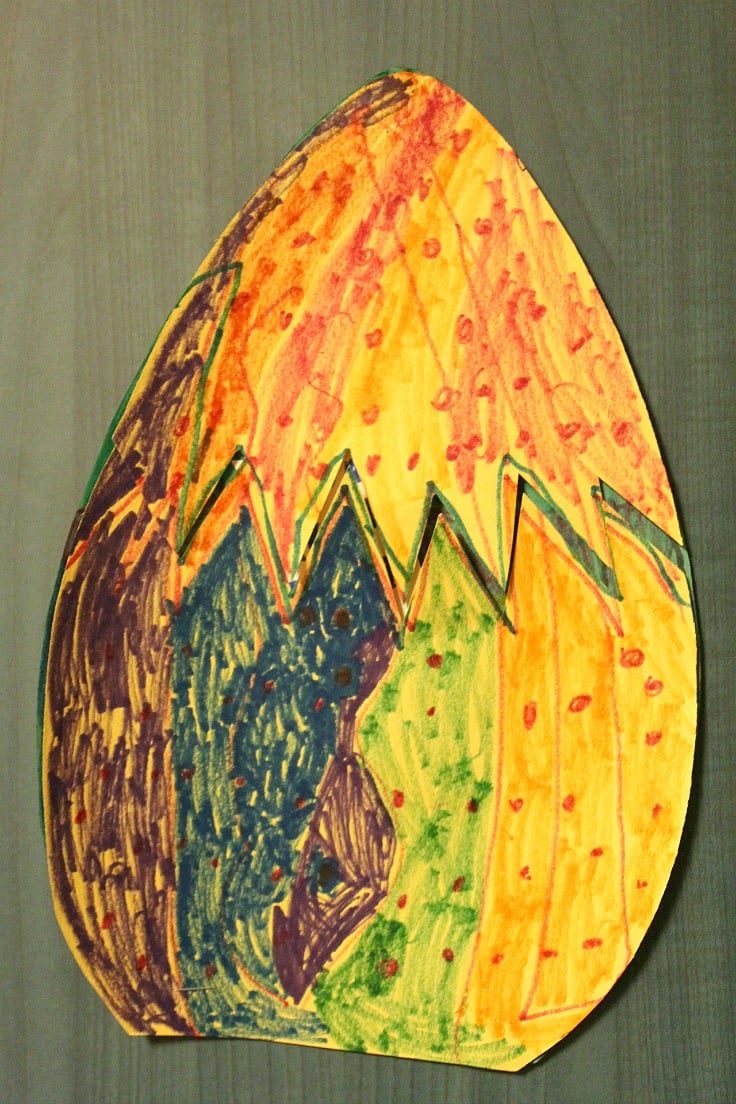
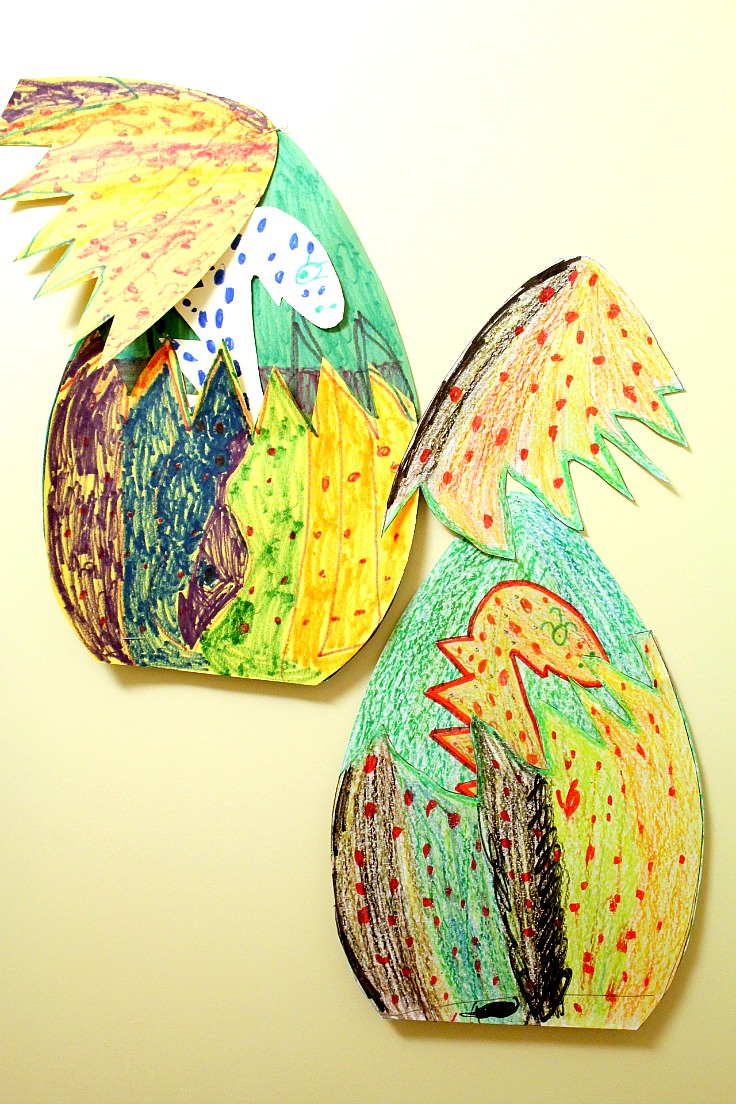
We’ve made one egg first, using light gray paper and Doc McStuffins crayons and then we’ve noticed we have a couple of colored paper sheets and used those instead. coloring it with markers and I think this one looks better so if you have colored paper, I’d recommend using that. We used yellow paper for the top side of the egg and green for the back side.
I also made some printables if you want to use the eggs template Ellie’s made.
Paper Dinosaur Egg Kids Craft tutorial
Materials:
- Eggs and dino templates, downloadable here (or make your own)
- 2 gray paper sheets (or one yellow and one green if you opt for colored paper) for the eggs
- one white or gray paper sheet for the dino template
- glue stick
- Doc McStuffins crayola
- coloring markers
- staples and stapler
- school scissors
Directions:
- Print your eggs and dino templates from here.
- Have your kid cut the shapes and then color as preferred. Assemble top piece and bottom piece of egg #1 on the same paper, to form one egg.
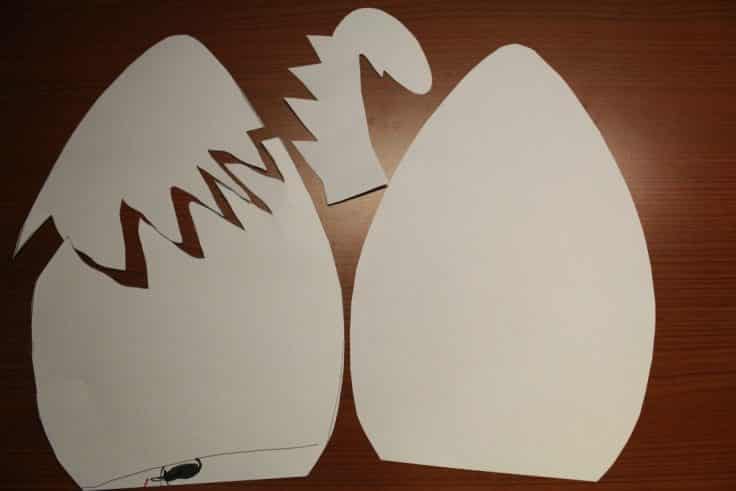
- Apply glue on the back of the dino then glue it to the back side of the egg (Egg #2) I highlighted the shape with red marker.
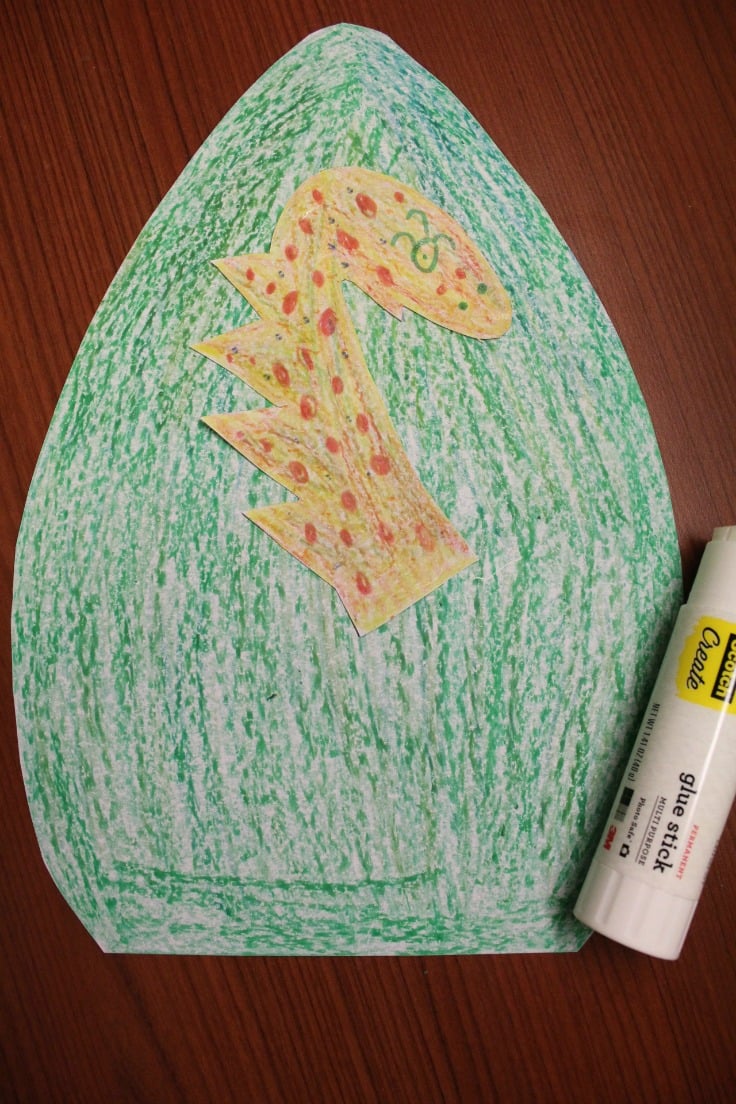
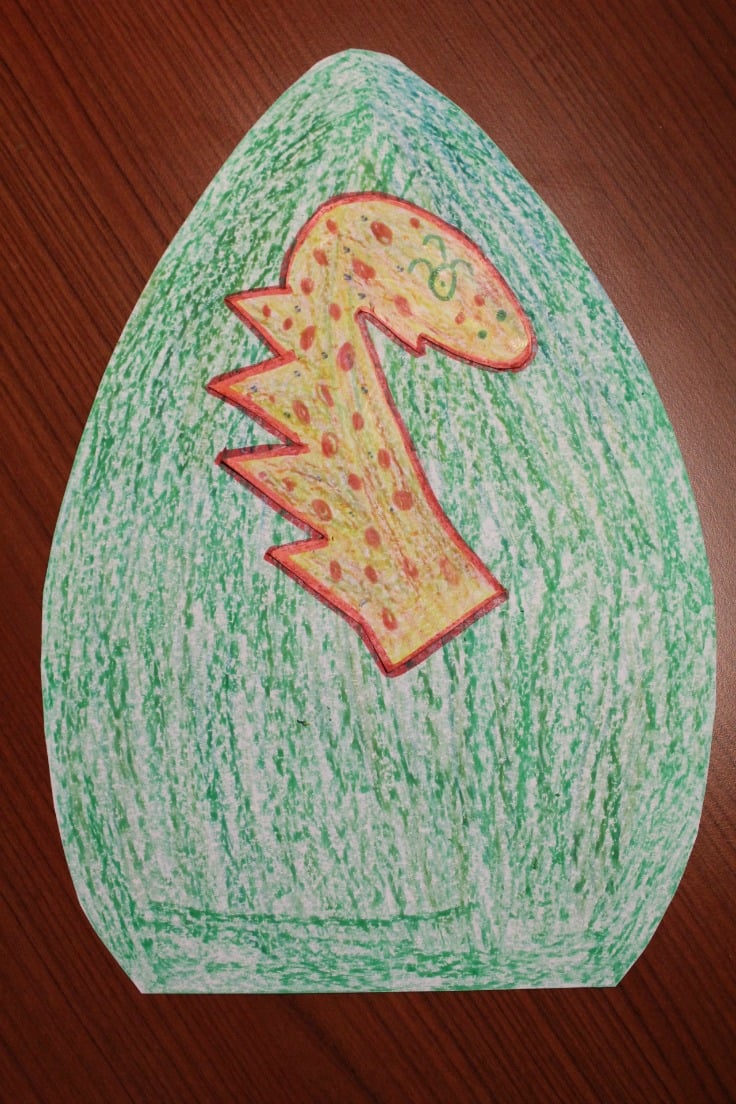
- Apply glue to the back of the bottom piece of the egg #1, on the sides and bottom only and glue to the bottom part of the egg #2.
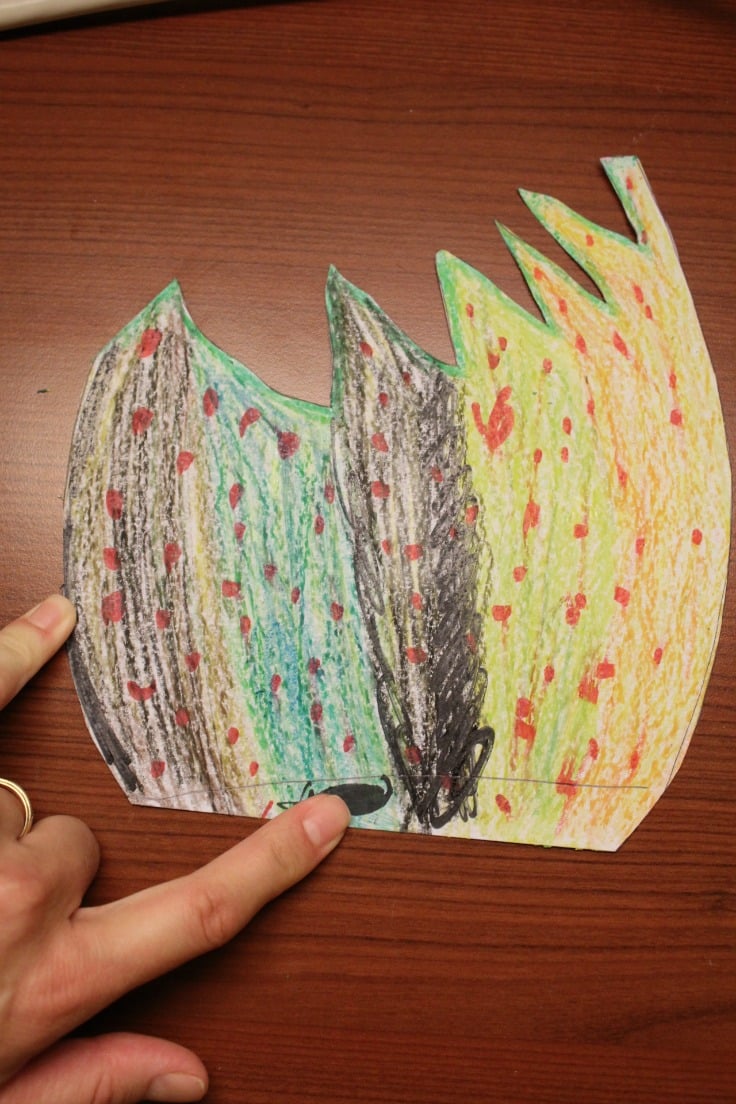
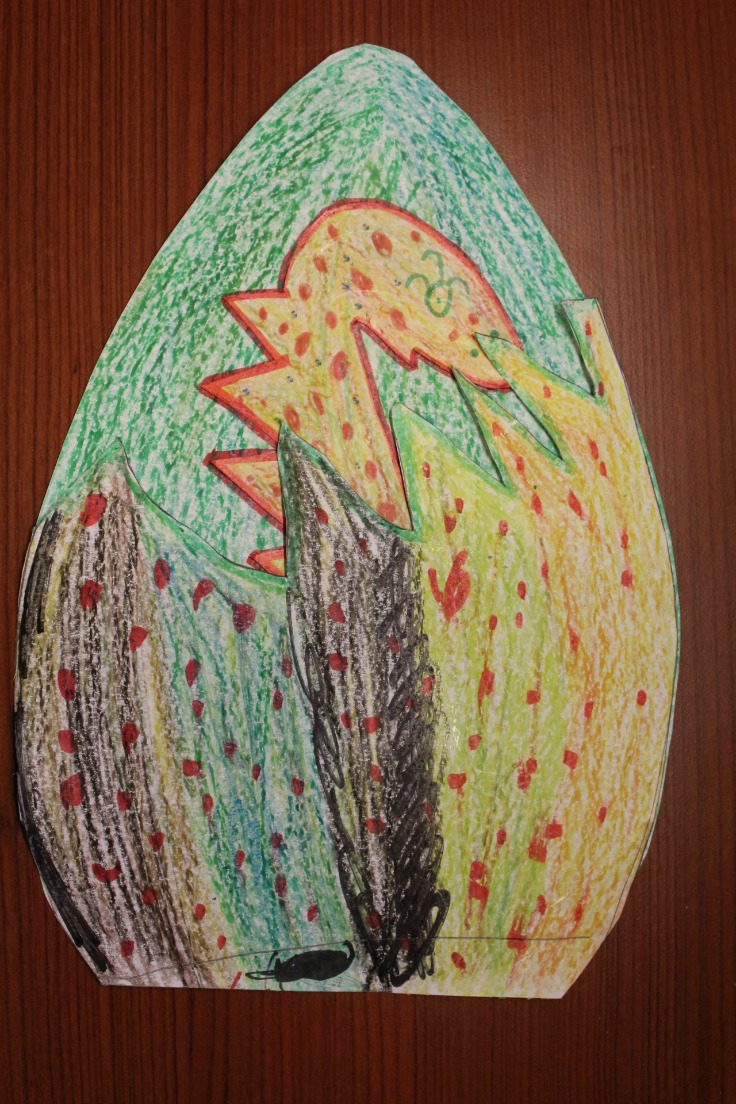
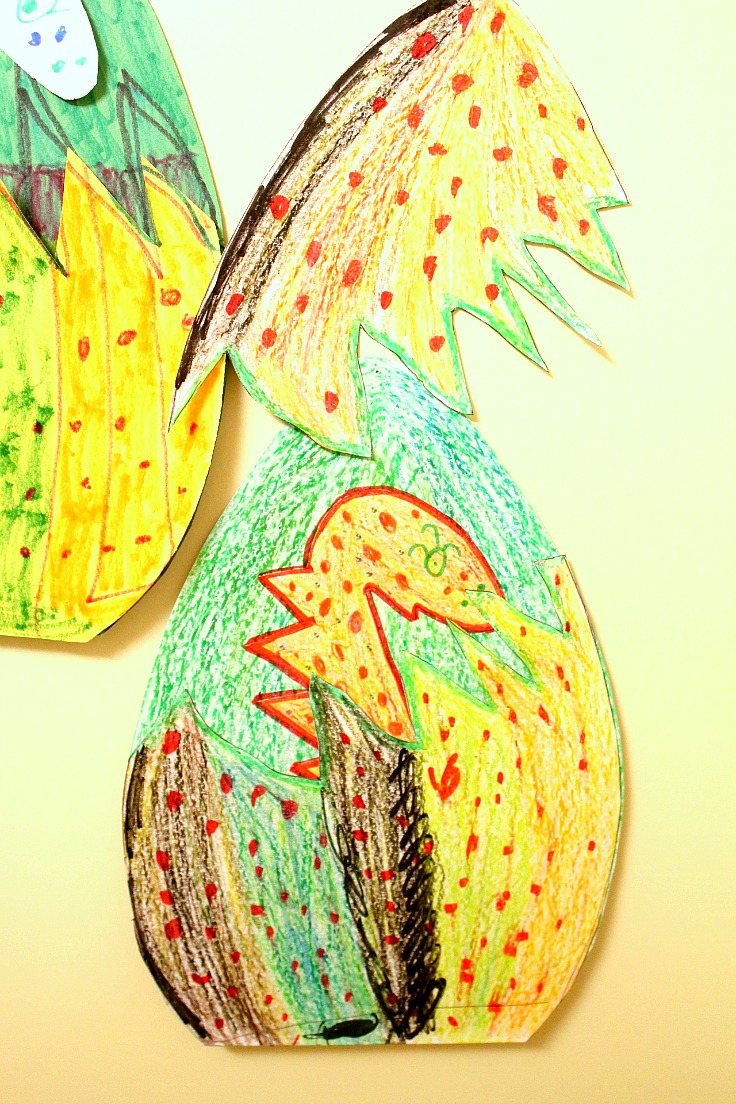
- Staple the top piece of the egg #1 to the top of the egg #2 in a way that you can move the shell to expose the dino.
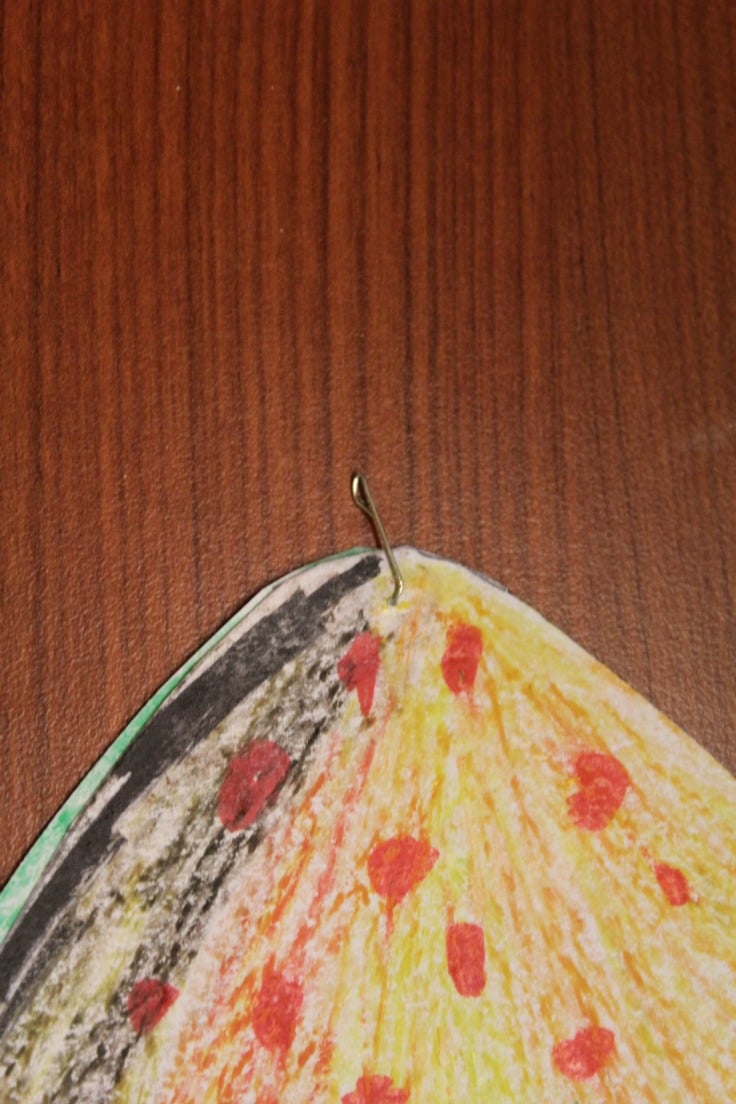
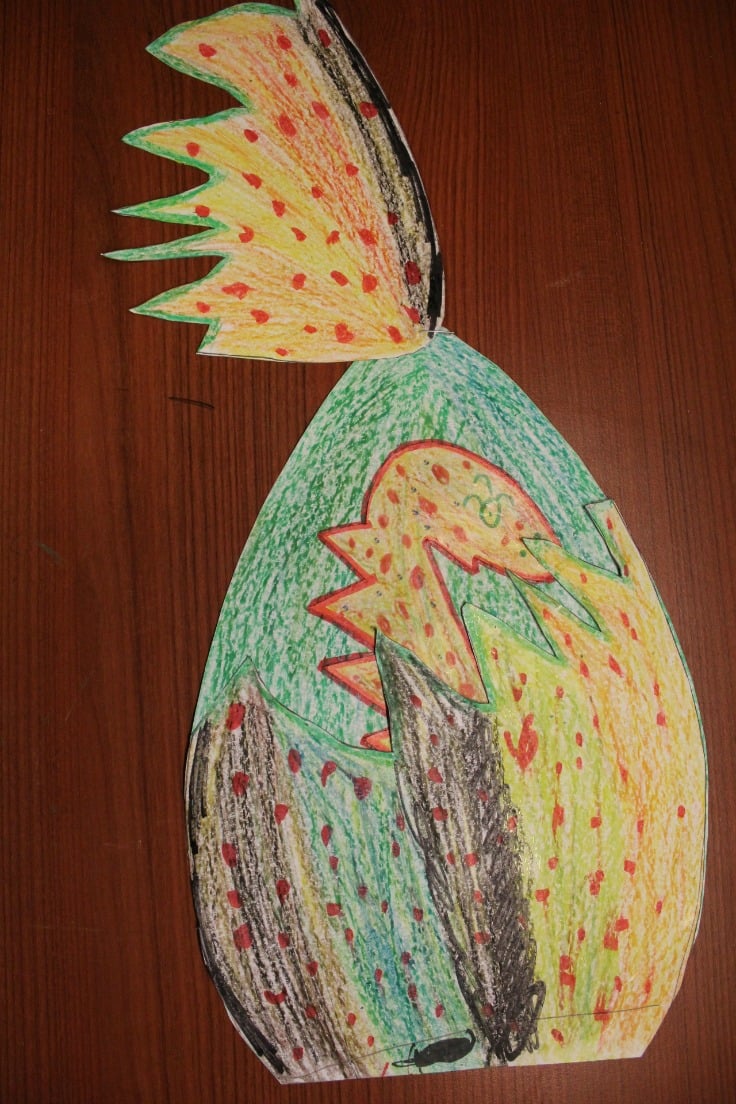
- Hang on a wall and watch how your kid’s face really lightens up every time they take a look at their beautiful work of art!
Article may contain Amazon & affiliate links. As an Amazon Associate I earn from qualifying purchases at no additional cost to you.


ABOUT PETRO
Hi, I’m Petro, author and founder of Easy Peasy Creative Ideas. Sewist, crafter, avid DIY-er, foodie, photographer, homemaker and mommy to one. I’m an expert at coming up with quick, clever sewing tips, recycling crafts and simple, easy recipes! You can find my ideas featured in reputable publications such as Country Living, Good House Keeping, Yahoo News, WikiHow, Shutterfly, Parade, Brit & Co and more. Thanks for stopping by and hope you’ll stay for a while, get to know me better and come back another time. Stick around for real fun projects! Read more…