Pillowcase sewing tutorial

Article may contain Amazon & affiliate links. As an Amazon Associate I earn from qualifying purchases at no additional cost to you.


  • Wash, dry and iron your fabric.
  • Measure your pillow and add some allowance to all edges.
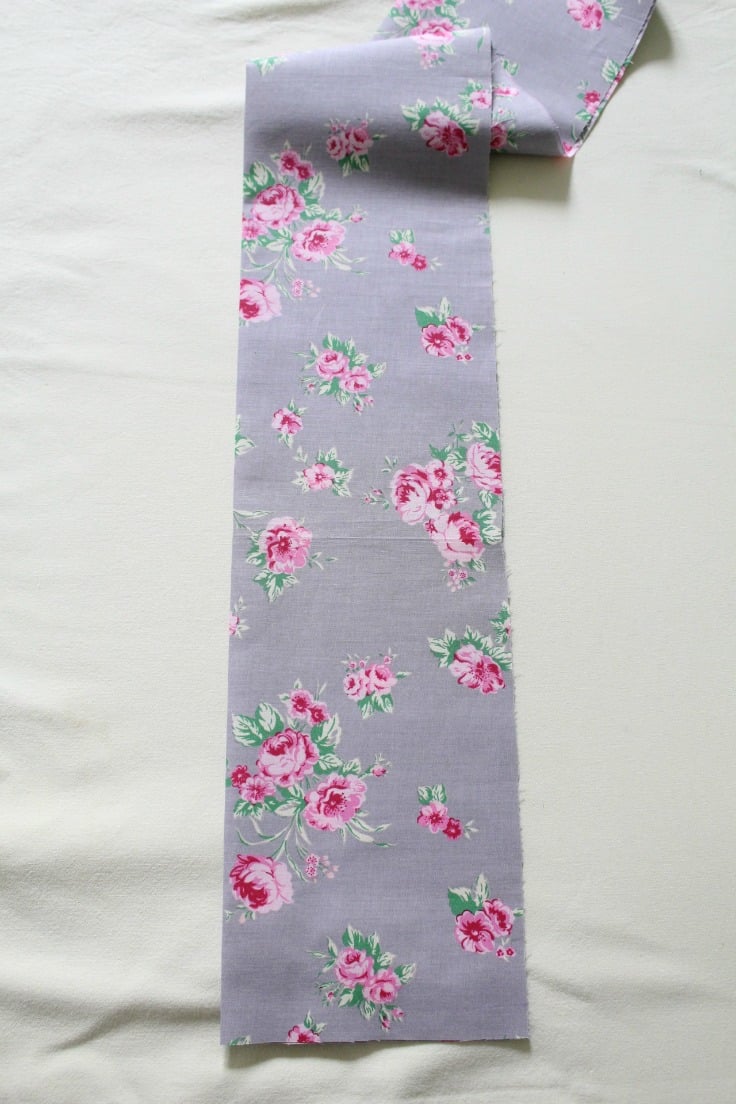
  • Fold fabrics in half for easy cut of your rectangles.
  • Fold the cuff in half, lengthwise and iron down the fold.

How to sew a pillowcase for beginners

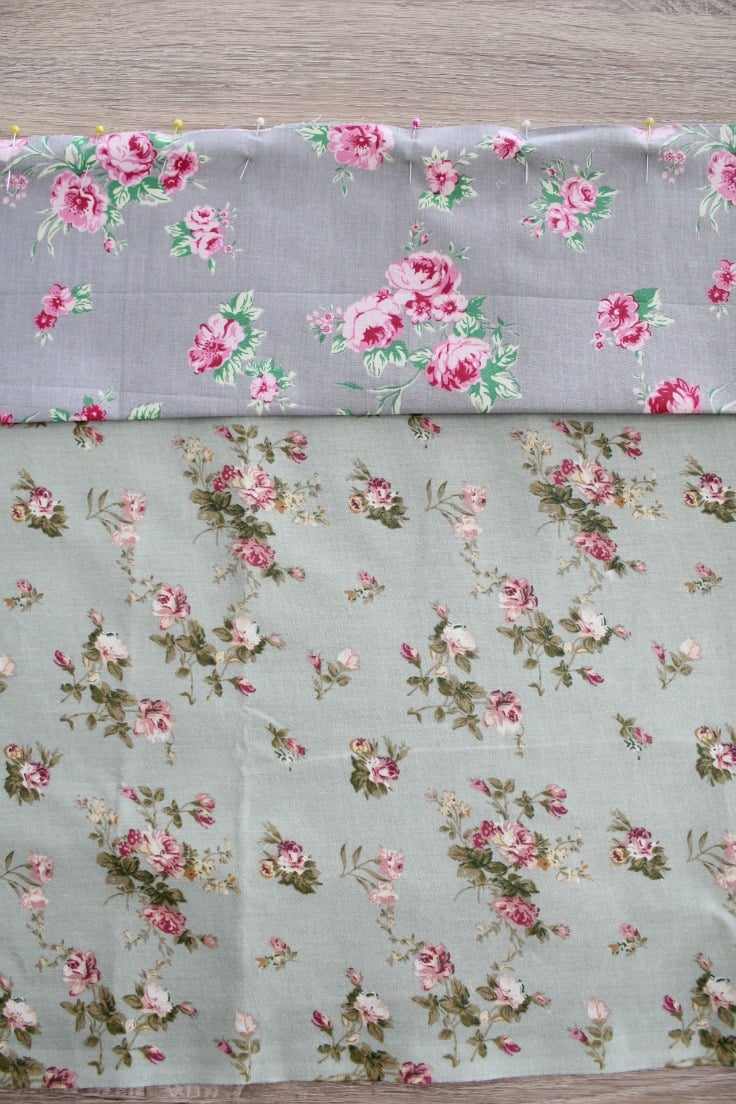
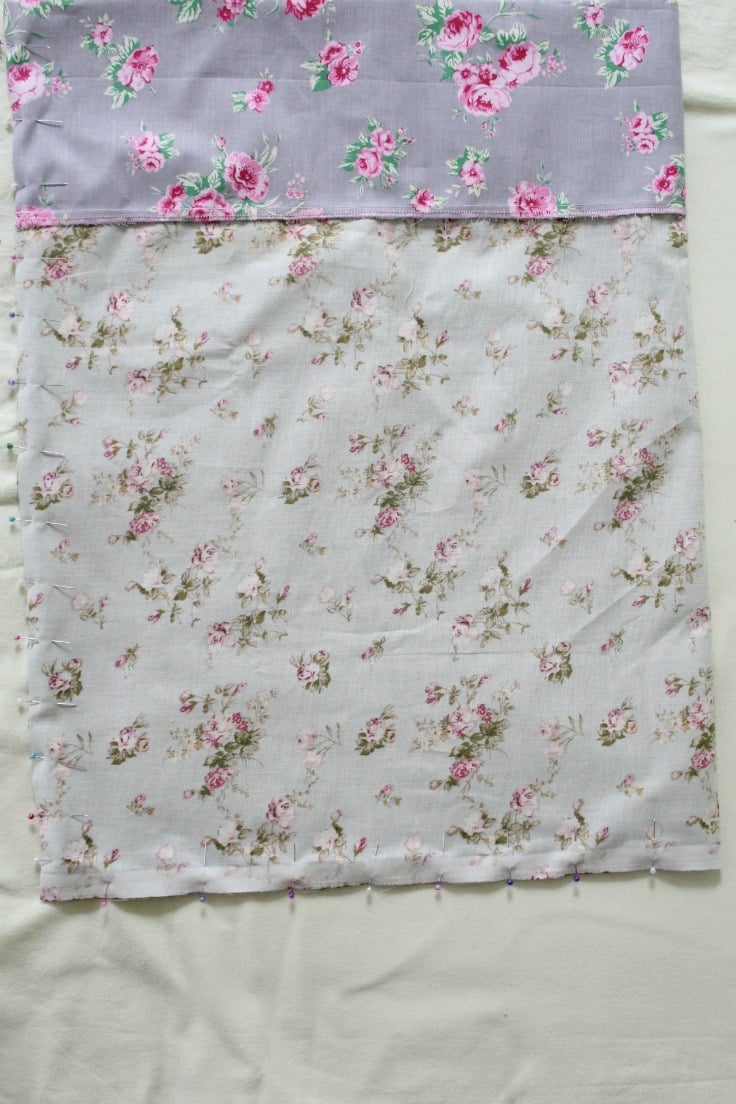
  • Match up the raw edges of your cuff withe the right side of your pillowcase body, pin and sew with a 1/2″ allowance. Serge or zig zag to finish the seam.
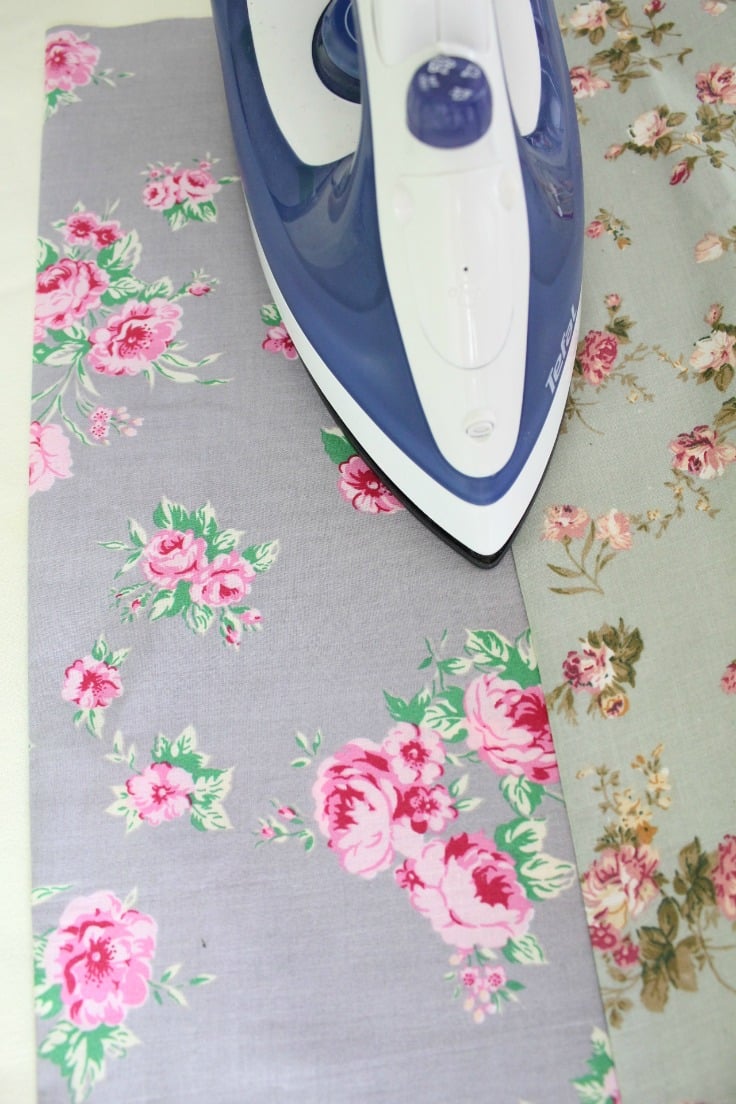
Easy pillowcase tutorial

  • Iron out your seam.

Easy pillowcase

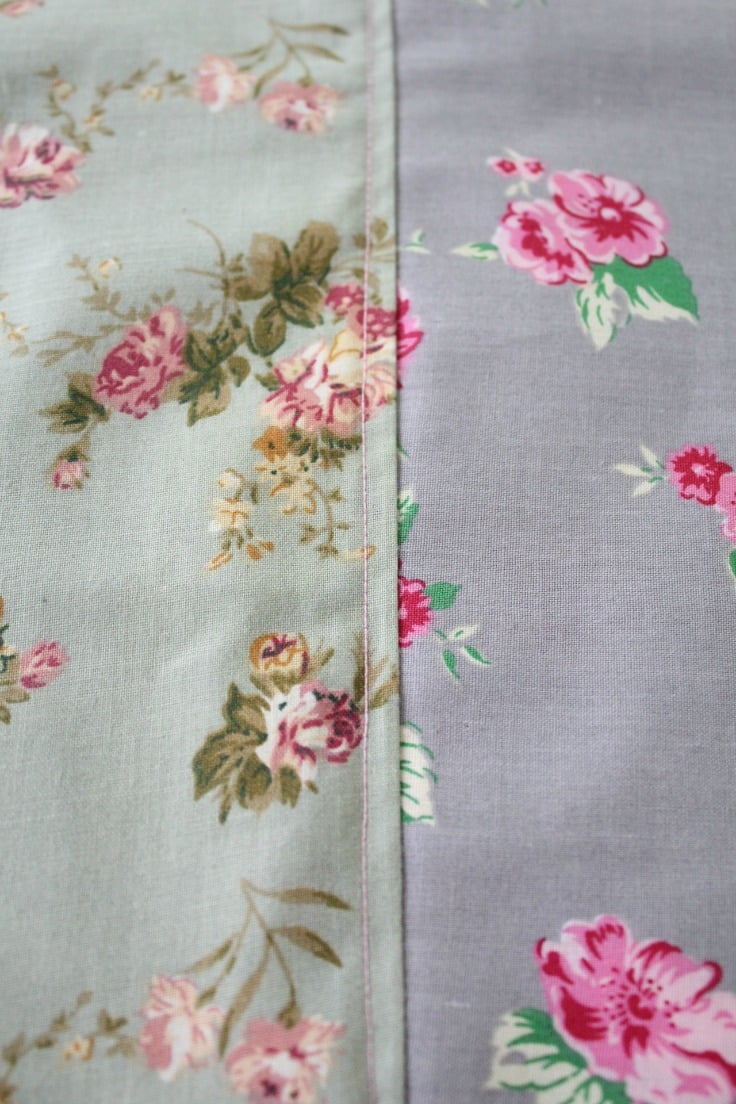
  • Add a top stitch, about 1/8″ over from your seam edge. This is optional but it adds extra strength to the seam and I love the decorative look.

Easy pillowcase pattern

5 SECRETS for

sewing better, faster!!

In this special FREE series, you'll learn my most powerful SECRETS that will improve your sewing skills and help you sew like a pro! Join 38,210 sewing enthusiasts like you!


  • Fold this big rectangle in half and match up the sides and bottom of the pillowcase, with fabric right sides together. Pin and sew all the way down the side and bottom.

Diy pillowcase

  • When you reach the corner, lift the foot, pivot the fabric and continue sewing.

Easy pillowcase pattern for beginners

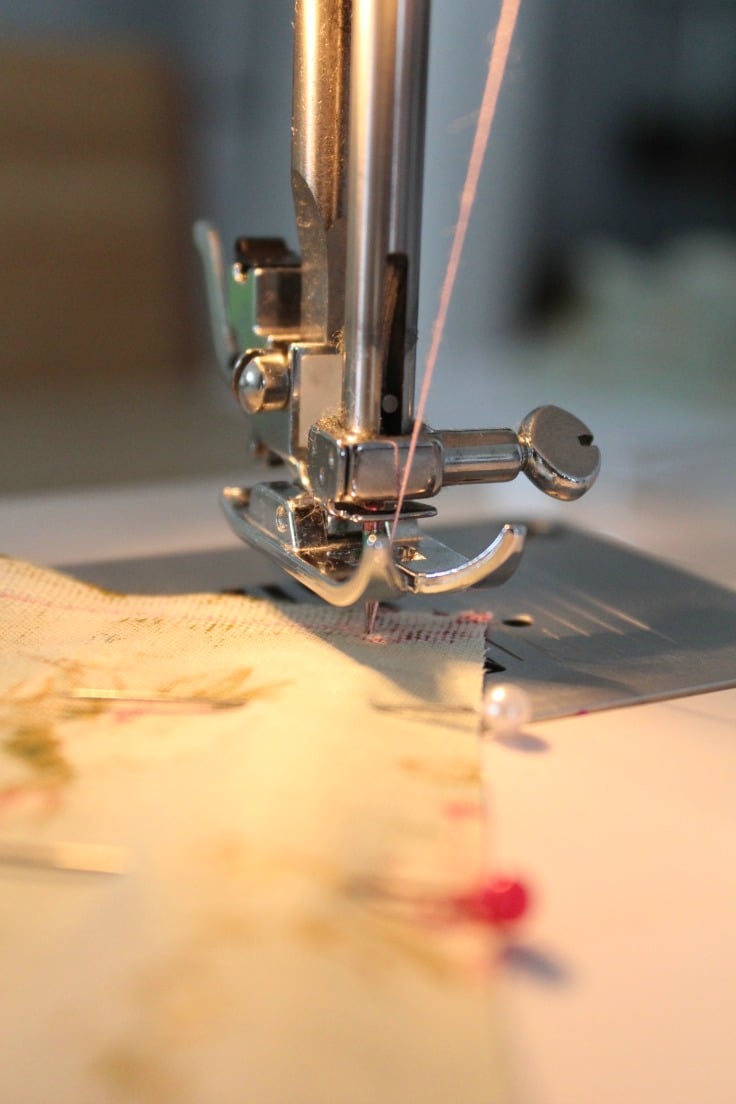
  • Serge or zig zag the seams.
  • Turn the pillowcase right side out, making sure to push the corners all the way out.

IMG_7288

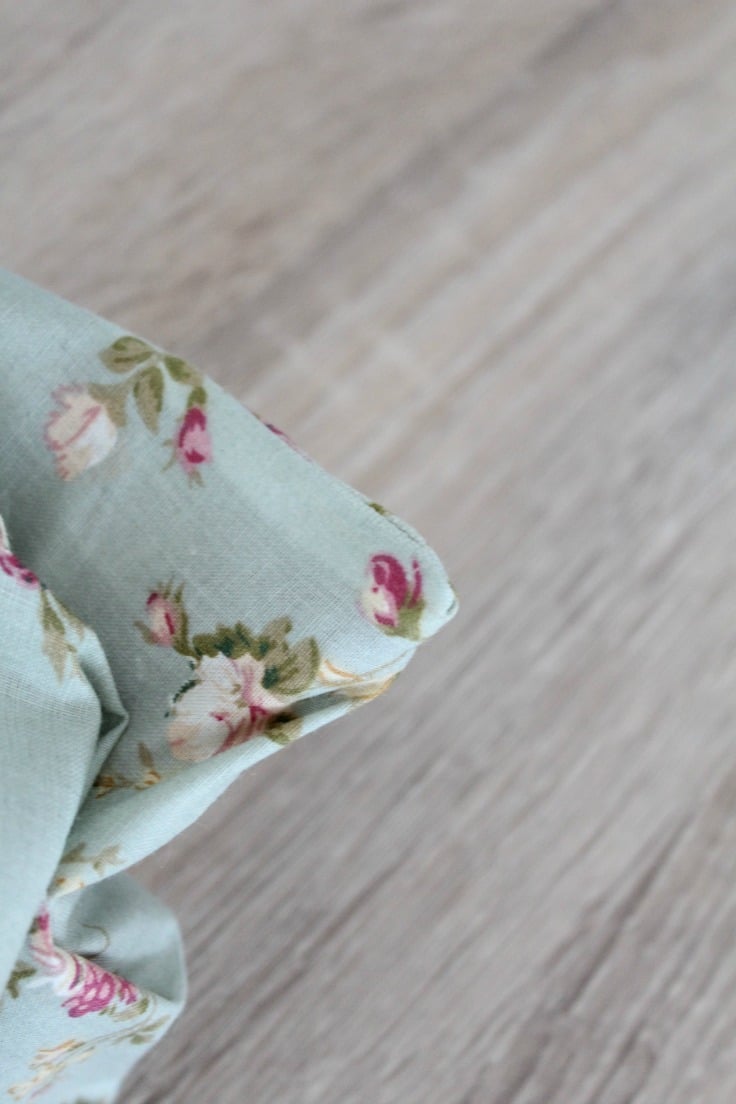
  • Iron the seams flat.
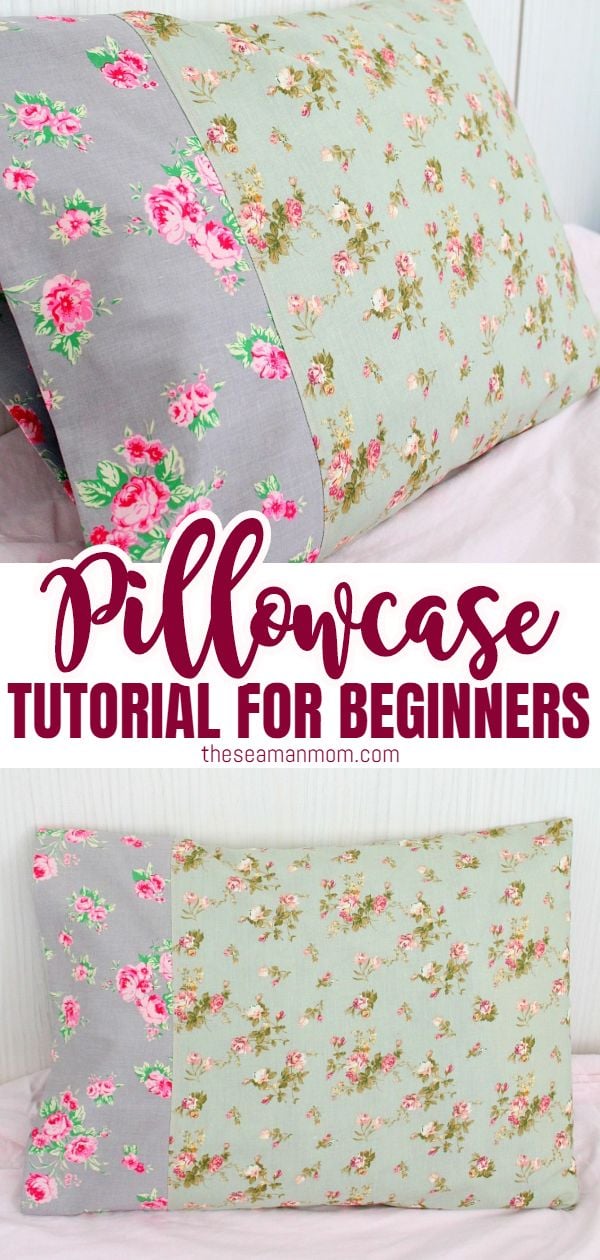
  • You’re done! You are now the proud owner of one fun looking pillow! Don’t you just love easy sewing ideas like this one?

Tell me about your way of making pillowcases, or how you like to personalize them to suit your style in the comments section below.

Pin to save for later

Pillowcase tutorial

Most popular sewing articles:

about petro

ABOUT PETRO

Hi, I’m Petro, author and founder of Easy Peasy Creative Ideas. Sewist, crafter, avid DIY-er, foodie, photographer, homemaker and mommy to one. I’m an expert at coming up with quick, clever sewing tips, recycling crafts and simple, easy recipes! You can find my ideas featured in reputable publications such as Country Living, Good House Keeping, Yahoo News, WikiHow, Shutterfly, Parade, Brit & Co and more. Thanks for stopping by and hope you’ll stay for a while, get to know me better and come back another time. Stick around for real fun projects! Read more…

Leave a Reply

Your email address will not be published. Required fields are marked *

13 Comments

  1. Mary Williams says:

    I have one which was given to me. I collect Cardinals. This was black background with Cardinals, the bottom was almost solid red with a green strip of decoration in the joint. Beautiful. That’s why I was SO interested in this pattern. I could have just measured mine BUT I wanted to see these instructions. THANKS.

  2. These measurements didn’t work for me- the unfolded fabric can’t be only 35″ wide. That doesn’t fit a standard pillow (it’s not 17.5″ wide.

    For a beginner, the instructions were too confusing. I’m now partway into the tutorial and have ruined the only fabric I have. It’s not wide enough and I can’t get more fabric (it was specialty).

    1. Hello. Thanks for stopping by and for your interest in my tutorial. I am sorry you had a bad experience but this is only due to you not reading the whole article.
      I did mention this in the article: “Most of my pillows are the standard size so I can find pillowcases for them with no problems. Except for one which happens to be my most favorite. My mom made it for me and I’ve been using it for years, I simply can’t sleep if my head rests on other pillows. So this pillowcase tutorial is for an easy pillowcase that fits my beloved pillow but the principle is quite the same, no matter the size. “
      I also mentioned this in the material listing: “fabric for cuff (I used 100% cotton, similar here) – for my pillow my measures where 12″ x 35″ = 30 cm x 90 cm; fabric for main body (100% cotton, similar here) – my measures where 18″ x 35″ = 45 cm x 90 cm”
      Once you read these, it makes sense to measure your own pillow and adjust the tutorial to fit your measurements which is extremely easy even for the ultimate sewer.
      Again, I’m sorry for your experience but to avoid this kind of issues in the future, I advise reading a tutorial thoroughly before proceeding to working on the project.
      Have a good day!

    2. Please read the entire tutorial for your instructions…. It will save issues such as the one’s you had… Sorry for your loss of your special fabric…. maybe try making a pillow to fit into that case that you are making…. :)

      1. Thanks so much, Natalie! xoxo

  3. Kerryanne @ Shabby Art Boutique says:

    I love the fabrics you used for your pillowcase Petro. It now has such a lovely cottage look!!
    Thanks for sharing your tutorial on Shabbilicious Friday this week. I’m delighted to be featuring this project at tomorrow’s party. Hugs _ Kerryanne

    1. Thanks so much, Kerryanne! You’re too sweet :) xoxo

  4. This turned out so nicely! I have been wanting to make some pillowcases for a while now!

    1. Thanks so much Jessica! xoxo

  5. These pillow cases are easy enough to make stacks for charity. #BestIdeaEver

  6. Lisa Silfwerbrand says:

    I loooove this pillowcase Petro! The fabrics you chose are perfect and there is something so lovely about crisp, new linens! Thank you so much for linking it up to our Bewitchin’ Projects Block Party last week! You are one of my Features over at Recreated Designs tomorrow. Hugs, Lisa

  7. Your fabric is absolutely gorgeous! Thanks so much for the great tutorial! Pinned & Stumbled! :)

    1. Thanks so much, Marilyn! xoxo