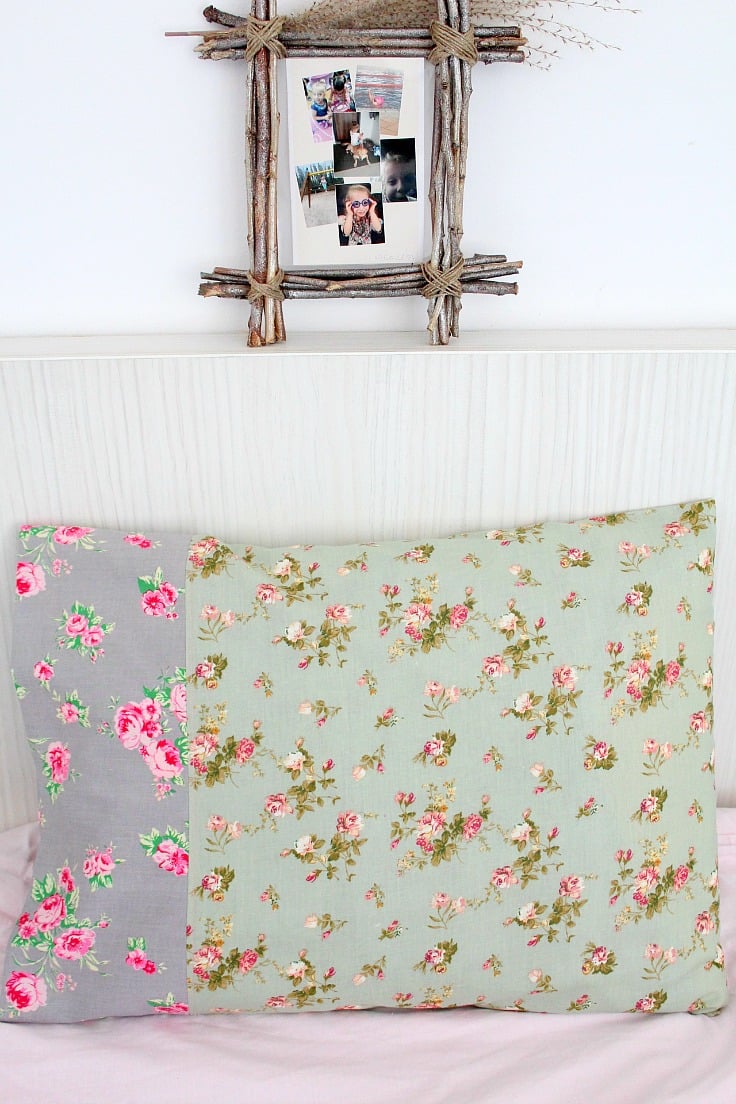
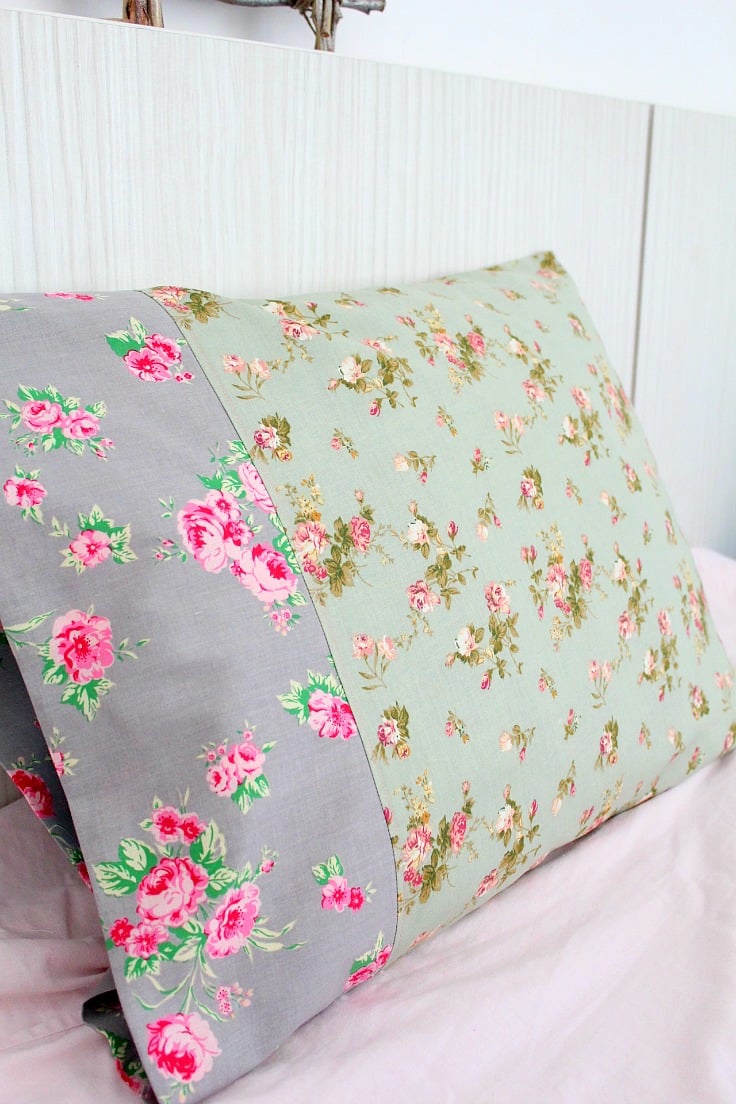
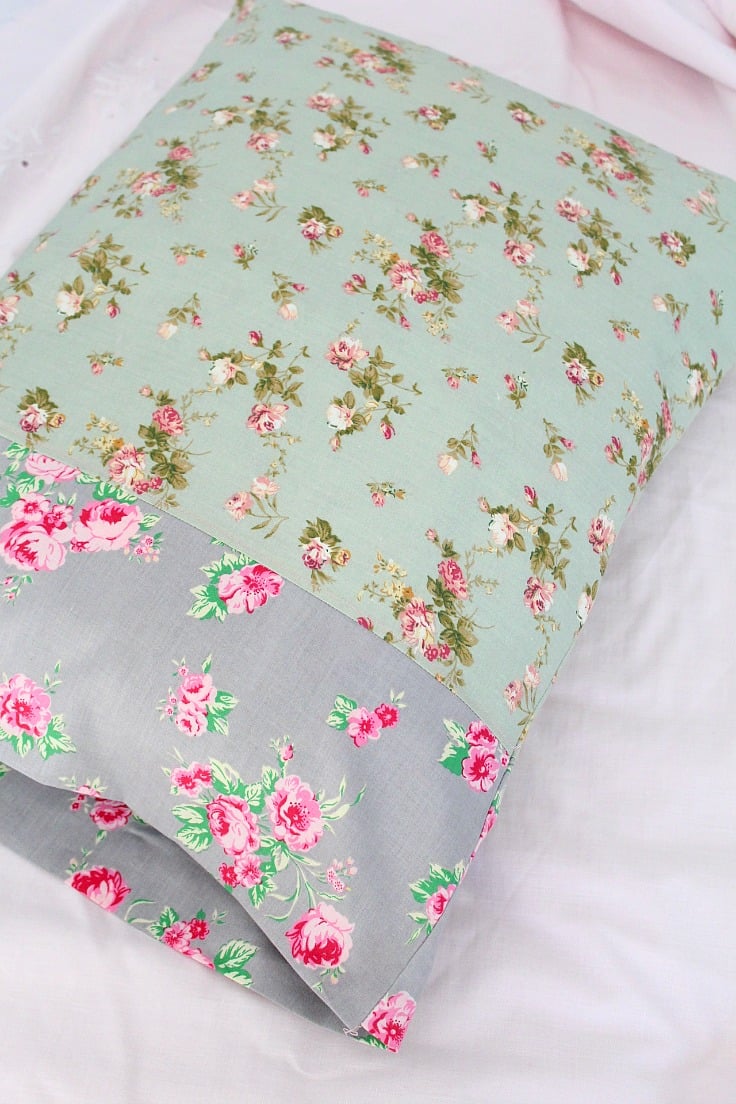
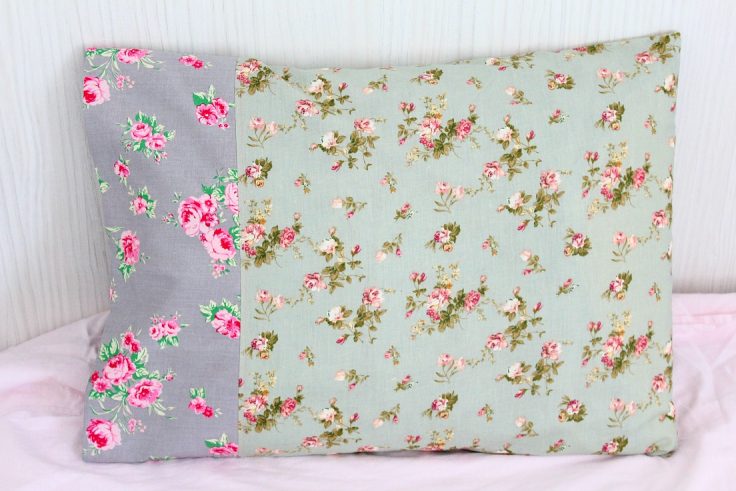
Pillowcase sewing tutorial
Pillowcases are fun to make and a great project for the absolute beginner! This pillowcase tutorial is so quick and easy that you’ll be finding yourself making pillowcases for everyone! With this easy pillowcase tutorial you’ll learn how to make a simple pillowcase for beginners.
Pillowcase Tutorial

Ever wondered how to make a simple pillowcase? Turns out, it’s one of the easiest and most enjoyable sewing projects I made and great for beginners to practice their skills. In this pillowcase tutorial I’ll teach you how to make a basic, easy and simple pillowcase pattern, perfect even for the ultimate beginner!
This easy peasy pillowcase pattern can also make an awesome gift and is a great addition to your DIY home decor. Not to mention a wonderful way to clean up your fabric scraps stash (I know you already got that stash even if you just started sewing! these babies are like magic!).
Need more beginners ideas?
- Circle skirt tutorial
- Mug rug sewing tutorial
- Rope bowl sewing tutorial
- How to square up fabric
- Cutlery holder tutorial
- Triangle fabric weights
- Bean bag sewing tutorial
- Ruffled pillow case sewing tutorial
- Flower pillowcase sewing tutorial
- Ruffled linen bed throw
Most of my pillows are the standard size so I can normally find pillowcases with no problems. Except for one which happens to be my most favorite. In fact, in the recent year I’ve noticed that every time I’m away and rest my head on a different pillow I basically end up with no sleep. I’m addicted to my beloved pillow!
My mom made it for me and I’ve been using it for years and it looks as if it’s new. So this pillowcase tutorial is for that particular pillowcase size that fits my beloved pillow but the idea is quite the same, no matter the size. I love easy sewing ideas and this lovely project fits the bill perfectly!

Things to keep in mind when making your pillowcase
1. Always make sure you measure your pillows or check the labels to find out their size.
Standard sizes for pillows are:
- Standard: 20 x 26 in
- Queen: 20 x 30 in
- King: 20 x 36 in
2. Pillows and pillowcases can accumulate lots of germs, bacteria, mites and dead skin, so make several pillowcases to be able to change and wash them often.
3. These pillowcases make great covers for your pets’ beds;
4. Pillowcases can be used to store the matching bed set, if you have one;
More pillow ideas you might like:
- Ruffled farmhouse envelope pillowcase
- Christmas tree pillows
- Pretty flower pillowcase with invisible zipper
You can never have enough pillowcases and it’s also fun to play mix & match with your sheets so that your bed doesn’t look the same over and over again. You can even make themed pillowcases for Christmas, Easter, or for every season with themed fabrics and colors.
Here are some fabric variations:
- Butterflies, spring flowers, blossom trees or solid bright green, yellow or lilac for spring;
- Beachy themes, palms, exotic fruits or warm purples, sky blue or sandy shades for summer;
- Autumn fruits, fallen leaves, pumpkins or dark orange, green, brown or mustard for fall;
- Santa, snowmen, Christmas trees or White, blue or grey for winter.
This pillowcase tutorial is super quick as it takes just about half an hour to make from start to finish. My easy pillowcase is a great project for the absolute beginners since it doesn’t involve anything complicated, just a few straight lines and only simple stitches. For the most advanced sewers, French seams are a nice way to finish off your seams and have no showing edges. But this is a beginner’s tutorial, so we will not focus on this right now. However if you’re feeling confident you can check out the French seam tutorial here.
Kids can also try their hand at sewing with this simple project. Just make sure they’re old enough to use pins and a sewing machine. They will be quite excited to sleep on pillowcases they made themselves in their favorite colors!

Here are some pillowcase tips to inspire you:
- You can add lace between the main fabric and cuff to make a decorative pillowcase. Also, a nicely colored trim added between the two pieces can be a beautiful accent;
- If you like plain-looking pillows, that’s fine. Just use the main fabric for the cuff as well, or use a single piece of fabric and fold one side so that it looks like it has a cuff;
- Choose a comfortable fabric that breathes well. Pure cotton woven fabric is great for this, and should be light to medium weight. It is also wear and wash-resistant so you can use it for a longer time;
- If you fear your pillows may slip out of the case, just add a few snaps or buttons to close them;
- They make great gifts, especially with the name of the person on it. This way, they know you were thinking of them and appreciate the time you took to personalize the present;
- Your overnight guests may take it as a “thank you for visiting” king of gift if you make some of these for them to use. The same if you have a lodging business: handmade pillowcases are warmer and your guests will love your personal touch;
- If you have a huge fabric stash, you can clean it by making tons of pillowcases and donating them to charity. Sick children in hospitals will be extremely happy with new, colored pillowcases instead of the plain white ones;
And now, here’s how to sew a pillowcase for beginners!
Easy peasy pillowcase pattern

Materials:
- fabric for cuff (I used 100% cotton, similar here) – for my pillow my measures where 12″ x 35″
- fabric for main body (100% cotton, similar here) – my measures where 18″ x 35″
- scissors
- fabric marker
- measuring tape or long ruler
- pins
- sewing machine
- iron
Directions:
Article may contain Amazon & affiliate links. As an Amazon Associate I earn from qualifying purchases at no additional cost to you.


ABOUT PETRO
Hi, I’m Petro, author and founder of Easy Peasy Creative Ideas. Sewist, crafter, avid DIY-er, foodie, photographer, homemaker and mommy to one. I’m an expert at coming up with quick, clever sewing tips, recycling crafts and simple, easy recipes! You can find my ideas featured in reputable publications such as Country Living, Good House Keeping, Yahoo News, WikiHow, Shutterfly, Parade, Brit & Co and more. Thanks for stopping by and hope you’ll stay for a while, get to know me better and come back another time. Stick around for real fun projects! Read more…