How to laminate fabric
Learn how to laminate fabric at home with this simple and straightforward method! Laminating fabric at home is so easy peasy, opening up a variety of great sewing projects that call for laminated fabric.

If you’re looking to enhance your sewing skills, learn how to laminate fabric right in the comfort of your own home with this uncomplicated method! By mastering the art of laminating fabric, you’ll unlock a world of opportunities for engaging in exciting sewing projects that specifically require laminated fabric or oilcloth fabric (just like this lovely grocery bag).
I’ve been meaning to make a little reusable snack bag for myself and my daughter for ages but never got to start working on the project because I never find the right vinyl fabric to suit my taste. So I thought I should make my own (and then I finally made those little snack bags that we both absolutely love). In this simple tutorial I’ll show you how to laminate fabric yourself, in the colors and patterns you like and need for your projects.
This tutorial on making your own laminated fabric is super easy and comes together in less than 5 minutes but the results are a gorgeous laminated cotton fabric you could use on lots of projects that require vinyl or water proof fabric. In theory you can laminate any fabric but cotton is the easiest to handle and also sturdier than thin fabric or fabric that has a deep texture.
How to laminate fabric
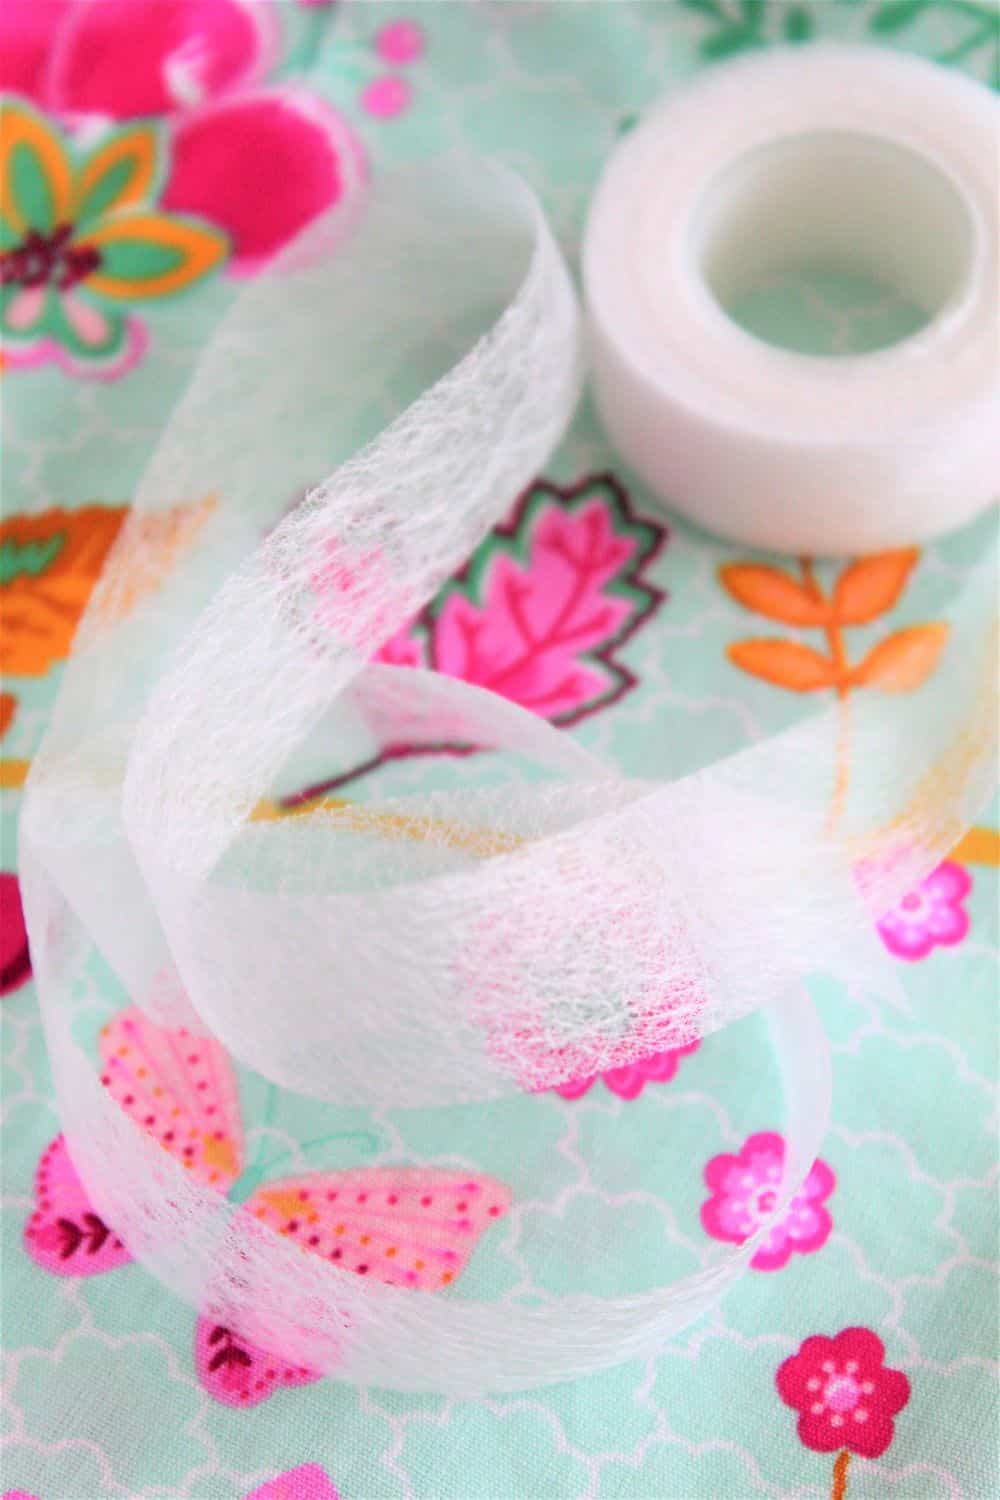
For this tutorial on how to laminate fabric I used an iron-on transparent film that can be fixed in place and can then be sewn on any sewing machine. It’s suitable for almost all fabrics, can be wiped off with a damp cloth and is comfortable to iron-on. The finished products are protected from getting dirty and the film is also food safe. To clean, just wipe with a damp cloth, do not wash!
Materials:
- Iron on vinyl(I used Vilene Lamifix transparent film but it might not be available worldwide)
- Cotton fabric
- Iron
- Cloth or another piece of cotton fabric to use as a top cloth
Directions:
Prepare the fabrics
- Wash the fabric, dry and press well to remove all wrinkles.
- Cut the fabric to the size required by your project.
- Make sure you press on a hard surface so if your ironing board is soft, add something hard but heat resistant underneath the cover, like a bamboo cutting board
Iron the film
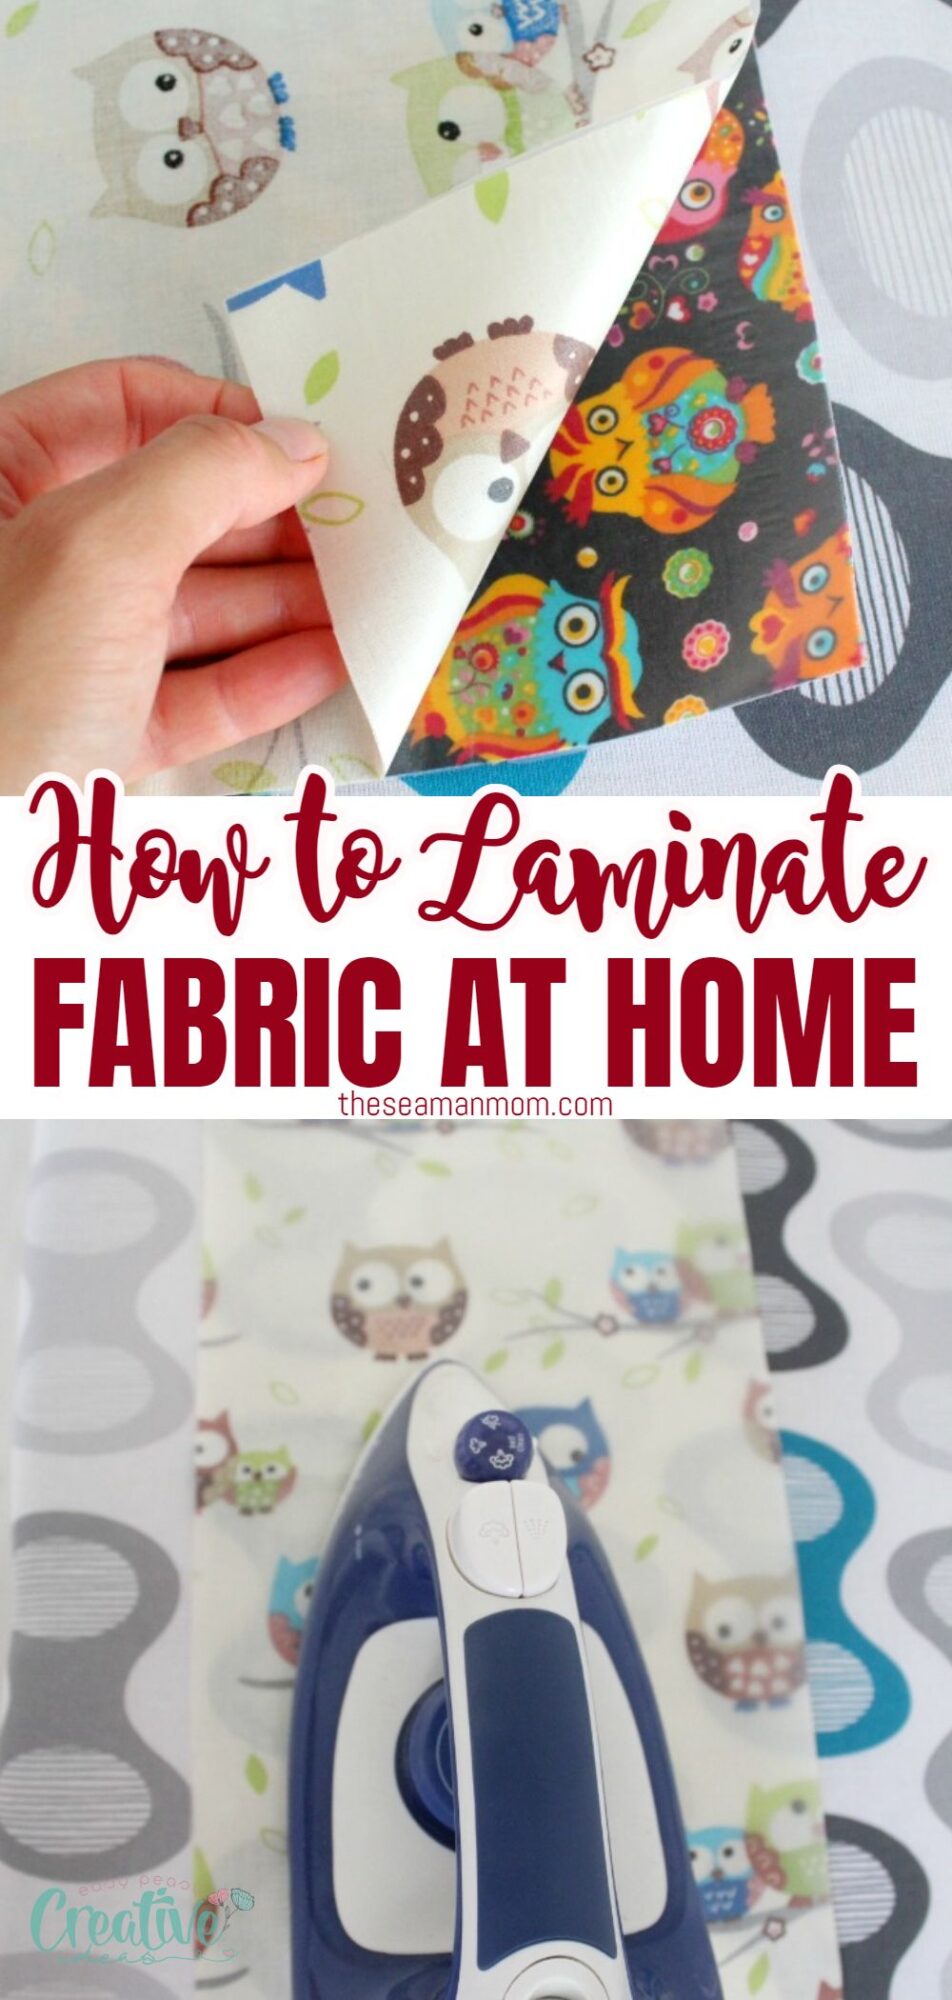
- Place the iron-on film on the right side of the cotton fabric, with the matte face up.
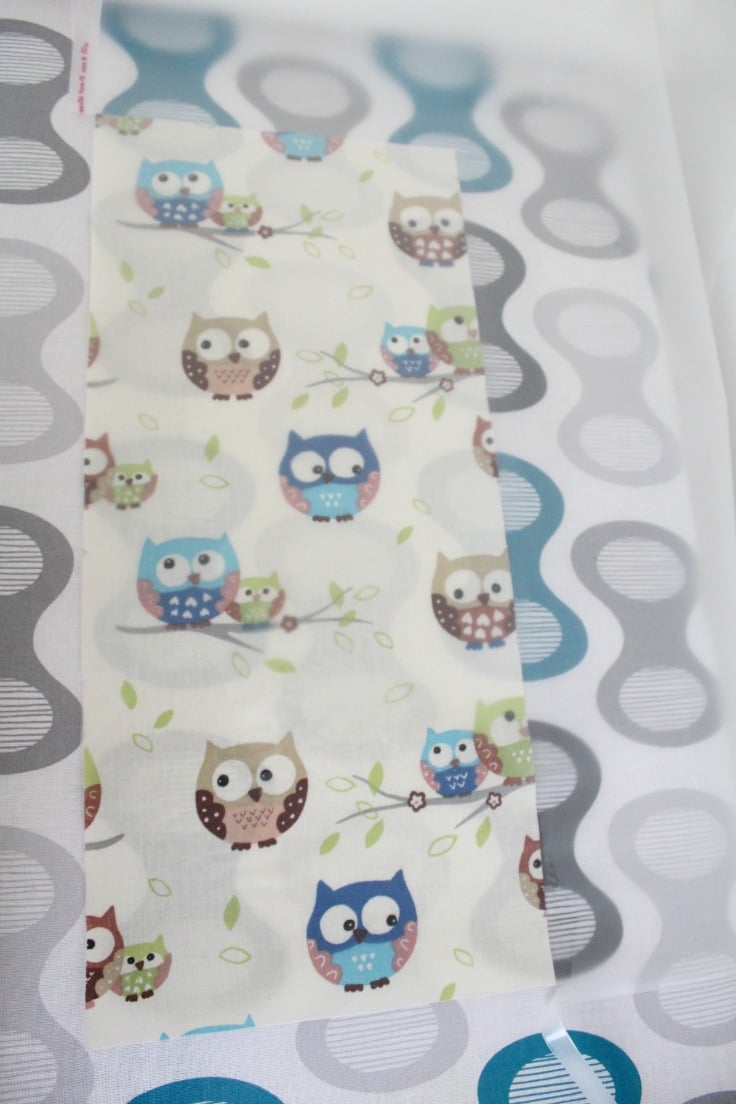
- Set your iron on the lowest and take the steam function off (check the instructions on the iron-on vinyl you’ve chosen for these settings, they might be different than mine).
- Lightly press the iron on the iron on film just until it sets on the fabric then remove the iron. Use an up and down motion rather than forth and back.
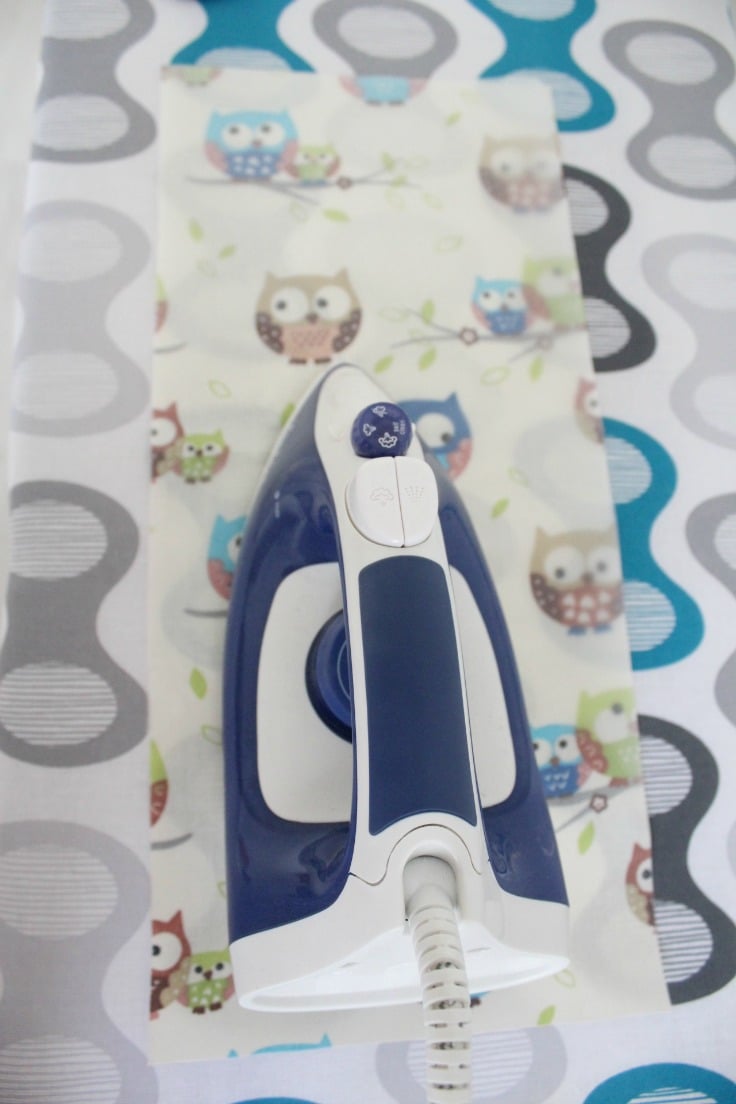
- Cover the iron on with a cloth or another piece of cotton, set the iron to the highest and press again, in small areas, about 8 seconds per area.
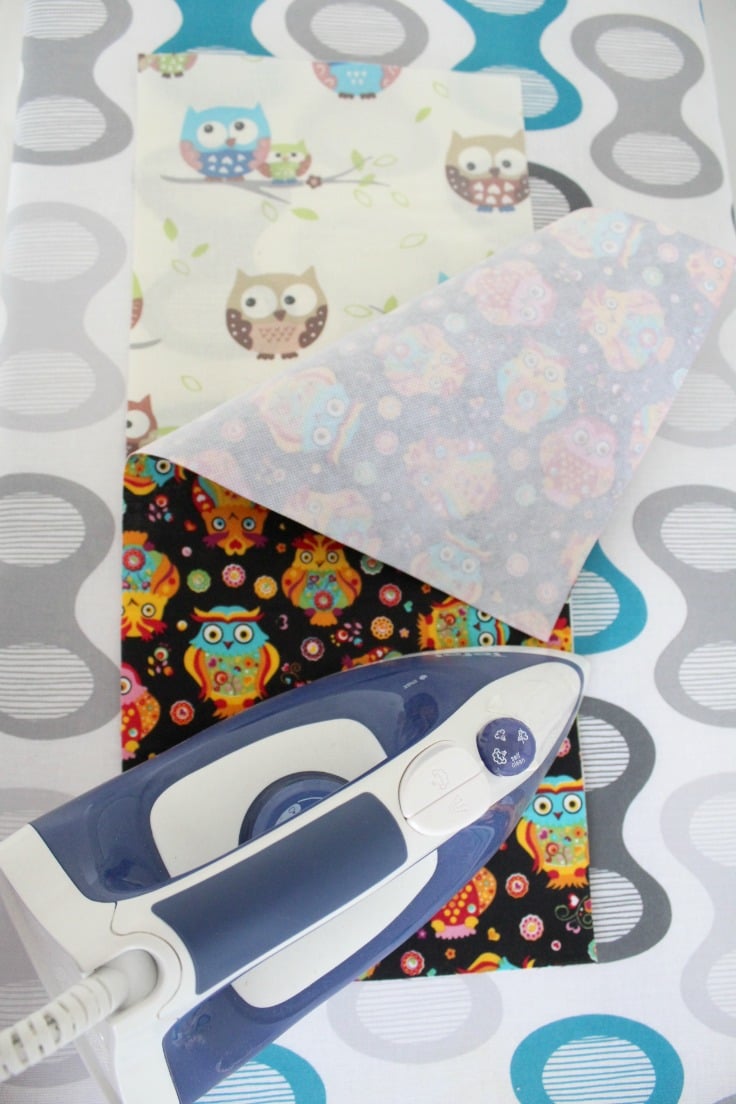
Finish off
- Cut the iron on film to size once it’s well settled onto the cotton fabric.
- Leave to completely cool before using on a project.
- Don’t wash your newly laminated fabric or the end project, just clean with a damp cloth.
Tips for perfect results when laminating fabric
- Prepare your fabric: Before laminating, it is crucial to prepare your fabric by washing and drying it thoroughly. Make sure you eliminate all wrinkles and creases so do a good pressing before laminating.
- Depending on the type of laminating film you choose, make sure to use the correct temperature for your iron. Make sure to check that the iron on brand you’re using recommends the steam on or off. That will ensure a strong bond between the fabric and laminate.
- Take your time: Laminating fabric may seem like a quick process, but it’s important to take your time and work carefully to avoid any bubbles or wrinkles in the final result.
There’s no need to laminate your whole fabric piece and waste the film. Just cut out the pieces for your project and laminate them separately if they have simple shapes. For more intricate shapes, cut out a larger square of fabric and film and cut out the final piece after ironing. This will also keep your fabric from slipping while cutting.
Tips for working with laminated fabrics
Preparing
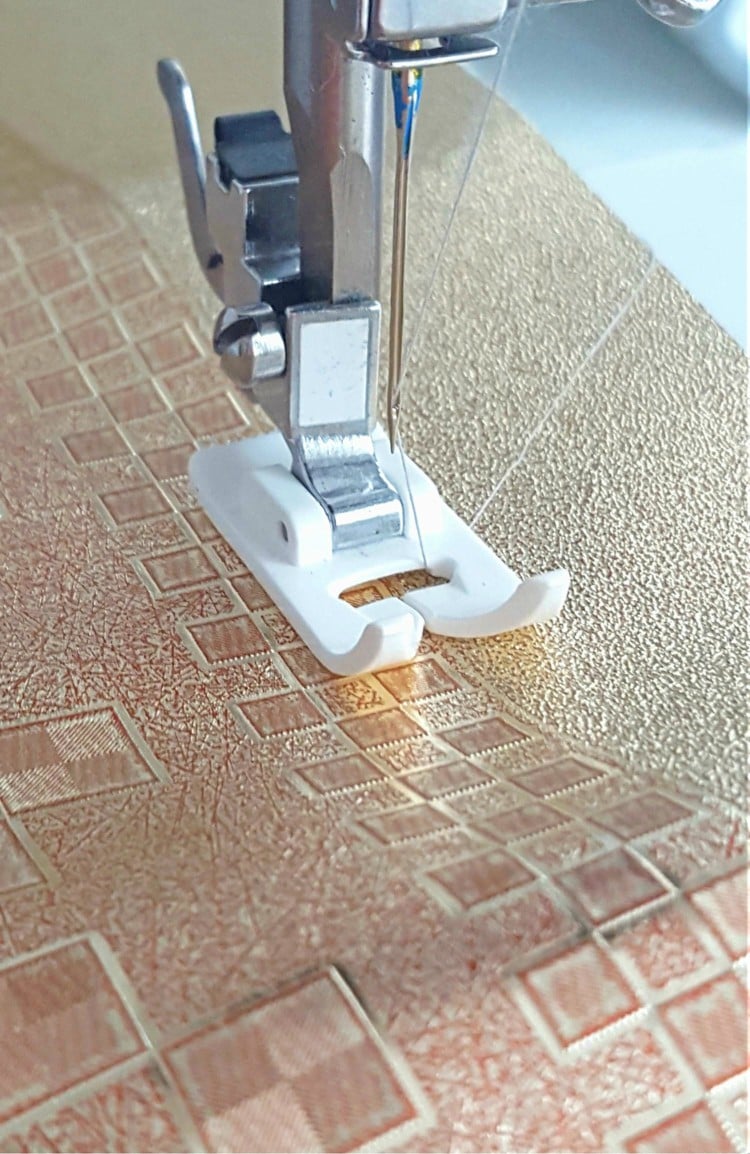
- When sewing with laminated fabric you’re gonna need to treat it like vinyl or leather so you’ll need to use a leather needle and a teflon foot. You might also want to check out these tips for sewing vinyl!
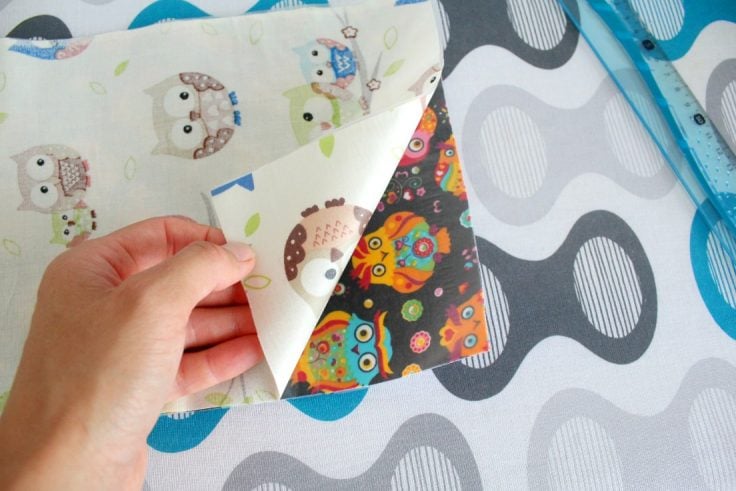
- When applying the vinyl, only remove about 1 inch of the backing, fix it on the fabric and slowly remove the rest of it to avoid air bubbles forming;
- Usually, ironing laminated fabrics is not necessary, as it is stiff enough and doesn’t wrinkle. But if you need to iron it, only iron from the wrong side. If you must iron from the right side, always use a backing paper or another piece of cloth. You don’t want to get vinyl on the iron.
Sewing
- Clip it instead of pinning it, or pin carefully along the seam line. Holes remaining from the pins will be permanent. Some of them might disappear with ironing or a hair dryer, but it’s not guaranteed;
- Use a longer stitch length than usual, as shorter stitches can weaken the seams, creating too many holes;
- The fabric may stick to the presser foot and the feed dogs may not feed it properly. If you don’t have a Teflon foot, you can also use scotch tape or painter’s tape to cover the presser foot for easier sewing;
- Thanks to the coating, laminated fabrics don’t fray, so there’s no need to finish off the seam. You can just use a rotary cutter to make a nice and straight end which can even be exposed if you like.
Storing
- To avoid wrinkling while storing or transporting, roll the fabric in a tube rather than folding it; creases can damage the coating, but sometimes they can be fixed by ironing carefully;
- If the finished product wrinkles, you can fix it with a hair dryer. Don’t touch the fabric and use a low setting;
- Store bags made of laminated fabric with a stuffing inside, to preserve the shape. Also, clothing should be hanged on a thick hanger;
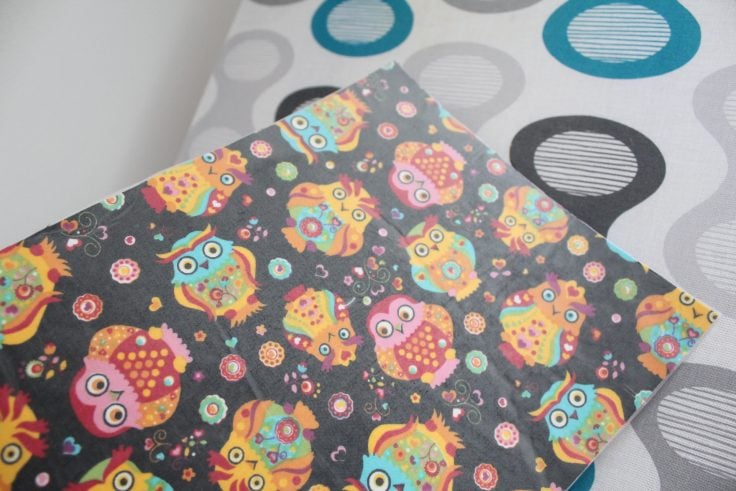
What can I make with laminated fabric?
Laminated fabric, with its wonderful water-resistant qualities, is an absolute game-changer for a plethora of creative and useful projects. From unique cosmetic or snack bags that resist leaking and stains, to placemats that survive even the messiest of meals, laminated fabric is a must-have for any sewing enthusiast.
Laminated fabrics, also called oilcloths, are great for using in messy projects, like lunch or makeup bags, baby bib clothes, spill-proof tablecloths or placemats, coasters, chair covers, raincoats, changing pads, shopping bags, electronics pouches, and so on. They are so easily cleaned and you don’t have to worry about the laundry.
And the best part? By learning how to laminate fabric at home, you’ll have complete control over the design and color choices, opening up endless possibilities for personalized projects.
Frequently asked questions
What is laminated fabric?
Laminated fabric is essentially your regular fabric with a layer of protective coating fused onto one side. This awesome coat turns any fabric into a water-resistant wonder, great for outdoor tablecloths, baby bibs, raincoats, and more!
What is the best fabric to laminate?
The best fabric to laminate is a cotton or cotton blend material, as it provides a sturdy base for the laminating film to adhere to. Other suitable fabrics include canvas, denim, and some polyester blends.
It’s important to avoid using delicate or stretchy materials. They might not withstand the lamination process and could result in an unsatisfactory end product.
What are the advantages of laminated fabric?
- Laminated fabric is highly resistant to water and other liquids. It makes it ideal for various household items like tablecloths, aprons, and more.
- It is also very easy to clean – just wipe it down with a damp cloth, and you’re good to go!
- Additionally, laminated fabric is durable and sturdy, with the coating ensuring that it doesn’t fray or tear easily.
- It also adds an extra layer of protection to your items. This makes them last longer and withstand daily wear and tear.
- Moreover, you can make it in a variety of colors, patterns, and designs. This allows you to customize your projects and add a personal touch.
More sewing tips you will love
- How to sew vinyl
- Tips for sewing canvas
- How to square up fabric
- How to use hem tape in sewing projects
Laminating fabric at home is super fun and affordable! So whether you’re a seasoned pro or just starting on your sewing journey, give laminated fabric a try and see the endless possibilities it offers! Happy laminating!
How to laminate fabric
Materials
- Iron on vinyl
- Cotton fabric
- Cloth or another piece of cotton fabric to use as a top cloth
Tools
- Iron
- Ironing table
- scissors
Instructions
- Wash the fabric, dry and press well to remove all wrinkles.
- Cut the fabric to the size required by your project.
- Make sure you press on a hard surface so if your ironing board is soft, add something hard but heat resistant underneath the cover, like a bamboo cutting board
- Place the iron-on film on the right side of the cotton fabric, with the matte face up.
- Set your iron on the lowest and take the steam function off.
- Lightly press the iron on the iron on film just until it sets on the fabric then remove the iron.
- Cover the iron on with a cloth or another piece of cotton, set the iron to the highest and press again, in small areas, about 8 seconds per area.
- Cut the iron on film to size once it's well settled onto the cotton fabric.
- Leave to completely cool before using on a project.
- Don't wash your newly laminated fabric or the end project, just clean with a damp cloth.
Most popular sewing projects:
Article may contain Amazon & affiliate links. As an Amazon Associate I earn from qualifying purchases at no additional cost to you.




Thank you so much for this great article re laminating fabric. Very helpful!
really great tips, but, what is the product you use to laminate your cotton? I’ve scanned your article and haven’t found it.
It’s on page 2, Laurie. I use Vilene Lamifix.
Can any kind of lamination products do you use. I have I have PEN+GEAR pouches will that work if I use my Cricut iron?
Hi, Gerry. I can only speak for the products I use and recommend here.
Hi, Your idea of laminating is great for lots of projects. Although not to be a technical textile nerd, cotton is NOT a fabric. It is a fiber that makes up many types of weaves which create fabric. Did you mean a broadcloth works best. Duck is usually cotton, but you say stiff fabric won’t work well. Is a polyester the same weight as a broadcloth not acceptable? This makes a difference in selecting fabric and I just wish people would use the vocabulary correctly.
I haven’t had good results with other types of fabric but cotton, Kathleen.
Thanks for your tutorial. I’m thinking about making some placemats for my grandchildren, but I want them to be waterproof on both sides. Do you think I could use the laminate on both sides of the fabric, or would it be better to laminate two pieces of fabric and sew them together? guess I could use two different fabrics if I did that, couldn’t I! :-)
Hi Sally-Anne! Any version would work but if you want the placemats reversible and more sturdy you’ll need 2 different fabrics laminated.
Hello! Great article, thank you.
Have you ever tried Modge Podge? Lots of different types… just wondering… Could be a new neat DIY…?
Louise Campbell
you write a lot about uses, sewing, purposes, etc. but NOTHING about how to actually make laminated cotton. perhaps you should retitle your page.
It’s all on page 2, Jamie.
You have such a beautiful and unique name, I love it.
Hi, Petro,
Thank you very much your ideas!
I has made a Blouse from a big Indian shawl. It’s my favourite in Summer because the material’s is very thin and pleasant in heat-wave. My blouse’s colours are light-brown and black, not really Summer colours but I like it.
Have a nice week!
Marianne
Great idea! Do you have a source for finding the iron on vinyl that’s wider than 17”? My chair cushions are large and I’m having trouble finding a larger width. Thank you!
Sandy
Sandy Lyn, I haven’t seen anything larger than this pack of 12″x59″ https://amzn.to/3iXeKwP but I’m guessing you could use any of these waterproof sprays for outdoor cushions instead of HTV https://amzn.to/3kDGYNJ
Hi Petro. Thank you for this article. I just want to mention something maybe personal. I am an old granny but I couldn’t get over how very attractive you are. Your eyes just shine and you look such a lovely, lovely person. God bless.
Thanks so much, that’s very sweet of you, Vee! You made my day :)
love your mask i made it for me to have masks that wash easyer and i think it will it fits better.
Thanks, Patti!
Can you laminate pre-made place mats?
Ginny, I never laminated anything pre-made but it might work if the tablemats are cotton & the entire surface is smooth and even.
I can’t seem to find the tutorial for laminated fabric. Was the link removed?
Hi, Cindy! The tutorial is on page 2 https://theseamanmom.com/how-to-laminate-cotton-fabric/2/
I cannot find your vid for laminating fabric here.
Hi Susan. There’s no video for this tutorial, not sure what gave you the impression that there would be one.
I am unable to print the whole article.
That is correct, Susia! You are not supposed to print or copy the article as it’s copyrighted.
pLEASE ADVISE WHERE i CAN PURCHASE IRON-ON TRANSPARENT FILM. I LIVE IN VANCOUVER.
THANKS.
SHARON
It’s on Amazon, here https://amzn.to/2KyLi3h
Hi Petro,
I am so glad that I came across your site. I read your postings I read and save them. They are right up my alley.
Thanks
Hi Marjorie. Thanks so much, you just made my day! xoxo
This is very informative! Thank you for your submission! I just published your post. I love all your crafty ideas!!