Santa hat meringue cookies
Delight in the festive spirit with Christmas meringue cookies! These charming Santa hat cookies are easy to make and will be the star of any holiday gathering.
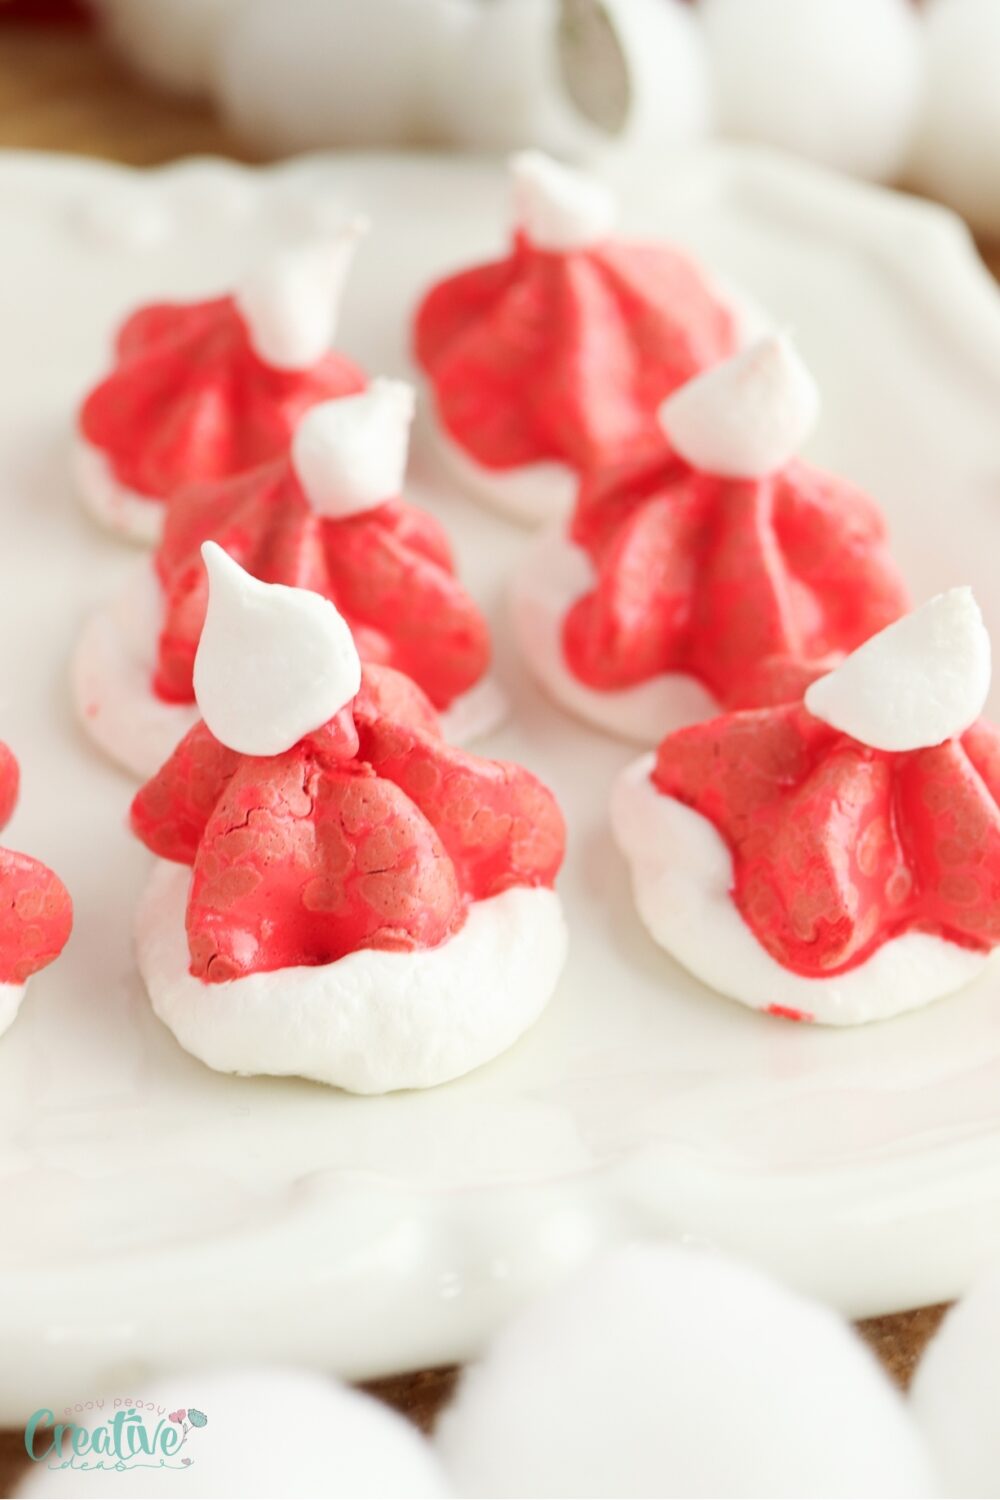
Christmas meringue cookies are a whimsical and delicious addition to your holiday baking lineup. Their light and airy texture, combined with the festive red and white design, make them a treat for both the eyes and the taste buds. Whether you’re serving them at a party or packing them as gifts, these cookies are sure to spread holiday cheer.
These Santa hat meringues embody everything that is wonderful about the holiday season. They are visually stunning, serving as a festive addition to any dessert table, with their playful Santa hat design. The meringues are crisp on the outside while remaining soft and chewy on the inside, offering a delightful contrast in textures. The subtle sweetness of these Christmas meringue cookies makes them a perfect light treat amidst the richer fare typically enjoyed during the holidays. Additionally, they’re naturally gluten-free, making them a versatile option for various dietary needs.
How to make Christmas meringue cookies
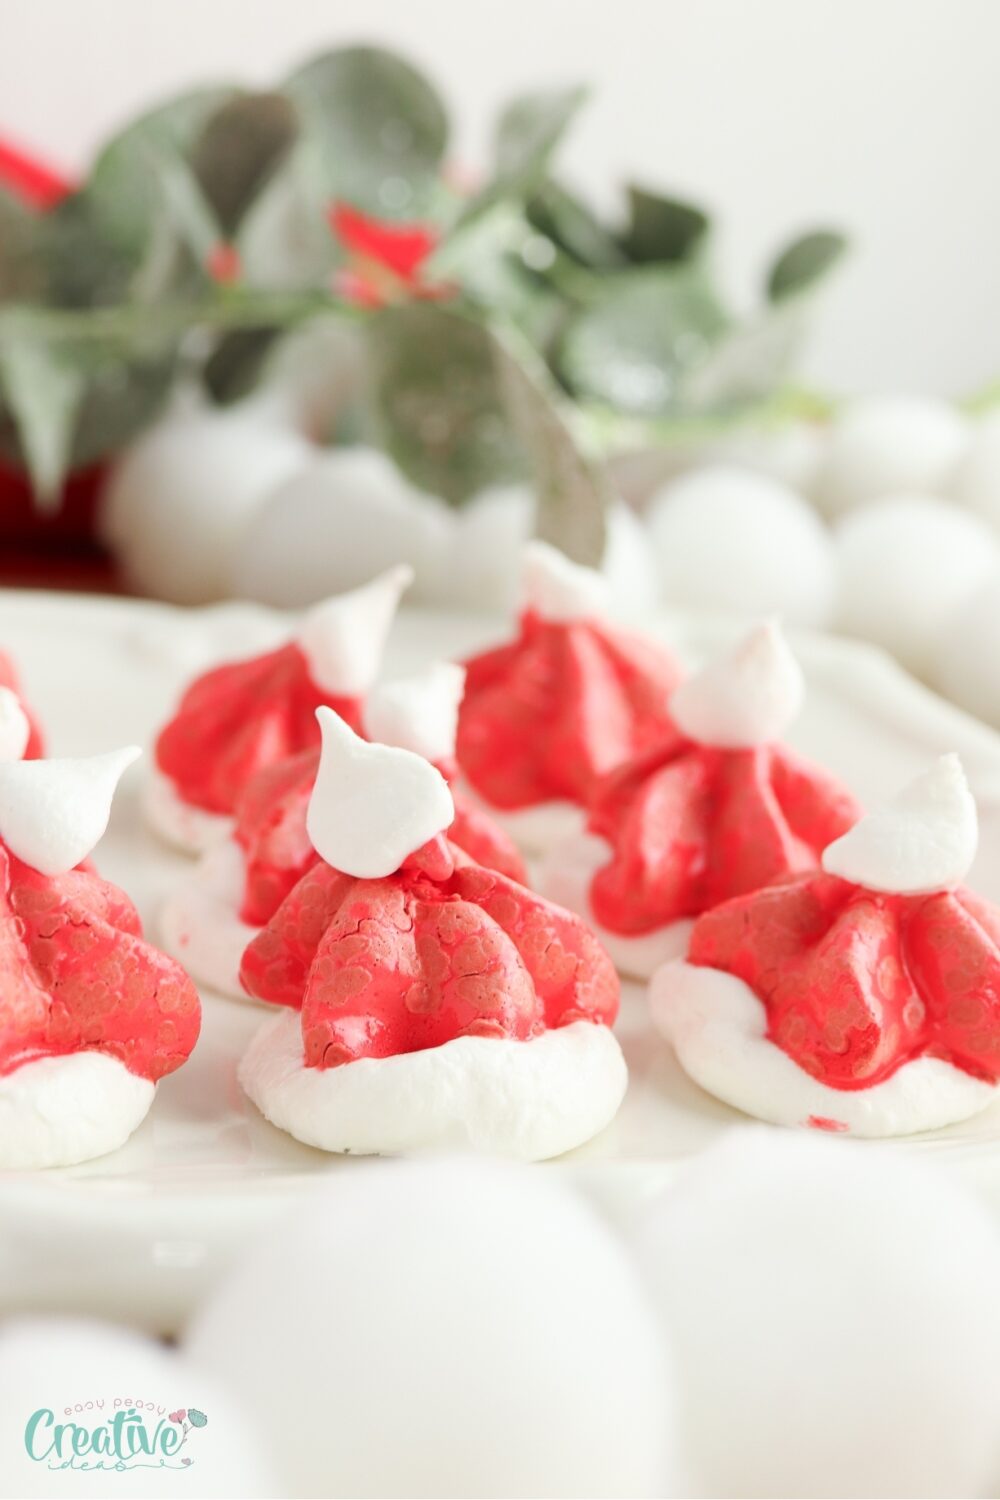
Ingredients
To create these charming Christmas meringue cookies, you’ll need:
- Egg Whites: At room temperature to achieve optimal volume when whipped.
- Vanilla Extract: Provides a lovely hint of flavor that complements the sweetness.
- Cream of Tartar: Stabilizes the egg whites and helps maintain firm peaks.
- Sugar: Gradually incorporated to give the meringues their signature sweetness and gloss.
- Red Gel Food Coloring: Essential for creating the vibrant Santa hat appearance.
Equipment
For perfect execution, gather these essential tools:
- Baking Sheets: Lined with parchment paper to prevent the meringues from sticking.
- Mixing Bowls: A variety of sizes for different stages of the process.
- Stand Mixer: Equipped with a whisk attachment for efficient whipping of egg whites.
- Piping Bag with Large Round Tip: To pipe precise and uniform white meringue bases.
- Spatula: For careful handling of the meringue cookies once baked.
Instructions
Preparations
Ensure that all ingredients are at room temperature before you begin, as this significantly impacts the meringue’s texture and volume. Carefully separate the egg whites from the yolks, as even a small amount of yolk can hinder the whipping process.
Preheat the oven to 200 degrees and line 2 baking sheets with parchment paper.
Baking
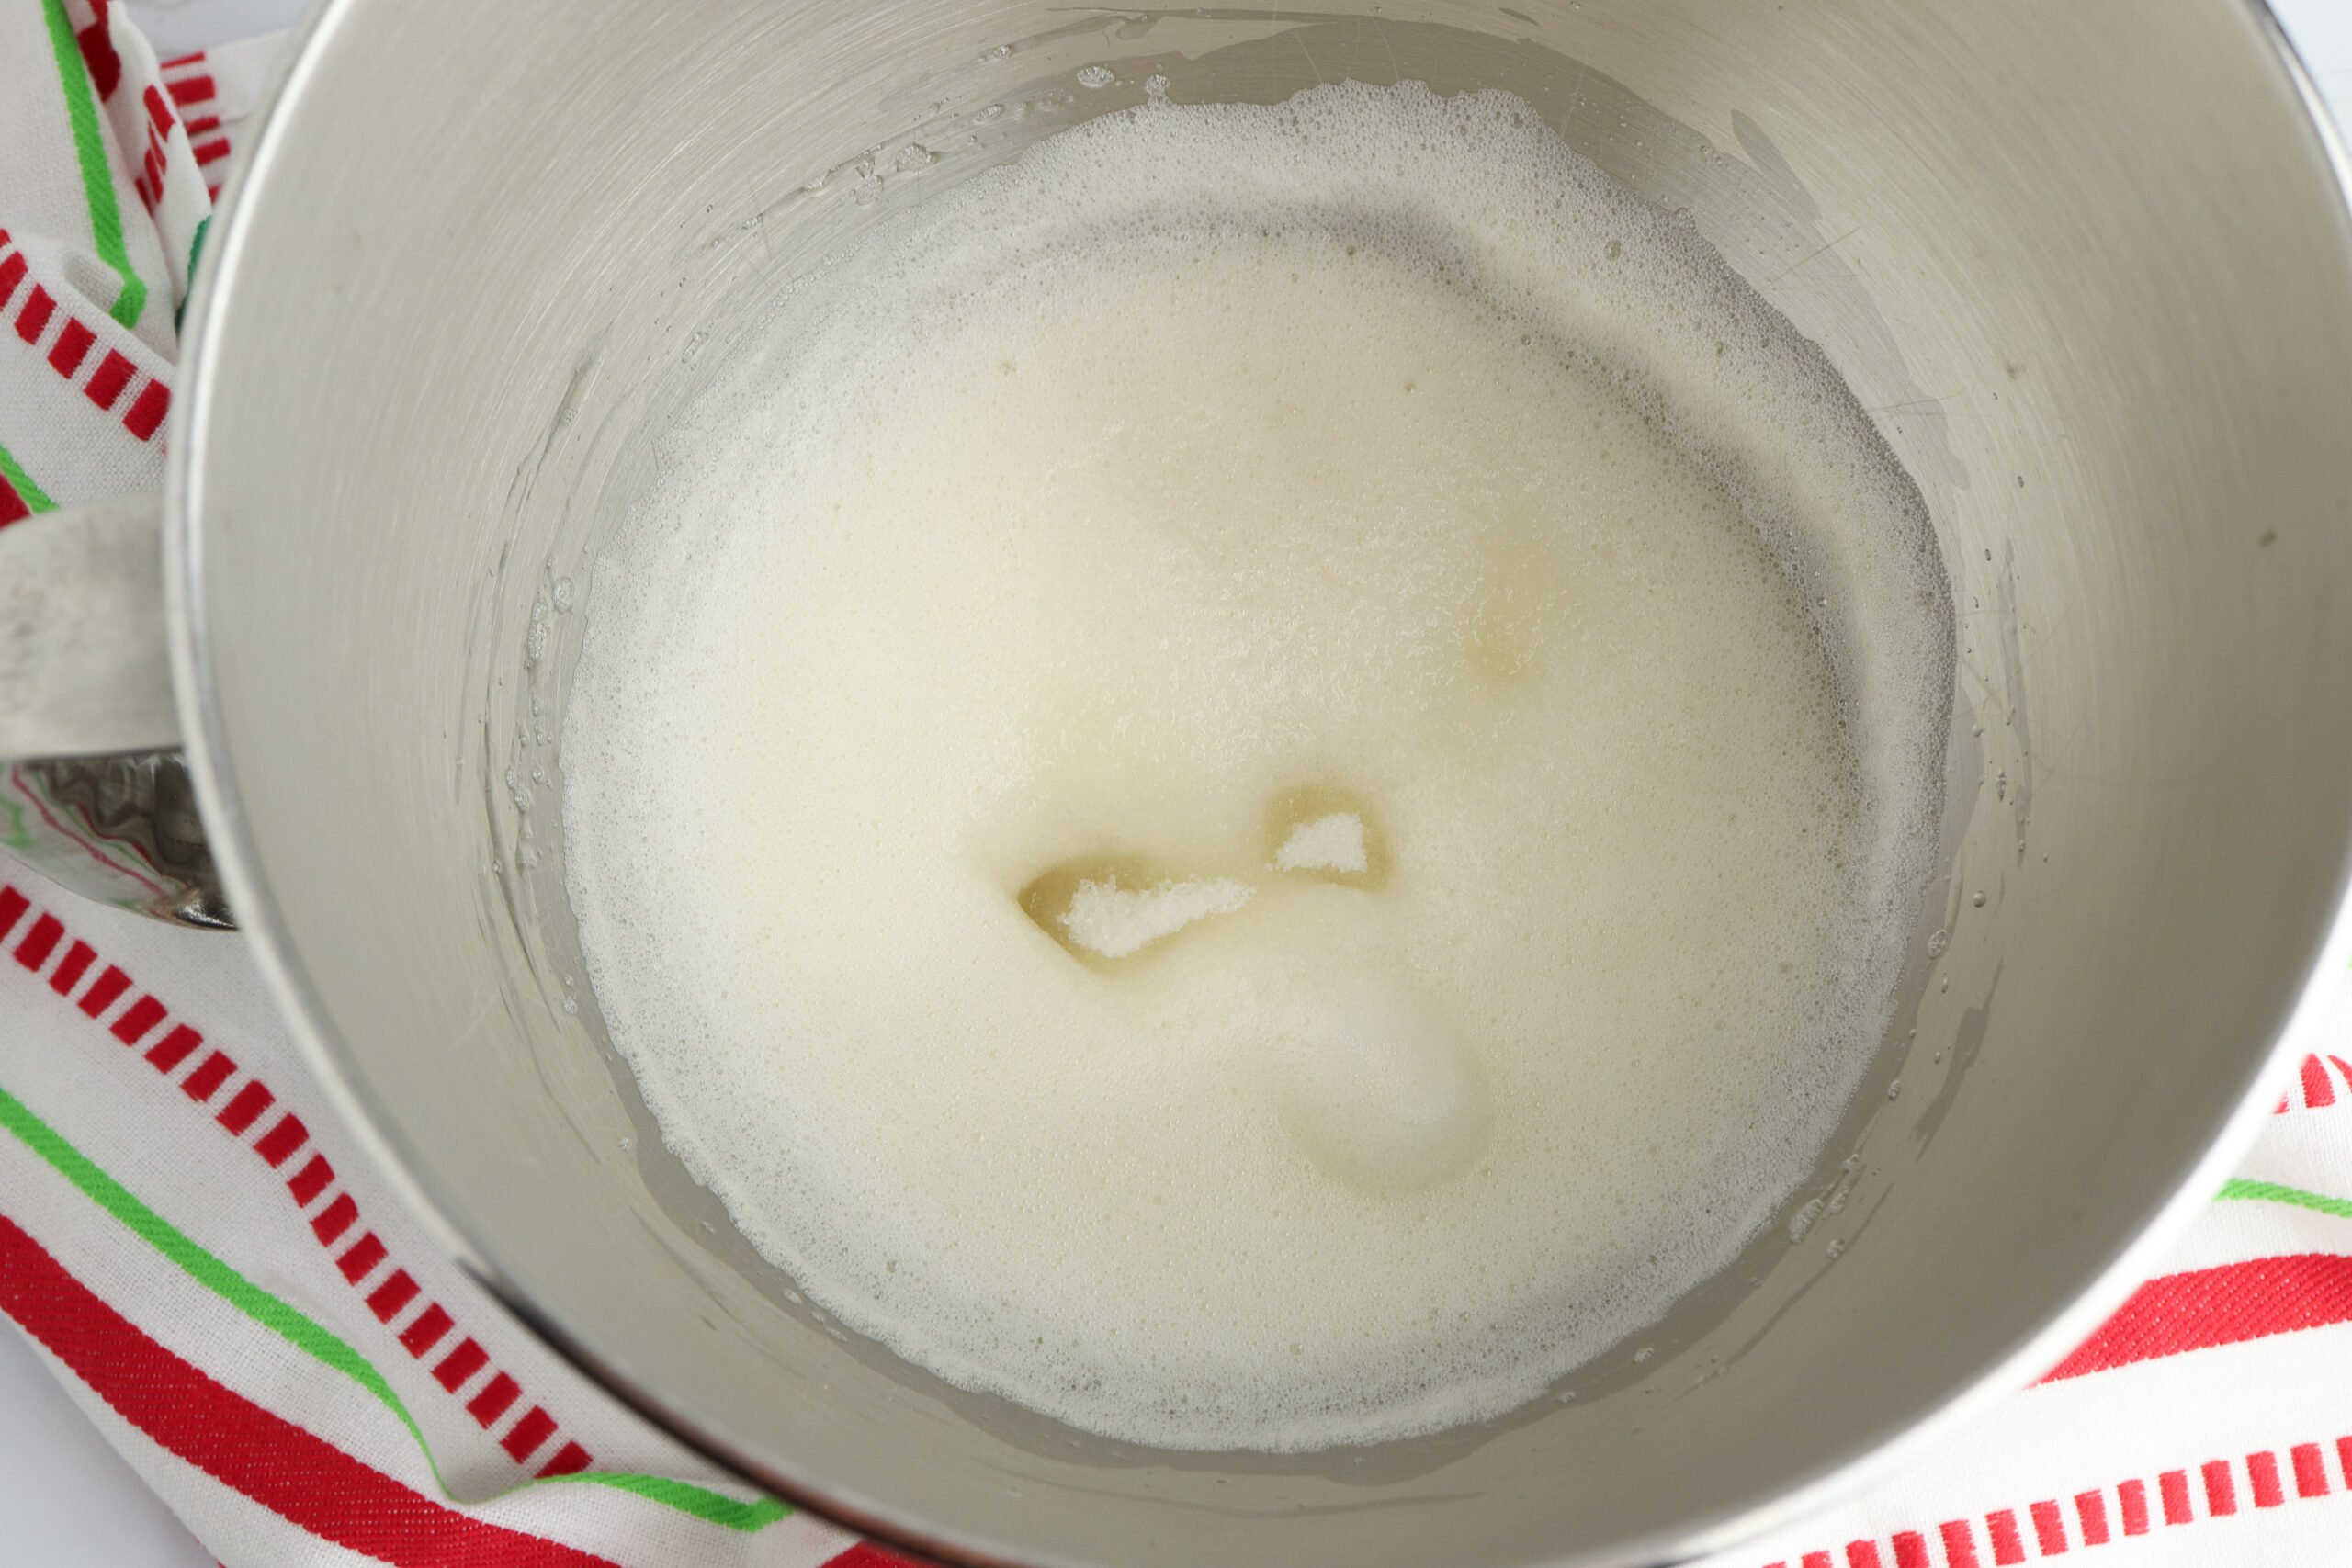
- Beat the egg whites, vanilla extract, and cream of tartar in a stand mixer with the whisk attachment on medium speed until the mixture is frothy and peaks begin to form.
- While the mixer is still running, add the sugar one tablespoon at a time, waiting a few seconds between each addition. After all the sugar has been added, continue beating for around five more minutes, until the mixture is glossy and stiff.
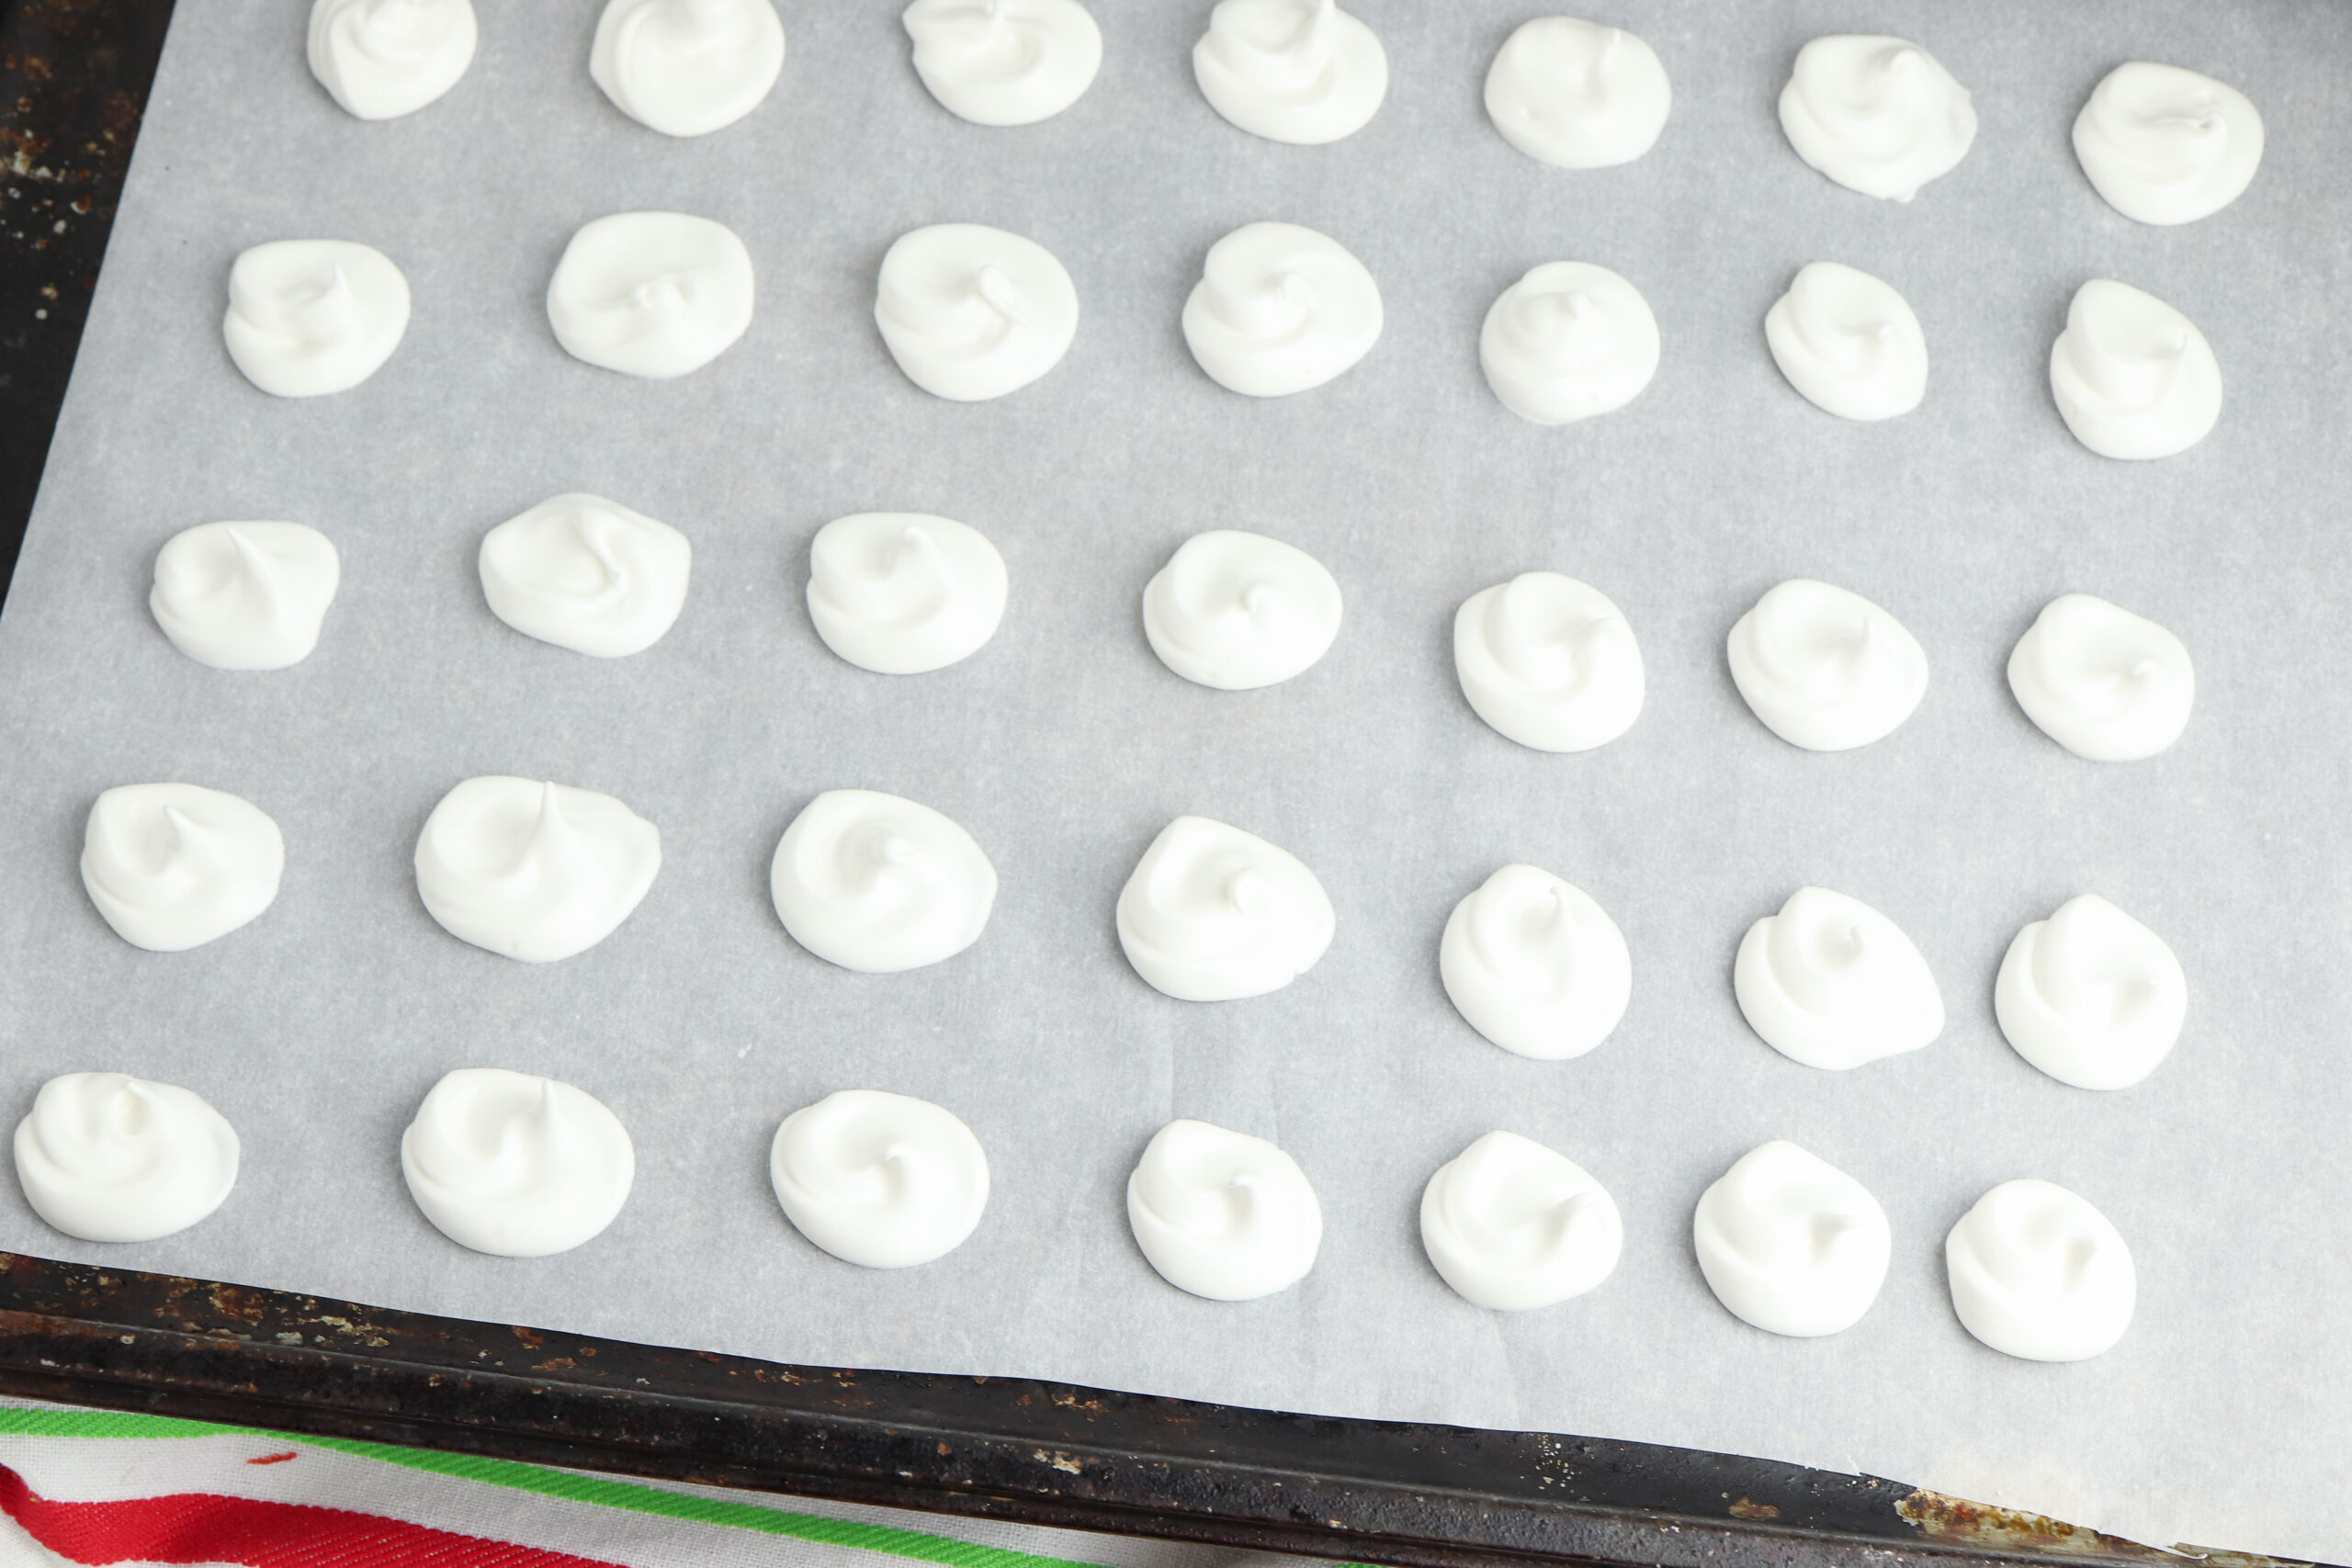
- Transfer half the mixture to a piping bag with a large round tip.
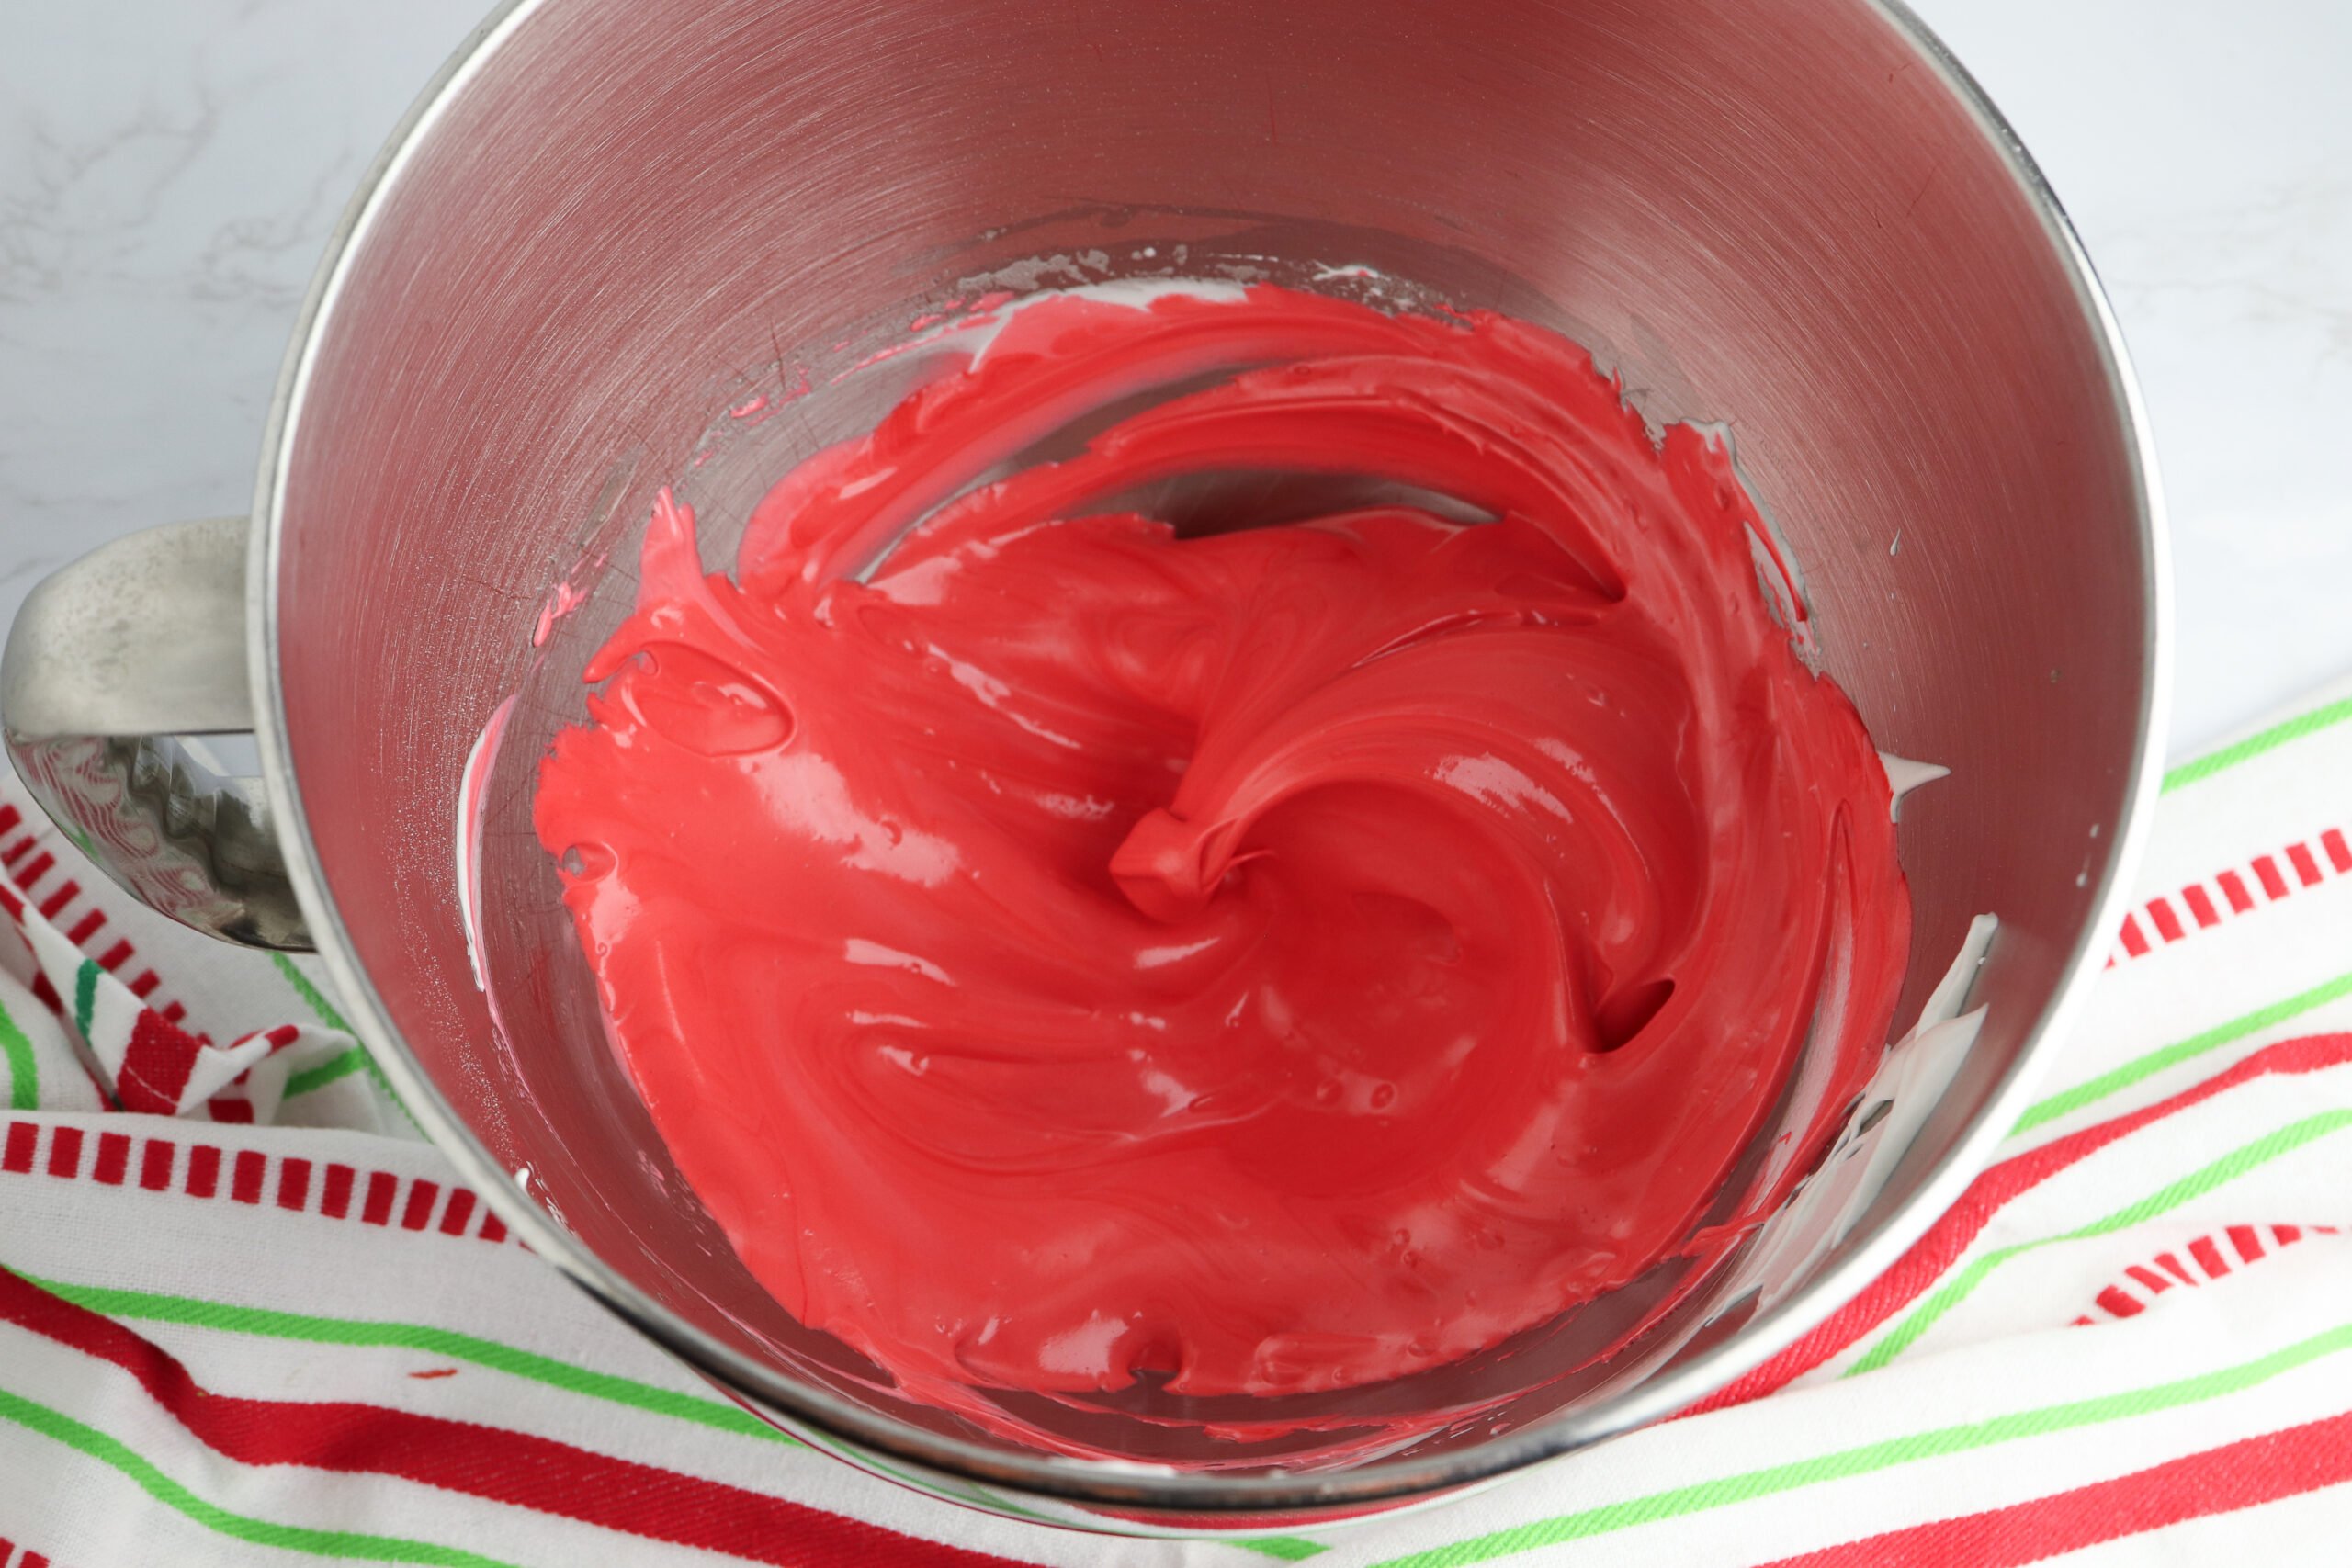
- Add the red gel food coloring to the remaining mixture and mix until no white streaks appear.
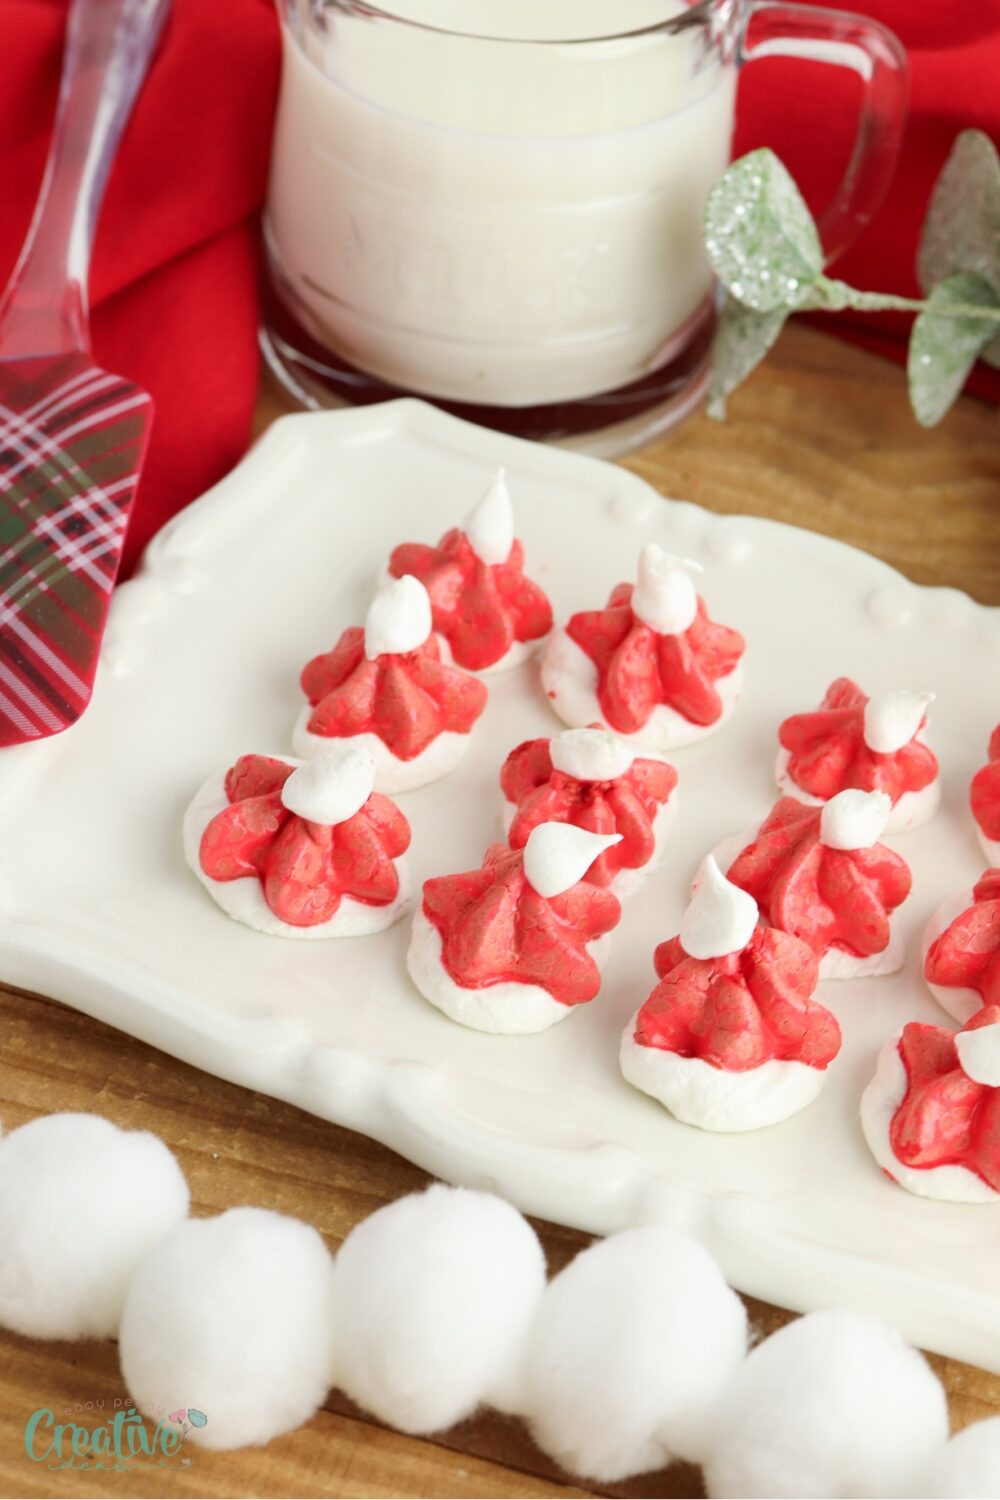
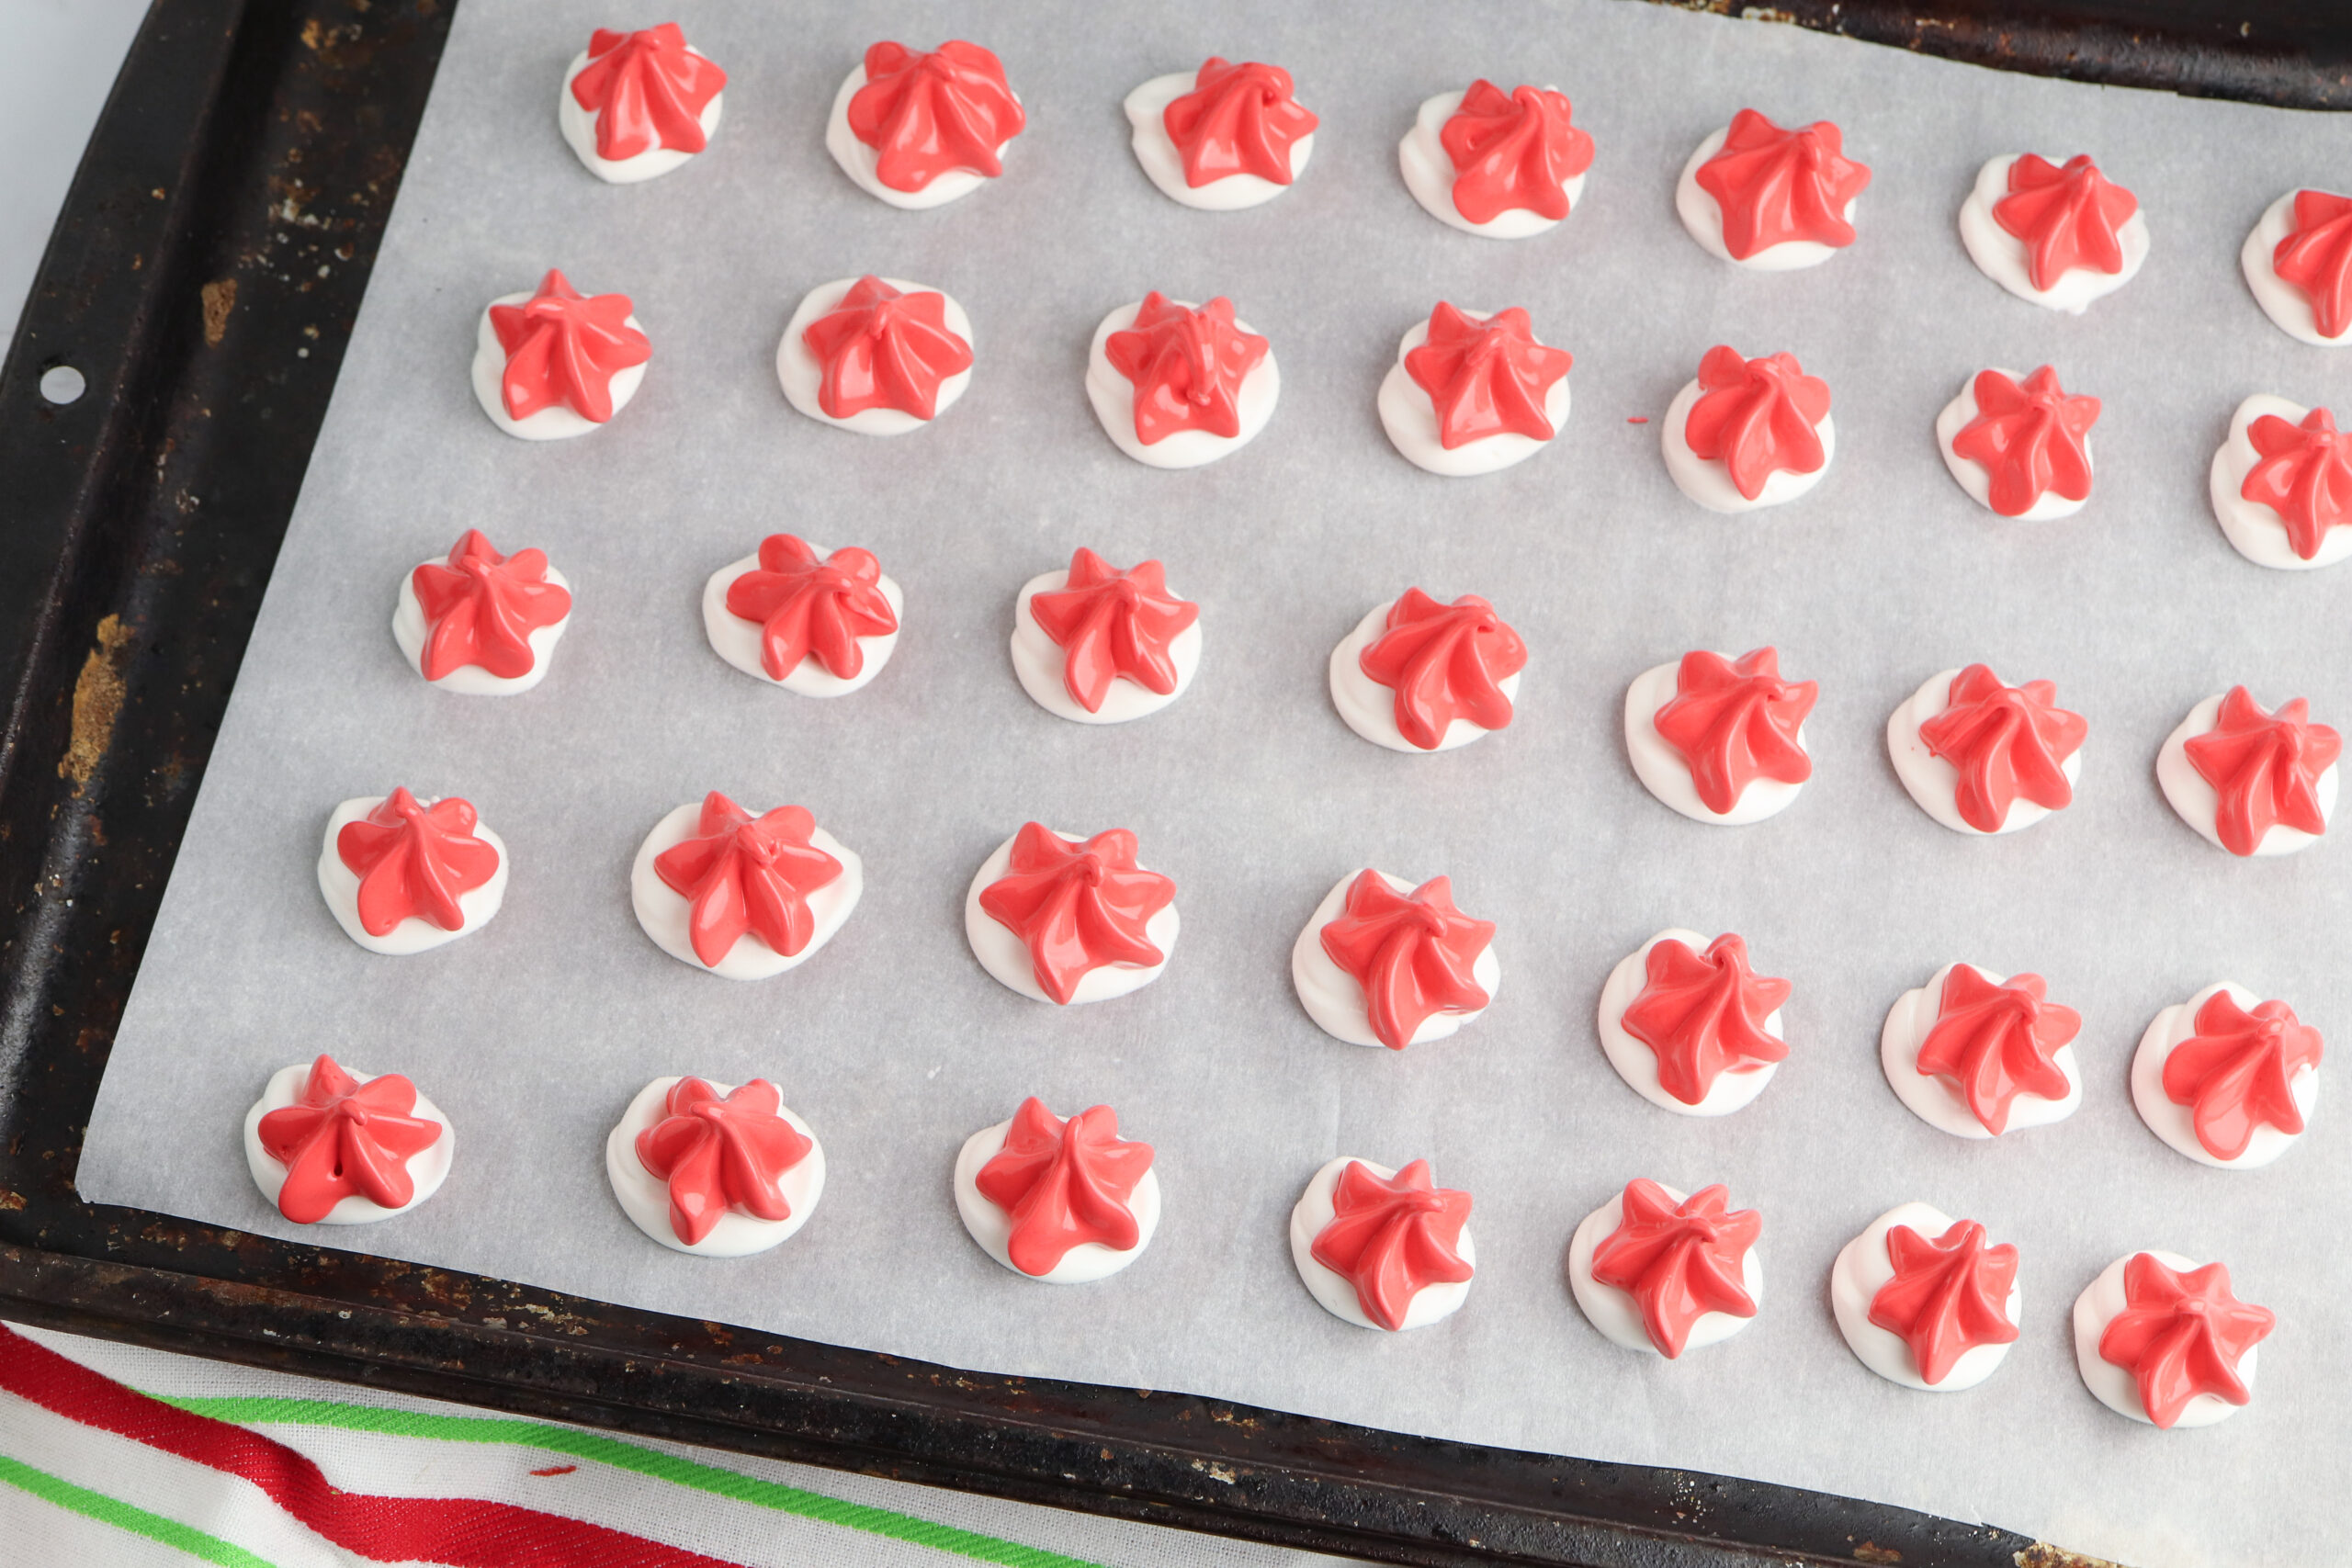
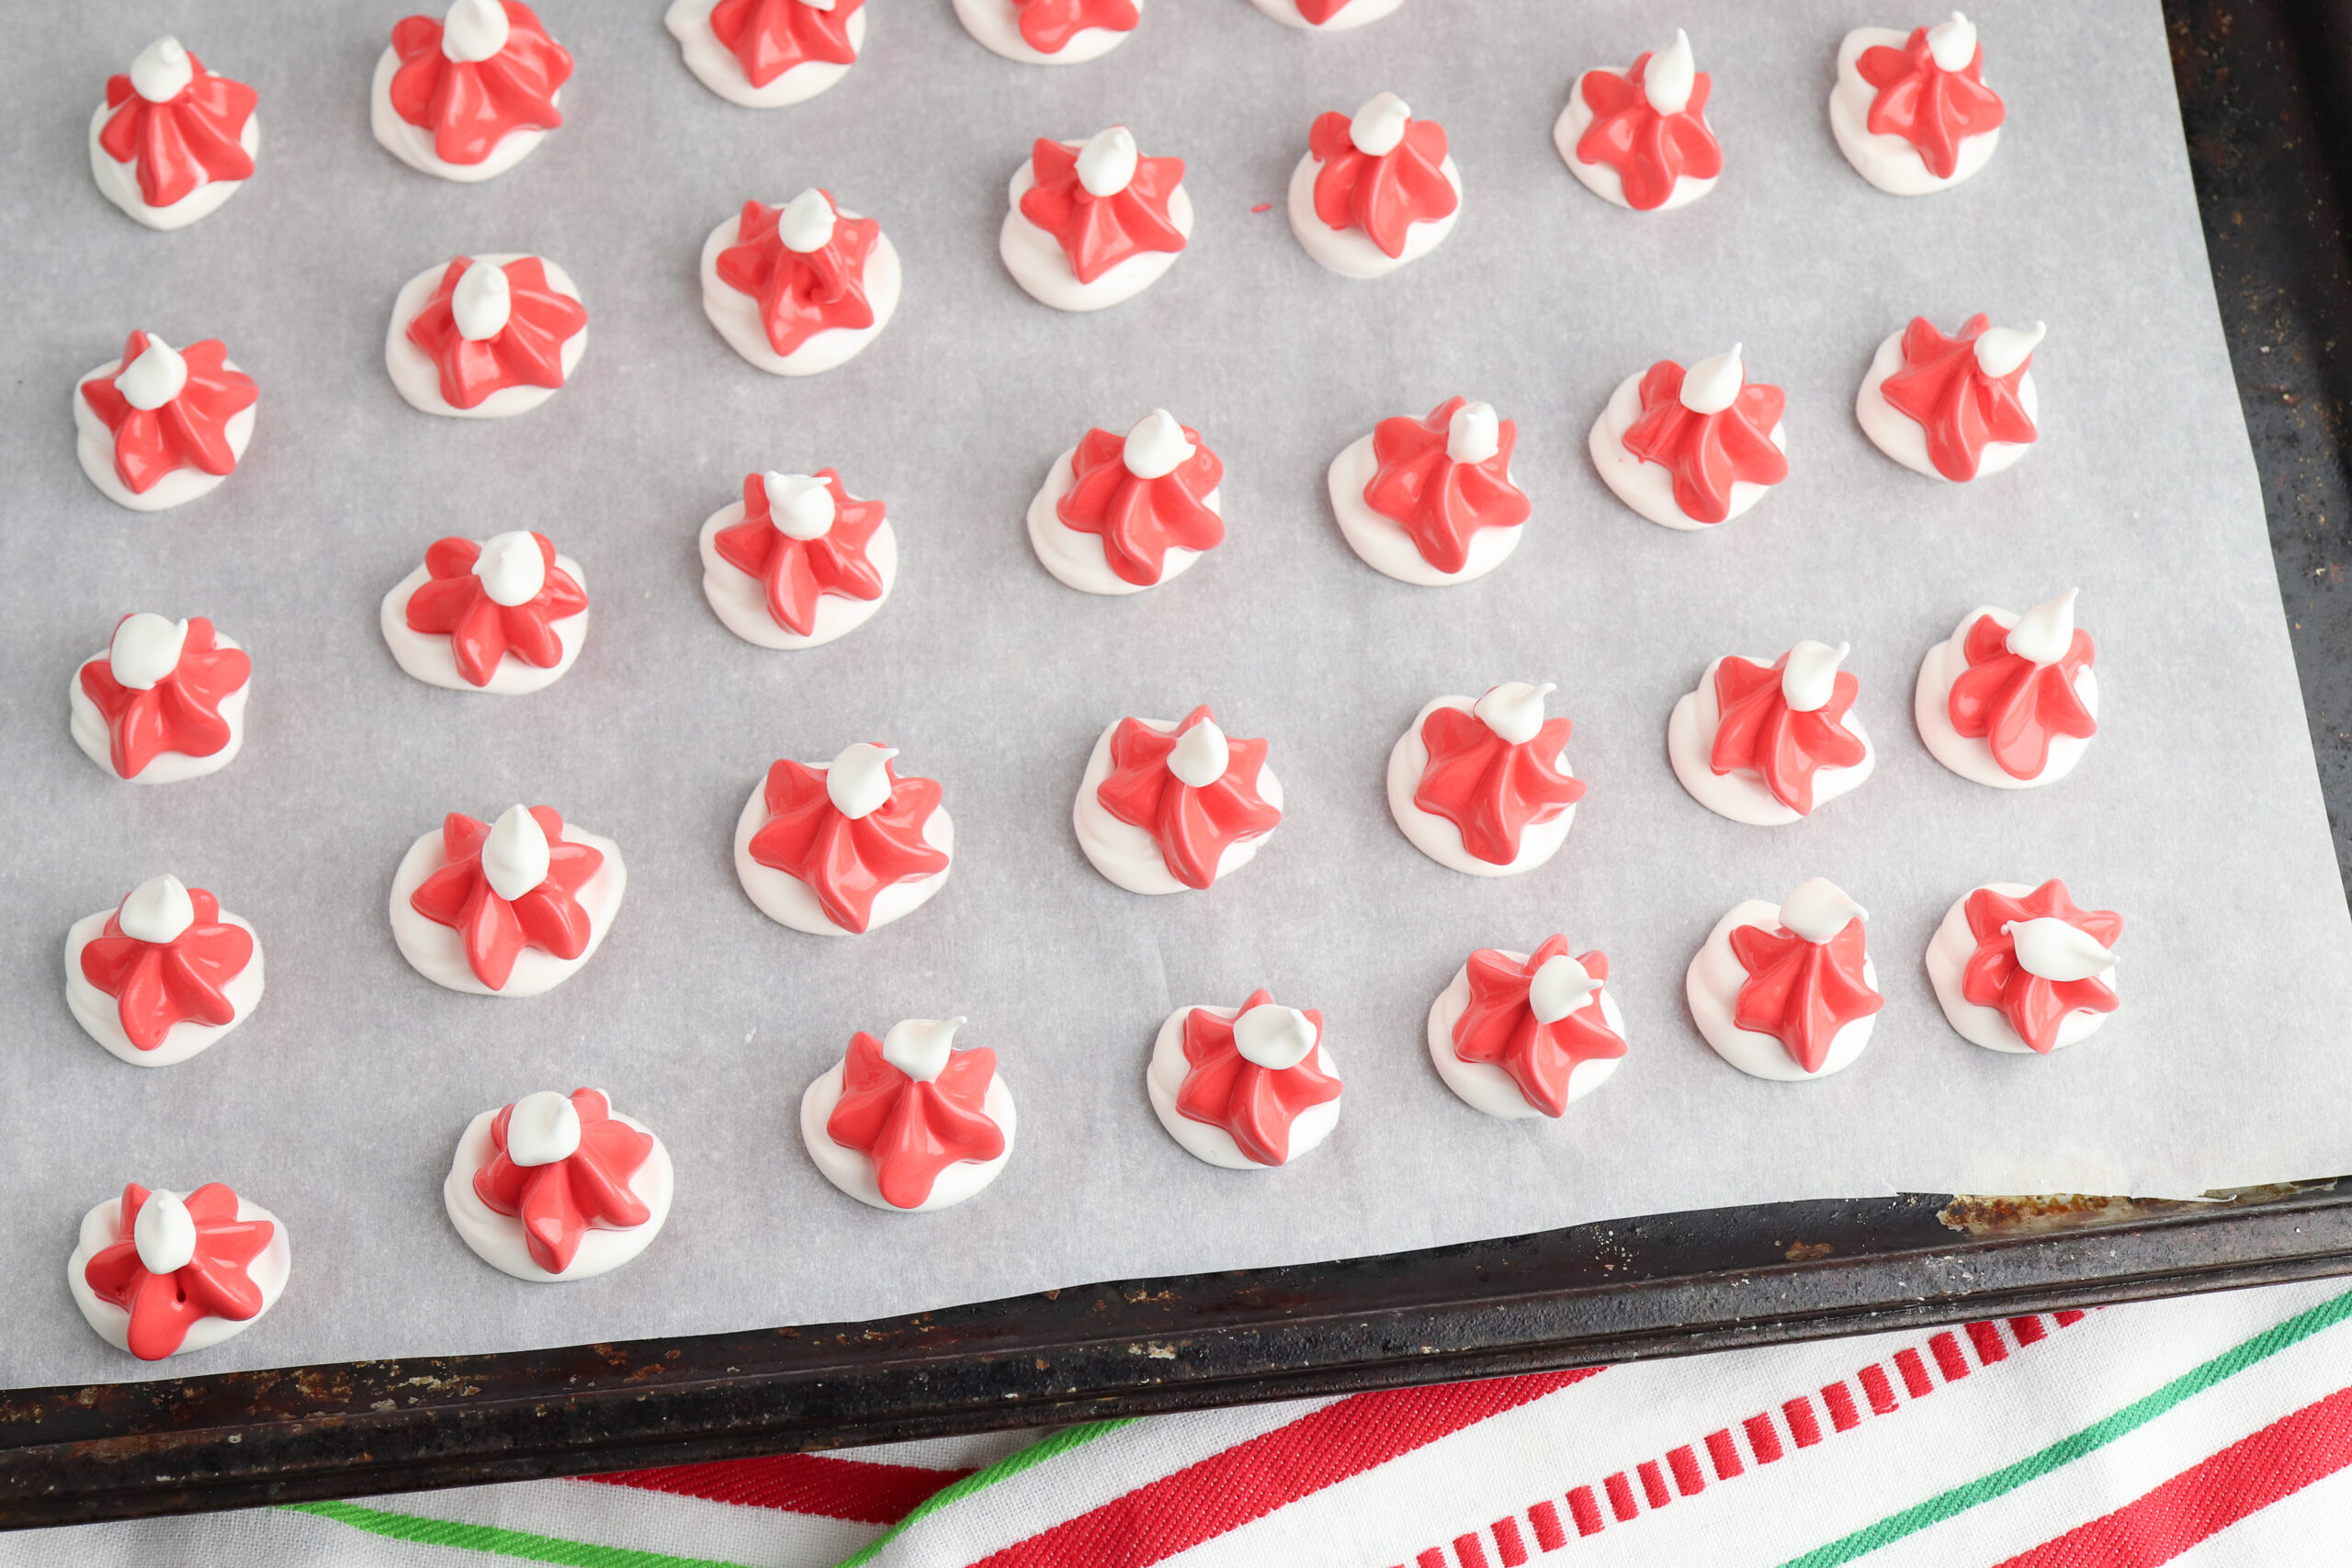
- Transfer the red mixture to a piping bag fitted with a large star tip. Pipe a circle of white meringue on each baking sheet and top with a star of red meringue.
- Add a small dot of white meringue to the top of the red meringue.
- Place the cookies in the preheated oven and bake for 45 minutes.
- When the cook time is up, turn off the oven and allow the cookies to sit in the oven for an additional 1 hour. Then, remove the pan from the oven and allow the cookies to cool completely before eating or storing in an airtight container.
Tips
- Ensure that all equipment is impeccably clean and free of any grease, as even a slight residue can prevent the egg whites from whipping properly.
- If possible, use fine sugar which dissolves more readily, leading to smoother meringue.
- To avoid moisture affecting your cookies, store them in an airtight container and only add decorative elements just before serving.
Recipe Variations
- Chocolate-Dipped: Dip the base of each cookie in melted chocolate for a decadent twist.
- Peppermint Flavored: Add a few drops of peppermint extract to the meringue mixture before piping for a refreshing flavor.
- Candy Cane Crushed Topping: Crush up some candy canes and sprinkle them on top of the cookies before baking for an eye-catching presentation.
What to Serve With
Frequently asked questions
Can I make meringue cookies in advance?
Yes, these Christmas meringue cookies can be made a day or two in advance and stored in an airtight container at room temperature. However, it’s best to add any decorative elements just before serving.
Why did my meringue cookies become sticky?
Meringue cookies are sensitive to humidity. If your environment is humid, it can cause the cookies to become sticky. Ensure you’re baking them on a dry day if possible, and store them in an airtight container to keep moisture out.
Can I use liquid food coloring instead of gel?
Gel food coloring is preferred because it doesn’t add extra liquid to the meringue, which could affect the texture. If you only have liquid coloring, use it sparingly to prevent thinning the mixture too much.
Are there any substitutes for cream of tartar?
Yes, lemon juice or white vinegar can be used as substitutes for cream of tartar. Both serve to stabilize the egg whites and help maintain firm peaks, but you’ll need to adjust quantities—you’ll use roughly double the amount if substituting.
Storing your Christmas meringue cookies
To ensure your Christmas meringue cookies maintain their crisp texture, store them in an airtight container at room temperature. Avoid exposure to moisture, as this can cause the cookies to become sticky and lose their delightful crunch.
If you plan to keep them for an extended period, consider placing a silica gel packet in the container to absorb any excess moisture. These cookies typically have a shelf life of up to two weeks when stored correctly, making them a convenient make-ahead option for your holiday festivities.
Creating Christmas meringue cookies is as enjoyable as it is rewarding, allowing you to indulge your creative side while crafting a treat that embodies the holiday spirit. So, gather your ingredients, summon your holiday cheer, and prepare to wow your friends and family with these festive Santa hat creations. Happy baking!
Christmas meringue cookies
Ingredients
- 3 egg whites room temperature
- 1/4 teaspoon vanilla extract
- 1/8 teaspoon cream of tartar
- 3/4 cup sugar
- Red gel food coloring
Equipment
- baking sheet
- parchment paper
- mixing bowls
Instructions
- Preheat the oven to 200 degrees and line 2 baking sheets with parchment paper.
- Beat the egg whites, vanilla extract, and cream of tartar in a stand mixer with the whisk attachment on medium speed until the mixture is frothy and peaks begin to form.

- While the mixer still running, add the sugar one tablespoon at a time, waiting a few seconds between each addition.

- After all the sugar has been added, continue beating for around five more minutes, until the mixture is glossy and stiff.
- Transfer half the mixture to a piping bag with a large round tip.
- Add the red gel food coloring to the remaining mixture and mix until no white streaks appear. Transfer the red mixture to a piping bag fitted with a large star tip.

- Pipe a circle of white meringue on each baking sheet and top with a star of red meringue.

- Add a small dot of white meringue to the top of the red meringue.

- Place the cookies in the preheated oven and bake for 45 minutes. When the cook time is up, turn off the oven and allow the cookies to sit in the oven for an additional 1 hour. Then, remove the pan from the oven and allow the cookies to cool completely before eating or storing in an airtight container.

Nutrition
Article may contain Amazon & affiliate links. As an Amazon Associate I earn from qualifying purchases at no additional cost to you.



ABOUT PETRO
Hi, I’m Petro, author and founder of Easy Peasy Creative Ideas. Sewist, crafter, avid DIY-er, foodie, photographer, homemaker and mommy to one. I’m an expert at coming up with quick, clever sewing tips, recycling crafts and simple, easy recipes! You can find my ideas featured in reputable publications such as Country Living, Good House Keeping, Yahoo News, WikiHow, Shutterfly, Parade, Brit & Co and more. Thanks for stopping by and hope you’ll stay for a while, get to know me better and come back another time. Stick around for real fun projects! Read more…