DIY Easter lily wreath
Make a beautiful lily wreath that’s perfect for any occasion, especially Easter! Follow our simple steps, get expert tips, and add your own creative touches to make an Easter lily wreath that’s uniquely yours!
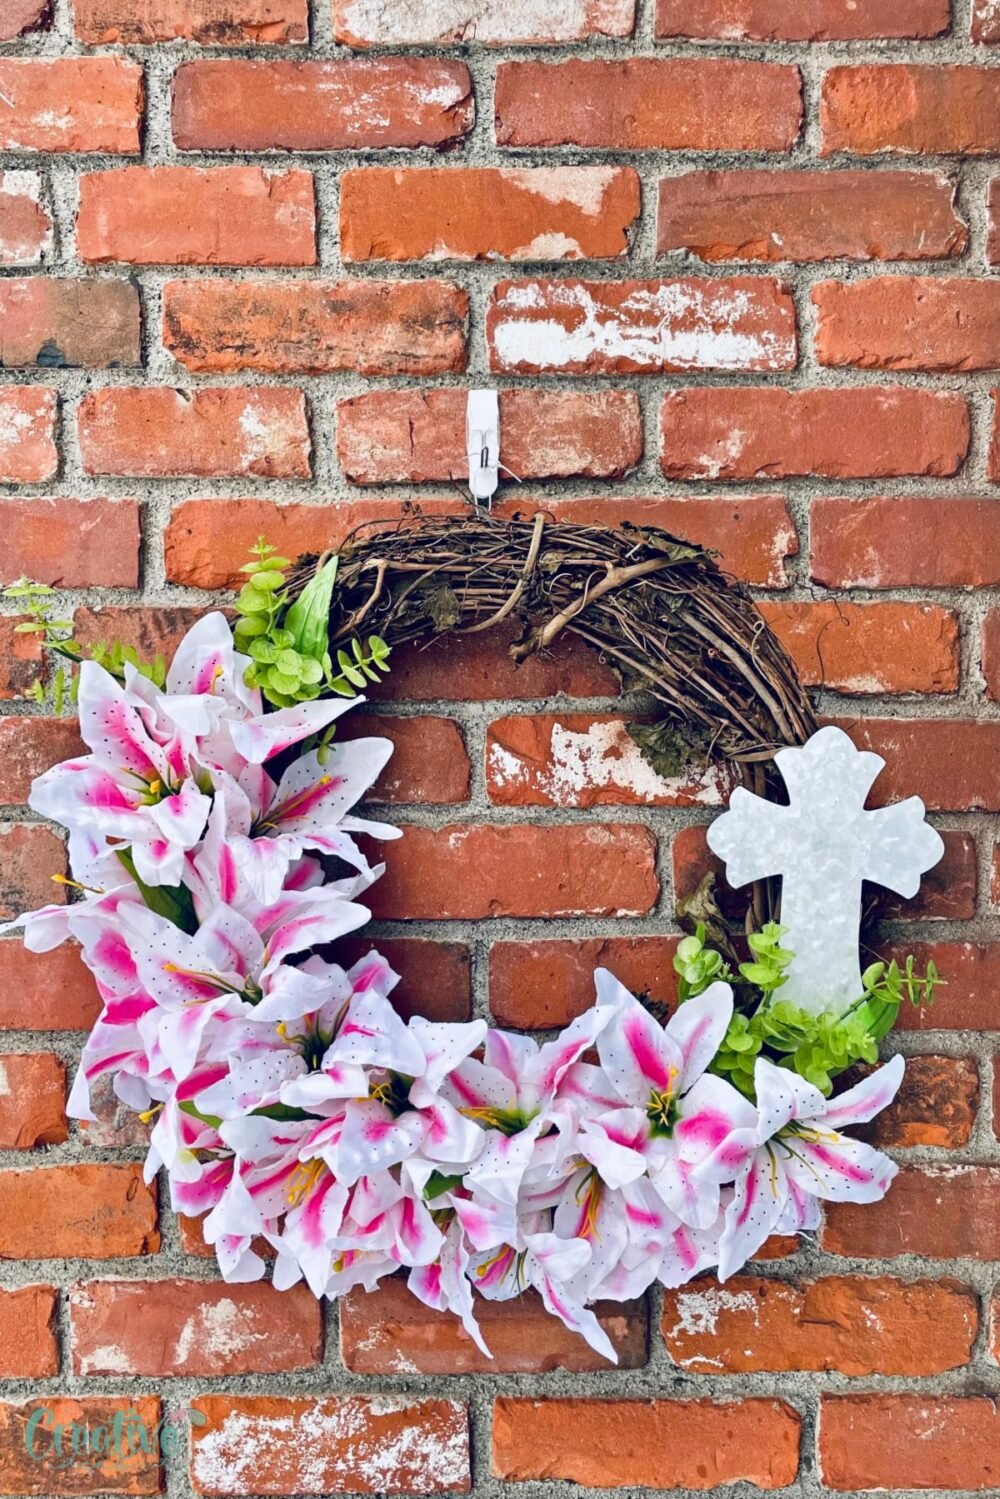
A lily wreath is the perfect combination of elegance and charm, bringing a touch of natural beauty to your home. Whether you’re celebrating Easter or simply looking to add a timeless floral decoration to your space, an Easter lily wreath is a classic choice.
The lily wreath is not only a beautiful addition to any home décor, but it also carries a special meaning. Lilies symbolize renewal and purity, making them an ideal centerpiece for Easter celebrations. Plus, crafting your own wreath gives it a personal, handmade touch that store-bought décor just can’t replicate.
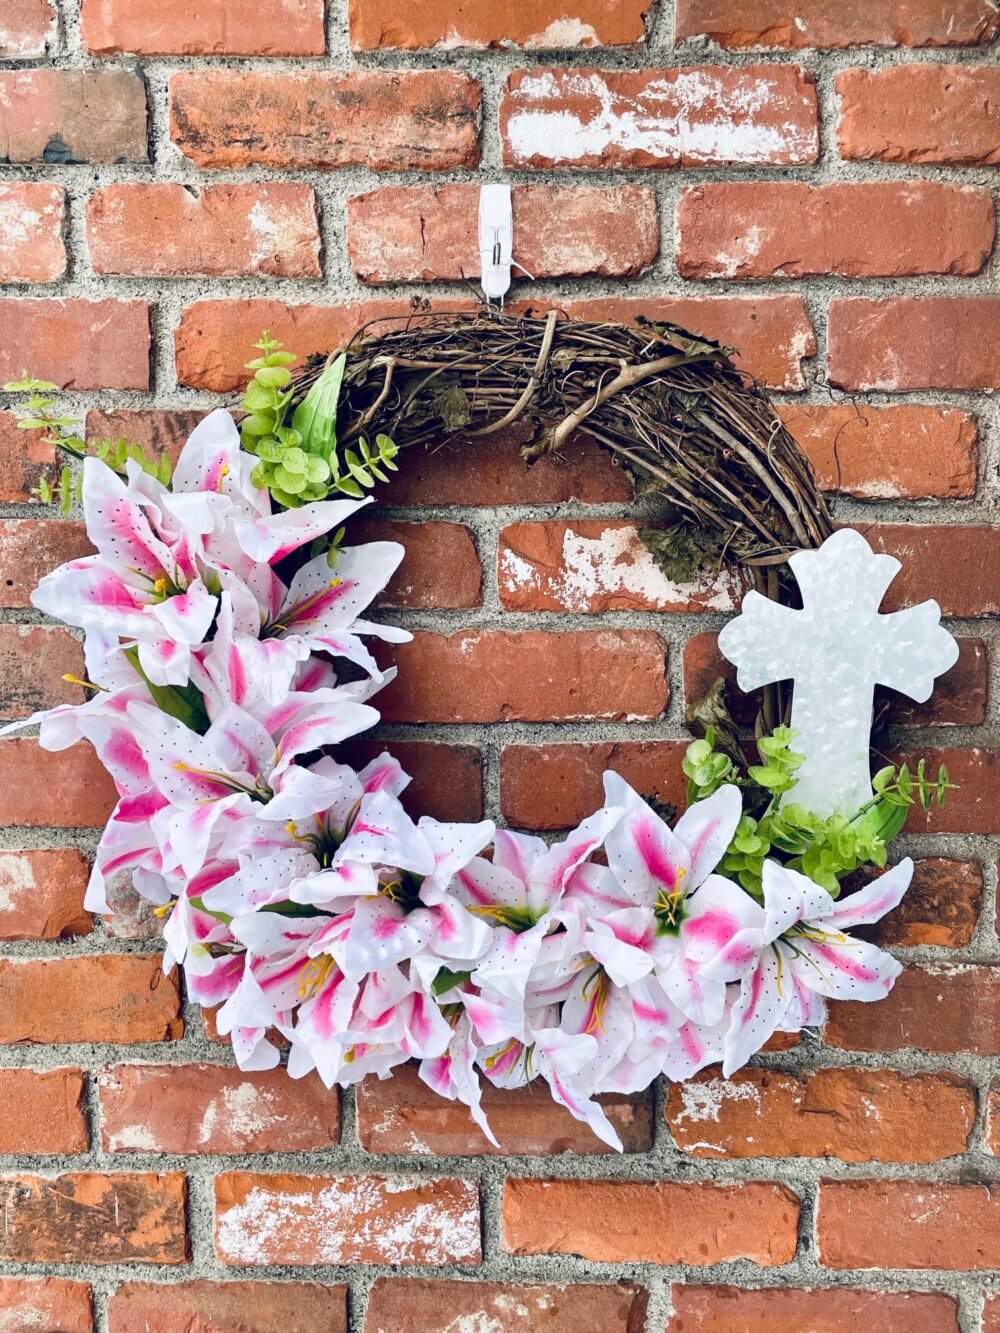
The combination of a natural grapevine wreath, vibrant Easter lilies, and lush greenery like eucalyptus creates a visually stunning piece that looks high-end but is surprisingly easy to create. The addition of a metal cross makes it even more meaningful for Easter, tying in the spiritual significance of the season.
How to make a lily wreath
Materials
- Grapevine Wreath: This serves as the sturdy base for your design. Its natural look pairs beautifully with flowers and foliage.
- Easter Lilies: These iconic flowers are the star of this wreath, offering a vibrant, elegant centerpiece.
- Eucalyptus Foliage: Adds a touch of greenery and texture, giving the wreath a lush, full appearance.
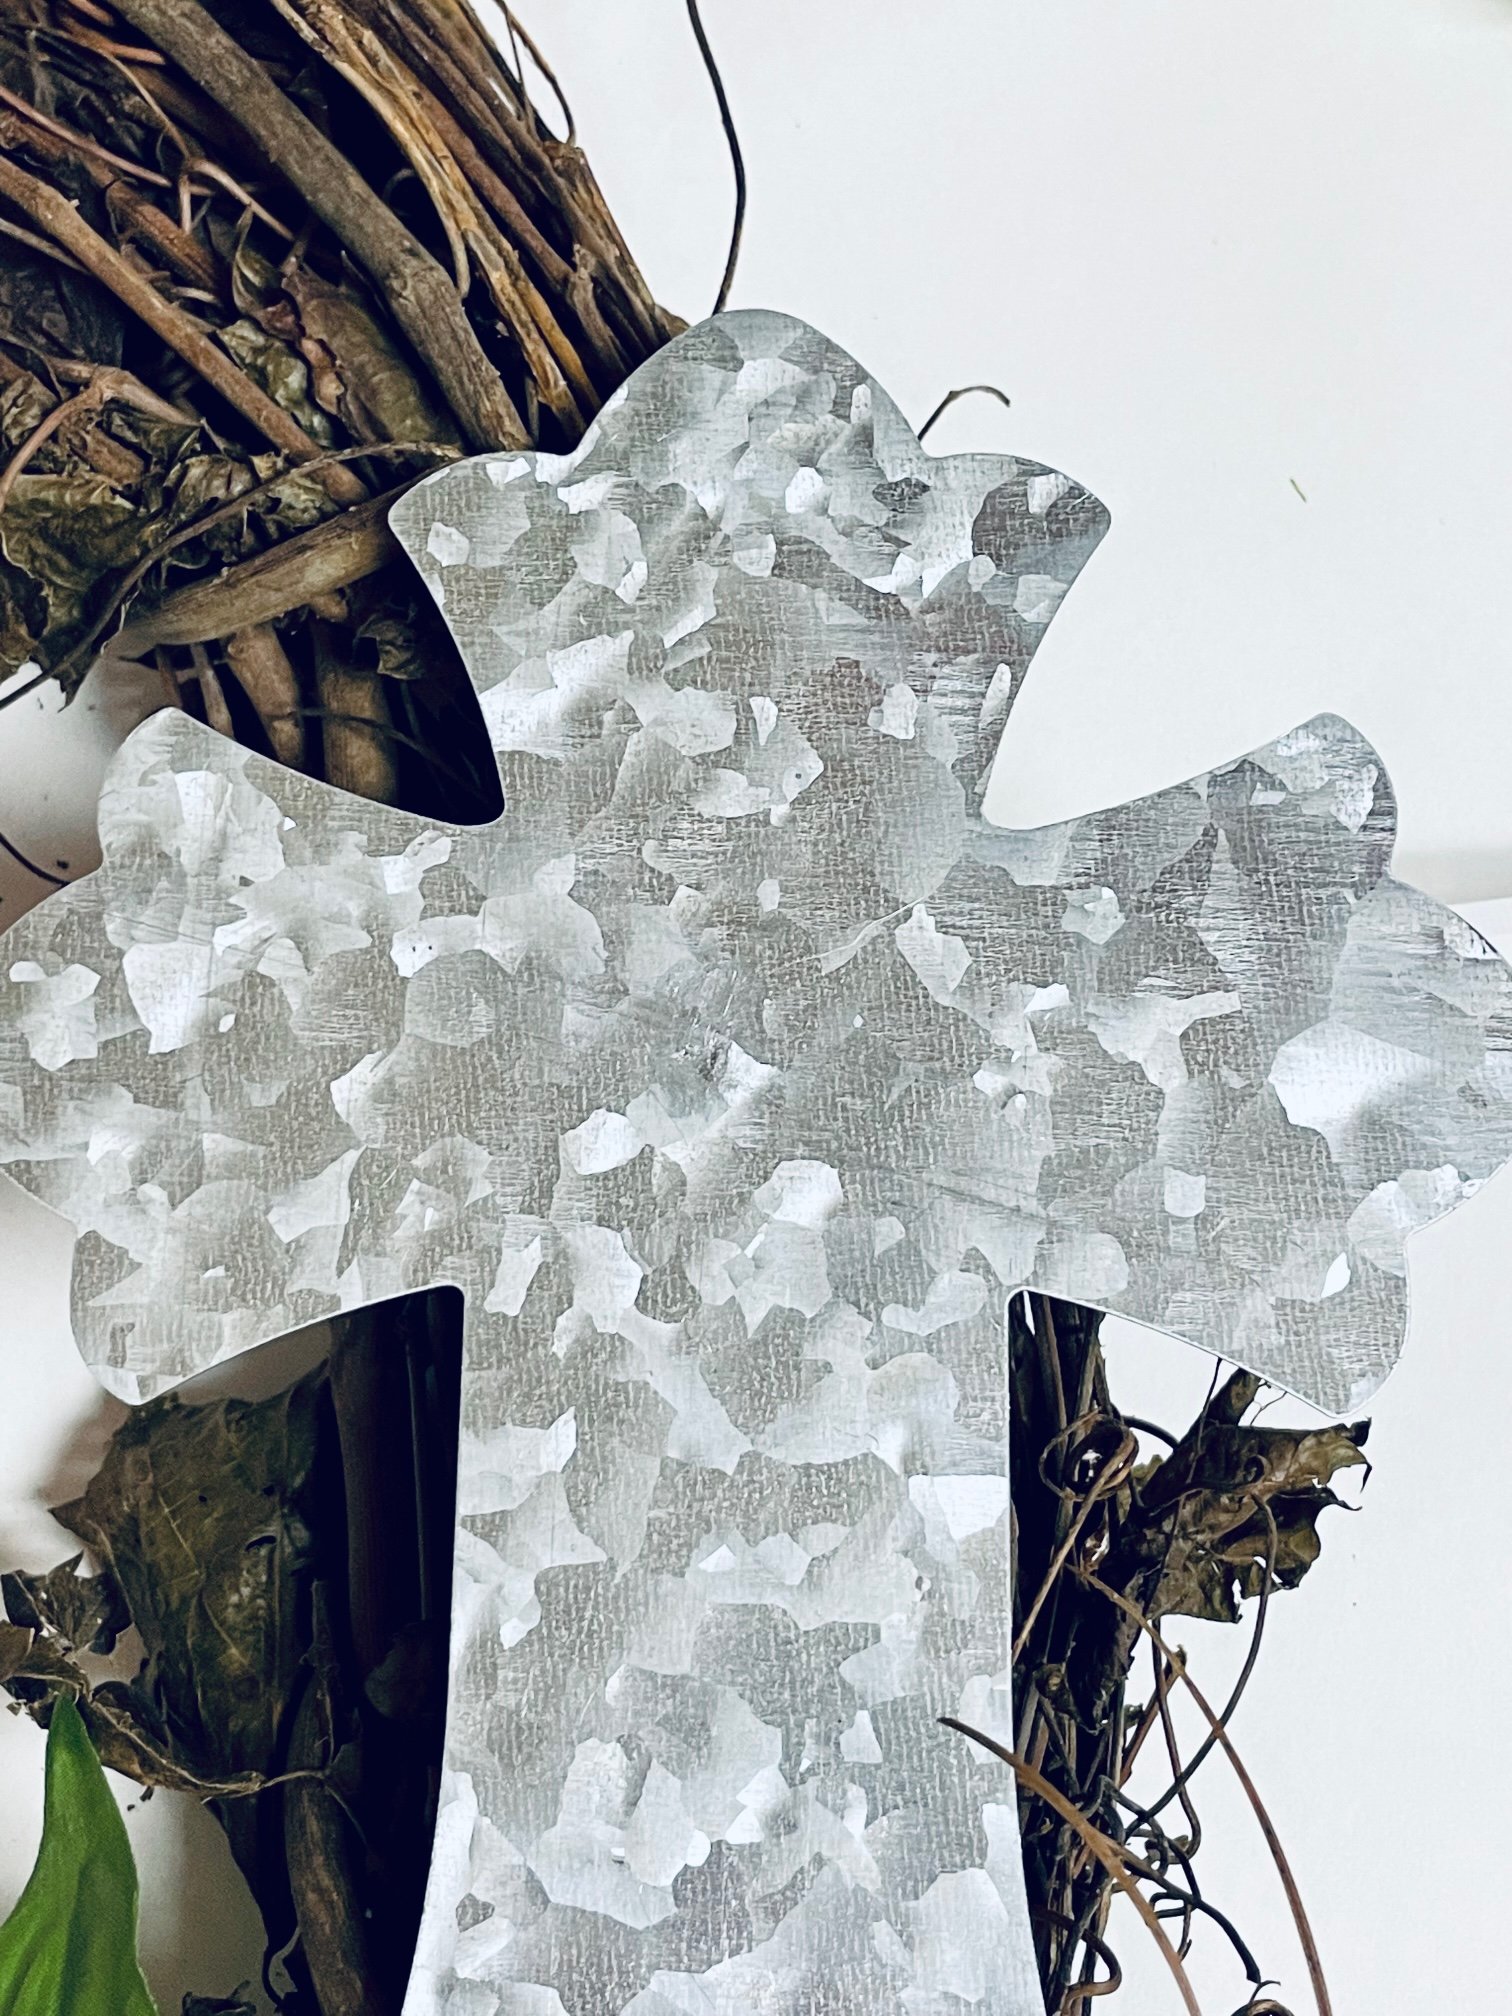
- Metal Cross: A symbolic element perfect for Easter, adding depth and meaning to your wreath.
Equipment
- Hot Glue Gun: Essential for securing flowers, foliage, and other pieces to the wreath.
- Zip Ties: Used to attach heavier or more secure elements like the metal cross to the grapevine base.
- Wire Cutters: Handy for trimming foliage or flower stems to your desired length.
Instructions to make the wreath
- Remove all flowers from their stems.
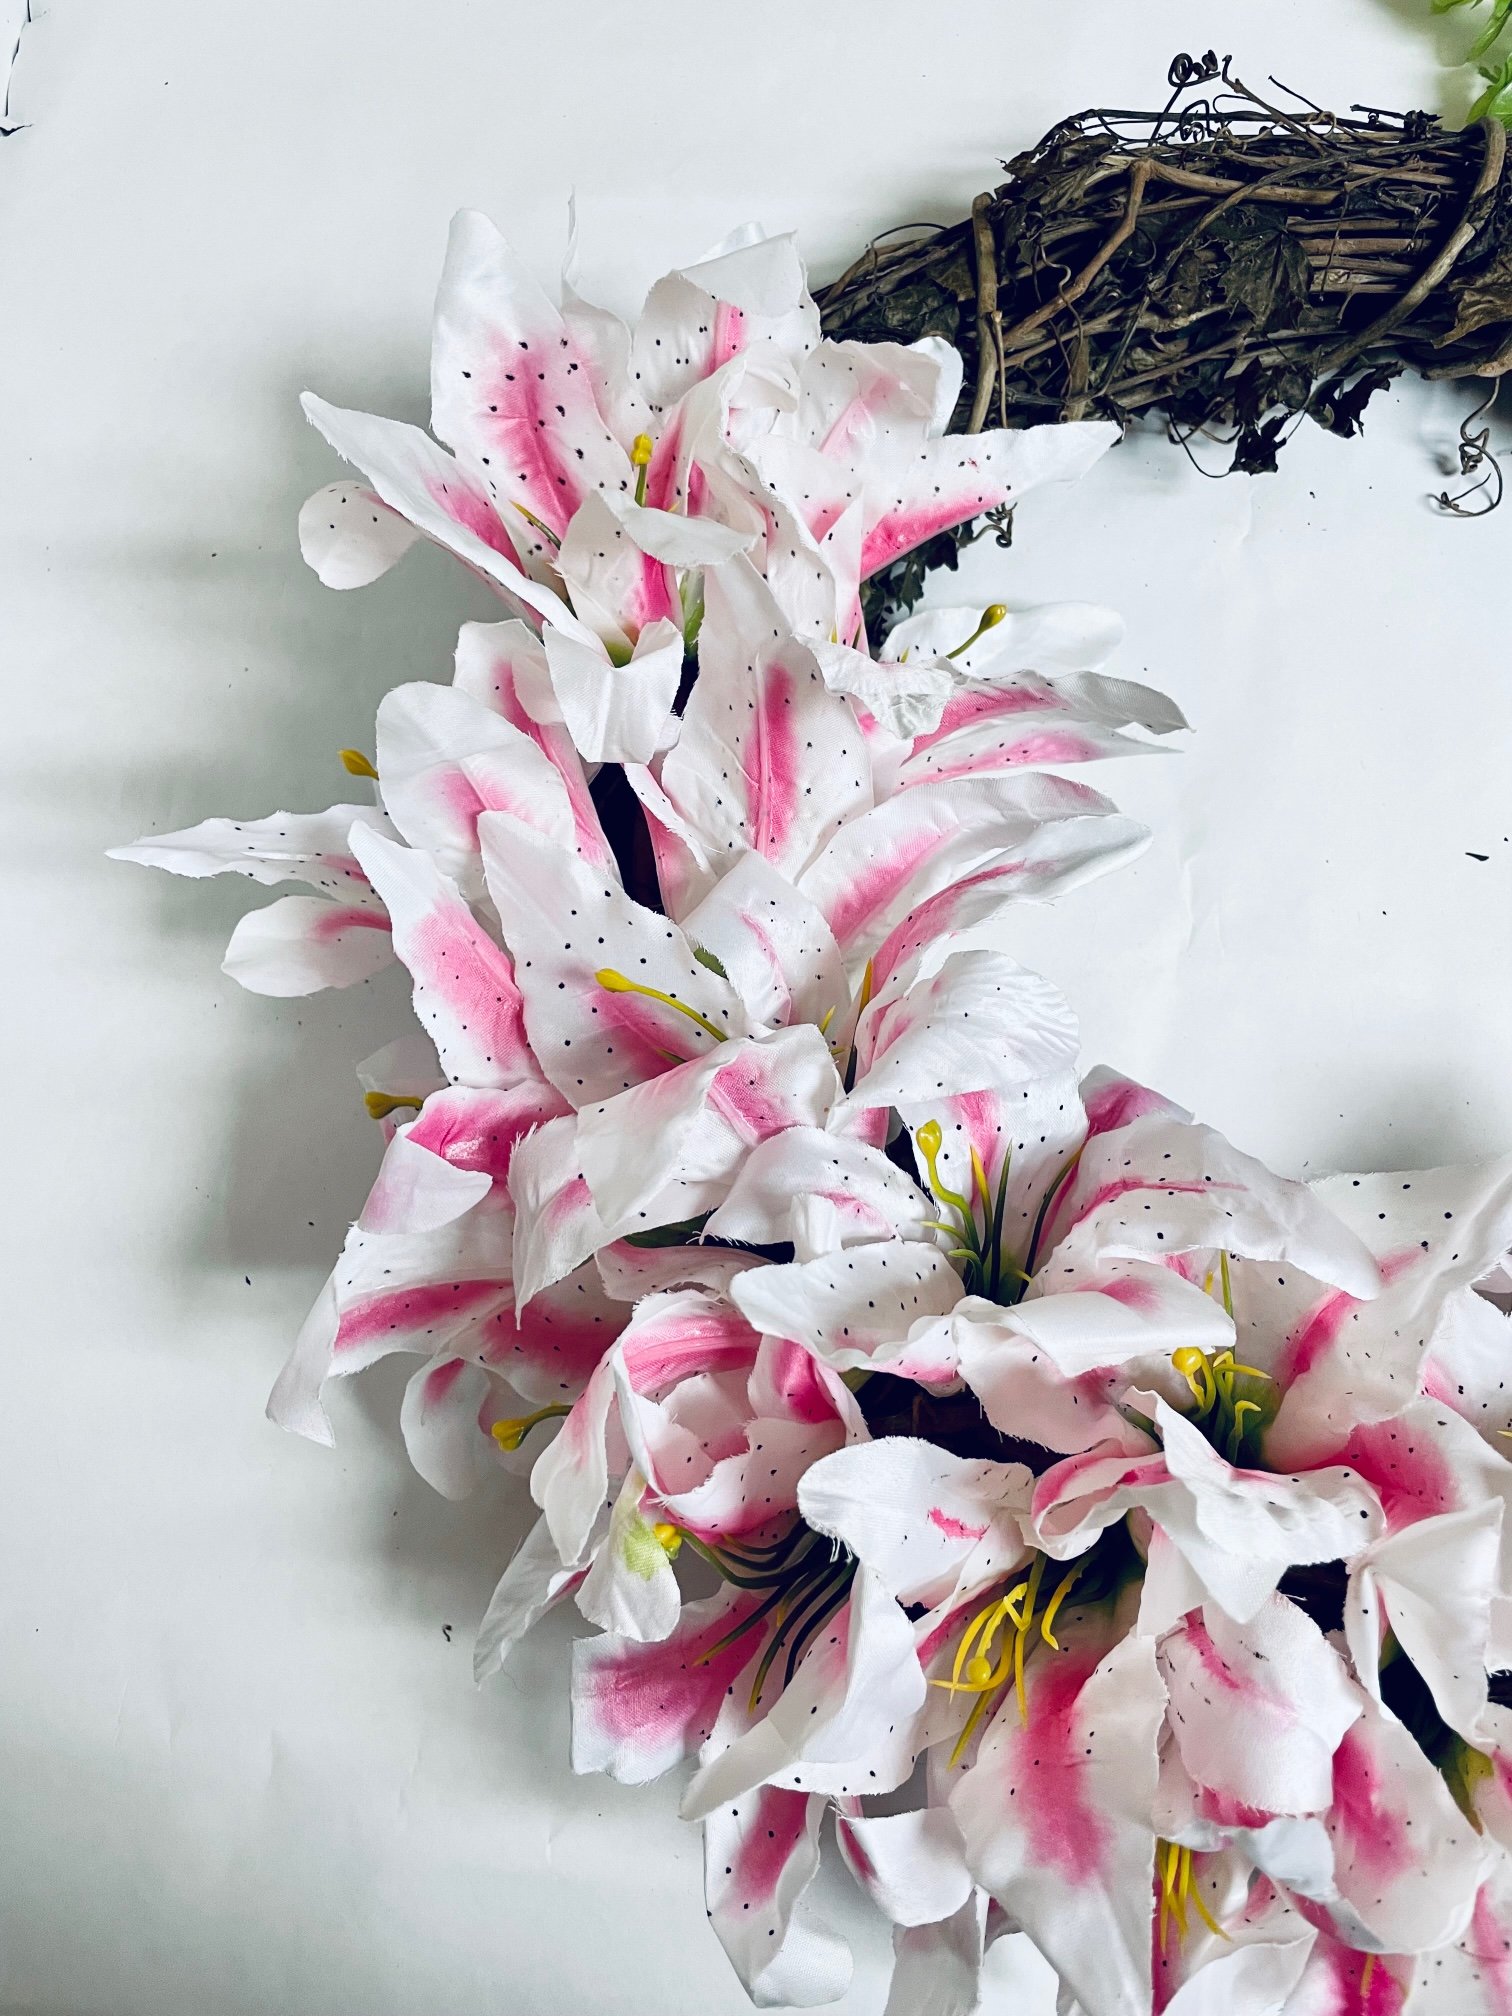
- Apply a small amount of hot glue to the base of each flower and press it firmly onto the grapevine wreath until secure. Repeat this step with all the flowers until the wreath looks full and balanced.
- Attach the metal cross by threading a zip tie through the loop on the back of the cross and securing it to the wreath branches.
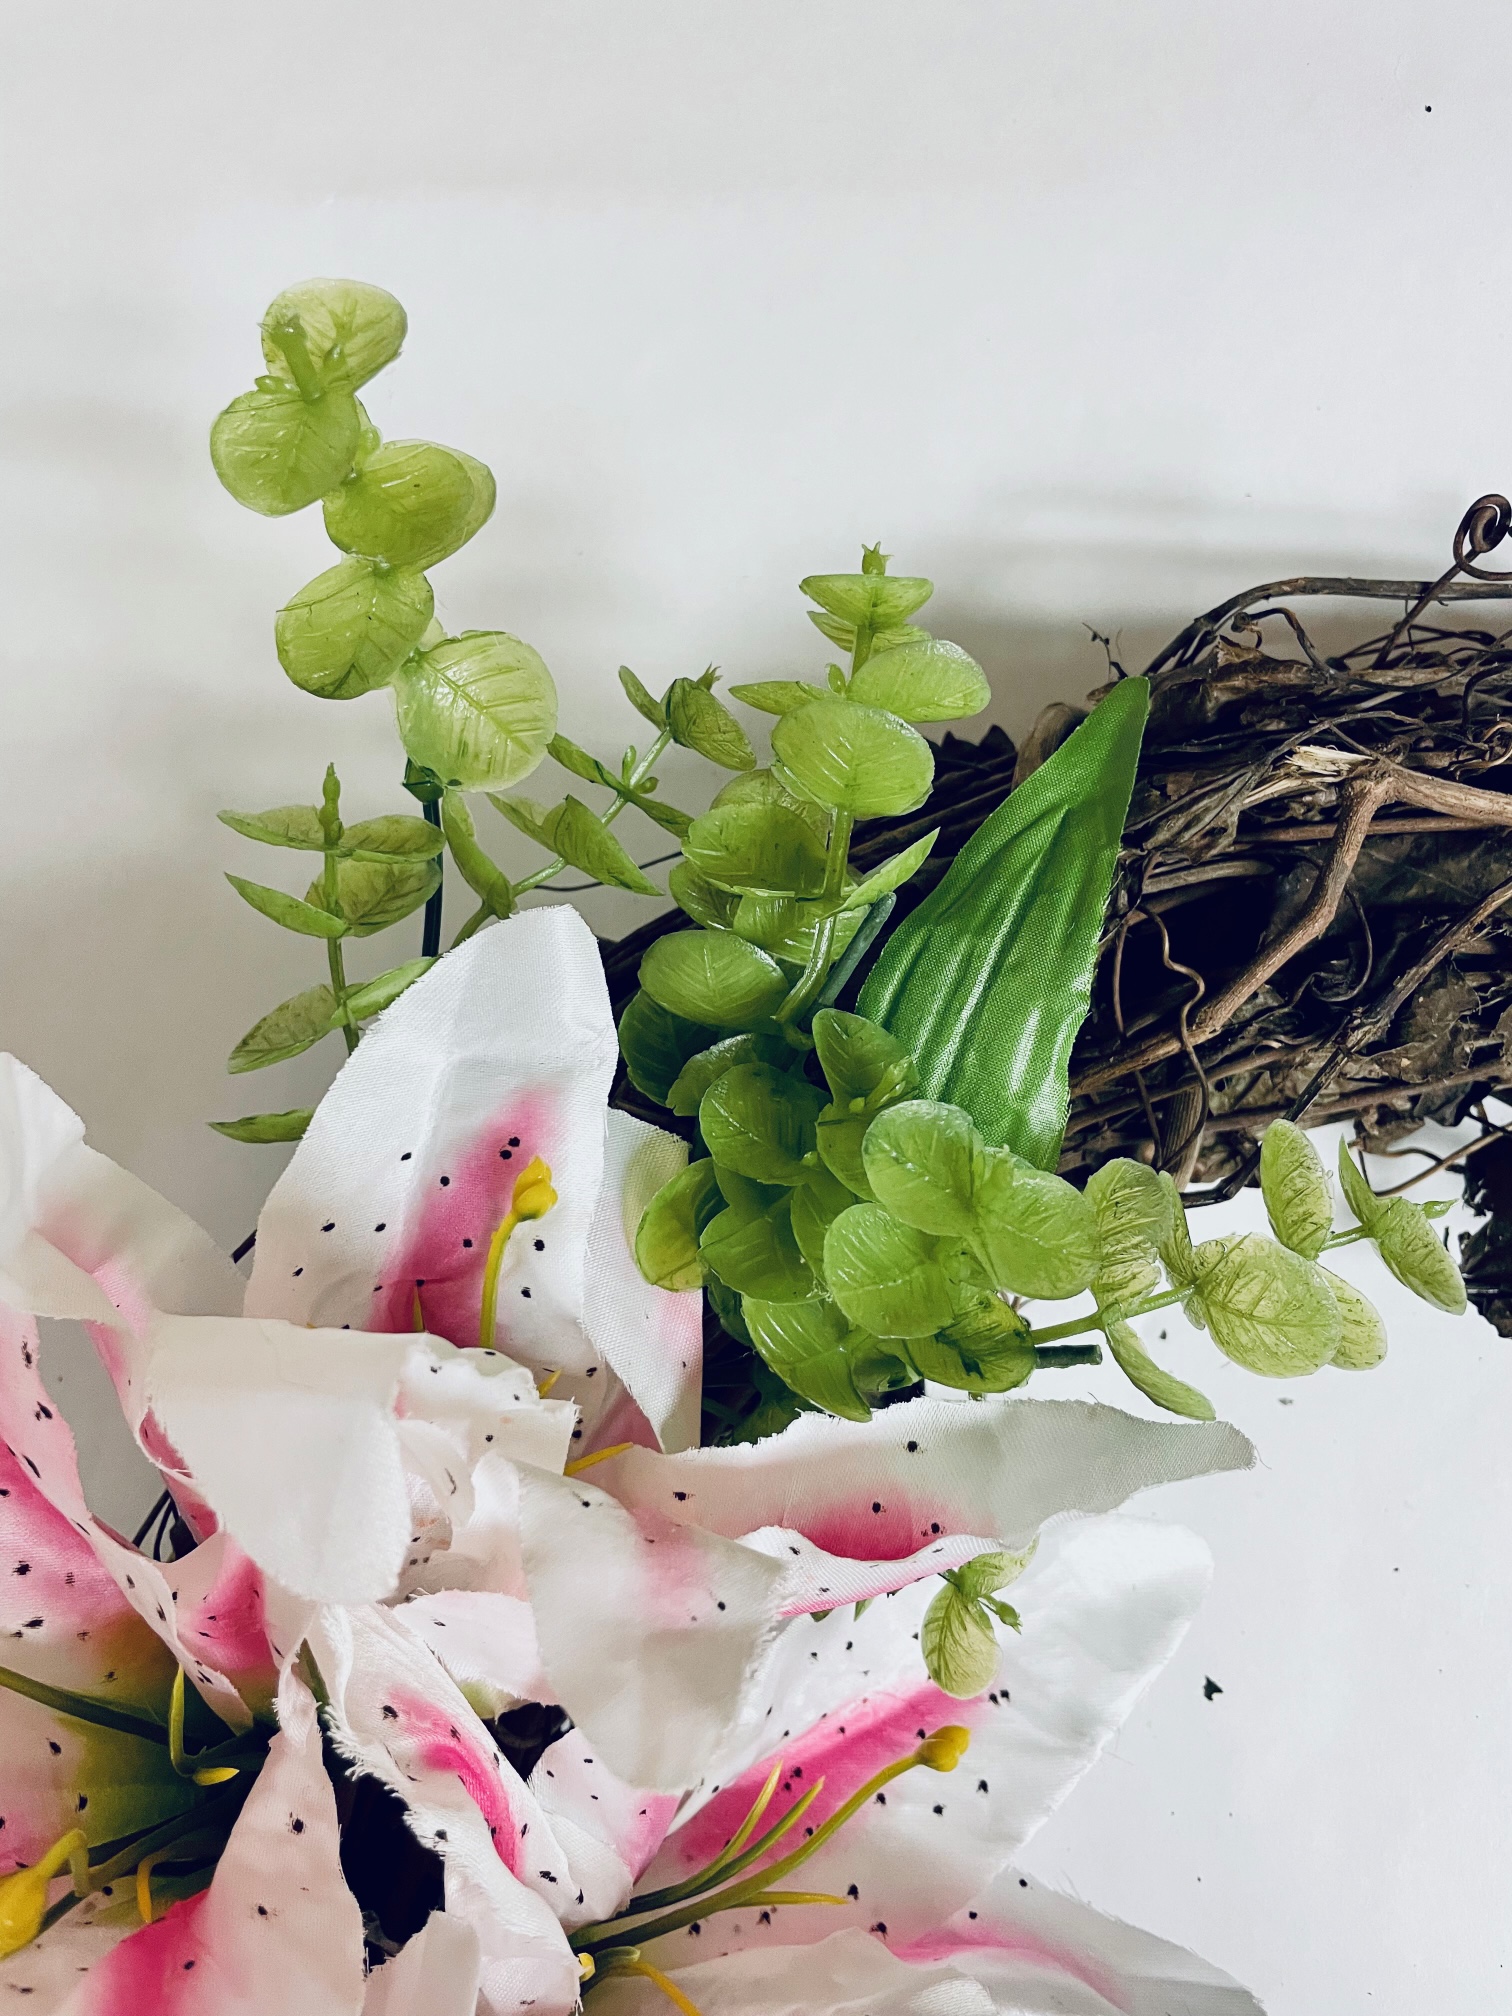
- Add eucalyptus foliage and leaves to fill in gaps and give the wreath a natural, green accent. Use hot glue to secure each piece.
- Adjust and arrange until you’re happy with the final look!
Tips
- Layer Strategically: Start with larger flowers before adding smaller accents to create depth and balance.
- Secure with Extra Glue: For durability, reinforce any loose pieces with an extra dab of hot glue.
- Test Placement First: Arrange your flowers and greenery on the wreath before gluing to avoid mistakes.
Craft variations
- Add seasonal flowers like tulips or daisies for a springtime wreath.
- Swap eucalyptus for ivy or other foliage to change the color palette.
- Add ribbons or bows to enhance the festive look.
Frequently Asked Questions
Can I use real flowers?
While real flowers look stunning, they may wilt quickly. Faux flowers are a better option for a long-lasting wreath.
How do I hang the wreath?
Use a sturdy hook or hanger to display your wreath securely.
Can this be used outdoors?
Yes, but keep it in a covered area to protect it from weather damage.
Storing
If using faux flowers, store your wreath in a cool, dry place to maintain its appearance. Wrap it in bubble wrap to prevent damage during storage.
More Easter crafts you’ll enjoy
- Easter eggs wreath
- Treat baskets from paper cups
- Sock bunny craft
- Easter sheep with craft sticks
- DIY farmhouse bunny crate
Inspired to make your own lily wreath? You’ll definitely enjoy trying out this Easter lily wreath idea! So gather your materials and get crafting!
Easter lily wreath
Materials
- Grapevine wreath
- 4 bunches of Easter lilies
- 1 bunch of eucalyptus foliage
- Metal Cross
Tools
Instructions
- Start by popping all of the flowers from the stems. Add hot glue to where the flower would meet the stem

- Then press it firmly onto the grapevine so that it would adhere. Complete this with all of the flowers until you have your desired look

- Take the zip tie, and feed it through the metal loop on the backside and then feed the zip tie through a few of the branches and secure it
- Add hot glue to the stem of the foliage and then place it where you feel the wreath needs some green accents.

- Glue the cross to the grapevine

Article may contain Amazon & affiliate links. As an Amazon Associate I earn from qualifying purchases at no additional cost to you.


ABOUT PETRO
Hi, I’m Petro, author and founder of Easy Peasy Creative Ideas. Sewist, crafter, avid DIY-er, foodie, photographer, homemaker and mommy to one. I’m an expert at coming up with quick, clever sewing tips, recycling crafts and simple, easy recipes! You can find my ideas featured in reputable publications such as Country Living, Good House Keeping, Yahoo News, WikiHow, Shutterfly, Parade, Brit & Co and more. Thanks for stopping by and hope you’ll stay for a while, get to know me better and come back another time. Stick around for real fun projects! Read more…