

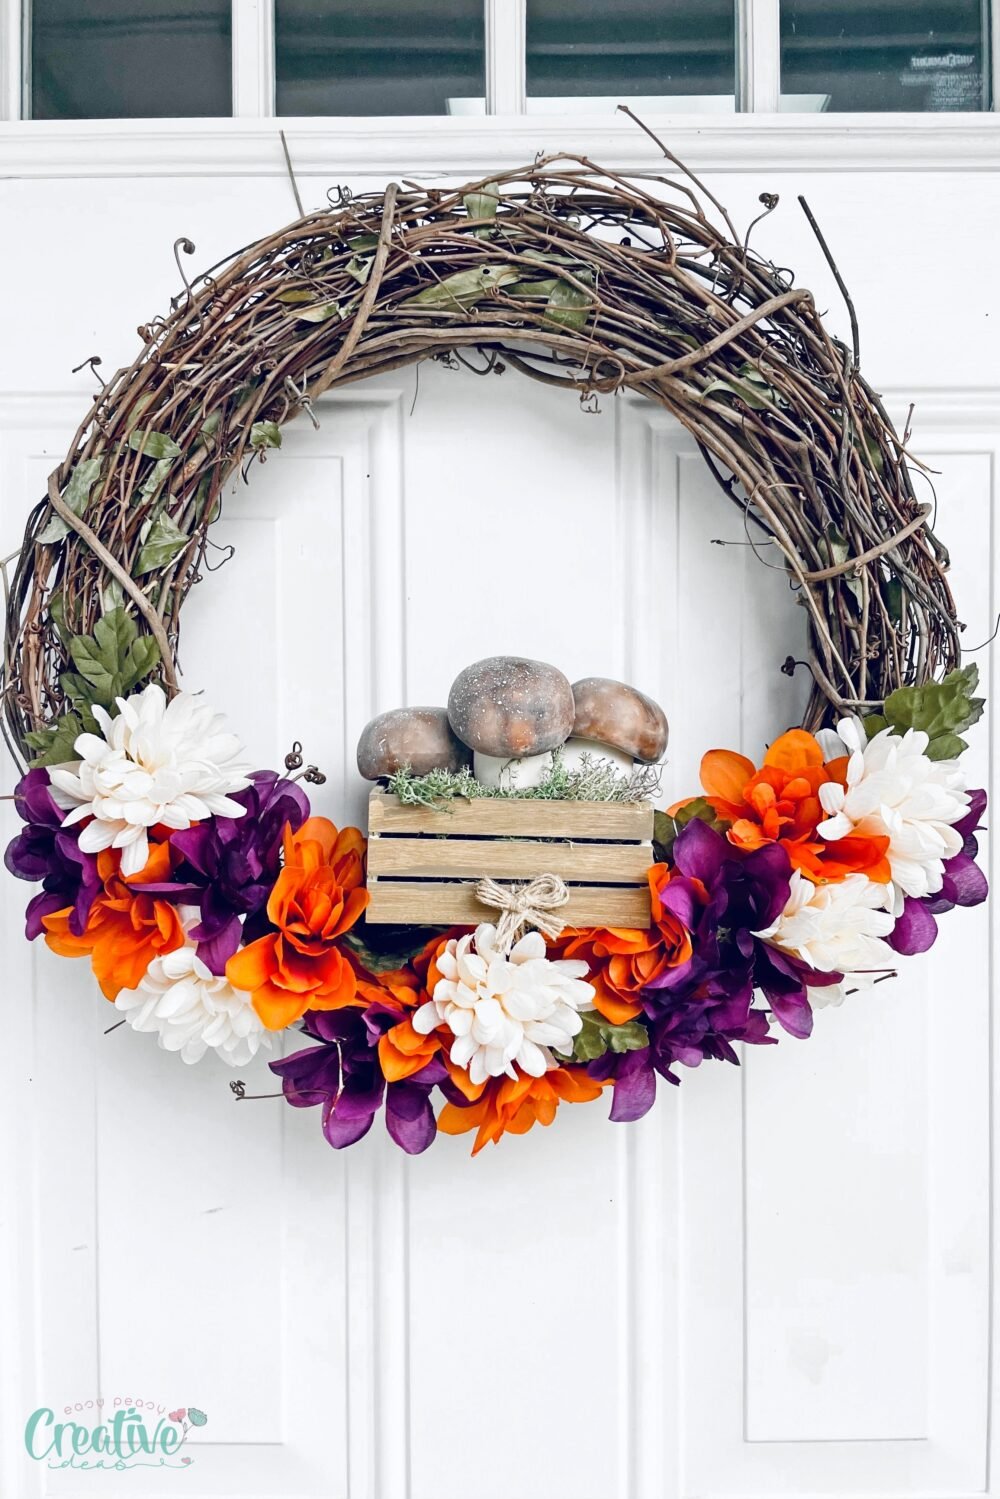
DIY fall wreath with decorative mushrooms
Create a stunning DIY fall wreath that brings the beauty of autumn right to your front door. Follow this easy guide to craft a lovely fall wreath that reflects the vibrant colors of the season!
As the leaves change and the air turns crisp, there’s no better time to embrace the season than with a heartfelt DIY fall wreath. It not only adds a warm, welcoming touch to your home but also allows you to express your creativity.
What I adore about this fall wreath idea is its personal touch. Each wreath is a reflection of your unique style and creativity, making it a standout piece in your fall décor. Additionally, crafting your own wreath can be a mindful and enjoyable activity, allowing you to unwind while embracing the beauty of nature.
This DIY fall wreath is not just beautiful; it’s also budget-friendly! With simple materials that can be found at local craft stores or even budget retailers like Dollar Tree, you can create a stunning piece without breaking the bank. Plus, it allows for endless customization, so you can make adjustments to perfectly match your style and décor.
How to make a DIY fall wreath
Materials
- 18 Inch Grapevine Wreath: This sturdy base provides a natural look and acts as the perfect canvas for your fall wreath.
- Waverly Tan Chalk Paint: Use this to add a rustic touch to your wreath; it can also be applied to various components for a more cohesive look.
- Dollar Tree Mushrooms: These charming accents bring a whimsical feel and complement the autumnal theme beautifully.
- Twine: Ideal for adding rustic charm, twine can be used for tying clusters of flowers or hanging the wreath.
- Orange, Purple, and White Mums: These vibrant flowers create a rich palette, embodying the colours of fall and adding texture to your creation.
- 1 Bushel of Flowers that are White Puffy Balls: These fluffy blooms provide softness and depth, enhancing the overall appearance of your wreath.
- Dollar Tree Mini Crate: This cute accessory can accentuate your wreath by introducing a new shape, enhancing the visual interest.
Equipment
- Scissors: A sharp pair will make cutting stems and twine quick and easy.
- Hot Glue Gun and Hot Glue Sticks: Essential for securing your wreath components together; the hot glue provides a strong bond that withstands the elements.
- Paint Brush: Perfect for applying the chalk paint evenly for a polished finish on your base and embellishments.
Step-by-step instructions
- Start by painting or staining your crate. If using the tan chalk paint you only need one coat
- Next pop all of the flowers off of the stems and add some hot glue around the bottom of the flower and wedge it in between the grapevine. I alternated where I placed the flowers and added some of the leaves as filler.
- Next secure the crate to the grapevine wreath using the twine. I just weaved it in between one of the crate slates and wrapped it through some of the grapevine.
- I next added some hot glue to the bottom of the mushrooms to secure them in the crate and you could add some moss to the bottom for some added height for the mushrooms.
- I made a small bow with some of the twine and added it with hot glue to the front of the crate.
Tips
- When arranging flowers, place larger ones first, followed by smaller ones to create depth and a balanced look.
- If you want to ensure longevity, consider sealing your finished wreath with an outdoor sealant to protect it from moisture.
- Don’t hesitate to change up colors or materials depending on your own personal style or the theme of your décor.
Craft Variations
- Rustic Charm: Incorporate burlap elements and pinecones for a more rural aesthetic.
- Elegant Fall: Use silk flowers and elegant ribbons to create a timeless and sophisticated look.
- Whimsical Wreath: Include lighter pastel colors and fantasy elements like glittery accents or fairy lights for a playful touch.
Frequently Asked Questions
- How long will the wreath last outdoors?
The durability of your wreath depends on the materials used. Natural elements may last a few weeks to a month, while artificial flowers can last much longer.
- Can I use live flowers?
While live flowers provide a fresh look, they require regular maintenance. Consider using preserved flowers for a lasting appeal.
More fall crafts you’ll enjoy
- Easy DIY denim pumpkins
- Glittery pumpkin vase centerpiece
- DIY decorative fall lantern
- Fall front porch décor with bushel basket
Ready to create your own stunning DIY fall wreath? Sign up for my newsletter for more crafting tips and inspiration or share your beautiful creations on social media! Happy crafting!

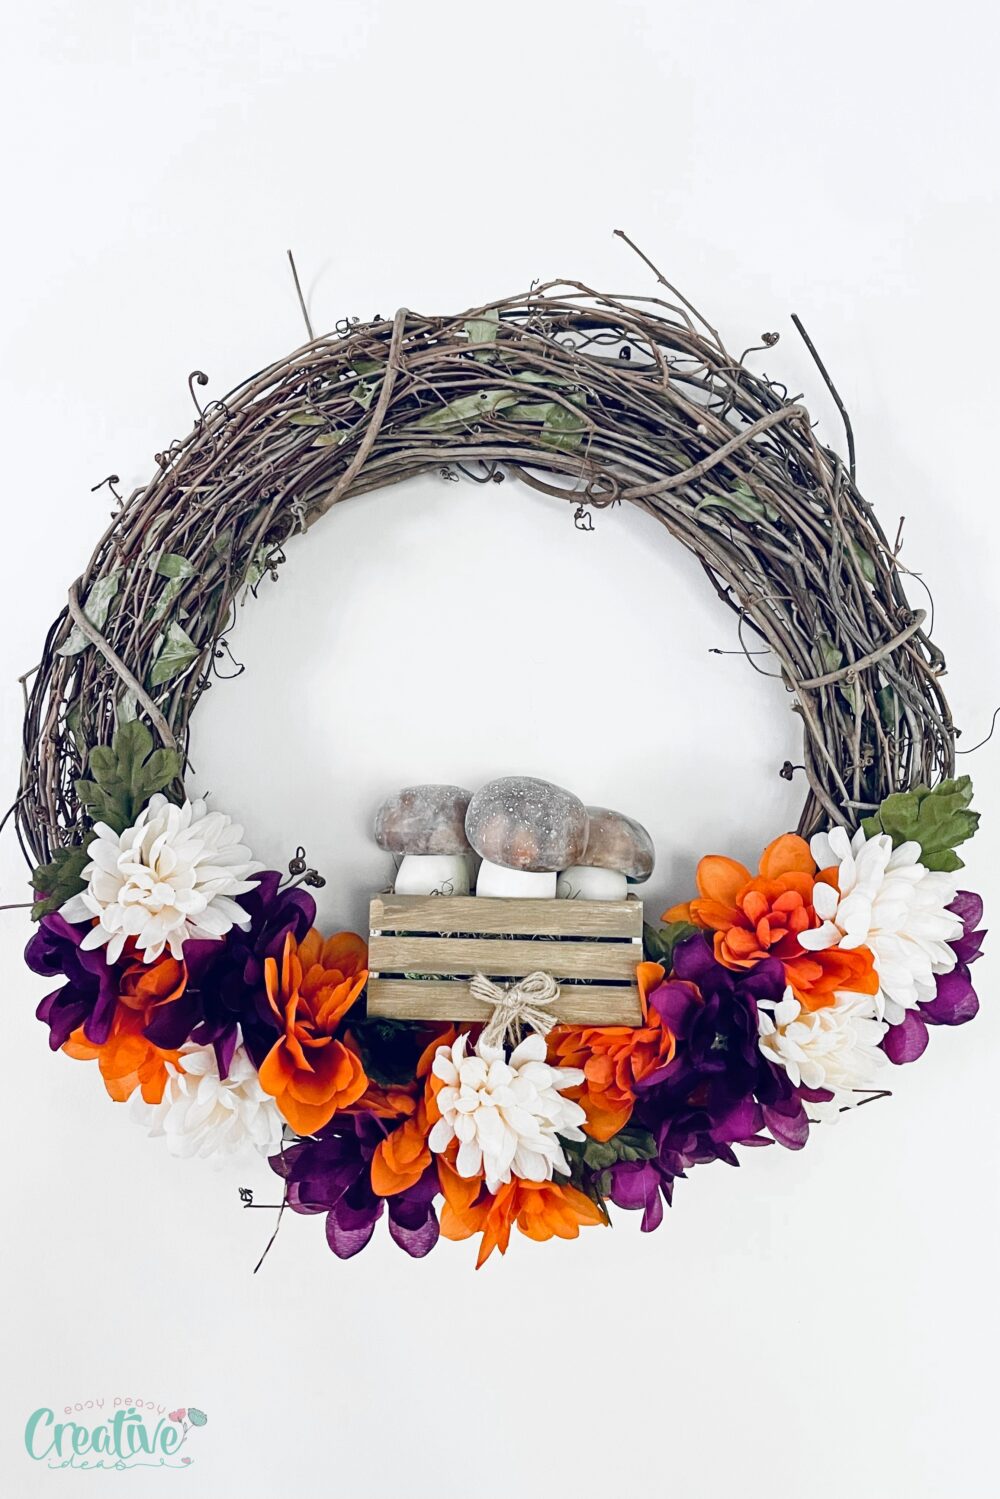
DIY fall wreath
Materials
- 18 inch grapevine wreath
- Waverly tan chalk paint
- Dollar Tree mushrooms
- Twine
- Orange purple and white mums
- 1 bushel of white puffy balls flowers
- Dollar Tree mini crate
Tools
- scissors
- Hot Glue Gun/ glue sticks
- Paint brush
Instructions
- Start by painting or staining your crate. If using the tan chalk paint you only need one coat
- Next pop all of the flowers off of the stems and add some hot glue around the bottom of the flower and wedge it in between the grapevine. I alternated where I placed the flowers and added some of the leaves as filler.
- Next secure the crate to the grapevine wreath using the twine. I just weaved it in between one of the crate slates and wrapped it through some of the grapevine.
- I next added some hot glue to the bottom of the mushrooms to secure them in the crate and you could add some moss to the bottom for some added height for the mushrooms.
- I made a small bow with some of the twine and added it with hot glue to the front of the crate.
Article may contain Amazon & affiliate links. As an Amazon Associate I earn from qualifying purchases at no additional cost to you.
ABOUT PETRO
Hi, I’m Petro, author and founder of Easy Peasy Creative Ideas. Sewist, crafter, avid DIY-er, foodie, photographer, homemaker and mommy to one. I’m an expert at coming up with quick, clever sewing tips, recycling crafts and simple, easy recipes! You can find my ideas featured in reputable publications such as Country Living, Good House Keeping, Yahoo News, WikiHow, Shutterfly, Parade, Brit & Co and more. Thanks for stopping by and hope you’ll stay for a while, get to know me better and come back another time. Stick around for real fun projects! Read more…