Super easy way to decorate jeans
Add a fun, stylish twist to your wardrobe with fringed jeans! Learn why they’re a favorite, how to make the fringe, and tips for creating your own unique designs.
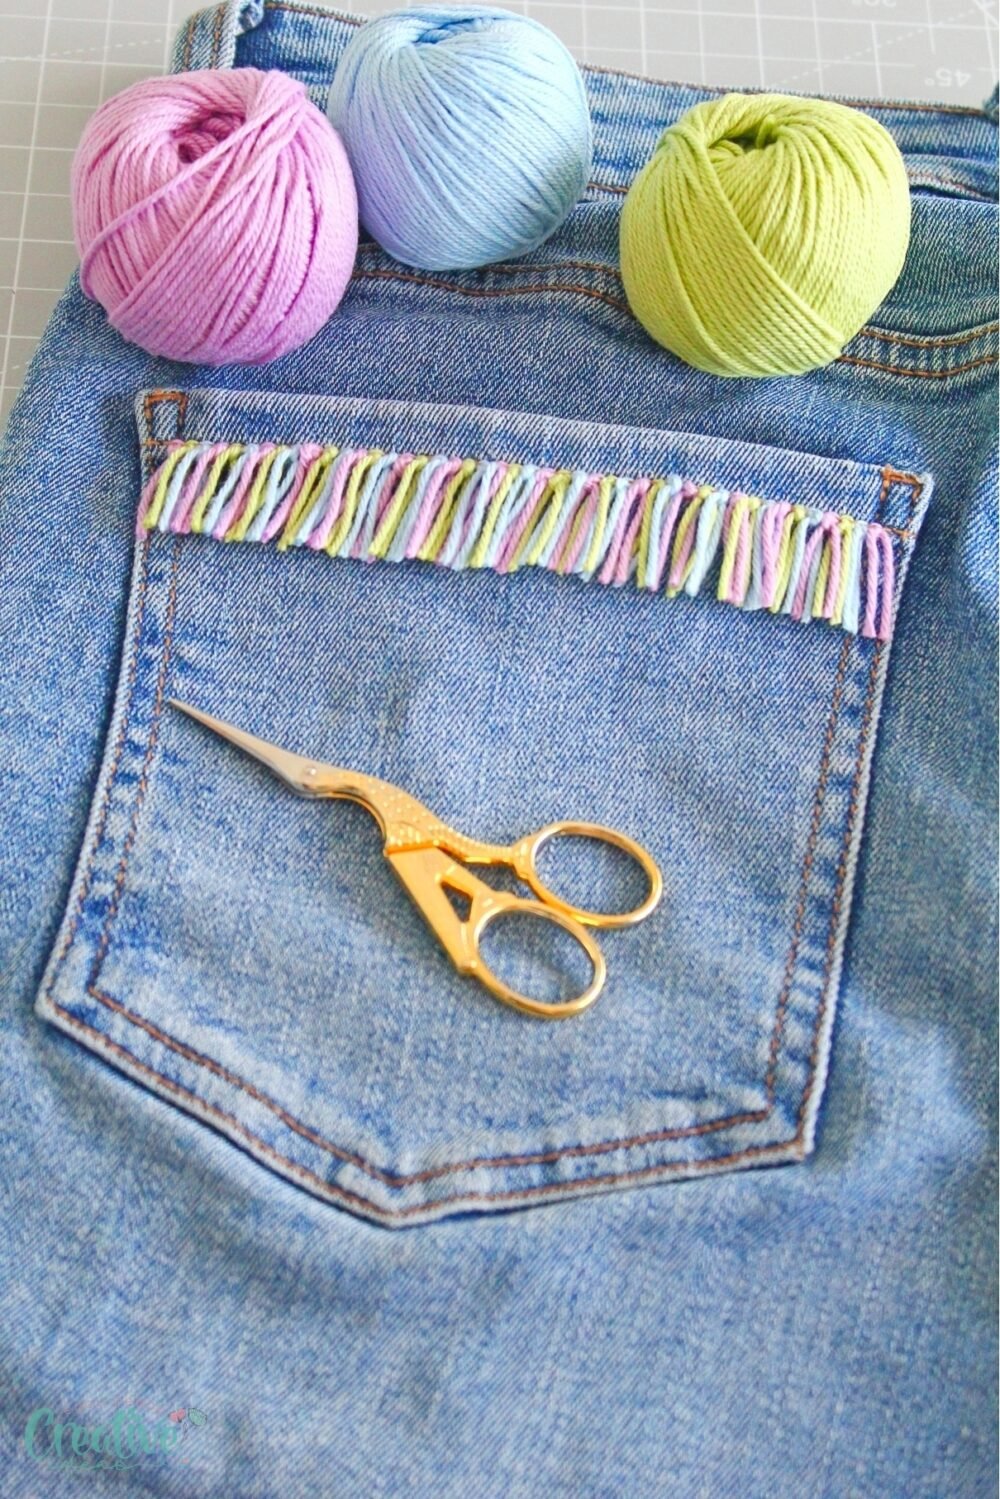
Fringed jeans are having a major moment right now, and it’s easy to see why! Combining casual denim with playful, boho-inspired details, jeans with fringe are the perfect way to add personality to your look. Fringed jeans are a fantastic DIY project that lets you show off your creativity.
They are versatile, trendy, and totally customizable. They’re perfect for casual outings, music festivals, or even sprucing up a basic outfit. Plus, making your own means you can experiment with colors, textures, and patterns to truly make them one of a kind.
What I love about this technique is its versatility—it works on so many types of clothing! Using the simple method outlined below, you can add fringe to a jacket, t-shirt, skirt, or even shorts, creating a fun and unique look with ease.
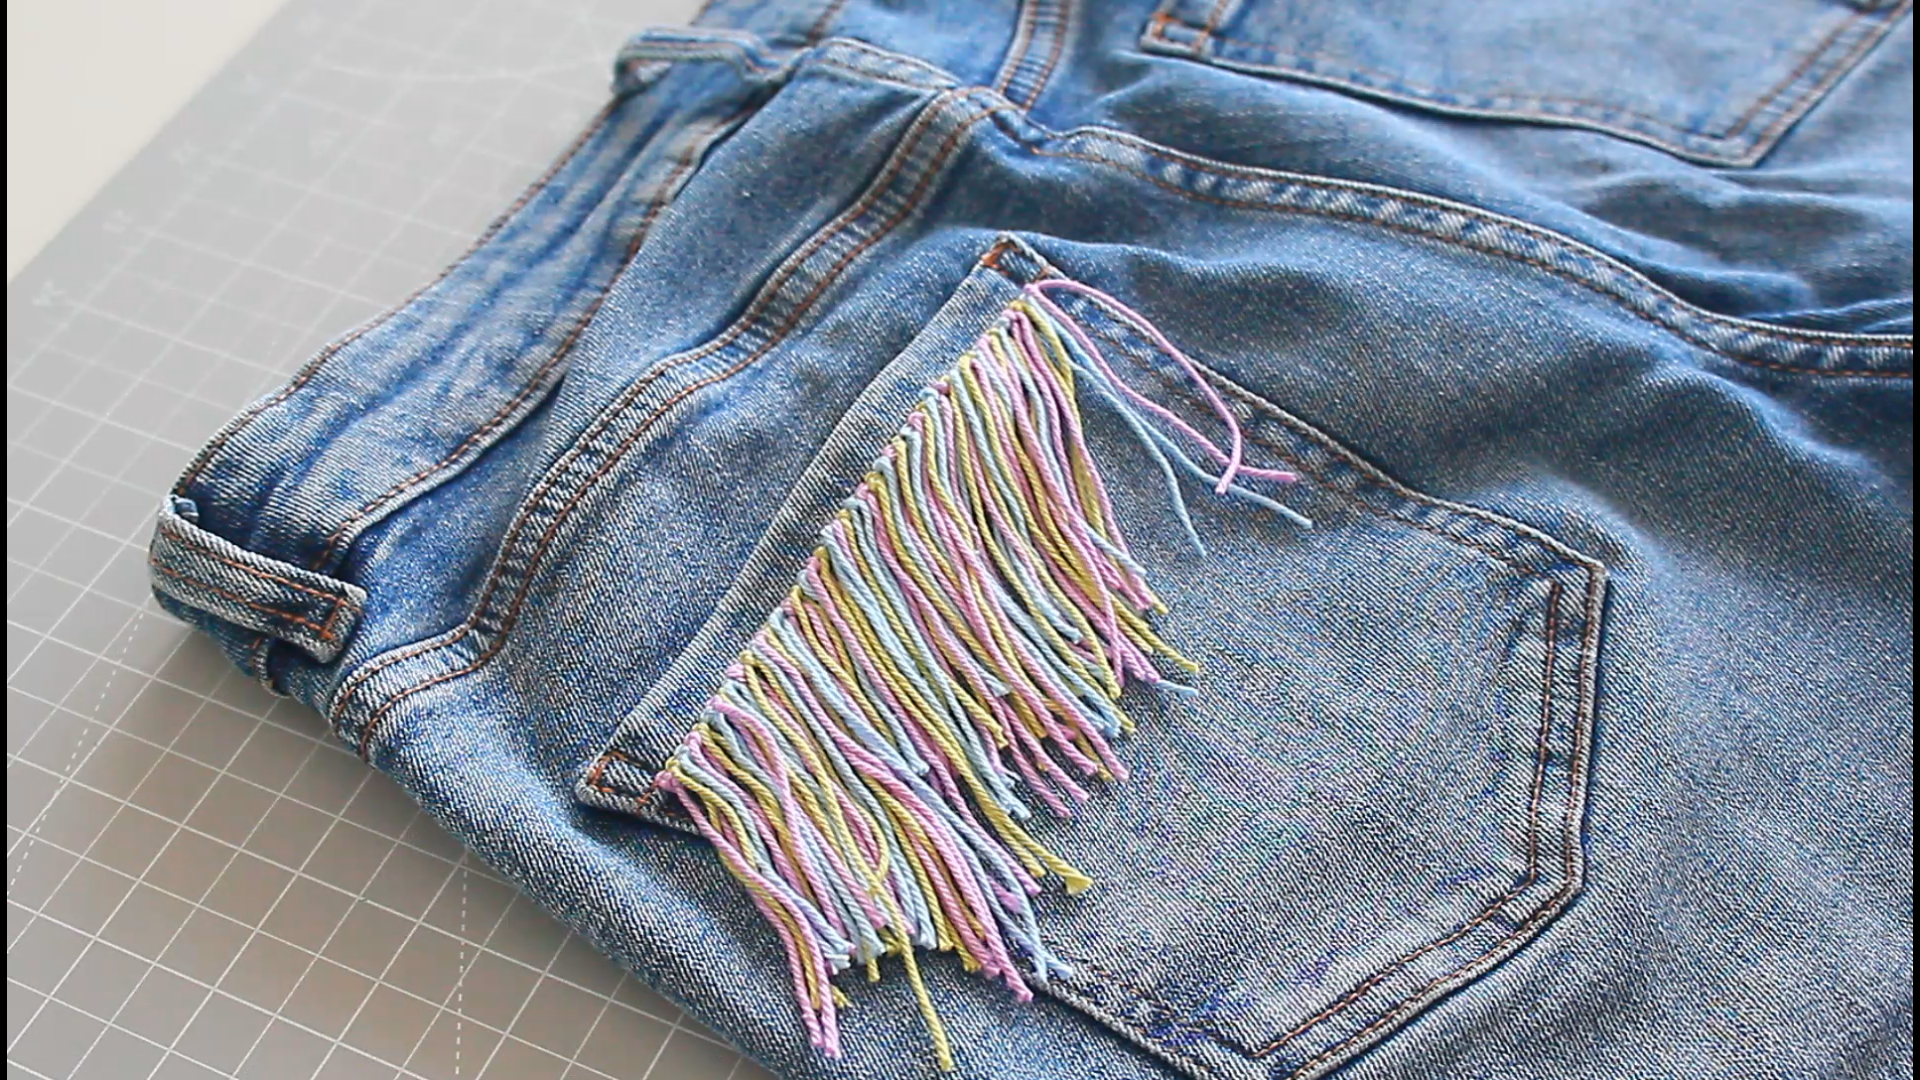
Here’s how to add a fringe to jeans. For this project I used the back pockets but the same design can be used in front.
How to make fringed jeans with embroidery floss
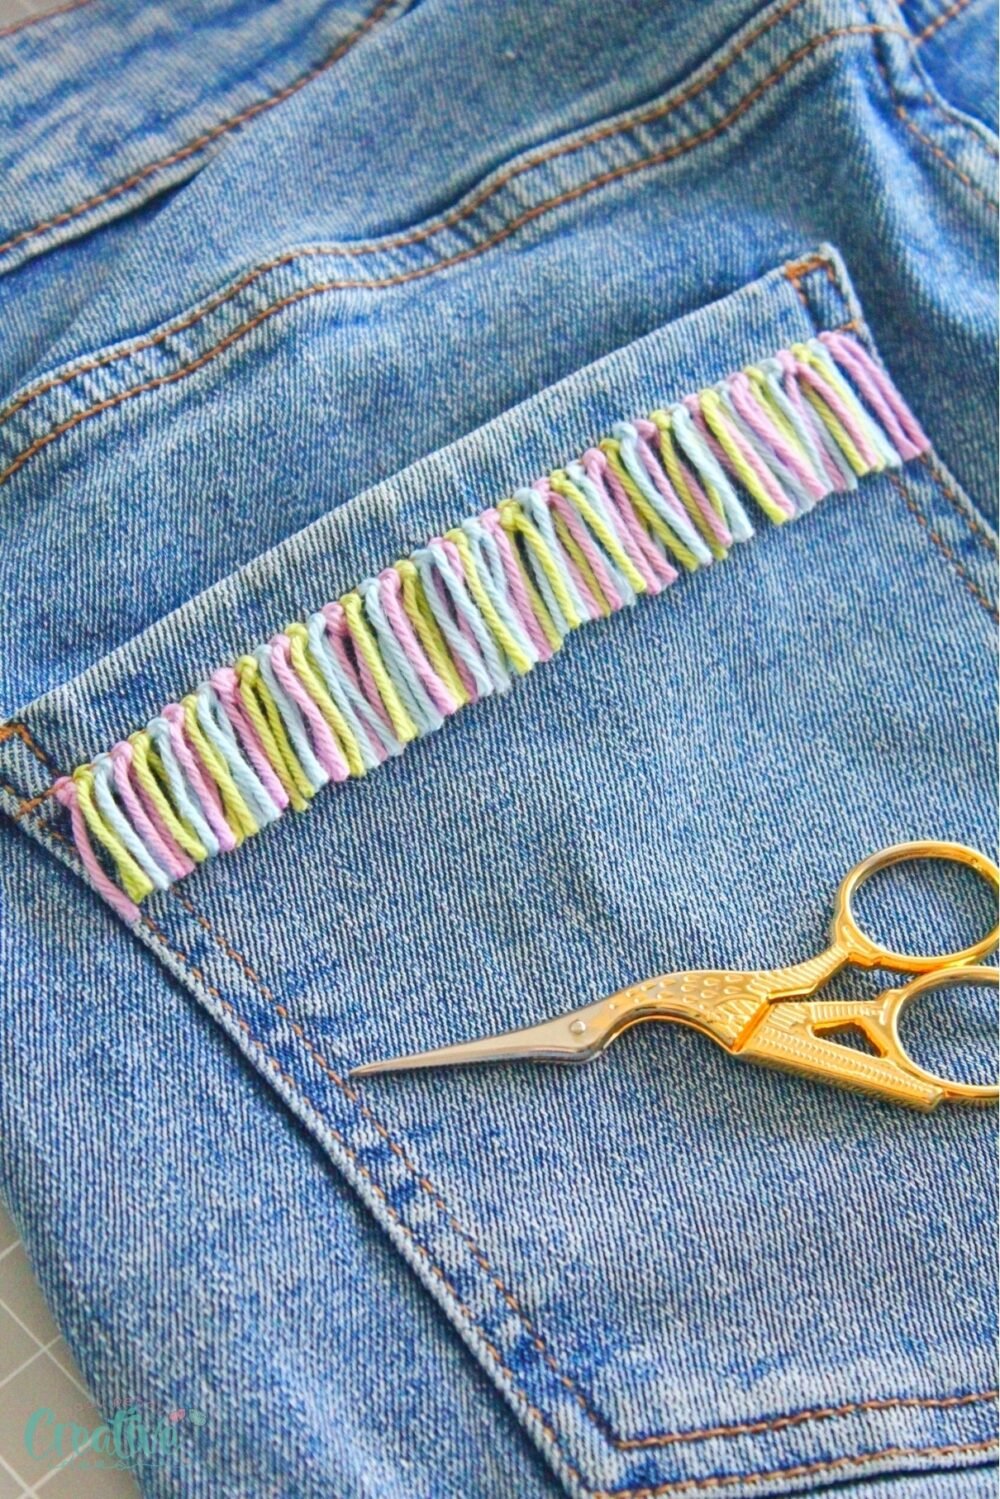
Materials needed
To create jeans with fringe, you’ll need just one material that is both colorful and durable.
- Embroidery floss in various colors: This is the star of your project, allowing you to mix and match shades for a bold or subtle effect. Choose high-quality floss to ensure the fringe holds up over time.
Equipment
Having the right tools will make this project a breeze!
- Embroidery scissors: These ensure precise cuts for clean, polished fringe.
- Embroidery needle: A sturdy needle will help you thread the floss through tight denim stitches.
- Scotch tape: Use this to secure your fringe and keep it stable while you work on trimming.
- Brush: A small brush helps tidy up loose threads and smooth out your finished fringe.
Step by step instructions to make fringed jeans
- Cut a piece of embroidery floss in your favorite color. It should be about 5″ long.
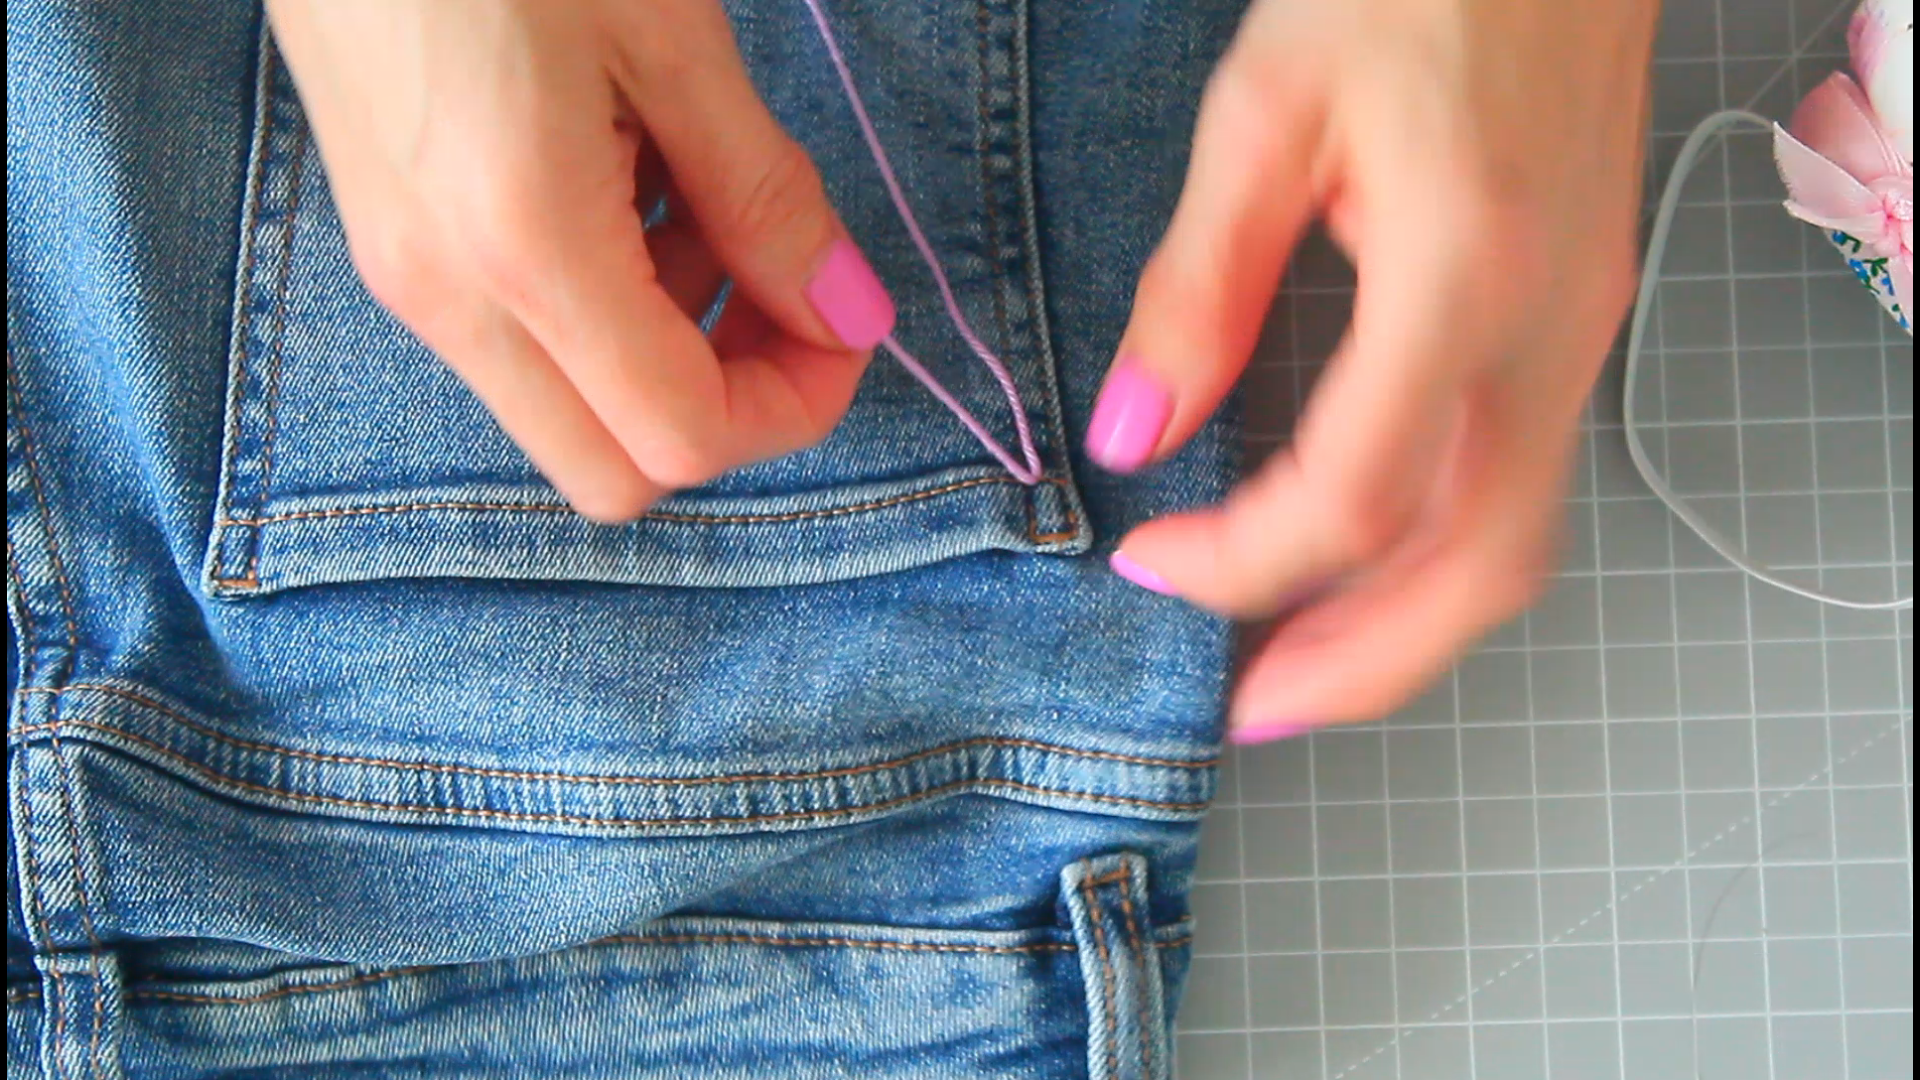
- Thread the floss through the stitches on the back pocket of your jeans using the embroidery needle. Start at the first stitch and push the floss up, then pull down through the second stitch.
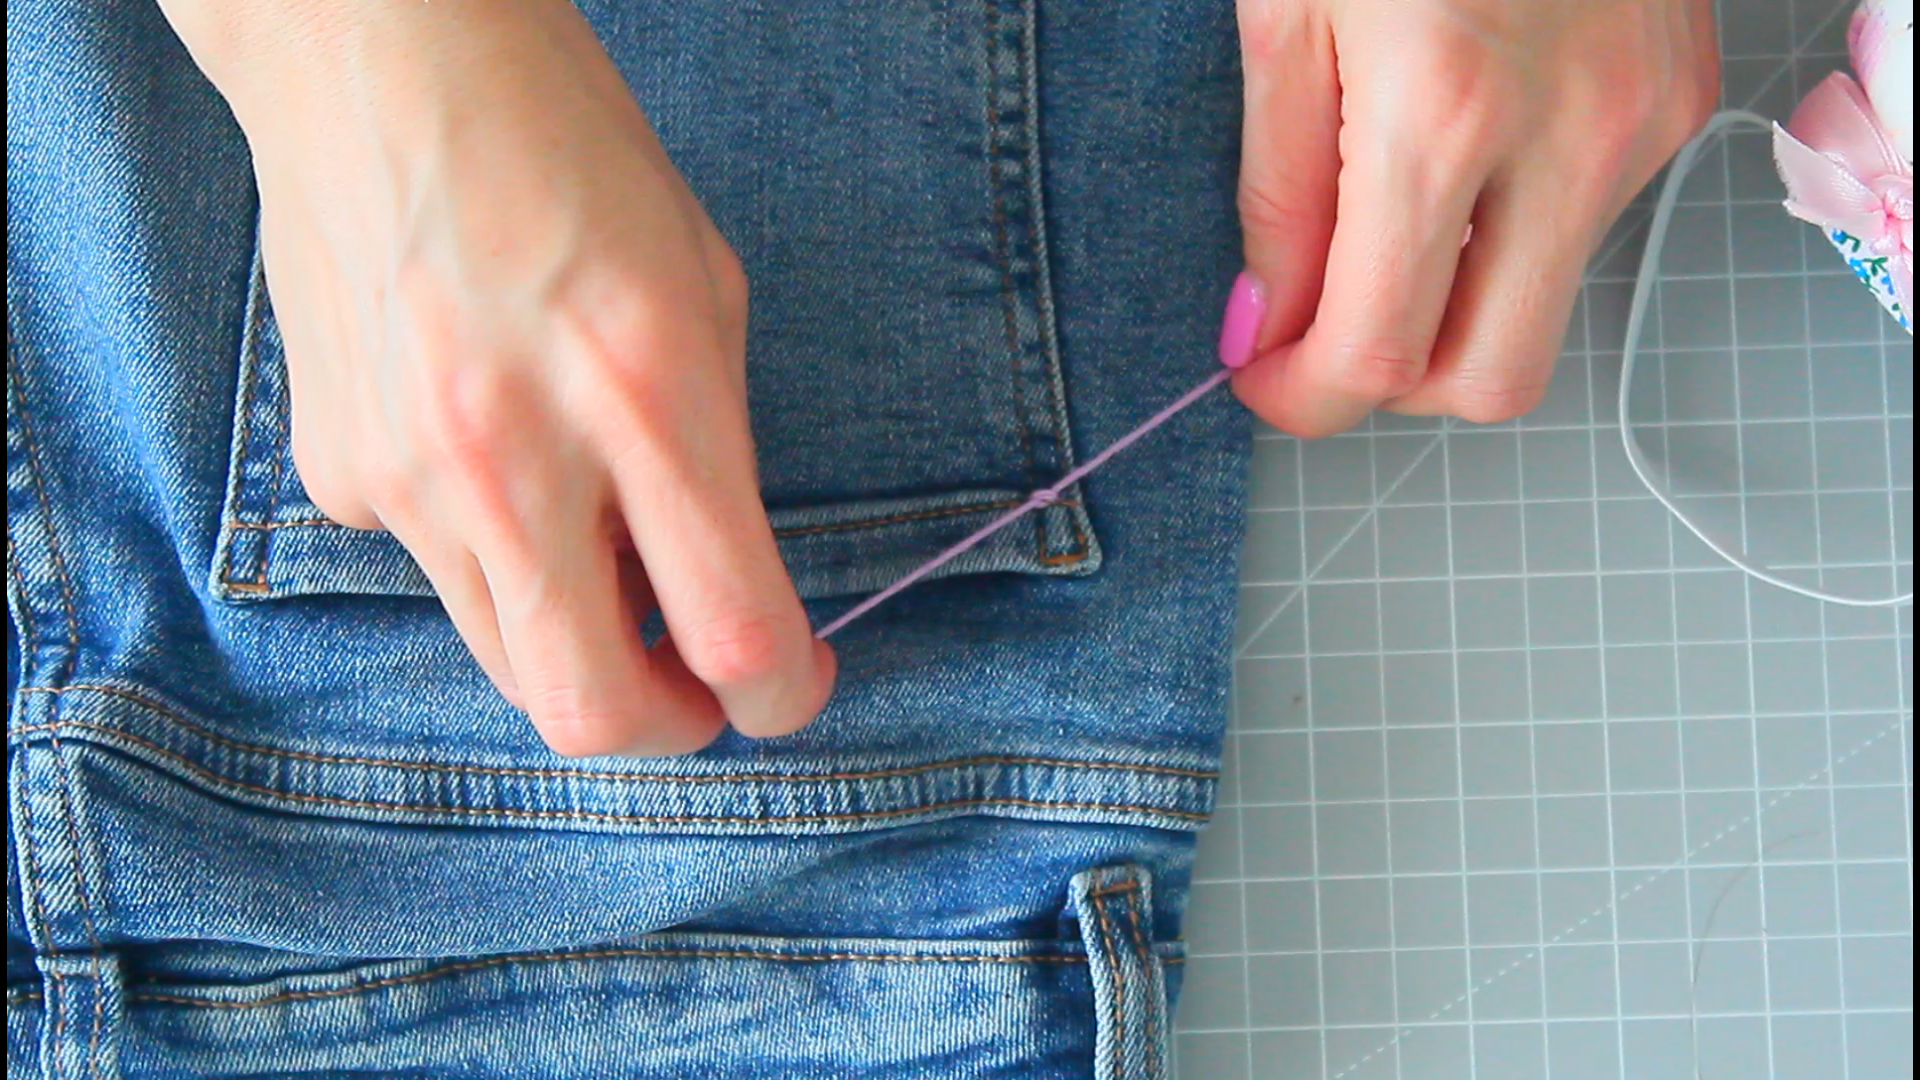
- Tie the floss into a double knot to secure it.
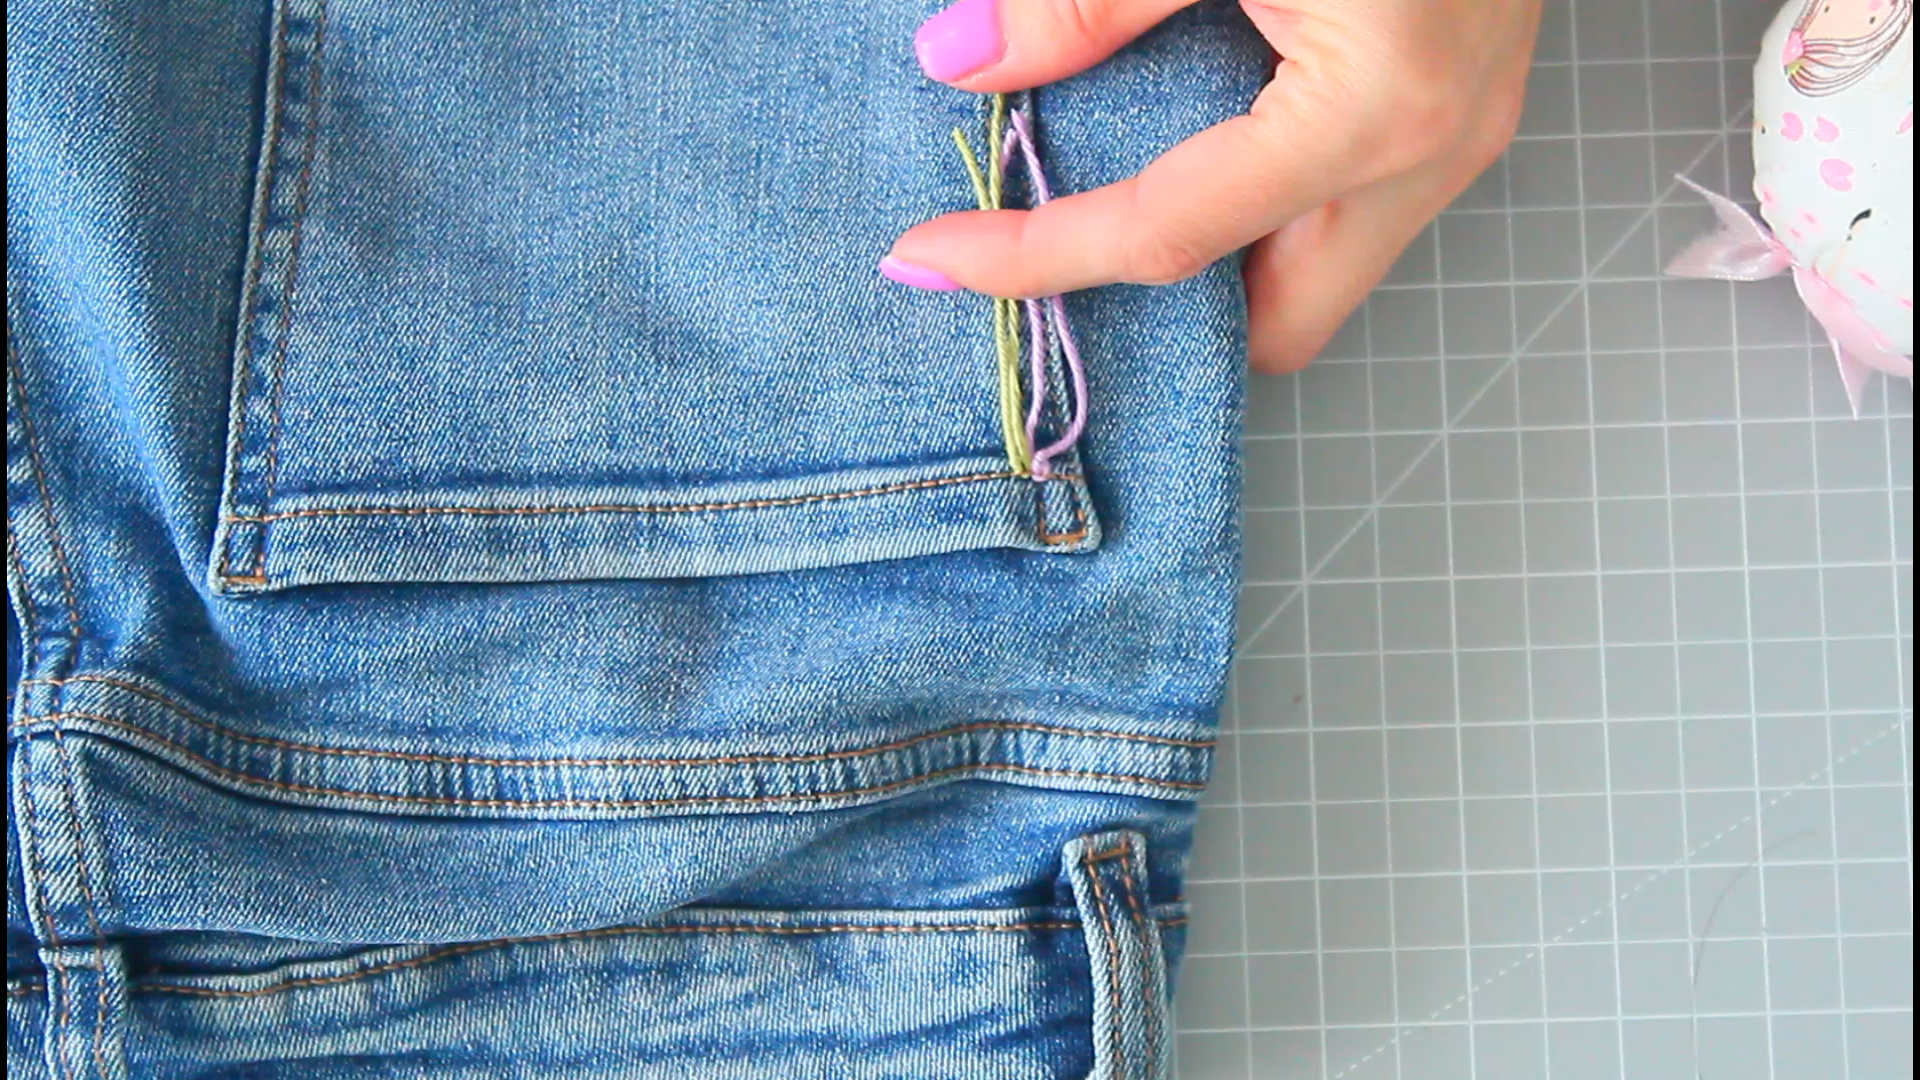
- Cut another piece of floss in a different color, thread the needle, and pass it through the second stitch, then pull it down through the third stitch.
- Continue in this manner until all stitches in the pocket are covered in floss.
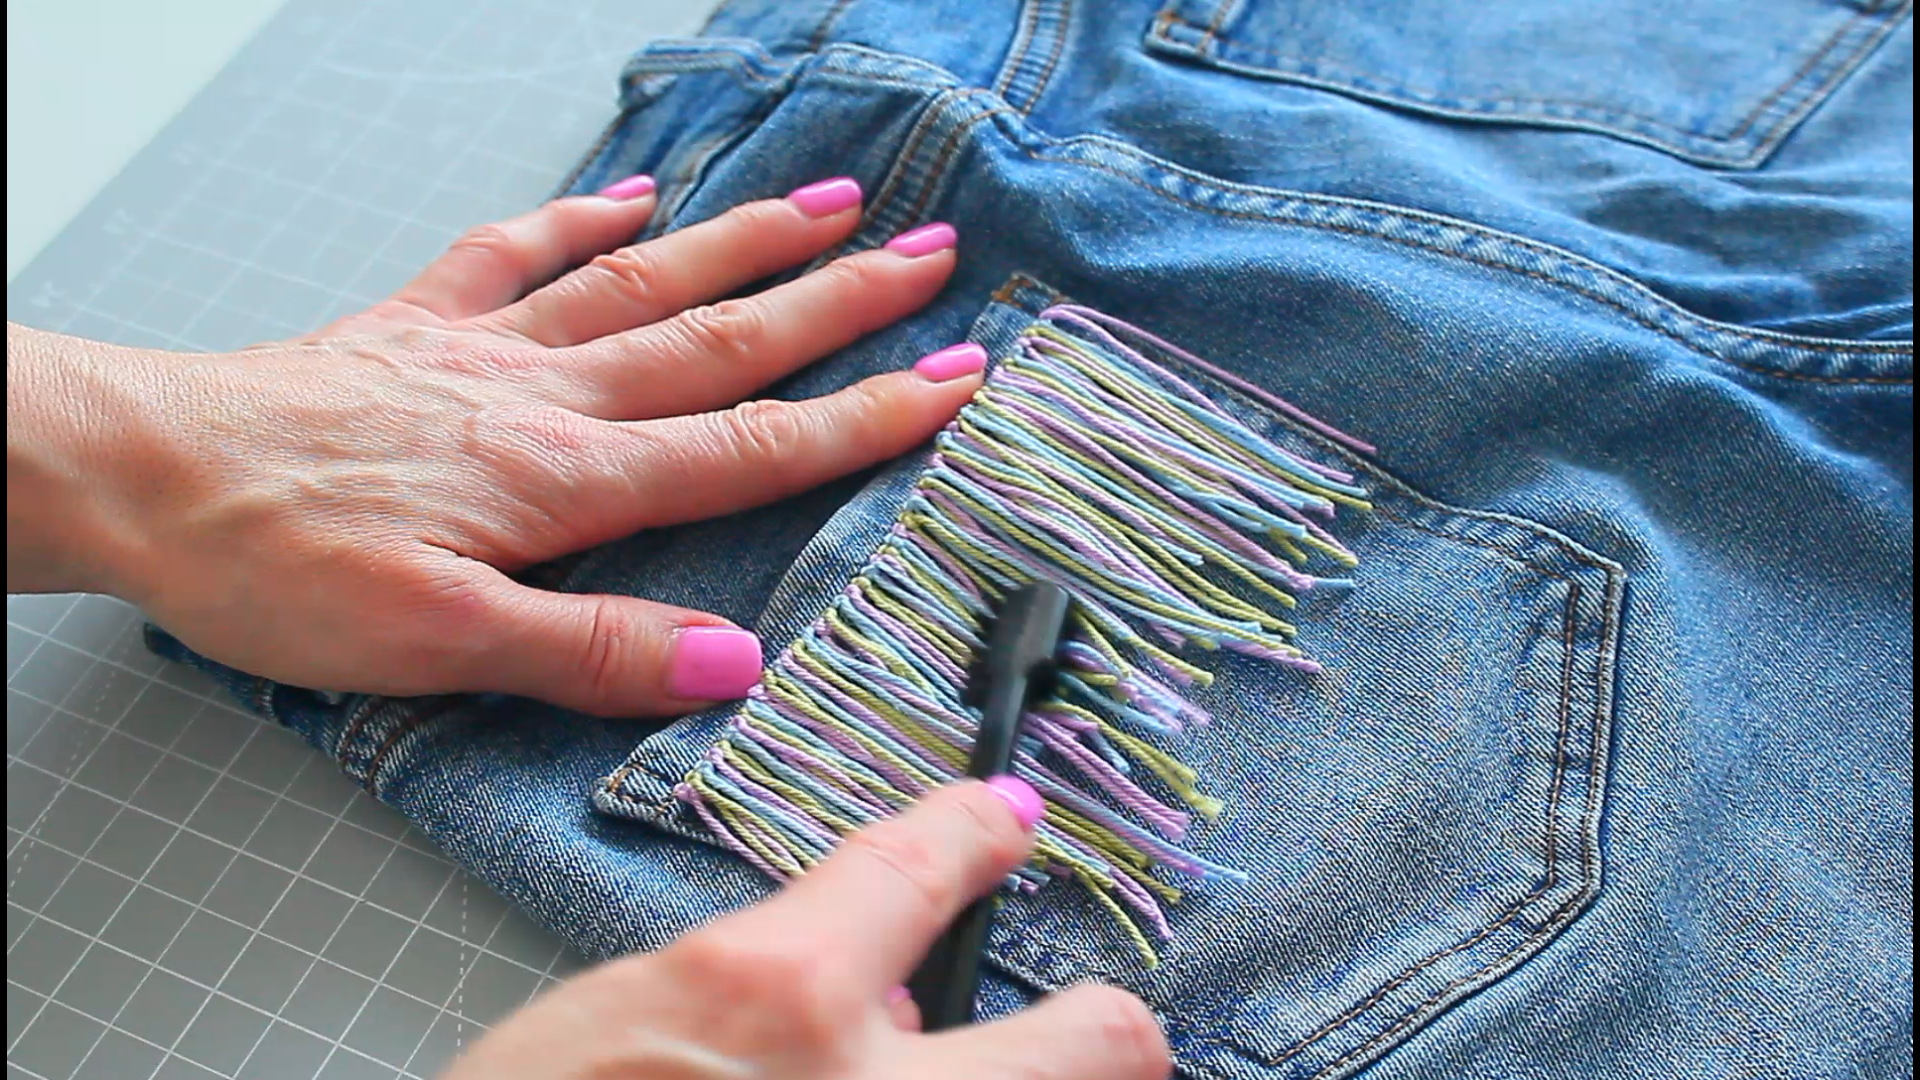
- Brush out to tidy the fringe.
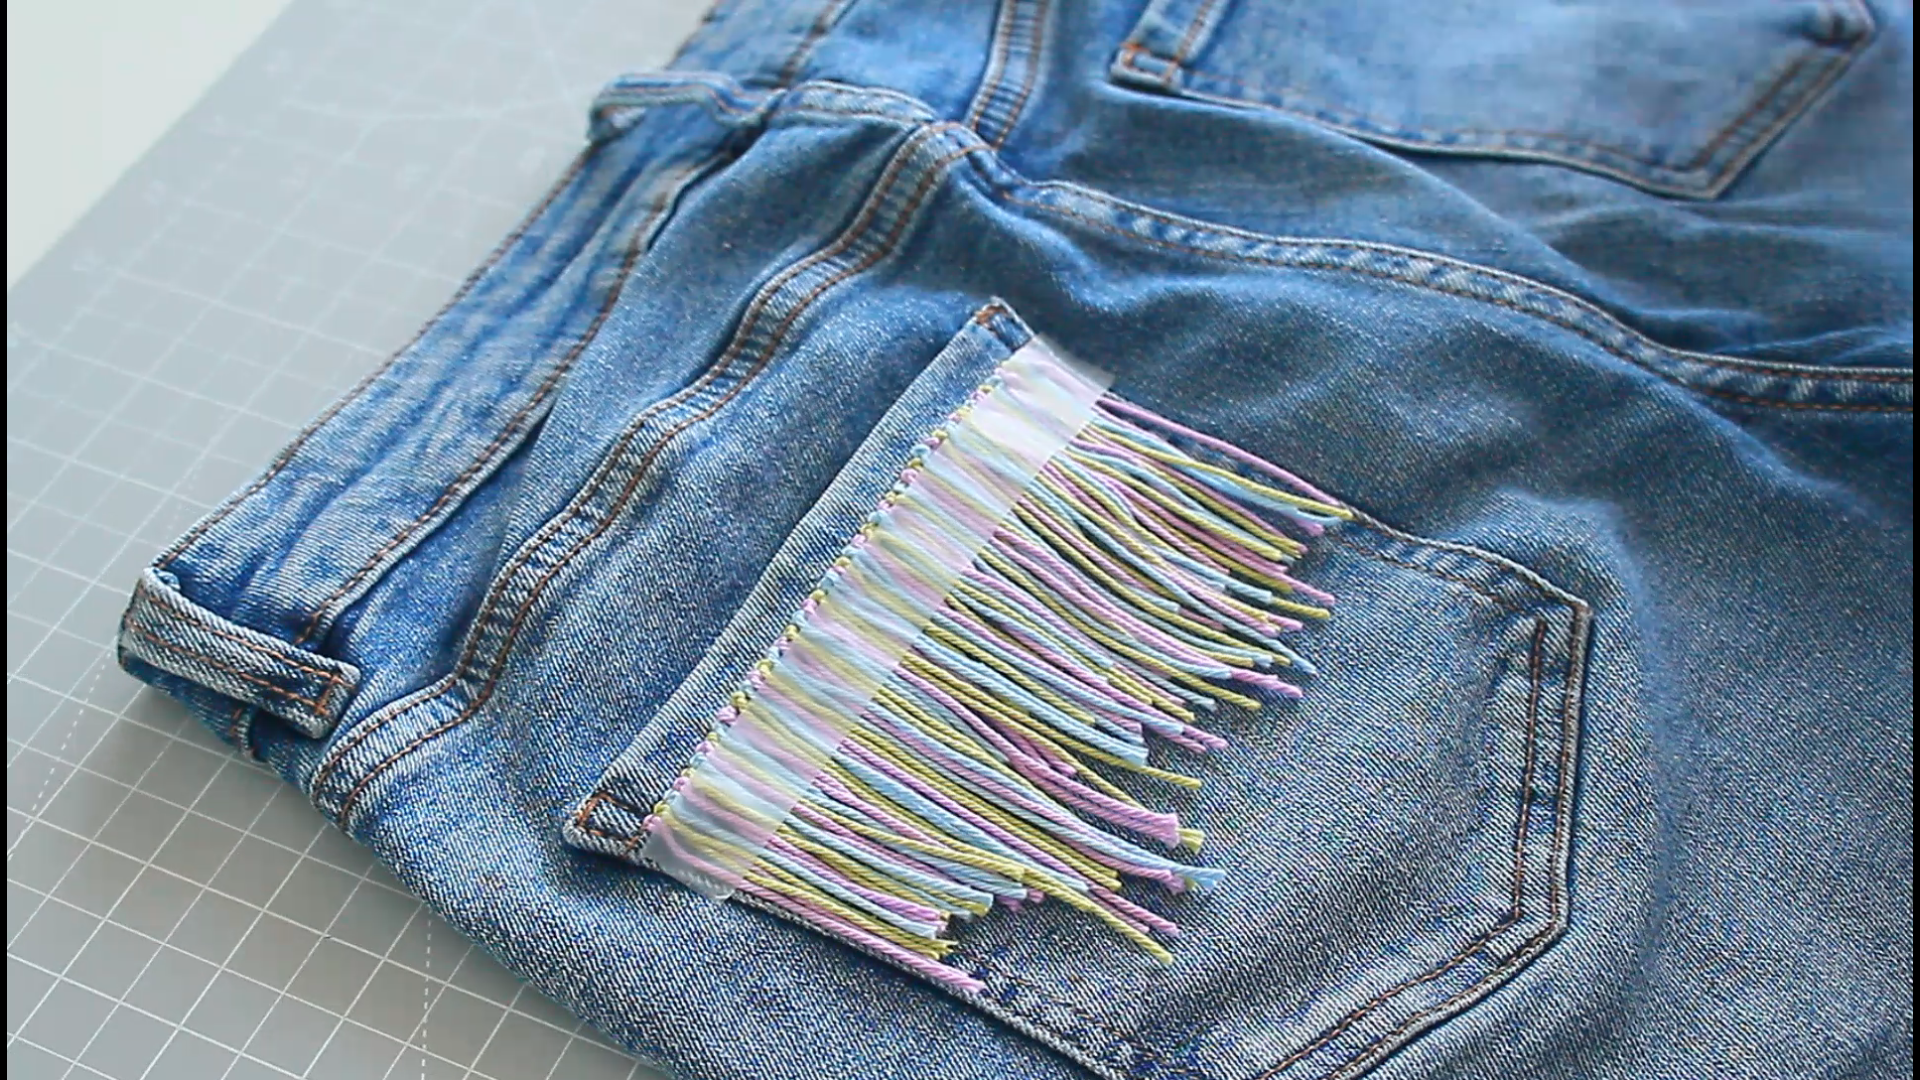
- Stabilize the top of your fringe with scotch tape to keep it in place as you work.
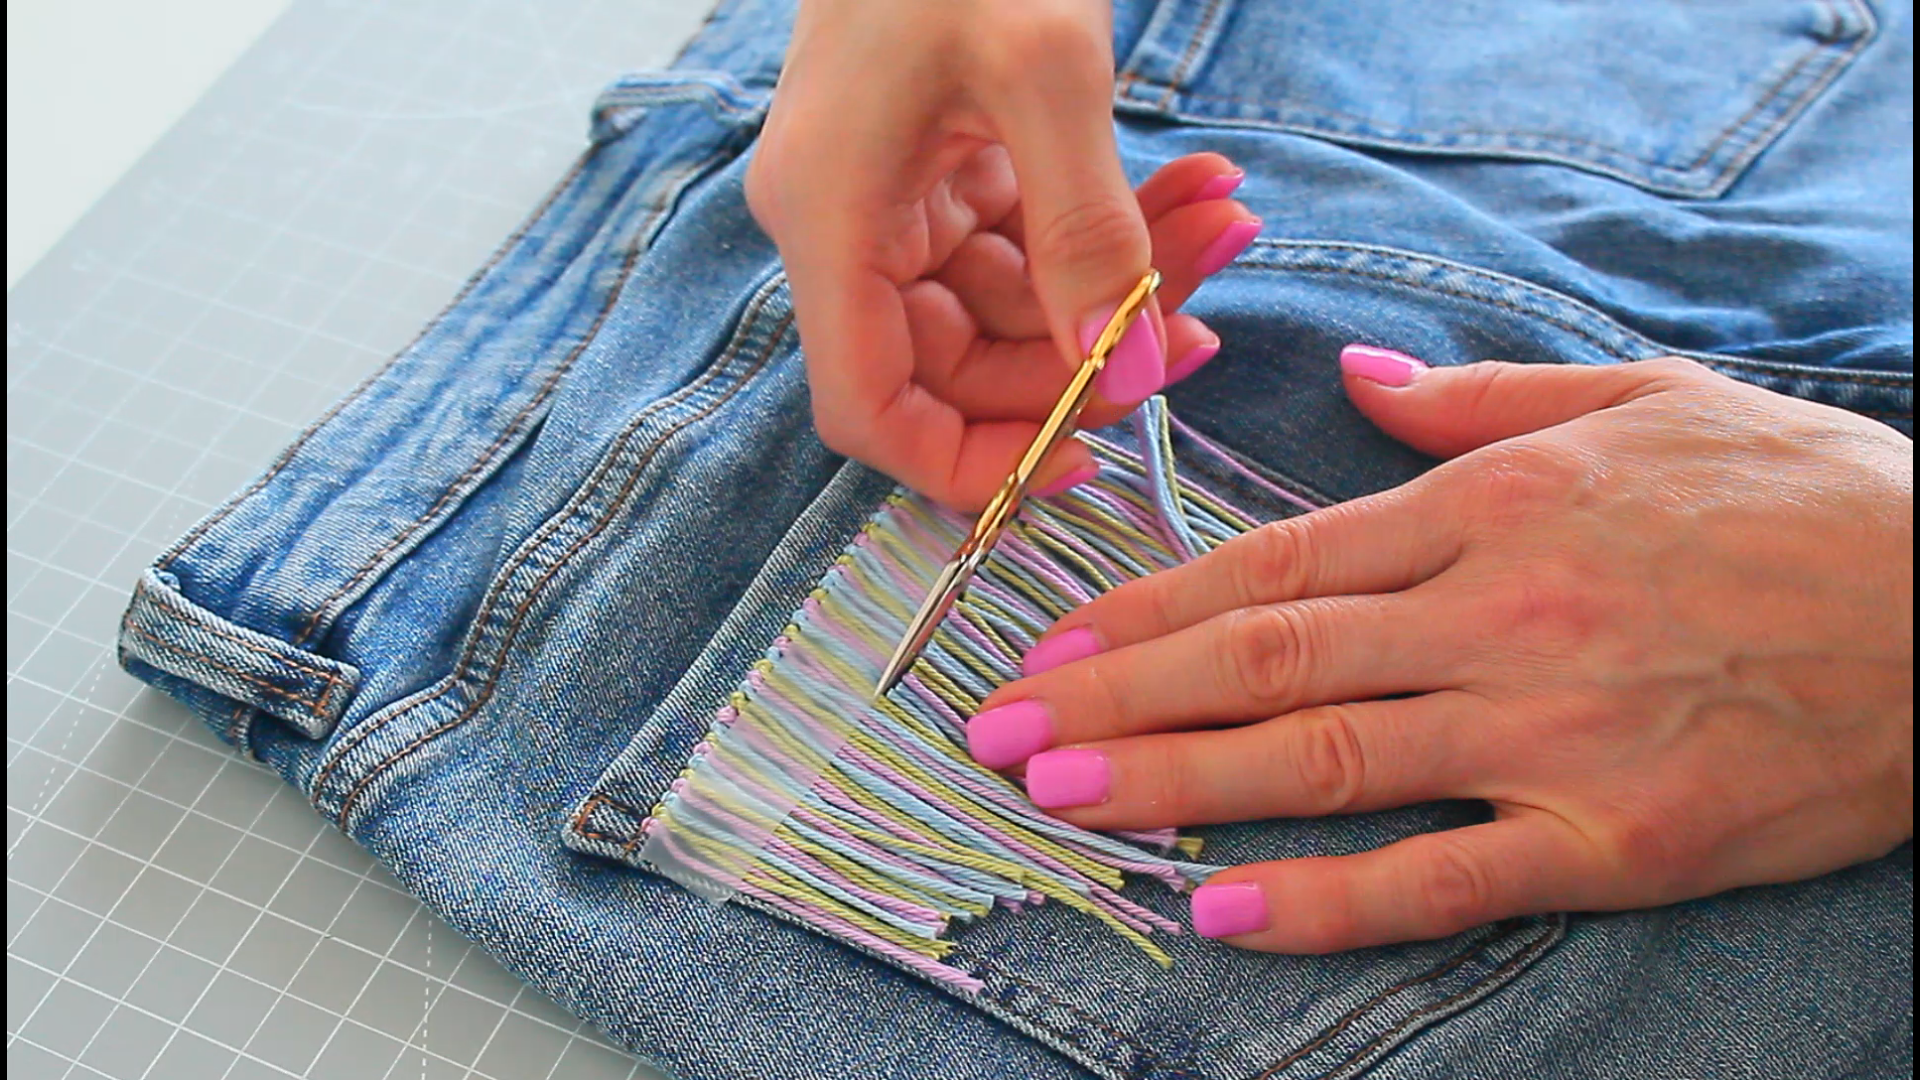
- Use embroidery scissors to trim the floss to your desired length, creating an even, polished fringe.
- Brush out to tidy the fringe.
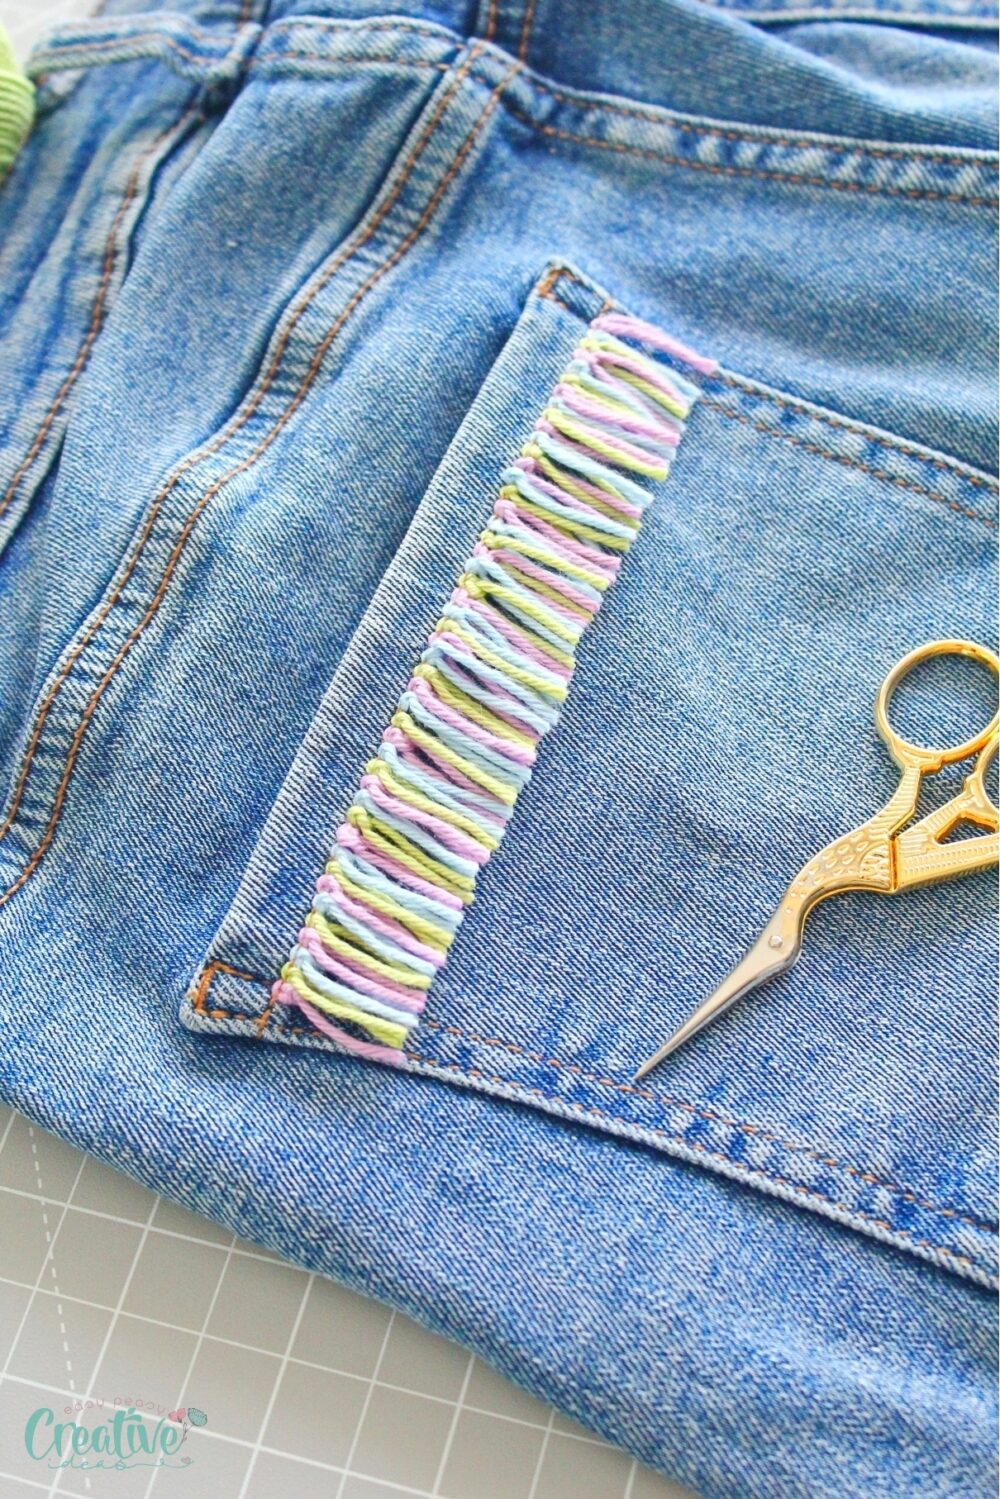
Tips
- Double up on floss for extra volume. If you want thicker, more dramatic fringe, use two strands of embroidery floss for each section instead of one.
- Add fringe to unexpected areas. Try embellishing the hemline, side seams, or belt loops for a unique look.
- Use contrasting colors for a pop of style. Pair bold, bright floss with dark denim to make your fringe really stand out.
Project Variations
- Two-tone fringe: Use two colors of floss for a gradient or striped effect.
- Beaded fringe: Add small beads to the ends of your floss for extra sparkle.
- Layered fringe: Create multiple rows of fringe for a tiered, textured look.
Frequently Asked Questions
Can I wash fringed jeans?
Yes, but hand washing is recommended to protect the floss. Use a tooth brush to tidy the fringe after washing.
How long does it take to make jeans with fringe?
It depends on the size of your project, but most designs can be completed in about 1 hr for both back pockets.
Can I use other materials for fringe?
Absolutely! Try lightweight yarn or thin fabric strips for a different effect.
Do I need prior sewing experience?
Not at all! This project is beginner-friendly and easy to follow.
More projects you’ll enjoy
- How to add a pocket to a t-shirt
- Scallop neck t-shirt tutorial
- How to embroider with a sewing machine
- How to se a lettuce edge hem
Ready to create your own fringed jeans? Gather your materials, follow the steps, and show off your results! For more fun DIY fashion projects delivered straight to your inbox, sign up for my newsletter!
DIY fringed jeans
Materials
- Embroidery floss in various colors
Tools
- embroidery scissors
- Embroidery needle
- Scotch tape
- brush
Instructions
- Cut a piece of embroidery floss in your favorite color. It should be about 5" long.
- Thread the floss through the stitches on the back pocket of your jeans using the embroidery needle. Start at the first stitch and push the floss up, then pull down through the second stitch.

- Tie the floss into a double knot to secure it.

- Cut another piece of floss in a different color, thread the needle, and pass it through the second stitch, then pull it down through the third stitch.

- Continue in this manner until all stitches in the top stitch line of the pocket are covered in floss.

- Brush out to tidy the fringe.

- Stabilize the top of your fringe with scotch tape to keep it in place as you work.

- Use embroidery scissors to trim the floss to your desired length, creating an even, polished fringe.

Video
Article may contain Amazon & affiliate links. As an Amazon Associate I earn from qualifying purchases at no additional cost to you.



What happens when the jeans are washed?
Just brush the fringe after drying