

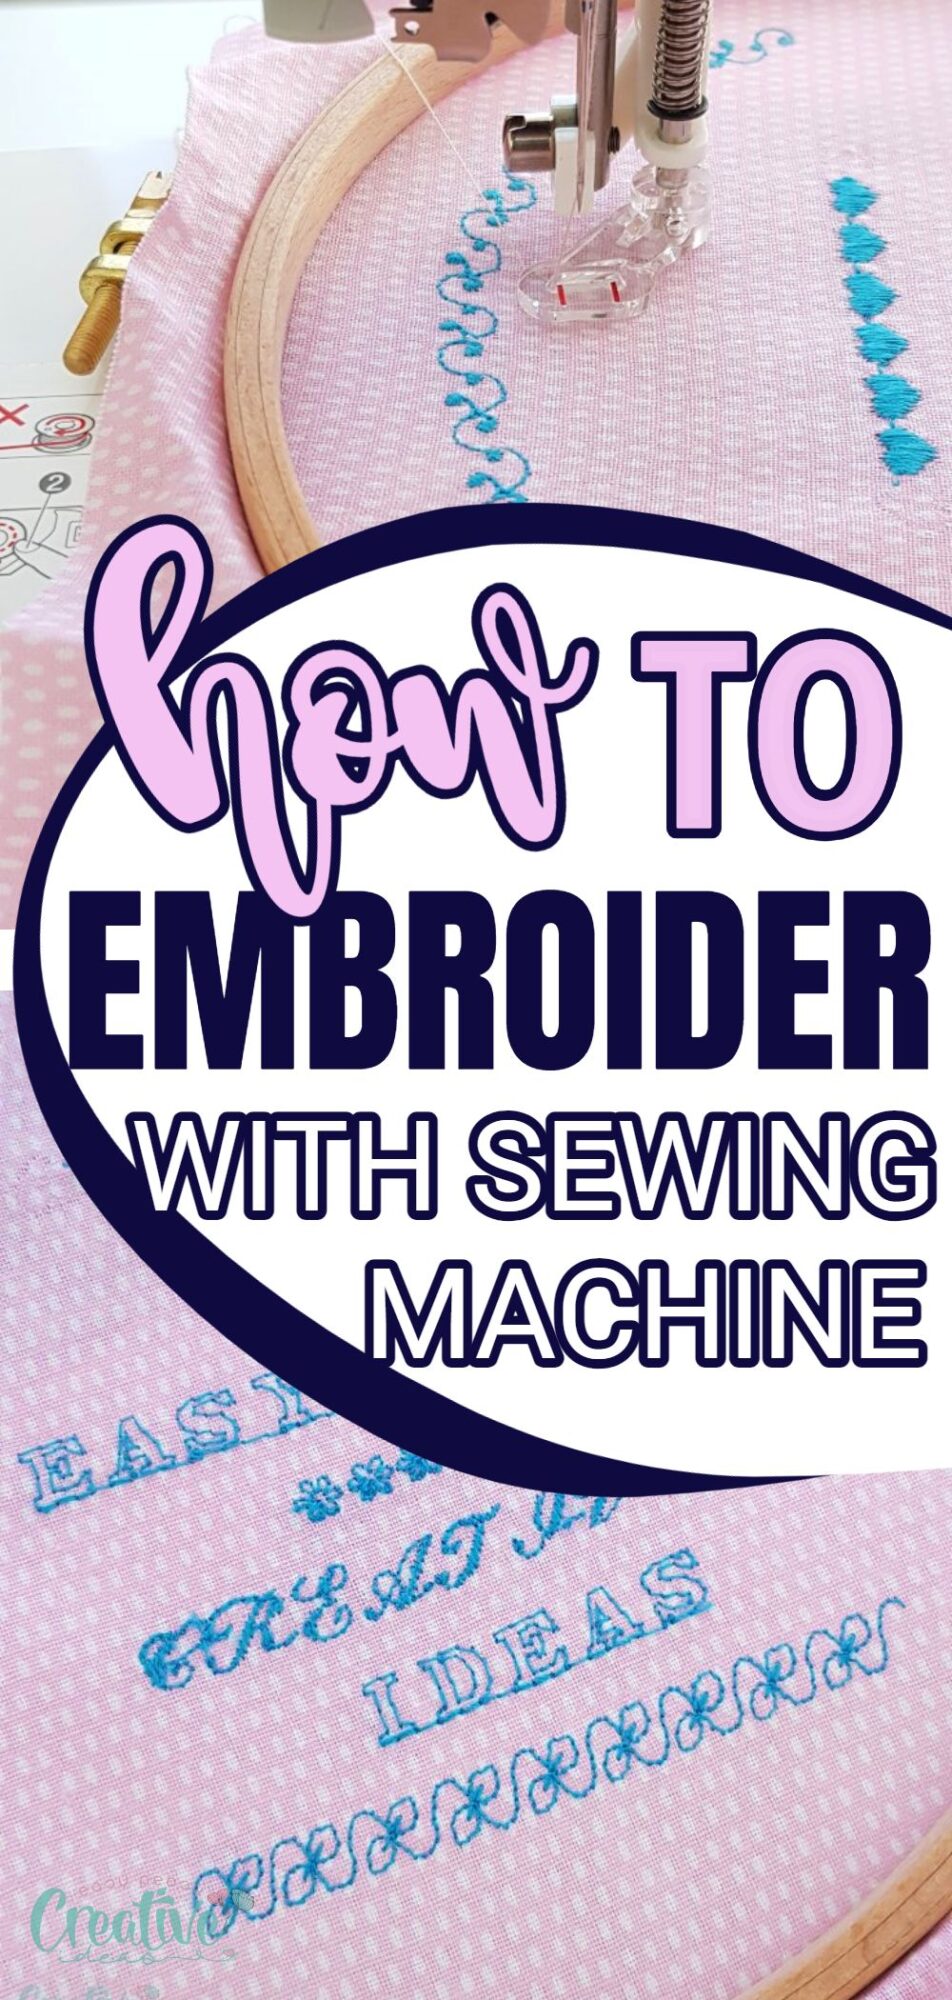
How to embroider with a sewing machine
Learn everything there is to know about how to embroider with a sewing machine, with the help of this easy yet comprehensive guide! Embroidery is a beautiful way to add some personality and flair to your clothes, accessories, or home décor. It’s also a great way to show your loved ones that you care, by stitching heartfelt messages onto their clothing.
In today’s tutorial, let’s explore all the ins and outs of how to embroider with a sewing machine through this user-friendly yet thorough guide! This way you’ll be able to enhance your style with some charming embroidery, and add a personal touch to your clothing, accessories, home décor and even quilts.
Embroidery is an ancient craft used for creating stunning designs on fabric. While it used to be all hand-done, nowadays, many people opt for sewing machines for a quicker job. If you’re eager to give it a shot, here we’ll learn how to embroider with a sewing machine at home.
I come from a long line of creative people and I grew up with sewing and embroidery. I’ve been coquetting with embroidery a lot lately, but I’ll have to be honest, I lack the patience for dealing with hand embroidery. Plus my eyes are not helping either. I found that embroidery with sewing machine is a much better alternative for me.
Below I’ll go over the steps you need to take to do embroidery on sewing machine, from setting up your machine, to installing the foot and do the actual stitching. Even if you don’t have a computerized machine, embroidery is still possible! These machines are perfect for simple embroidery that you might need to add to small items such as clothing, accessories, purses, home décor etc So let’s get started!
How to embroider with a sewing machine

Materials needed to embroider with sewing machine
- embroidery hoop
- cotton fabric
- embroidery design
- fabric marker
- embroidery backing
- free motion foot or darning foot
- matching needle and thread
- fine point embroidery scissors
- seam ripper (for harder to reach threads)
- darning plate(for sewing machines with no option to lower the feed dogs)
- sewing machine
- pressing iron
Essential equipment
Here’s what I found are the basic and most important tools needed in order to do embroidery on your sewing machine successfully:
1. Embroidery hoop
While this cool tool is not a must, it will help you tremendously as it will keep the fabric taut and prevent it from moving in wrong directions. It will also allow you to guide the embroidering by moving the hoop slowly in the direction needed. Read more about the embroidery hoop here.
2. Stabilizer or embroidery backing
I have zero result when trying to embroider with no stabilizer, the thread and the fabric get stuck constantly in the feed dogs and the machine jams. As soon as I add stabilizer my embroidering is going super smooth with absolutely no problems!
For this tutorial I used tear away backing as that’s what I have in my stash but there are also other alternatives such as lightweight mesh backing, cutaway or water soluble backing (which is what I’ll purchase next) or caps backing (used for embroidery on caps)
3. Quilting (or free motion) foot
This will allow you to move the fabric or the embroidery hoop around as needed. It’s main purpose is to keep your fingers away from the needle as the base of this foot will never touch the fabric so it doesn’t keep the fabric down as other feet do.
4. Embroidery scissors
These are small, very sharp scissors that will help you easily remove the tiny threads left behind after you’re done embroidering, leaving your work looking smooth and tidy. While you can always use small sewing shears, I found I had less success with those so I purchased these pretty embroidery scissors which are super great at cutting all those tiny threads!
Other important tools
Special needles for embroidery
As with any other sewing project, you’ll need to adjust the needles to the type of fabric used. For lightweight fabrics, use smaller sharper needles while heavier fabric s will require larger needles. Read more about needles here.
There are also embroidery needles you could use if you’d like to upgrade your needles for embroidery projects.
What type of thread to use to embroider on a sewing machine
Ideally you’ll use embroidery thread instead of sewing thread. The difference is in the thickness of these, where embroidery thread is made out of 2 ply threads and sewing thread is made out of 3 ply. The embroidery thread is thus thinner and smoother and will offer the best results.
But if you don’t want to purchase embroidery thread just yet you could resort to sewing thread with cotton or polyester being the best options as they’re stronger, cotton also offering better coverage. Just make sure you sew slower when using these.
How to embroider on a regular sewing machine – step-by-step instructions
Prepare the fabric
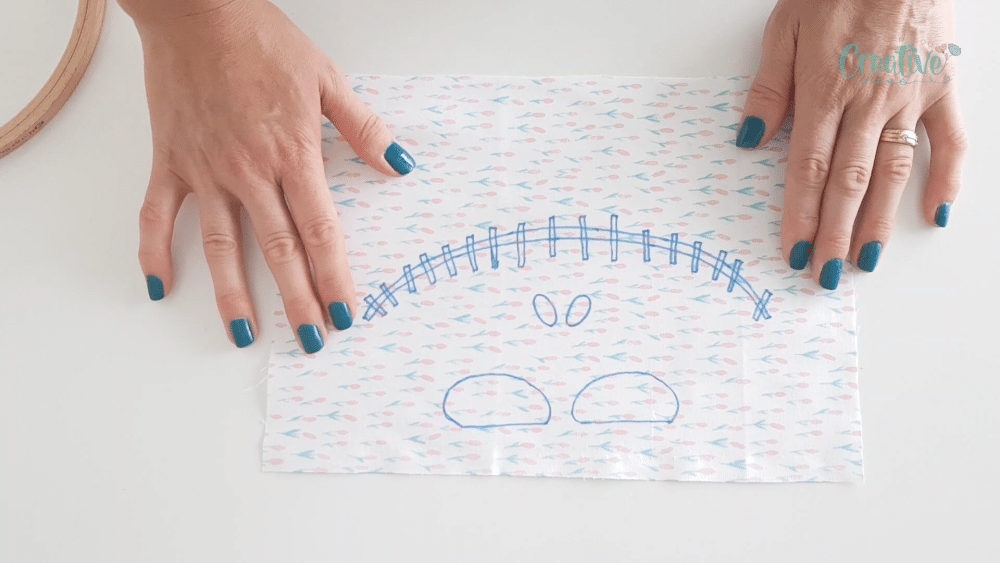
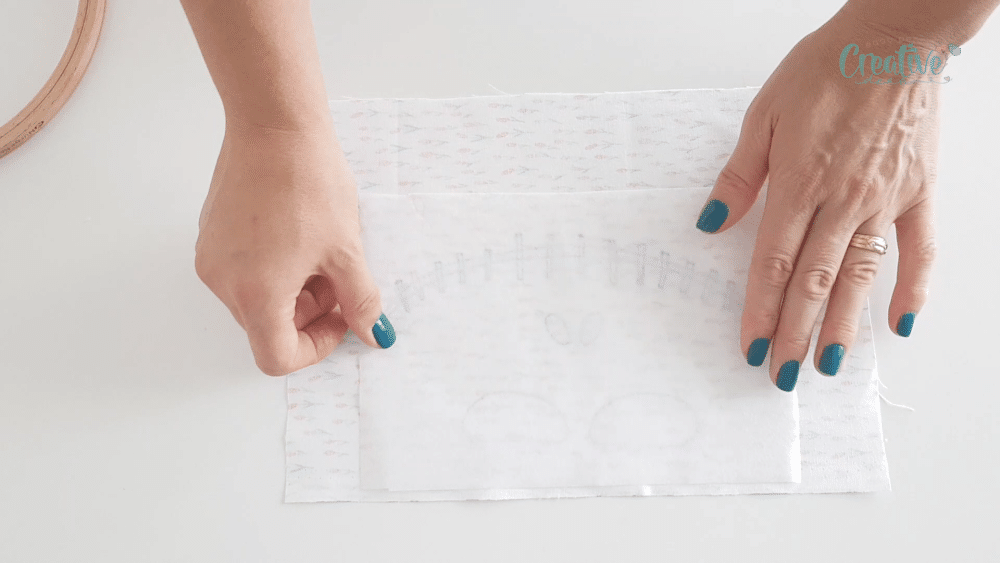
- Today I’m embroidering on my home sewing machine using a template I’ve been working on for a cool face mask (tutorial available here). Start by transferring the design onto the right side of the fabric.
- Add the backing as instructed on the package. Make sure the backing covers the entire design!
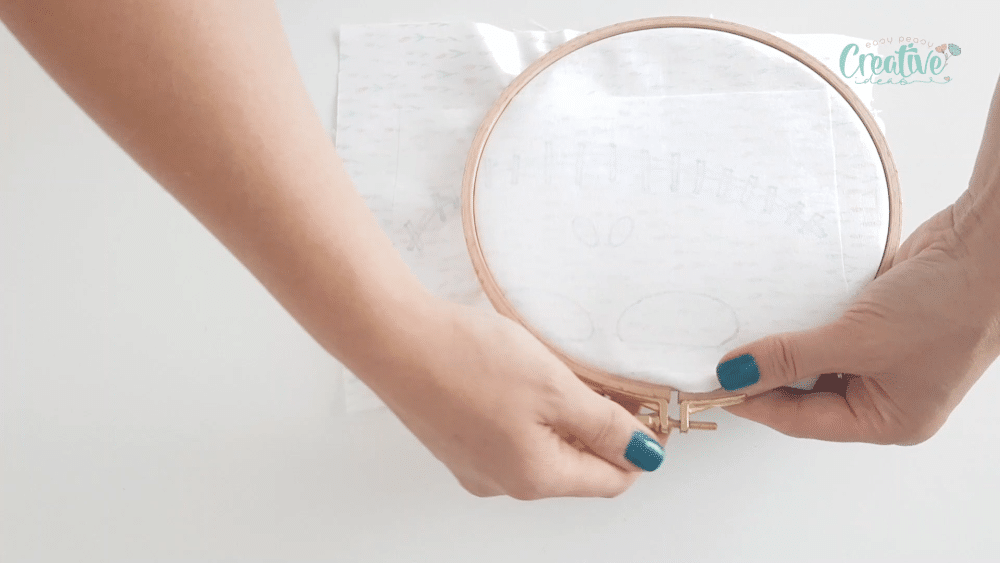
Set up the embroidery hoop
- Place the fabric in the embroidery hoop. You need to set up your hoop in this order: inner hoop, fabric wrong side up, outer hoop. When embroidering on your sewing machine, the right side of the fabric should be inside the hoop (in the hole/hollow of the hoop). Set the hoop aside while you’re setting up the sewing machine. Make sure the design is center in the hoop and that you have ample room for sewing inside the hoop. If the design is larger than the hoop, work in small sections. Once a section is done, remove the fabric and set the hoop in a different section. And so on until the entire design is embroidered.
Prepare the sewing machine
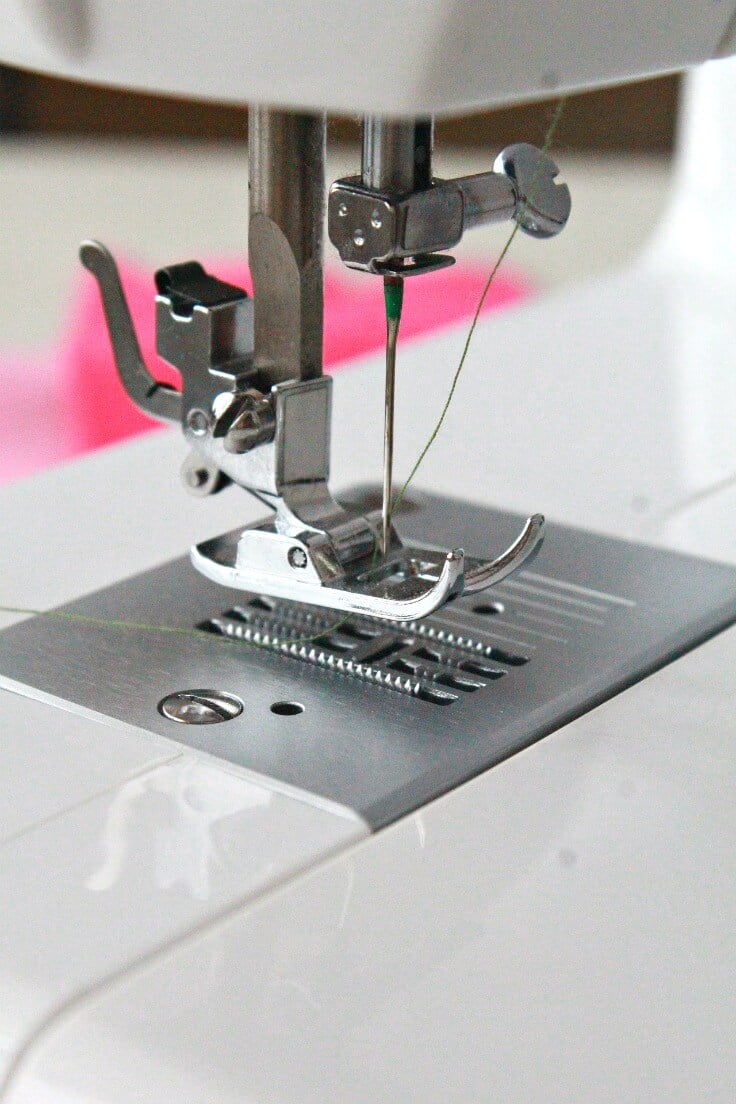
- Remove the old presser foot and preferably the needle too (it will allow you more freedom to work).

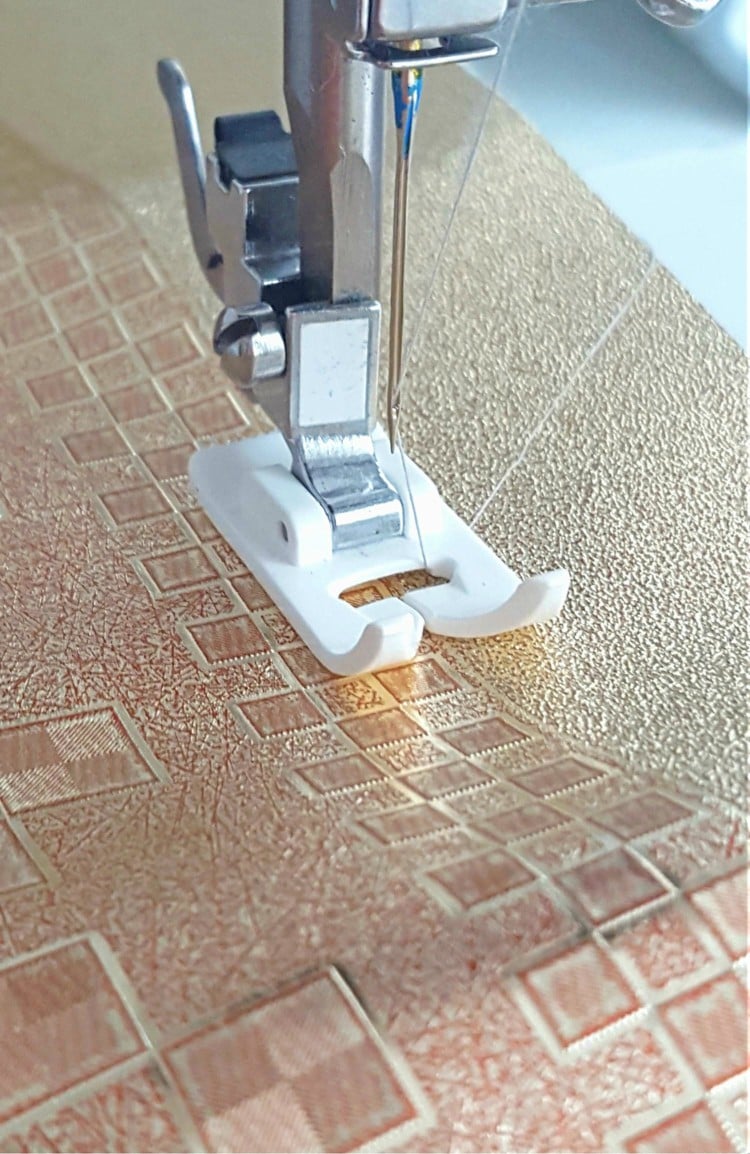
- Install the free motion foot, following the instruction for your particular foot and sewing machine. My foot has a little bar on the right side that needs to go over the needle bar which stops the foot from touching the fabric or the plate.
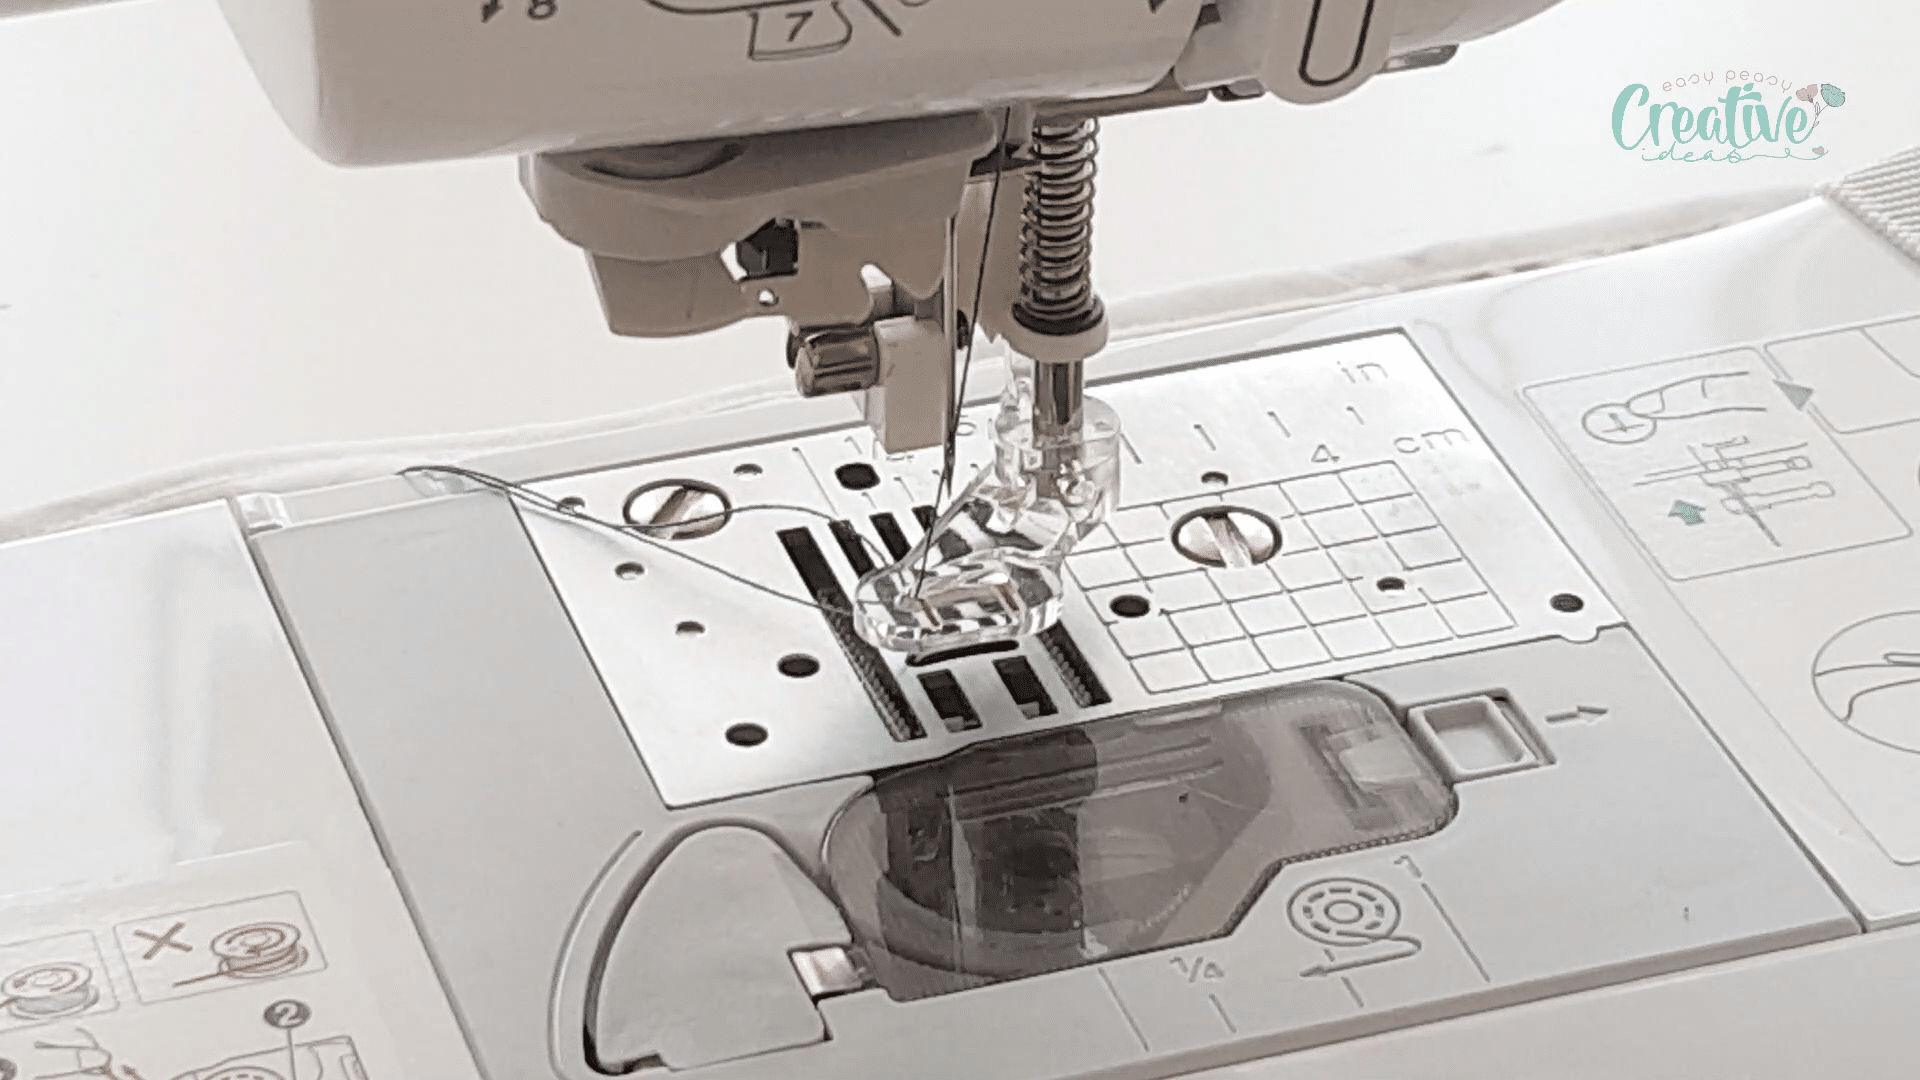
- If you removed it above, return the needle to its position and thread it.
- Look for a button/switch on your sewing machine that allows you to push the feed dogs down. My computerized Brother machine has a switch in the back, behind the presser foot, while my rudimentary Singer machine doesn’t have one. For my Singer machine I install a darning plate witch acts like an intermediary between the feed dogs and the fabric so the feed dogs never touch the fabric. This is best done before installing the free motion foot, inserting the needle and threading it.
- Keep your machine on a straight stitch and test the length and width on a piece of fabric (you need to stabilize this fabric too). Play with the width and length until you reach the desired settings. Take a piece of paper and write down the settings for your straight stitch. Repeat for a zig zag stitch that you will need to use to fill the embroidery design. When you’re ready to start sewing, proceed to the next step.
Embroider the design
- Grab the presser foot handle and lift it as much as it lets you then slide the embroidery hoop under the needle, with the right side of the fabric up. Make sure the hoop is set as indicated above, the fabric needs to touch the plate with the wrong side.
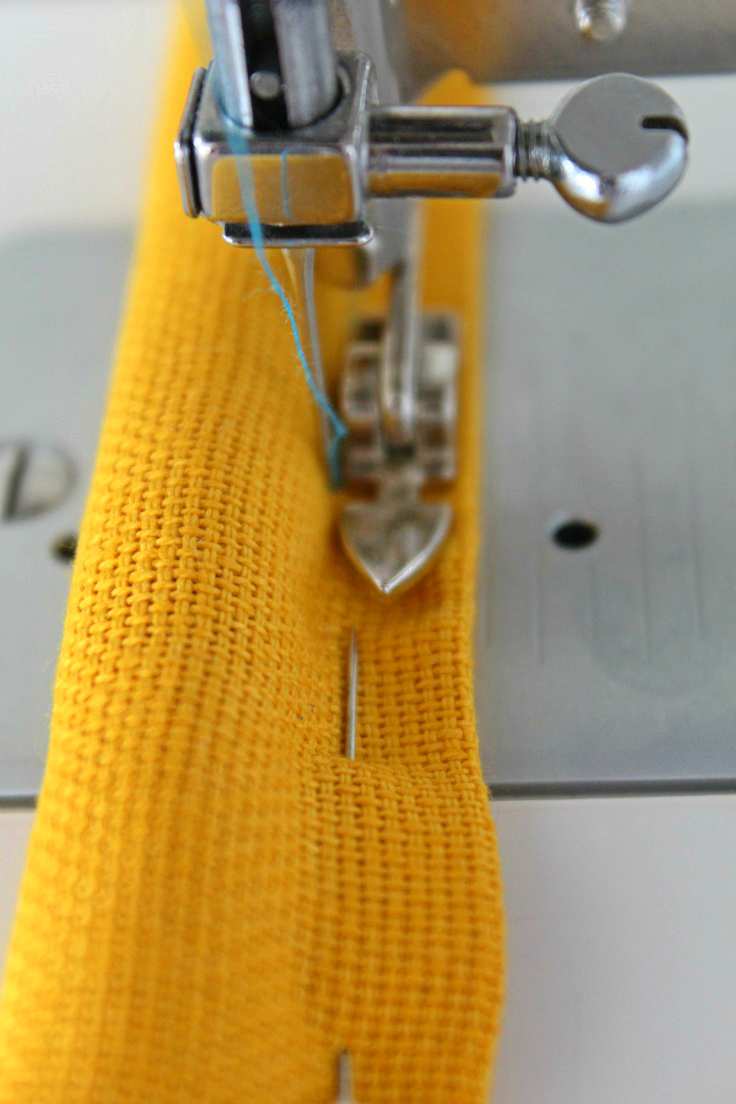
- Decide where you want to start stitching. Lower the foot and using the sewing machine wheel, lower the needle a little until it catches the bobbin thread. Keep spinning the wheel until the needle is up the fabric. Using your scissors or a ruler, push the thread away from the needle making sure the thread is under the presser foot, not above it.
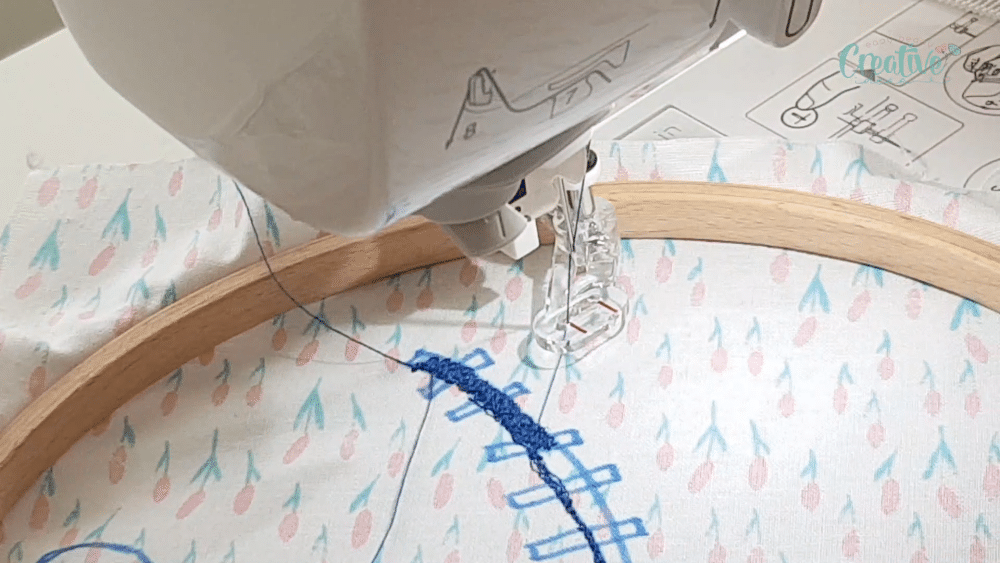
- Lower the needle again and start sewing. Using a straight stitch, outline your design first. Sew slow and move the hoop slowly under the needle.
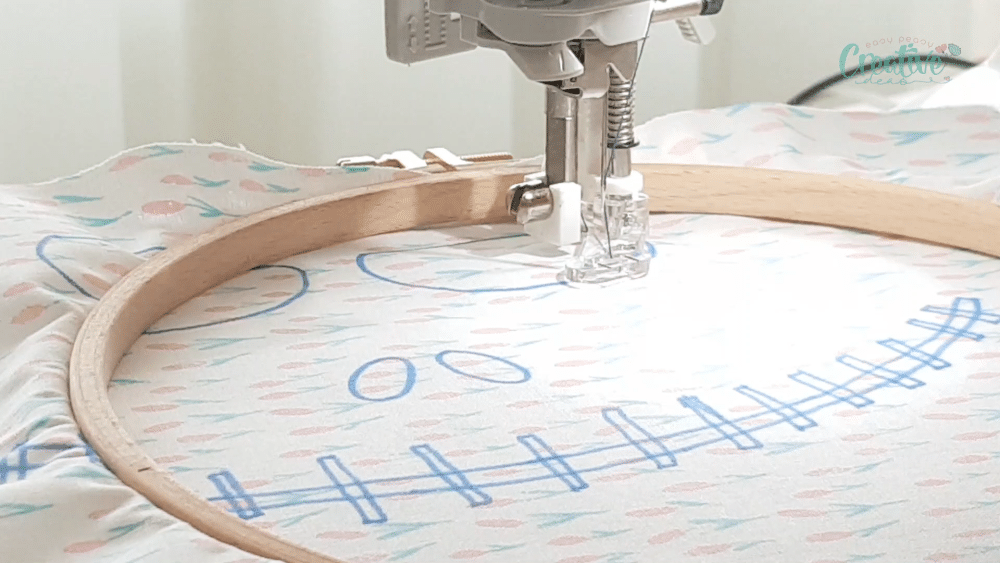
- Change the stitch to a zig zag stitch and fill the design, again moving slow with both sewing and hoop.
Finish your work
- If you were using tearaway backing, remove it at this point.
- Grab the fine scissors and remove all extra threads.
- Press the fabric on the wrong side, with the iron on steam and you’re done!
My embroidery wasn’t so nice and neat as I would’ve loved it, but I managed to “fine tune it” a bit by going over the areas I haven’t covered perfectly the first time and now I’m pretty happy with the results (especially since my design was a Skellington smile which works best if it’s embroidered a little crooked and uneven).
Machine embroidery tips:
- Start with a small project
- Practice a lot before moving to an actual project.
- Use a simple design first, without a lot of curves.
- Prepare a few bobbins per project, using the same thread type and color as the spool thread
- Test your stitches until you find the perfect length and width for your project.
- Sew slow and avoid sudden moves
- Use a magnifier if you’re eyes are not very sharp.
You’ll also need to lower the feed dogs on your sewing machine. This is a crucial feature of your sewing machine that you must use! Otherwise the fabric and the thread will get stuck in the feed dogs.
With the feed dogs down and the free motion foot installed, your fabric is only kept down on the plate, under the needle, by your hands or the embroidery hoop. This allows you plenty of freedom to move the fabric and the needle around your embroidery design but it’s also a recipe for failure if you’re stitching too fast or with a shaky hand. So if your machine allows it, set it to a lower speed first until you get familiar with embroidering on a sewing machine!
FAQ’s you might find useful
Can you use a regular sewing machine to embroider?
As demonstrated above, you totally can! While not as “cool” and pretty as when done with a special embroidery machine, embroidering on a sewing machine is totally possible!
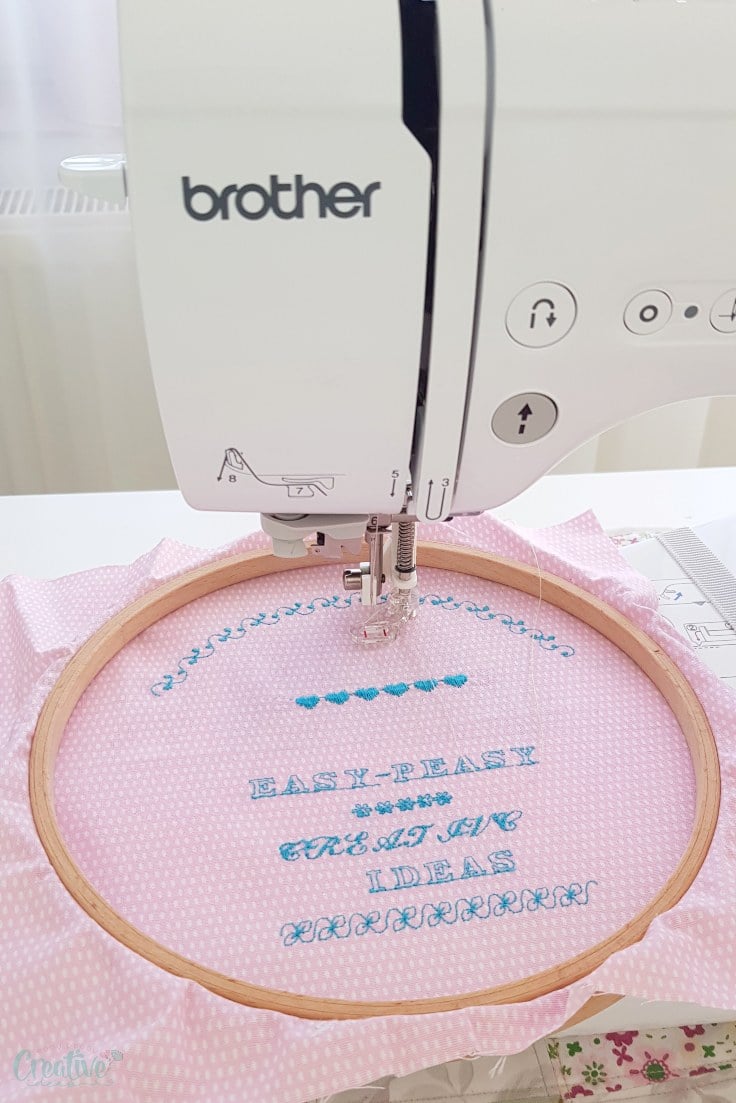
I have a super duper computerized sewing machine with great sewing capabilities (by the way I absolutely love the automatic needle threader and the automatic thread cutter!), a lot of sewing stitches, a free arm that offers me great flexibility, large LCD screen and tons of embroidery and monogramming settings, stitch options and fonts. This machine is a workhorse, it sews through a large variety of textiles with no problems. And I absolutely love the ease of use and that I did not have to pay a fortune for this great quality machine!
While I could use more features when it comes to embroidery (like small letters and a USB port to upload embroidery patterns), I think this machine is more than enough for the stage I’m in right now. And I don’t need to invest a leg and an arm in one of the best embroidery machines out there because mine is simply good enough for my needs at the moment.
Can I use any sewing machine for embroidery?
While you can sew with a regular sewing machine, not all sewing machines are capable of embroidery. You will need one with an embroidery attachment/capability or a specific embroidery sewing machine.
Embroidery with an embroidery stitch
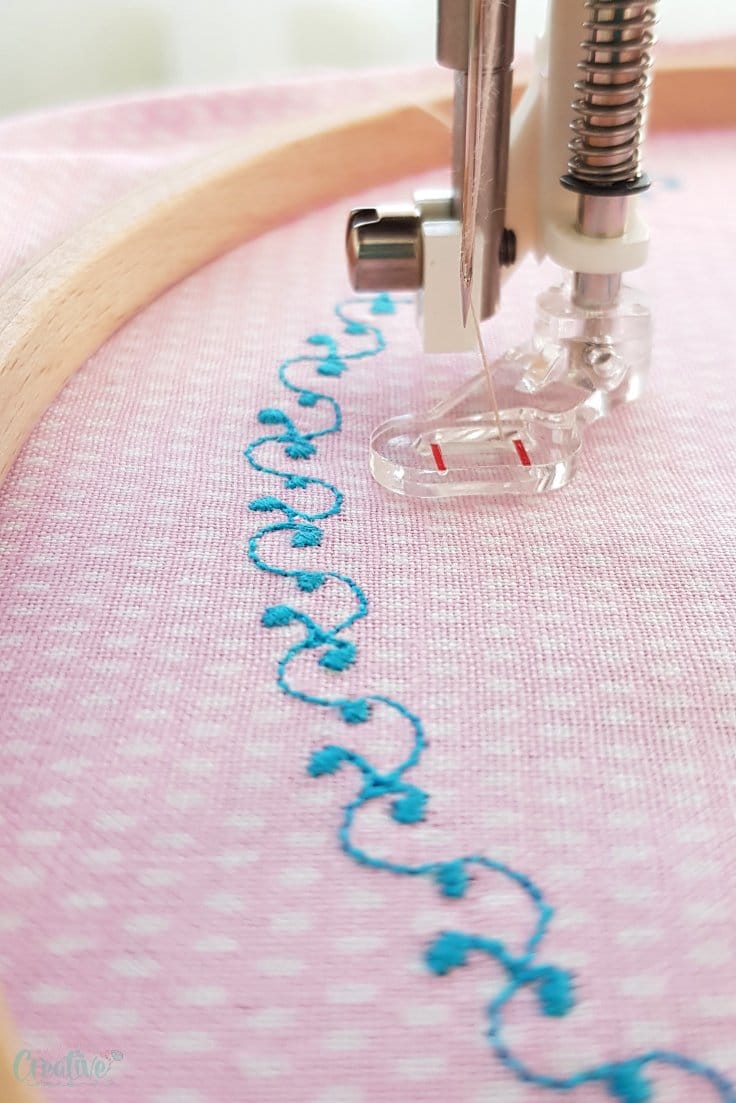
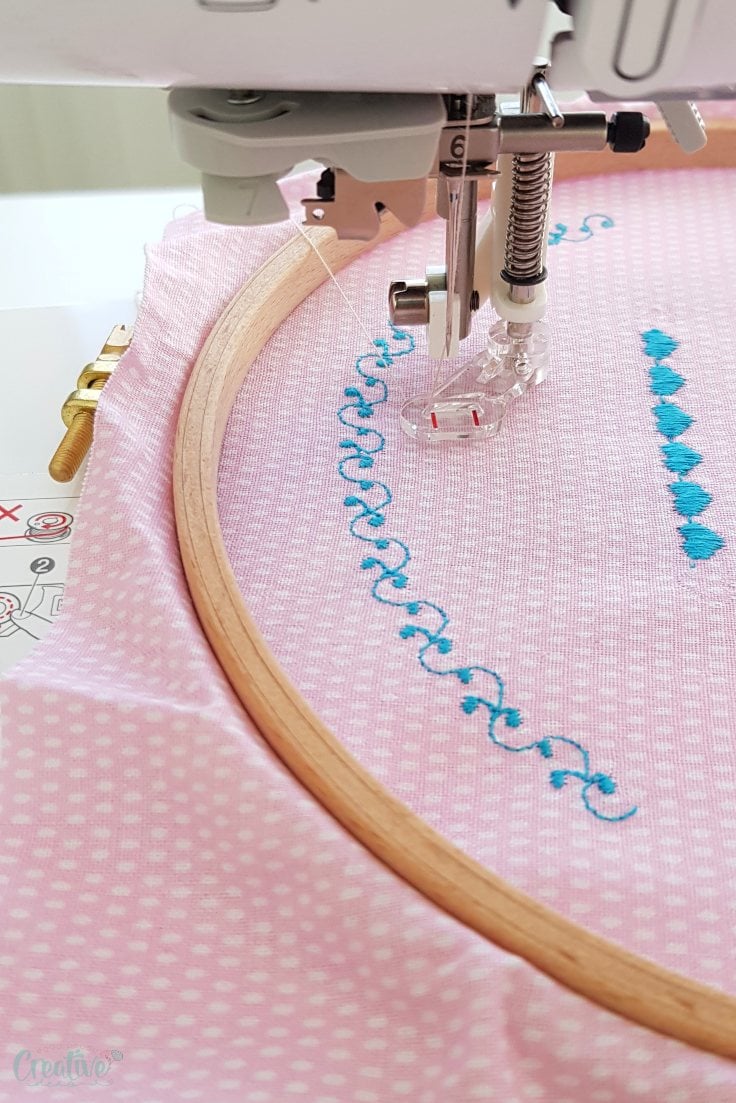
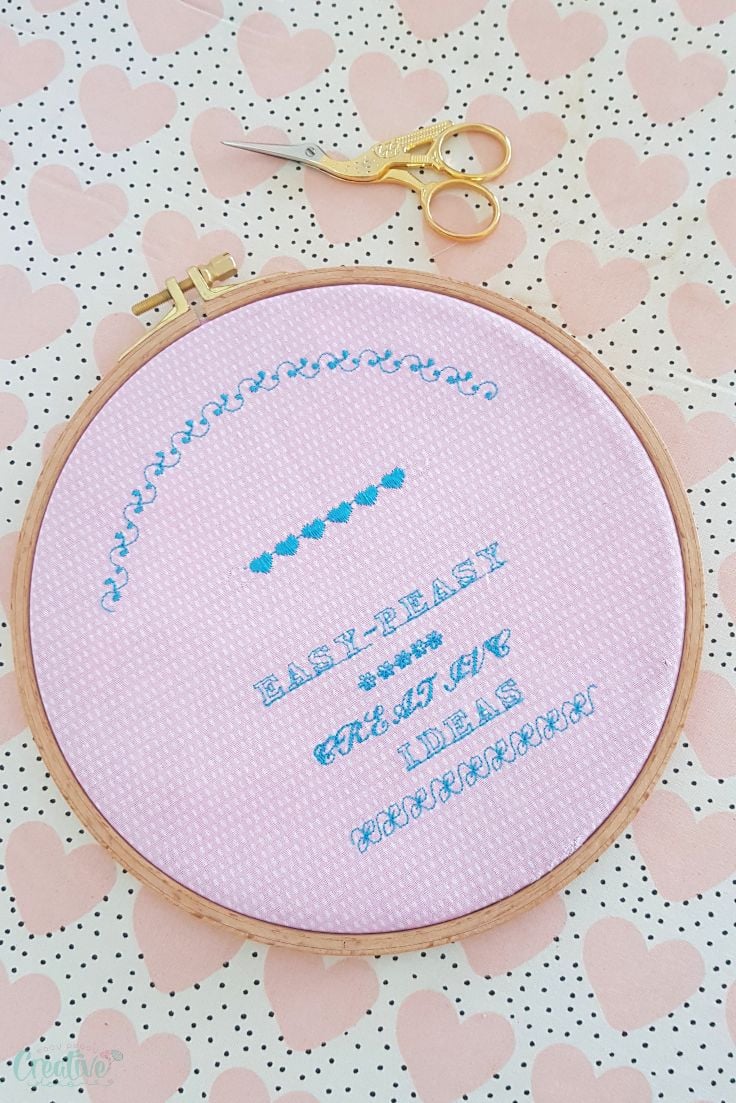
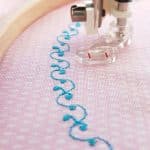
If your sewing machine has embroidery stitches included, you can always use those instead of free-hand stitching. My machine only has numbers and letters in various shapes and a few small designs as seen in the photos in this tutorial. Follow your machine’s instructions to learn how to make the best out of your embroidery stitches!
In this case the machine automatically sews the preset stitches and all you need to do is gently hold the hoop to direct the stitches in the desired direction. I like to use the start/stop button for these kind of stitches, where the machine starts embroidering when I push the start button and automatically finishes when the preset embroidery design is done. This way I don’t have to worry about speed and evenness as the machine takes care of everything.
Can I embroider on any type of fabric?
While you can technically embroider on any fabric, certain types will get you better results than others. It’s always best to test your design on a scrap piece of fabric before starting on your final project.
More sewing ideas you will love
- How to use an embroidery hoop
- How to sew canvas fabric
- Sewing vinyl on a home sewing machine
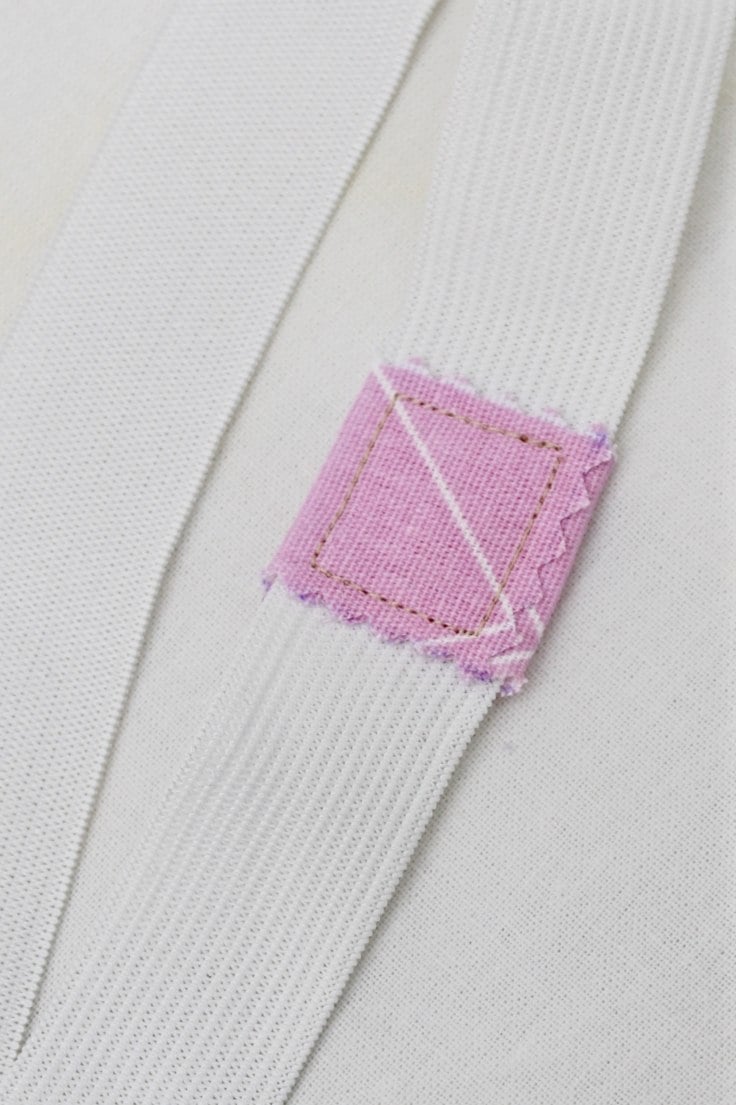
- Elastic join tip to reduce bulk
- How to adjust the presser foot tension
So, there you have it – everything you need to know about embroidering with sewing machine. I hope that this guide has been helpful and provided some useful tips on how to get started. If you are still feeling unsure or have any questions, feel free to leave them in the comments section below. I would love to hear from you! In the meantime, happy sewing!
How to embroider with a sewing machine
Materials
- cotton fabric
- embroidery design
- embroidery backing
- matching thread
Tools
- embroidery hoop
- free motion foot or darning foot
- fine point embroidery scissors
- Seam Ripper
- darning plate
- pressing iron
Instructions
- Start by transferring the embroidery design onto the right side of the fabric.
- Add the backing as instructed on the package. Make sure the backing covers the entire design!
- Place the fabric in the embroidery hoop. You need to set up your hoop in this order: inner hoop, fabric wrong side up, outer hoop. When embroidering on your sewing machine, the right side of the fabric should be inside the hoop (in the hole/hollow of the hoop).
- Make sure the design is center in the hoop and that you have ample room for sewing inside the hoop. If the design is larger than the hoop, work in small sections. Once a section is done, remove the fabric and set the hoop in a different section. And so on until the entire design is embroidered.
- Remove the old presser foot and preferably the needle too (it will allow you more freedom to work).
- Install the free motion foot, following the instruction for your particular foot and sewing machine.
- If you removed it above, return the needle to its position and thread it.
- Look for a button/switch on your sewing machine that allows you to push the feed dogs down. My computerized Brother machine has a switch in the back, behind the presser foot, while my rudimentary Singer machine doesn't have one. For my Singer machine I install a darning plate.
- Keep your machine on a straight stitch and test the length and width on a piece of fabric (you need to stabilize this fabric too). Play with the width and length until you reach the desired settings. Take a piece of paper and write down the settings for your straight stitch. Repeat for a zig zag stitch that you will need to use to fill the embroidery design. When you're ready to start sewing, proceed to the next step.
- Grab the presser foot handle and lift it as much as it lets you then slide the embroidery hoop under the needle, with the right side of the fabric up.
- Lower the foot and using the sewing machine wheel, lower the needle a little until it catches the bobbin thread. Keep spinning the wheel until the needle is up the fabric. Using your scissors or a ruler, push the thread away from the needle making sure the thread is under the presser foot, not above it.
- Lower the needle again and start sewing. Using a straight stitch, outline your design first. Sew slow and move the hoop slowly under the needle.
- Change the stitch to a zig zag stitch and fill the design, again moving slow with both sewing and the hoop.
- If you were using tearaway backing, remove it at this point.
- Grab the fine scissors and remove all extra threads.
- Press the fabric on the wrong side, with the iron on steam and you're done!
Video
Most popular sewing projects


Article may contain Amazon & affiliate links. As an Amazon Associate I earn from qualifying purchases at no additional cost to you.

Thank you Petro for demonstrating how to create embroidery on a regular sewing machine. I would like to learn embroidery but it is a bit intimidating. Your photos are very helpful. I will give it a try. Also love your website, it has many helpful projects.
Hi, Lynn! Thank you so much for taking the time to leave such a nice comment, it means a lot to me! I’m glad you found my tutorials useful and informative! ❤️
Hi, am I doing something wrong? I want to use an embroidery hoop but my needle is too low for the embroidery hoop to slide in. I have a Brother XR3774
Your machine should allow you to lift the needle higher. If still not enough space for the hoop, you can remove the needle, place the hoop on the plate then install the needle again.
Thanks for the great ideas. What would be even better would be a video showing it. Love your ideas though, very helpful.
thank you
Comrprehensive guide on embroidering with a sewing machine. Thanks.
Thanks for your kind comment, Meda!
Thanks for the gorgeous tutorial
Thanks for sharing such a informative article about embroidery .