

Homemade lavender lip scrub
Transform your lip care routine with this simple yet luxurious lavender lip scrub! Discover how to make this soothing DIY delight with all-natural ingredients to achieve ultra-smooth lips.
If you’re someone who frequently battles dry, chapped lips, then a lavender lip scrub might just be the remedy you need. This DIY lavender lip scrub is a delightful way to gently exfoliate and nourish your lips, leaving them soft and supple. Best of all, it’s easy to make at home with a few simple ingredients, making it not only effective but also a budget-friendly addition to your beauty routine.
The homemade lip scrub with lavender buds is a perfect balance of nature and luxury. Its calming scent of lavender offers a spa-like experience at home, while the gentle exfoliation removes dead skin cells, revealing rejuvenated, moisturized lips. The use of natural ingredients ensures that you are treating your lips with care, free from harsh chemicals.
How to make lavender lip scrub
Ingredients
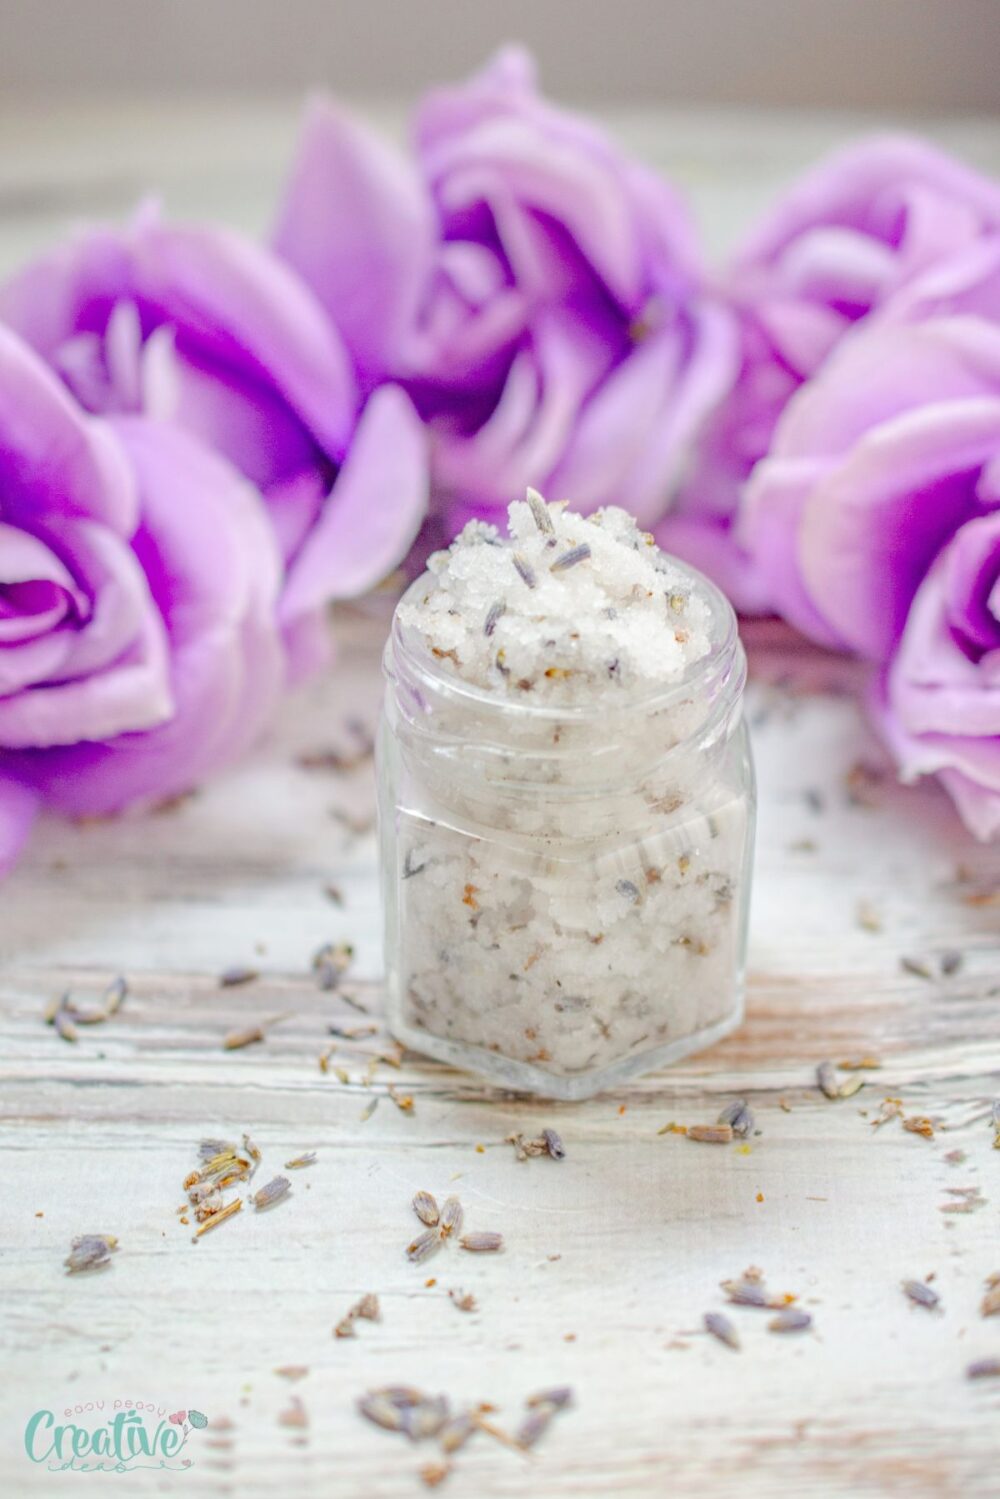
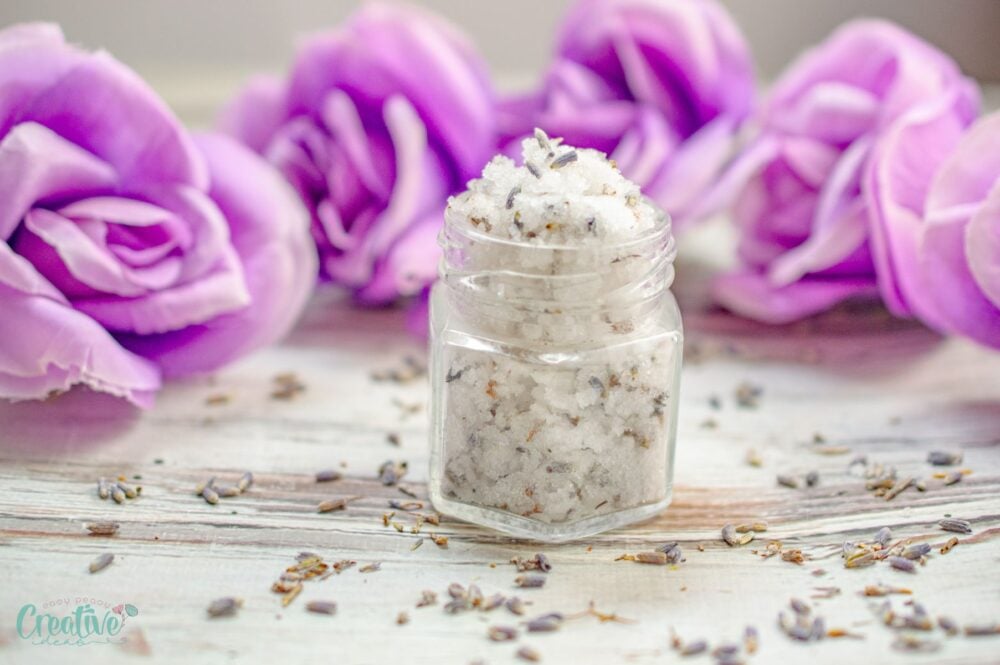
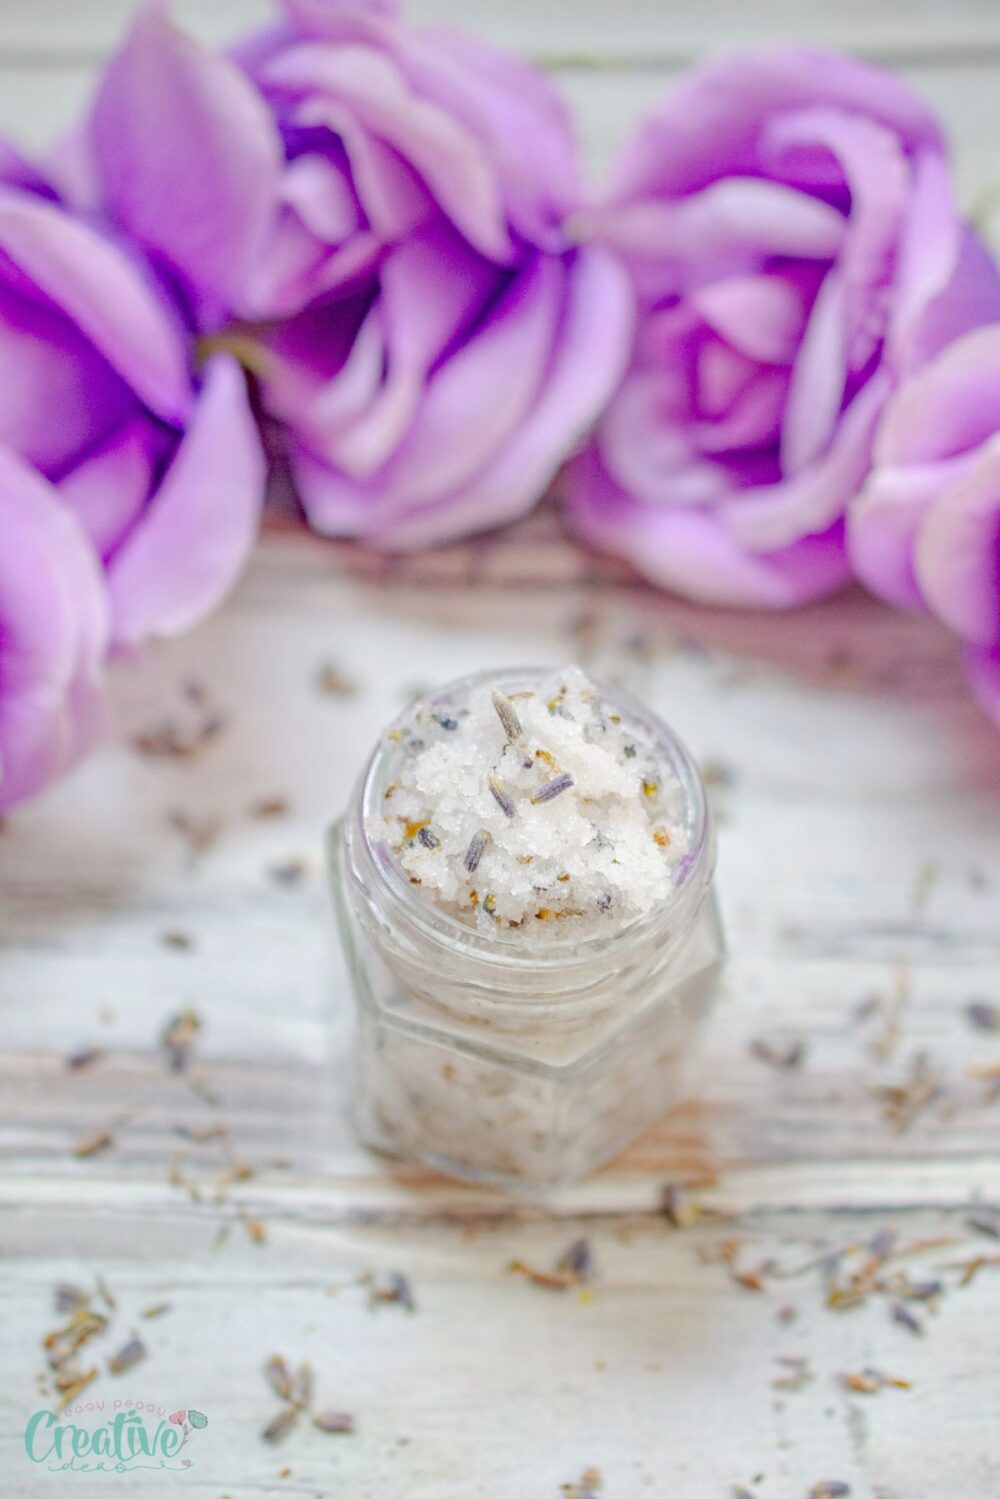
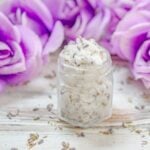
- White Sugar: Acts as the main exfoliant, helping to slough away dead skin cells gently.
- Coconut Oil: Moisturizes and nourishes the lips, leaving them soft and hydrated.
- Lavender Buds: Infuses the scrub with a calming fragrance and provides additional exfoliating properties.
Equipment
- Mixing Bowl: Essential for combining all the ingredients evenly.
- Spoon: Use a spoon to mix the ingredients thoroughly and apply the scrub.
- Jar to Store the Scrub: A small airtight jar will keep your scrub fresh and ready to use whenever needed.
Instructions to make the DIY lavender scrub
Preparations
Begin by gathering all the necessary ingredients and equipment. Ensure that your bowl and spoon are clean and dry. Remove the lavender buds from any stems.
Making the scrub
- In the mixing bowl, combine the ingredients and mix until the consistency of wet sand. Stir the ingredients thoroughly with the spoon until they are evenly distributed and form a cohesive scrub.
- Optionally, use a mortar and pestle to grind up the lavender buds and release more of that delicious lavender scent. Also you can add a couple of drops of your favorite essential oil.
- Transfer to a container with a tight-fitting lid.
- To use: Using clean hands, wet lips and take out a nickel size amount of scrub and add a drop or two of water. Gently rub lips in a circular motion for 30 seconds. Wipe off with a warm washcloth.
Tips
- Always use fresh and clean ingredients to maximize the quality and effectiveness of your scrub.
- Before applying to your lips, test a small amount of the scrub on your wrist to ensure there are no allergic reactions.
- For best results, use the scrub two to three times a week to maintain soft, flake-free lips.
- Add a little bit of purple food coloring to tint the scrub.
DIY Variations
- Honey and Lavender Lip Scrub: Add some honey for extra hydration and antibacterial properties.
- Brown Sugar and Lavender Lip Scrub: Swap white sugar with brown sugar for a coarser exfoliation, perfect for removing stubborn dead skin cells.
Frequently Asked Questions
- Can I use this scrub on sensitive lips? Yes, the all-natural ingredients make it safe to use on sensitive lips. However, always test a small area first to ensure no allergic reactions occur.
- How long can I store the scrub? The scrub will last up to two weeks in an airtight container. To maximize its shelf life, store it in a cool, dry place away from direct sunlight.
Storing Tips
To keep your lavender lip scrub fresh, always use a clean spoon or spatula to scoop the scrub from the jar. This prevents any bacteria from contaminating the product.
Make sure the jar is tightly sealed after each use and store it in a cool, dry place.
More DIY You’ll Enjoy
Explore other delightful DIY options to enhance your beauty routine, such as:
- DIY Aloe Vera lip scrub
- Coconut lime vanilla body scrub
- Homemade citrus rose soap
- Coconut peppermint toothpaste
- DIY deodorant for sensitive skin
Ready to transform your lip care routine? Make your own lavender lip scrub today and enjoy the benefits of all-natural, luxurious ingredients. Happy scrubbing!
How to make lavender lip scrub
Materials
- 3 ½ Tbsp. white sugar
- 1 Tbsp. coconut oil
- 1 tsp. Lavender buds
Tools
- spoon
- Jar to keep scrub in
Instructions
- Add ingredients to a bowl and mix until the consistency of wet sand.
- Add mixture into a container with a tight-fitting lid.
Article may contain Amazon & affiliate links. As an Amazon Associate I earn from qualifying purchases at no additional cost to you.
ABOUT PETRO
Hi, I’m Petro, author and founder of Easy Peasy Creative Ideas. Sewist, crafter, avid DIY-er, foodie, photographer, homemaker and mommy to one. I’m an expert at coming up with quick, clever sewing tips, recycling crafts and simple, easy recipes! You can find my ideas featured in reputable publications such as Country Living, Good House Keeping, Yahoo News, WikiHow, Shutterfly, Parade, Brit & Co and more. Thanks for stopping by and hope you’ll stay for a while, get to know me better and come back another time. Stick around for real fun projects! Read more…