

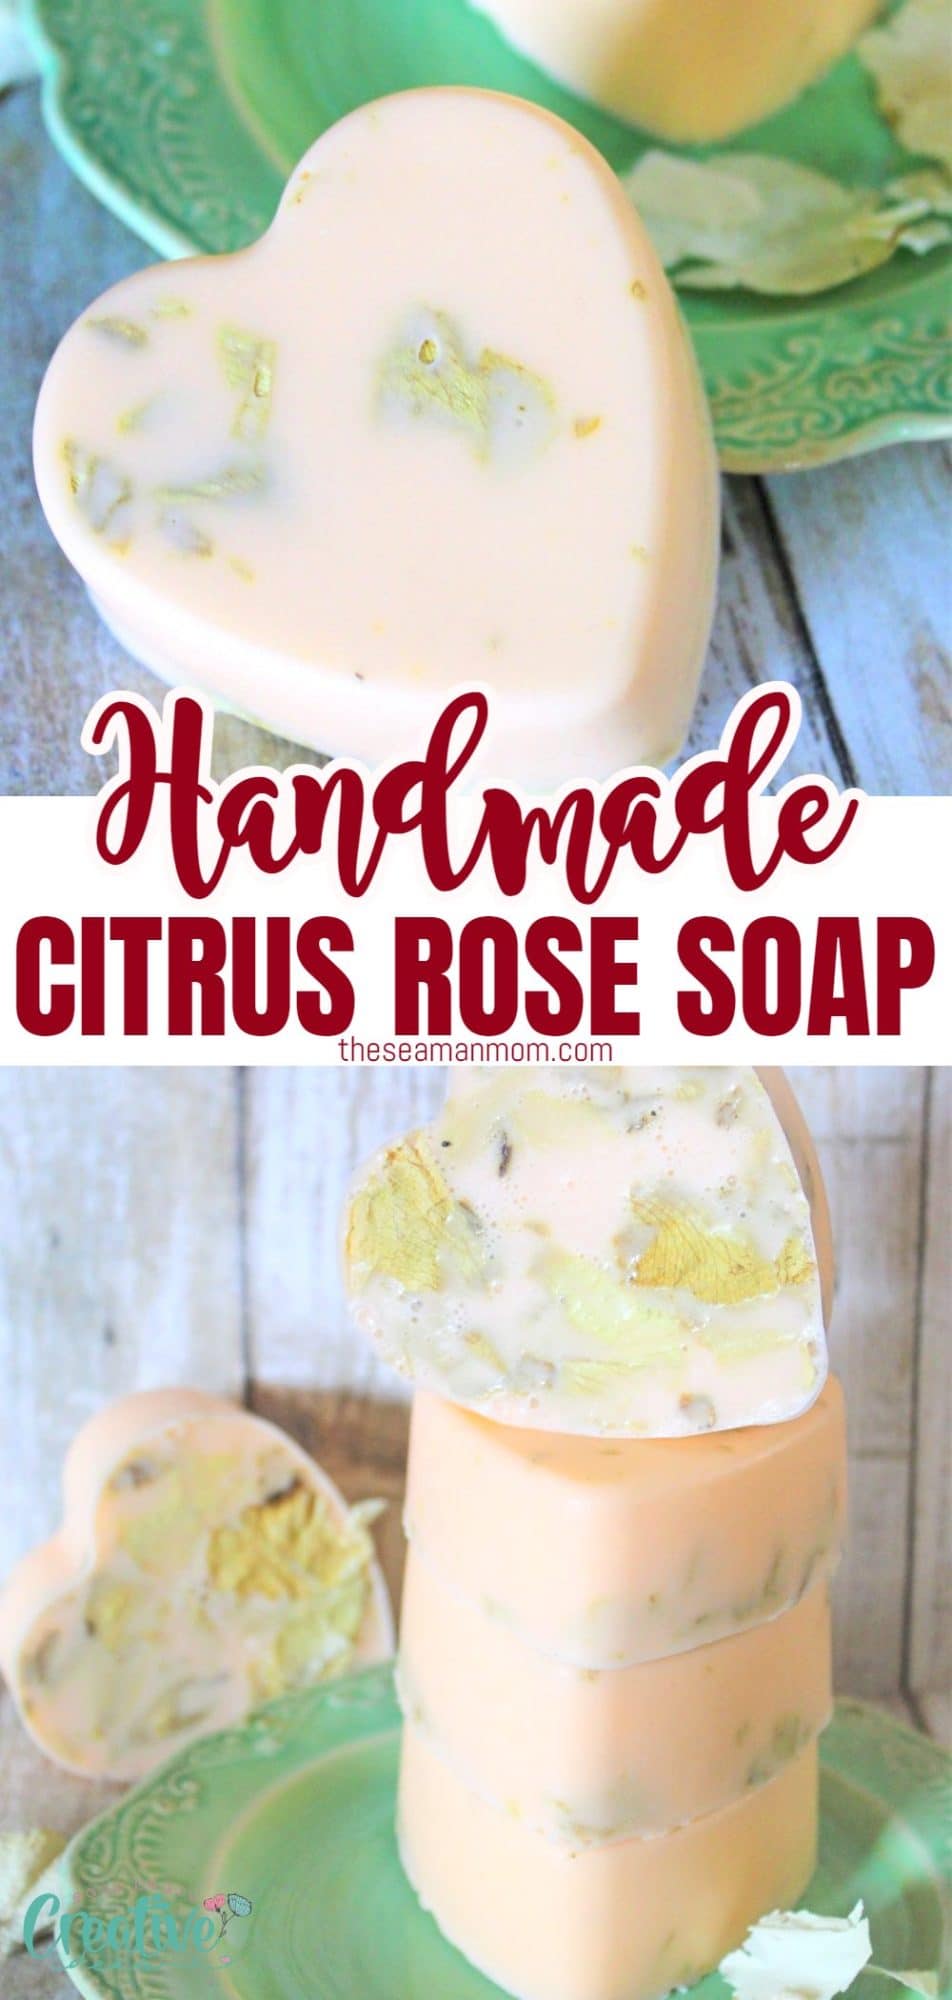
Easy HANDMADE ROSE SOAP with citrus
Want to learn how to make your own rose soap? This recipe for handmade rose soap with citrus notes is easy to make at home and smells amazing! It’s perfect as a gift, or just because. Learn the steps and ingredients necessary for a successful batch.
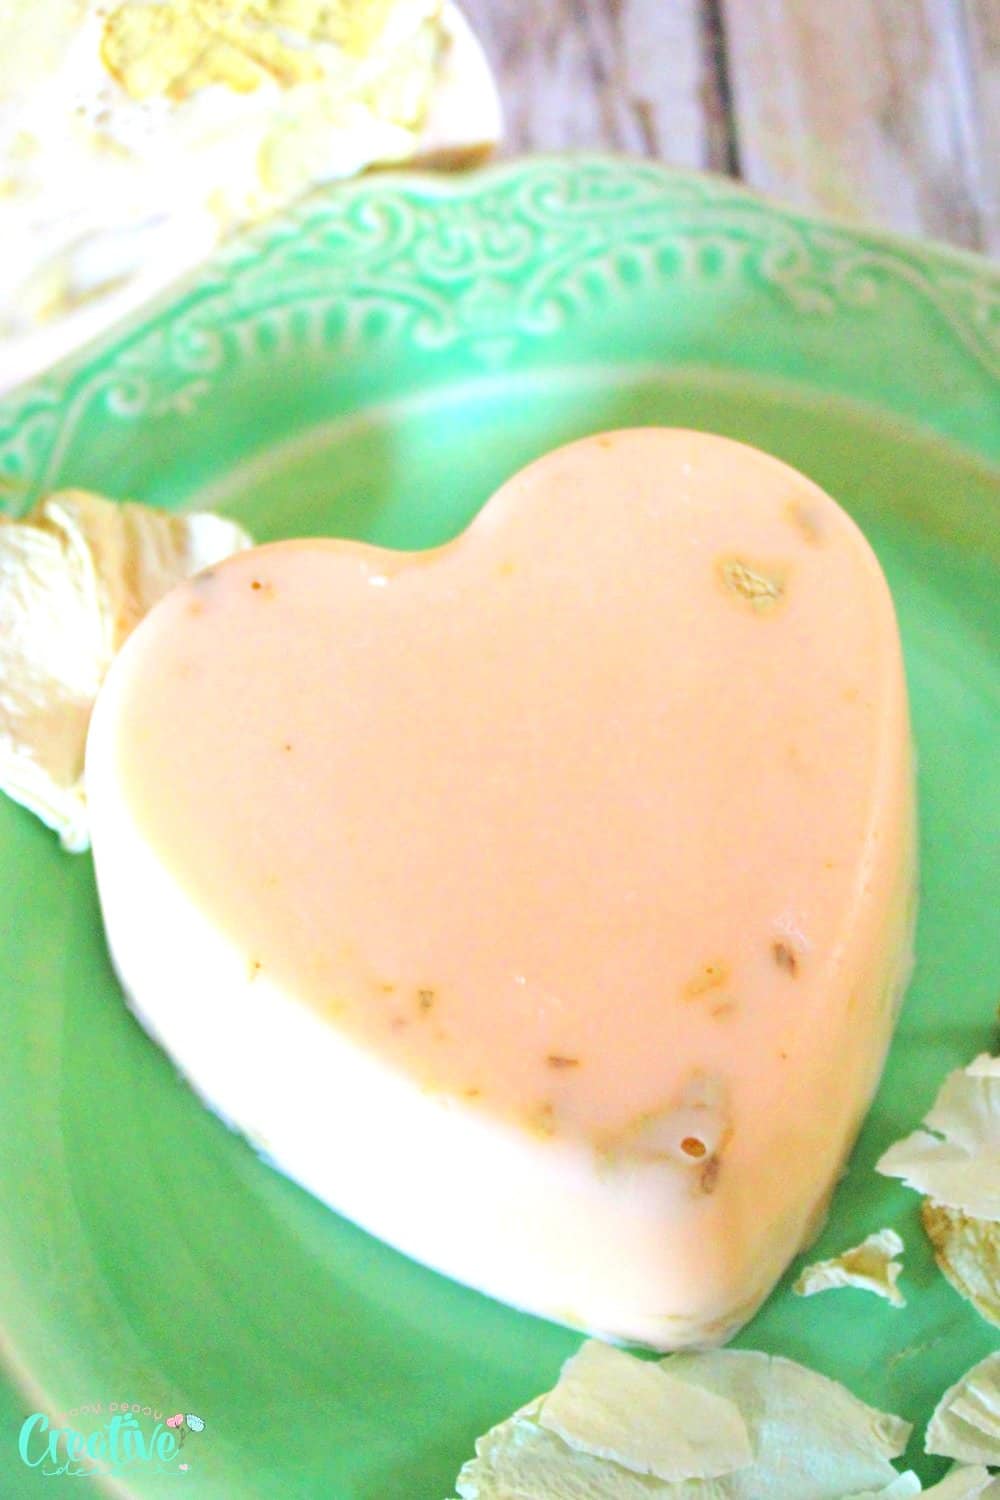
Handmade rose soap
Are you interested in making a rose soap? You are not alone. This is a popular DIY project that many people enjoy making for themselves and their friends as gifts or sell at craft fairs. If you want a handmade rose soap, I’ll show you how in a few easy steps, with minimal effort!
Making DIY soap can seem difficult because you need to know how much of each ingredient goes into one bar. But it is not a big deal because the batches are made in small amounts. If you enjoy making your own soap, or are looking for an easy recipe to try your hand at it, this rose soap recipe uses a great combination of scents that people love, and it is great for the skin.
This DIY rose soap uses dried rose petals, which you can do at home after you have some roses on hand, or you can choose to leave the petals out, or purchase some. The soap is great either way, but the petals just add a little something special to the bars. I will touch on drying them as well, in case you’ve never tried that yourself.
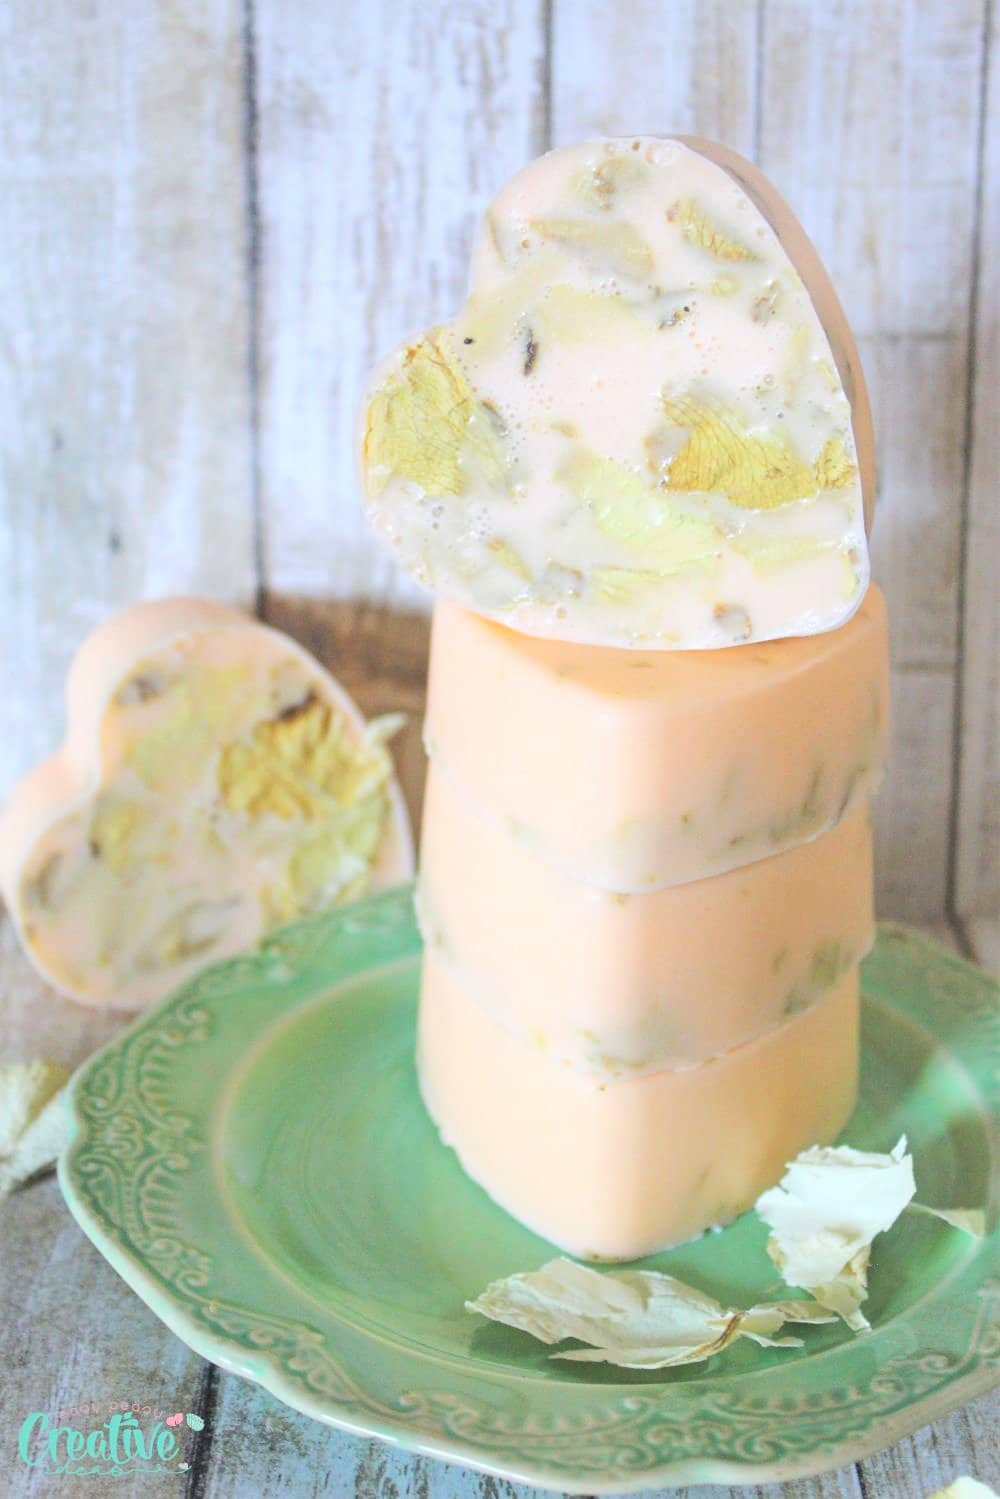
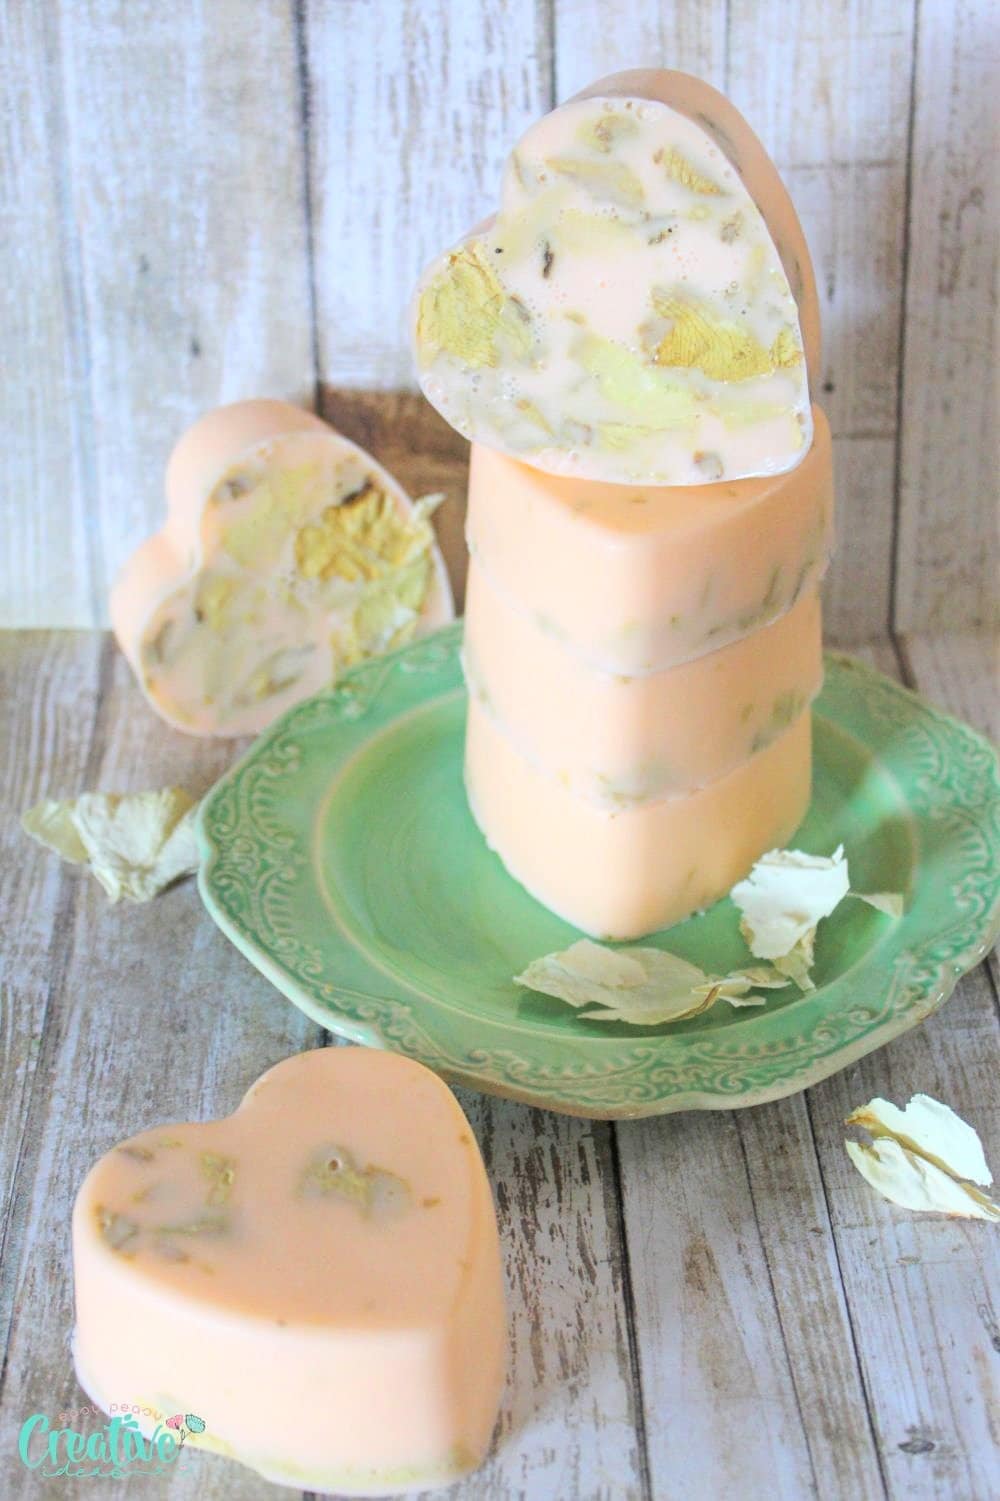
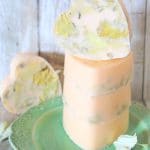
The recipe makes about three standard-sized rose soap bars and I used a heart-shaped silicone mold but it is the same volume as the rectangular bars are. You can find the heart ones on Amazon here if you’d like to purchase the same ones.
Similar DIY beauty products:
What is Citrus Rose Soap?
Citrus rose soap is a citrus-scented soap that also has the scent of roses. The citrus typically comes from orange peel and lemon peels, while the rose scents usually come from geranium or lavender essential oils. Citrus rose soaps are popular among people who love citrusy scents but prefer more subtle flowers.
This citrus rose soap recipe has a variety of simple ingredients that you can find at most grocery stores and many craft shops, including:
- Soap base (typically glycerin or goat’s milk)
- Orange oils, bergamot oils, rosehip oils and sweet almond oil
- Colorant
Why you should make rose soap at home?
- Making your own citrus rose soap is an easy and fun way to make a homemade gift for someone special or just something nice to have on hand in the bathroom.
- It’s also surprisingly simple to make; all you need are some basic supplies
- You’ll never run out of beautifully scented soap filled with ingredients you know and trust.
Benefits of using handmade rose soap
- Rose soap can help reduce the effects of dry skin
- Rose petals soap acts as an excellent mediator for sensitive or itchy skin.
- Citrus rose soap moisturizes your hands when you are doing dishes in hot water
- This soap is an excellent way to get rid of acne.
Overall, these handmade soaps have a light, pleasant scent that anyone can use. They make great gifts! If you are looking for a thoughtful gift, then give one of these bars to someone. They will see that the smell is light but still pleasant.
What do you need for Rose Soap?
The soap mold
Creative and heart-warming, the recipe makes 3 standard-sized soap bars that are equal in volume to that of a rectangular bar. If you would like to purchase some for yourself, I found these on Amazon!
The base ingredients
The base ingredients for soap are a melt-and-pour type. They have several kinds of this, and you can use any kind that suits your preference if it is in the brick form that melts down to make the product.
To make your homemade soap extra moisturizing you could add a tablespoon of coconut oil, olive oil, cocoa butter, shea butter or castor oil to the mixture.
Rose petals
Use whole petals if possible. But if you want to add more texture to your soap bars, use ground rose petals in the soap mixture. Also add more interest to your bars with some mica powder.
The essential oils
You will need to add two oils, sweet almond oil, and rosehip seed oil. I also used orange essential oil. If you don’t want your soap to be white, too, you can use dye! If you prefer to leave the soap dye-free, you can do so, but I did use orange dye to color it, and it takes very little for just the three bars.
Rosehip oil is a great moisturizer. It helps with skin inflammation and also protects the skin from the sun. Rosehip oil also helps people have a brighter complexion.
The citrus essential oils should be a pure form, with no additives, and they not only smell wonderful in the soap, but they are cleansing, uplifting and bring a great balance with the rose scents. Citrus essential oils are not only a refreshing and uplifting addition to soap, but they also cleanse the body of toxins while maintaining balance with its rosy scent.
How to dry rose petals
It’s fun to use your own rose petals! Here are a few tips to using your own.
Once your roses are dying and you want to preserve them, cut down the stems of dead flowers to a shorter length. Bundle up all the rose buds together with a ribbon in order for their petals not to drop too much while drying out. They will dry beautifully, keeping the curve you expect to see in the petals.
Hang upside-down from any dry area such as curtains or kitchen cabinets until they have dried completely – usually about one week or two depending on how humid it is outside!
After drying the flowers, pinch them from their stems. These beautiful blooms are perfect for a variety of projects such as making potpourri or bath items! Until you know what you’re using them for, I advise not to pull the heads and petals apart. When you are not ready to use them yet, leave the flower heads and petals intact until they’re needed because it can be hard to pull apart delicate pieces once dried. Once you are ready to use for the soaps, separate the petals and cut or tear them into smaller pieces so that you can easily add them to the soap.
I store mine in a glass jar, but in a cabinet without lid so that if there is any moisture left in them, they won’t get moldy.
To make a beautiful soap bar, you will need enough petal pieces to cover the bottom of 3 to 4 standard sized soap bar molds.
Tutorial for How to make rose soap
Prepare the ingredients & tools
- Take your silicone molds and lay them out in a flat, warm area for filling later. Check them for any dust or debris and remove it, to keep it from sticking in the soap.
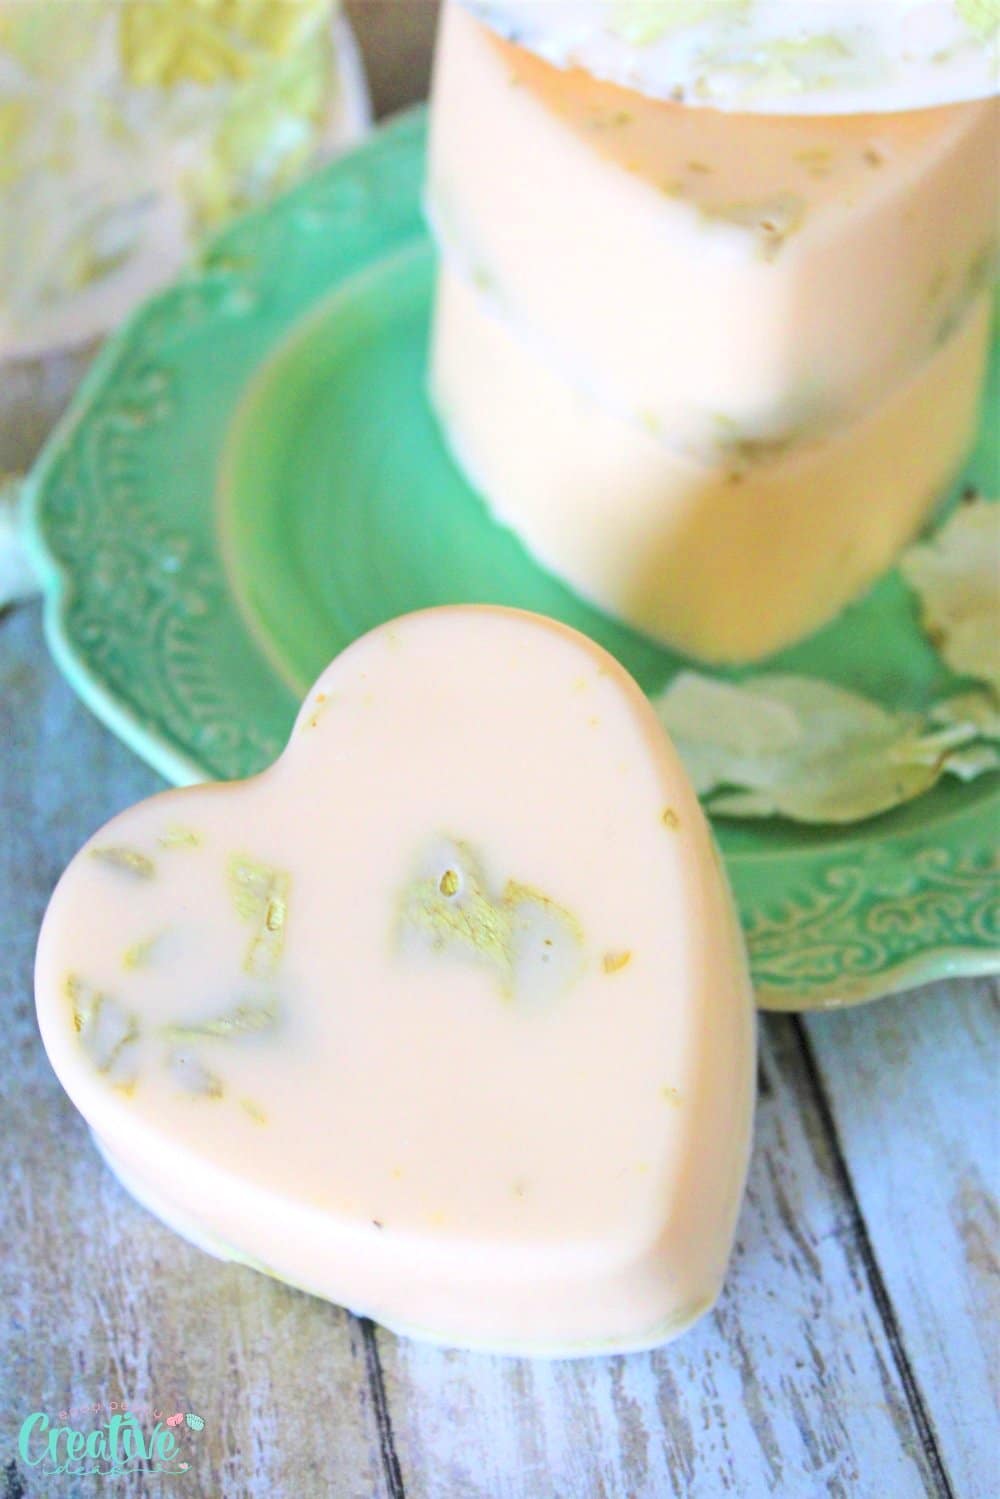
- Then take your rose petals and lay them across the bottom of 3 or 4 of the molds (It is better to over-figure this than not have them added in case the soap goes further than expected.) They will float up and into the soap somewhat, but mainly they will show on the back-side of the bars and look really pretty.
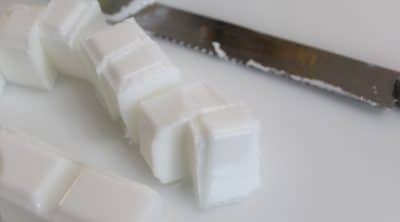
- Now you will need to chop and melt the soap base. Many of these soaps come with cubes already pre-scored for you, so it makes it easier to know how much to use and it is easier to cut up. I use a cutting board with a large bread type knife that I keep for soap specifically. You will also need a rubber spatula or scraper tool as well. Cut the soap into cubes, like they are already set up as, or if your soap is not pre-scored, just cut them into about 1 inch sizes. You will need about 12 cubes or so.
Cook the ingredients
- Place them into a medium to large glass measuring cup that is microwave safe (like Pyrex), or in a bowl or microwave safe pot. Place in the microwave for about a minute or so, and then stir with the rubber spatula, turning the bottom well to get any lumps off the bottom. If you have several lumps, put in microwave for about another 30 seconds. At this point, keep microwave times to 30 seconds or under, as it is likely to boil over if it goes any longer.
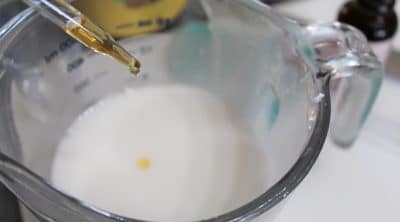
- Measure out a tsp of almond oil while that is heating and then once you remove the soap base, add it in and stir well. Now you can add in the rosehip seed oil, counting the drops carefully as you add. Stir and then microwave the mixture for about 20 seconds. Check to see how much soap you now have melted and add more cubes to make the full cup if you need to, melting it down after adding.
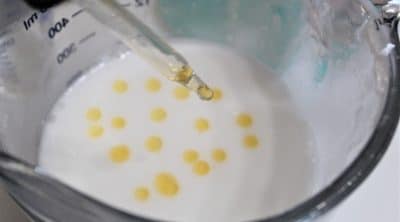
- Stir the soap and scrape any excess from the sides of the cup. Then go ahead and add in the citrus oils, one at a time, stirring well as you go. Both of these oils will be a thin consistency and once they start to drop out, they can go very fast and it is easy to get too many drops so be cautious. If the soap has started to thicken up while doing this step, warm it back up for 15-20 seconds and then add the dye. If it is still nice and smooth, you don’t need to do so.
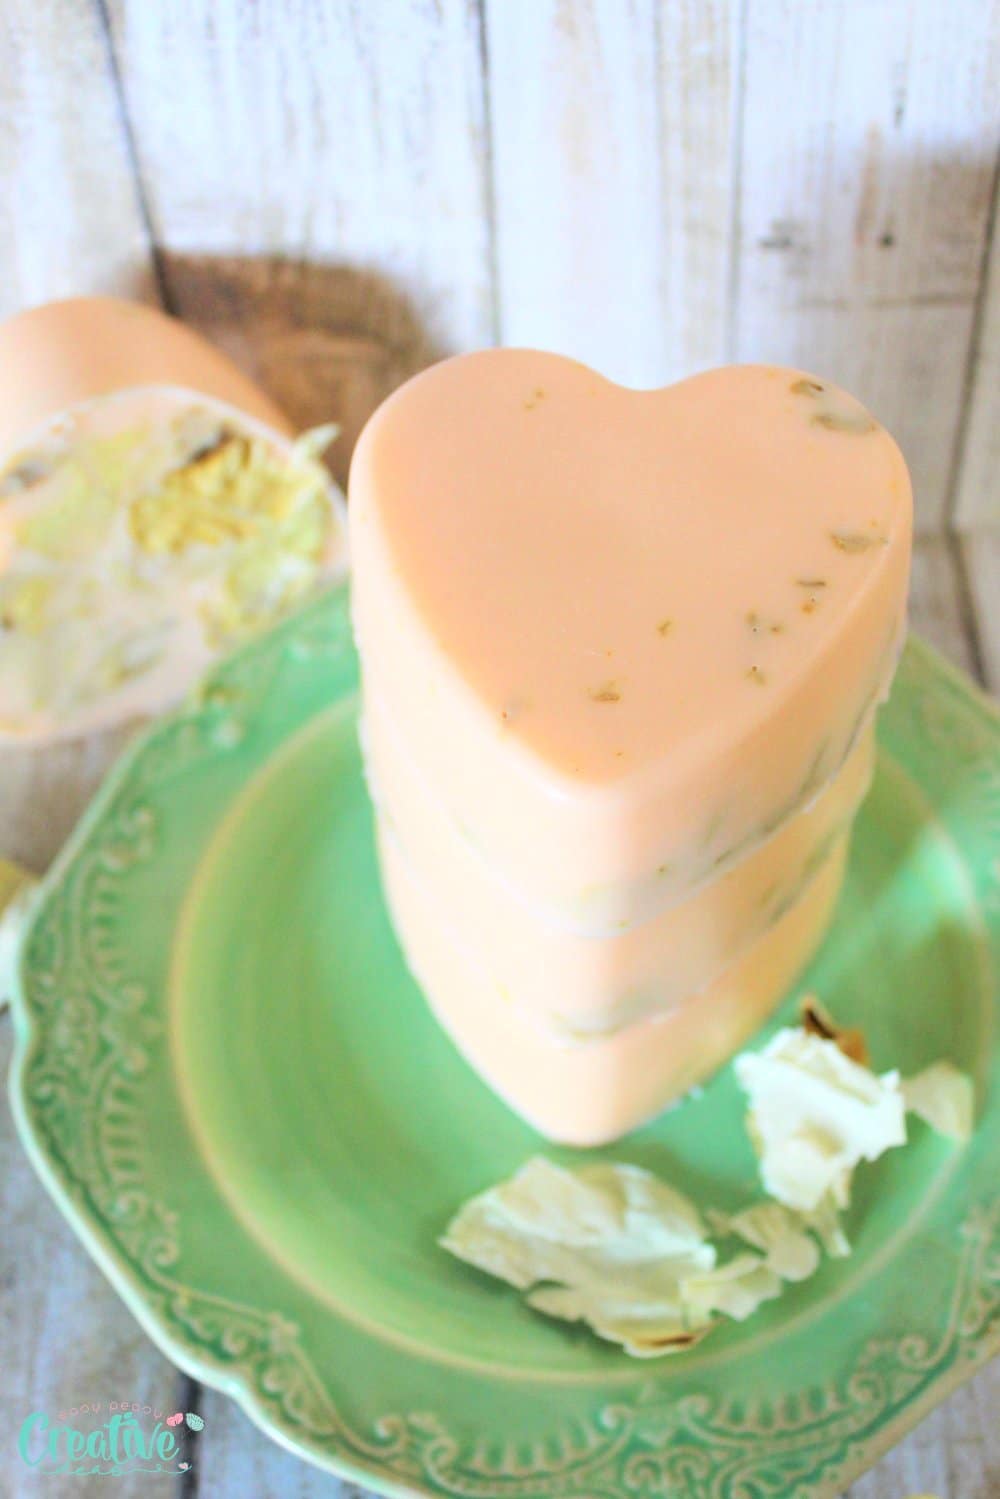
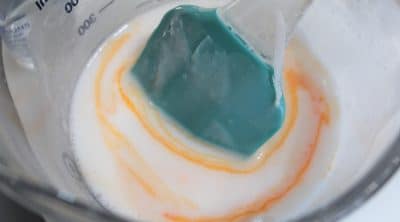
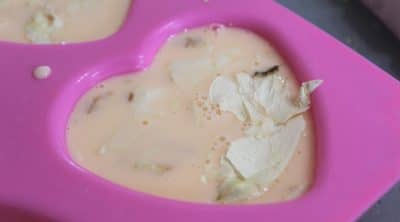
- Drop in the dye and stir until the color is throughout the soap in an even tone. Now you are ready to pour into the molds.
Fill the molds
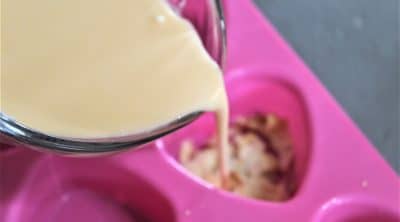
- Go slowly, pouring the soap in until it comes to just below the bottom of the edge, and then repeat until you have the soap base used up. Do not move the molds once you have poured the soap or they can splash and be ruined. Decorate the top of your soaps with a few pieces of rose petals if you wish.
- Let them sit out to cool for about an hour to two hours. Sometimes they don’t take too long, but it is best to be safe and not try to pull them out until they are fully cooled.
How to remove soap from molds
- When you’re finished making your soap, the big question is how to unmold it! First thing’s first. The sides and bottom of a bar should be cooled before peeling the mold off otherwise when removing it from its casing, some will stick which might cause damage or create an uneven surface on one side of your new bars. To do this just feel around with both hands until they are evenly cool then carefully peel away while still holding onto all four corners so that nothing falls out as oftentimes bubbles can start forming during the cooling process but don’t worry these won’t last long once removed from their dry environment within wrapper plastic wrap.
- I like to let my soaps sit out for 15 minutes before using them. Then I flip the molds around to allow any moisture that was in the soap and also helps it dry faster, then they’re ready!
I hope this post has given you enough information about how to go about making your own citrus rose soap so that you can give it a try! Let me know if I’ve inspired any of you with these beautiful soaps – I want to see pictures of what you create!
Pin to save for later
Print the craft card
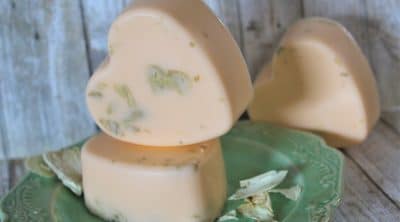
Handmade rose soap
Ingredients
- Rose petals to cover bottom of 3 to 4 molds
- 20 drops rosehip seed oil
- 2 drops orange soap colorant dye optional
- 30 drops orange essential oil
- 25 drops bergamot essential oil
- 1 cup goat’s milk melt and pour soap base
- 1 tsp sweet almond oil
Instructions
- Take your rose petals and lay them across the bottom of 3 or 4 of the molds

- Chop and melt the soap base. Place them into a medium to large glass measuring cup that is microwave safe. Place in the microwave for about a minute or so, and then stir with the rubber spatula, turning the bottom well to get any lumps off the bottom. If you have several lumps, put in microwave for about another 30 seconds.
- Measure out the almond oil while that is heating and then once you remove the soap base, add it in and stir well. Add in the rosehip seed oil. Stir and microwave for about 20 seconds. Check to see how much soap you now have melted and add more cubes to make the full cup if you need to, melting it down after adding.
- Add in the citrus oils, one at a time, stirring well as you go.
- Drop in the dye and stir until the color is throughout the soap in an even tone.
- Now you are ready to pour into the molds. Go slowly, pouring the soap in until it comes to just below the bottom of the edge, and then repeat until you have the soap base used up. Do not move the molds once you have poured the soap or they can splash and be ruined.
- Let them sit out to cool for about an hour to two.
- Feel the sides and bottom of the bars to see if they feel evenly cooled and when they are, go ahead and peel the mold with one hand while removing the soap with the other. You should have lovely, smooth bars of soap.

Article may contain Amazon & affiliate links. As an Amazon Associate I earn from qualifying purchases at no additional cost to you.

I haven’t tried this, but it looks nice!
If you are drying flowers, you can hang them up inside a paper bag so that you don’t lose any little bits :) You can make holes around the body of the bag if you want more ventilation.
That’s a great tip, thanks for sharing Catriona! 🥰
Can I also add vanilla oil? If so, how much? Thank you.